Community Insights
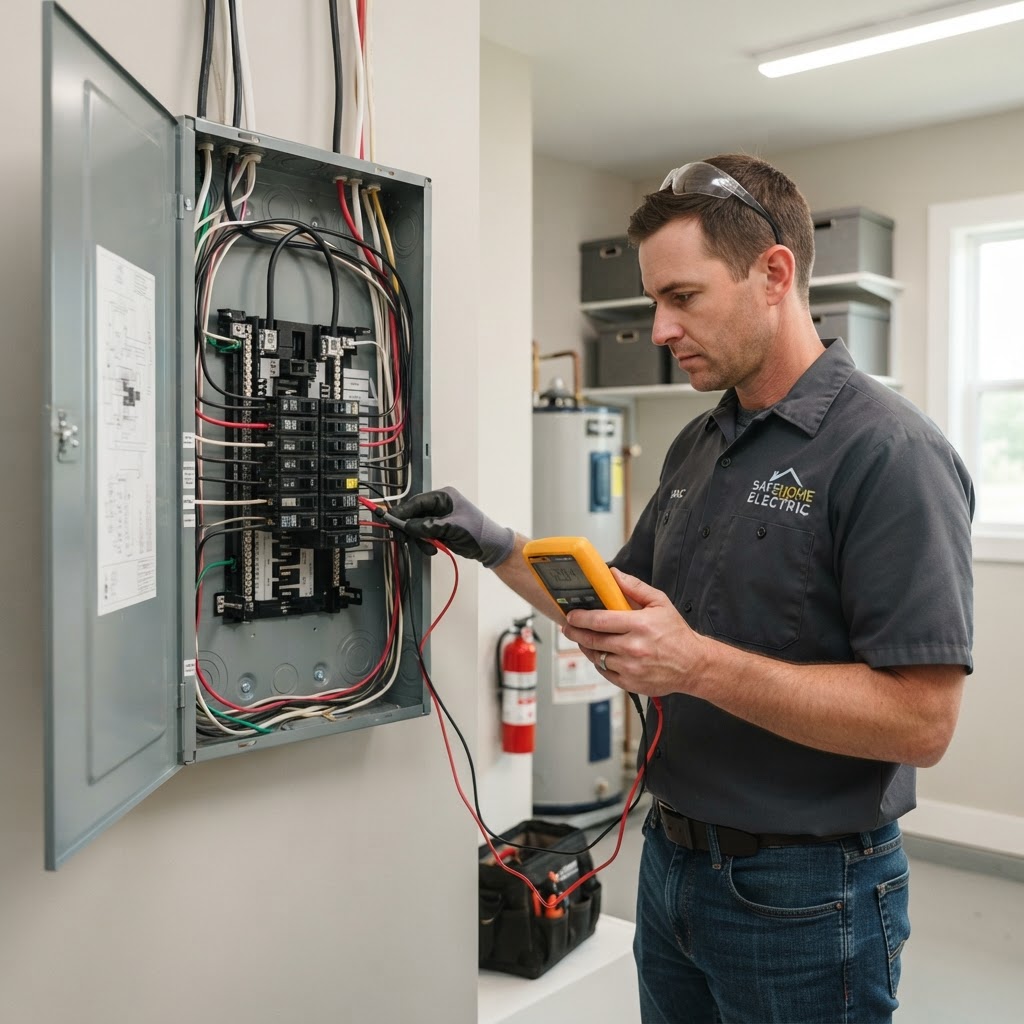
Essential Electrical Safety: A Homeowner’s Guide to Maintenance and Upgrades
Your home's electrical system is the lifeblood of your modern comfort, yet it is often overlooked until a breaker trips or an outlet stops working. Proper electrical maintenance is not just about convenience; it is a critical safety requirement. Understanding the basics can help you prevent fire hazards and ensure your home is prepared for modern power demands. Many homeowners are tempted to fix minor electrical issues themselves. While replacing a lightbulb or resetting a breaker is safe, anything beyond that requires caution. You should handle simple tasks like swapping a decorative outlet cover or changing a light fixture, provided you turn off the main power at the circuit breaker first. However, complex work should be left to a licensed electrician: installing new wiring, upgrading your panel, or working near water sources. Attempting these projects without certification can void your insurance. Budget for maintenance; a service call costs $150-$350, while panel upgrades can reach $4,000. Practice safety by testing GFCI outlets monthly and monitoring your breaker panel for frequent trips. When in doubt, call a professional.
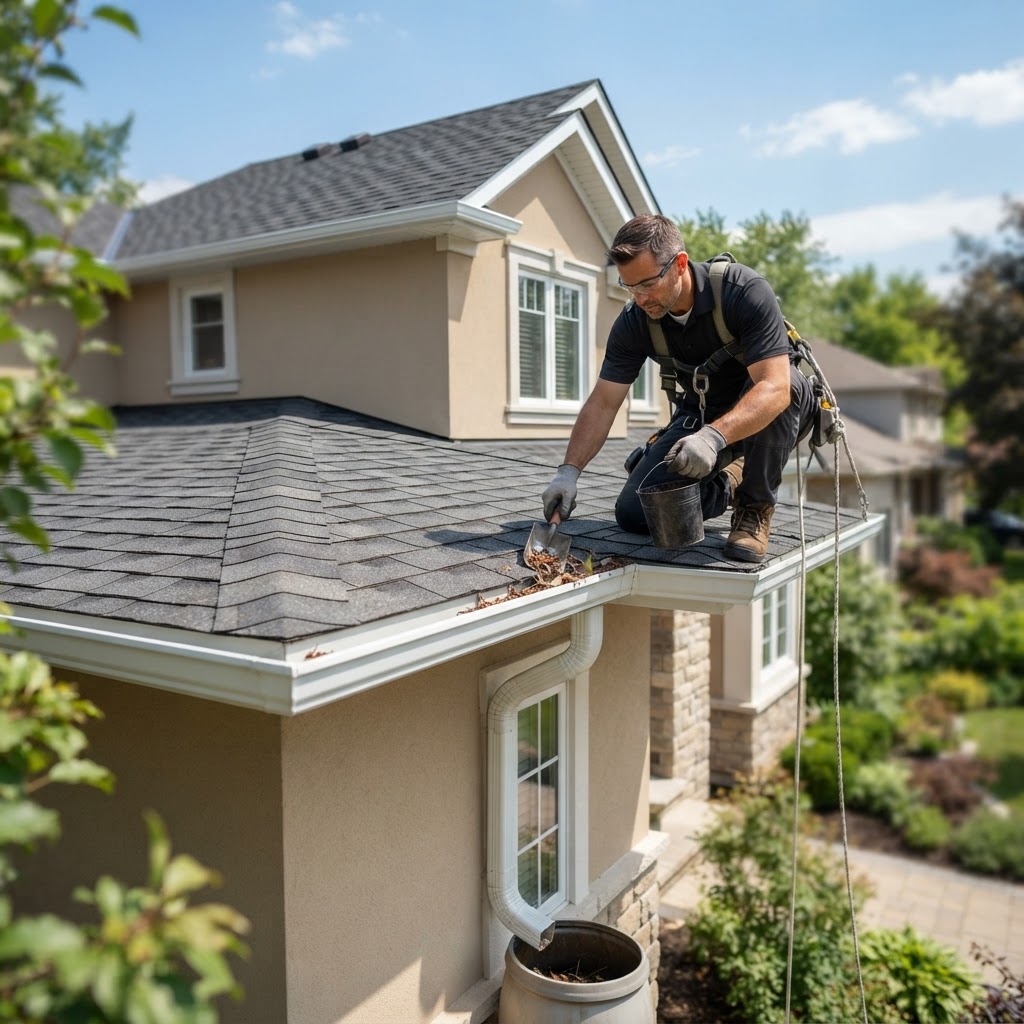
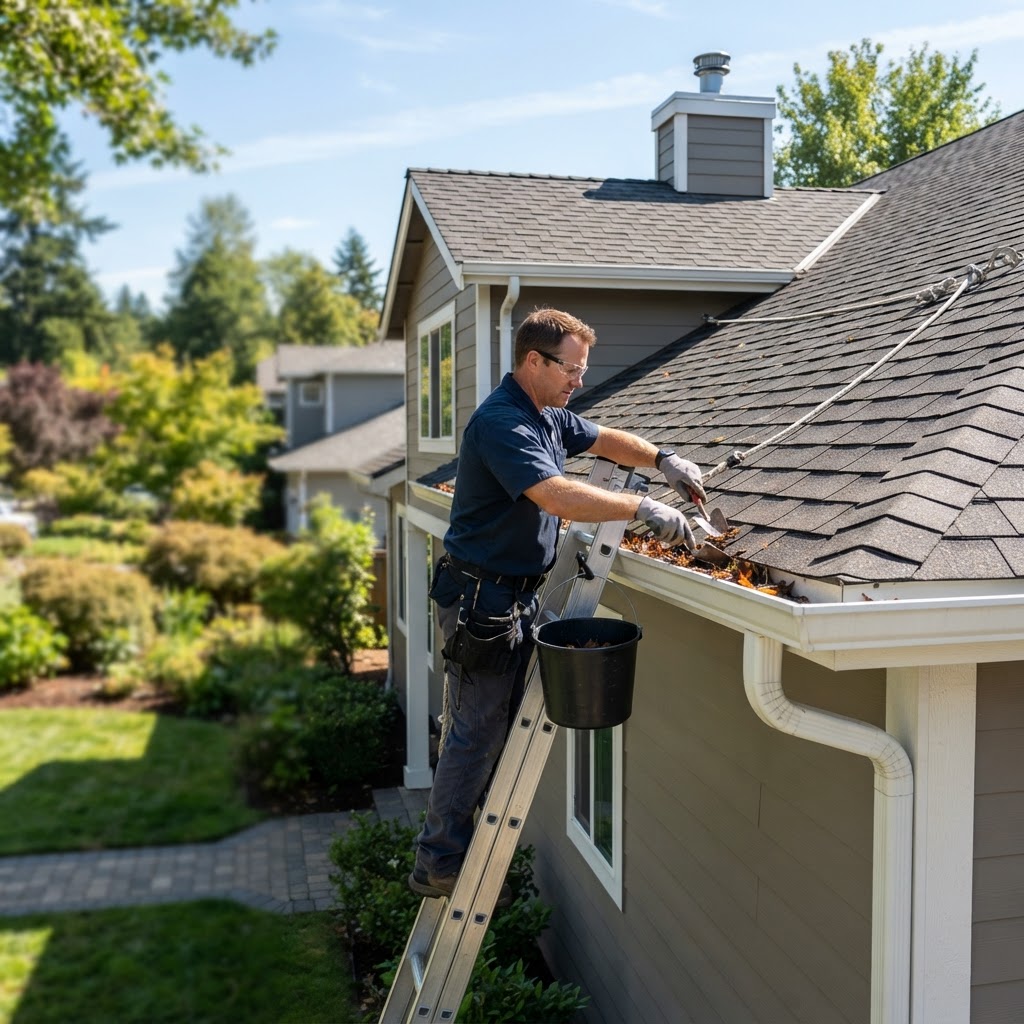
Essential Roof and Gutter Maintenance: A Homeowner’s Guide
Your roof is the primary defense against the elements, and your gutters are the unsung heroes that direct water away from your foundation. Neglecting them can lead to costly interior leaks, structural rot, and expensive foundation repairs. By staying proactive, you can extend the life of your roof by years and save thousands in emergency repair costs. Twice a year—ideally in the spring and late autumn—perform a thorough inspection. Clear debris, check for damage, examine flashing, and inspect downspouts. Minor tasks are manageable for many homeowners, but professional help is required for structural issues. Budgeting is crucial, with roof replacements often costing between $8,000 and $20,000. Keep trees trimmed and ensure attic ventilation to maximize longevity.

Homeowners Insurance: A Strategic Guide to Protecting Your Investment
Homeowners insurance is a financial safety net for your property. Review your policy annually, especially after home improvements. Reduce premiums by installing security systems, maintaining your roof, and using water sensors. While DIY maintenance is helpful for small tasks, rely on professionals for electrical and mechanical inspections to ensure your policy remains active. If damage occurs, document the site thoroughly before starting repairs.

Smart Kitchen Upgrades to Increase Your Home Value
The kitchen is the heart of the home, but a full-scale renovation can be overwhelming and costly. Fortunately, you can achieve a high-end look and improved functionality with targeted upgrades. Whether you are looking to sell or simply enjoy your space more, these strategic changes yield the highest return on investment. Cabinet refacing is a great way to change the aesthetic without the cost of new boxes. Upgrading hardware is a simple DIY project that modernizes the space. LED under-cabinet lighting provides both function and style. For bigger changes, consider professional help for countertops and backsplashes to ensure longevity and quality finish.
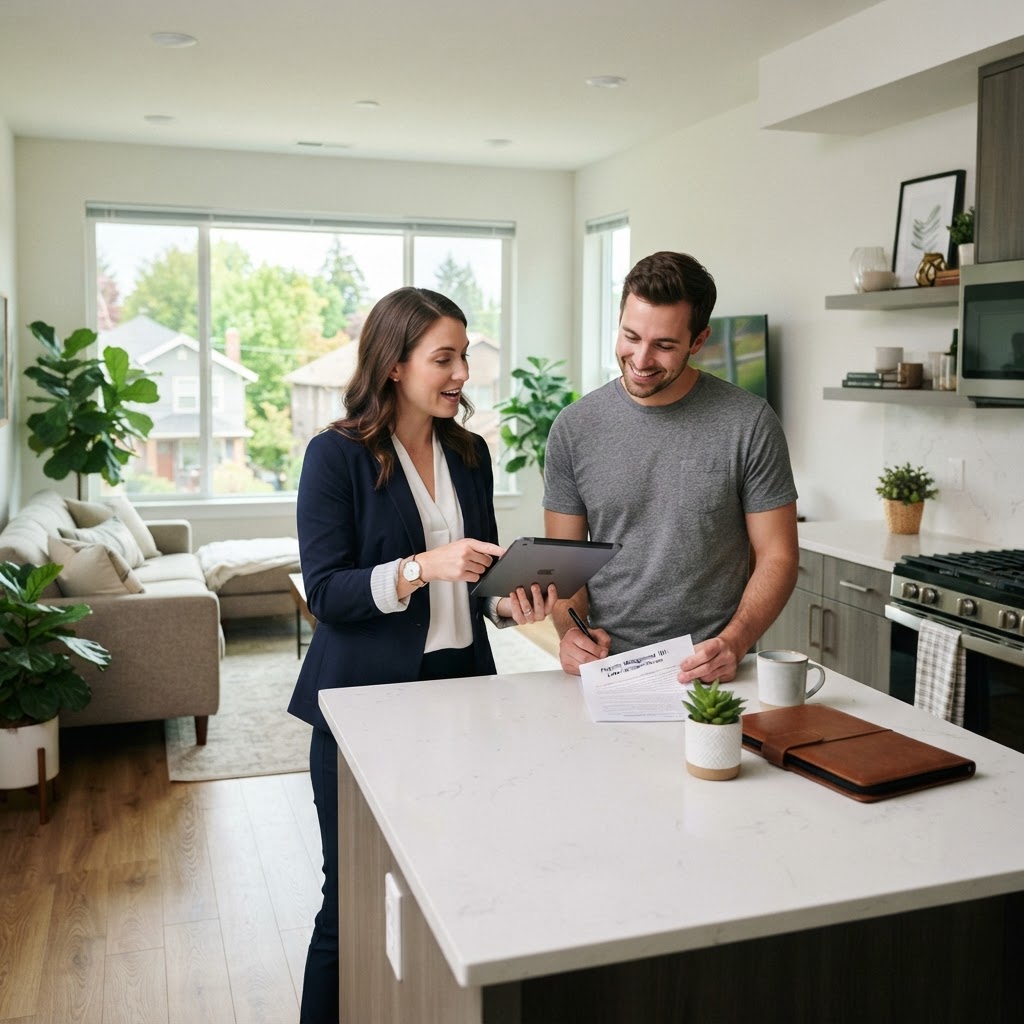
Property Management 101: How to Successfully Manage Your Rental Investment
Managing a rental property requires a balance between DIY effort and strategic outsourcing. By maintaining a reserve fund, conducting regular inspections, and deciding whether to hire a professional based on your personal availability, you can protect your real estate investment effectively. Always prioritize preventative maintenance to minimize long-term costs.
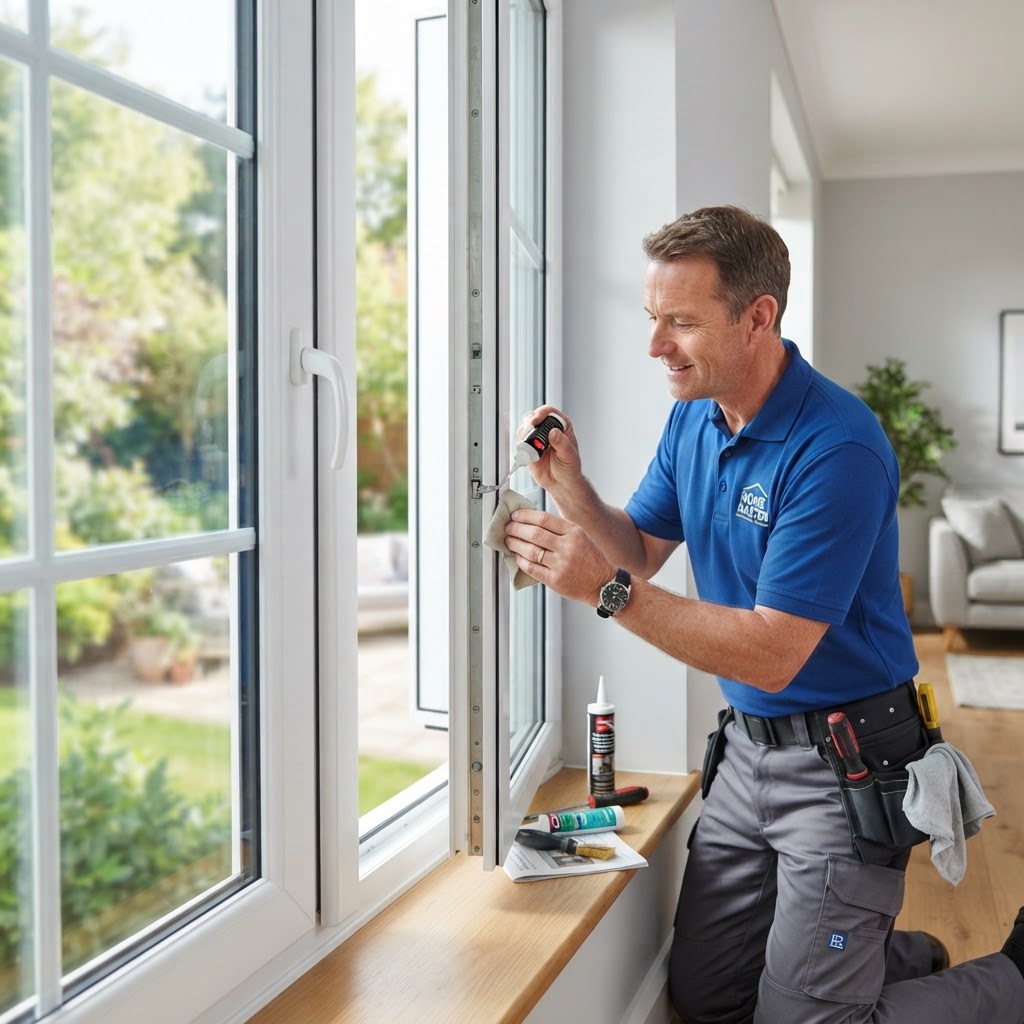
Essential Guide to Window and Door Maintenance for Homeowners
Your windows and doors are the first line of defense against the elements, pests, and energy loss. Regular maintenance not only improves the curb appeal of your home but also significantly lowers utility bills and extends the lifespan of your fixtures. Performing these simple tasks twice a year will save you money in the long run. Inspect seals for cracks, lubricate hardware, clean tracks, and check weep holes. Minor issues can often be solved with DIY fixes like weatherstripping, but professional help is required for rotting frames or failed seals. Expect maintenance costs to be low, while replacements range from $500 to $3,000+ depending on materials.

Homeowners Insurance: A Proactive Guide to Protecting Your Investment
Homeowners insurance is your primary financial shield. Review your policy annually to ensure coverage keeps pace with construction costs. Create a digital home inventory to expedite claims. Lower premiums by installing security systems, upgrading plumbing, and using leak detectors. While DIY is great for maintenance, major repairs after a claim should be handled by professionals. Review your policy 60 days before renewal to assess if you need riders for floods or earthquakes.

Flooring 101: Choosing and Maintaining Your Home's Best Foundation
Choosing the right flooring is a balance between aesthetic appeal, budget, and durability. For high-moisture areas like bathrooms and kitchens, porcelain tile or luxury vinyl plank (LVP) are top choices due to their water resistance. For living rooms and bedrooms, engineered hardwood offers warmth and a premium look, while carpet provides comfort and sound insulation. Costs vary significantly based on materials and labor. Professional installation typically adds $2 to $10 per square foot depending on the complexity. Expect a standard room installation to take 1-3 days. Always factor in an additional 10% for material waste and potential subfloor repairs. While some flooring types are DIY-friendly, others require professional precision. Laminate and LVP often feature click-lock systems that are accessible for motivated homeowners. Hardwood and Tile require specialized cutting equipment, precision leveling, and mortar handling. It is usually best to hire a pro to avoid costly mistakes. Protect your investment by using felt pads under furniture, using entry mats to catch debris, and cleaning frequently with pH-neutral products.
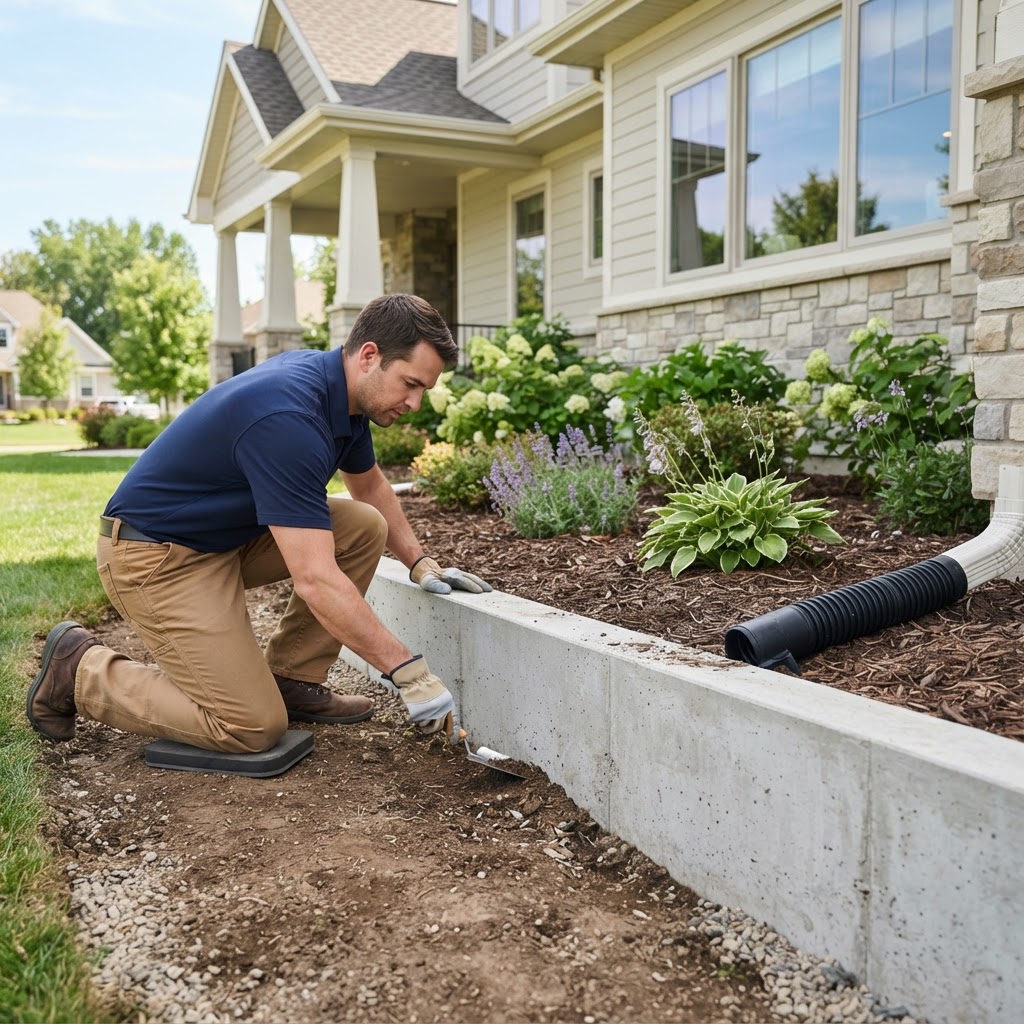
Protecting Your Investment: A Homeowner’s Guide to Foundation Maintenance
Your home's foundation is the bedrock of its structural integrity. Over time, factors like soil movement, moisture fluctuations, and age can lead to cracks or uneven settling. Recognizing early warning signs is the best way to avoid costly structural repairs down the road. Before calling a professional, perform a seasonal walkthrough of your home. Watch for sticking doors and windows, cracks in drywall, bowed basement walls, and sloping floors. To maintain your foundation, ensure gutters drain away from the home and that the ground slopes away from the structure. While hairline cracks can be repaired via DIY epoxy kits, structural issues like bowing walls or wide cracks require professional intervention from a structural engineer. Acting quickly saves money and preserves property value.
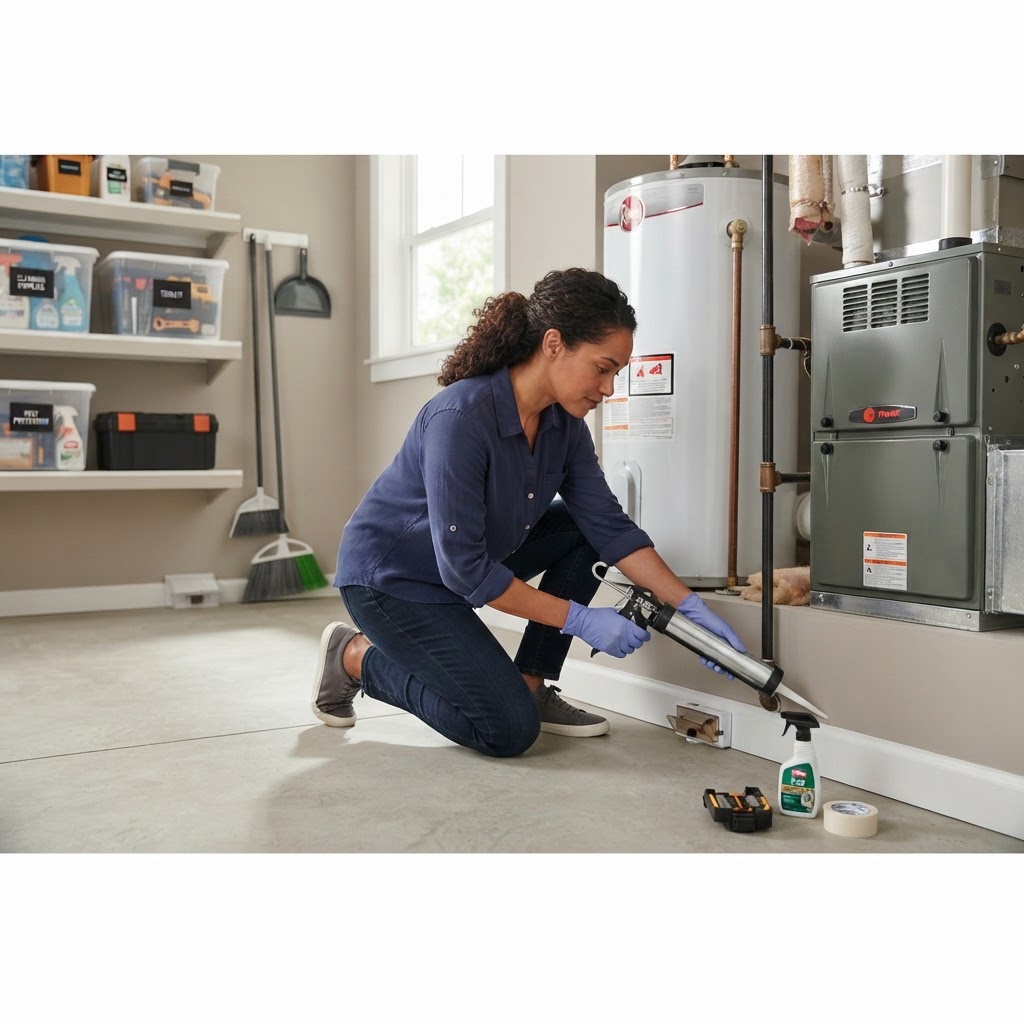
Essential Pest Control Tips: A Homeowner’s Complete Guide
Home ownership comes with the responsibility of keeping unwanted guests away. Whether it is ants in the kitchen or termites in the foundation, a proactive approach saves money and preserves your property value. DIY prevention includes sealing entry points, eliminating moisture, storing food properly, and maintaining your yard. Professionals should be called for structural threats like termites or severe infestations. Quarterly maintenance plans generally cost $80-$150. Inspect your home at least twice a year to ensure your living space remains protected.
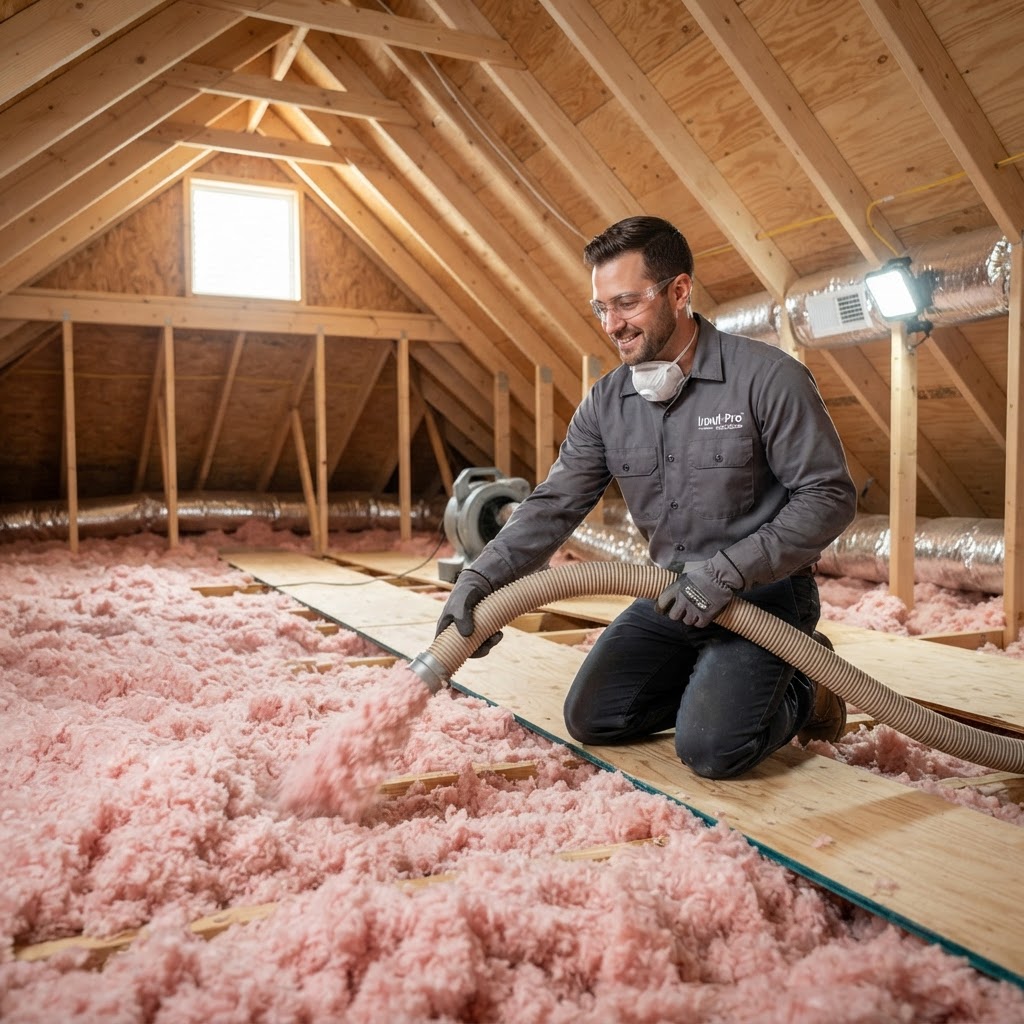
Mastering Home Insulation: Lower Energy Bills and Increase Comfort
Proper insulation is the silent hero of home maintenance. By creating an effective thermal envelope, you keep your home warm in the winter and cool in the summer, directly impacting your utility costs. Effective weatherproofing is the first step in home energy efficiency. Top Actionable Tips: Seal air leaks around doors and windows. Check attic insulation levels. Install door sweeps. Insulate exposed water pipes. For minor sealing, DIY is great for under $100. For attic and wall insulation, hire a professional for optimal safety and performance. Inspect your home in the spring or fall to prepare for extreme weather.
Essential Home Security Upgrades Every Homeowner Should Prioritize
Strengthen your home by hardening entry points with 3-inch screws and Grade 1 deadbolts. Implement motion-activated LED lighting to deter intruders, costing roughly $150-$400 per fixture. Modern smart doorbells and Wi-Fi cameras provide real-time monitoring for $300-$800. Finally, conduct bi-annual security audits to check locks, detectors, and property visibility.
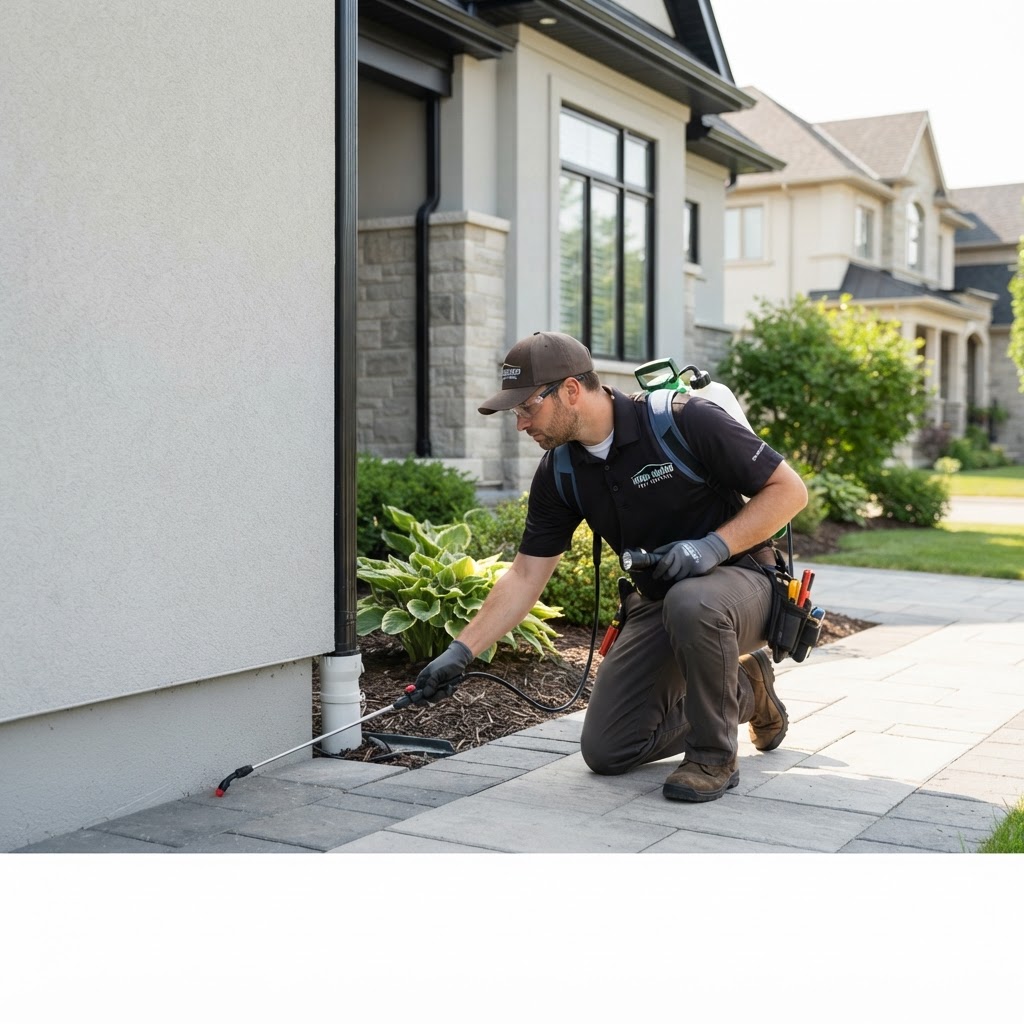
Effective Pest Control Strategies for Every Homeowner
Pests are more than just a nuisance; they can cause significant structural damage and pose serious health risks. Maintaining a pest-free home requires a blend of preventative measures and professional intervention. Effective steps include sealing exterior cracks, maintaining a clean kitchen, eliminating standing water, and trimming vegetation away from your home. While DIY solutions work for minor seasonal issues, professional services are recommended for termites or large-scale rodent infestations. Annual inspections are the best way to prevent long-term damage and keep costs down.

Smart Kitchen Upgrades: Transform Your Space for High Impact and ROI
The kitchen is the heart of every home, but it often becomes the first place to show signs of wear and tear. You do not always need a complete gut-renovation to breathe new life into your cooking space. Whether you are looking to increase property value or simply improve your daily workflow, strategic upgrades can make a massive difference. Small changes often yield the highest return on investment. Consider cabinet refreshing, backsplash installation, and lighting fixture updates. For functional improvements, focus on pull-out shelving and touchless smart faucets. DIY is great for hardware and painting, but leave electrical and plumbing to the pros. Plan for these upgrades in late winter for the best results.
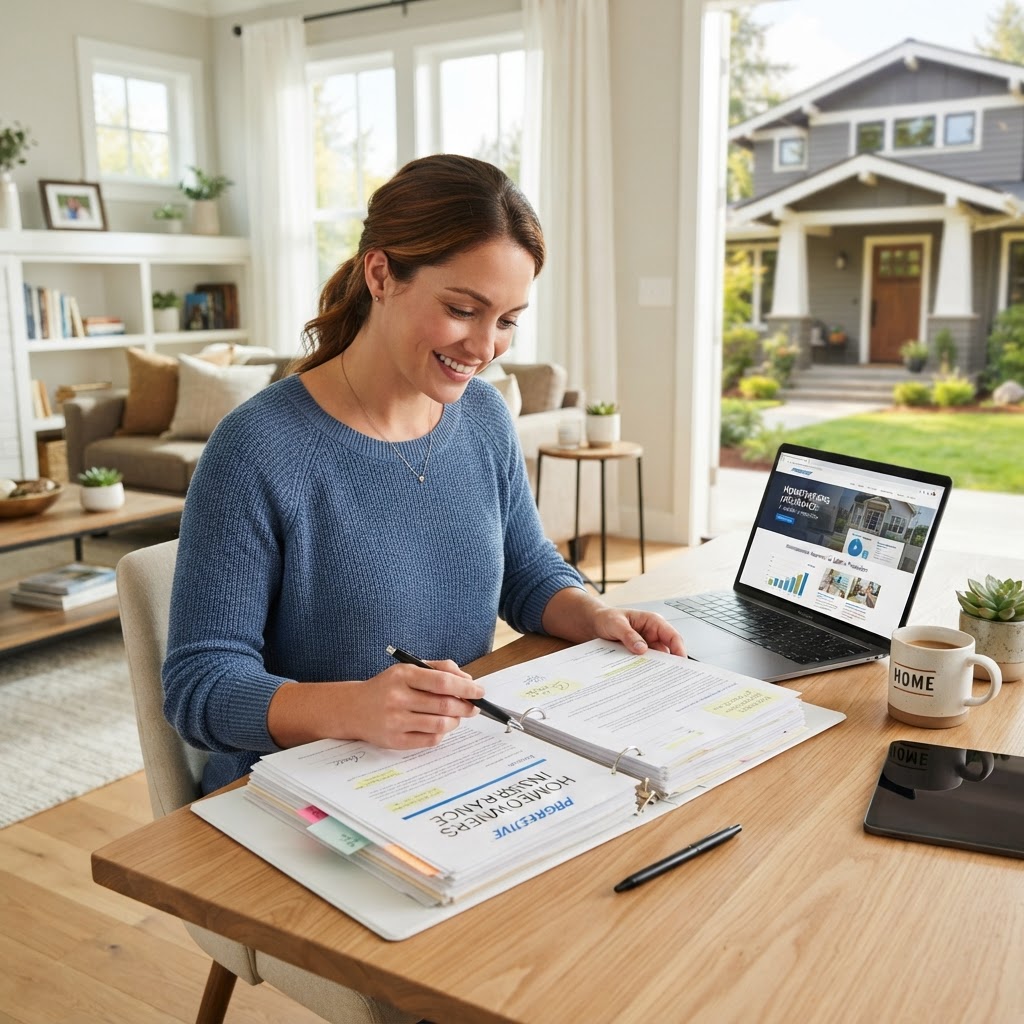
Homeowners Insurance: A Complete Guide to Protecting Your Investment
Homeowners insurance is your primary safety net. Standard policies cover dwelling damage, personal property, and liability, but often exclude floods or earthquakes. Perform an annual audit to update coverage for renovations and current home values. Keep digital inventories of possessions. If damage is extensive, consult professionals rather than DIY methods to ensure future claims are not denied. Reviewing your policy annually helps manage costs and ensures adequate protection.
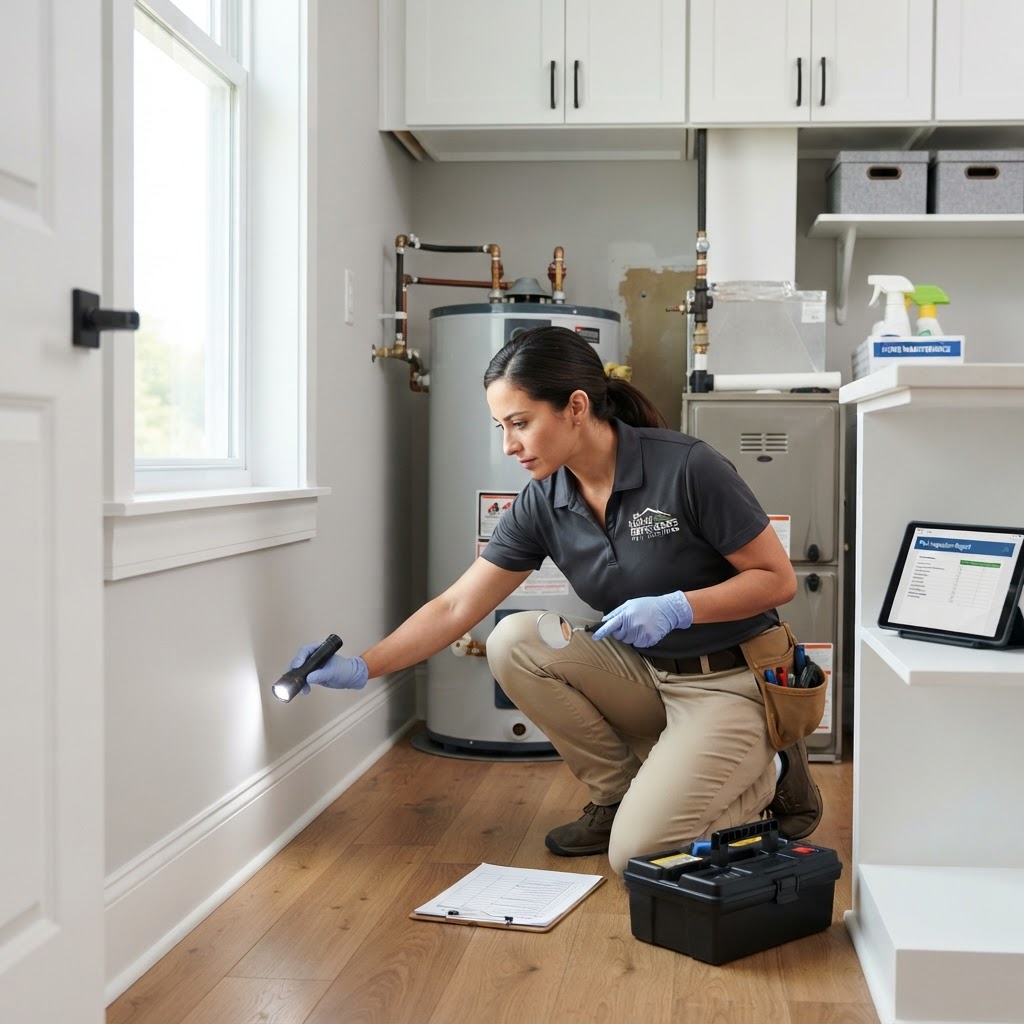
Essential Home Pest Control Guide: Strategies for a Bug-Free House
Maintaining a pest-free home is essential for health and structure. Proactive management is more cost-effective than reactive extermination. Essential tips include sealing entry points, eliminating moisture by fixing leaks, storing food in airtight containers, and keeping yard debris away from the foundation. For DIY, use baits for minor issues, but call professionals if you suspect structural pests. Professional help typically costs $300 to $600 annually. Spring is the most critical time for preventative perimeter treatments before pests become active.

Smart Home Tech: A Practical Guide for Modern Homeowners
Integrating smart technology into your home is a practical way to increase energy efficiency, security, and convenience. Start by choosing a central hub that supports common standards like Matter. Focus on essential upgrades like smart lighting, thermostats, and security cameras. While many devices are easy to install yourself, consider professional help for complex electrical integrations. Budget for a mesh Wi-Fi system first to ensure reliability. Remember to keep devices updated for security and performance.
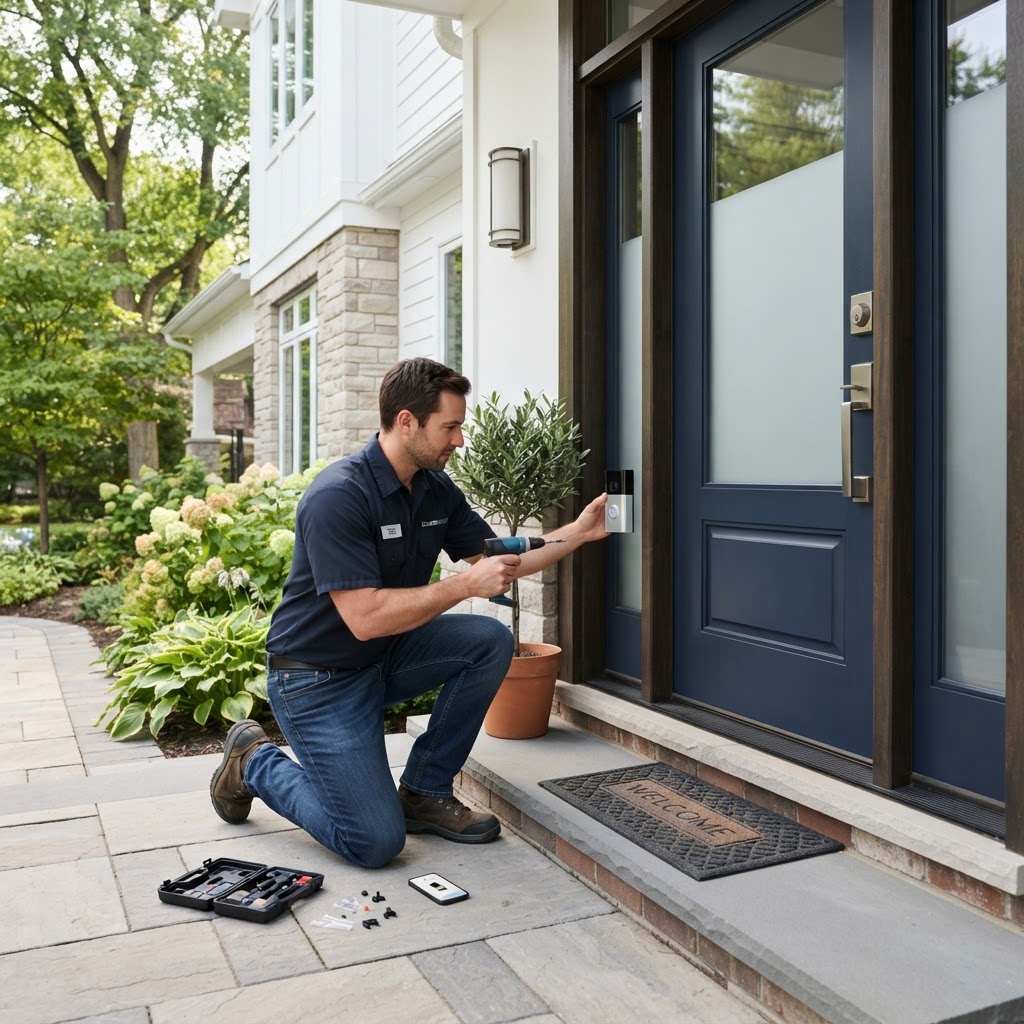
Essential Home Security Upgrades: A Comprehensive Safety Guide
Securing your home involves creating layers of protection. Start by checking your perimeter for weak points. Reinforce doors with heavy-duty strike plates and Grade 1 deadbolts. Use motion-activated lighting to remove hiding spots. Smart doorbells and monitored systems offer extra protection. Remember to test your detectors every six months. While DIY is great for simple hardware, professional help is better for complex electrical integration. Focus on making your home a hard target for intruders.
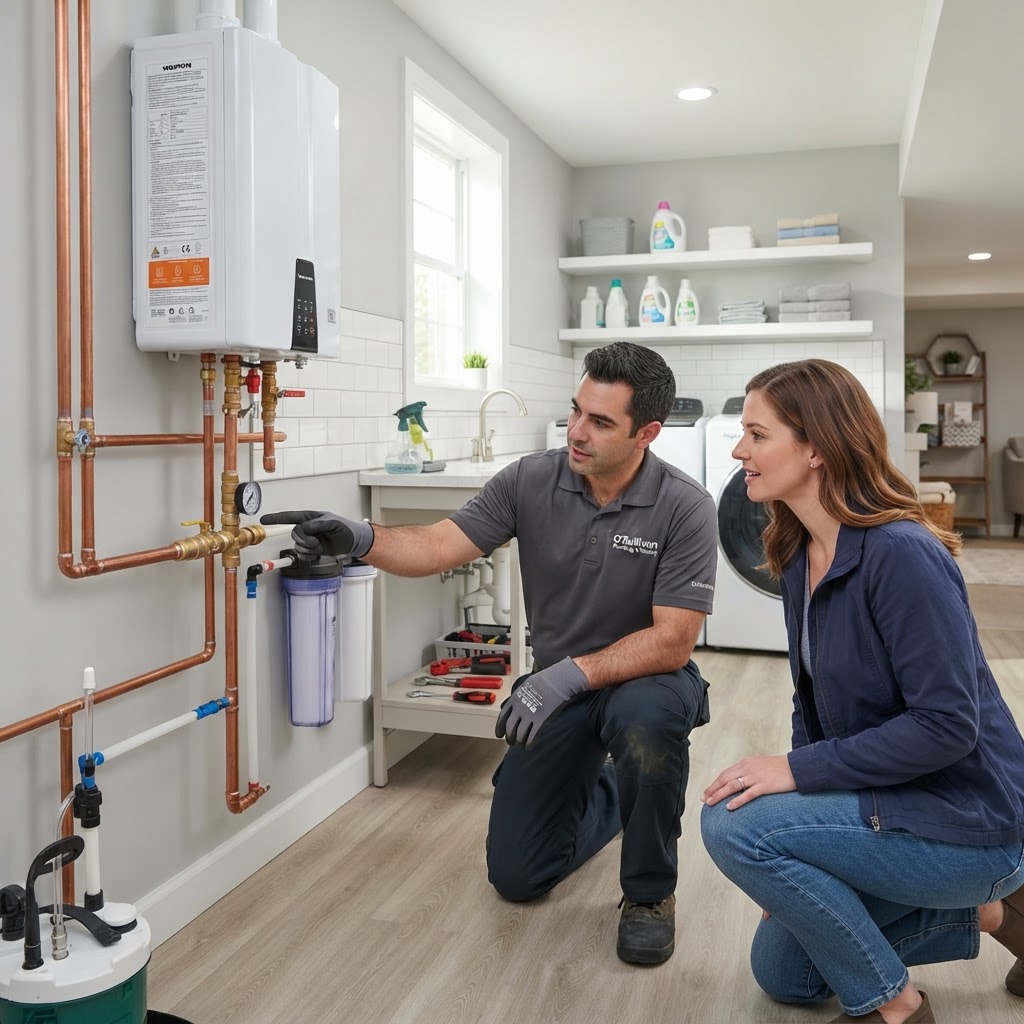
Essential Plumbing Tips Every Homeowner Must Know
Plumbing issues are among the most stressful problems a homeowner can face. From minor leaks to catastrophic pipe bursts, being prepared can save you thousands of dollars in emergency repairs. By following a consistent maintenance schedule, you can extend the lifespan of your fixtures and catch hidden leaks before they cause structural damage. Follow these tips to keep your system in top shape: Watch what goes down the drain, check your water pressure regularly, inspect for leaks frequently, and always know the location of your main water shut-off valve. While simple tasks like tightening a loose nut are great for DIYers, leave complex repiping and sewer issues to licensed professionals to avoid costly mistakes. Ignoring small drips today will lead to expensive water damage tomorrow.
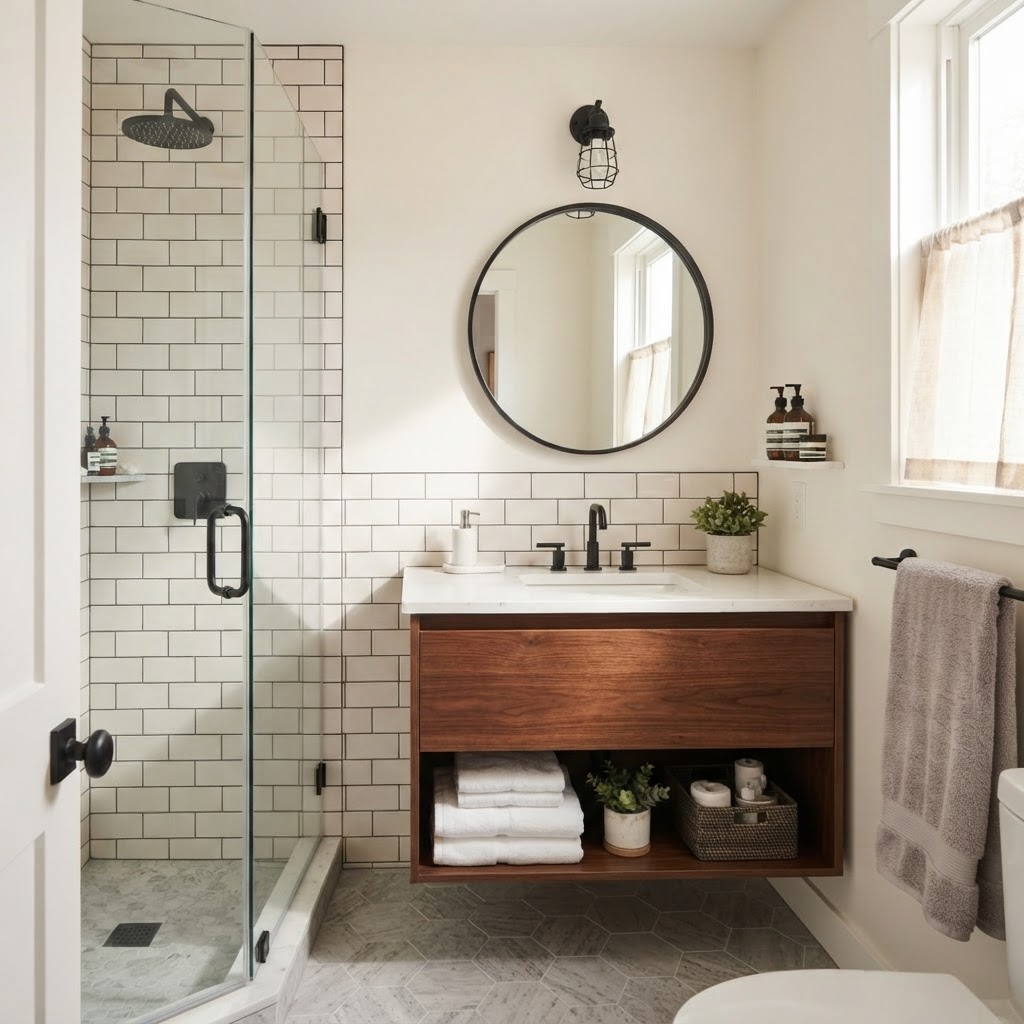
Bathroom Remodel Guide: Transforming Your Space on a Budget
A bathroom remodel is one of the most rewarding home improvement projects you can undertake. Whether you are looking to increase your home value or simply improve daily comfort, careful planning is the key to success. Before picking out tiles, establish a realistic budget. A minor refresh typically costs between $2,000 and $5,000, while a full gut renovation can range from $15,000 to $30,000. Always set aside an additional 15% for unexpected plumbing or electrical surprises. Decide what to DIY and what to hire out. Demolition and painting are great DIY tasks, while plumbing and electrical should be left to professionals. A standard remodel takes 3-6 weeks. Focus on high-durability materials like porcelain and ensure proper ventilation to prevent moisture damage.
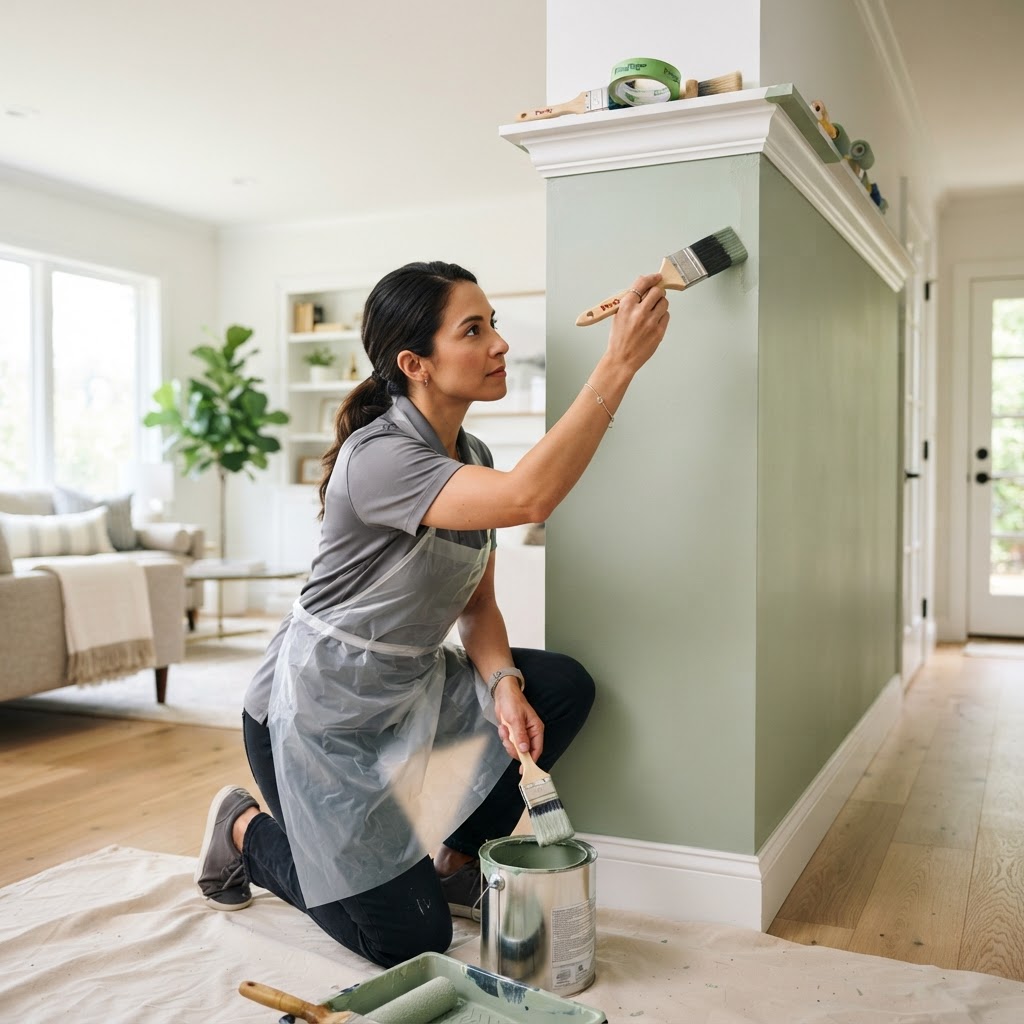
Mastering Interior Painting: A Pro Guide to a Flawless Finish
The secret to a professional interior paint job is 90% preparation. Start by cleaning walls, filling holes, and sanding surfaces. Essential tools include high-quality brushes, a 3/8-inch nap roller, painter's tape, and drop cloths. For DIY projects, use primer for color changes and maintain a wet edge while rolling. Professionals typically charge $2-$5 per square foot. Consider hiring a pro for high ceilings or complex trim. Optimal painting conditions occur in spring and fall when humidity is low, ensuring a perfect finish.
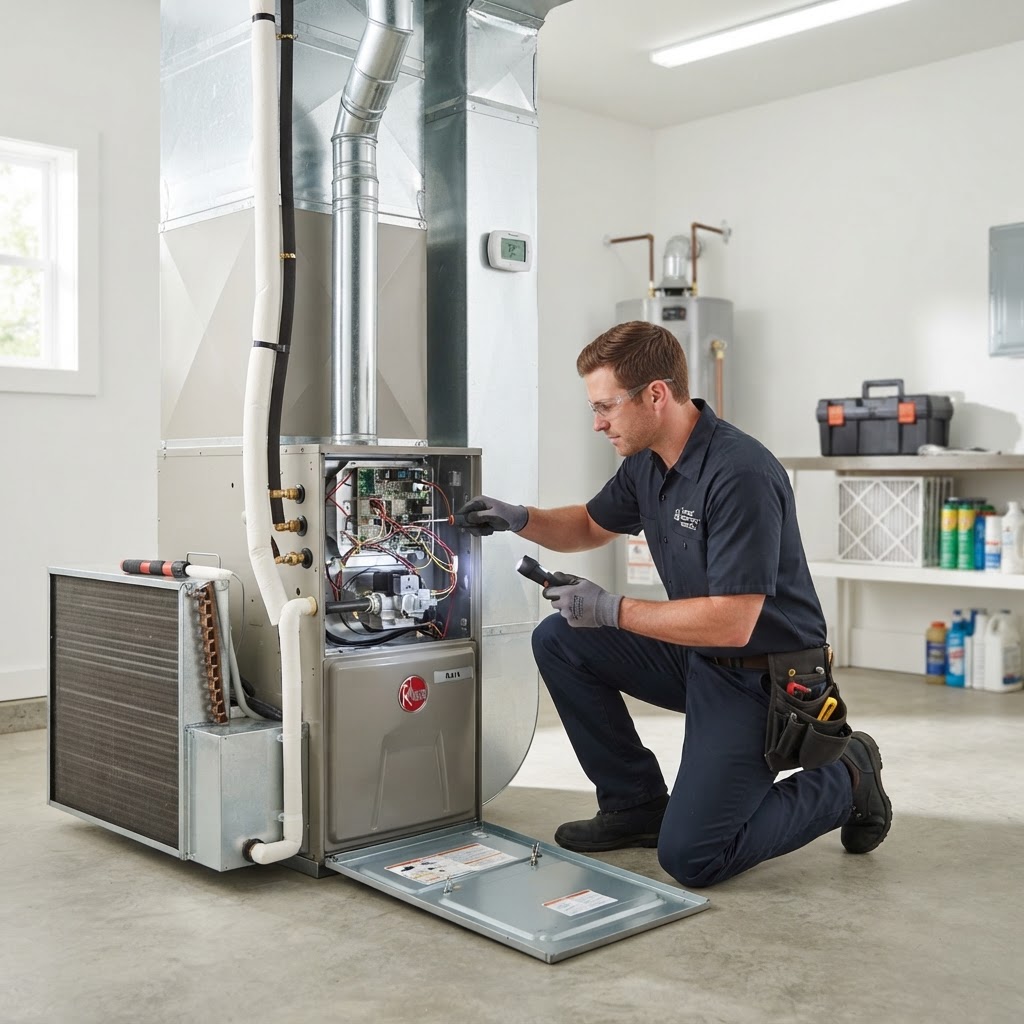
Essential HVAC Maintenance Guide: Keep Your Home Comfortable All Year
Your HVAC system is the heartbeat of your home. Routine maintenance prevents high energy bills and costly repairs. Homeowners should change air filters every 1-3 months and keep outdoor units clear of debris. Professional tune-ups should happen twice a year, in spring and fall. These appointments typically cost $100-$200 but save thousands in potential repairs and improve energy efficiency. Consistent care extends equipment lifespan significantly.
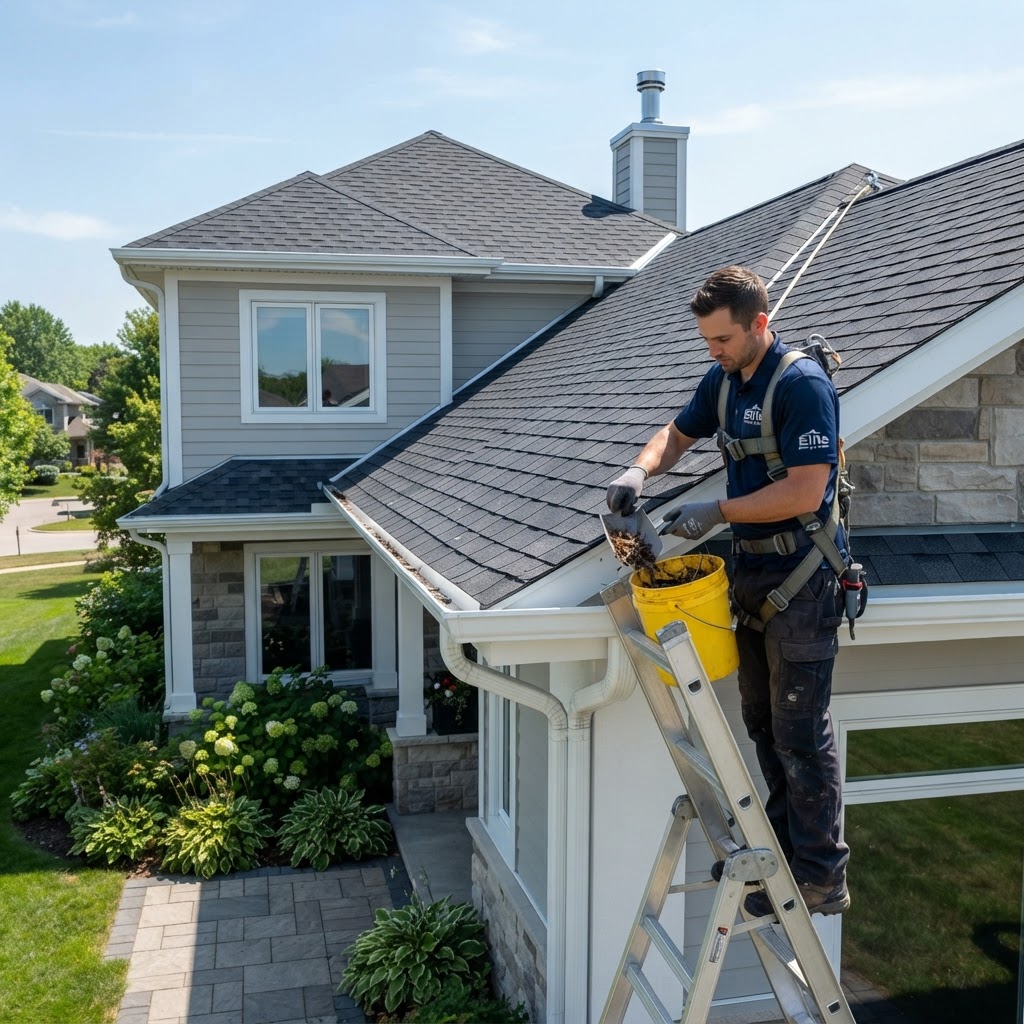
Essential Roofing and Gutter Maintenance Guide for Homeowners
Your roof is your home's first line of defense against the elements. Ignoring small issues often leads to catastrophic water damage, rot, and high repair costs. By dedicating a few hours each season to inspection and cleaning, you can extend the life of your roofing system by years. Clogged gutters are the primary cause of foundation issues and siding damage. Clean your gutters at least twice a year—late spring after pollen drops and late autumn after leaves fall. Always use a sturdy, level ladder and wear gloves. While cleaning, check for sagging sections, rusted spots, or loose brackets. Many homeowners can handle basic gutter cleaning and minor roof inspections. Significant work like replacing flashing or installing new shingles requires professional intervention. Always obtain at least three quotes from licensed contractors. The cost of a roof replacement ranges from $6,000 to $15,000 for asphalt. Watch for curling or cracked shingles, granules in gutters, and water staining in the attic to avoid expensive emergency repairs.

Mastering Tenant Relations: A Guide for Successful Landlords
Successful property management is less about maintenance and more about people. Establishing a positive relationship with your tenants from day one is the most effective way to reduce turnover, ensure timely rent payments, and protect your asset. Set the tone immediately by providing a welcome packet and being responsive to maintenance requests. Aim to address minor issues within 48 hours and always use licensed professionals for electrical or plumbing work. Balancing professional boundaries with kindness is key. When disputes arise, stay objective and document all interactions. Happy tenants lead to lower turnover and higher profitability.
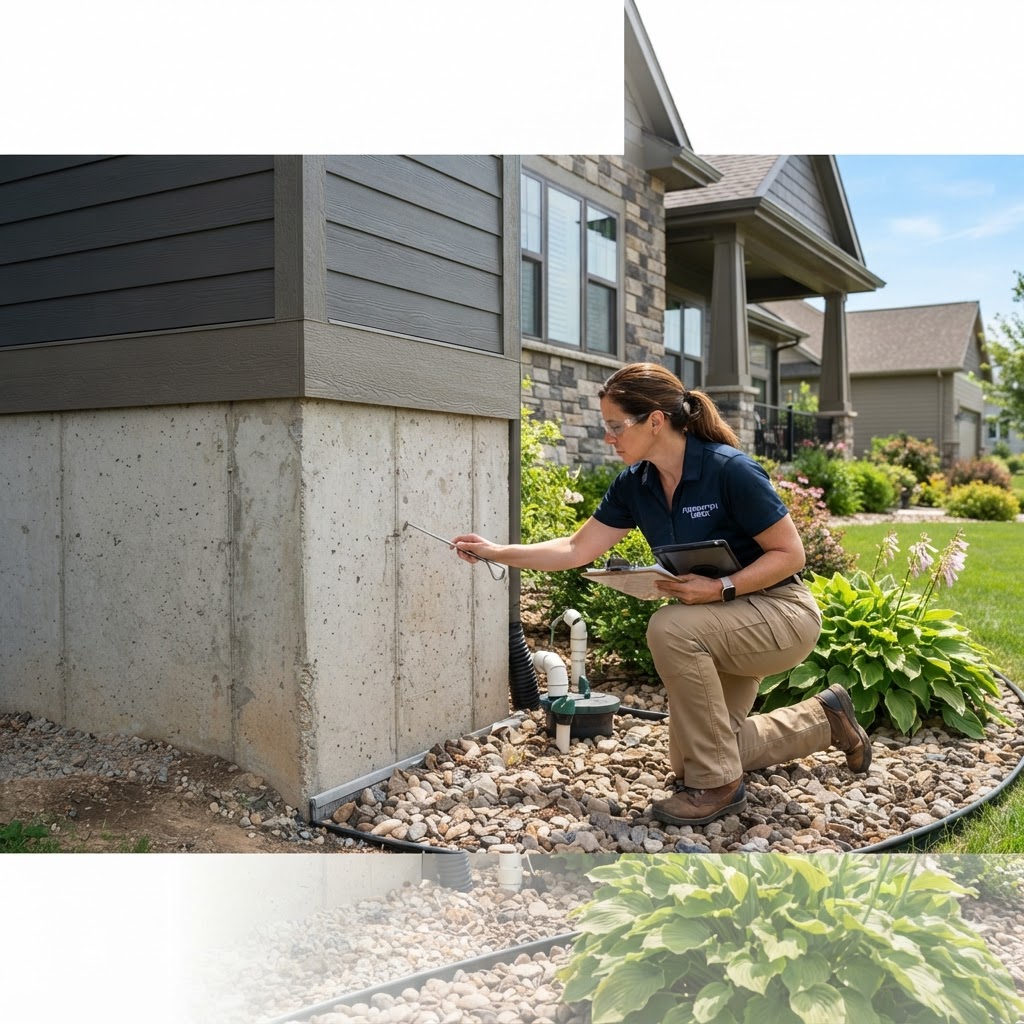
Foundation Health: A Homeowner’s Guide to Structural Integrity
Your home's foundation is its most critical structural component. Recognizing warning signs like sticking doors, cracks, and sloping floors is essential. Protect your home by extending downspouts and managing drainage. While minor cracks can be DIY fixes, always hire a structural engineer for significant structural movement to ensure safety and code compliance.
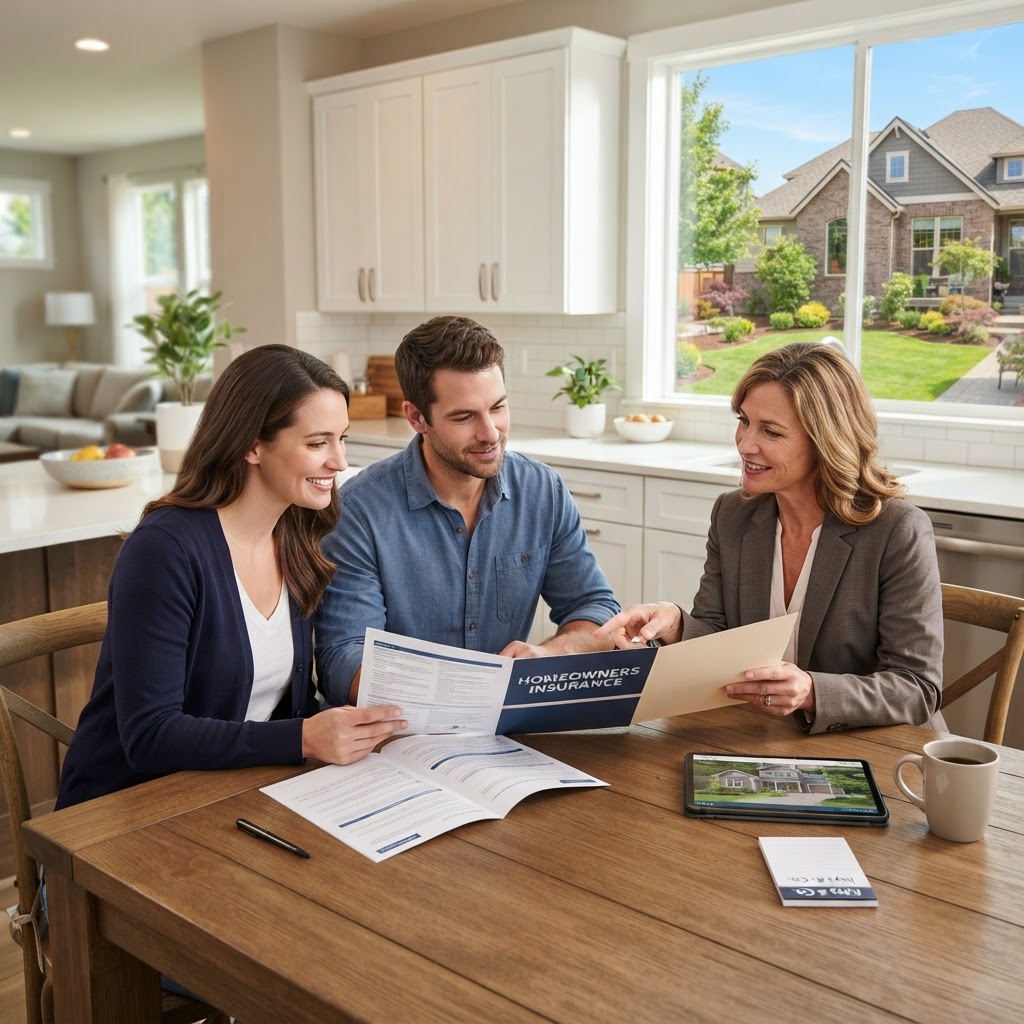
Homeowners Insurance Guide: Protect Your Biggest Investment
Your home is likely your most valuable asset, making your homeowners insurance policy one of the most critical documents you own. Navigating the complexities of coverage, deductibles, and claims can be daunting, but proactive management ensures you are protected when the unexpected happens. Many homeowners make the mistake of setting their coverage based on the purchase price of their home rather than the replacement cost. Construction costs rise due to inflation and material shortages. It is essential to review your policy annually to ensure your dwelling coverage is sufficient to rebuild your home from scratch at today's market rates. Insurance companies may deny claims if they determine that damage resulted from long-term neglect rather than a sudden event. Follow these maintenance tips to keep your policy active and effective: Inspect shingles annually. Replace washing machine hoses every five years and check for slow leaks under sinks. Maintain a detailed home inventory. Use your smartphone to record video of every room. While DIY projects save money, they can impact your insurance. If you perform major electrical or plumbing work yourself, ensure you obtain the necessary city permits. If a fire starts due to non-permitted, DIY electrical work, your insurer may refuse to pay the claim. For structural, electrical, or plumbing issues, always hire a licensed and insured professional to maintain your policy's standing. Your deductible is the out-of-pocket amount you pay before insurance kicks in. Increasing your deductible can significantly lower your annual premiums. However, only choose a higher deductible if you have an emergency fund capable of covering that cost. Avoid the temptation to file a claim for small, minor incidents. Frequent small claims can lead to your policy being non-renewed or your premiums spiking. A good rule of thumb is to only file claims that are significantly higher than your deductible and involve major structural or safety issues.

Boost Your Home Efficiency: The Essential Guide to Windows and Doors
Your home's windows and doors are the primary barrier between your comfort and the elements. This guide covers how to maintain, repair, and replace these vital components. Regular tasks like cleaning tracks and checking weatherstripping prevent energy loss. If you notice condensation or rot, it may be time for a professional upgrade. Always budget for quality installations, as they provide better insulation and value.
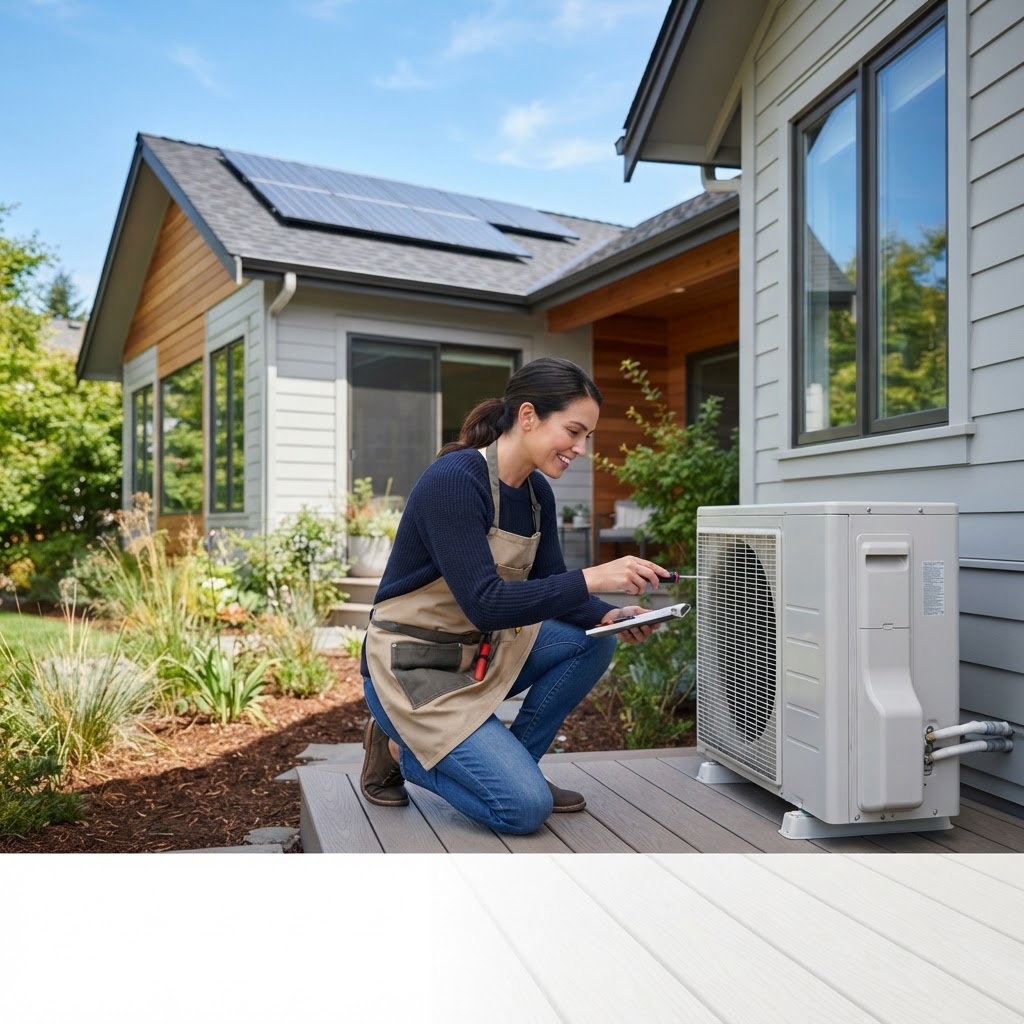
Boost Your Home Energy Efficiency: A Practical Guide for Homeowners
Improving your home's energy efficiency is one of the smartest investments a homeowner can make. Not only does it reduce your monthly utility bills, but it also increases your property value and minimizes your carbon footprint. Whether you are looking for quick weekend fixes or long-term renovations, there are plenty of actionable strategies to consider. DIY wins include sealing air leaks, switching to LEDs, and installing programmable thermostats. Professional upgrades such as attic insulation, Energy Star appliances, and window replacements offer significant long-term savings. Start with small, inexpensive tasks and work your way up to larger investments based on professional energy audits to maximize your return.
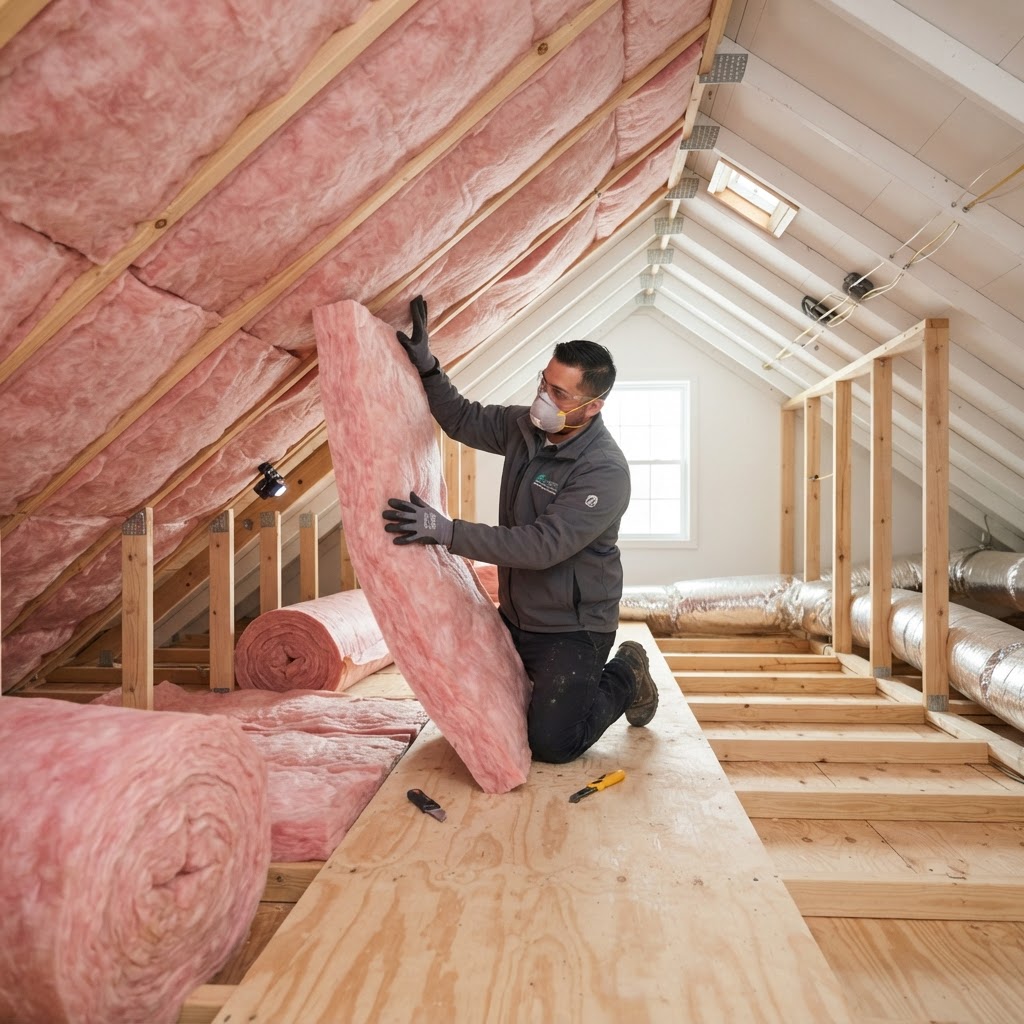
Maximize Your Home Energy Efficiency: The Ultimate Insulation Guide
Proper insulation is the silent hero of your home. It acts as a thermal barrier, keeping your living space cool in the summer and warm in the winter. By minimizing heat transfer, high-quality insulation drastically reduces your monthly utility bills and improves overall indoor air quality. Focus on your attic, walls, and floors for the biggest impact. Use weatherstripping and caulk to seal drafts. DIY simple jobs, but hire pros for complex projects. Fall is the best time to upgrade your home insulation.

Homeowner Tax Breaks: Essential Legal and Financial Tips
Owning a home is more than just a lifestyle choice; it is a major financial instrument. Many homeowners leave money on the table every year by failing to track tax-deductible expenses. Understanding the legal landscape of homeownership can significantly lower your annual tax burden. Key Deductions: Mortgage interest, property taxes, home improvement loans, and energy efficiency credits. Use cloud-based tools for record-keeping. Consult professionals for complex setups like home offices or trusts.
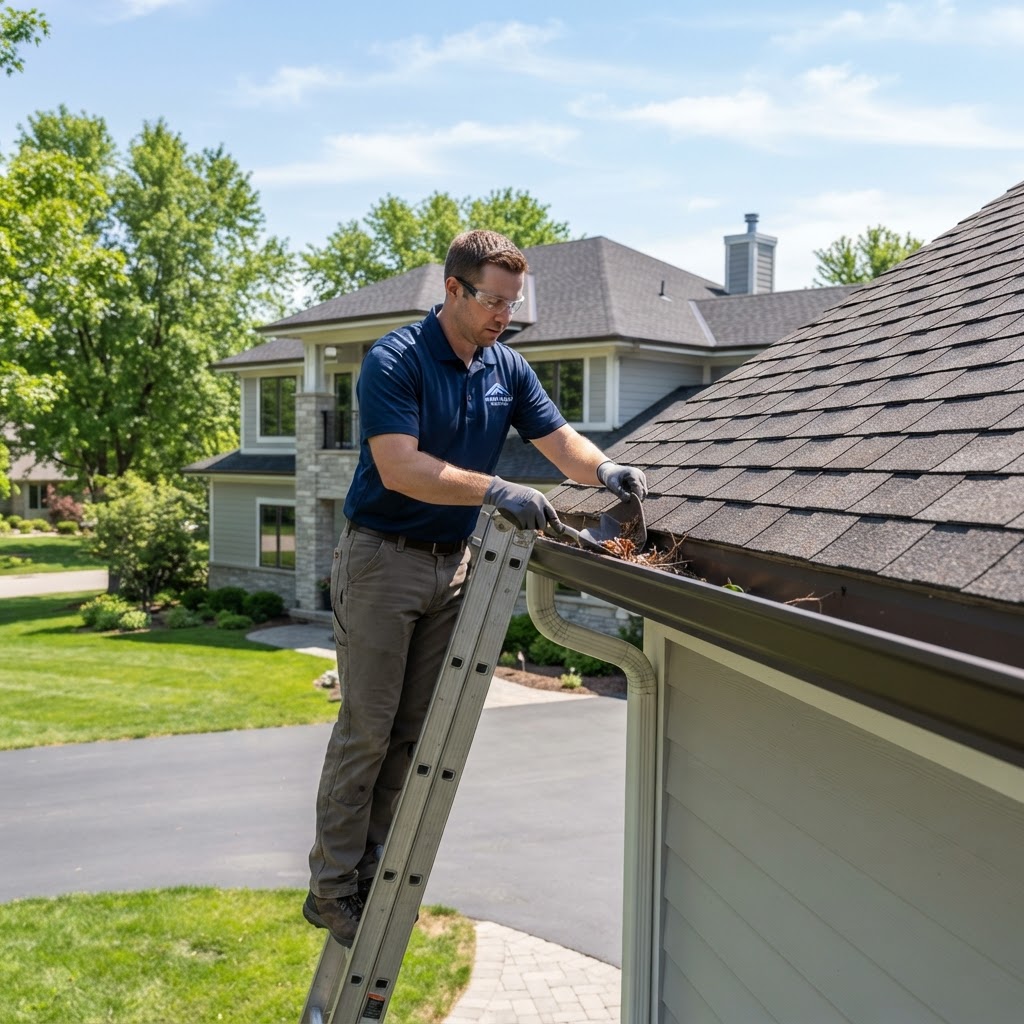
Roof & Gutter Care: Protect Your Home Investment
Protect Your Home Investment: Essential Roofing & Gutter Maintenance Your roof and gutters are arguably the most critical components of your home's exterior. They work tirelessly to shield your property from the elements, preventing water damage that can lead to costly repairs. Regular maintenance isn't just a good idea; it's essential for extending the lifespan of your roof and safeguarding your home's structural integrity. Understanding Your Roof's Lifespan The lifespan of your roof depends on several factors, including the material, climate, and the quality of installation. Asphalt shingles, the most common roofing material, typically last 15-30 years. Metal roofs can endure 40-70 years or more, while tile or slate roofs can last 50-100+ years. Regular inspections, ideally twice a year (spring and fall), can help identify potential issues before they become major problems. DIY vs. Professional Roof Inspections While a basic visual inspection from the ground can be helpful, many tasks are best left to the professionals. DIY Checks: Look for missing, cracked, or curling shingles, damaged flashing (metal pieces around chimneys, vents, or skylights), and excessive granule loss in gutters. Check for moss or algae growth, which can trap moisture and damage shingles. Professional Inspections: Roofing contractors have the expertise and safety equipment to access your roof and perform a thorough inspection. They can identify subtle issues like compromised underlayment, ventilation problems, or potential structural weaknesses. The cost of a professional inspection typically ranges from $100 to $300, and it's a worthwhile investment to prevent much larger expenses down the line. Gutter Maintenance: The Unsung Hero Clogged gutters are a leading cause of water damage. When gutters are full of leaves, twigs, and debris, water can back up and overflow, seeping into your foundation, siding, and even your attic. Frequency: Clean your gutters at least twice a year, more often if you have many trees around your home. After heavy storms, a quick check is also advisable. DIY Cleaning: Wear gloves and use a small trowel or scoop to remove debris. Ensure downspouts are clear by flushing them with a hose. If a downspout is severely clogged, you might need a plumber's snake. When to Call a Pro: If your roof is steep, you have a multi-story home, or you're uncomfortable working at heights, hire a professional. Gutter cleaning services typically cost between $100 and $300, depending on the size of your home and the level of debris. Consider gutter guards, which can reduce the frequency of cleanings but still require occasional maintenance. When to Consider Replacement If your roof is nearing the end of its expected lifespan, showing significant signs of wear and tear, or has sustained damage from a storm, it's time to consider replacement. Signs include widespread shingle damage, sagging areas, or frequent leaks. The cost of a new roof can range widely from $5,000 to $20,000+ depending on the material and home size. Get multiple quotes from reputable local roofing contractors. Investing in regular roof and gutter maintenance is one of the smartest decisions a homeowner can make. It protects your property, enhances curb appeal, and ultimately saves you money on costly repairs.
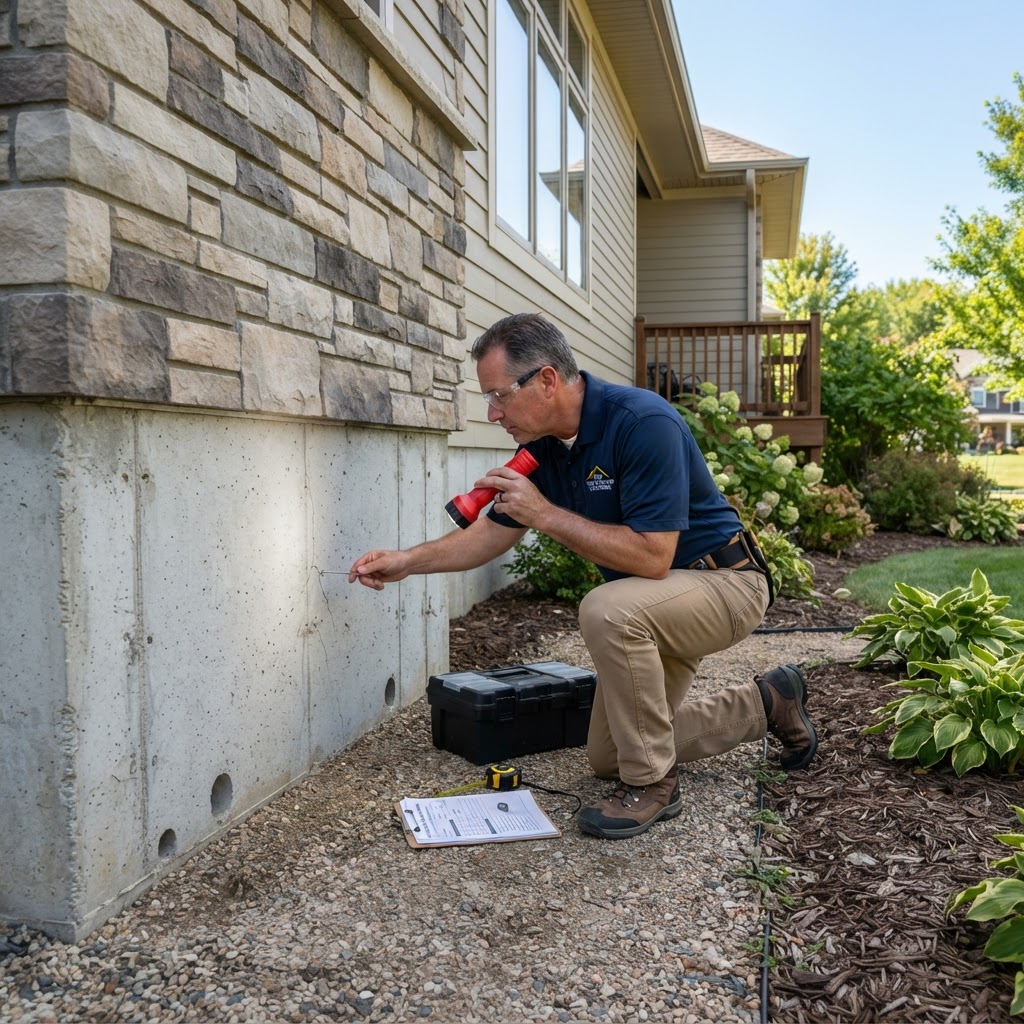
Foundation Health: A Homeowner’s Guide to Structural Integrity
Your home's foundation is the unsung hero of your property. Recognizing the signs of trouble early is the most effective way to protect your investment. Keep an eye out for diagonal cracks, sticking doors, and pooling water. Small hairline cracks can often be fixed with DIY epoxy kits, but major structural shifts require a professional engineer. Prevent issues by ensuring proper yard grading and extending downspouts away from the home. Foundation repairs can be costly, ranging from $300 for minor fills to over $20,000 for underpinning, so early detection is key.
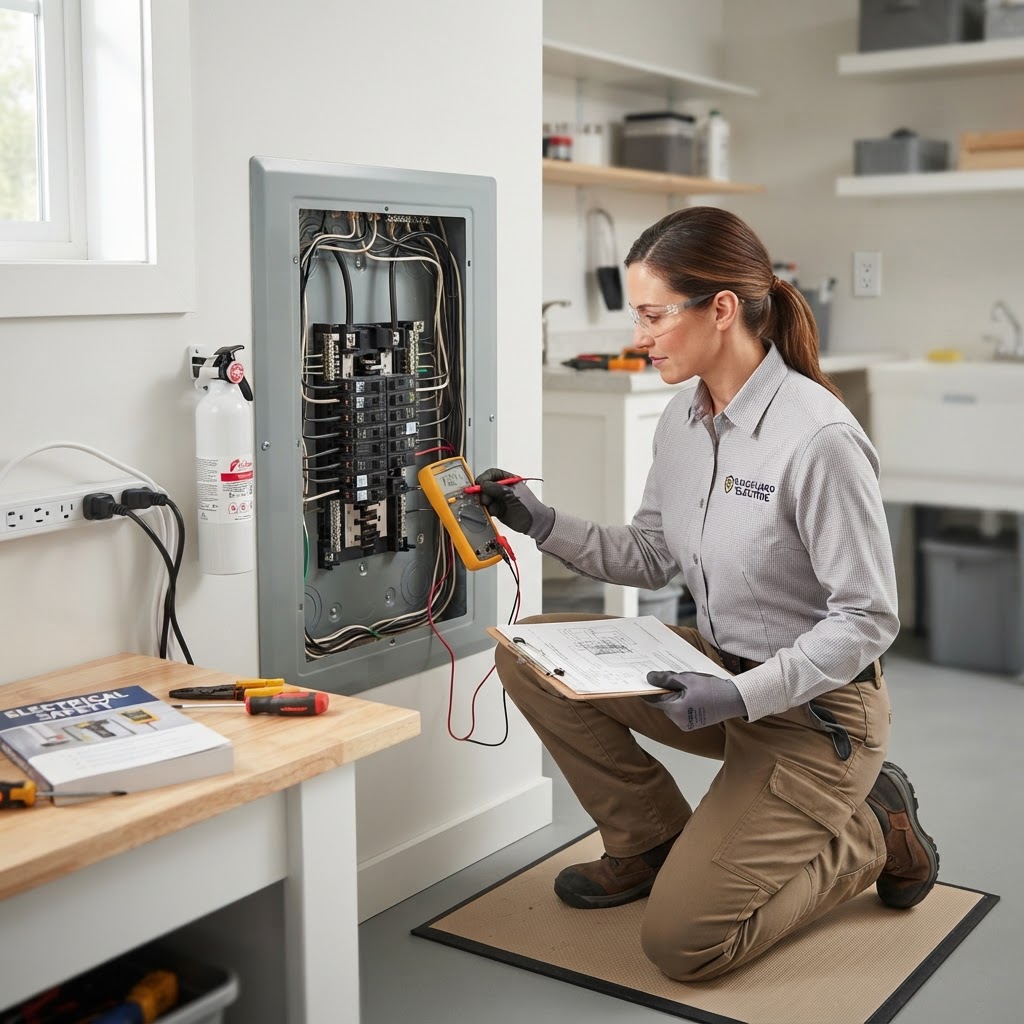
Electrical Safety Essentials: What Every Homeowner Needs to Know
Your home's electrical system is the lifeblood of your daily routine. Understanding the basics of circuit breakers, outlets, and wiring can save you thousands in repairs and keep your family safe. While minor tasks like changing light bulbs or cover plates are safe for DIYers, leave complex work like panel upgrades or new circuits to the pros. Always test your GFCI outlets monthly and schedule professional inspections for homes over 30 years old. Costs for professional service vary, but prioritizing safety over savings is crucial. Never ignore warning signs like burning smells, buzzing, or frequently tripped breakers.
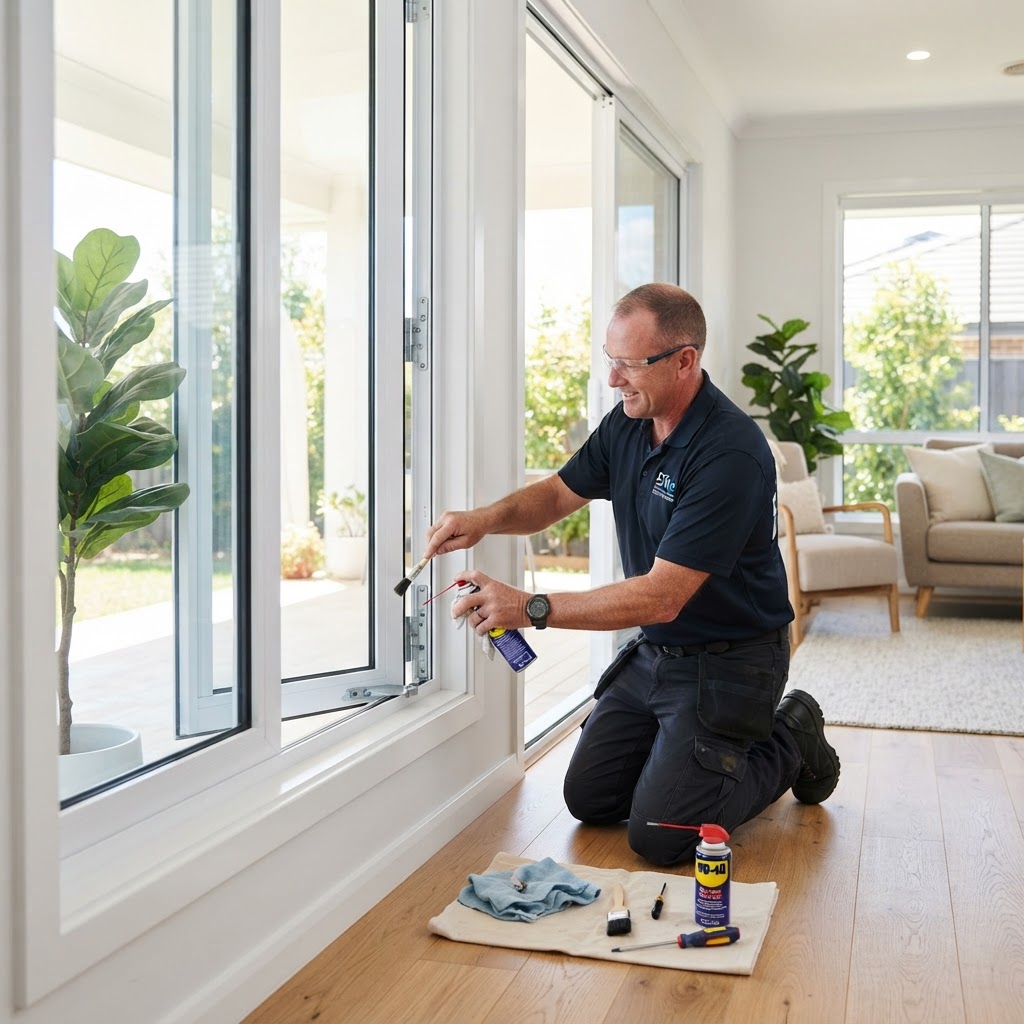
Essential Guide to Window and Door Maintenance for Homeowners
Your home's windows and doors are the primary barriers against the elements and energy loss. Routine maintenance includes inspecting weatherstripping and caulking, cleaning tracks, and checking locks. While many tasks are DIY-friendly, professional help is required for glass seal failure or structural rot. Investing in high-quality replacements can significantly improve energy efficiency and increase property value.

Smart Home Tech: A Practical Guide for Modern Homeowners
Integrating smart home technology into your living space is no longer just for tech enthusiasts; it is a practical way to increase home efficiency, security, and comfort. Smart thermostats, video doorbells, and smart lighting are excellent starting points. DIY installation is often possible for simple devices, but complex electrical setups should be handled by professionals. Prioritizing ecosystem compatibility ensures a smooth experience, and planning upgrades alongside routine home maintenance makes the process both cost-effective and efficient.
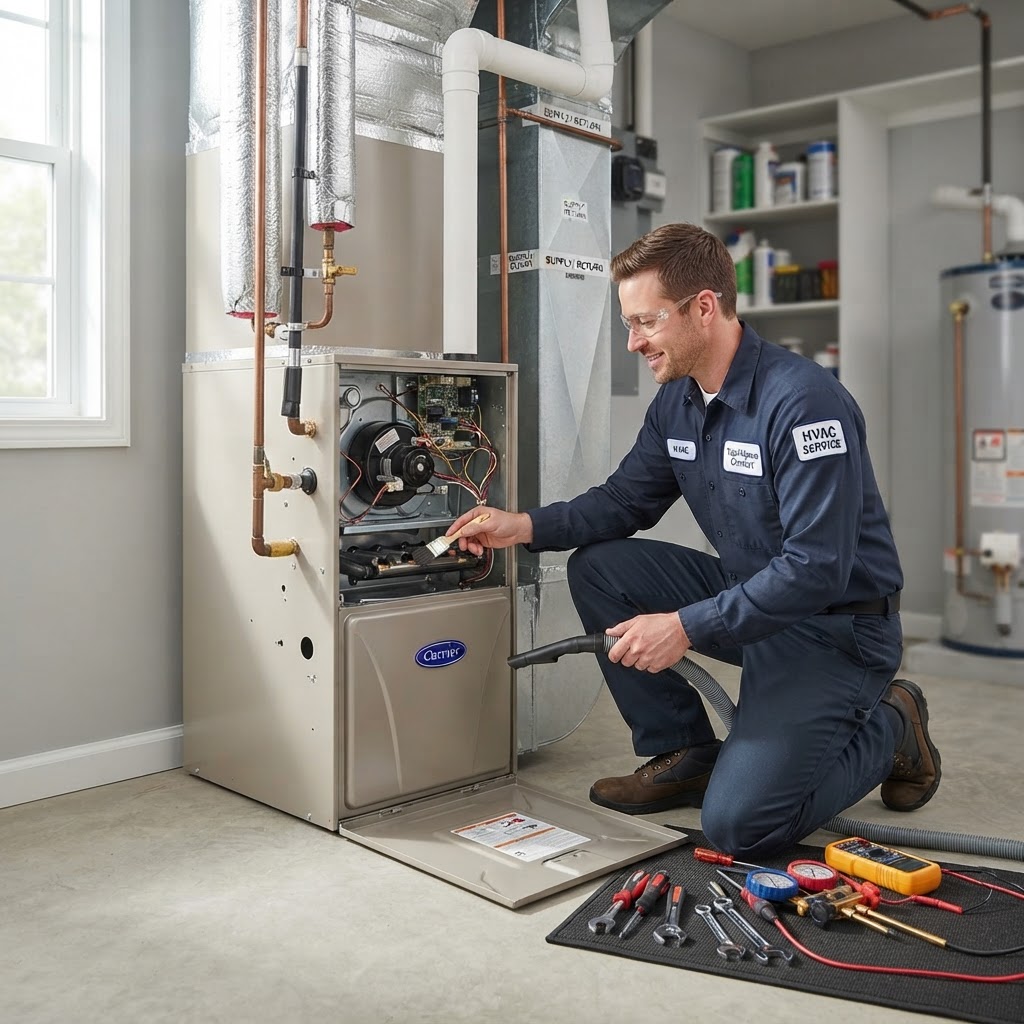
Essential HVAC Maintenance Tips to Save Money and Extend System Life
Your HVAC system is the heartbeat of your home, keeping you comfortable throughout the seasons. Neglecting routine maintenance can lead to inefficient operation, higher energy bills, and unexpected breakdowns. By dedicating a little time to your heating and cooling equipment, you can extend its lifespan by years. Monthly DIY tasks include replacing air filters every 30 days, clearing debris around the outdoor unit, and ensuring vents remain unblocked. While DIY is essential, an annual professional inspection is critical. A technician should check electrical connections, coolant levels, and clean internal coils twice a year. Professional tune-ups usually cost between $100 and $200, but they prevent costly emergency repairs and keep your energy bills manageable. By balancing DIY maintenance with professional checkups, you ensure long-term system efficiency and comfort.

Homeowners Insurance: A Complete Guide to Protecting Your Investment
Homeowners insurance is a critical safety net. Understand your HO-3 policy, bundle services, and maintain a digital home inventory. Avoid filing small claims to keep premiums low and always rely on professionals for major structural repairs.
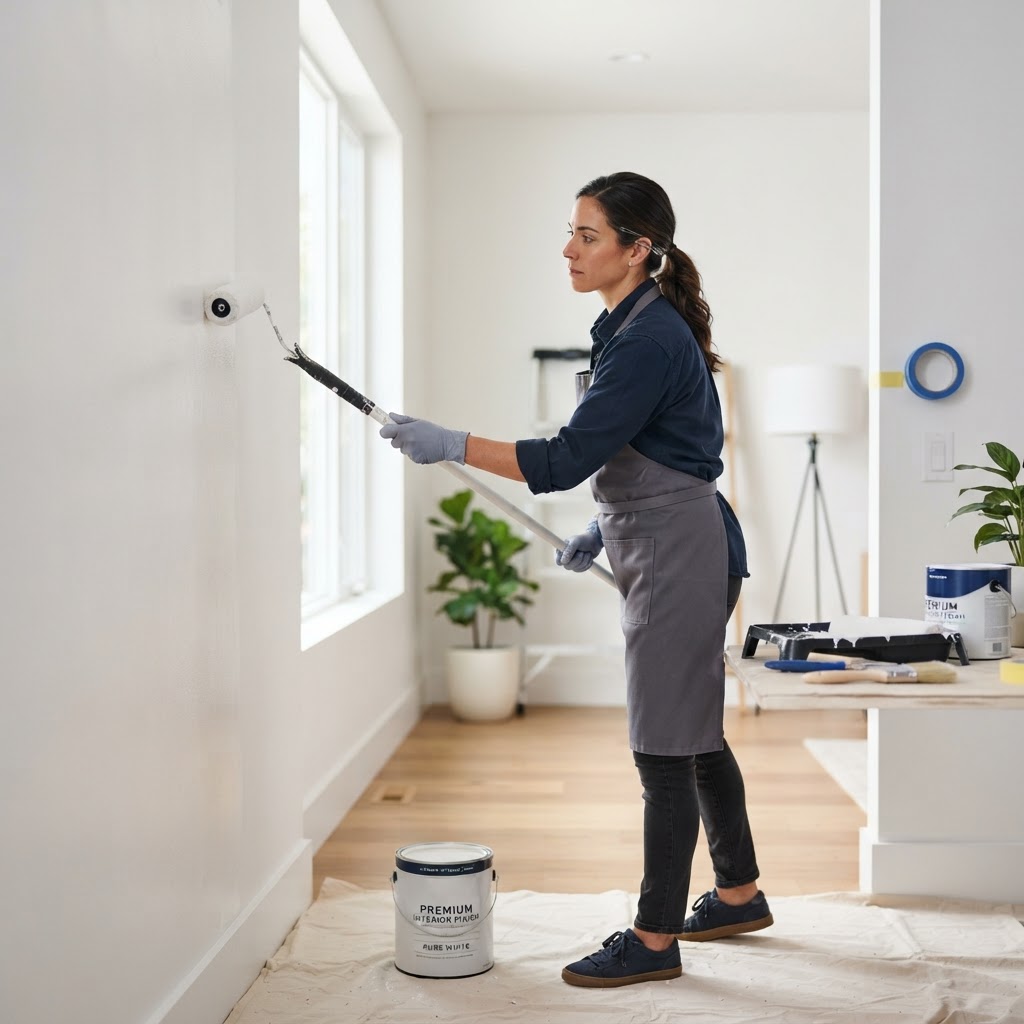
Mastering Interior Painting: A Pro Guide to a Flawless Finish
Painting is one of the most cost-effective ways to revitalize your home, but the difference between an amateur look and a professional finish lies entirely in the preparation. Before painting, clean your walls, fill holes with spackle, and use primer. Choose finishes like eggshell for living areas and semi-gloss for trim. DIY is great for simple walls, but hire pros for high ceilings or complex trim. Aim to paint during spring or fall for the best ventilation. Invest in quality brushes for a smooth finish.
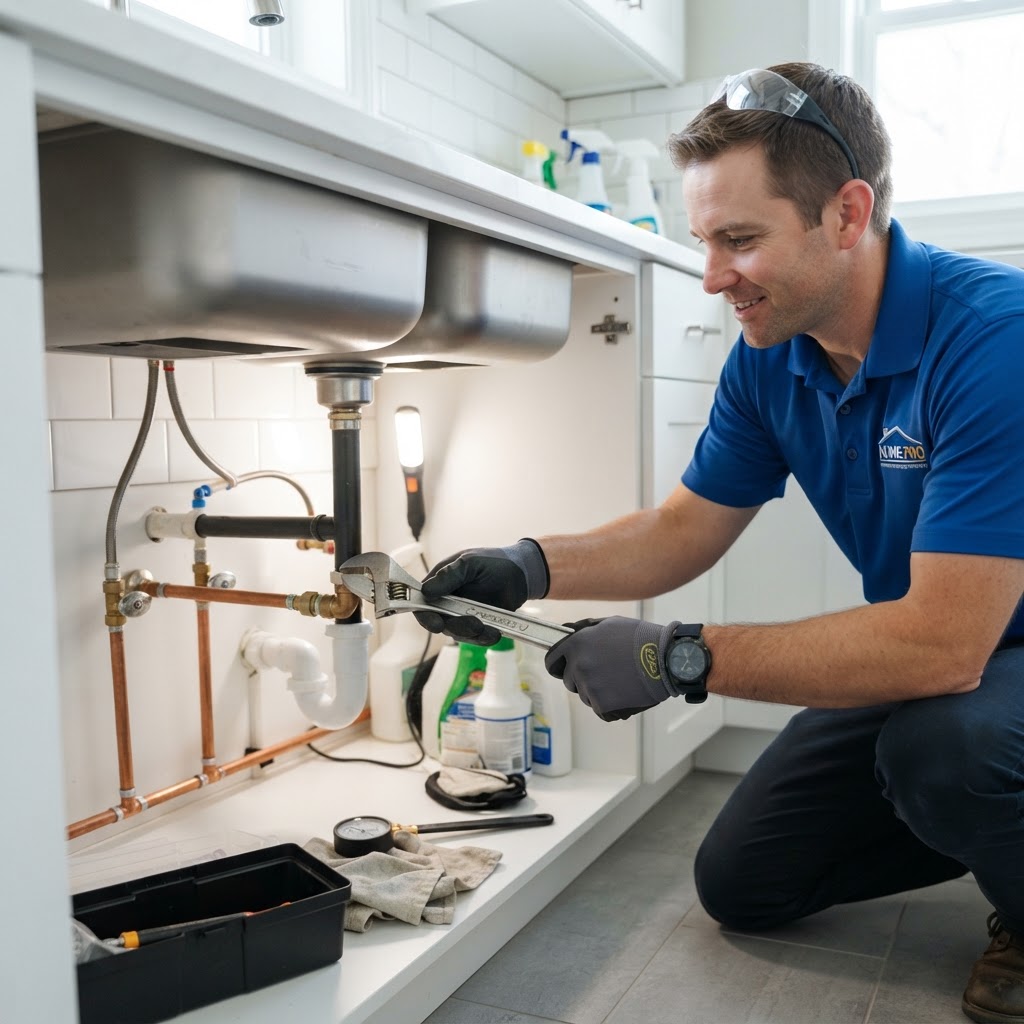
Master Your Home Plumbing: 5 Essential Tips for Every Homeowner
Plumbing issues are among the most stressful events for any homeowner. Whether it is a dripping faucet or a major pipe burst, knowing how to manage these systems can save you thousands of dollars in emergency repairs. Prevention is always more cost-effective than a total system overhaul. Avoid pouring grease down drains, monitor your water pressure, and ensure everyone knows where the main shut-off valve is located. Flush your water heater annually to prevent sediment buildup. DIY is fine for minor tasks like changing showerheads, but always call a professional for repiping, sewer line repairs, or appliance installations to ensure code compliance and safety.
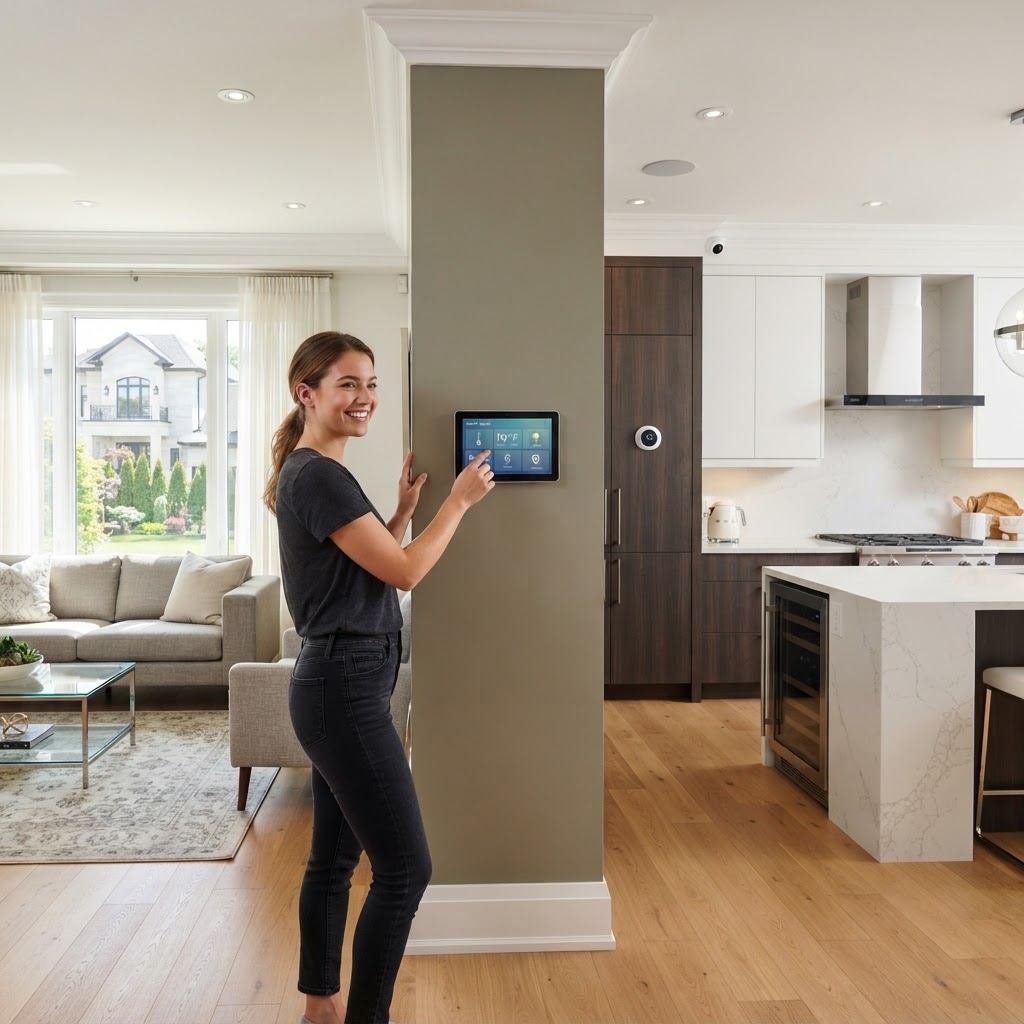
Smart Home Renovations: A Guide to Boosting Property Value
For most homeowners, a house is their most significant financial asset. Strategic upgrades not only enhance your daily living experience but also serve as a powerful investment strategy to maximize future resale value. When looking to increase equity, focus on high-impact projects like minor kitchen refreshes, enhancing curb appeal, and bathroom updates. Always set a budget with a 15% contingency fund and distinguish between DIY projects like painting and professional-required work like electrical or structural repairs to protect your ROI.

Homeowners Insurance: A Strategic Guide to Protecting Your Investment
Your home is your most valuable asset. Learn how to manage your homeowners insurance, perform an annual inventory, and understand the difference between maintenance and covered perils to protect your property and lower costs.
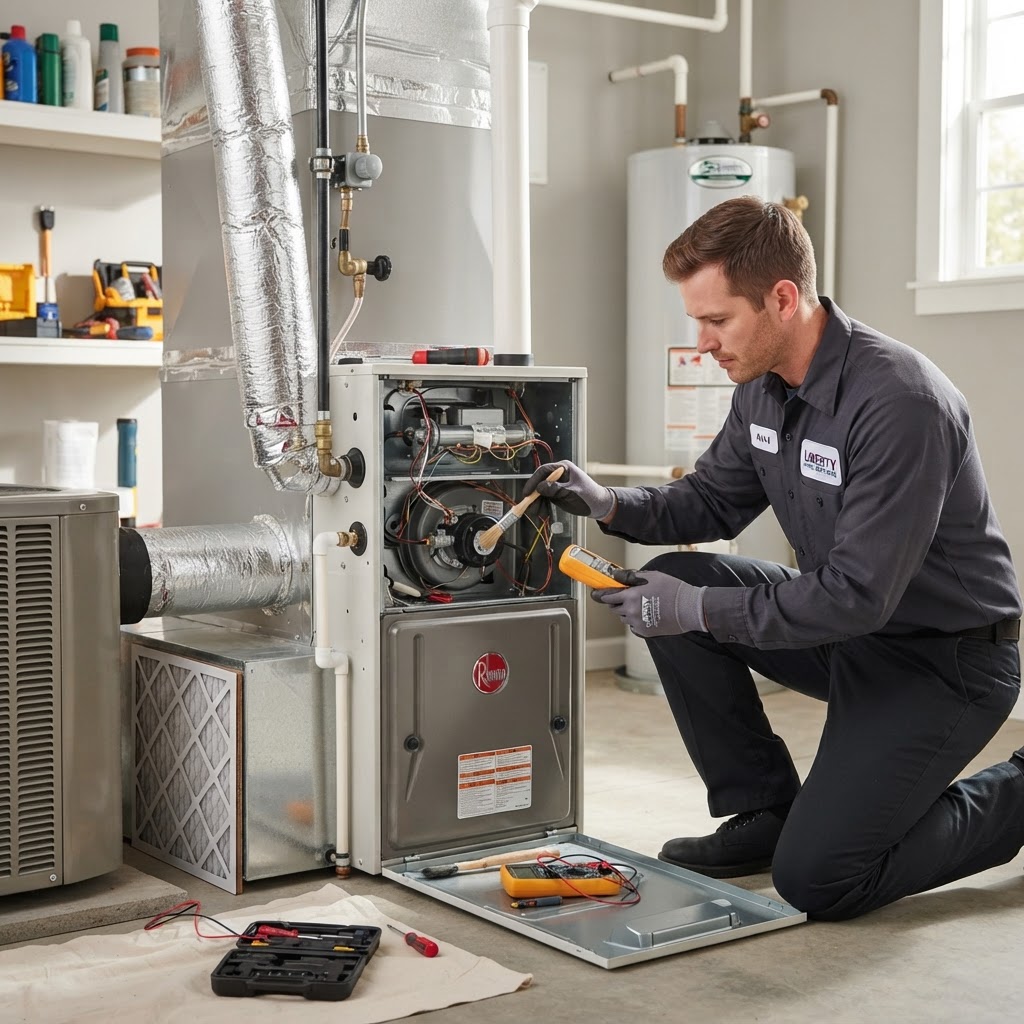
Essential HVAC Maintenance Guide: Keep Your Home Comfortable All Year
Your HVAC system is the heartbeat of your home comfort. Just like a car, your furnace and air conditioner require regular tune-ups to operate efficiently and avoid costly breakdowns. Neglecting maintenance doesn't just shorten the lifespan of your unit; it also drives up your energy bills and reduces indoor air quality. Replace filters regularly, keep the outdoor unit clear, and clean your vents to keep everything running smoothly. Professional maintenance should be scheduled twice a year, usually before the peak cooling and heating seasons. While professional visits cost between $100 and $200, they are essential for detecting dangerous issues like carbon monoxide leaks or refrigerant failures.

Smart Home Tech: A Practical Guide to Upgrading Your Living Space
Integrating smart technology into your home is a practical way to increase energy efficiency, security, and convenience. Start by identifying your primary needs, such as lighting, security, or climate control. Smart bulbs offer easy DIY installation and energy savings, while smart thermostats can significantly reduce utility bills over time. Always ensure device compatibility with your existing home assistant ecosystem. While many devices are plug-and-play, prioritize safety by hiring professionals for hardwired installations. Maintain your system by updating firmware regularly and securing your network with strong passwords.
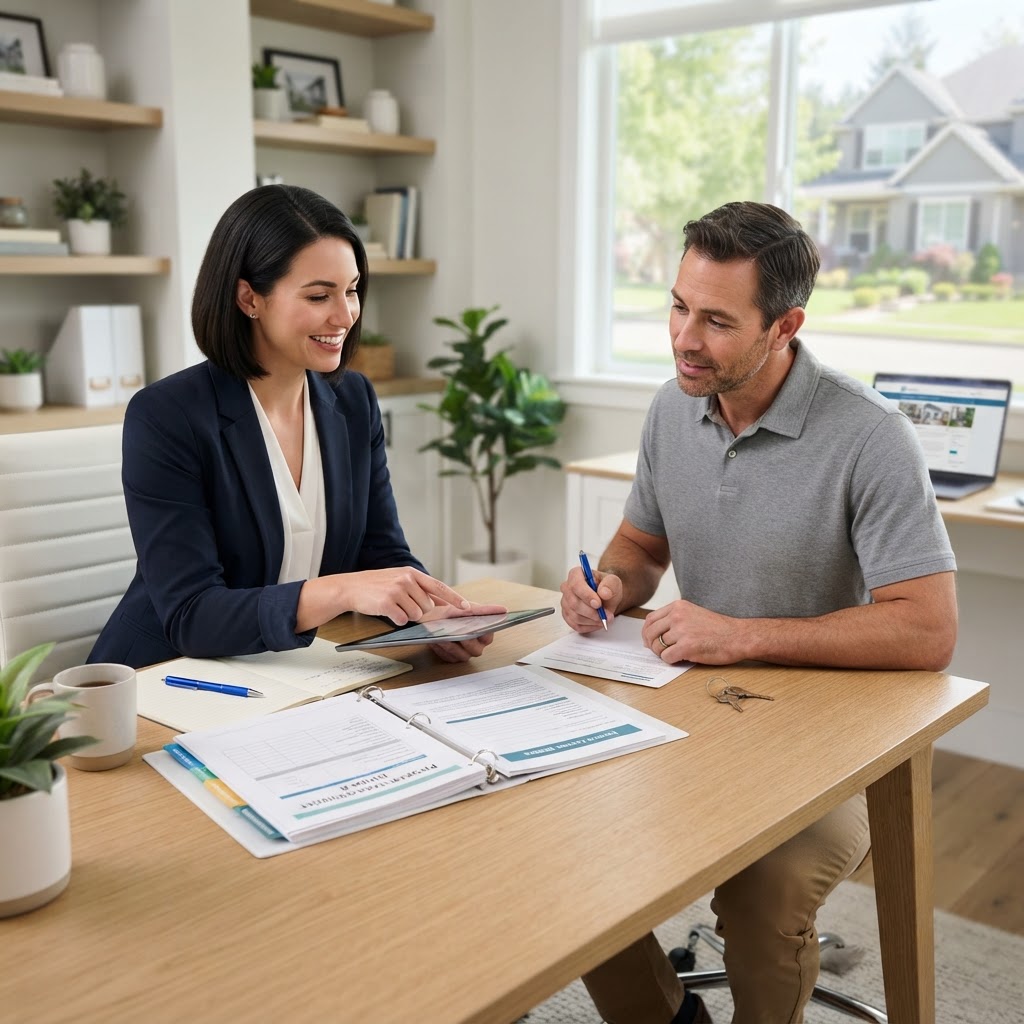
Mastering Property Management: A Guide for Homeowners and Landlords
Managing a rental property can be a lucrative investment, but it also comes with significant responsibilities. Effective property management is the key to maximizing ROI and minimizing stress. Key responsibilities include tenant screening, addressing maintenance issues immediately, staying compliant with local laws, and meticulous financial record-keeping. DIY management saves money on management fees but requires constant availability, while hiring a professional is ideal for those with busy schedules or multiple properties. Utilize software to automate rent, perform biannual maintenance checks, and maintain a trusted list of contractors. If management becomes overwhelming, outsourcing is a wise investment that often pays for itself.

Slash Your Utility Bills: A Homeowner’s Guide to Energy Efficiency
The most cost-effective way to improve energy efficiency is by preventing air leakage. Inspect your windows and doors for gaps. Using caulk or weatherstripping is an inexpensive DIY project that can save you up to 15% on heating and cooling bills. Focus on exterior frames and basement rim joists first. Your HVAC system is the largest energy consumer in your home. Replace air filters every three months to ensure optimal airflow. For long-term savings, consider installing a smart thermostat. These devices learn your schedule and adjust temperatures accordingly, potentially saving you $180 annually. If your furnace is over 15 years old, consult a professional about upgrading to a high-efficiency model. Switching to LED bulbs is the simplest upgrade you can make. LEDs use at least 75% less energy and last 25 times longer than incandescent lighting. Prioritize replacing bulbs in high-traffic areas like the kitchen and living room to see immediate results. If your attic is under-insulated, you are literally throwing money away. Adding blown-in insulation can significantly improve your home's thermal envelope. While many homeowners choose to hire a professional for this to ensure safety and proper coverage, it is a moderate investment with a high ROI. Check your local utility company websites; many offer rebates for insulation upgrades. By taking these incremental steps, you not only increase your home's value but also create a more comfortable living environment while shrinking your carbon footprint.
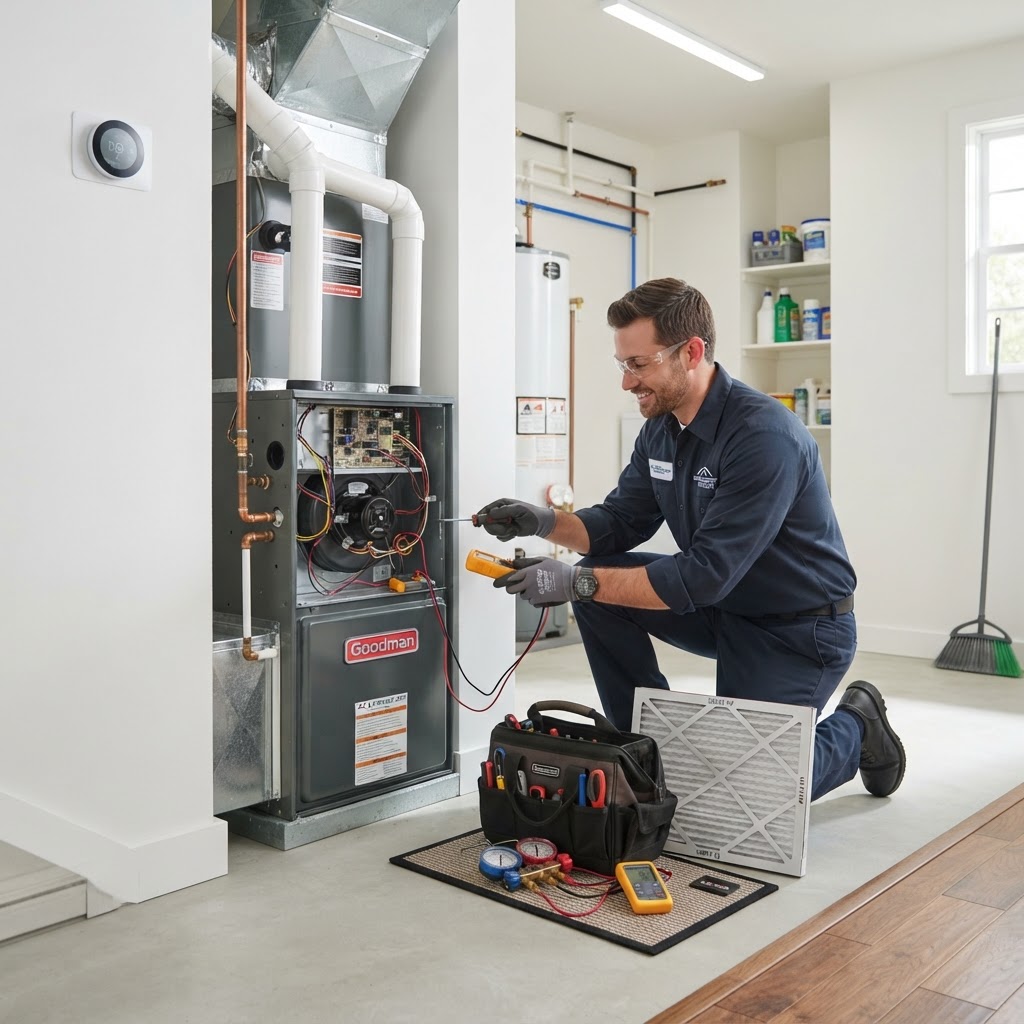
Essential HVAC Maintenance Tips to Keep Your Home Comfortable All Year
Your HVAC system is the heartbeat of your home. Regular maintenance extends the lifespan of your equipment and keeps energy costs down. Key tasks include changing air filters every 90 days, keeping the outdoor condenser unit clear of debris, and ensuring vents are not obstructed. While DIY tasks help, you must hire a professional once a year to check refrigerant, electrical connections, and internal coils to protect your warranty. Aim for spring AC tune-ups and autumn heating inspections. With maintenance visits costing between $100 and $200, it is a small price to pay to avoid major system failures.

Homeowners Insurance: A Strategic Guide for Every Property Owner
Homeowners insurance is more than a monthly bill; it is your primary financial safeguard against catastrophic events. Many homeowners view their policy as a static requirement from their mortgage lender, but actively managing your coverage can save you thousands of dollars in the event of a claim. Your policy should evolve with your home. Every year, you should conduct a thorough review of your dwelling coverage limits. If you have recently completed a major renovation, your home's replacement cost has likely increased. Failing to update your policy could leave you underinsured. Key tips: Take a home inventory with a video tour, review your deductible, and check for specific regional exclusions like flood or earthquake coverage. Avoid filing small claims that fall near your deductible, as these can increase premiums. Work with an independent agent to periodically shop for better rates and ensure all safety-related discounts are applied.

Smart Home Tech: A Practical Guide for Modern Homeowners
Integrating smart home technology is a practical way to increase security, efficiency, and convenience. Start by focusing on high-impact items like smart thermostats, which can save significantly on energy bills. Most smart lighting and cameras are designed for easy DIY installation, but complex electrical projects should be handled by pros. When budgeting, start small and ensure all new devices are compatible with your preferred smart home platform (like Alexa or Google Home). Always prioritize cybersecurity by enabling two-factor authentication on all accounts.

Mastering Tenant Relations: A Guide for Successful Landlords
Building a Strong Foundation. Positive tenant relations are the bedrock of a profitable rental business. Effective Communication Strategies. Set expectations, be responsive, and keep things professional. Handling Maintenance Requests. Prioritize urgency, know when to hire a pro, and budget appropriately. Conflict Resolution. Stay neutral, document everything, and know the local laws.
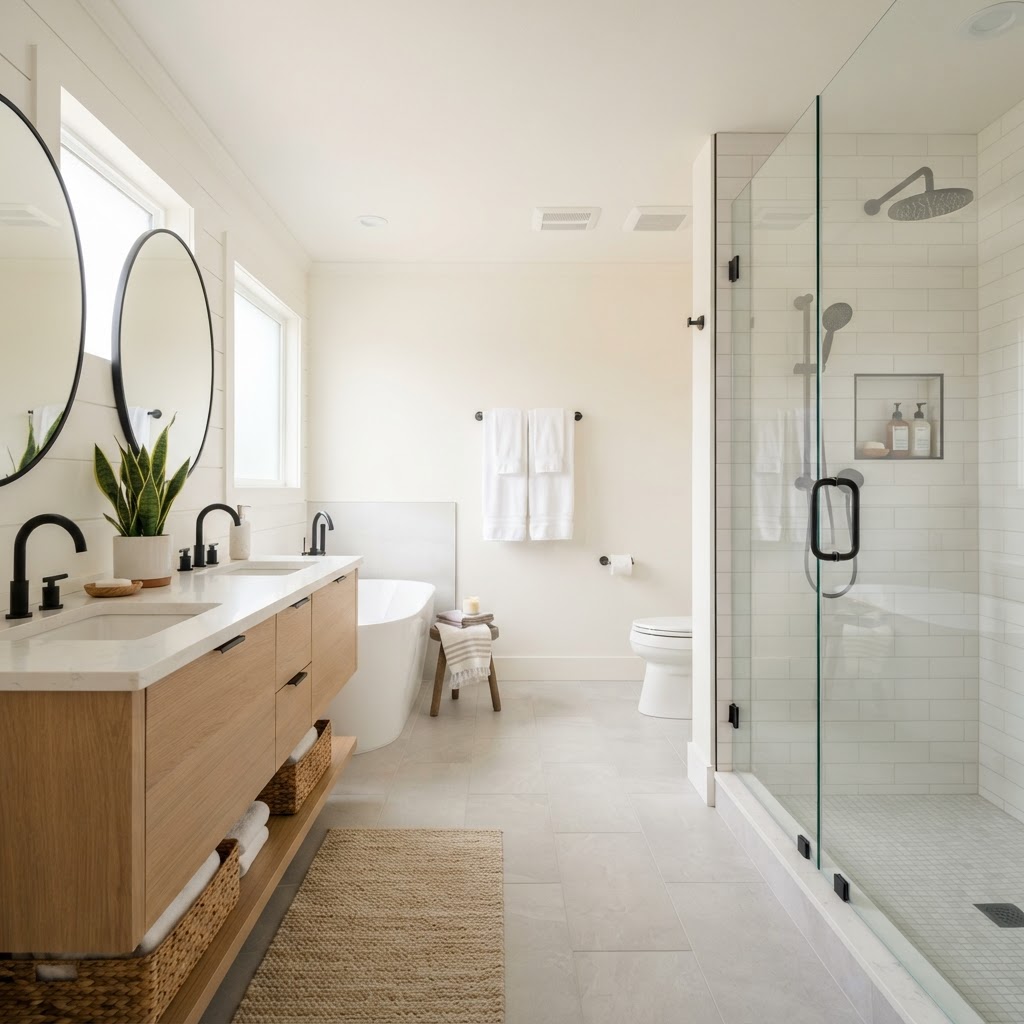
Bathroom Remodel Guide: How to Plan, Budget, and Succeed
A bathroom remodel is one of the most rewarding home improvement projects. Start by assessing your current layout and identifying pain points. Budgeting is critical; expect to spend between $15,000 and $30,000 for a full renovation, with a 20% contingency fund. While you can DIY tasks like painting and installing hardware, leave plumbing and electrical work to the professionals to ensure safety and code compliance. Focus on lighting, ventilation, and clever storage solutions to maximize the space. Plan for a 3 to 6-week timeline, and ensure all materials are ordered before starting demolition.

Homeowner Tax Breaks and Legal Tips to Save You Money
Owning a home is a significant financial asset. Navigating tax benefits like the mortgage interest deduction, property tax deductions, and energy efficiency credits can save you thousands. Beyond taxes, prioritize title insurance, proper permits for renovations, and keeping records of home improvements to reduce future capital gains. Consider hiring a CPA if you have rental properties or high-value assets. Keep receipts organized and stay updated on IRS rules to maximize your homeownership benefits.
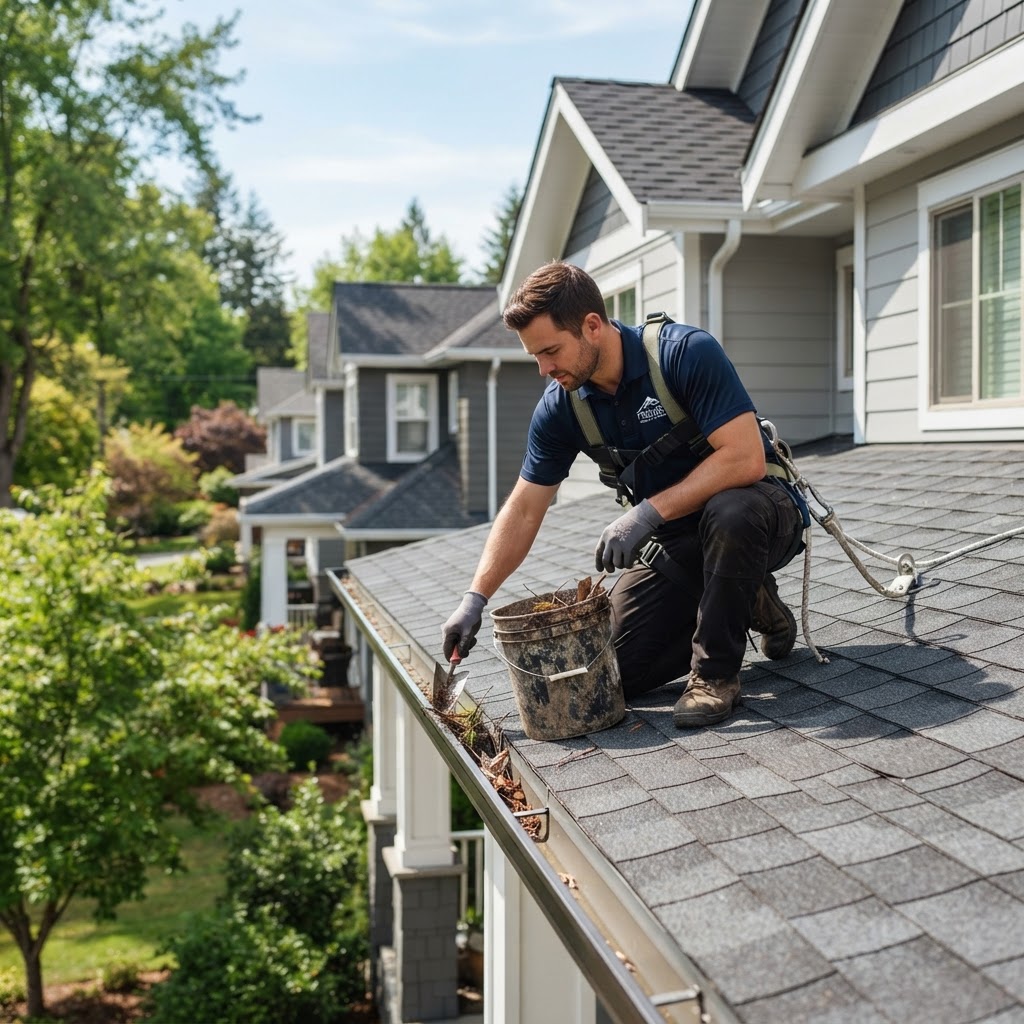
Roofing and Gutter Maintenance: A Homeowner’s Essential Guide
Your roof and gutter system act as your home’s first line of defense against the elements. Neglecting these areas can lead to costly water damage, mold growth, and structural rot. Twice-yearly inspections are critical. Clear debris like leaves and twigs to ensure water flows freely. DIY tasks include visual checks from the ground and cleaning gutters, but professional help is essential for major shingle damage or structural concerns. Budget for regular maintenance to avoid emergency repair costs later.

Smart Kitchen Upgrades: Transform Your Space Without a Total Renovation
The kitchen is the heart of your home, and strategic upgrades can increase value and quality of life. Start with cosmetic changes like cabinet refacing and new hardware to save money. For functional improvements, consider touchless faucets and energy-efficient lighting. While many tasks are DIY-friendly, always hire professionals for electrical and plumbing work to ensure safety. Set a 15% contingency budget for hidden issues.
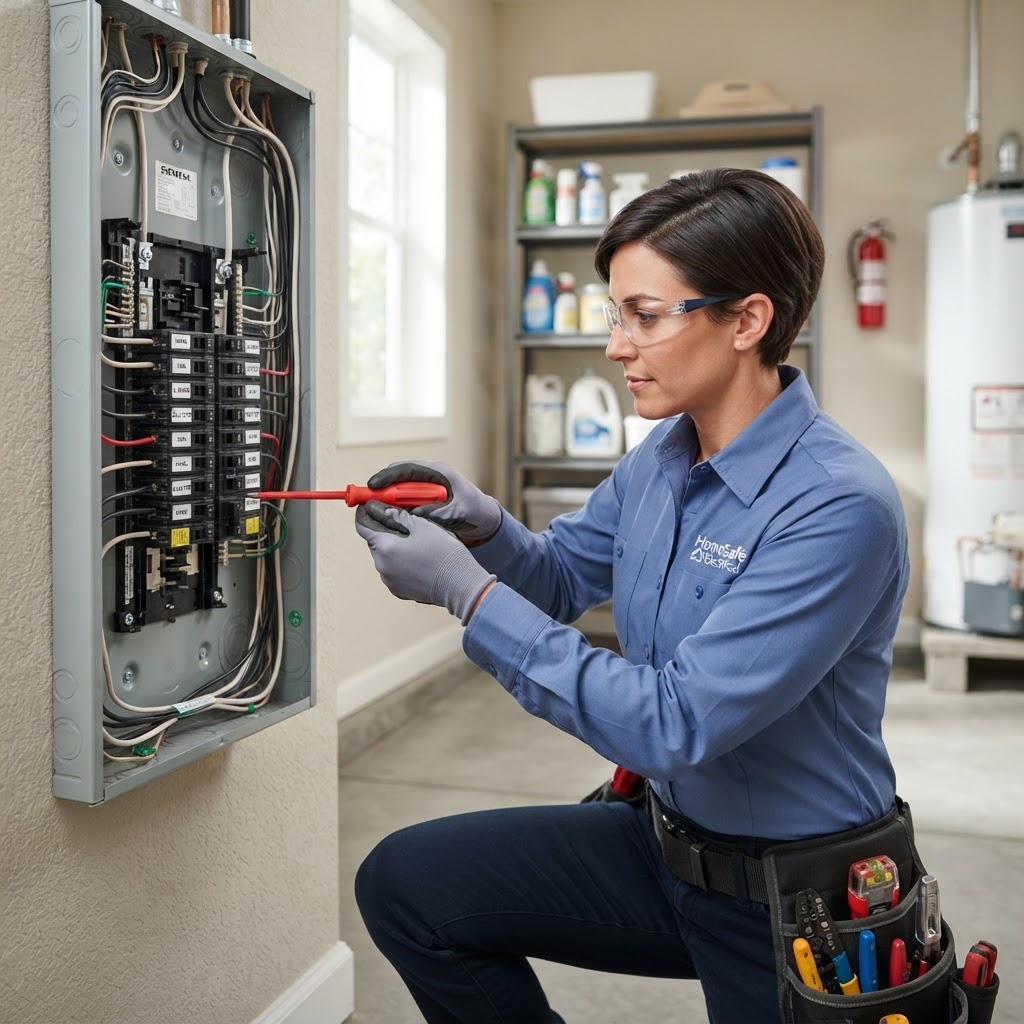
Essential Electrical Maintenance: A Homeowner’s Safety Guide
Understanding Your Electrical System: Your home's electrical system is its lifeblood. Regular maintenance is critical to prevent fires and ensure safety. DIY tasks include changing light fixtures, while panel work should be left to pros. Always test your GFCI outlets monthly and watch for flickering lights. Budget for professional service calls to ensure your home meets modern safety standards.

Smart Home Tech: A Practical Guide for Modernizing Your House
Transforming your house into a smart home is a practical way to increase energy efficiency and security. Begin by ensuring your Wi-Fi is strong. Prioritize smart thermostats and doorbells for the best return on investment. While many devices are simple DIY installs, hardwired components should be handled by pros. Plan your upgrades in phases to manage costs effectively, and always keep your software updated for security.
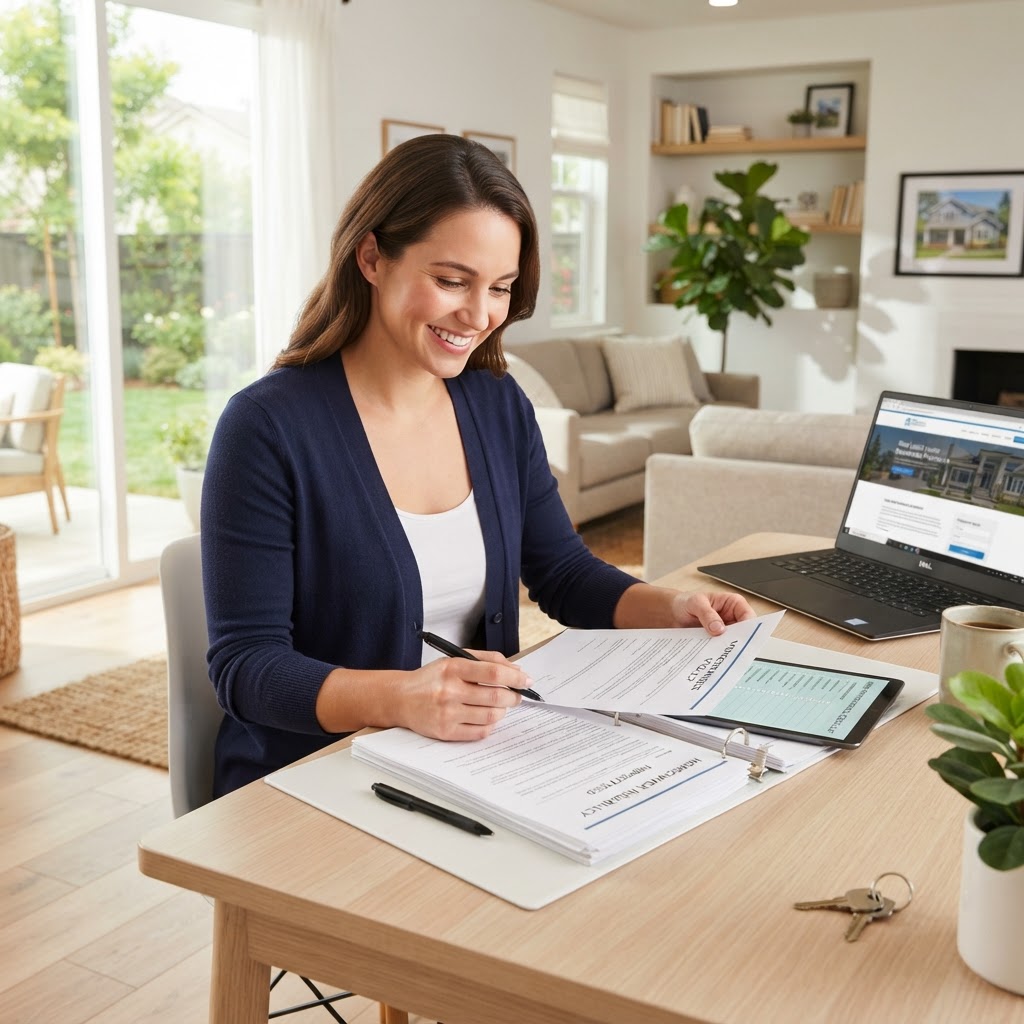
Homeowners Insurance Guide: Protecting Your Investment
Homeowners insurance is your primary financial safety net. To protect your investment, opt for replacement cost coverage over actual cash value. Conduct annual policy audits, especially after major renovations, to ensure you are not underinsured. You can lower premiums by maintaining your roof, installing security systems, and using water leak detection devices. Always hire professionals for major repairs to maintain documentation for potential claims. Create a digital inventory of belongings and keep it in the cloud. Review your deductible to ensure it matches your emergency savings. Check your coverage at least every two years to ensure it keeps pace with the current housing market.
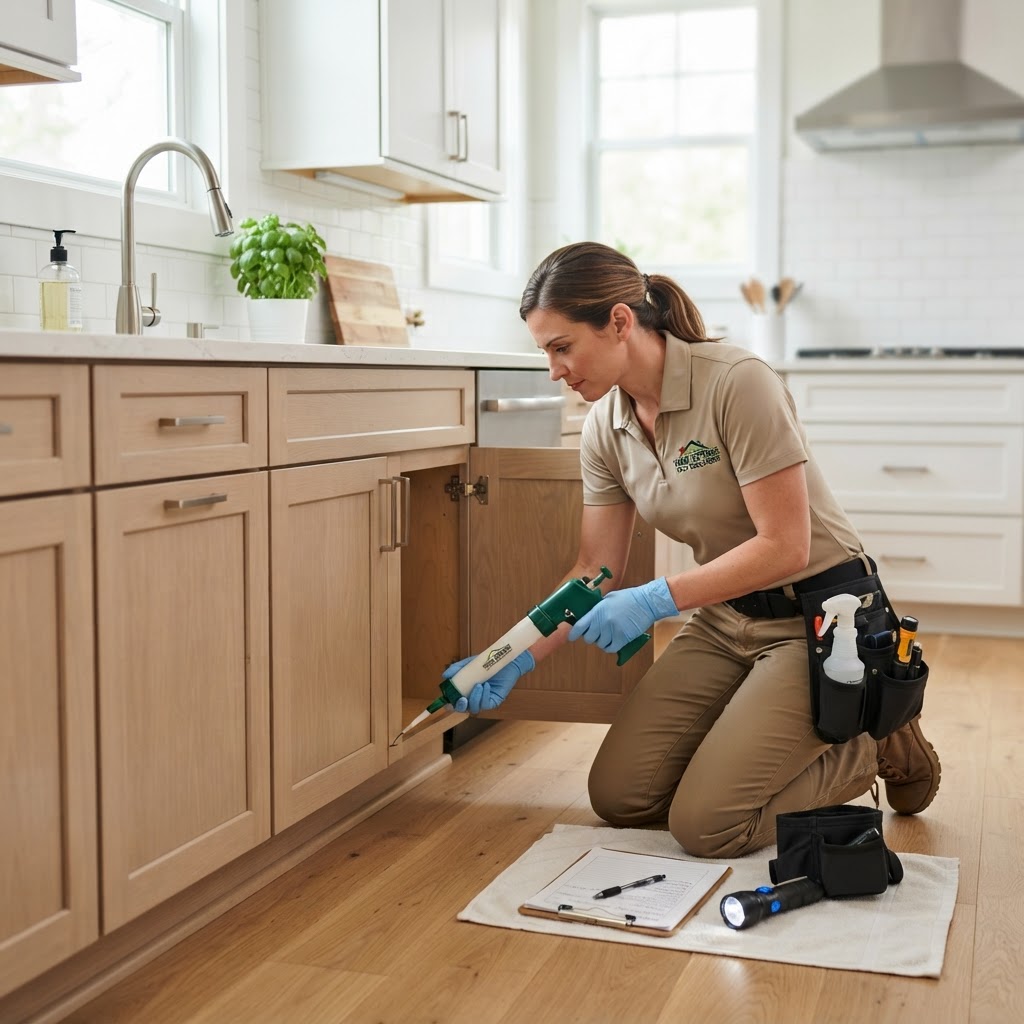
Essential Home Pest Control Guide: Expert Tips for a Bug-Free House
Keeping your home free from pests requires a mix of prevention, monitoring, and timely intervention. Whether you are dealing with seasonal ants or year-round concerns like termites, a proactive approach saves money and protects your property value. To prevent pests, seal entry points around pipes and windows, eliminate moisture sources like leaky faucets, and store food in airtight containers. Keep vegetation trimmed away from the home exterior. While minor infestations can be handled with store-bought baits, professional help is necessary for structural threats or serious pests like bed bugs. Maintenance usually costs $100-$300 per visit, and quarterly service is the gold standard for homeowners looking to stay ahead of seasonal cycles.
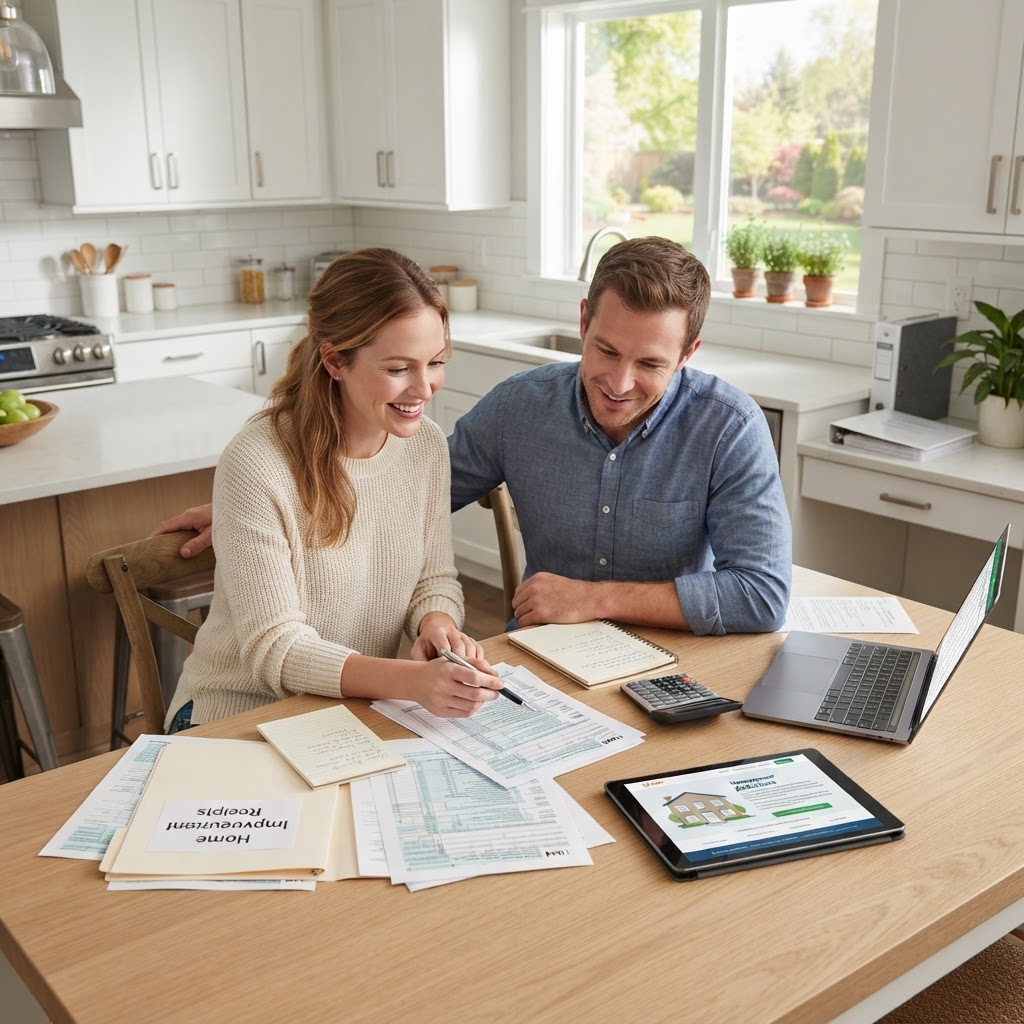
Homeowner Tax Breaks: Essential Tips to Save Money This Year
Maximize Your Homeownership Tax Benefits. Owning a home is a significant financial asset. Many homeowners leave money on the table every tax season. Key deductions include mortgage interest, property taxes, energy-efficient upgrades, and the home office deduction. Keep organized records of capital improvements to reduce future capital gains tax. Consult a CPA for complex financial situations.
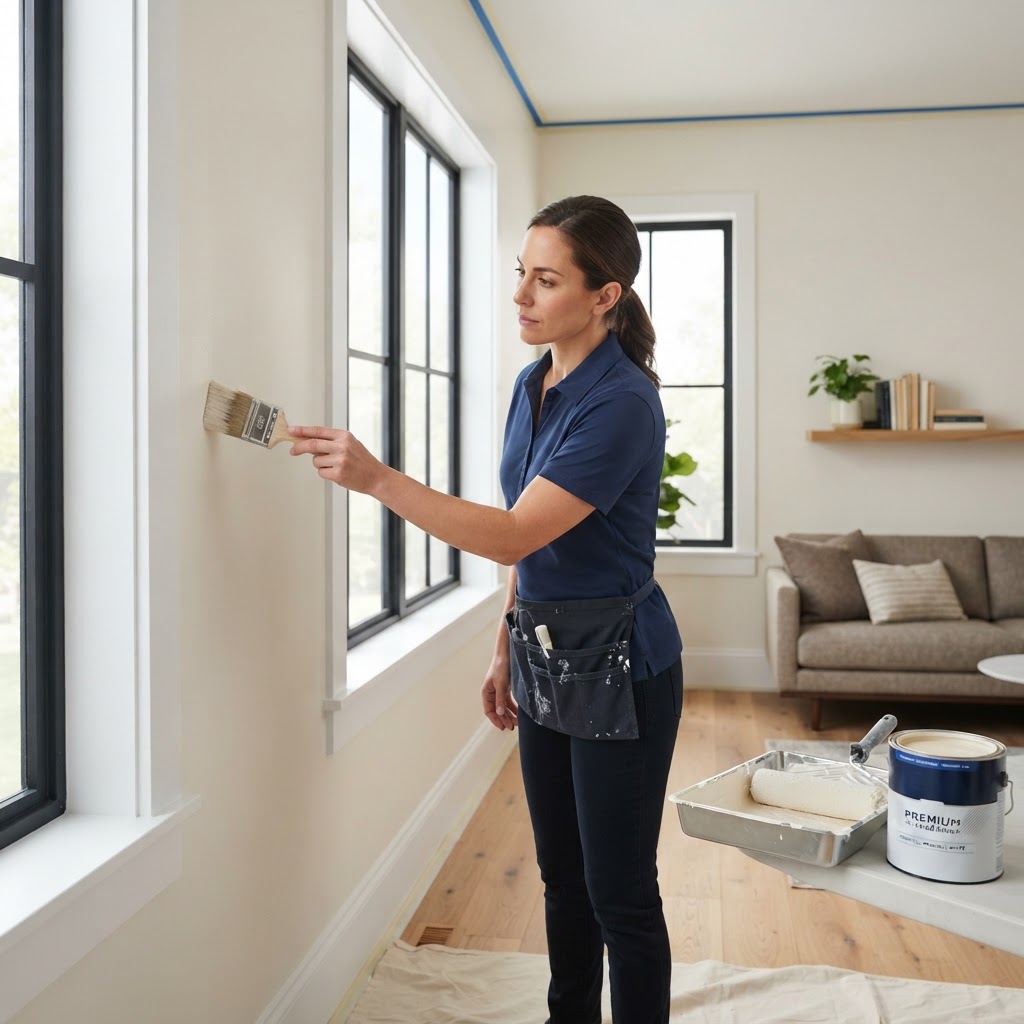
Mastering Interior Painting: A Pro Guide to a Flawless Finish
The secret to a professional-looking paint job is surface preparation. Clean walls, patch holes, and use primer for even adhesion. Choose the right sheen: flat for ceilings, eggshell for living rooms, and semi-gloss for trim. DIY is perfect for smaller, accessible spaces, but pros should handle high ceilings and complex trim. Budget $30-$60 per gallon for materials and $2-$6 per square foot for professional labor. Always "box" your paint and pull tape while the paint is tacky for a clean finish.

Essential Smart Home Tech Upgrades for Modern Homeowners
Integrating smart technology into your home is a practical way to increase energy efficiency, security, and convenience. Start with high-impact upgrades like smart thermostats, smart lighting, and video doorbells. While many smart devices are simple DIY installations, complex security systems may require professional help. Budget for incremental upgrades, starting with high-ROI items. Ensure your Wi-Fi network is strong enough to support your devices and choose hardware compatible with major protocols like Matter for long-term ease of use.
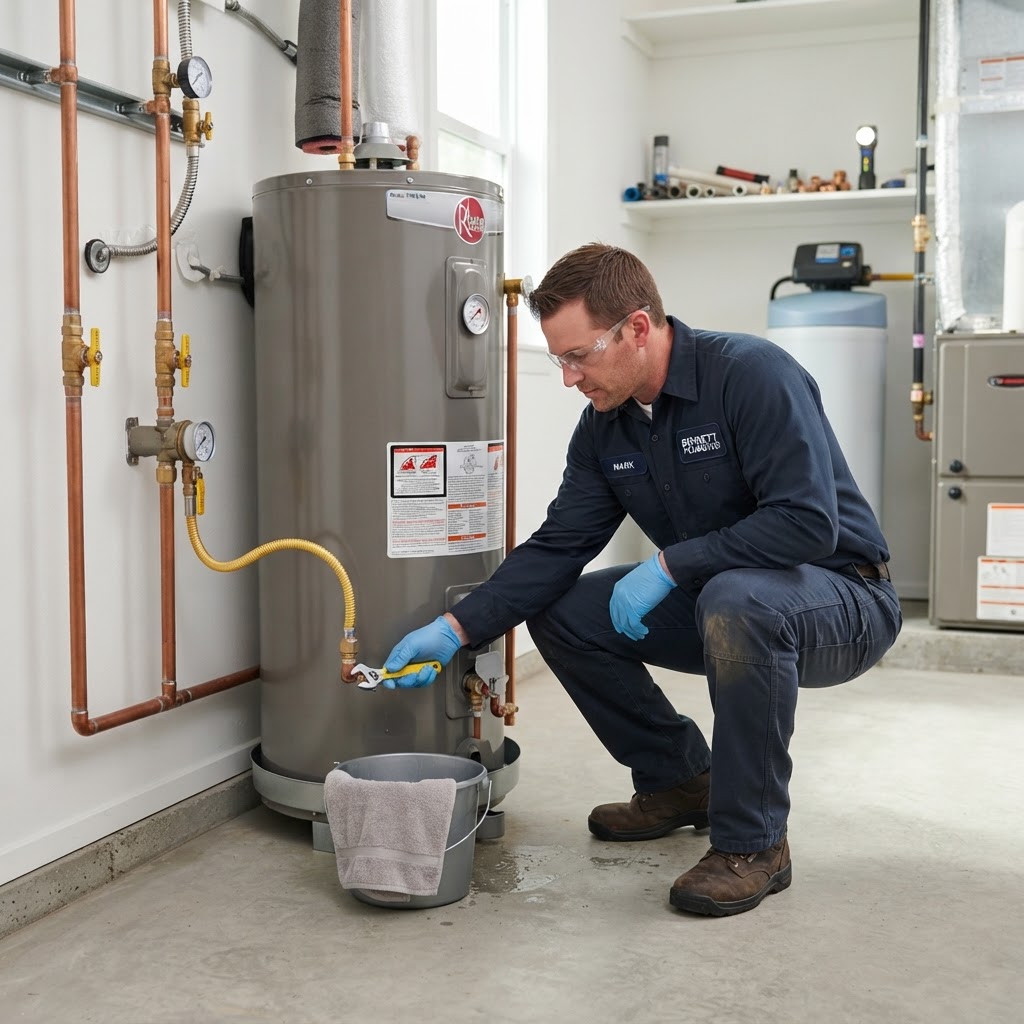
Essential Plumbing Maintenance Tips Every Homeowner Should Know
Essential Plumbing Maintenance Tips Every Homeowner Should Know. Preventative Maintenance for Your Pipes: Plumbing issues are often ignored until they become expensive emergencies. By performing simple, consistent checks, you can save thousands in potential water damage and repair costs. Start by inspecting all accessible pipes under sinks and in basements for signs of moisture or corrosion at least twice a year. Drain Care and Maintenance: Your kitchen and bathroom drains are prone to buildup. Instead of harsh chemical cleaners that can corrode older pipes, use a mixture of baking soda and vinegar once a month. For stubborn clogs, a manual drain snake or plastic hair-removal tool is safer for your plumbing infrastructure than liquid drain openers. When to Call a Professional: If you detect a sewer gas smell, contact a plumber immediately. If you hear banging noises in the pipes, you may need professional help. The Cost of Plumbing Neglect: The cost of hiring a professional plumber for routine drain cleaning generally ranges from $150 to $350. Proactive maintenance is the best way to protect your equity. Key DIY Tips: Always know the location of your main water shut-off valve.
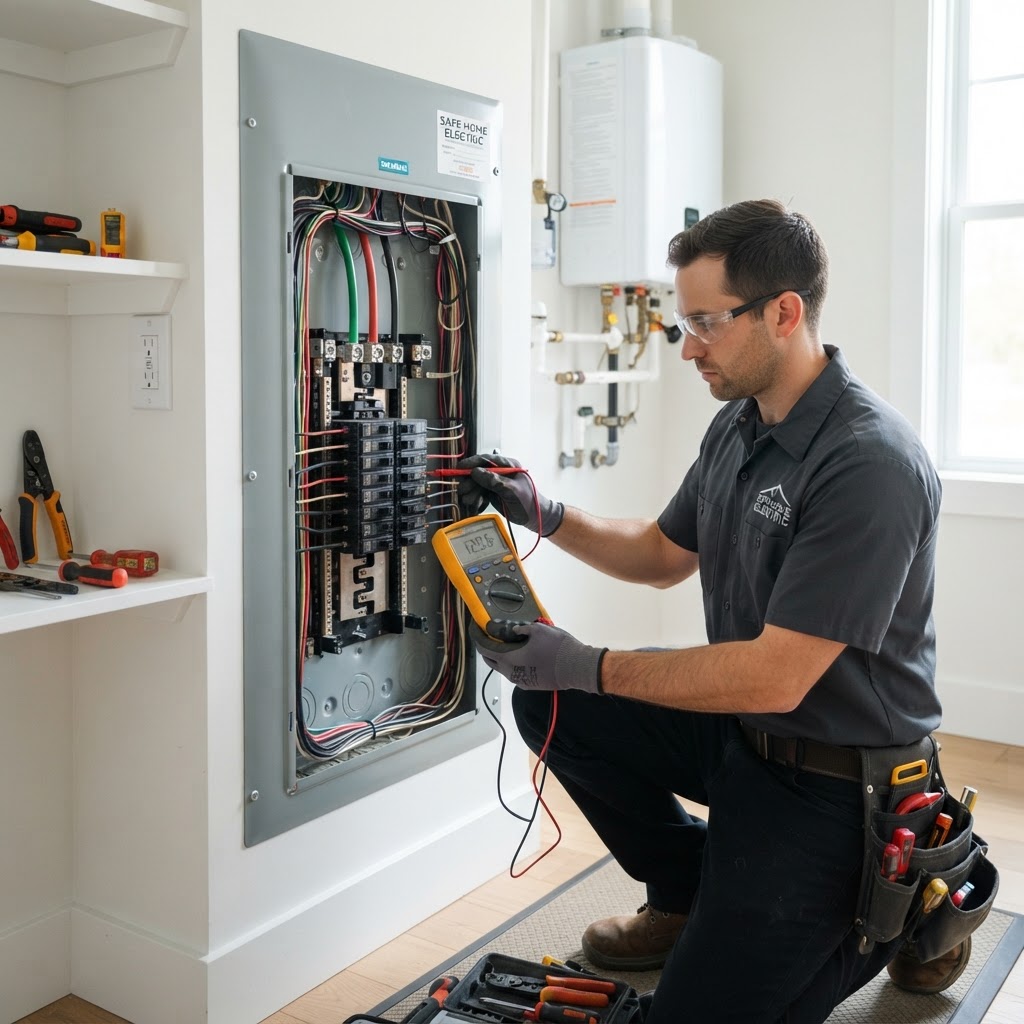
Electrical Safety Essentials: What Every Homeowner Needs to Know
Your home's electrical system is the lifeblood of your daily routine. This guide covers when to DIY, when to hire a professional, and maintenance tips to keep your home safe. Always test GFCIs monthly, avoid overloading circuits, and never attempt panel work yourself.
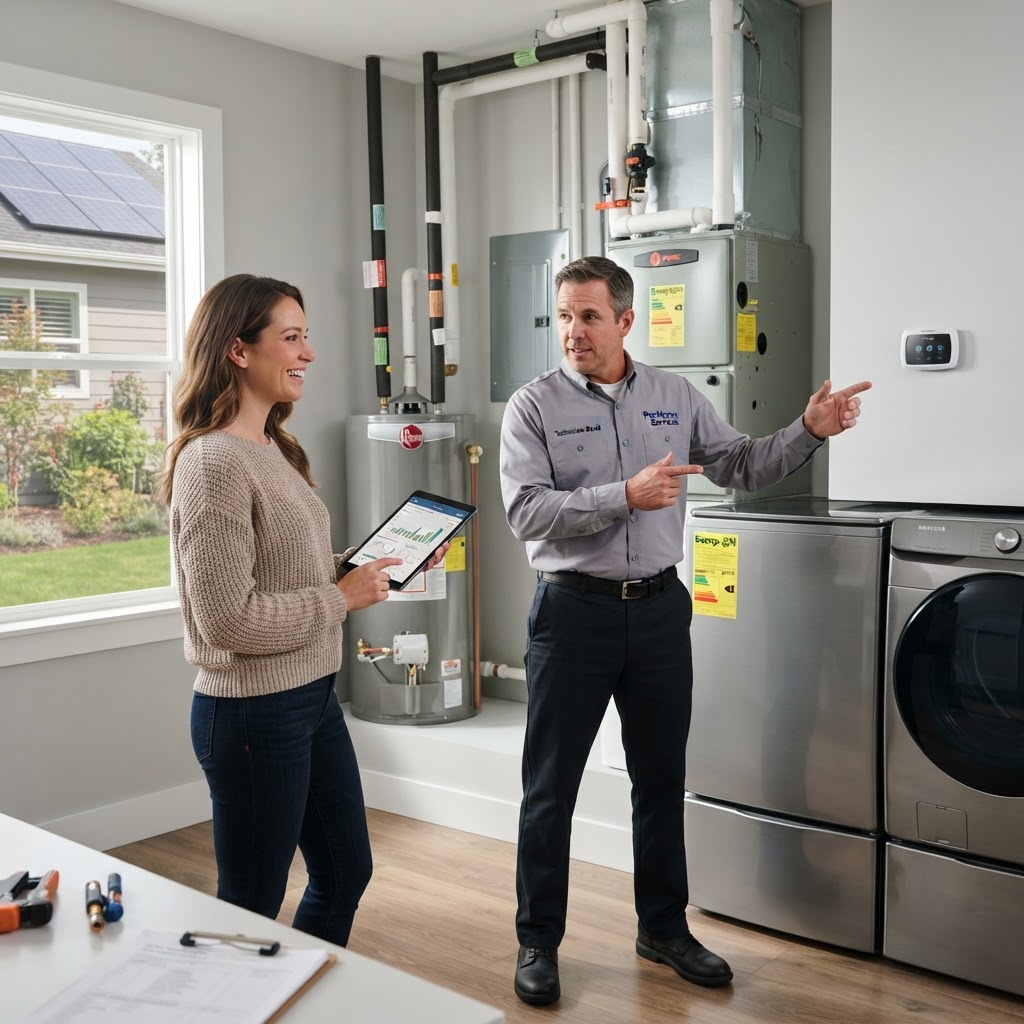
Slash Your Utility Bills: 5 Proven Home Energy Efficiency Upgrades
The most cost-effective way to improve energy efficiency is by preventing conditioned air from escaping. Inspect window frames and door sweeps for drafts. Using simple caulk or weatherstripping can cost under $50 and is a perfect DIY weekend project. Installing a smart thermostat is another quick win, saving about 10-15% on energy costs. Switch to LED lighting to reduce electricity usage immediately. For long-term gains, consider professional attic insulation, which usually costs $1,500 to $3,500. Finally, never skip routine HVAC maintenance, such as changing filters and annual tune-ups, to keep your system running optimally.
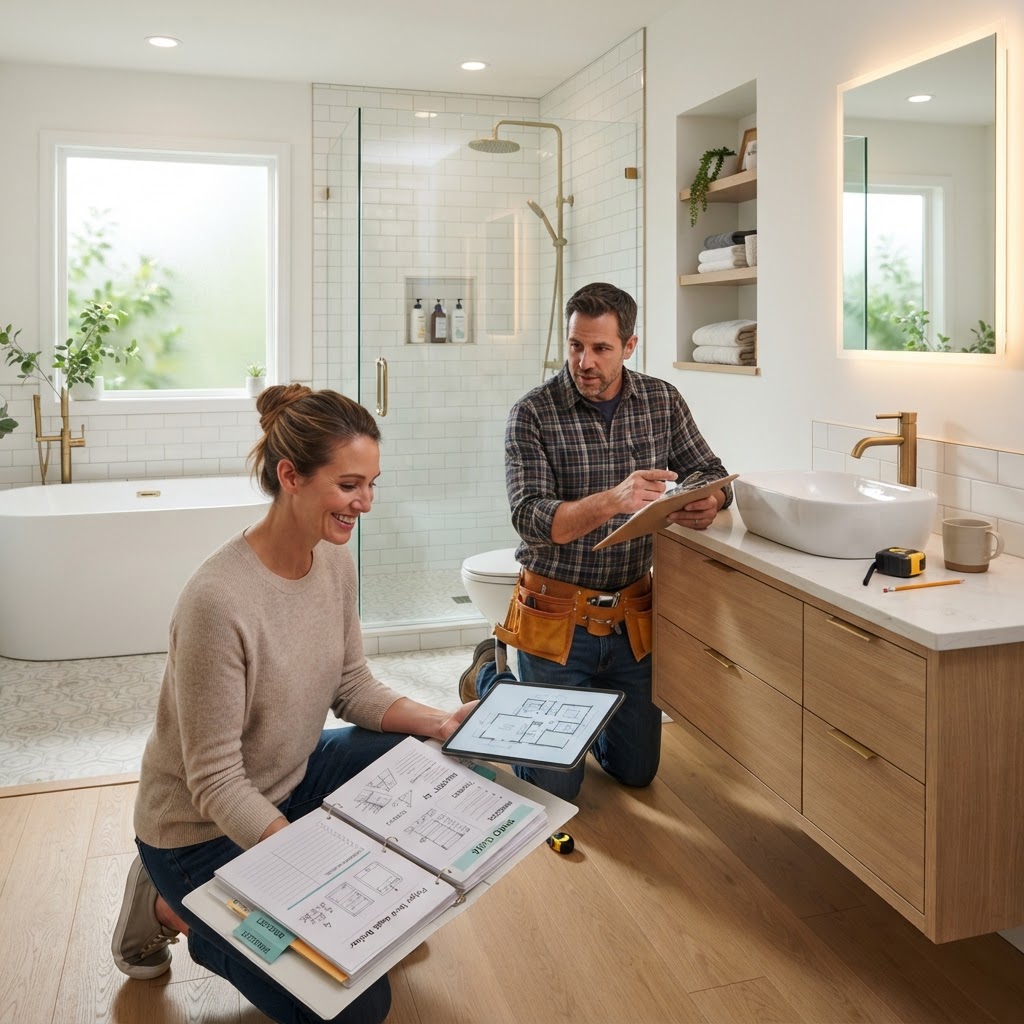
Bathroom Remodel Guide: How to Plan, Budget, and Execute Your Renovation
A bathroom remodel is a fantastic way to boost home value and comfort. Key steps include setting a 20% buffer budget for hidden repairs, deciding which tasks to DIY versus those needing professionals, and ensuring proper ventilation. Most remodels take between 3 and 8 weeks. Focus on durable materials and long-term functionality to get the best return on your investment.
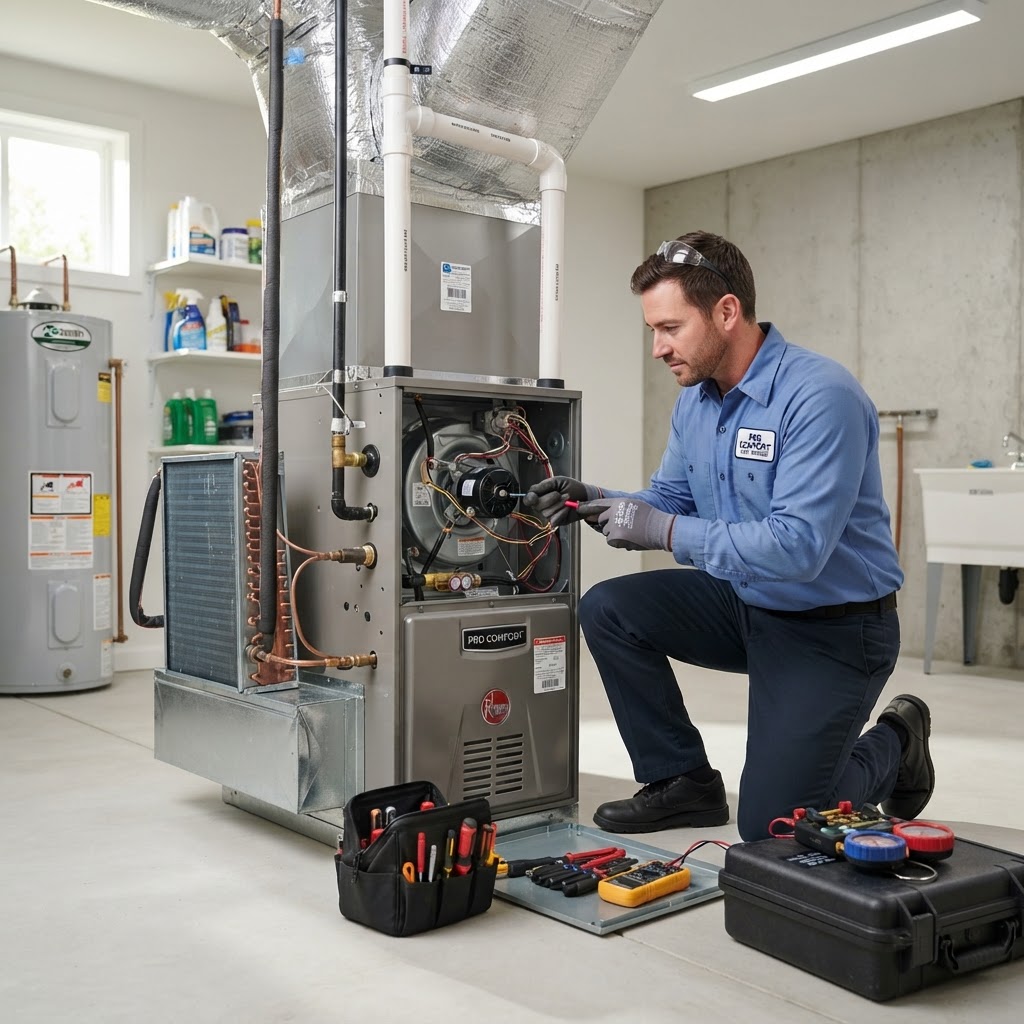
HVAC Maintenance Guide: How to Save Energy and Extend System Life
Your HVAC system is the heart of your home comfort. Just like a car, it requires regular tune-ups to operate efficiently. Neglecting maintenance leads to higher energy bills, poor indoor air quality, and premature system failure. By investing a little time and money now, you can avoid costly emergency repairs during the peak of summer or winter. Homeowners can perform several maintenance tasks to keep their system running smoothly. These simple steps take less than an hour but offer significant long-term benefits: Change air filters every 1 to 3 months. Keep the area around your outdoor condenser unit free of debris. Ensure all air registers are unobstructed. Clean your thermostat of dust. While DIY maintenance is helpful, a professional tune-up is essential once a year. A licensed technician will perform a deep cleaning and safety inspection, including checking refrigerant, electrical connections, and cleaning coils. This prevents major breakdowns and keeps your system efficient. Schedule these visits in the spring and autumn for the best results.
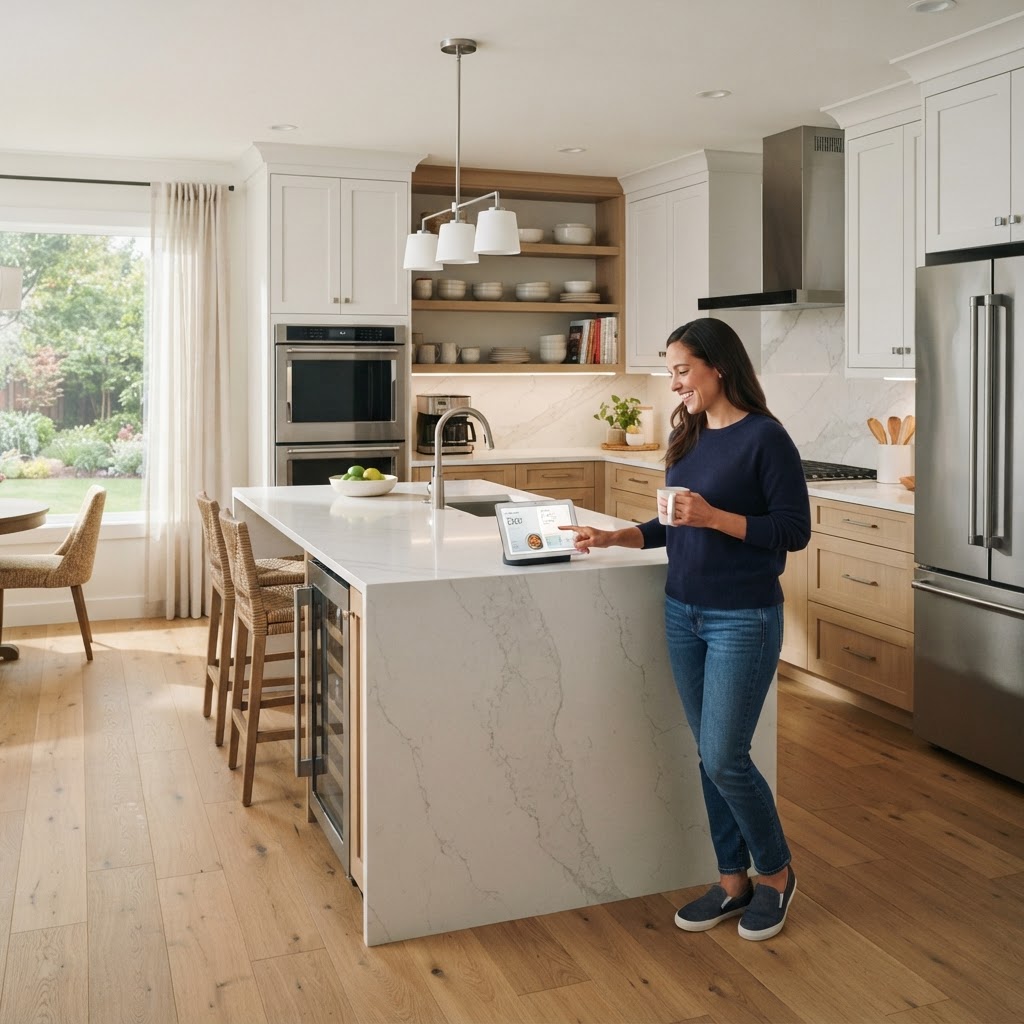
Smart Kitchen Upgrades to Boost Your Home Value and Functionality
The kitchen is the heart of every home. If your space feels outdated, there are several high-impact upgrades that can breathe new life into your cooking area while boosting your home's market value. Update cabinet hardware, install a new backsplash, and improve lighting for an immediate visual change. Invest in energy-efficient appliances and durable countertops like quartz if your budget allows. Know when to DIY and when to call a professional for structural or utility work. Planning ahead will ensure your upgrades stay on schedule.

Mastering Tenant Relations: A Guide for Stress-Free Landlording
Positive tenant relations are the cornerstone of successful property management. By fostering clear communication and mutual respect, you can significantly reduce turnover costs. Start by setting clear expectations during the initial lease signing. Effective communication is about responsiveness. When a tenant reaches out with a maintenance request, acknowledge it within 24 hours. Use a professional portal for tracking. Respect privacy by providing proper notice. For maintenance, handle minor DIY tasks like air filters and cabinet tightening yourself, but always hire licensed pros for plumbing and electrical work to avoid liability. Handling conflicts with fairness and offering small incentives for renewals can save thousands in turnover costs. A valued tenant treats your property better and stays longer.
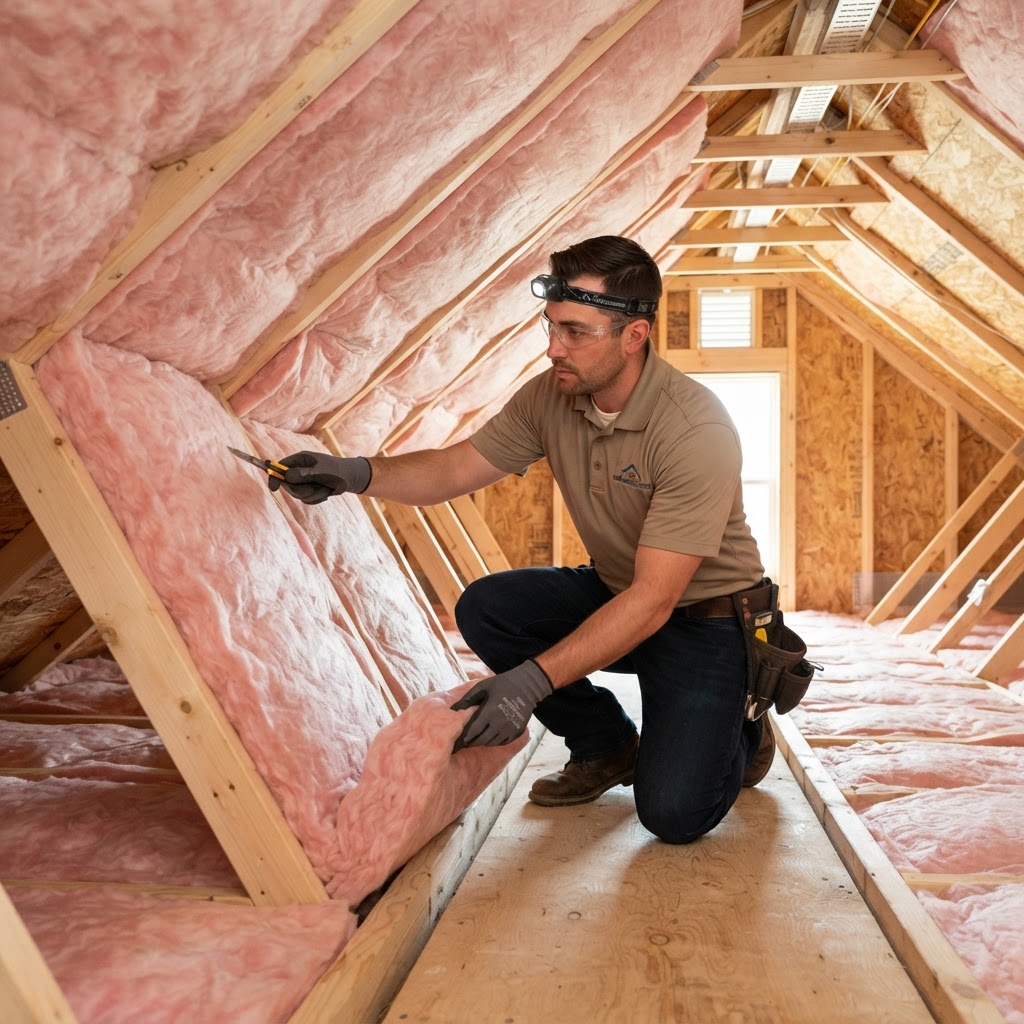
Mastering Home Insulation: Slash Energy Bills and Boost Comfort
Proper insulation creates a thermal barrier that lowers energy bills and improves comfort. Prioritize attics, rim joists, and window seals. DIY projects include weatherstripping and attic insulation, while professional help is advised for spray foam. Spring and fall are ideal times to inspect for drafts. With energy savings of up to 20%, investing in insulation pays for itself within a few years.
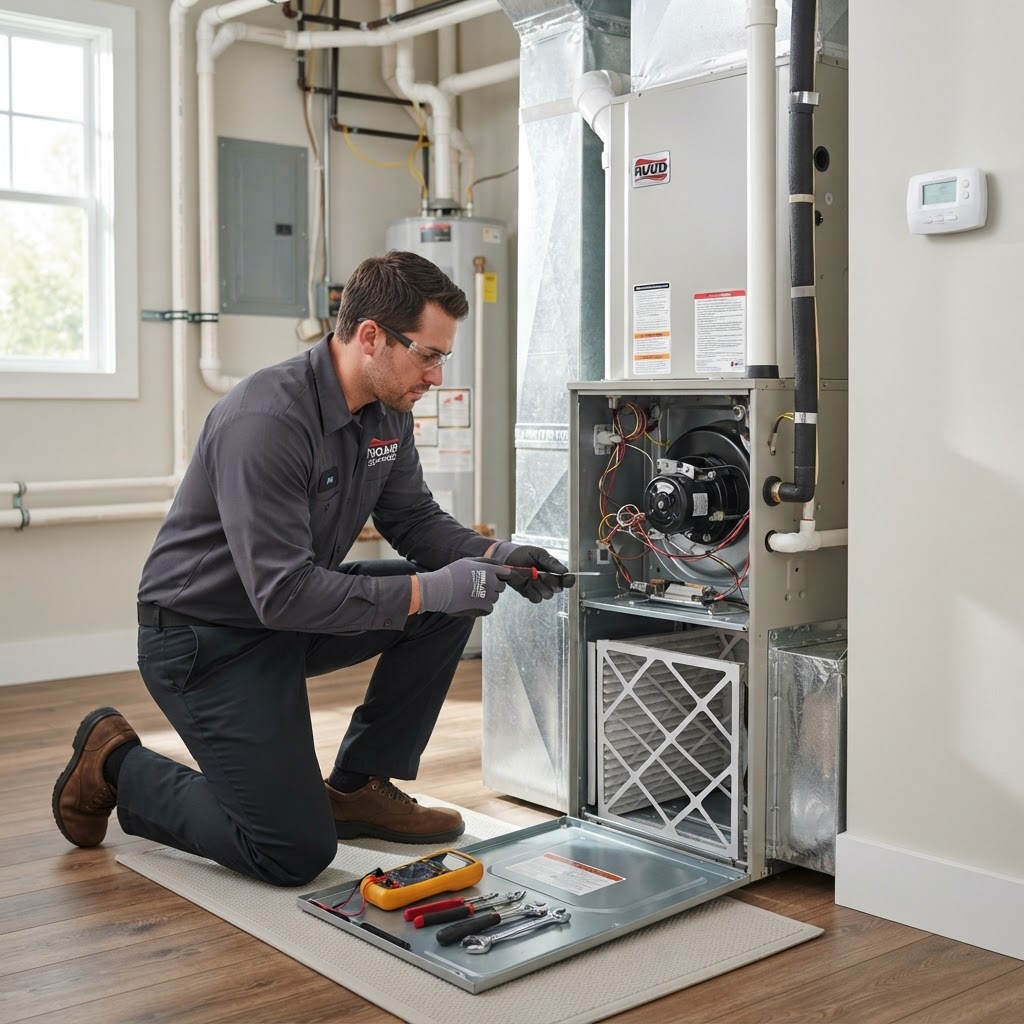
Essential HVAC Maintenance Guide: Keep Your Home Comfortable All Year
Regular HVAC maintenance is essential for energy efficiency, comfort, and preventing costly repairs. This guide covers simple DIY tasks like filter replacement and the importance of bi-annual professional inspections.
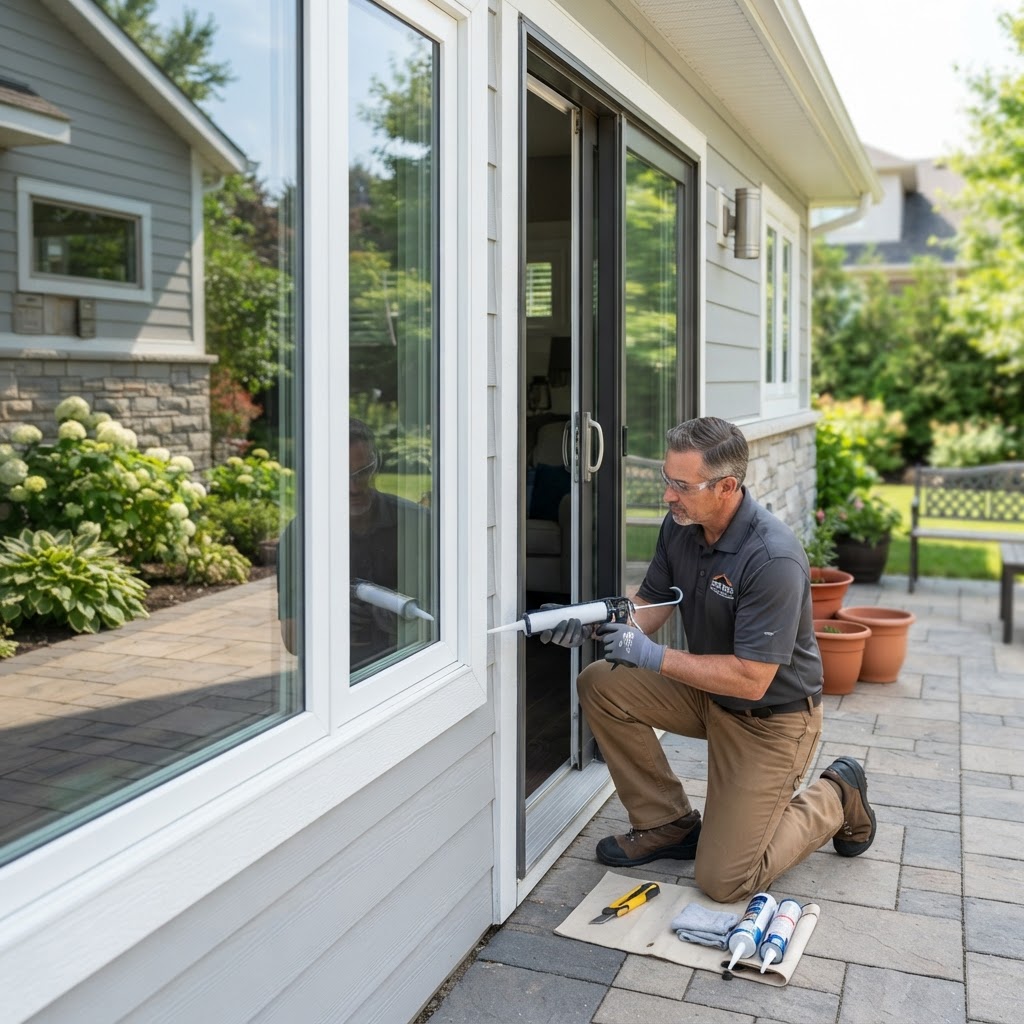
Essential Home Maintenance Tips for Windows and Doors
Your windows and doors are the primary barriers between your home and the elements. Routine care not only improves energy efficiency but also extends the lifespan of these costly installations. By addressing small issues early, you can prevent major structural repairs down the line. Clean tracks quarterly, inspect weatherstripping for air leaks, lubricate hinges annually, and check exterior caulking. Simple maintenance can be done DIY, but professional help is recommended for seal failure or structural rot. Maintenance keeps costs low and energy efficiency high.

Smart Home Renovations: Where to Invest for Maximum ROI
Strategic Home Improvements. Not every home improvement project provides an equal return on investment. For homeowners looking to boost property value, prioritizing high-impact upgrades is essential. Focus your budget on areas that potential buyers notice first: kitchens, bathrooms, and curb appeal. High-Impact Interior Upgrades: Kitchen and bath renovations consistently top the list for ROI. Minor kitchen updates—such as painting cabinets, installing new hardware, and upgrading light fixtures—can transform a space at a fraction of the cost. In the bathroom, replacing dated vanities and re-grouting tiles are effective, low-cost projects. Curb Appeal: The First Impression: Exterior improvements yield significant dividends because they set the tone for the entire property. Simple tasks like pressure washing, landscaping, and refreshing the front door paint offer incredible value. DIY vs. Professional Guidance: Knowing when to roll up your sleeves and when to hire a pro is key to maximizing your investment. DIY: Painting, lighting, landscaping. Professional: Electrical, plumbing, structural work. Timing and Budgeting: Avoid over-improving for your neighborhood. Research similar homes in your area. Tackle major projects at least one year before selling. By balancing thoughtful upgrades with careful budgeting, you can ensure that your home improvements serve as a true asset.
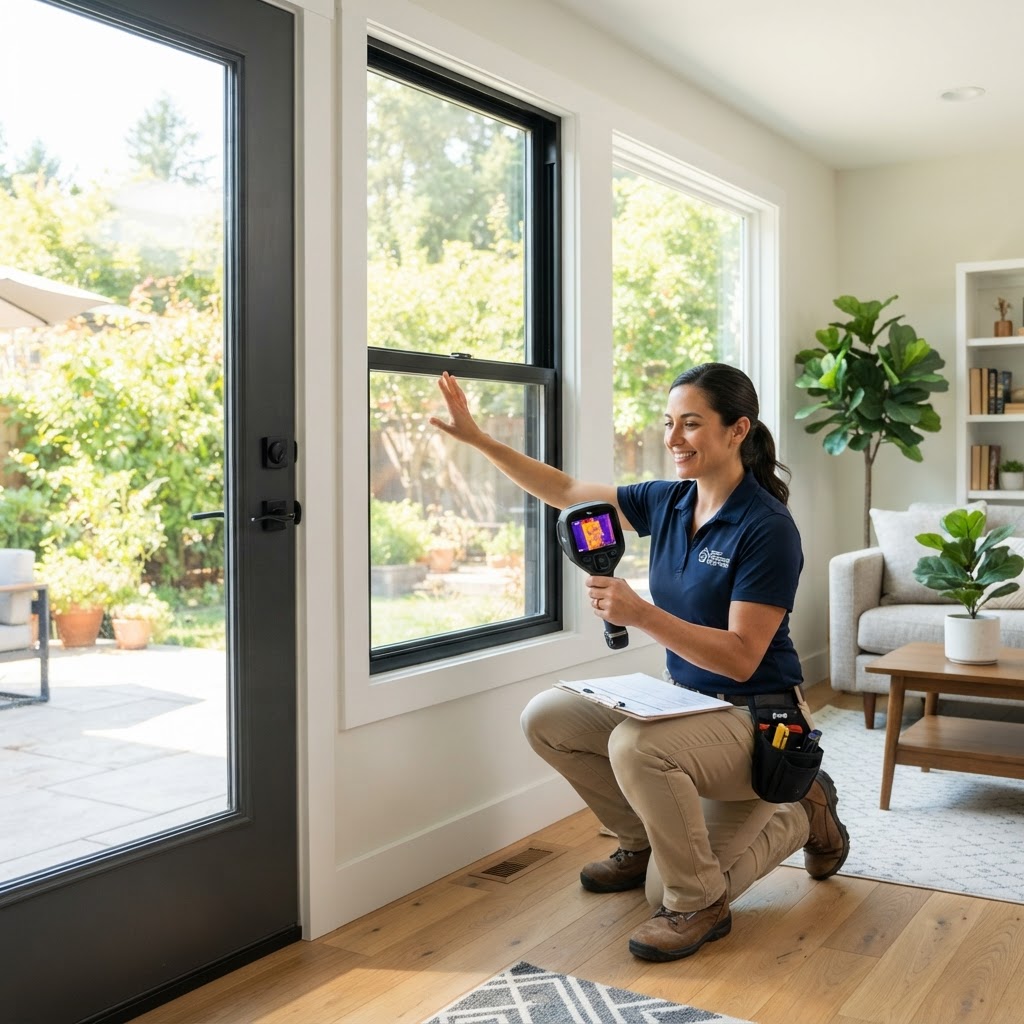
Boost Efficiency: The Ultimate Homeowner Guide to Windows and Doors
Your windows and doors are the first line of defense against the elements, acting as the primary barrier for your home's thermal efficiency and security. Investing in high-quality installations not only improves curb appeal but can reduce energy bills by up to 20%. Before jumping into a full replacement, assess whether your current fixtures can be salvaged. Signs that it is time for a professional upgrade include drafts or air leaks, condensation between panes, operational difficulty, or visible rot. If you notice minor air leaks, simple DIY solutions like weatherstripping are effective. Costs vary: vinyl windows range from $400-$900, while doors range from $800-$3,000. While minor repairs are DIY-friendly, major installations should be handled by pros to ensure proper sealing. Maintain your fixtures by cleaning tracks and lubricating hinges bi-annually.
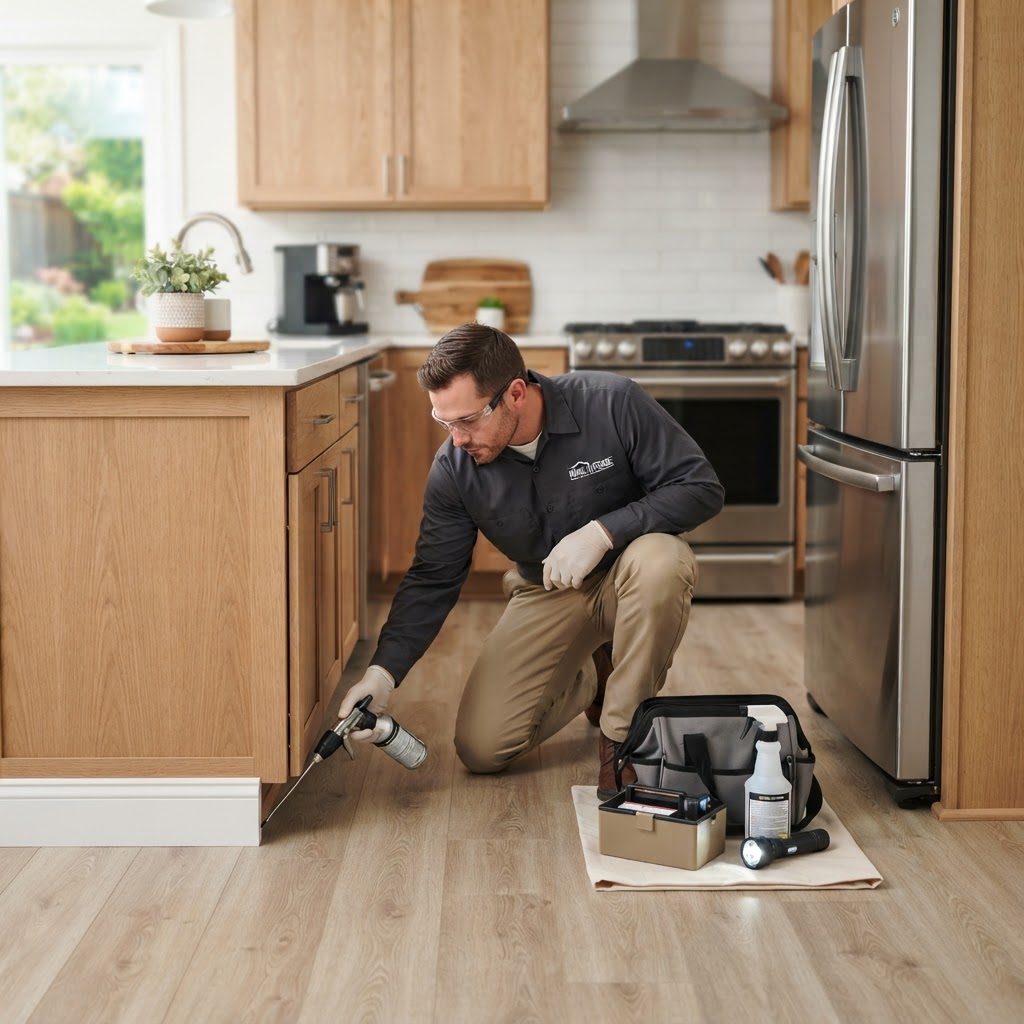
Essential Home Pest Control Guide: Expert Tips for a Bug-Free House
Keeping your home free from unwanted guests requires a blend of proactive maintenance and timely interventions. Whether you are dealing with ants, spiders, or rodents, a systematic approach is your best defense. Most pest infestations begin with easy access to food, water, or shelter. Start by sealing gaps and cracks in your home's foundation and around windows. Store dry goods in airtight containers and fix leaky faucets to eliminate moisture sources that attract pests. Clearing debris and woodpiles away from your exterior walls also removes common nesting sites. While DIY methods are excellent for prevention, some situations require an expert. You should contact a professional if you notice signs of structural pests like termites, or if you are dealing with a recurring infestation that home remedies fail to eliminate. Professionals have access to stronger, targeted treatments and can identify the root cause of an entry point you might have missed. General pest control services typically cost between $100 and $300 per visit, depending on your location and the size of your property. Quarterly maintenance plans often provide the best value, usually ranging from $300 to $600 per year. Specialized services, such as termite baiting or wildlife removal, will command higher prices due to the complexity and specialized equipment required. By staying vigilant and maintaining a tidy home, you can significantly reduce the risk of needing intensive pest control. When in doubt, always seek a professional consultation to avoid long-term damage to your property structure.
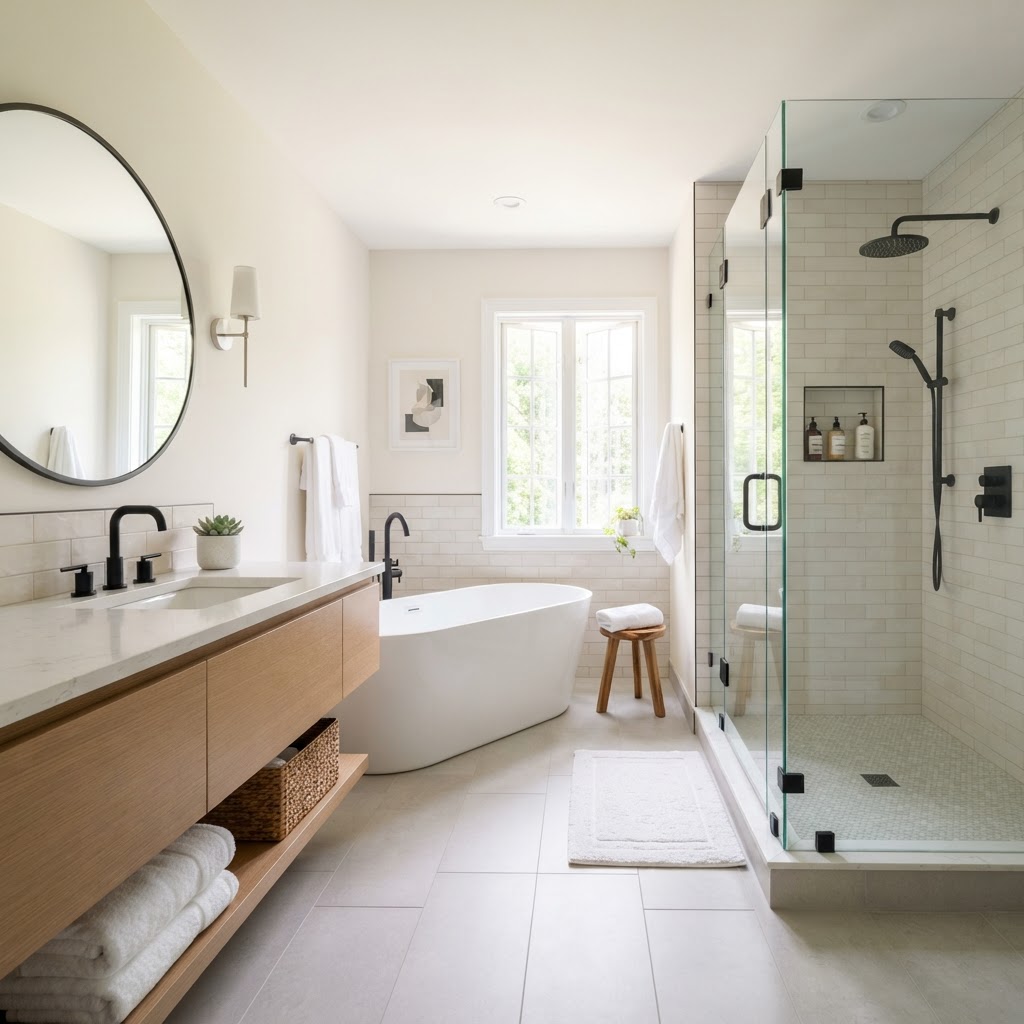
Bathroom Remodel 101: A Homeowner’s Guide to Success
A bathroom remodel is one of the most rewarding home improvements. From budgeting and hiring pros to choosing moisture-resistant materials, this guide helps you navigate the process. Learn about the importance of ventilation, lighting, and the difference between DIY projects and professional plumbing needs.
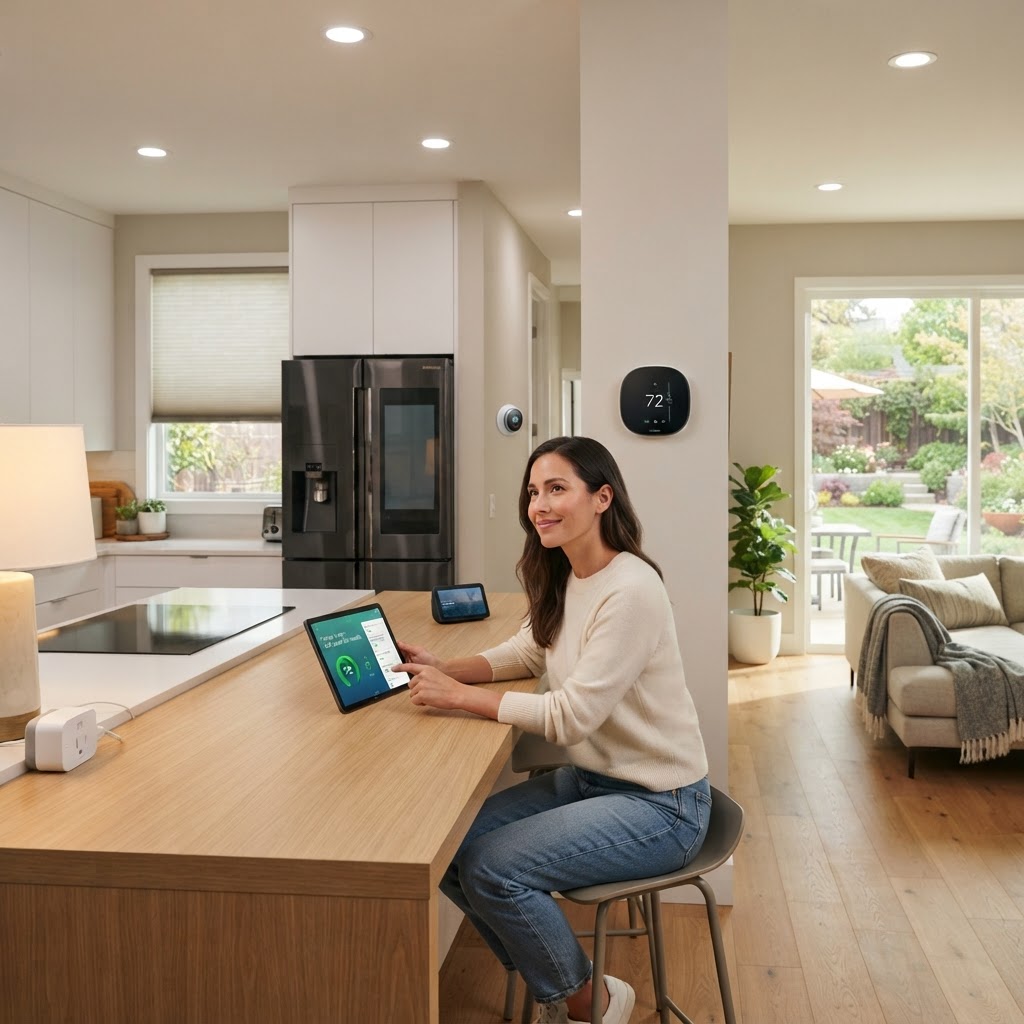
Smart Home Upgrades to Slash Your Monthly Energy Bills
The most cost-effective way to improve energy efficiency is by addressing air leaks. Check window frames, door sweeps, and electrical outlets for drafts. Using caulk or weatherstripping is an easy DIY project that costs less than $50 and can save you up to 15% on heating and cooling costs annually. Switching to LEDs is a simple one-for-one swap that uses 75% less energy and lasts 25 times longer. Ensure you change your air filters every 90 days. For better control, install a programmable or smart thermostat. Adding blown-in cellulose insulation is a project that can be done over a weekend. Consider hiring a professional for an energy audit to identify hidden insulation gaps and HVAC inefficiencies.
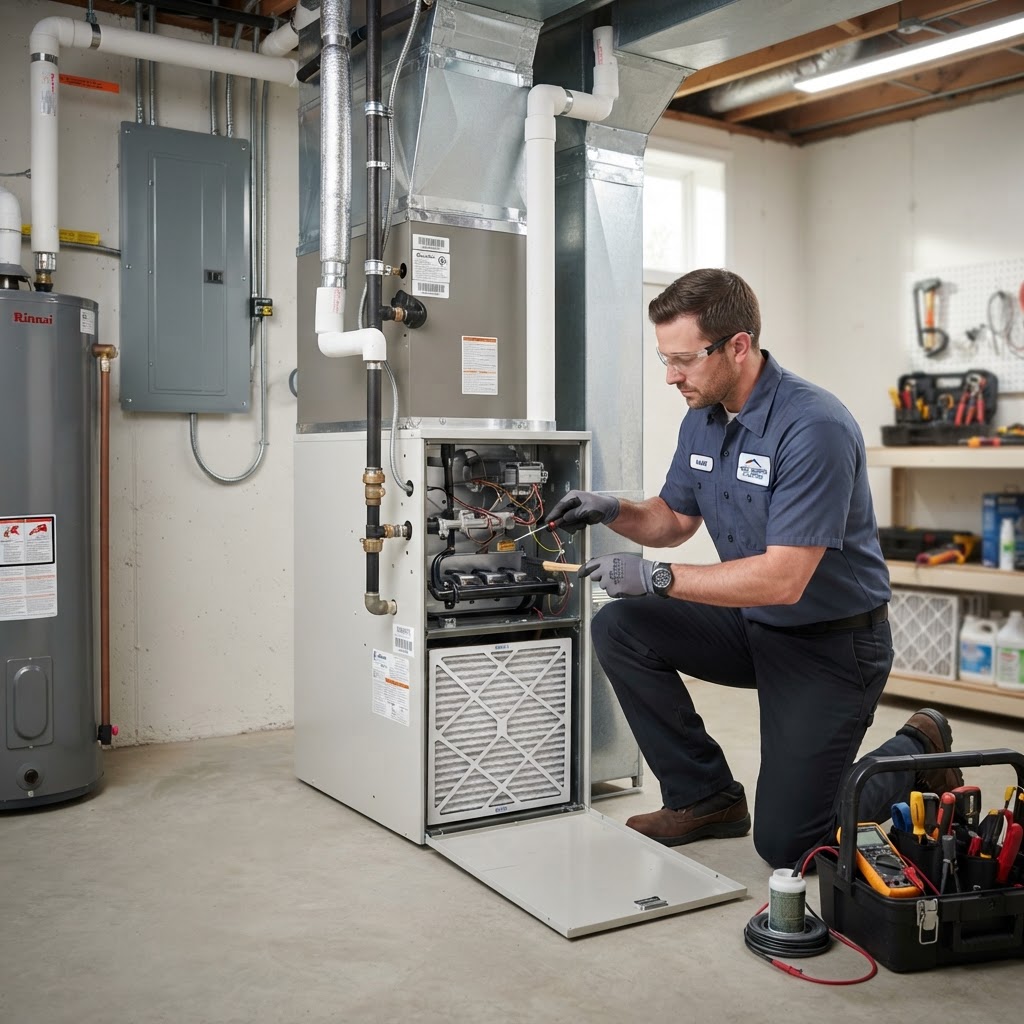
Essential HVAC Maintenance Tips to Save Money and Extend System Life
Your HVAC system is the heart of your home comfort, yet it is often overlooked until it stops working. Regular maintenance not only prevents costly mid-season breakdowns but also ensures your system operates at peak efficiency, lowering your monthly energy bills significantly. Homeowners can handle several critical tasks: Change filters every 30-90 days, keep the outdoor unit clear of debris, and clean indoor vents. However, professional maintenance is vital for tasks like checking refrigerant and inspecting electrical connections. Schedule a professional tune-up in the spring and fall. Expect to pay between $75 and $200 for a tune-up, which is a small investment compared to a full system replacement.
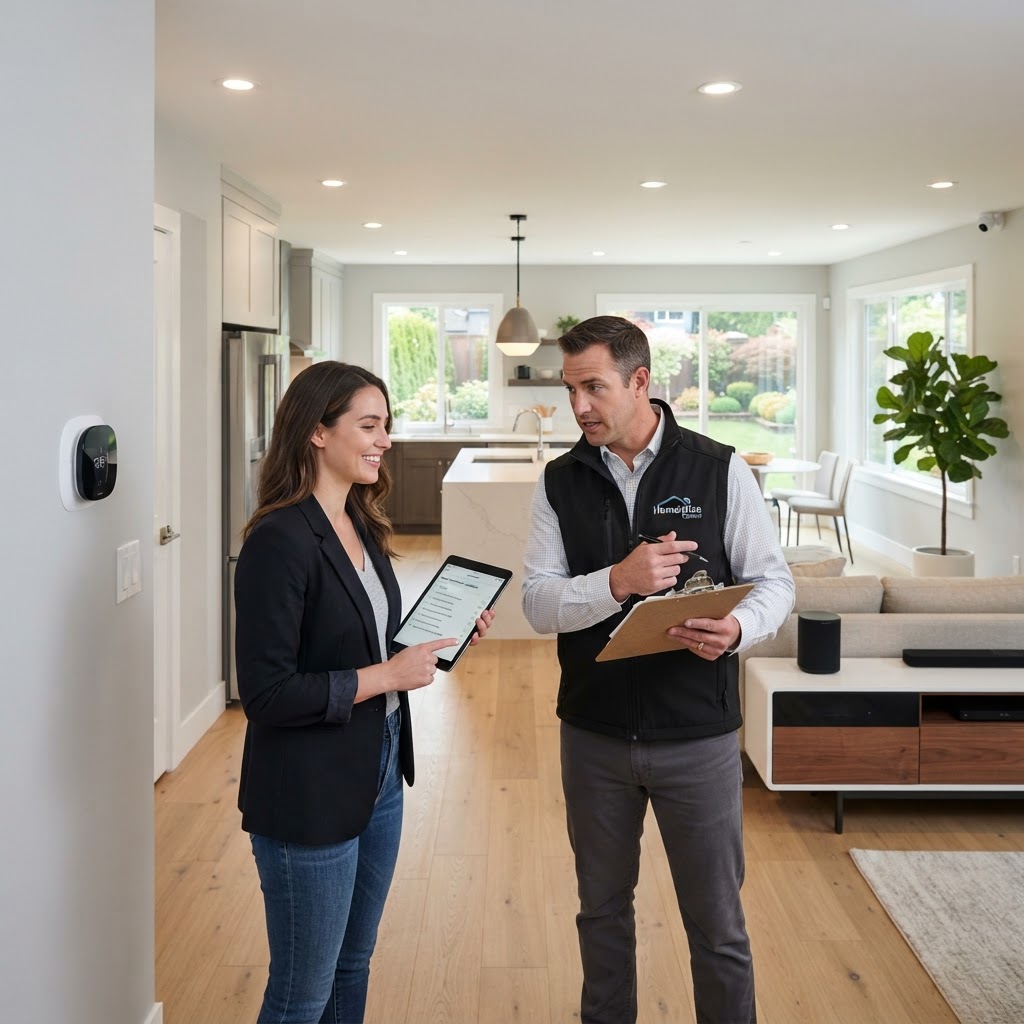
Smart Home Renovations: A Strategic Investment Guide for Homeowners
Every homeowner dreams of the perfect kitchen or a spa-like bathroom, but viewing these projects as investments requires a strategic mindset. Not all renovations deliver the same return on investment (ROI). To maximize your home equity, you must prioritize upgrades that appeal to future buyers and improve functional longevity. High-impact projects like kitchen updates, curb appeal, energy efficiency, and minor bathroom remodels often yield the best ROI. While DIY projects save money, they can become costly if done incorrectly. Hire professionals for plumbing, electrical, or structural work, and save DIY efforts for painting or landscaping. Timing is everything: avoid over-improving your home beyond the value of similar houses in your neighborhood and plan your projects years before you intend to sell to maximize both utility and market value. Always keep a 15-20% contingency budget for hidden surprises behind walls or under floors.
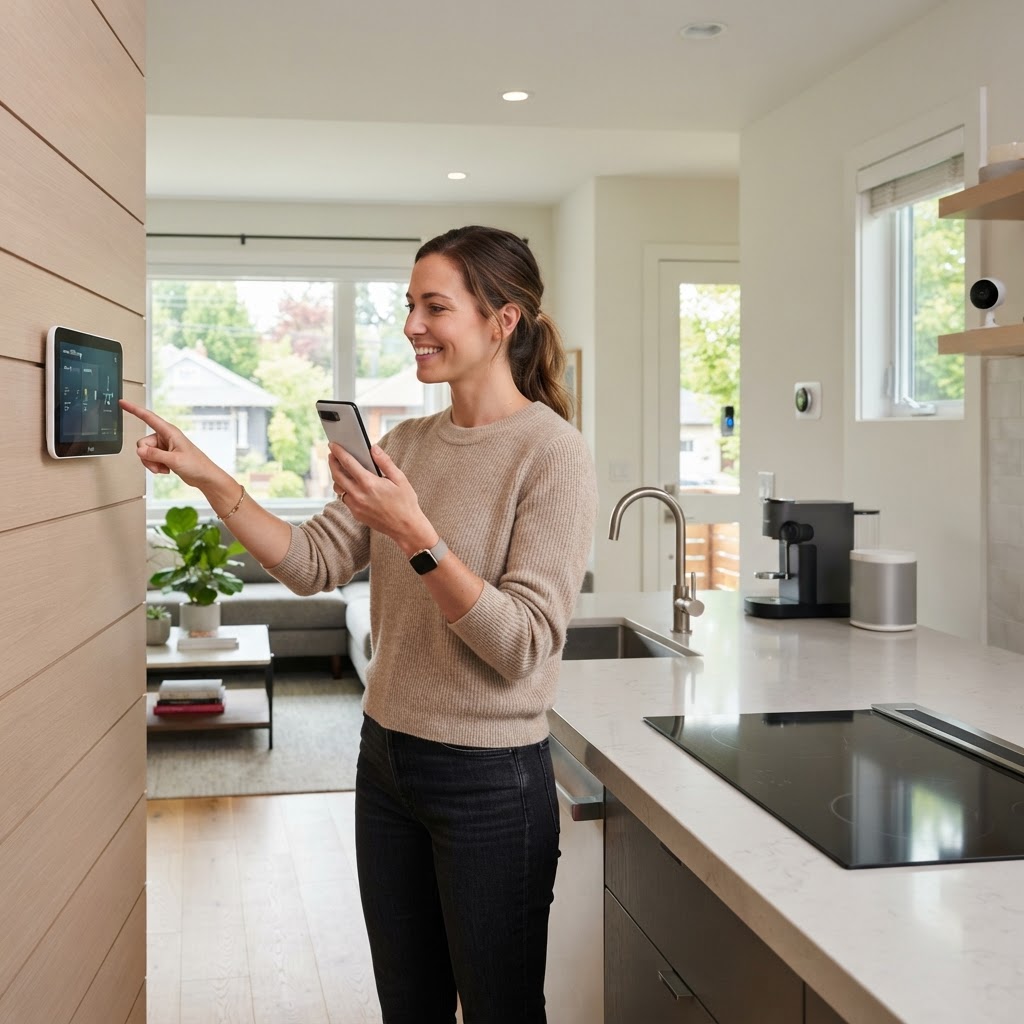
Smart Home Tech: A Practical Guide for Modern Efficiency
Integrating smart home technology is a practical approach to improving security, efficiency, and convenience. From smart thermostats that save on energy bills to video doorbells that secure your entryway, small upgrades make a big difference. Many devices are DIY-friendly, but hardwired systems should be left to pros. Always prioritize network security by changing passwords and using two-factor authentication.

Homeowners Insurance: How to Protect Your Investment and Save Money
Homeowners insurance is a critical safety net that protects your most significant financial asset. Understanding your coverage limits and exclusions is vital. Create an annual home inventory and store it digitally. Ensure you have replacement cost coverage rather than actual cash value. Maintenance tasks like installing security systems and leak detectors can lower premiums. Always hire licensed professionals for major repairs to maintain insurance eligibility. Review your policy annually to ensure coverage matches your home's current value.

Smart Kitchen Upgrades to Increase Your Home Value
The kitchen is the heart of the home. Whether you are looking to sell or improve your living experience, kitchen upgrades provide a great ROI. Key updates include cabinet refacing, lighting improvements, hardware swaps, and backsplashes. While DIY is great for aesthetic changes, always hire pros for electrical or plumbing work. Budget for a 15% contingency, and plan at least three months in advance to account for material lead times.
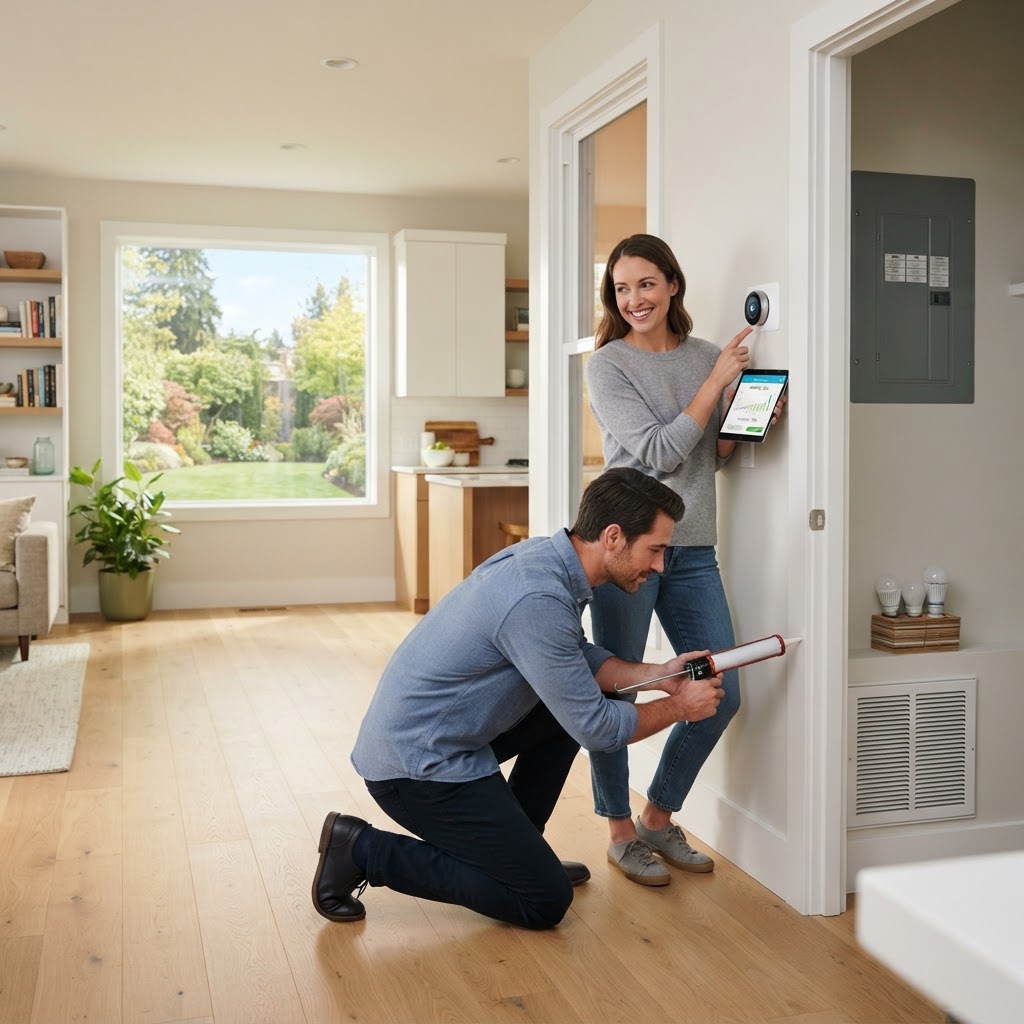
Maximize Your Savings: A Homeowner’s Guide to Energy Efficiency
Seal the Leaks: The First Step to Efficiency. Before investing in expensive new systems, focus on your home's thermal envelope. Small gaps around windows, doors, and electrical outlets act as invisible energy drains. Use caulk or weatherstripping to seal these areas, which is a low-cost DIY project that typically costs under $50 and can be completed in a single weekend. Smart Upgrades for Lower Bills. Upgrading your thermostat is one of the most effective ways to manage consumption. A smart thermostat learns your schedule, adjusting the temperature when you are away. Additionally, consider these high-impact upgrades: LED Lighting, Insulation, and Energy Star Appliances. Maintenance Matters. System neglect is the primary cause of energy waste. HVAC systems must be maintained annually; replace your air filters every 90 days. For complex electrical or insulation tasks, hiring a certified professional ensures the work meets local building codes and safety standards. The Bottom Line. Energy efficiency is a marathon, not a sprint. Start with easy wins like LED lighting and weatherstripping, then move toward larger investments like attic insulation or smart home integration. By prioritizing these improvements, you will not only reduce your carbon footprint but also increase your home's market value and comfort.

5 Smart Kitchen Upgrades to Boost Your Home Value
Revitalize Your Culinary Space. The kitchen is the heart of the home. Here are five practical upgrades: Cabinet Refacing, Modernizing Lighting, Installing a new backsplash, Adding smart appliances, and refreshing hardware. Each provides high ROI. Focus on quality and budget before starting your renovation.
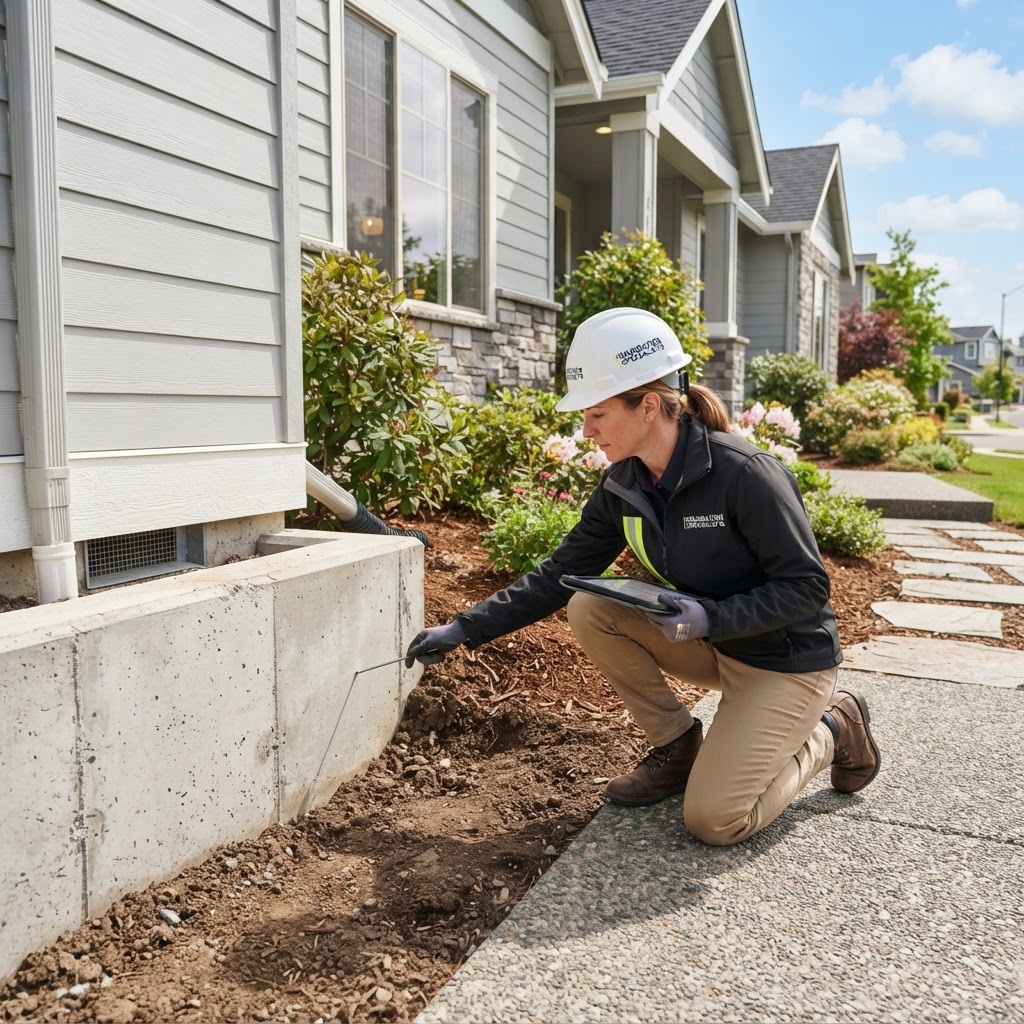
Foundation Health: A Homeowner’s Guide to Structural Integrity
Your home's foundation is the silent backbone of your property. Neglecting structural warning signs can lead to exorbitant repair bills and compromised safety. Regular inspections are the most effective way to ensure longevity. Top Warning Signs of Foundation Failure: Cracks (look for horizontal or stair-step cracks), Door and Window Issues (sticking frames), Floor Unevenness, and Exterior Gaps. Actionable Maintenance Tips: Proper drainage is essential. Extend downspouts five feet away from the home and grade soil to slope away from the structure. Monitor soil moisture during dry spells. When to Call a Professional: If cracks exceed one-quarter inch, consult a structural engineer. Repairs range from $500 for minor injections to over $20,000 for major stabilization. Routine check-ups are the best way to protect your investment.

Mastering Tenant Relations: A Guide for Stress-Free Landlording
Maintaining a positive relationship with your tenants is the single most effective way to reduce vacancies and protect your property investment. Successful landlording is built on clear communication, mutual respect, and prompt action. Set clear expectations early during the lease signing. Prioritize timely maintenance and address repairs within 24 hours. Use professional contractors for major repairs, and keep all communication documented. Retention is cheaper than turnover, so invest in your tenants to ensure long-term stability.
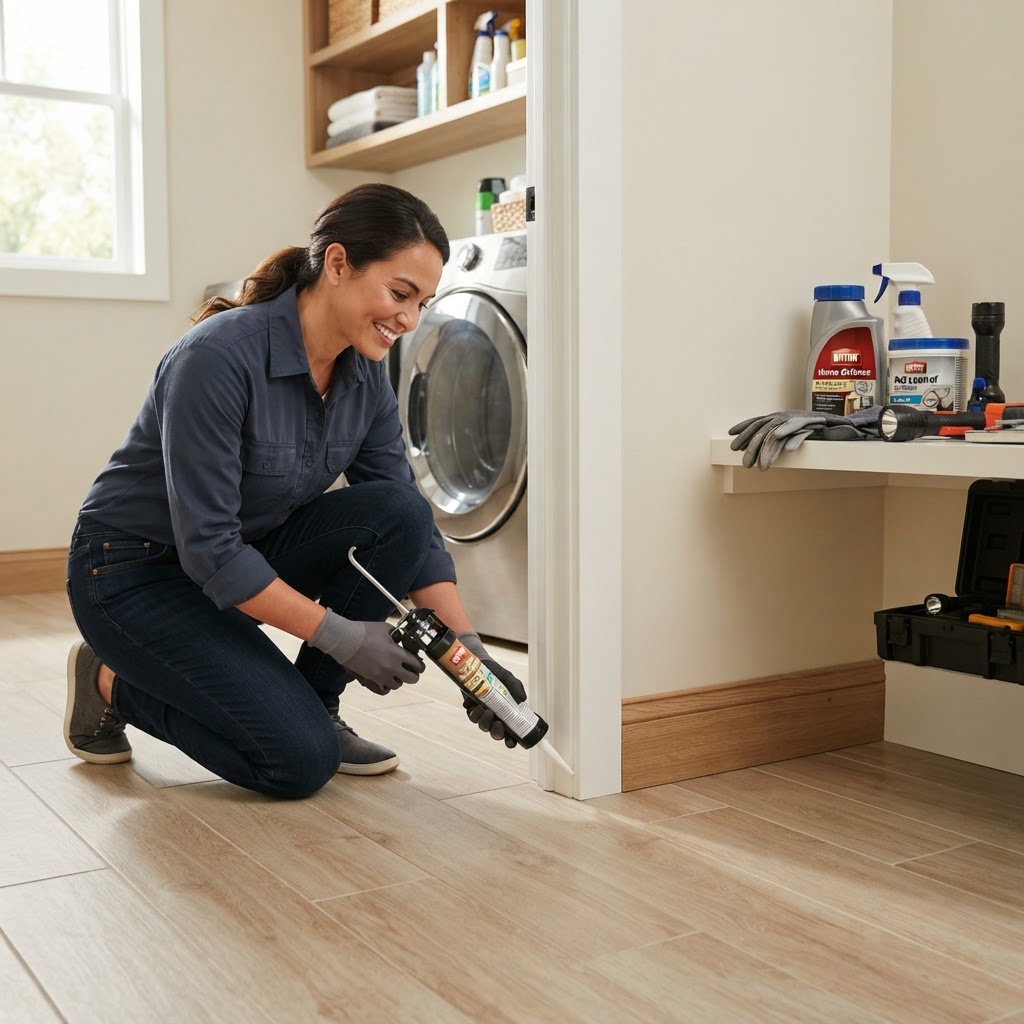
Essential Pest Control Tips: A Homeowner’s Complete Guide
Maintaining a pest-free home is about protecting your property and health. Seal entry points, eliminate moisture, store food properly, and clear clutter to prevent pests. While DIY methods work for minor issues, call professionals for termites or recurring infestations. Regular inspections are key to saving money and keeping your home protected.
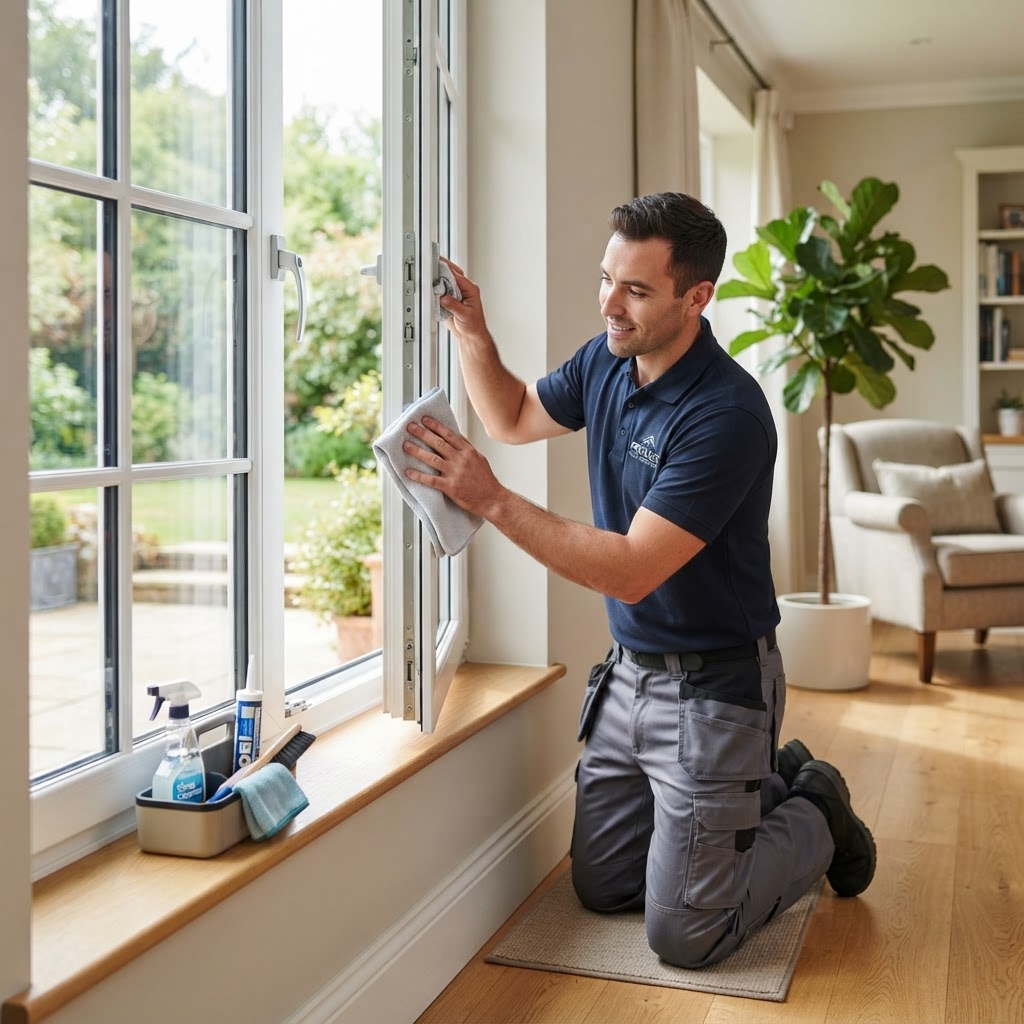
Boost Your Home Value: A Guide to Window and Door Maintenance
Your windows and doors are the first line of defense against the elements, serving as the bridge between your home’s interior and the outside world. Proper maintenance not only enhances curb appeal but also significantly improves energy efficiency. Routine tasks include cleaning tracks, lubricating hinges, checking weatherstripping, and inspecting caulking. DIY is great for basic maintenance, but structural issues require professionals. Budget for replacements by sourcing multiple quotes, and plan installations for spring or fall to ensure the best results.
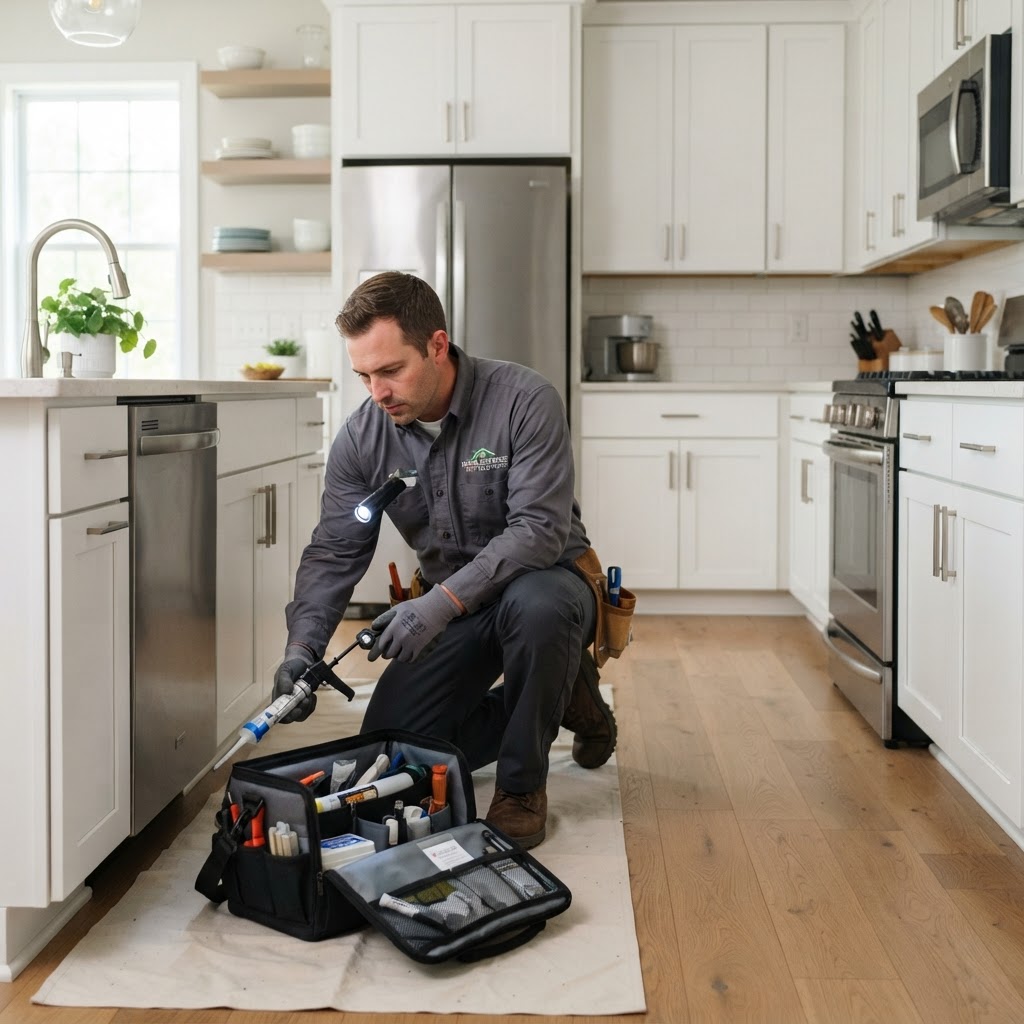
A Pro Guide to Home Pest Control: Prevention and Treatment Tips
Keeping a home pest-free is a year-round commitment. Whether you are dealing with seasonal invaders like ants and spiders or year-round threats like rodents and termites, having a solid plan is essential for protecting your property and health. The most effective way to manage pests is to stop them before they enter. Seal entry points, remove attractants, manage moisture, and keep vegetation trimmed. For minor issues, DIY solutions work, but call professionals for termites or rodent infestations. Budget for preventative maintenance to save money in the long run. Timing is key: treat in spring for insects and fall for rodents.
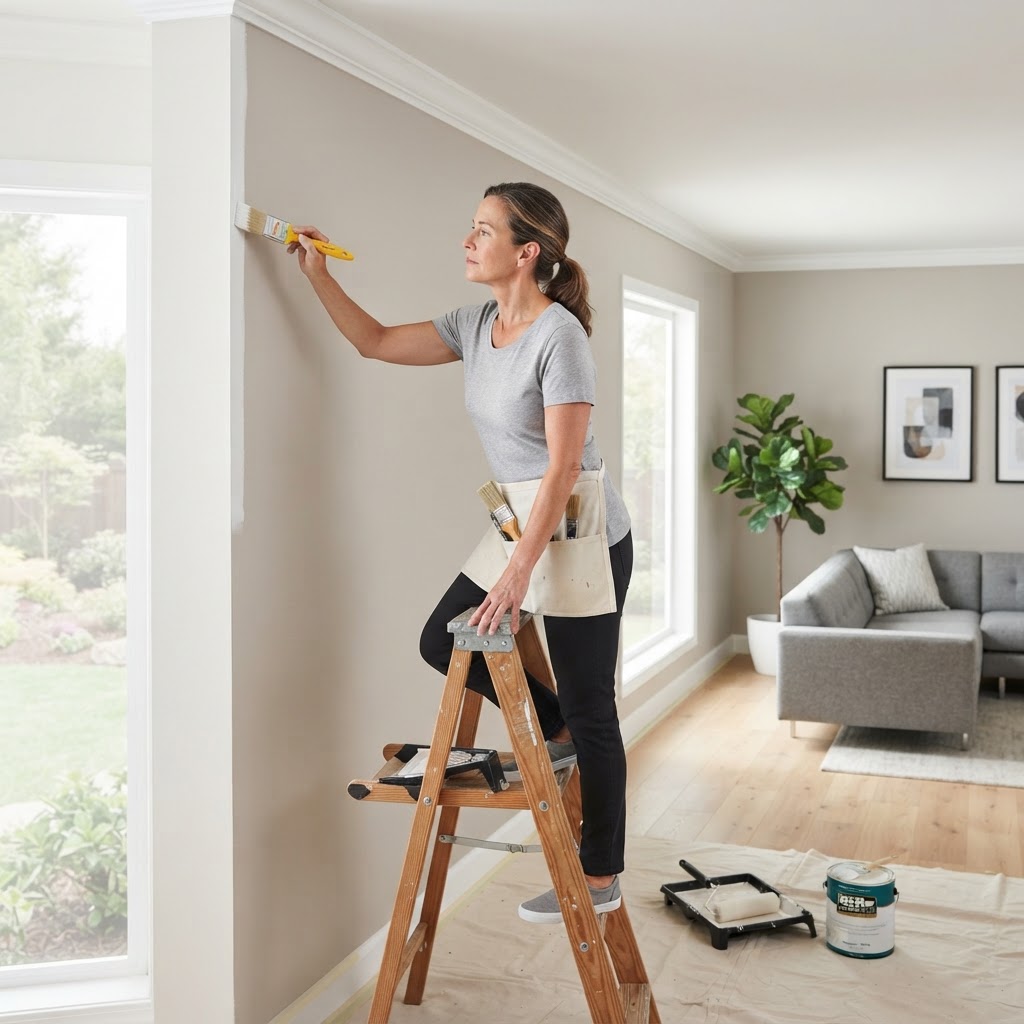
Mastering Interior Painting: A Pro Guide to a Flawless Finish
The secret to a professional paint job lies in preparation. Clean, sand, and prime your walls before applying paint. Choose the right sheen for the room—matte for living areas, semi-gloss for trim. Expect to spend $200-$600 for DIY supplies or hire a pro for $3-$7 per square foot for complex tasks. Work with a wet edge to avoid lap marks and remove painter's tape before the paint fully cures for the cleanest lines.
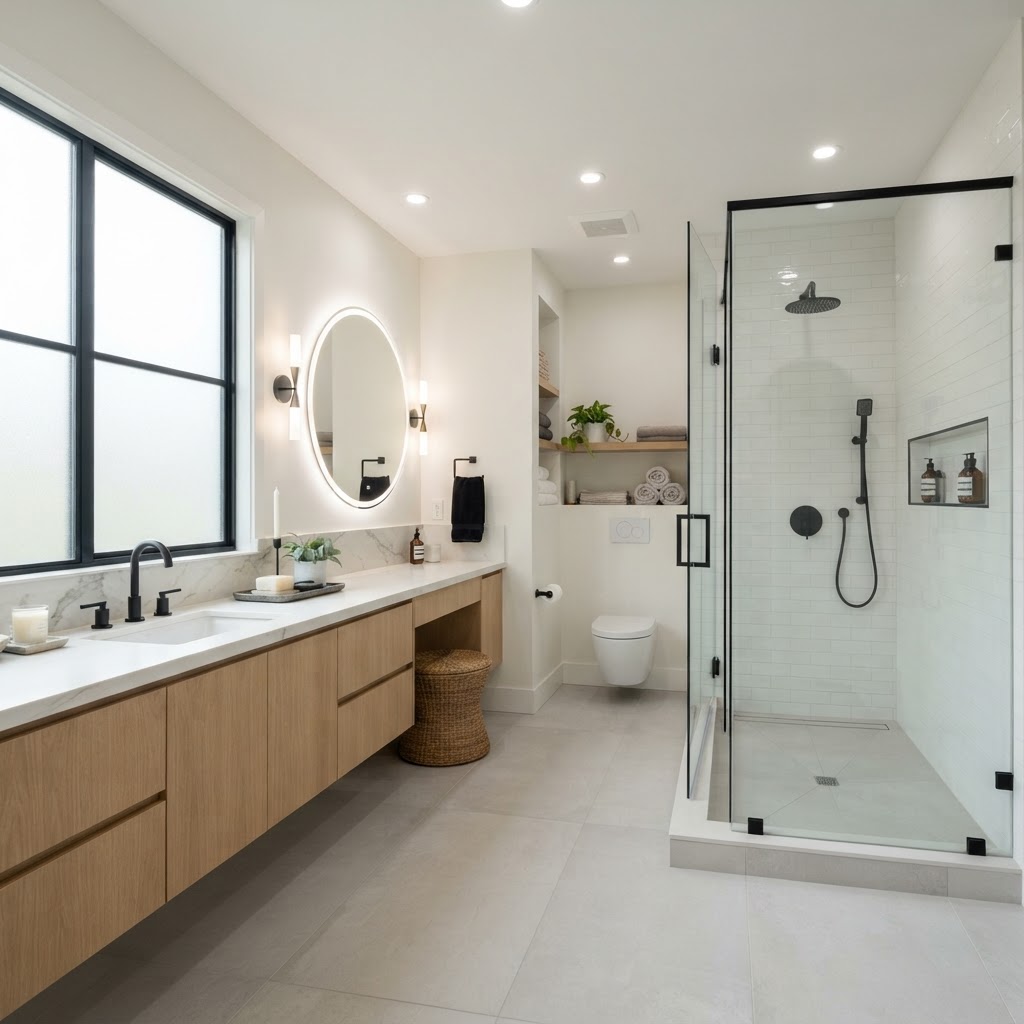
Bathroom Remodel Guide: How to Plan, Budget, and Execute Your Renovation
A bathroom remodel is one of the most rewarding home improvement projects you can undertake. Whether you are looking to increase your property value or simply want to create a spa-like retreat, careful planning is the foundation of success. Before you pick out tiles or fixtures, establish a firm budget. A mid-range bathroom remodel typically costs between $10,000 and $25,000, depending on the scope of work. Always set aside a 15-20% contingency fund to cover unexpected issues like water damage or plumbing retrofits that often hide behind old walls. Knowing your limits is critical. Some tasks are manageable for a savvy homeowner, while others demand a licensed professional. DIY tasks include painting, hardware installation, and flooring. Leave plumbing and structural work to pros to avoid mold or leaks. Functionality is key. Consider your daily habits and choose durable, moisture-resistant materials. A typical remodel takes 3-6 weeks, so order materials early to avoid delays.
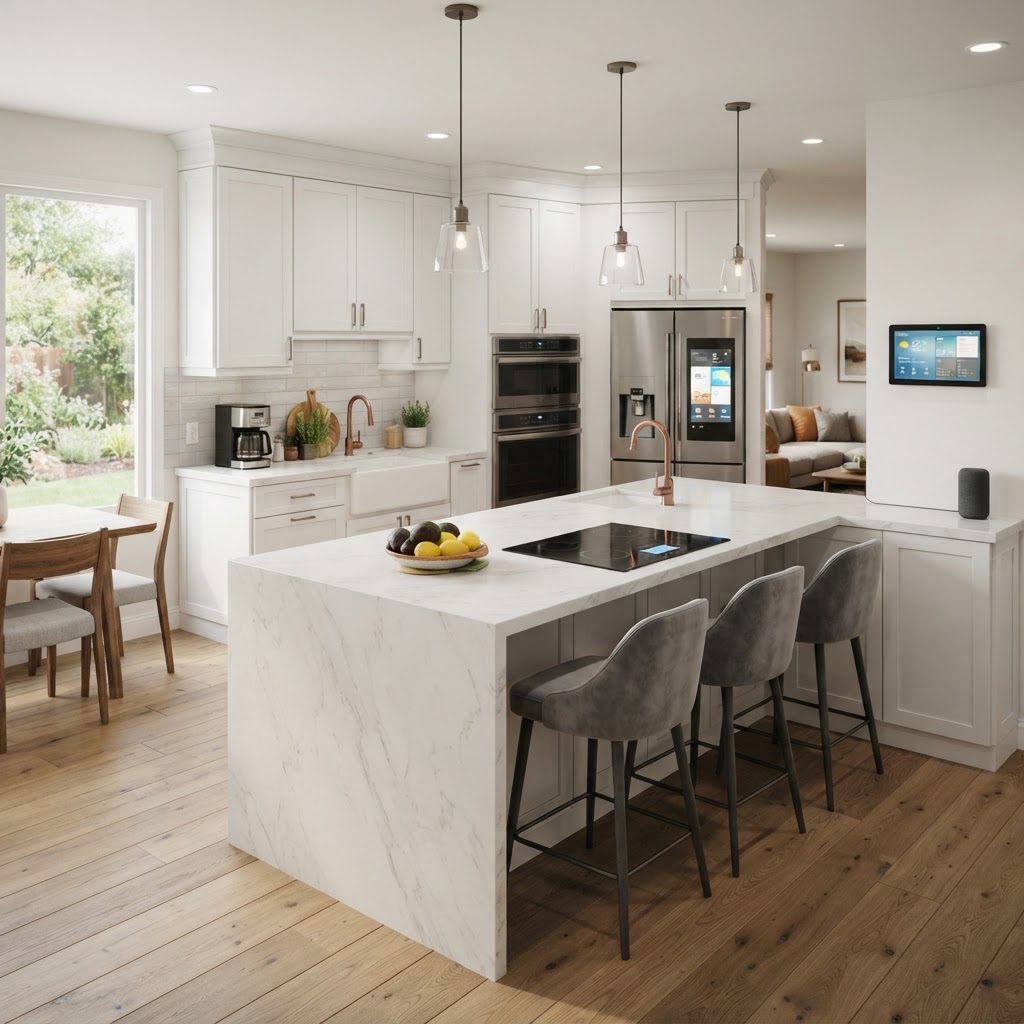
Smart Kitchen Upgrades to Boost Your Home Value and Functionality
The kitchen is the heart of the home. Upgrading your space can boost value and functionality. Focus on high-impact changes like cabinet refacing, energy-efficient appliances, improved lighting, and a fresh backsplash. Decide which projects are DIY-friendly like painting or hardware swaps, and hire pros for electrical and plumbing. Keep the work triangle in mind for efficiency and prioritize neutral updates if you are planning to sell.

Boost Your Home Efficiency: A Guide to Window and Door Maintenance
Your windows and doors are the primary barriers between your home and the elements. Proper upkeep not only improves curb appeal but significantly enhances energy efficiency, lowering utility bills and increasing home security. Whether you have drafty frames or sticky locks, addressing these issues early saves thousands in long-term repairs. Twice a year, conduct a thorough check of your home entry points. Look for signs of decay, moisture, and hardware wear. Key areas to focus on include: weatherstripping, caulking, and hardware. Not every issue requires a new installation. If your double-pane windows have fog between the glass, the seal has failed. If the issue is solely a damaged handle, a simple DIY fix is cost-effective. Minor repairs usually cost under $100. Professional window replacements typically range from $600 to $1,200 per unit. DIY is fine for minor adjustments, but professional installation is recommended for structural changes. Keep tracks clean and wash glass to extend unit life.
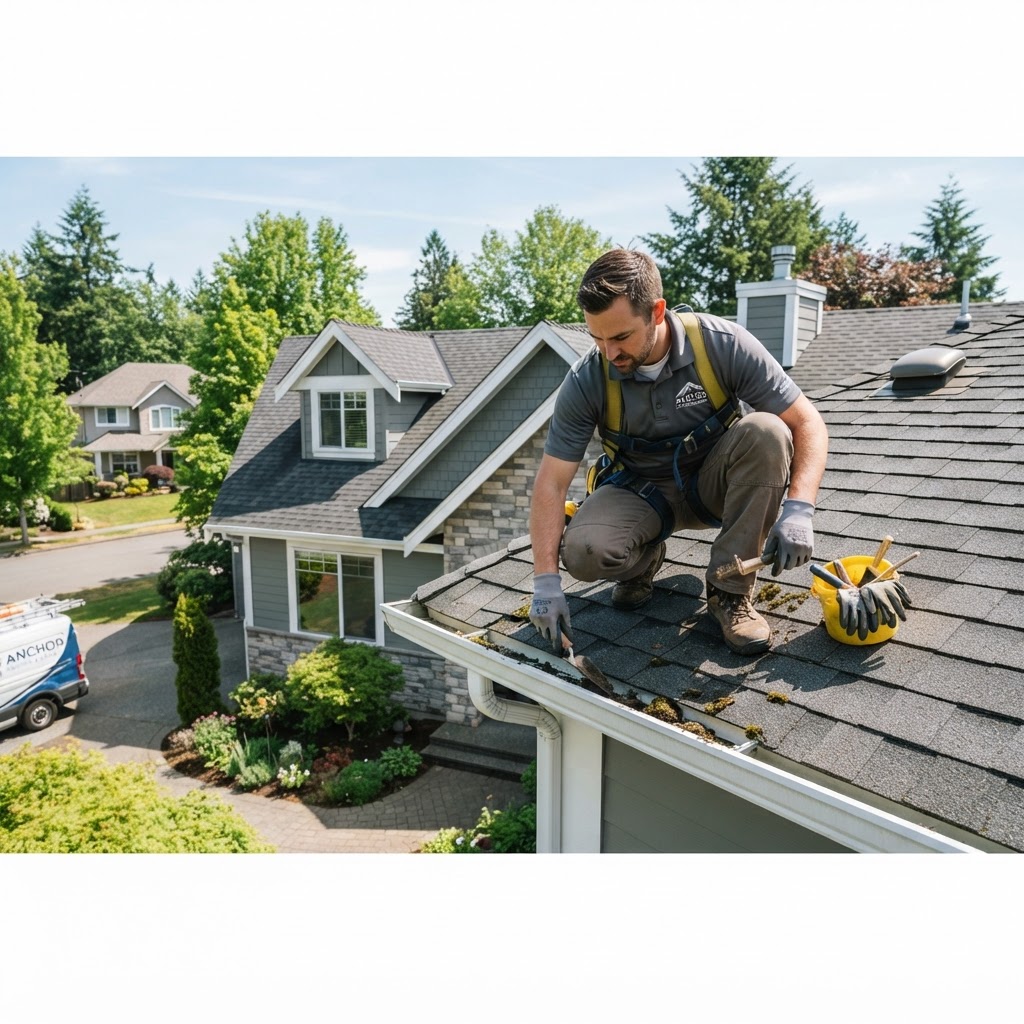
Essential Guide to Roofing and Gutter Maintenance for Homeowners
Your roof is the primary defense against the elements, and your gutters act as the drainage system that protects your foundation. Neglecting these areas can lead to costly water damage, mold growth, and structural issues. By staying proactive, you can extend the lifespan of your roof significantly. Twice a year—ideally in the spring and autumn—conduct a visual inspection from the ground. Look for missing or damaged shingles, signs of rust, or sagging sections. If your roof is more than 15 years old, consider hiring a professional for a detailed assessment. Gutters clogged with leaves and debris can cause water to overflow and seep into your home's exterior walls or basement. Clear debris, flush the system with a hose, check the pitch, and consider mesh gutter guards. Minor tasks like cleaning gutters or replacing a few shingles can be DIY, but major repairs should be handled by a licensed professional. Budget for regular maintenance to avoid massive repair bills later.
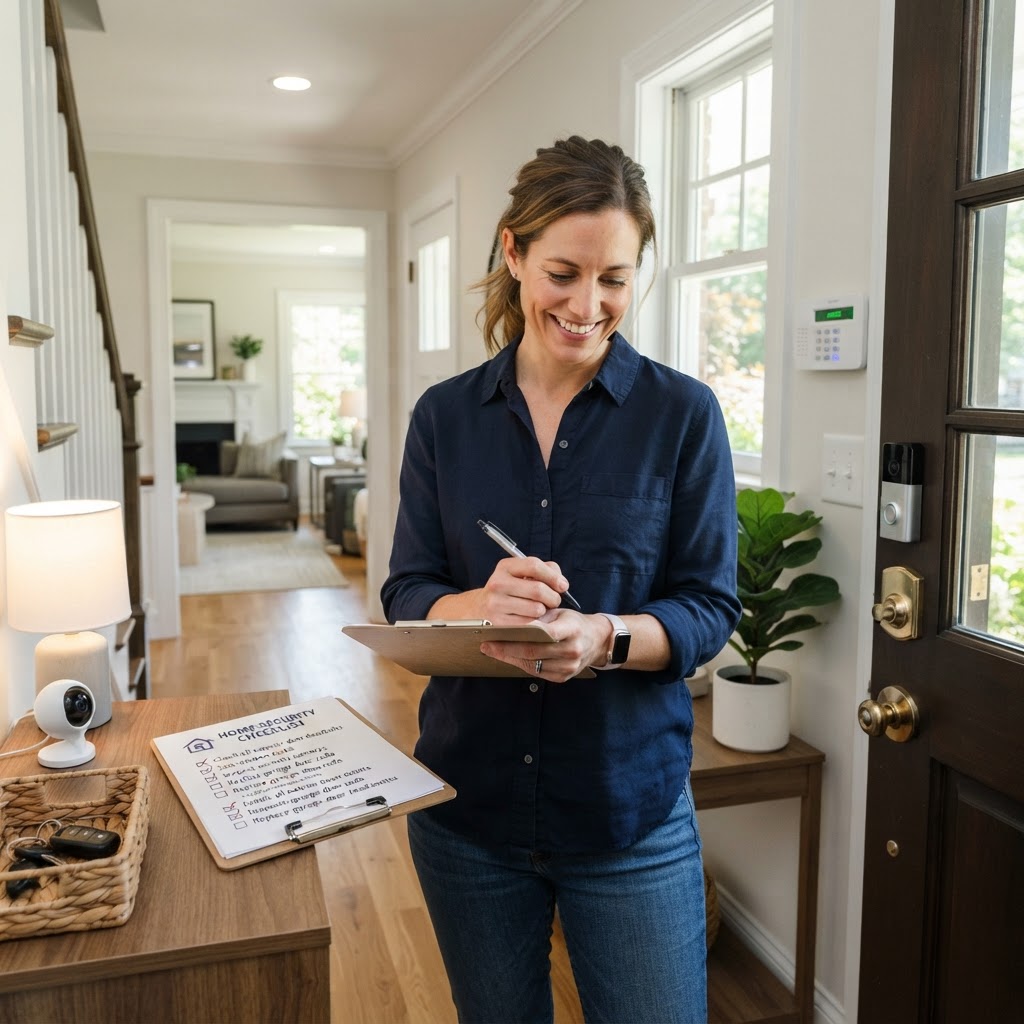
Essential Home Security Checklist: Protect Your Property Today
The first step in securing your home is conducting a perimeter assessment. Most burglars enter through the front or back doors, often because they are left unlocked or have weak deadbolts. Ensure every exterior door features a high-quality deadbolt with at least a one-inch throw. Upgrading your strike plates with three-inch screws will significantly increase resistance against forced entry. Costs for these hardware upgrades are minimal, usually under $100 per door. Modern home security is more accessible than ever. Video doorbells and smart locks provide real-time updates and peace of mind while you are away. Smart lighting, set on timers or motion sensors, creates the illusion of occupancy, which is an excellent deterrent. You can often install these systems yourself in an afternoon, though professional installation is recommended if you are integrating a complex whole-home alarm system. Trim back large bushes and tree branches near windows and entryways to eliminate hiding spots for intruders. Ensure your house numbers are clearly visible from the street so emergency services can locate you quickly. Installing motion-activated floodlights around the perimeter of your yard is a cost-effective DIY project that adds a layer of security that costs less than $200 for multiple units. Every six months, perform a comprehensive safety audit. Test your smoke and carbon monoxide detectors, replacing batteries as needed. Check the condition of your window locks, as these are often overlooked during daily routines. If you find your window hardware is worn or malfunctioning, replace it immediately. While some tasks are perfect for a DIY Saturday, electrical or sophisticated alarm work should always be handled by licensed professionals to ensure full compliance with safety codes. Start with the basics: doors, locks, and lighting. These foundational elements provide the highest return on investment. Once you have secured your perimeter, evaluate if a monitored alarm service aligns with your budget and lifestyle needs. Consistency is key; a security system is only effective if it is used every single day.
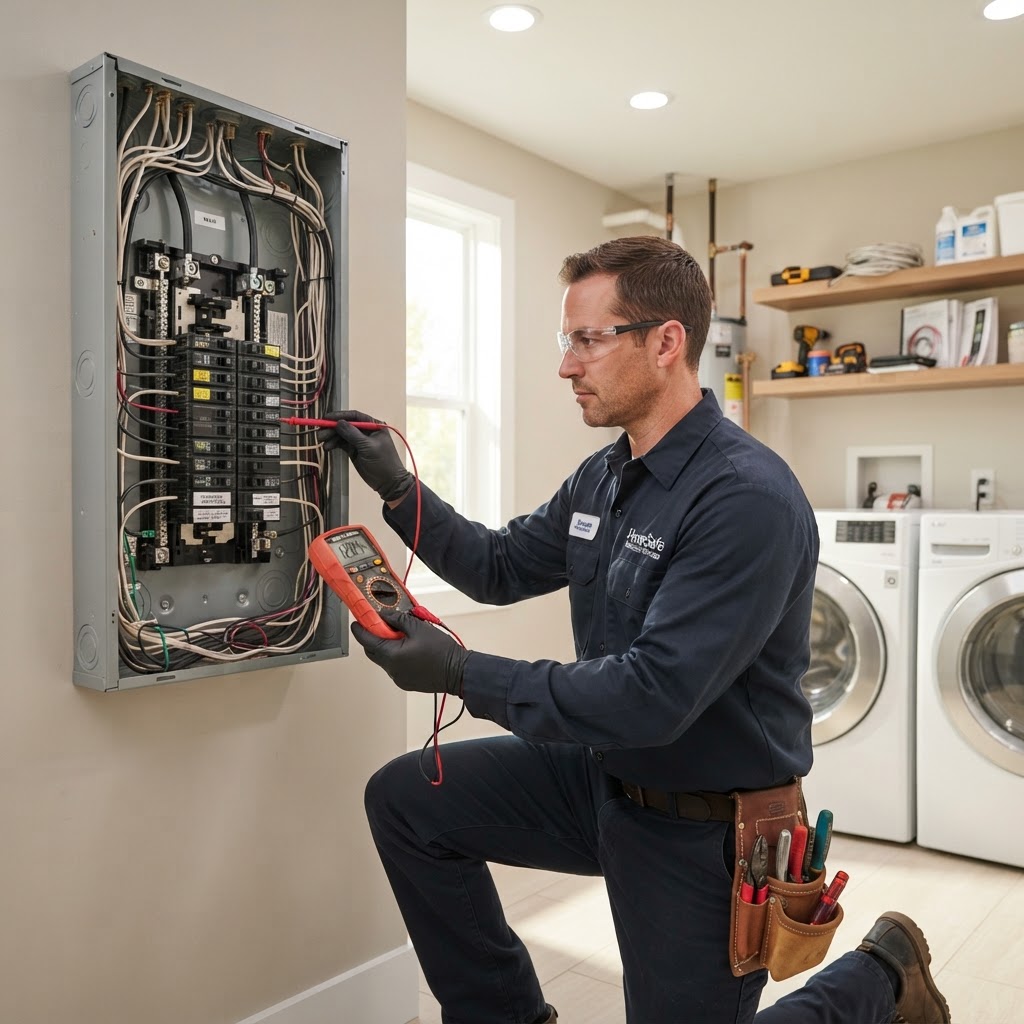
Essential Electrical Maintenance: A Homeowner’s Safety Guide
Your home's electrical system is the lifeblood of modern comfort, yet it is often overlooked until something goes wrong. Regular maintenance and safety awareness are critical for preventing fire hazards and costly emergency repairs. While some minor tasks can be handled by a handy homeowner, the majority of electrical work requires a licensed professional. You should always hire an electrician for installing new circuits, upgrading panels, or dealing with burning smells. DIY projects should be limited to swapping faceplates, light fixtures, or testing safety detectors, provided the power is off. Budgeting for maintenance is key; older homes may need significant updates, while routine inspections cost roughly $150-$300. Never ignore hot outlets or tripped breakers, as these are clear warning signs of danger.
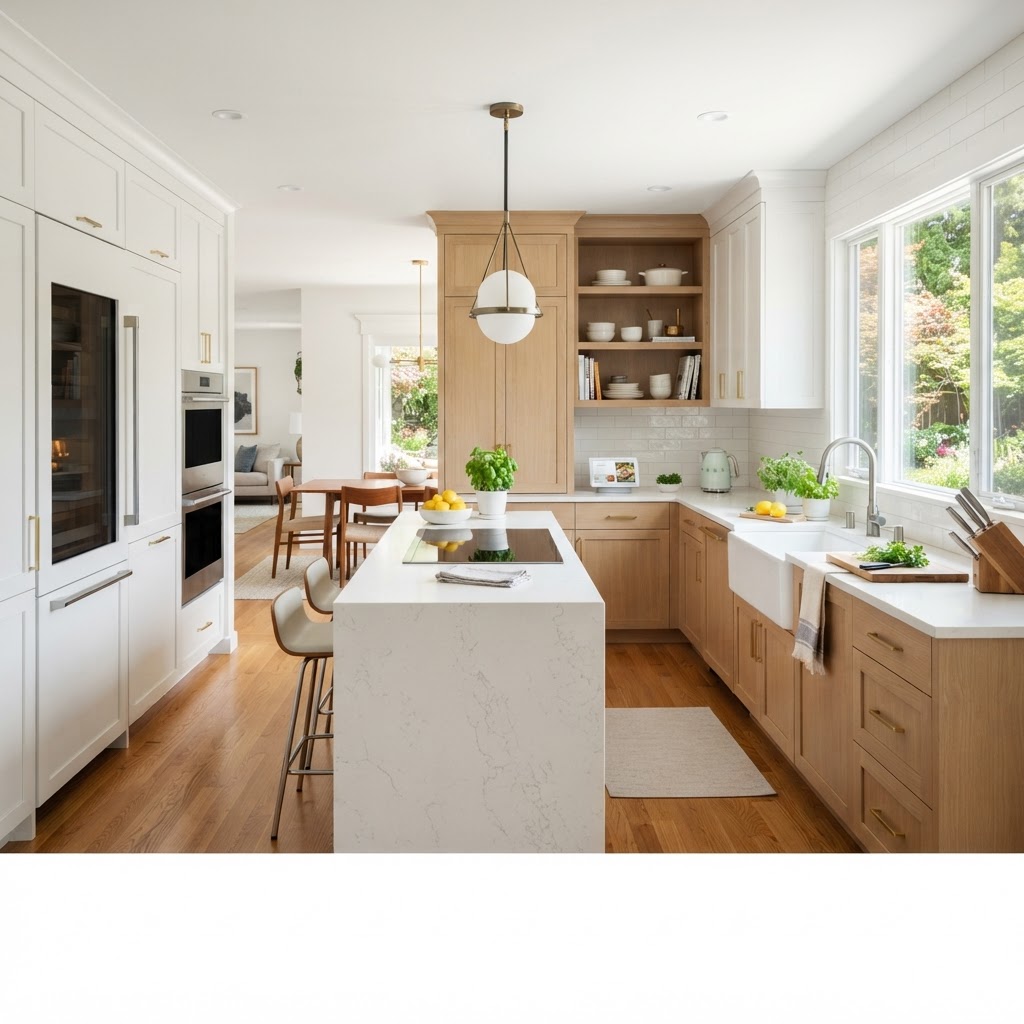
Smart Kitchen Upgrades: Boosting Value and Functionality
The kitchen is the heart of the home. Elevate your space with these smart upgrades, from simple DIY fixes like changing hardware and lighting to larger investments like upgrading countertops and appliances. Focus on high-impact projects that provide the best return on investment while respecting your budget and skill level. Always hire professionals for plumbing and electrical work to ensure safety and code compliance.
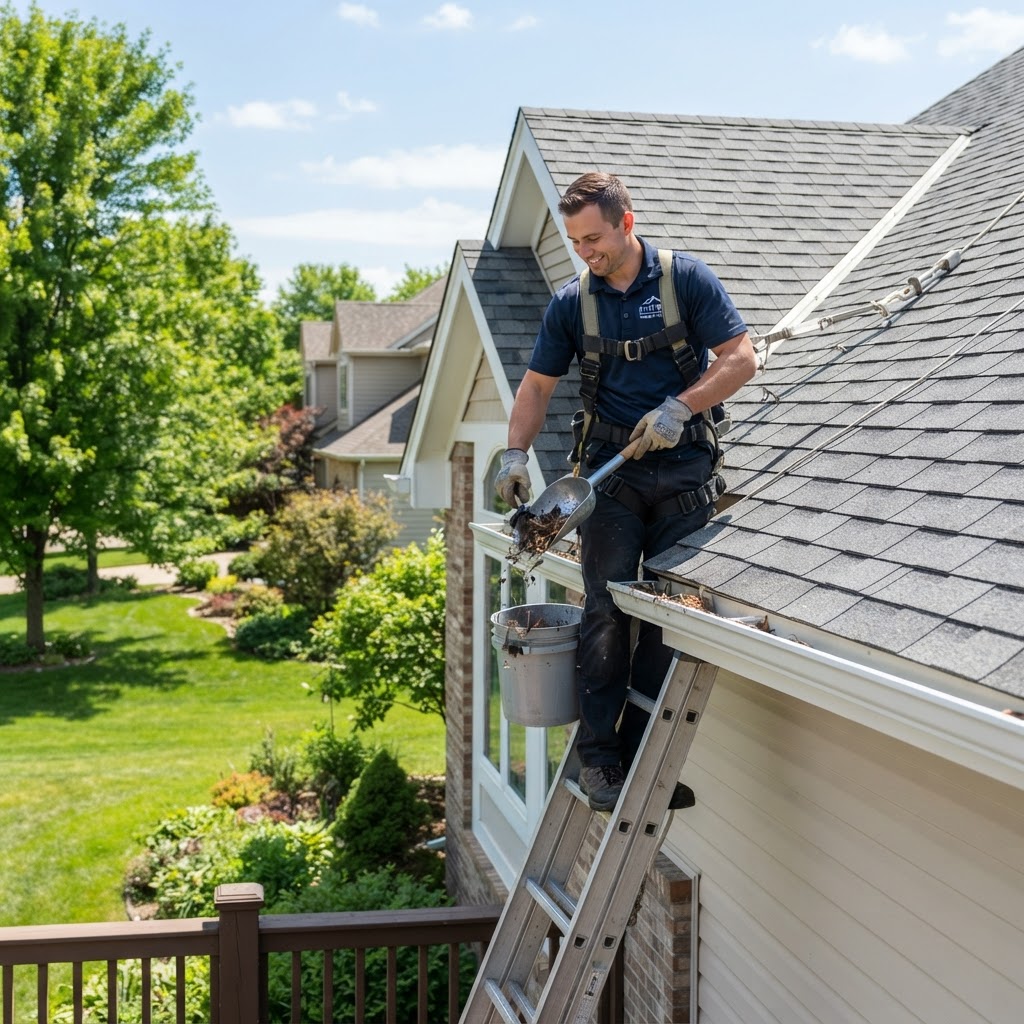
Essential Roofing and Gutter Maintenance Guide for Homeowners
Your roof and gutter system acts as the primary shield for your home. Neglecting these areas can lead to costly structural damage, interior leaks, and mold growth. Maintenance should follow a seasonal rhythm. In spring, inspect shingles and clear debris. In summer, check attic ventilation and flashing. In fall, clean gutters thoroughly. In winter, monitor for ice dams. You can handle basic gutter cleaning yourself, but always leave roof repairs to licensed professionals. Repairs and replacements are significant expenses, so budgeting for regular maintenance is essential to avoid emergency costs. Consistent care extends the life of your roof and protects your investment.
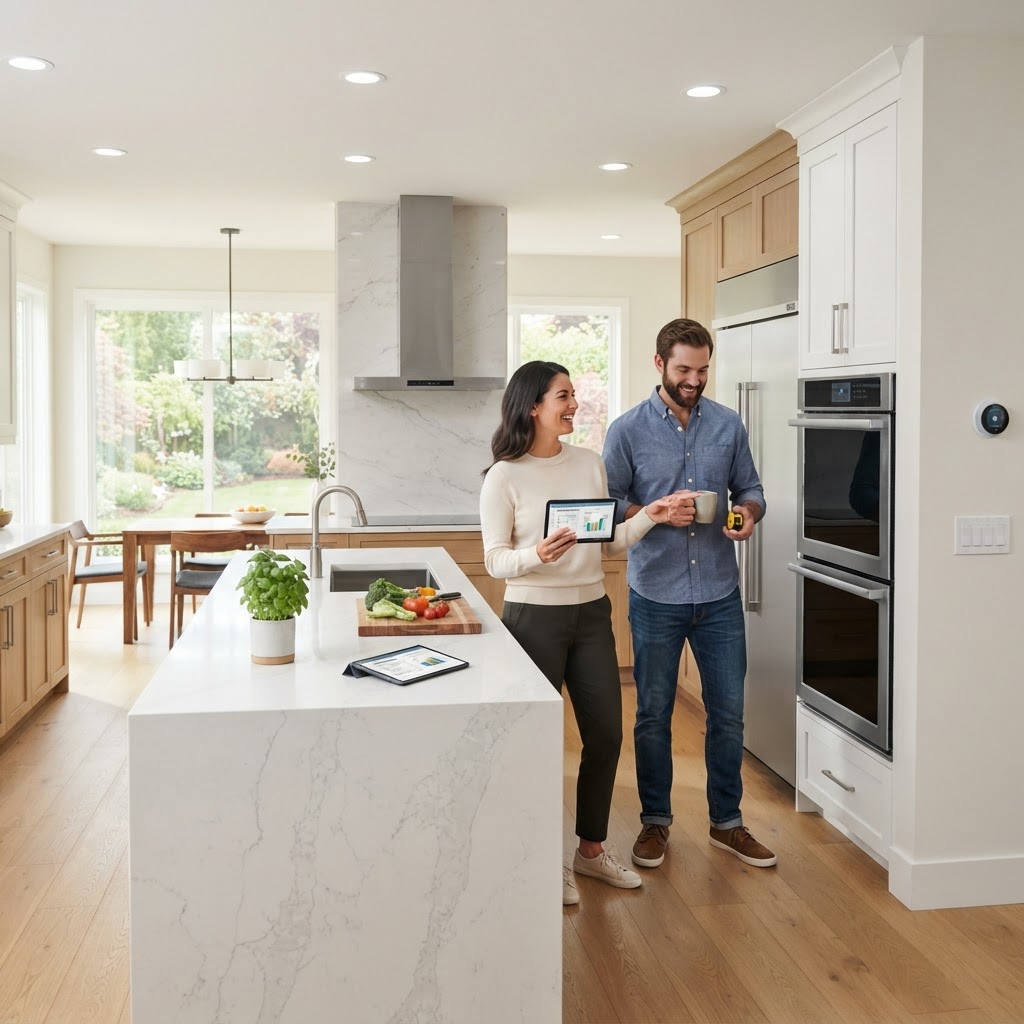
Smart Home Renovations: How to Invest for Maximum Resale Value
When considering an investment strategy for your home, it is crucial to differentiate between projects that provide personal enjoyment and those that actually increase market value. Not every renovation will yield a positive return on investment. Focus on high-impact projects like minor kitchen remodels, curb appeal improvements, and energy efficiency upgrades. Timing is critical; aim to finish projects at least six months before listing. While DIY is great for aesthetic updates, always hire professionals for structural or utility work to avoid inspection pitfalls. Keep a 20% contingency fund and research neighborhood comps to avoid over-improving your property.
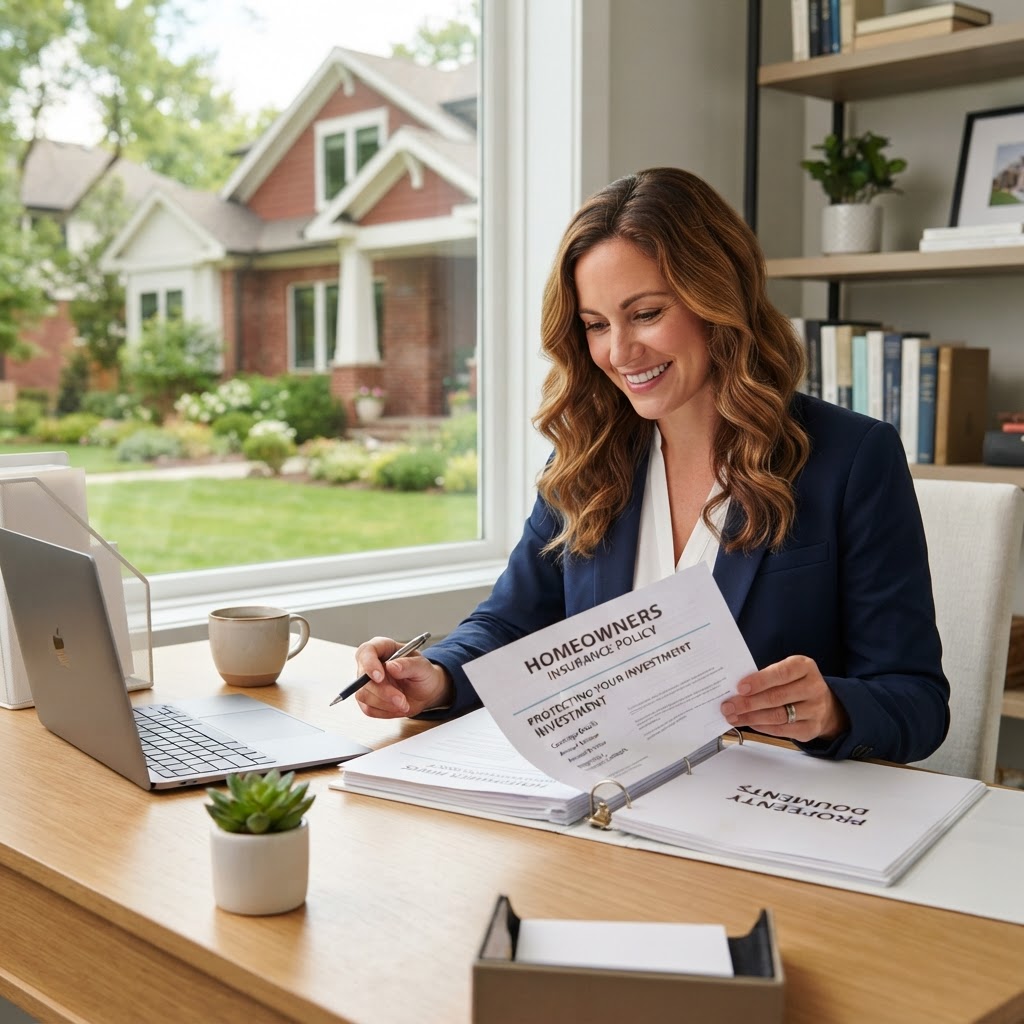
Homeowners Insurance: A Practical Guide to Protecting Your Investment
Homeowners insurance is your primary safety net against financial loss. This guide explains how to audit your policy, decide when to file claims, and maintain your home to lower premiums. Key steps include conducting a home inventory, choosing replacement cost coverage, and knowing when to handle repairs out-of-pocket rather than filing a claim. Regular maintenance, such as trimming trees and updating security, can also lead to significant insurance savings over time.
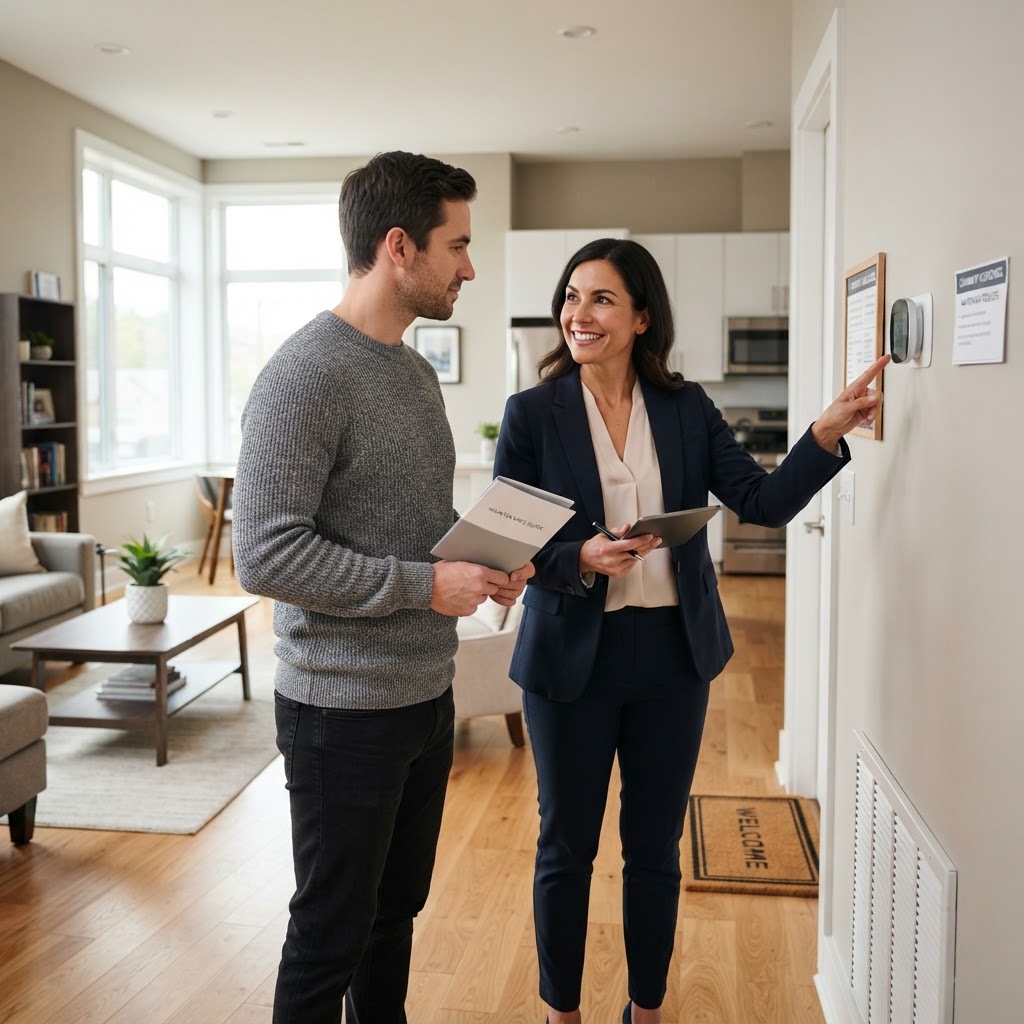
Mastering Tenant Relations: A Guide for Successful Landlords
Maintaining a positive relationship with your tenants is the most effective way to reduce turnover costs and protect your property investment. When communication lines are open and respectful, tenants are more likely to treat your home with care and report maintenance issues promptly. Top Strategies for Landlord Success include consistent communication, respecting privacy, and proactive maintenance. For DIY tasks, stick to simple items like HVAC filters; for anything electrical or plumbing-related, hire a professional. Good tenant relations save money by reducing vacancy rates and protecting your asset.
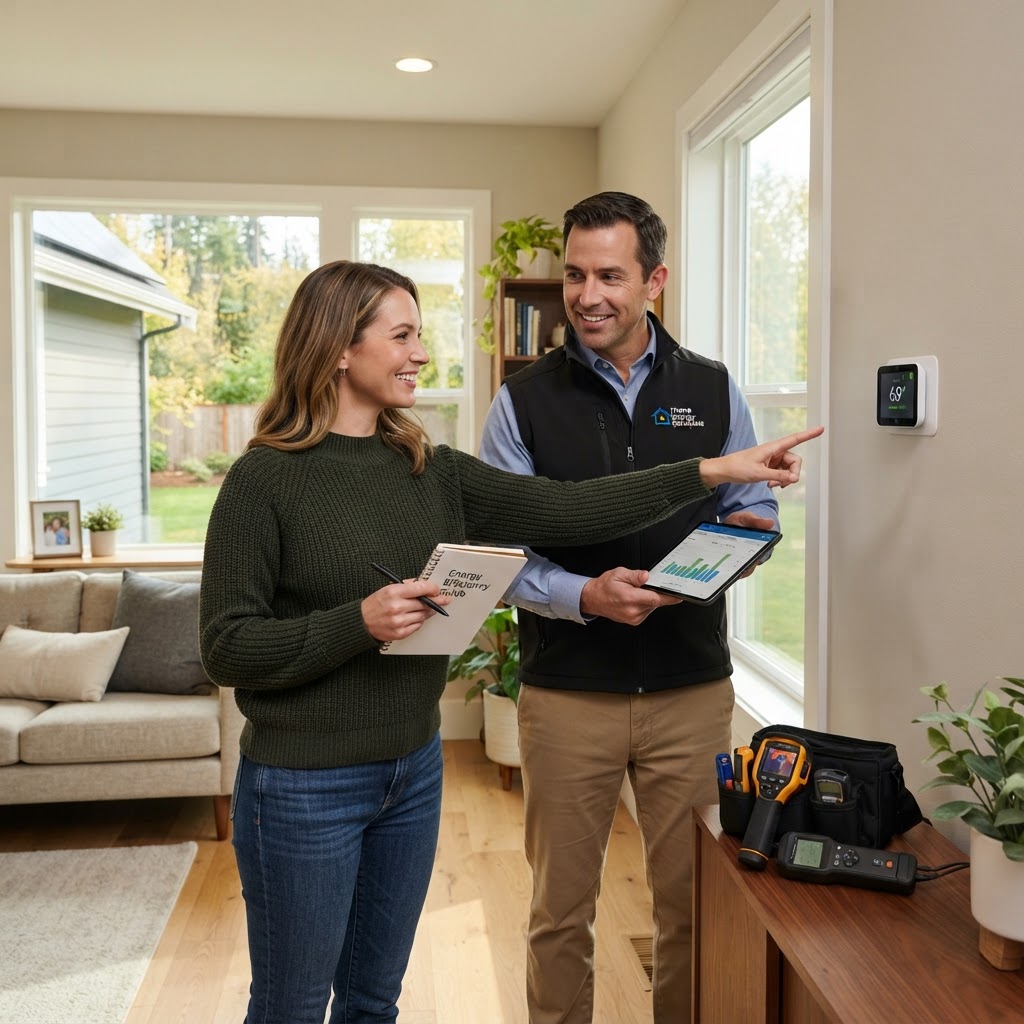
Mastering Energy Efficiency: A Practical Guide for Homeowners
The most cost-effective way to improve energy efficiency is to stop conditioned air from escaping. Inspect windows and doors for drafts using a simple incense stick or thermal camera. Applying weatherstripping or caulk around gaps can save you up to 15% on monthly heating and cooling bills. This is a simple DIY project costing under $50. Transitioning to LED bulbs remains the quickest win in home efficiency. LEDs use 75% less energy and last 25 times longer than traditional incandescent lighting. Installing a smart thermostat allows you to automate temperature settings based on your schedule. By lowering the temperature by 7-10 degrees for eight hours a day, you can save roughly 10% annually. Check your attic insulation levels. If you can see the floor joists, your home is likely under-insulated. While DIY kits exist, hiring a professional for blown-in cellulose insulation often provides better coverage and thermal resistance. Regular maintenance ensures your appliances run at peak performance. Clean your refrigerator coils every six months to improve efficiency, and ensure your dryer vent is free of lint to reduce fire risks and cycle times.

Smart Home Renovations: How to Invest for Maximum Resale Value
Not all home improvements are created equal. When considering an investment strategy for your property, it is crucial to distinguish between projects that enhance your personal lifestyle and those that provide a measurable return on investment. Focus on high-impact areas like kitchen updates, curb appeal, and energy efficiency. Always weigh DIY savings against the risks of poor craftsmanship on complex projects. Timing and budget discipline are the pillars of a successful renovation investment strategy.

Flooring 101: A Homeowner’s Guide to Choosing the Best Material
Selecting new flooring is a significant investment that impacts both the aesthetic appeal and resale value of your home. Before you commit to a specific material, you must evaluate how your space is used. High-traffic areas like entryways and kitchens require durability, while bedrooms benefit from soft, insulating materials. Hardwood is the gold standard for resale value, costing $8-$25 per sq ft. Luxury Vinyl Plank is the best DIY choice, costing $3-$8 per sq ft and offering waterproof features. Ceramic tile is ideal for bathrooms, and carpet remains a top choice for comfort. Many click-lock materials are DIY-friendly, but tile and hardwood often require professional installation to avoid long-term structural issues. Always prioritize subfloor preparation, as a level and dry base is essential for any flooring longevity. Maintain your floors by using furniture felt pads, area rugs, and gentle cleaning solutions.

Homeowners Insurance: A Strategic Guide to Protecting Your Investment
Homeowners insurance is a critical aspect of protecting your property. By conducting annual audits, keeping up with replacement costs, and understanding when to file a claim versus paying out-of-pocket, you can save money and ensure adequate coverage. Always consult with an independent broker for complex needs, and remember that consistent home maintenance is the best way to prevent claim denials.
Essential Roof and Gutter Maintenance: A Homeowner’s Guide
Your roof and gutters serve as the primary shield for your home against the elements. Ignoring maintenance often leads to costly water damage, structural rot, and expensive roof replacements. Regular inspections can add years to your roof's lifespan and protect your investment. The best time to inspect your roof is during the spring and late autumn. Clear debris, clean your gutters, inspect flashing, and check shingles for damage. DIY is suitable for simple cleaning, but professional help is recommended for repairs to ensure safety and warranty compliance. Expect professional cleaning costs between $150 and $350, and inspections between $200 and $500. Regular care prevents thousands in damage.

Mastering Tenant Relations: A Guide for Successful Landlords
Successful property management hinges on one critical factor: the relationship between landlord and tenant. A positive connection leads to longer lease terms, better property care, and reduced vacancy rates. Consistent communication and proactive maintenance are the pillars of a successful landlord-tenant relationship. By staying ahead of repairs and respecting the tenant's needs, you reduce turnover and foster a long-term professional connection. Investing in your tenants through simple gestures and responsive service is far more cost-effective than the financial drain of property vacancy.

Transform Your Yard: Essential Landscaping Tips for Homeowners
A well-maintained landscape not only boosts curb appeal but also significantly increases your home's resale value. Whether you are starting from scratch or refreshing an existing garden, strategic planning is the key to success. Start by observing how sunlight moves across your yard throughout the day and identifying soil drainage patterns to ensure you choose the right plants for the right spaces. Essential maintenance steps include pruning, mulching, lawn care, and effective watering. For minor projects, DIY is cost-effective, while major hardscaping should be left to professionals. Native plants are highly recommended for lower maintenance. Follow a seasonal schedule to keep your garden thriving.

5 Smart Kitchen Upgrades to Boost Your Home Value Today
The kitchen is the heart of the home. Here are five practical upgrades: 1. Update hardware for a quick visual refresh. 2. Use LED under-cabinet lighting for better functionality. 3. Install a new faucet for a modern focal point. 4. Refresh the backsplash using tile or peel-and-stick materials. 5. Invest in energy-efficient appliances. Always remember to keep a budget buffer for unexpected costs and hire professionals for major electrical or plumbing work.
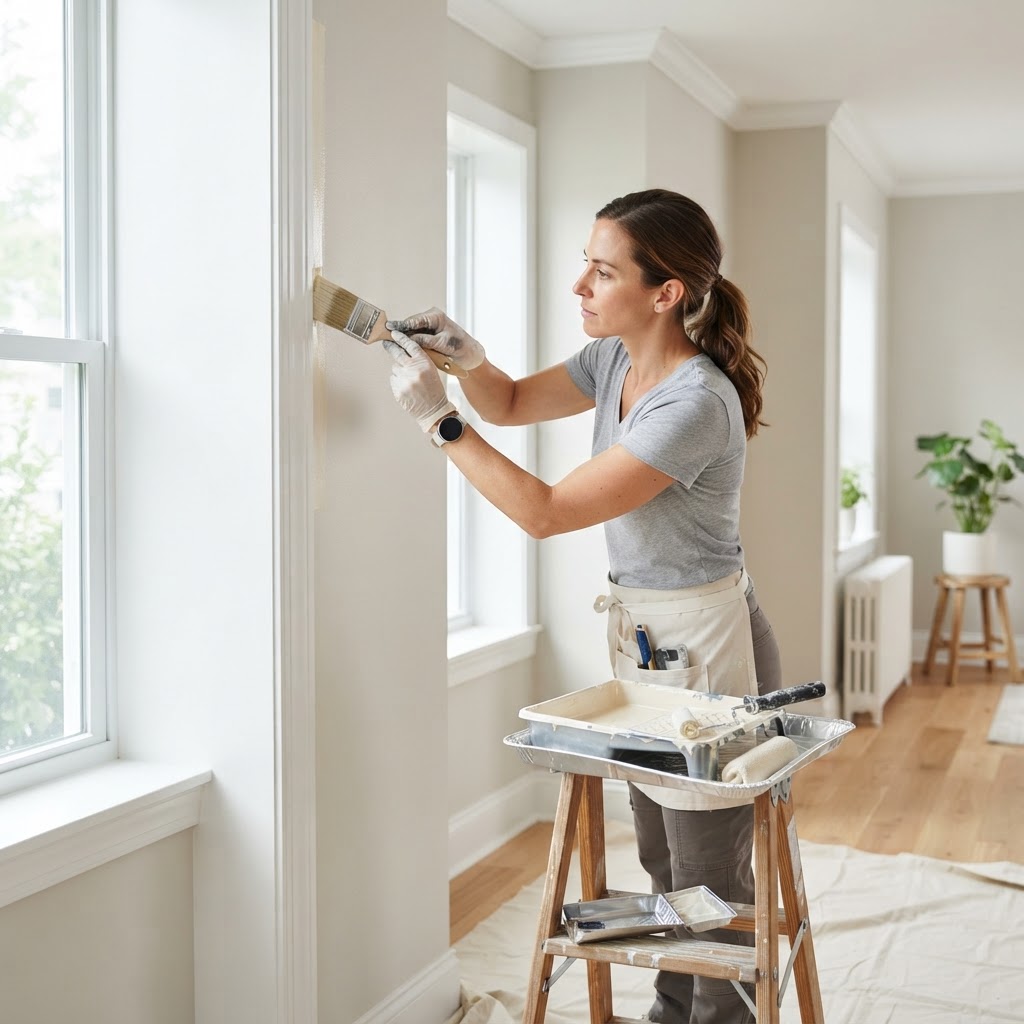
Mastering Interior Painting: A Pro Guide to a Flawless Finish
Preparation is Everything. Before you even open a can of paint, remember that 80% of a quality finish comes from prep work. Start by clearing the room, covering furniture with drop cloths, and removing outlet covers. Patch any nail holes with spackle, sand them until smooth, and ensure all surfaces are free of dust. The Importance of Priming. Many homeowners skip the primer to save time, but this is a mistake. A quality primer creates a uniform base, seals porous surfaces, and helps your topcoat adhere properly. If you are changing from a dark color to a light one, a tinted primer is essential to avoid needing multiple coats. Choosing the Right Tools. Don't settle for bargain bin brushes. Invest in high-quality nylon-polyester brushes for better coverage and fewer visible strokes. For walls, a 3/8-inch nap roller is generally the standard for smooth or lightly textured drywall. Use painter's tape to protect trim, but be sure to remove it while the paint is still slightly damp for clean, sharp lines. DIY vs. Professional Services. Painting is one of the most accessible DIY projects, but consider the scope of your home. A single bedroom is perfect for a weekend project. However, high ceilings, intricate crown molding, or exterior painting often require professional equipment and expertise. Professionals typically charge between $2 and $6 per square foot depending on the complexity of the job. If you lack the time or the physical stamina to reach high areas, hiring a pro is a wise investment. Cost and Timing. Budget roughly $50 to $100 per gallon for high-quality paint. While it may seem expensive, premium paint covers better, requiring fewer coats and lasting significantly longer. Factor in an additional $100 for supplies like rollers, brushes, tape, and trays. Aim to paint on days with moderate humidity; extreme heat or moisture can prevent the paint from drying correctly, leading to sagging or bubbling. Final Touch-Ups. Once the final coat is dry, inspect the room in good lighting. If you find small blemishes, keep a small labeled container of your wall color for quick touch-ups down the road. Proper maintenance ensures your walls look fresh for years to come.
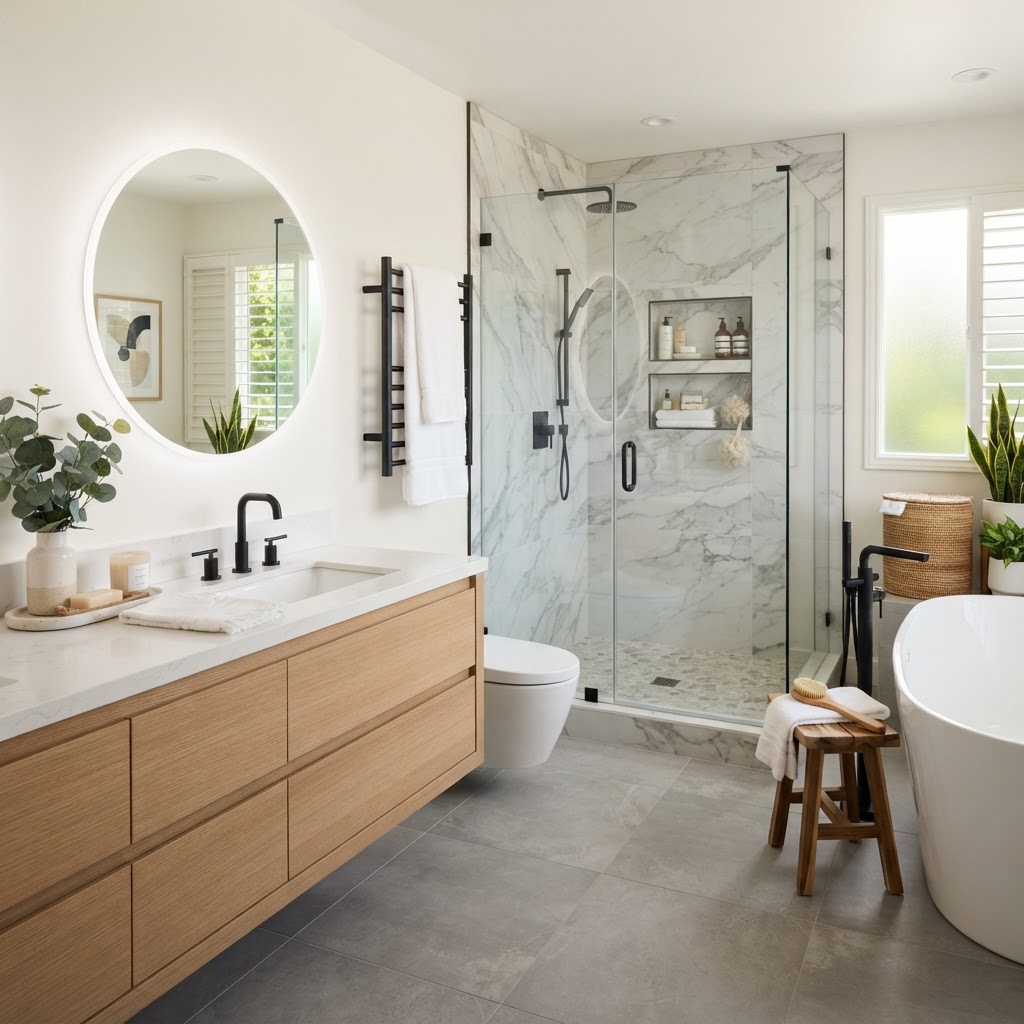
Bathroom Remodel Guide: How to Plan Your Perfect Renovation
A bathroom remodel is one of the most effective ways to increase your home's value and improve your daily comfort. Start by defining your scope and budget, setting aside 15% for surprises. While painting and vanity installation are great DIY tasks, leave plumbing and electrical work to the pros. Choose moisture-resistant materials like porcelain tile and LVP flooring. Remember to install a high-CFM exhaust fan to protect your investment from mold. Expect the project to take 3 to 6 weeks and prioritize smart storage solutions like recessed niches.
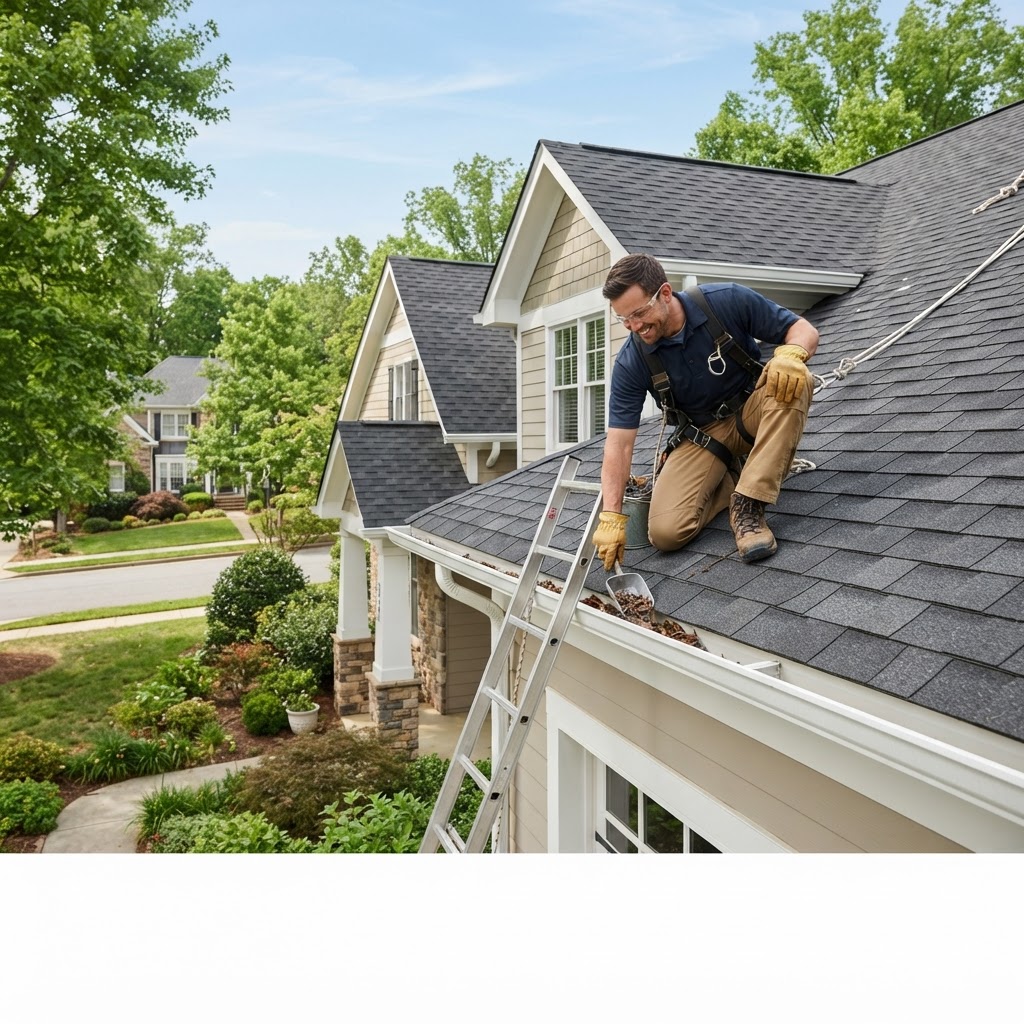
Essential Roofing and Gutter Maintenance Tips for Every Homeowner
Essential maintenance tips for homeowners regarding roofing and gutters. Learn when to DIY, when to call a pro, and how to budget for repairs.

Essential Guide to Maintaining Your Home Windows and Doors
Your windows and doors are the primary barriers between your living space and the elements. Proper maintenance not only increases the longevity of these components but also significantly boosts your home's energy efficiency. Neglecting these areas often leads to drafty rooms, moisture infiltration, and inflated utility bills. Perform seasonal tasks like inspecting weatherstripping, lubricating hinges, cleaning weep holes, and checking exterior caulking. Basic tasks are DIY friendly, but professional help is recommended for seal failures or major frame rot. Budgeting for replacements is essential, as costs can vary widely. Preventive care is the most effective way to avoid high repair costs and maintain home value.
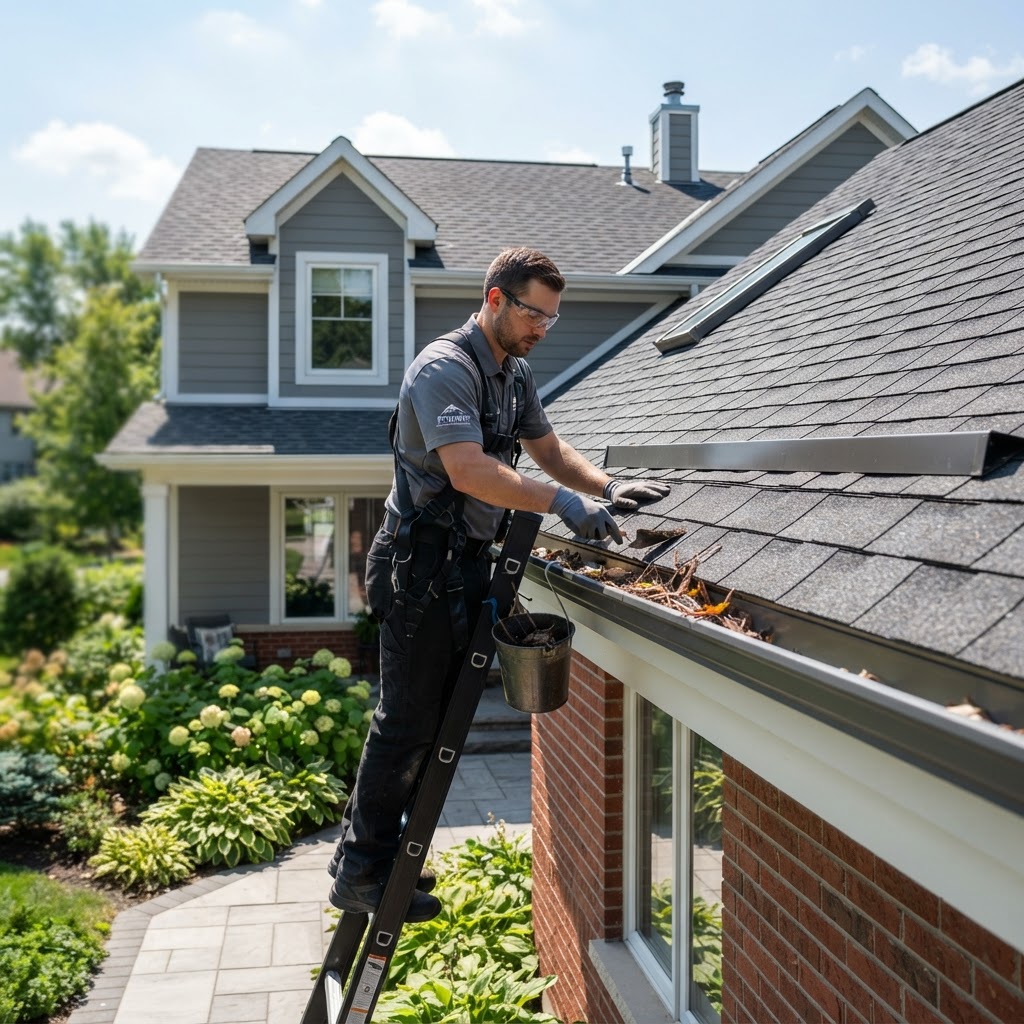
Essential Guide to Roof and Gutter Maintenance for Homeowners
Your roof is the primary defense against the elements, yet it is often the most neglected part of a home until a leak occurs. Maintaining your roofing and gutter system not only extends the life of your home but also prevents costly interior water damage. Twice a year, perform a visual inspection. Check for missing, cracked, or curling shingles, granules in your gutter, or rust spots. Clear your gutters of debris to protect your foundation. While basic cleaning is a DIY task, always hire a licensed professional for structural repairs. Budget for replacement early if your roof is near 20 years old.

Mastering Property Management: A Guide for Smart Homeowners
Property management is more than just collecting rent; it is about preserving the value of your asset and ensuring a seamless experience for tenants. This article explores key responsibilities including tenant screening, maintenance, and legal compliance. It also outlines the trade-offs between self-management and hiring professionals, providing actionable tips like quarterly HVAC maintenance and biannual gutter cleaning to keep your property in top shape.

Transform Your Yard: Essential Landscaping Tips for Every Homeowner
A beautiful landscape is more than just curb appeal; it is an extension of your living space. Whether you are starting with a blank slate or looking to revitalize an overgrown garden, effective landscaping requires a blend of design, maintenance, and seasonal timing. Before buying a single plant, determine your budget. A professional landscape design can range from $2,000 to $10,000+, but DIY projects can be accomplished for a fraction of that cost. Plan to execute major projects in the spring or fall when soil temperatures are ideal for root establishment. DIY is ideal for mulch installation and planting, while professionals should handle hardscaping and tree removal. Key tips include layering mulch, watering deeply, pruning at the right time, and choosing native plants to ensure sustainability.

Smart Home Tech: A Practical Guide for Modern Homeowners
Integrating smart home technology is no longer just for tech enthusiasts; it is a practical way to increase home security, improve energy efficiency, and simplify daily routines. Start with smart thermostats to save on energy costs, lighting for security, and video doorbells for peace of mind. Most devices are DIY-friendly, but complex security systems should be professionally installed. Always keep firmware updated for security and check sensor batteries biannually.
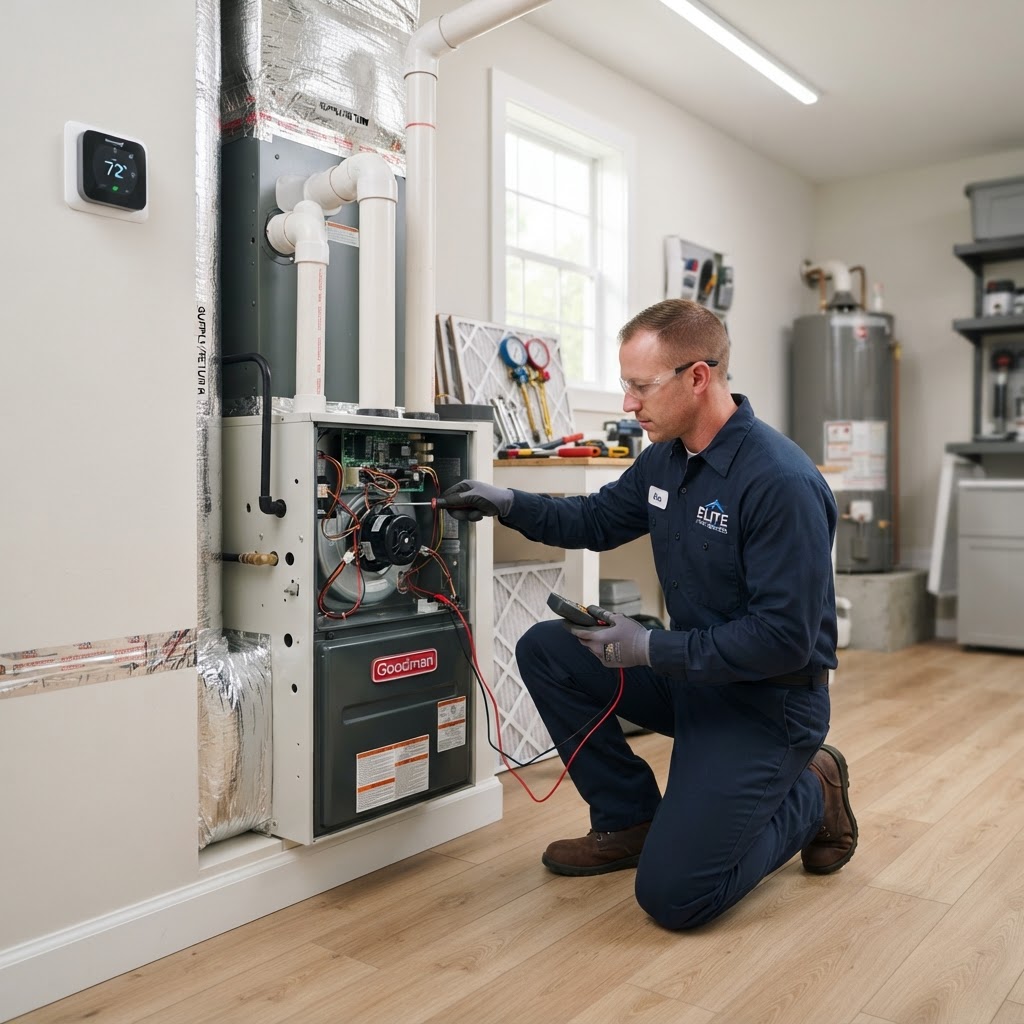
Essential HVAC Maintenance Guide: Keep Your Home Comfortable All Year
HVAC maintenance is essential for home longevity. DIY tasks include changing air filters every 1-3 months, clearing debris from outdoor units, and cleaning vents. Professional tune-ups should happen twice a year—spring for AC and fall for heating. Technicians inspect electrical components, clean coils, check refrigerant, and lubricate parts. Costs range from $100-$200 per visit, which pays for itself through energy savings and avoiding major repairs.
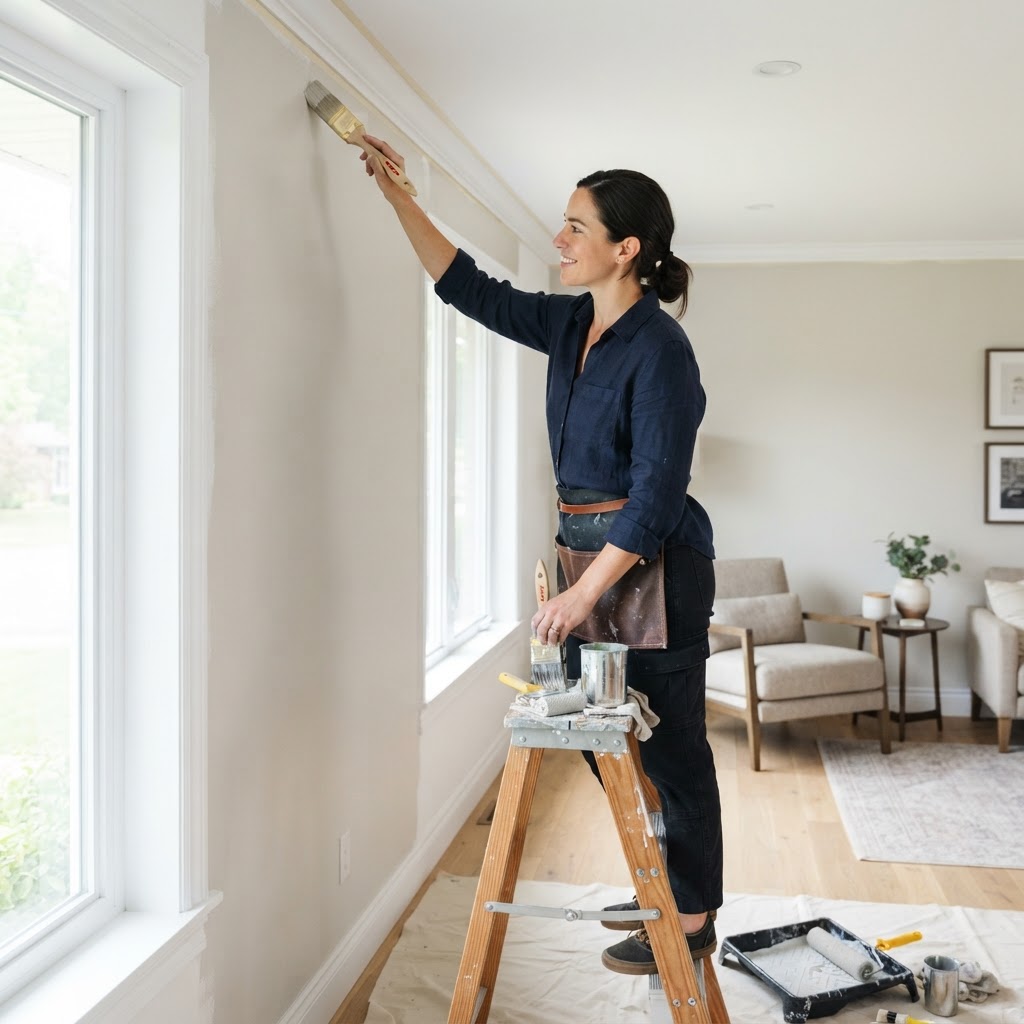
Mastering Interior Painting: A Guide to Professional Results
Painting is often viewed as a simple weekend task, but the quality of the finish relies 90% on preparation. Before opening a single can of paint, ensure your walls are clean, dry, and free of dust. Use a damp cloth to wipe down surfaces, then fill any nail holes or cracks with a high-quality spackling compound. Once dry, sand these areas until smooth to ensure the paint adheres perfectly. Investing in quality tools makes a world of difference. Cheap brushes often leave unsightly bristles behind, and thin rollers result in uneven coverage. Opt for a high-density roller cover suited for your wall texture and a professional-grade angled sash brush for cutting in around trim and corners. Primer is non-negotiable, use high quality paint, and use painter's tape wisely. Start by cutting in, then move to rolling the main wall space. DIY is great for simple walls, but hire a pro for complex spaces. Aim to paint during mild weather.
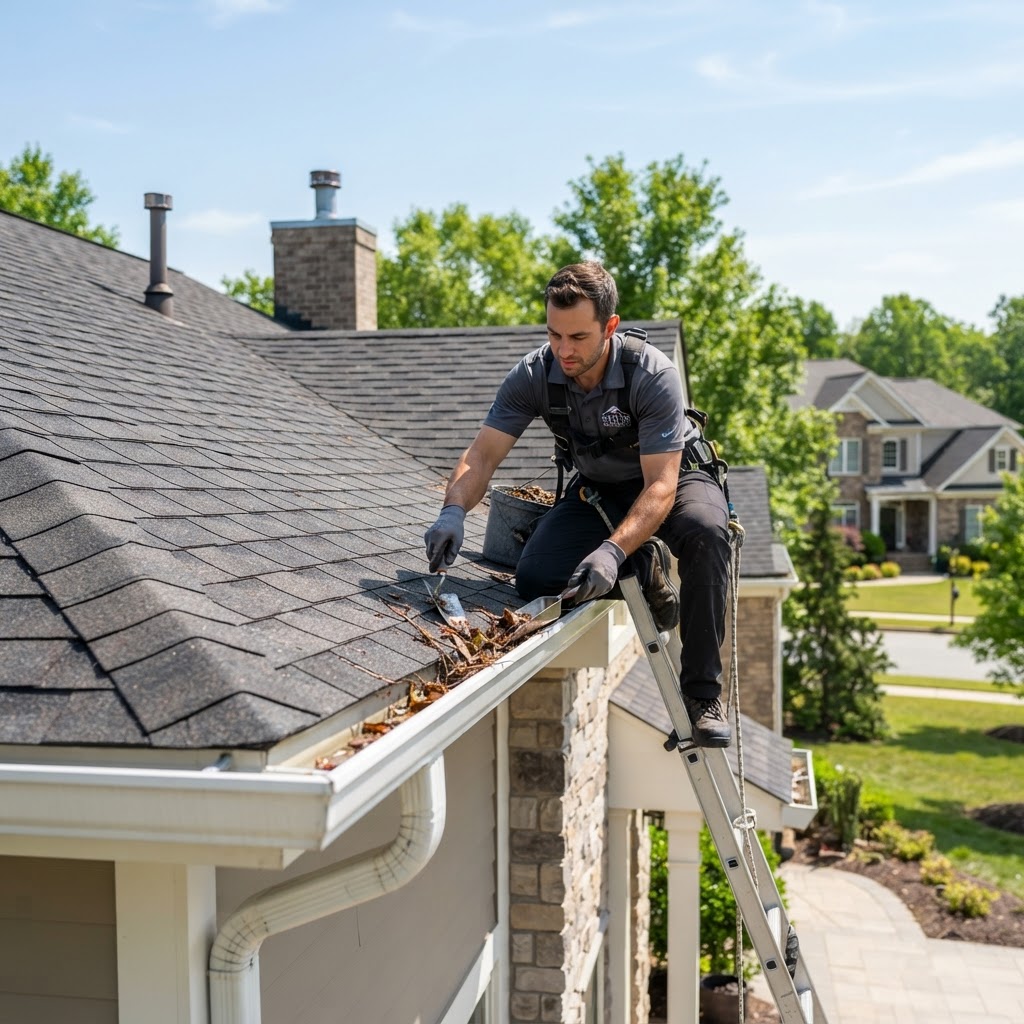
Essential Guide to Maintaining Your Roof and Gutters
Essential Guide to Maintaining Your Roof and Gutters. Your roof is your home's primary shield against the elements. Neglecting it can lead to water damage, mold growth, and structural issues that cost thousands to repair. By implementing a proactive maintenance routine, you can extend the lifespan of your roofing system and prevent common household disasters. For most climates, you should inspect your roof and gutters twice a year—ideally in the late spring and late autumn. Homeowners can easily handle routine gutter cleaning and basic visual inspections. However, roofing work is inherently dangerous and requires professional expertise for safety and warranty compliance. Preventative maintenance costs are minimal, usually ranging from $150 to $300 for a professional gutter cleaning service. Keep a detailed record of all maintenance and repairs. If you decide to sell your home, having receipts for regular professional inspections and roof repairs is a massive selling point that proves to buyers that the home has been well-cared for.

5 Kitchen Upgrades That Boost Your Home Value and Functionality
The kitchen is the heart of the home. By upgrading hardware, adding under-cabinet lighting, refreshing backsplashes, installing modern faucets, and integrating smart appliances, homeowners can significantly enhance both home value and daily utility. While minor cosmetic changes are great DIY projects, ensure you hire professionals for plumbing and electrical work to guarantee safety and compliance.
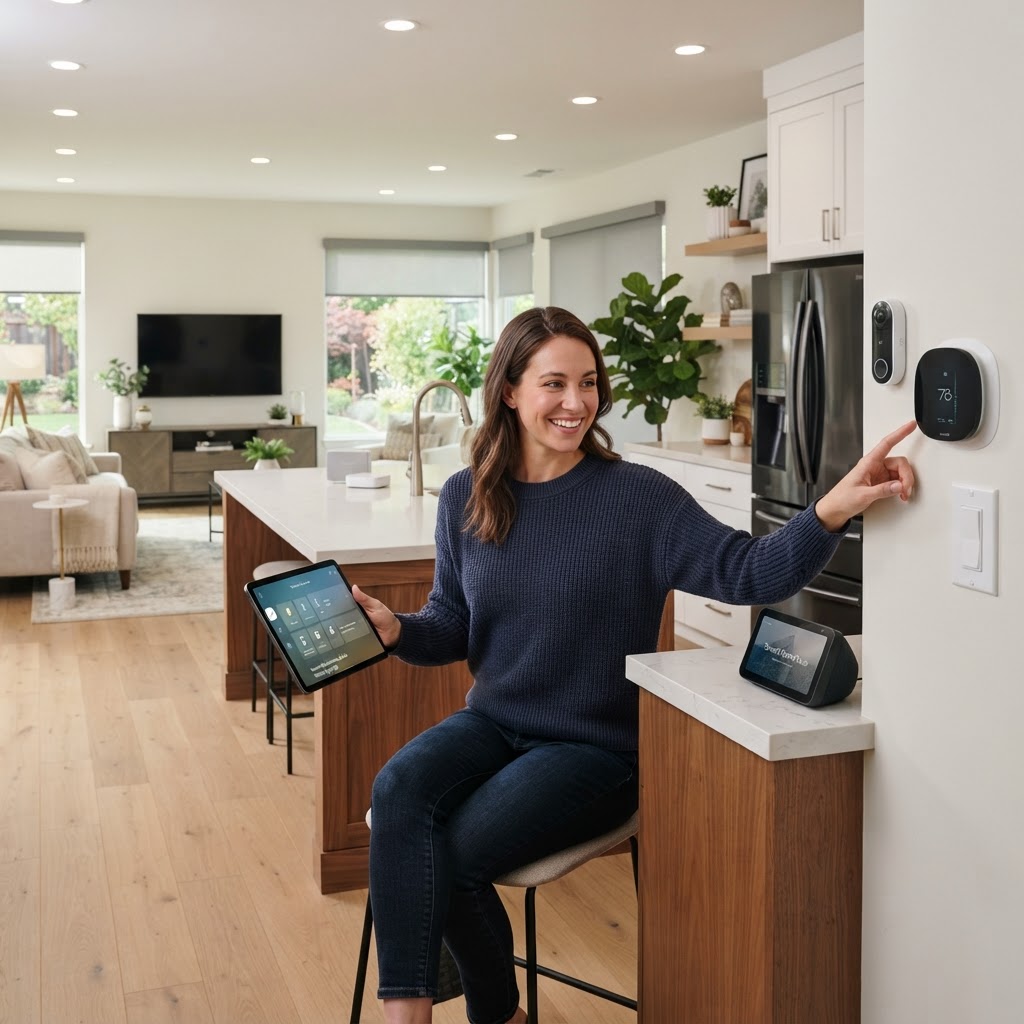
Smart Home Tech: A Practical Guide to Upgrading Your Living Space
Integrating smart technology into your home is no longer a luxury; it is a practical way to increase efficiency and security. Begin by ensuring your Wi-Fi is strong, then start with essential devices like smart thermostats and video doorbells. While many setups are DIY-friendly, consider professional help for hardwired systems to ensure safety. Budgeting for these upgrades can be done incrementally, and always remember to enable two-factor authentication to keep your home network secure.
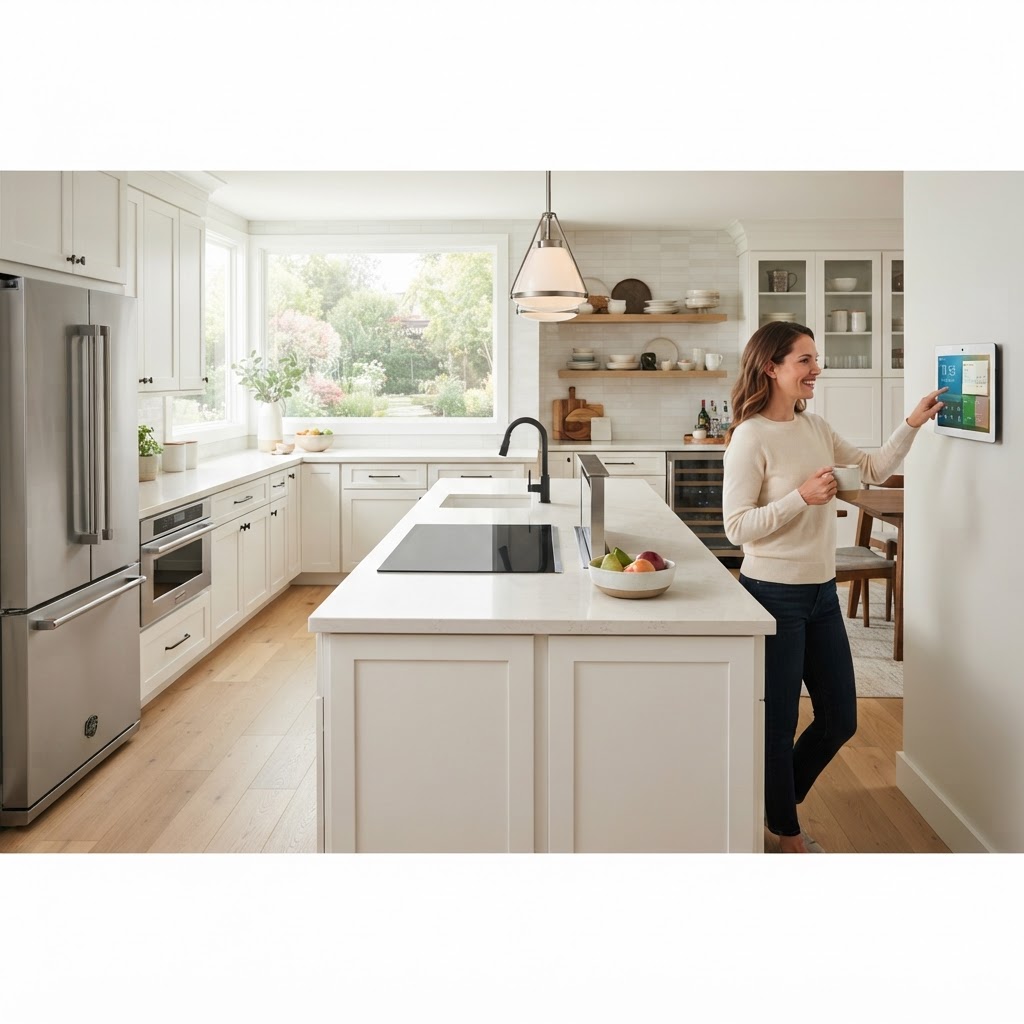
Smart Kitchen Upgrades to Boost Your Home Value and Functionality
The kitchen is the heart of the home. Whether you are looking to refresh the look or increase the value, strategic upgrades are key. High-impact updates include changing cabinet hardware, installing new lighting, and adding a backsplash. While DIY is great for painting and small hardware swaps, leave gas, plumbing, and electrical work to pros. Aim to spend 10-15% of your home's value on renovations to maximize ROI. Plan for 4-8 weeks for major updates and order materials early.
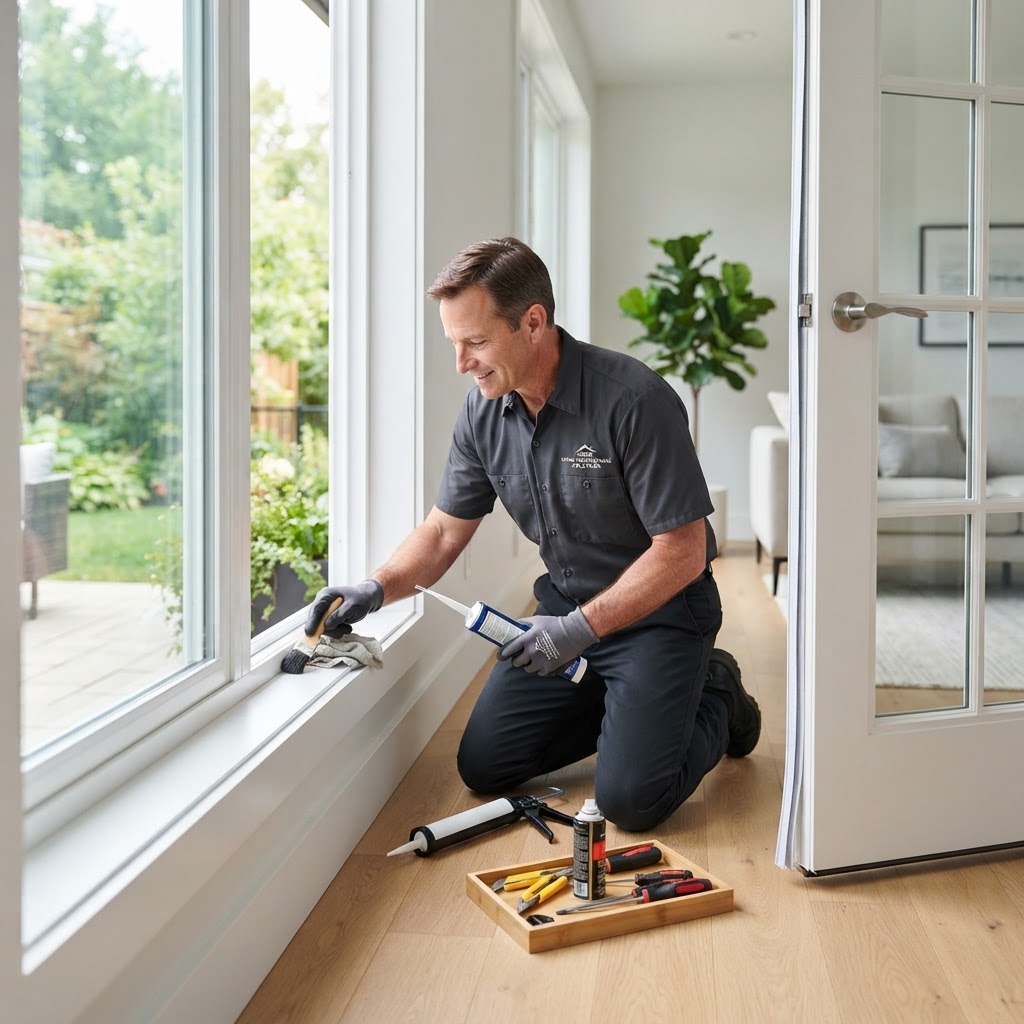
Essential Home Maintenance Tips for Windows and Doors
Your home's windows and doors are your first line of defense against the elements. Neglecting these components leads to drafts and energy loss. Follow this seasonal checklist: inspect weatherstripping for cracks, check exterior caulking, lubricate hardware, and watch for seal failure. Minor repairs like cleaning and weatherstripping are easy DIY tasks. However, structural issues like frame rot or broken glass require professional intervention to avoid costly water damage. Annual maintenance costs are low, while total replacement can range from $600 to $1,200 per unit. Regular care ensures long-term home comfort and efficiency.
Transform Your Yard: Essential Landscaping Tips for Every Homeowner
A beautiful landscape is more than just curb appeal; it is an extension of your living space. Planning is key, including observing light and drainage. Budget between $500 and $20,000 depending on the scope. Planting is best done in the fall for most shrubs and trees. Maintain your garden through mulching, proper irrigation, and pruning. Leave complex hardscaping to professionals.
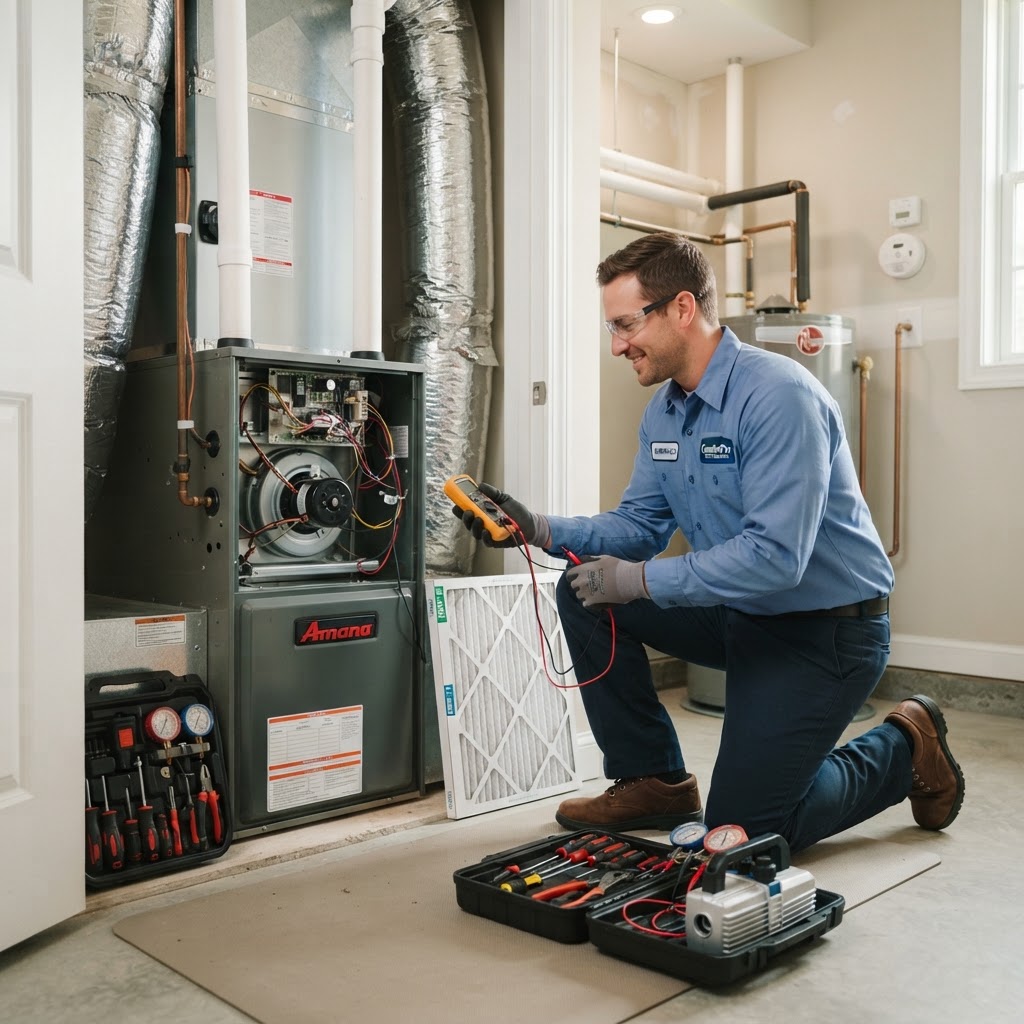
Essential HVAC Maintenance Guide: Keep Your Home Comfortable All Year
Maintaining your HVAC system is critical for energy efficiency and home comfort. Key tasks include monthly filter changes, clearing debris from the outdoor condenser, and ensuring vents remain unobstructed. Homeowners should schedule bi-annual professional inspections to handle internal component maintenance that requires technical expertise. While professional maintenance costs roughly $100 to $200 per visit, it significantly lowers the risk of expensive breakdowns. Keep an ear out for unusual sounds and track your energy bills to spot potential malfunctions early.
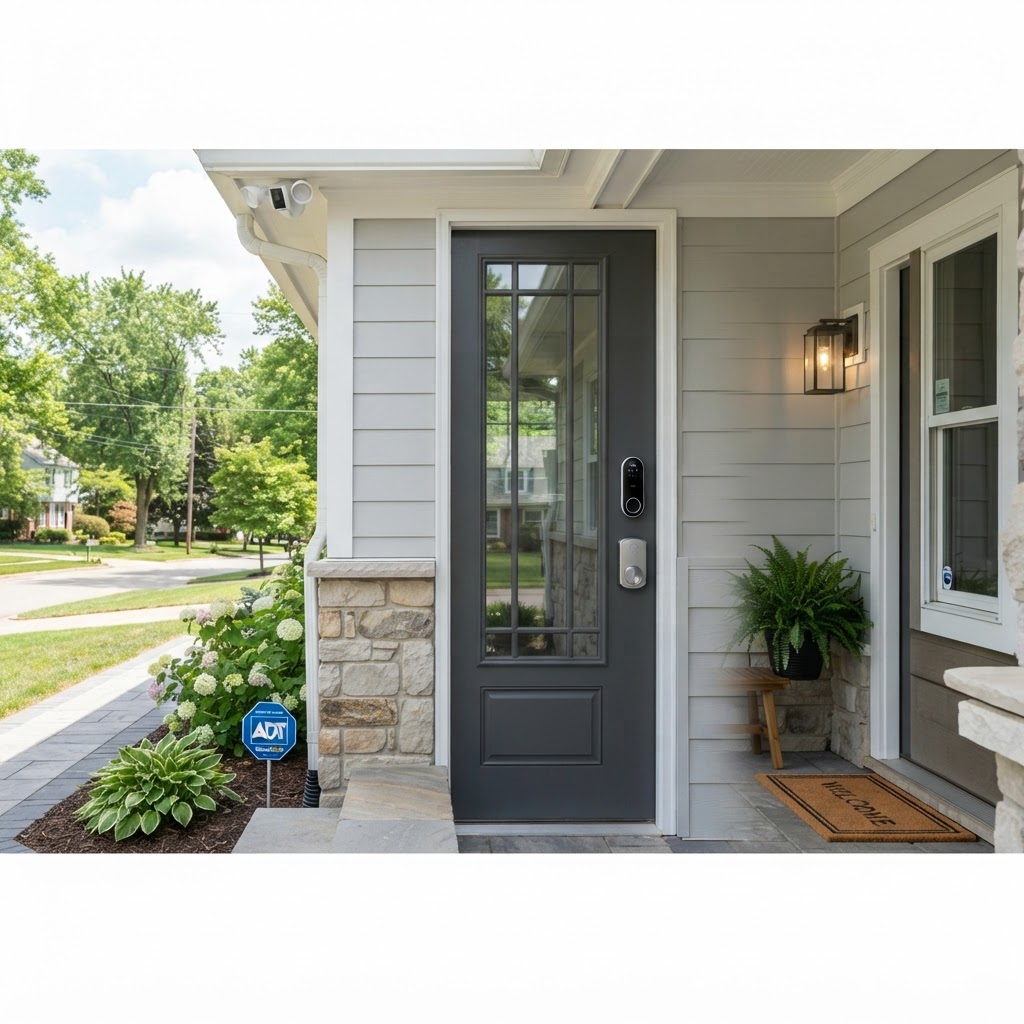
Essential Home Security Upgrades for Every Homeowner
Home security is more than just installing an alarm system; it is about creating layers of protection to deter intruders and keep your family safe. Essential upgrades include reinforcing door strike plates, installing motion-activated lighting, and integrating smart monitoring systems. Maintenance is key; homeowners should test detectors monthly and keep smart device firmware updated. By combining physical hardware improvements with smart technology, homeowners can significantly increase their peace of mind.

Essential Home Security Upgrades for Maximum Peace of Mind
Evaluating entry points like deadbolts and window locks is the foundation of home security. Integrating smart technology like video doorbells and motion lights adds layers of protection. Regular maintenance ensures these systems perform when needed. Professional installation is recommended for complex setups, while many lighting and simple lock upgrades are perfect for DIYers.
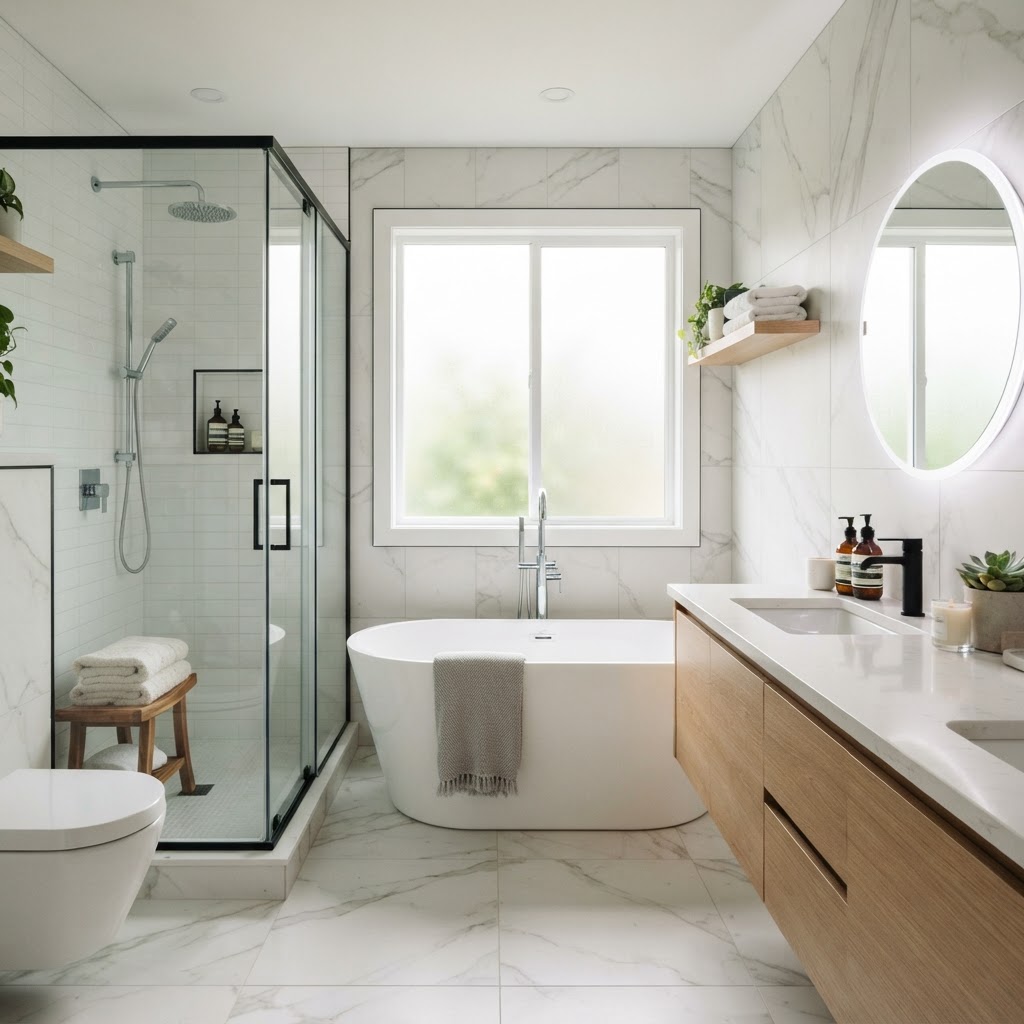
Bathroom Remodel Guide: How to Plan Your Perfect Renovation
A bathroom remodel is one of the best ways to increase your home's value and improve your daily quality of life. Whether you are looking to create a spa-like retreat or simply need to update outdated fixtures, careful planning is the foundation of a successful project. Before picking out tiles, establish a realistic budget. A minor remodel can cost between $5,000 and $15,000, while a full gut renovation often ranges from $20,000 to $50,000. Knowing your limits is essential. DIY tasks include painting and hardware updates, while plumbing and structural changes should be left to professionals. Focus on lighting, storage, and proper ventilation to ensure a high-quality outcome. A typical project takes three to six weeks from start to finish.

Smart Home Renovations: A Guide to Boosting Property Value
When considering your home as an investment vehicle, not all renovations are created equal. Focus on projects that enhance functionality, curb appeal, and energy efficiency. Minor kitchen remodels often yield high returns. Improve curb appeal with fresh paint and landscaping. Prioritize energy-efficient systems to attract buyers. DIY projects like painting are budget-friendly, but always hire licensed professionals for plumbing and electrical work. Time your projects based on your planned length of stay. Always keep a 20% contingency budget for surprises.
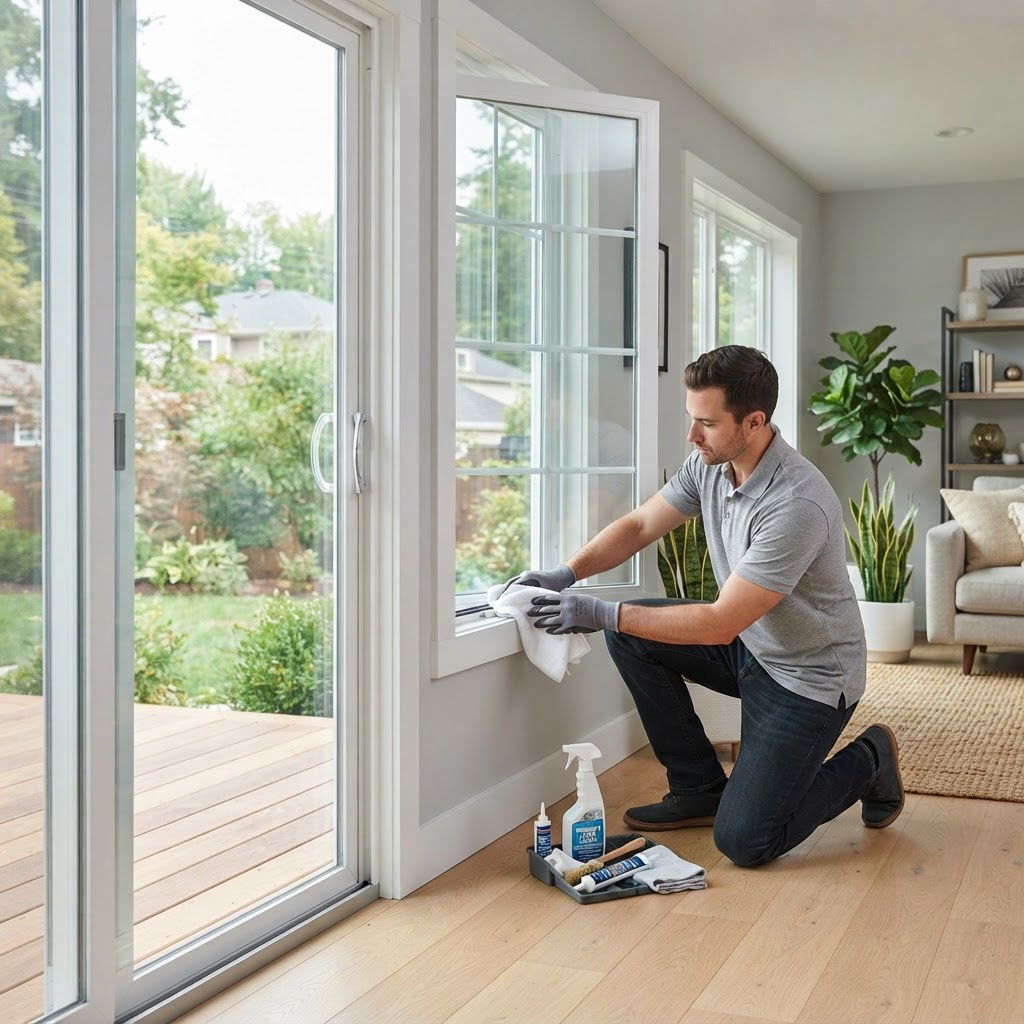
Essential Guide to Home Window and Door Maintenance for Efficiency
Your windows and doors are the primary barriers between your comfortable indoor environment and the harsh outside elements. Regular upkeep not only extends their lifespan but also significantly improves your home's energy efficiency, lowering utility bills year-round. Neglecting these areas can lead to air leaks, moisture damage, and security vulnerabilities. Spring is for inspecting seals and weatherstripping. Summer is for checking wood rot and re-caulking. Fall is for testing locks. Winter is for monitoring condensation. DIY tasks include cleaning tracks and tightening hardware, but call a pro for seal failure or structural issues. Costs range from $100 for supplies up to $5,000 for high-end door installations.
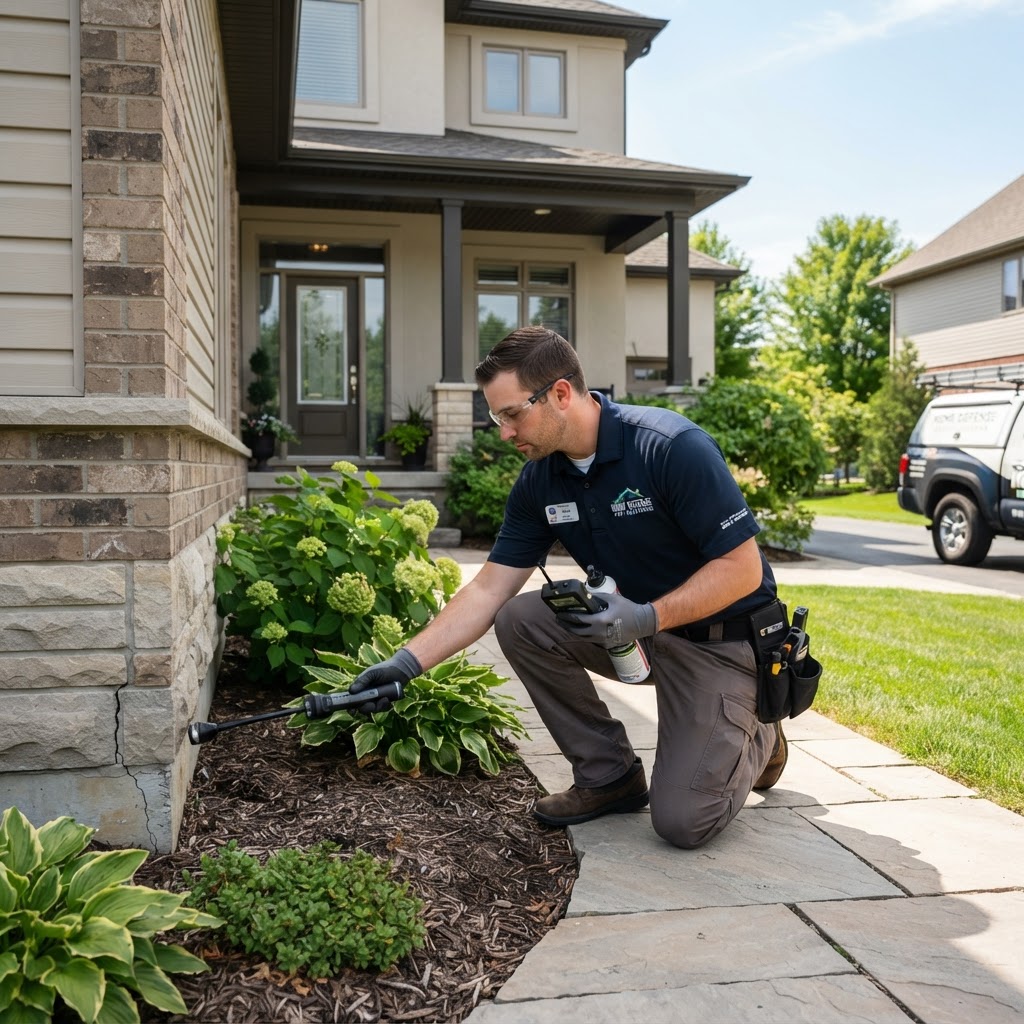
A Complete Homeowner Guide to Effective Pest Control
Pest control is a critical component of home maintenance that goes beyond mere aesthetics. Protecting your property from intruders like termites, rodents, and ants preserves your investment and ensures a healthy living environment. While pests can be a year-round issue, proactive prevention is most effective when performed seasonally. Focus on exclusion methods during the autumn months as temperatures drop, and schedule professional inspections every spring to catch termite activity early. DIY tips include sealing exterior cracks with caulk, trimming tree branches away from your roof, eliminating standing water in gutters, and storing food in airtight containers. If you notice structural damage or persistent infestations, professional services are recommended, costing between $150 and $500 per visit. Consistent maintenance is the ultimate key to a pest-free home.
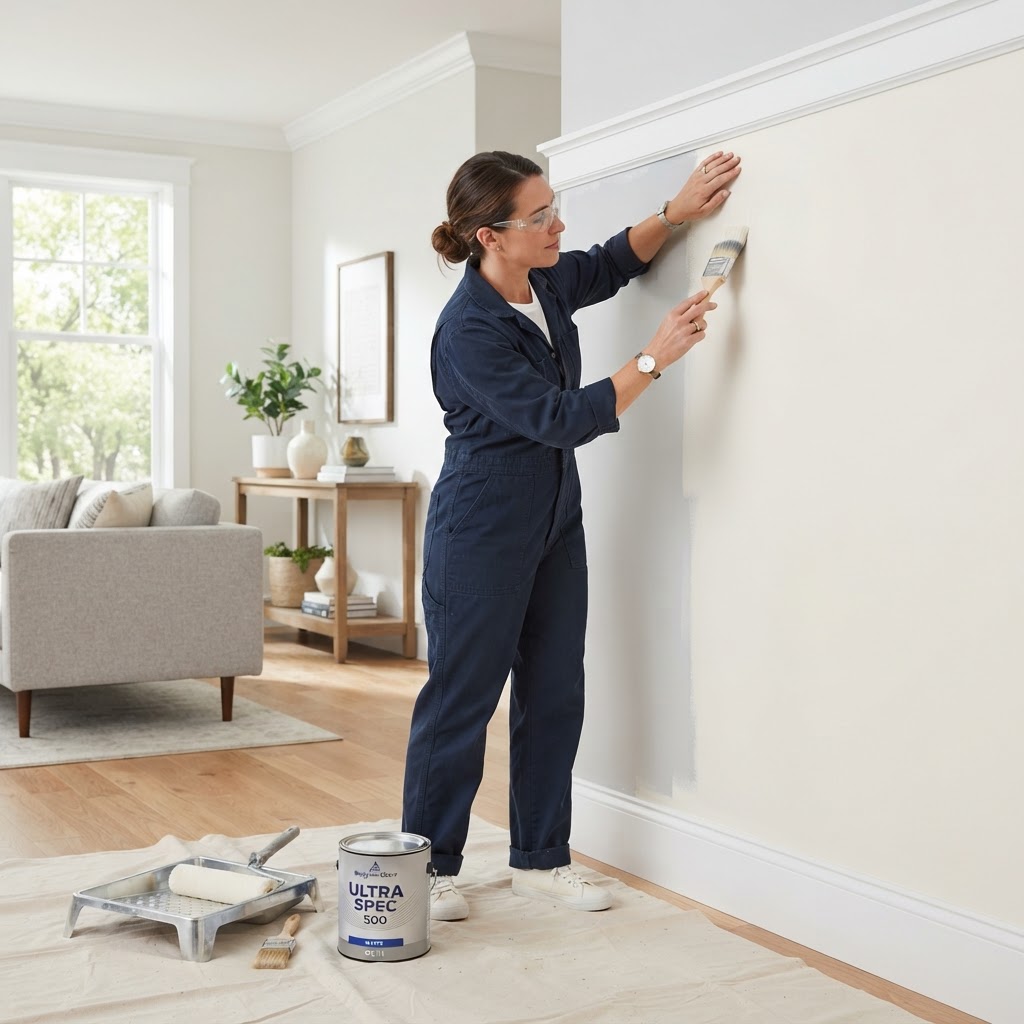
Mastering Interior Painting: A Pro Guide to a Flawless Finish
The secret to a professional-grade paint job lies in the preparation. Before painting, fill holes and sand surfaces. Use primer for better color payoff. Choose the right sheen: flat for ceilings, eggshell for walls, and semi-gloss for trim. Cut in edges first, then use a roller with a W-pattern. DIY is great for small rooms, but hire pros for complex trim or high ceilings. Paint in spring or fall for best drying results.

Homeowners Insurance: A Strategic Guide to Protecting Your Investment
Homeowners insurance is your primary financial safeguard against disasters. Start by creating a detailed digital home inventory. Ensure your deductible aligns with your emergency savings. Focus on preventative maintenance to avoid denied claims, as insurance covers accidents rather than wear and tear. Hire professionals for major repairs to ensure compliance. Avoid filing small claims to prevent future premium hikes.
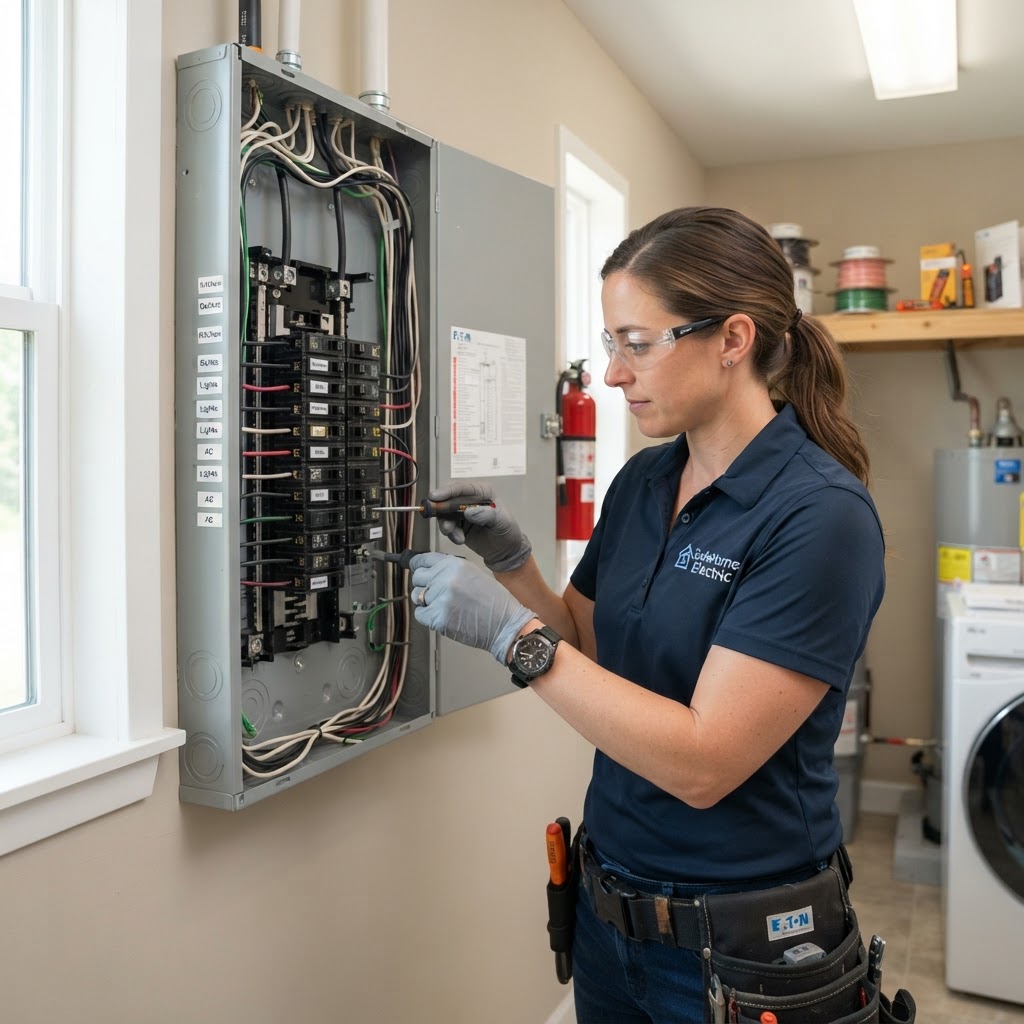
Electrical Safety at Home: A Homeowner’s Essential Maintenance Guide
Your home's electrical system is its nervous system, powering everything from your morning coffee maker to your midnight security lights. Keeping this system in peak condition is not just about convenience; it is about protecting your family from fire hazards and ensuring your appliances run efficiently. Regular maintenance is the key to preventing costly emergency repairs. Homeowners should perform a walkthrough of their property at least once a year. Look for flickering lights, warm wall plates, frequent tripping breakers, and buzzing sounds. While simple tasks like changing bulbs are safe, always hire a licensed professional for service panels, new wiring, or wet areas. Budget for minor repairs around $150-$300, and consider panel upgrades as an investment. Stay proactive by testing GFCIs monthly and avoiding permanent use of extension cords.

Smart Kitchen Upgrades: Elevate Your Home Value and Functionality
The kitchen is the heart of your home. Minor updates improve your routine and resale value. Focus on cabinet refacing, layered lighting, hardware swaps, and smart appliances. DIY projects like painting or changing hardware are great, but leave plumbing and complex electrical work to pros. Budget carefully, including a 15% contingency, and choose durable materials like quartz for long-term success.
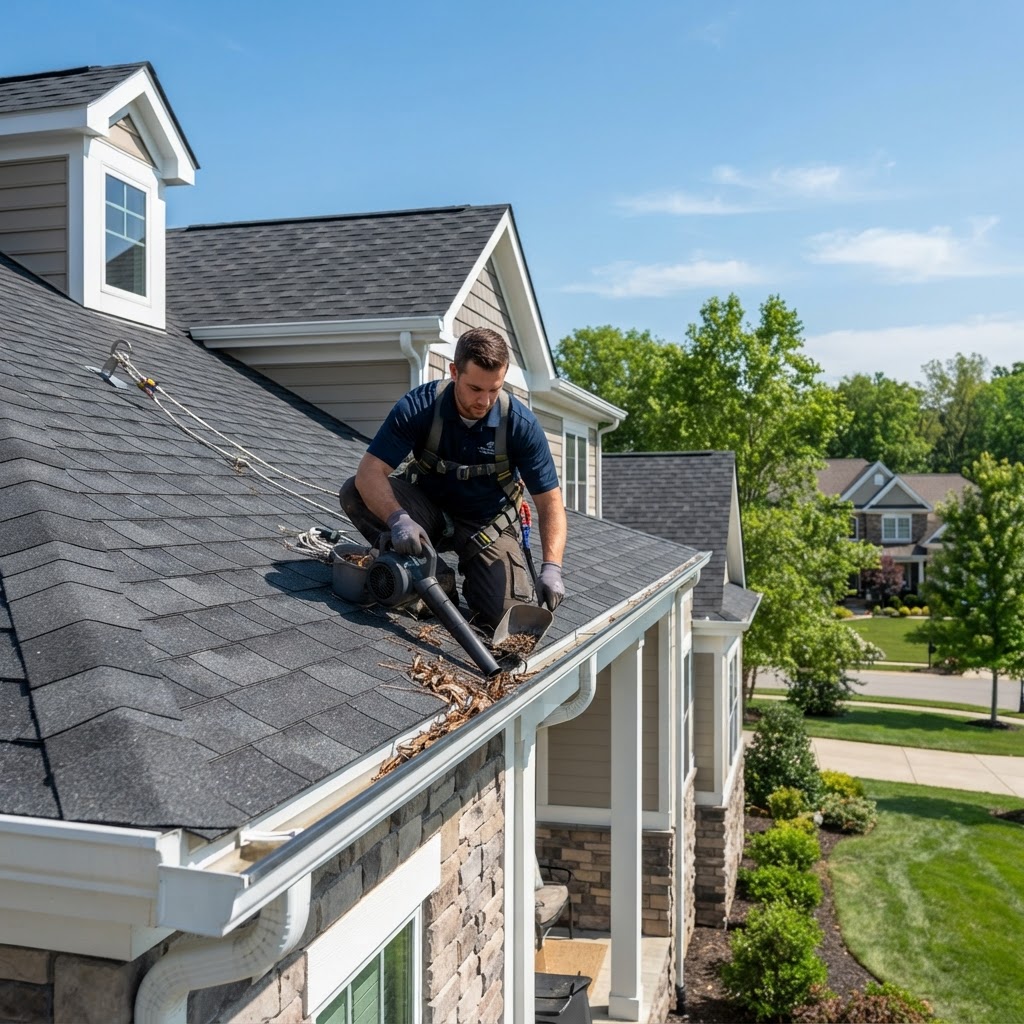
Roof and Gutter Maintenance: A Comprehensive Homeowner Guide
Your roof is the first line of defense against the elements. Ignoring small issues often leads to expensive structural damage. We recommend a visual inspection every spring and autumn. Clogged gutters cause water damage and foundation erosion. Clear debris twice a year and flush your system with a hose. DIY is fine for simple gutter cleaning, but leave complex repairs to licensed professionals to ensure safety and quality. Budget for annual inspections and eventual replacement. Keep trees trimmed back and ensure proper attic ventilation to extend the life of your roof significantly.
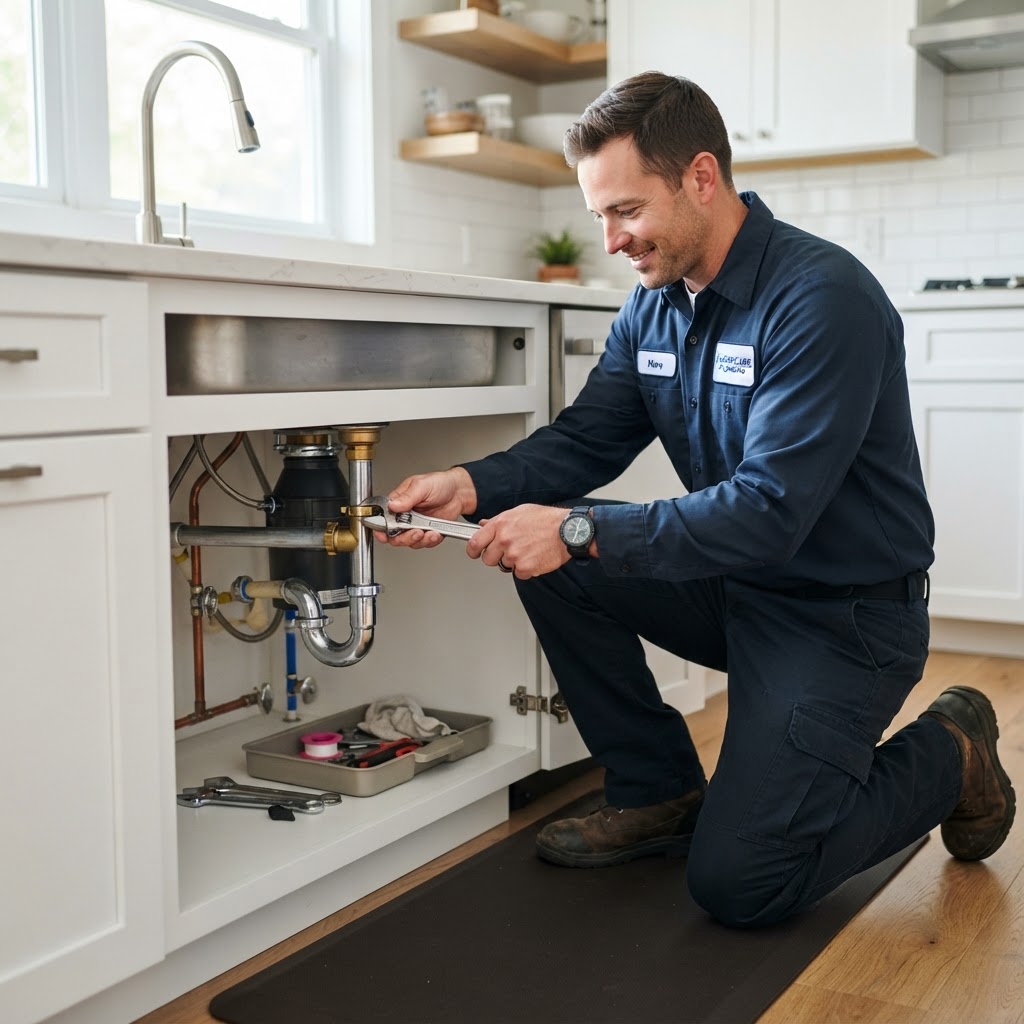
Essential Plumbing Tips Every Homeowner Must Know to Save Money
Home plumbing systems are often forgotten until a pipe bursts or a drain clogs completely. By performing simple monthly checks, you can save thousands in professional repair costs and prevent significant property damage. Understanding your home's infrastructure is the first step toward proactive maintenance. Regularly inspect under all sinks and around toilet bases for dampness or pooling water. High water pressure can stress your pipes and joints. Avoid harsh chemical cleaners which can corrode old pipes. Know your shut-off valves in case of emergency. While some tasks are great for DIY, others require a licensed expert. If you detect a sewage odor or multiple clogs, call a professional. Budget for maintenance annually to cover tune-ups like flushing your water heater.

Homeowners Insurance: A Practical Guide to Protecting Your Investment
Homeowners insurance is a vital safety net. Review your policy annually, especially after renovations. Focus on maintenance like roof and gutter care to avoid claim denials. Always hire professionals for major repairs to stay compliant. Keep a digital home inventory to simplify the claims process.
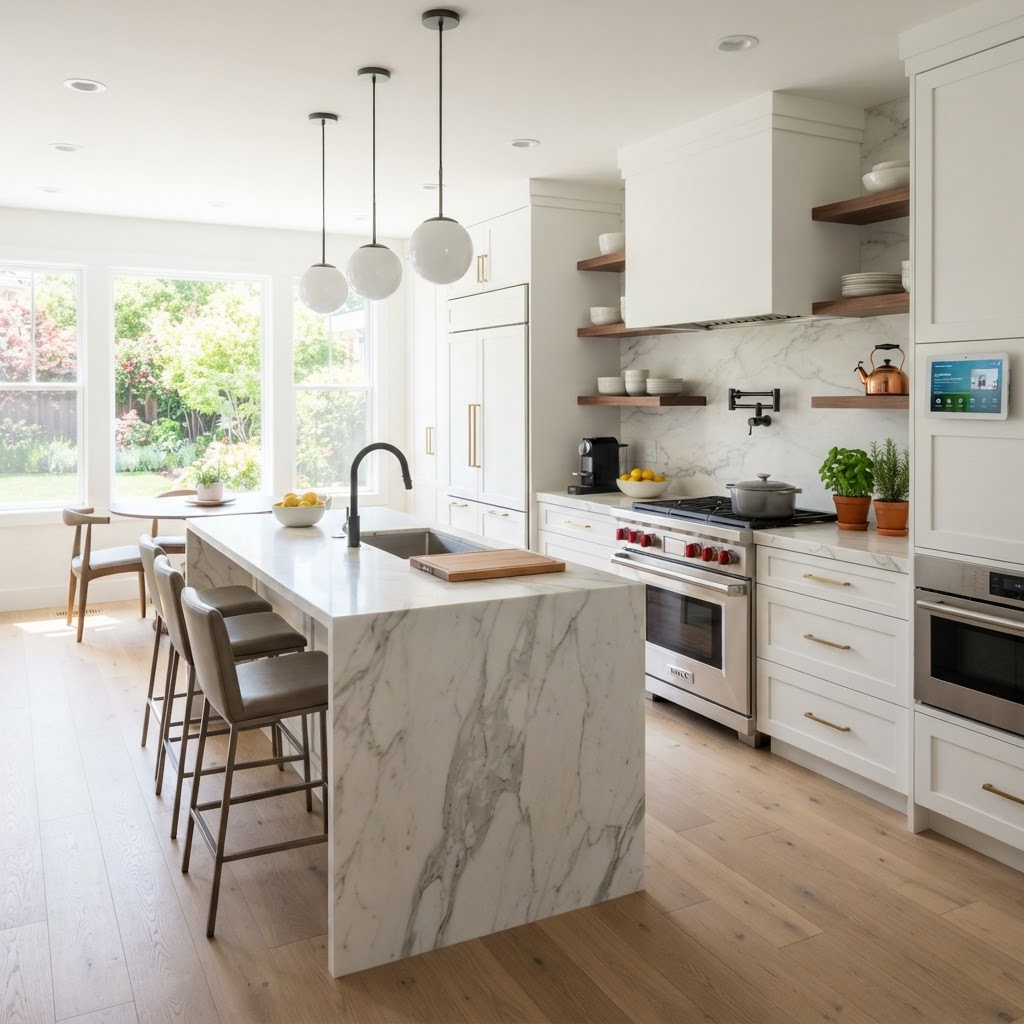
Smart Kitchen Upgrades to Boost Your Home Value
The kitchen is the heart of the home. Elevate your culinary space with smart upgrades. Cabinet refacing is a budget-friendly way to modernize, costing much less than full replacements. Energy-efficient appliances save money and add value. Lighting changes can shift the mood, while a new backsplash is a great weekend DIY project. Know your limits: hire professionals for electrical and plumbing work to ensure safety. Plan for a 15% budget buffer for unexpected issues. Prioritize quartz countertops and neutral finishes for the best return on investment.
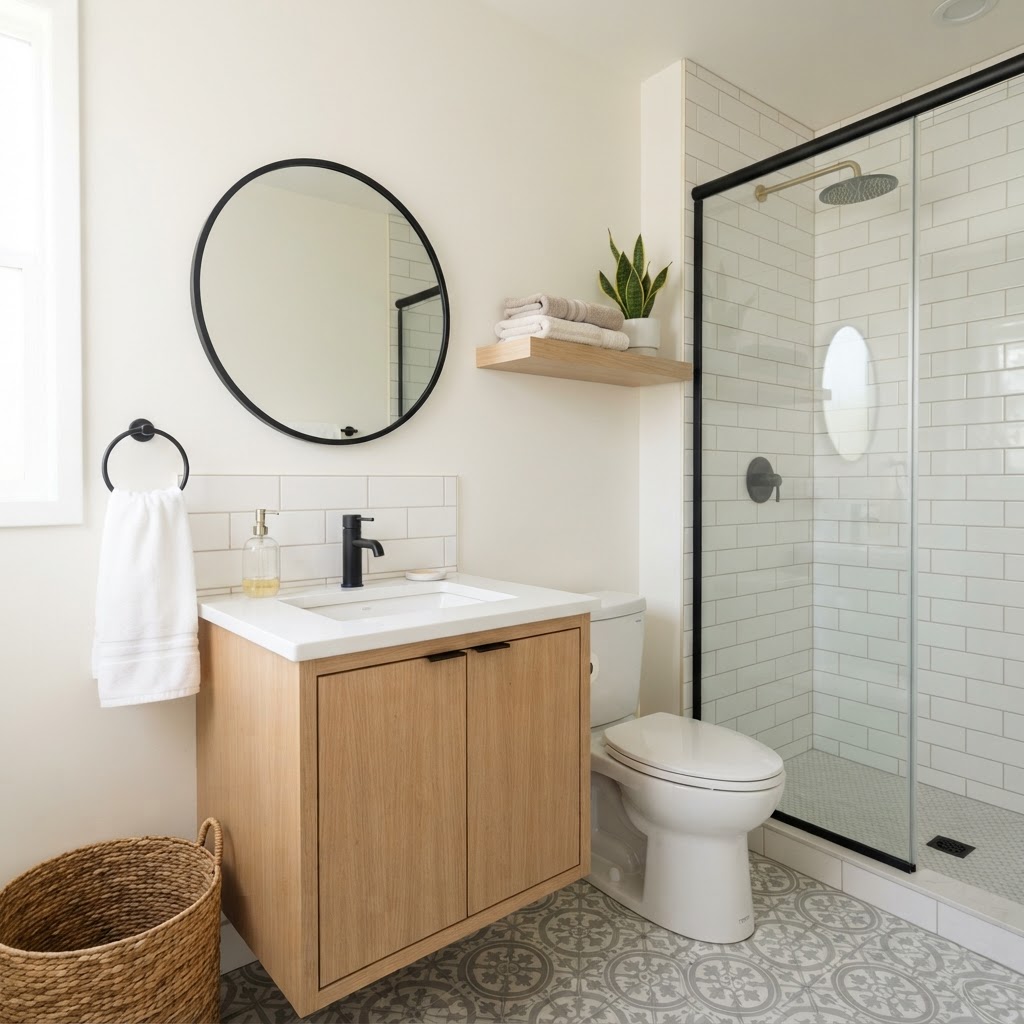
Bathroom Remodel Guide: How to Refresh Your Space on Any Budget
A bathroom remodel is one of the most rewarding home improvement projects. Start by assessing your goals. A minor refresh costs $2,500-$7,000, while a full renovation ranges from $15,000 to $30,000. Always keep a 20% buffer for surprises. DIY painting and hardware swaps are great, but hire pros for plumbing and electrical. Prioritize ventilation and layout to ensure long-term value.

Essential Smart Home Upgrades for Efficiency and Security
Transforming your house into a smart home is no longer just for tech enthusiasts; it is a practical approach to increasing property value, energy efficiency, and security. Whether you are looking to automate your lighting or fortify your entry points, a strategic approach saves both time and money. Smart thermostats can reduce energy bills by learning your schedule. Security cameras and video doorbells provide peace of mind regarding deliveries and intruders. Smart lighting helps manage electricity consumption. Leak detectors provide early warnings for plumbing issues. Most basic devices are DIY-friendly, but hardwired systems may require a professional electrician. Start small and build your ecosystem over time to manage costs effectively.
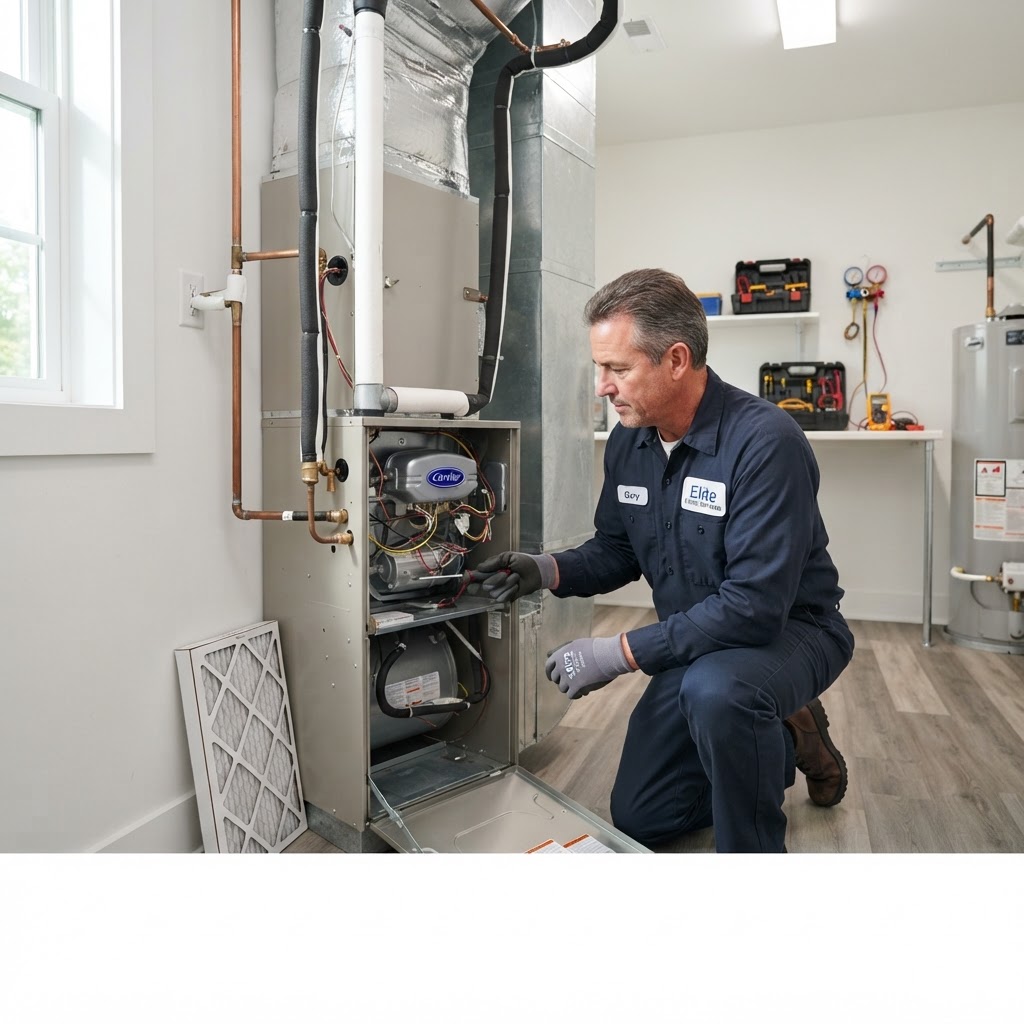
HVAC Maintenance Guide: How to Keep Your Home Comfortable Year-Round
Your HVAC system is the heartbeat of your home comfort. Without proper care, it works harder than necessary, leading to higher energy bills and potential mechanical failure. Regular maintenance not only extends the lifespan of your unit but also improves indoor air quality. You can handle several maintenance tasks yourself to keep your system running smoothly: Change Air Filters: Replace your filters every 1 to 3 months. A clean filter ensures better airflow and keeps dust out of your ductwork. Keep the Outdoor Unit Clear: Ensure at least two feet of clearance around your condenser unit. Trim back weeds, grass, and shrubs. Clear Debris: Gently remove leaves or twigs from the top and sides of the unit to prevent overheating. While DIY maintenance is helpful, an annual professional inspection is non-negotiable. A certified technician will check coolant levels, electrical connections, and the heat exchanger. You should schedule professional service twice a year: once in the spring for air conditioning and once in the fall for heating. Most HVAC maintenance plans cost between $100 and $200 per visit. Consider this a preventative investment. A neglected system might lead to a repair bill exceeding $1,000 or, worse, an early unit replacement, which can cost anywhere from $5,000 to $12,000. By investing a small amount annually, you prevent the premature decay of expensive components like the compressor or blower motor. Contact a technician immediately if you notice: Strange banging, rattling, or squealing noises. Inconsistent temperatures throughout the house. A sudden, unexplained spike in your monthly utility bill. Short-cycling, where the unit turns on and off too frequently. Taking a proactive approach to HVAC maintenance ensures your home remains a sanctuary regardless of the weather outside. By balancing simple DIY chores with professional expertise, you save money and gain peace of mind.
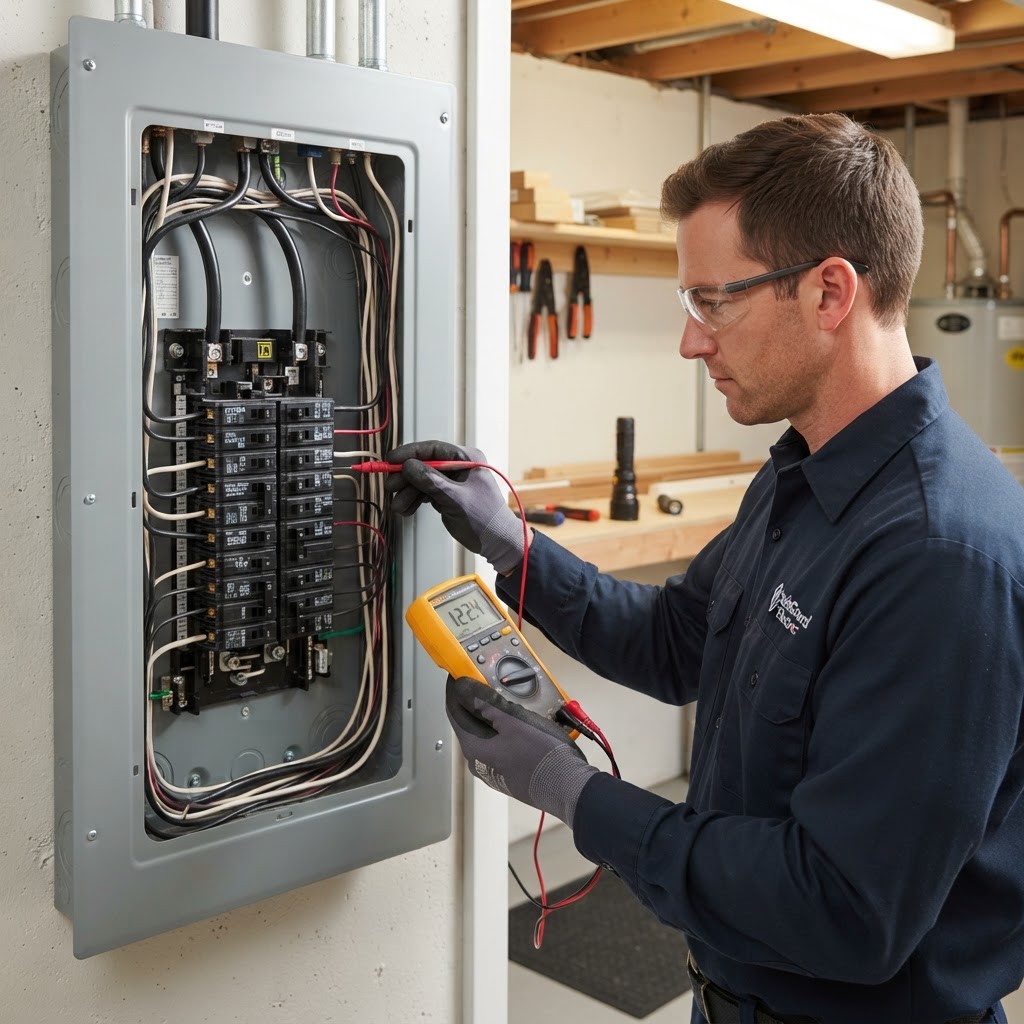
Electrical Maintenance 101: Keeping Your Home Safe and Powered
Your home's electrical system is its lifeblood, powering everything from your kitchen appliances to your smart home devices. While it is easy to overlook wiring until a breaker trips or a light flickers, proactive maintenance is essential for safety and efficiency. Ignoring warning signs can lead to hazards like electrical fires or costly emergency repairs. Homeowners can perform simple tasks to maintain their systems, but always remember: if you are unsure, call a professional. Test GFCIs monthly, inspect cords for fraying, label your breaker box, and check for warm outlet plates. Always hire a licensed electrician for buzzing outlets, dimming lights, or complex wiring projects. Costs range from $150 for simple repairs to $4,000 for full panel upgrades. Annual inspections for older homes are highly recommended.
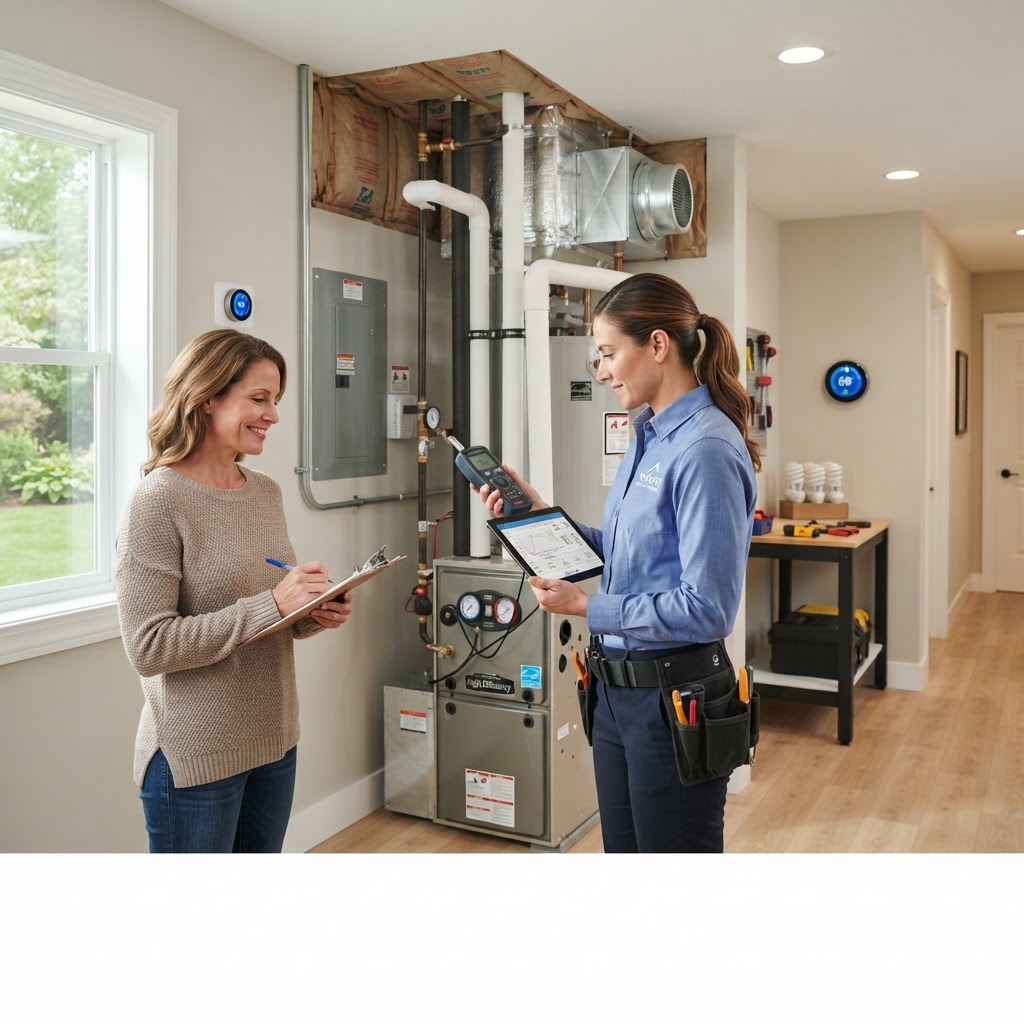
Maximize Your Savings: A Homeowner’s Guide to Energy Efficiency
The most cost-effective way to improve energy efficiency is to stop conditioned air from escaping. Start by inspecting windows and doors for drafts. A simple tube of caulk or a pack of weatherstripping, costing less than $20, can seal gaps that account for up to 20% of your energy loss. Focus on areas where different building materials meet, such as corners and foundations. Heat rises, meaning your attic is the most critical area for insulation. If your attic floor joists are visible, you likely need more insulation. Adding a layer of loose-fill fiberglass or cellulose can significantly reduce the workload on your HVAC system. While DIY-friendly, professional blown-in insulation services often cost between $1,000 and $2,000 but offer superior coverage in hard-to-reach crevices. Your heating and cooling systems consume the lion's share of your utility bill. Installing a smart thermostat is a high-impact upgrade. These devices learn your schedule and adjust temperatures accordingly, saving the average household up to 10% annually. For aging systems, perform a professional tune-up every spring and fall. If your unit is over 15 years old, consider upgrading to an ENERGY STAR-certified system, which can provide a long-term return on investment through monthly savings. Switching to LED lighting is the easiest upgrade you can make today. LEDs use 75% less energy and last 25 times longer than traditional incandescent bulbs. Additionally, when it is time to replace large appliances like refrigerators or dishwashers, always prioritize models with the ENERGY STAR label. These appliances meet strict energy-efficiency criteria set by the EPA. By implementing these changes, you not only decrease your monthly expenses but also extend the lifespan of your home's essential systems. Start small with low-cost DIY fixes, and prioritize larger professional upgrades based on the findings of a certified energy audit.
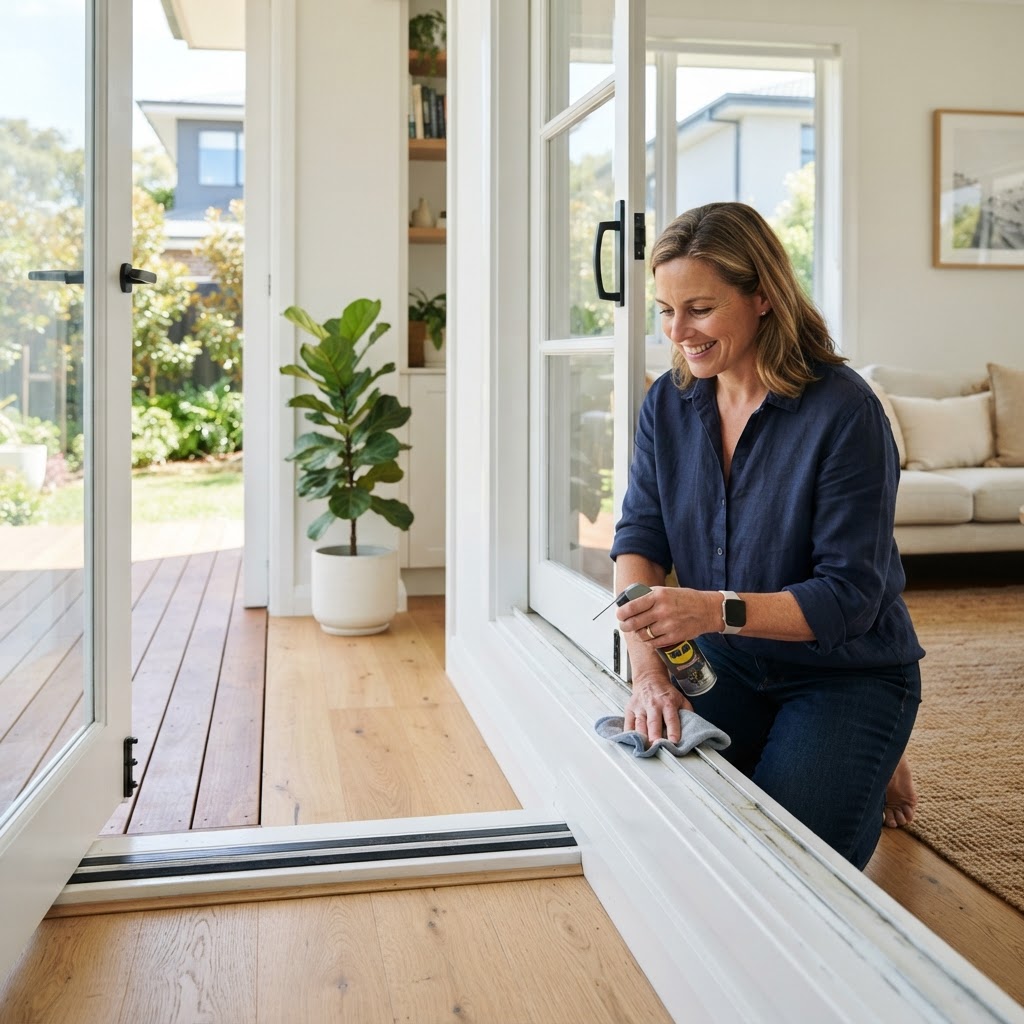
Essential Guide to Window and Door Maintenance for Homeowners
Your windows and doors are the first line of defense against the elements and intruders. Regular upkeep not only extends their lifespan but significantly improves your home's energy efficiency. By addressing minor issues early, you can avoid costly replacements and reduce monthly utility bills. Seasonal maintenance includes inspecting weatherstripping, lubricating hinges, cleaning tracks, and checking caulking. While DIY is great for maintenance, professional installation is recommended for major replacements to ensure structural integrity and security. Prioritize repairs based on energy loss to see the fastest return on investment.

Homeowners Insurance: A Strategic Guide to Protecting Your Investment
Homeowners insurance is a critical shield for your property. This guide covers how to perform annual reviews, the importance of maintenance, and when to hire professionals versus doing it yourself to ensure your claims are processed smoothly. By inventorying your home, adjusting for renovations, and staying on top of preventative maintenance, you can protect your investment effectively.

Homeowners Insurance Guide: How to Protect Your Biggest Investment
Homeowners insurance is a critical safety net that protects your property and your financial future. Perform a comprehensive home inventory using video to document belongings. Always insure for replacement cost rather than market value. Maintain your home diligently to avoid denied claims, as insurers do not cover neglect. Hire professionals for major repairs to ensure compliance. Consider raising your deductible to save on premiums if you have an emergency fund.

Homeowner Tax Breaks and Legal Tips for 2024
Owning a home is a significant financial asset. Navigating tax and legal implications can save you thousands annually. Key deductions include mortgage interest, property taxes, and energy-efficient upgrades. Always keep permits for renovations to avoid legal issues during a property sale. Maintaining a home binder with all receipts and documents is essential for tax preparation and insurance claims. While DIY record-keeping is manageable, complex tax situations are best handled by a professional CPA.

Mastering Property Management: A Guide for Homeowners
Managing a rental property or even a secondary home can be a daunting task. Whether you are a first-time landlord or looking to streamline your existing portfolio, effective property management is the key to protecting your investment and ensuring a steady stream of income. From tenant screening to routine maintenance, staying organized is essential. Successful property management hinges on four main pillars: tenant relations, financial oversight, property upkeep, and legal compliance. First, prioritize thorough tenant screening, including credit checks and background verifications. This simple step can save you thousands in eviction costs and property damage. Second, maintain a dedicated account for security deposits and rental income to keep your finances transparent. Maintenance tasks include: Changing HVAC filters every 90 days, inspecting roof shingles and gutters twice annually, servicing appliances annually, and checking plumbing fixtures for leaks monthly. Deciding between managing the property yourself versus hiring a professional property management company often comes down to time and proximity. If you live within 30 minutes of your property and have the capacity to handle late-night repair calls, DIY management can save you the typical 8% to 12% monthly management fee. However, professional managers offer significant advantages, including established vendor networks, legal expertise in fair housing laws, and professional marketing tools that fill vacancies faster. A rule of thumb for every homeowner is to set aside 1% of the property's value annually for maintenance and repairs. Effective property management isn't just about collecting rent; it's about building a sustainable system that preserves your asset's value. Whether you choose to be hands-on or hire help, staying proactive with maintenance and legal requirements will ensure your property remains a profitable investment for years to come.
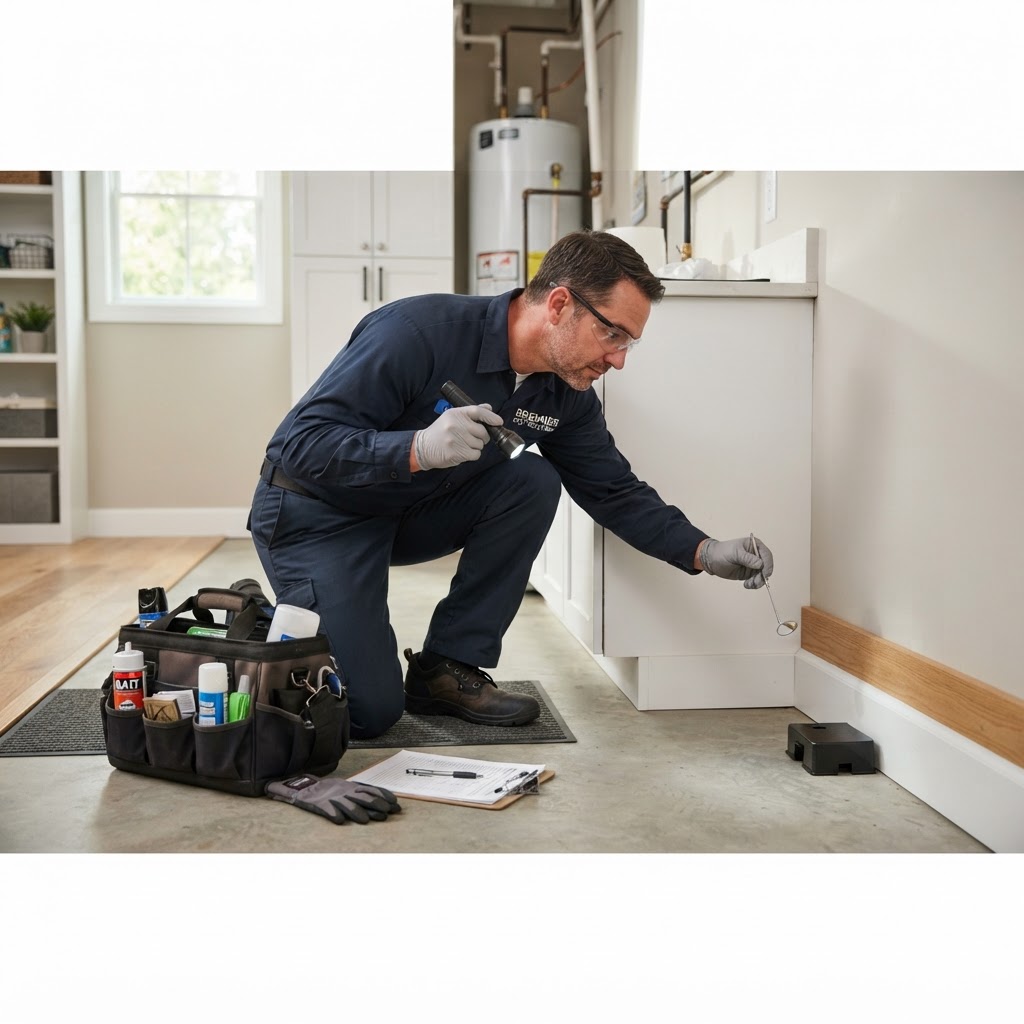
Effective Pest Control: A Comprehensive Homeowner Guide
Effective Pest Control: A Comprehensive Homeowner Guide. Maintaining a pest-free home is essential for protecting your family's health and your property's structural integrity. This guide covers prevention strategies, when to call a professional, and the costs associated with keeping pests away. Key tips include sealing entry points, managing moisture, proper food storage, and seasonal treatment schedules. While DIY methods work for minor issues, professional help is necessary for severe infestations like termites or rodents. Consistent maintenance is the secret to a pest-free home.
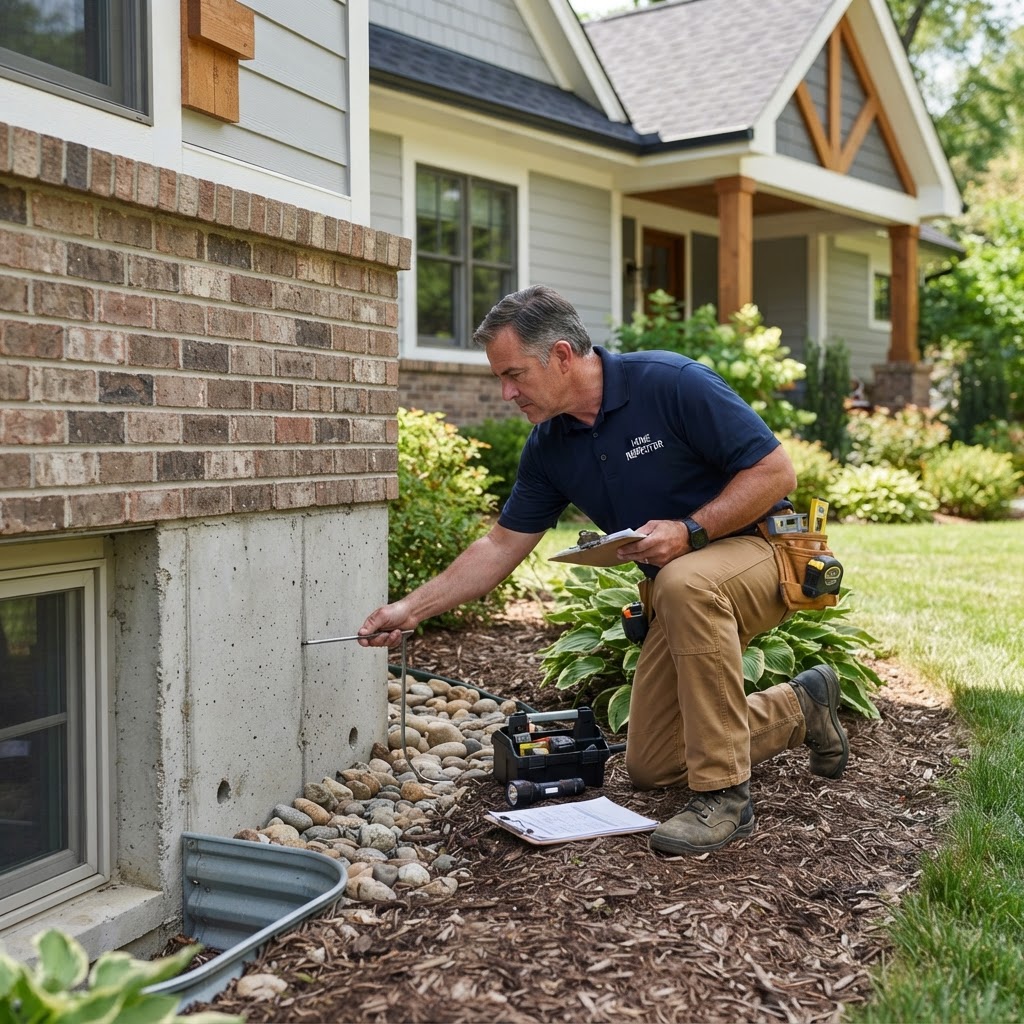
Foundation Maintenance: A Homeowner’s Guide to Structural Integrity
Your home's foundation is the bedrock of its structural integrity. While often overlooked until a problem appears, proactive maintenance can save you thousands of dollars in emergency repairs. Foundations are typically made of poured concrete or masonry blocks, both of which are susceptible to settling, moisture damage, and soil pressure over time. Identifying issues early is the key to preventing major structural failures. Keep an eye out for diagonal cracks, sticking doors, and standing water. Proper drainage is essential; keep the soil sloping away from the foundation and extend downspouts away from the base. Inspect your home every spring and fall. If you notice cracks wider than a quarter-inch, consult a structural engineer immediately.
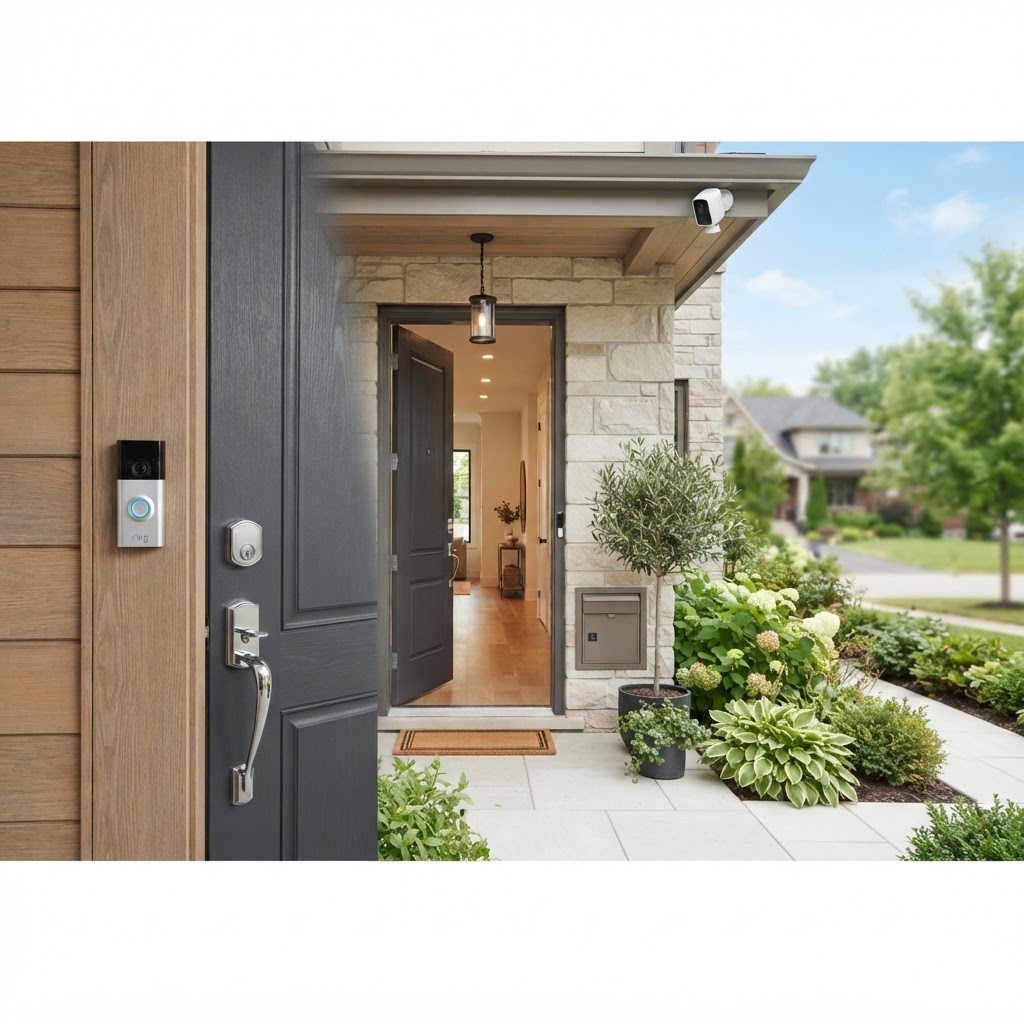
Home Security Essentials: A Practical Guide for Homeowners
Home security is often an afterthought until an incident occurs. Taking a proactive approach not only protects your assets but also provides invaluable peace of mind. Whether you are living in a historic home or a modern build, these steps will help harden your property against intruders. First, reinforce your exterior doors with 3-inch screws on strike plates. Second, install motion-activated lighting around the perimeter to deter intruders. Third, utilize smart cameras, which are now highly accessible for DIY installation. Fourth, use smart plugs to simulate occupancy when away. Finally, know when to hire a professional for complex hardwired systems. Regular maintenance of these systems ensures your home remains a safe sanctuary.

Homeowners Insurance Guide: How to Protect Your Biggest Investment
Homeowners insurance is more than just a monthly bill; it is a critical safety net that protects your property and financial future. Many homeowners make the mistake of waiting until a disaster strikes to review their policy. By taking proactive steps today, you can ensure you are properly covered. The most important step you can take is creating a detailed home inventory. If you need to file a claim, you must prove what you owned. Insurance companies reward homeowners who take care of their properties. Regular maintenance can prevent costly claims and even lower your premiums. Always keep records of major repairs, as they can increase your home's replacement value and ensure your coverage limit is accurate. By staying diligent with maintenance and keeping detailed records, you provide yourself with peace of mind.
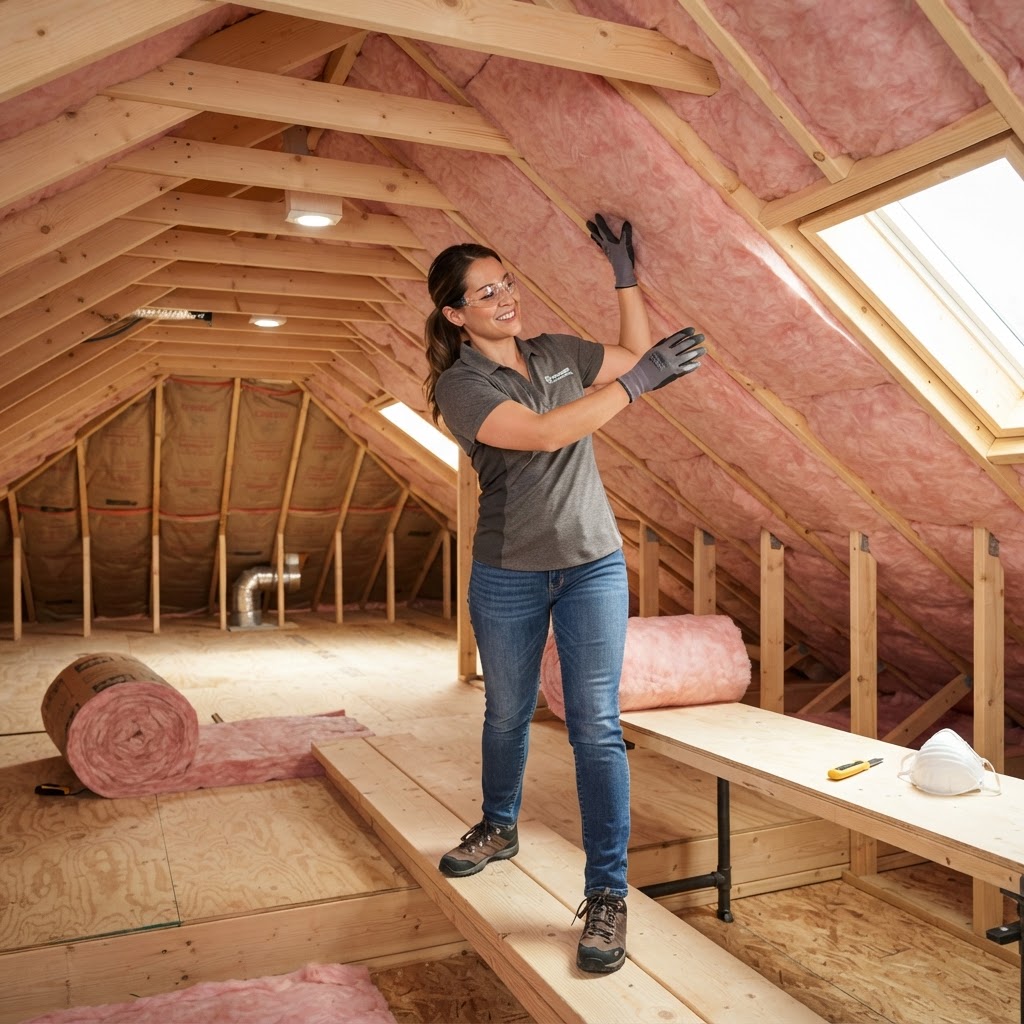
Mastering Home Insulation: Lower Bills and Higher Comfort
Proper insulation is the silent hero of your home. It acts as a thermal barrier, keeping conditioned air inside during the summer and preventing heat loss in the winter. Beyond immediate energy savings, effective weatherproofing protects your home structure from moisture damage and ice dams. The most critical areas to address include the attic, walls, and rim joists. While DIY solutions like weatherstripping and caulking are great for beginners, larger insulation jobs require professional expertise to ensure safety and code compliance. Aim to inspect your home before the extreme temperatures of summer or winter to keep your energy bills manageable and your home comfortable year-round.

Smart Home Tech: A Practical Guide for Modern Homeowners
Integrating smart home technology doesn't require a total renovation or a massive budget. By starting with key areas like security, energy efficiency, and convenience, you can significantly enhance your home's functionality. The secret is to prioritize devices that solve real problems rather than buying gadgets just for the sake of it. If you are new to the smart home world, focus on smart thermostats, video doorbells, and smart lighting. While most devices are easy to install yourself, consider professional help for hardwired systems. Budgeting is easy if you take a phased approach, starting with a smart hub and building out from there. Always ensure your Wi-Fi is robust enough to handle the extra devices and secure your accounts with two-factor authentication.
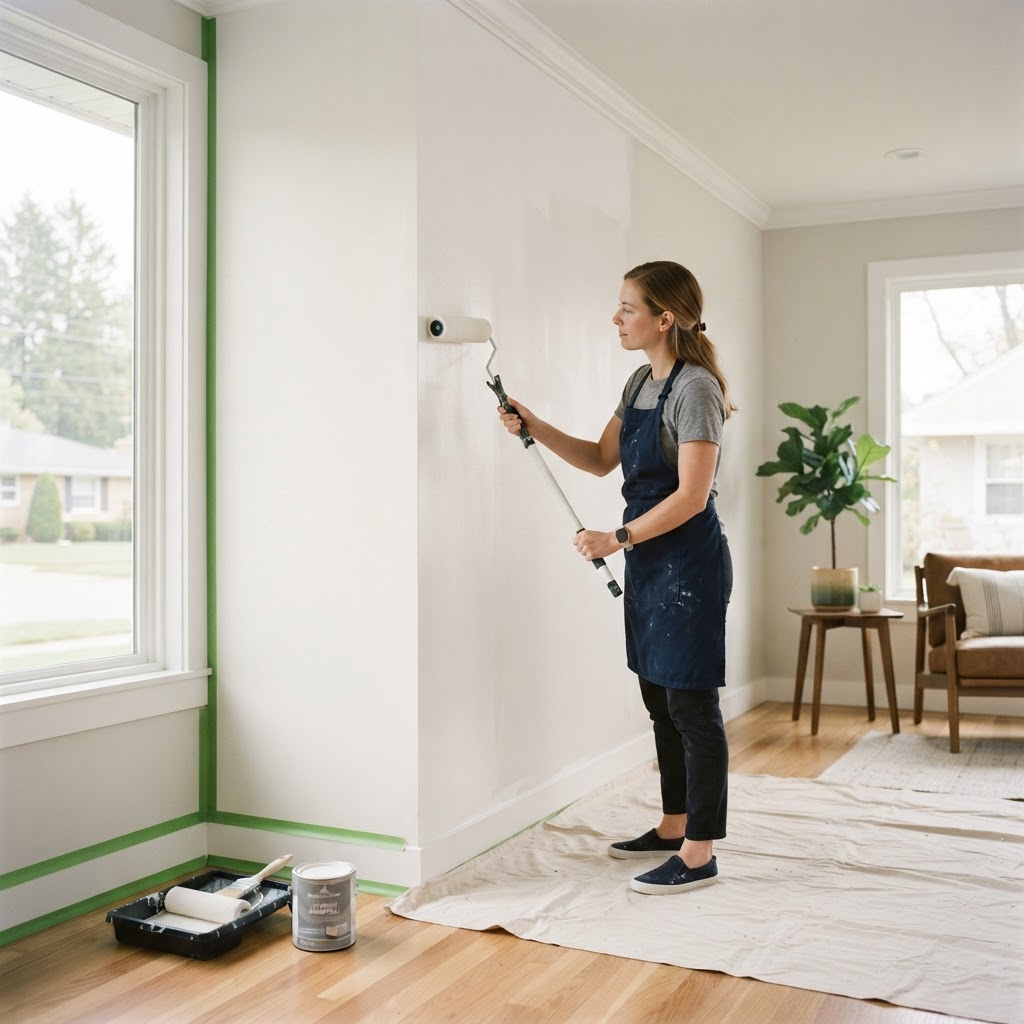
Mastering Interior Painting: A Guide to Professional Results at Home
Planning Your Interior Painting Project. Painting is one of the most cost-effective ways to refresh your home's aesthetic. The Importance of Preparation. Professional painters spend 70% of their time prepping. Surface cleaning, repairing blemishes, and taping are essential. Tools of the Trade. Invest in quality brushes and rollers. When to Hire a Pro vs. DIY. DIY is great for flat walls. Hire professionals for high ceilings or complex trim. Timing and Drying. Paint on low-humidity days and wait for full curing.
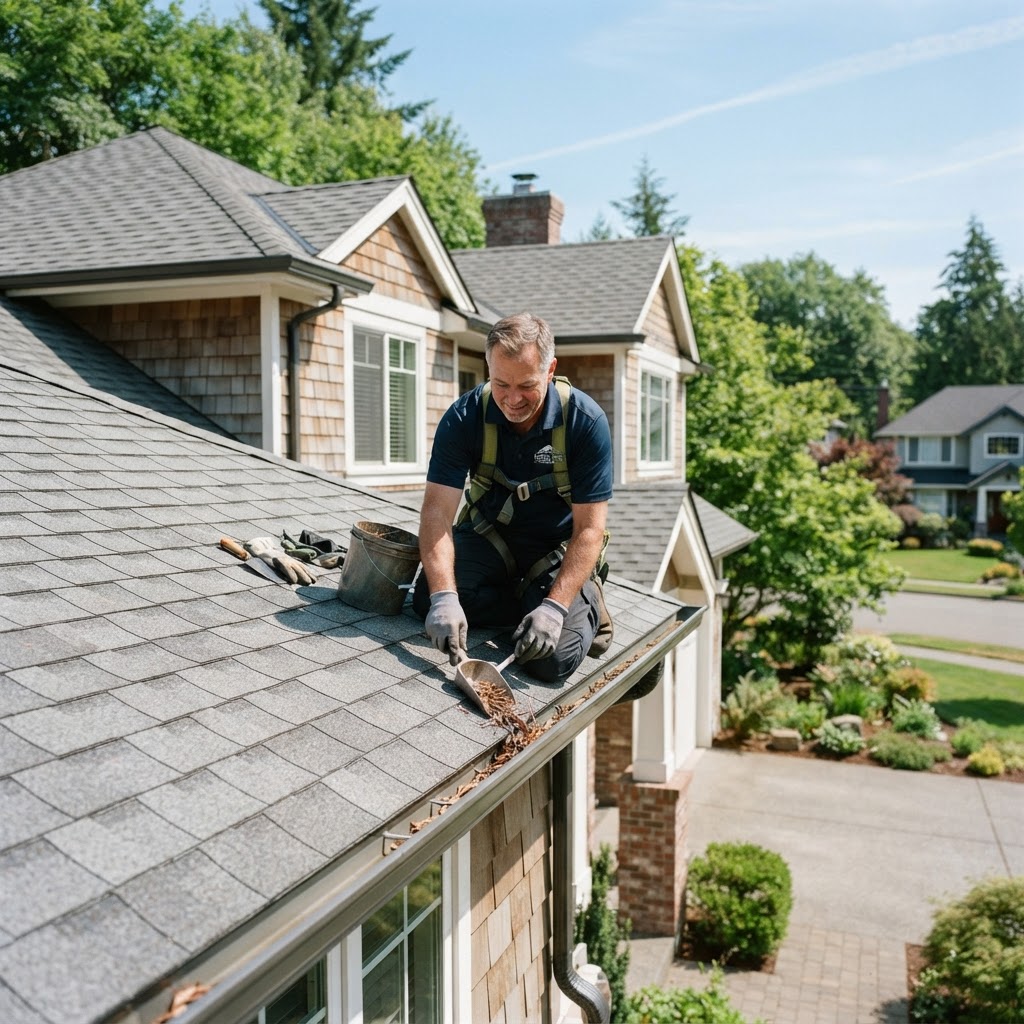
Essential Guide to Roofing and Gutter Maintenance for Homeowners
Your roof is the primary shield protecting your home from the elements. Neglecting roof and gutter systems leads to water damage and expensive repairs. Twice-yearly inspections are critical. Clean gutters and check downspouts regularly. Hire professionals for steep roofs or major structural issues. Budget accordingly for repairs or full replacements.
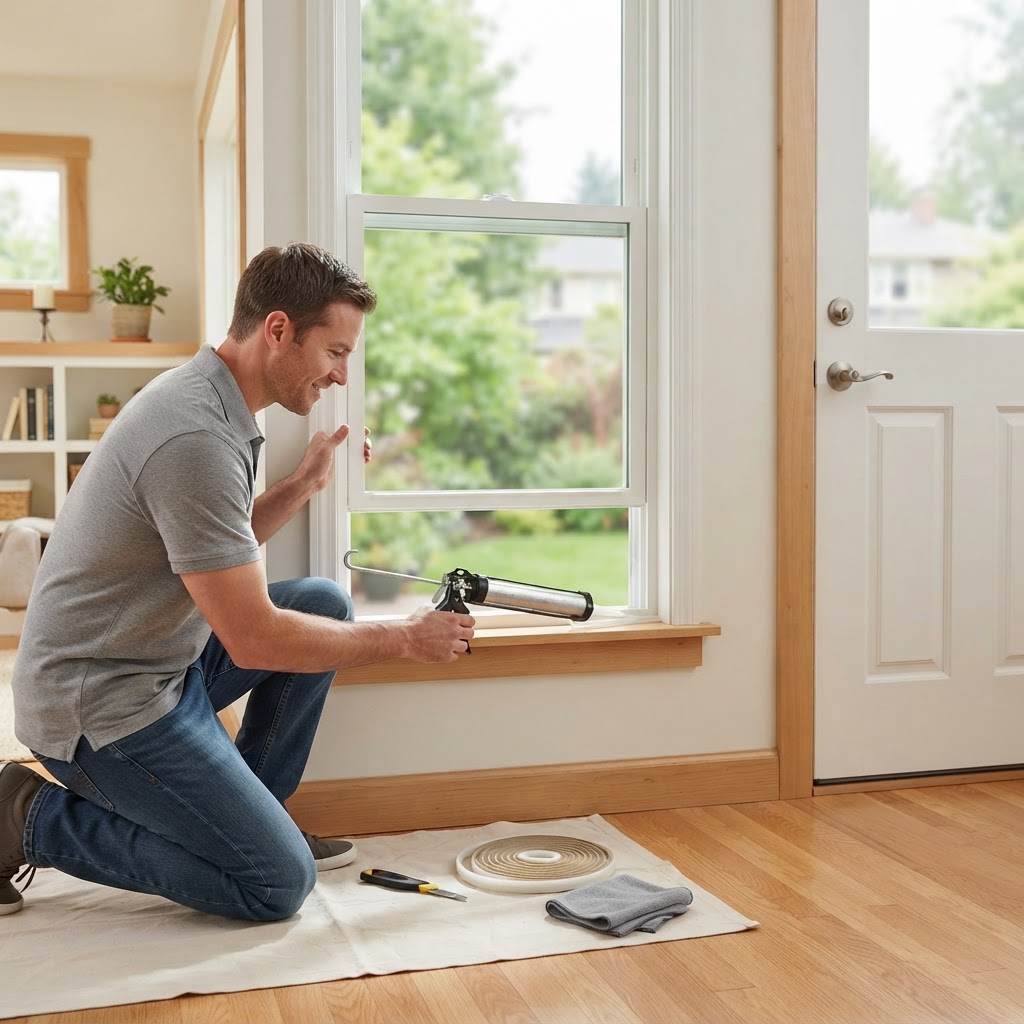
Boost Home Efficiency: A Guide to Window and Door Maintenance
Your windows and doors are the primary barriers between your living space and the elements. Regular maintenance is essential for home health. Start by checking weatherstripping for gaps, lubricating hinges and tracks with silicone spray, and clearing dirt from window sills. Inspect exterior caulk annually and replace if cracked. While simple tasks like cleaning and sealing are great DIY projects, issues like fogged glass or rotting frames require professional assistance. Plan major upgrades for spring or fall to ensure better material performance. Investing in well-maintained entry points will lower energy costs and improve security.
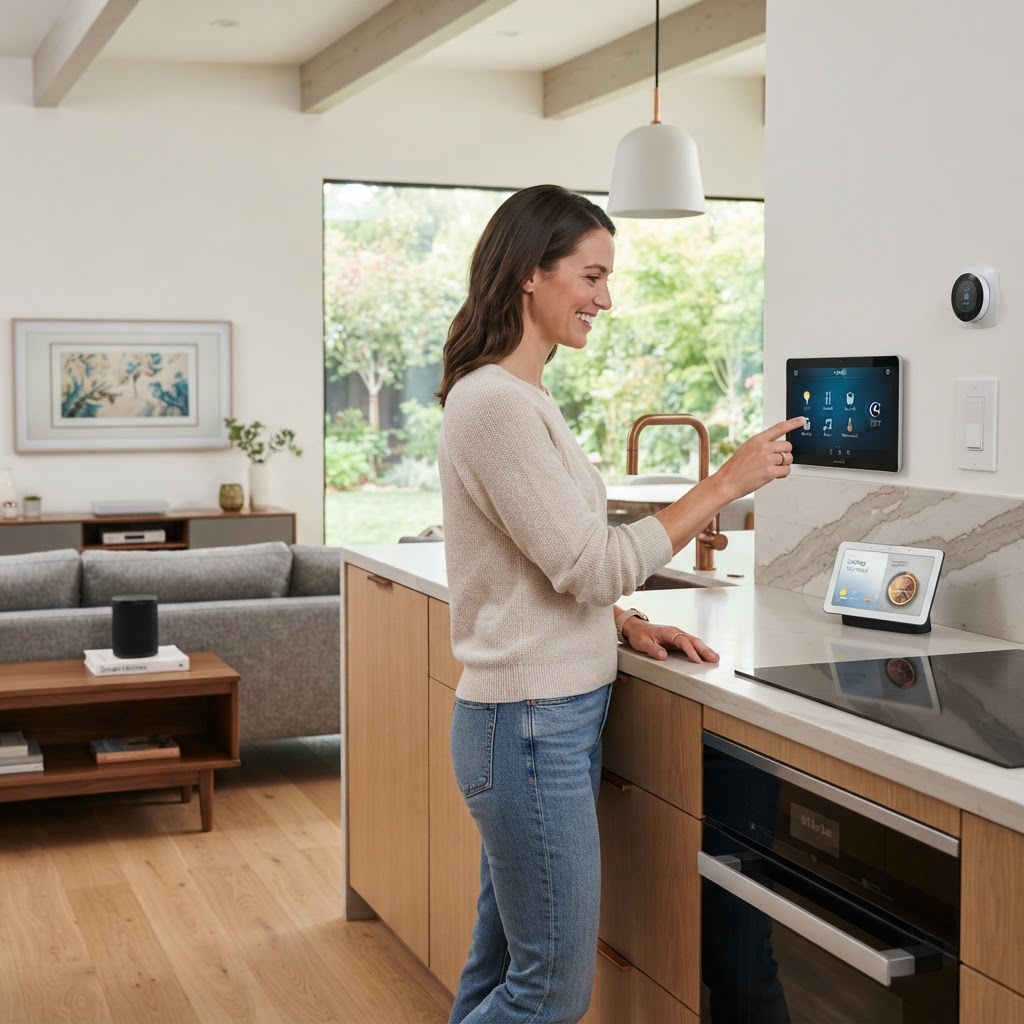
Smart Home Tech: A Practical Guide to Modernizing Your Living Space
Transforming your house into a smart home is no longer just for tech enthusiasts; it is a practical way to increase energy efficiency, security, and convenience. Start with smart plugs and bulbs for an easy entry. Security devices like smart locks and thermostats offer great ROI. Most smart tech is DIY-friendly, but hardwired systems may require professional help. Ensure you have a stable network and focus on a unified ecosystem.
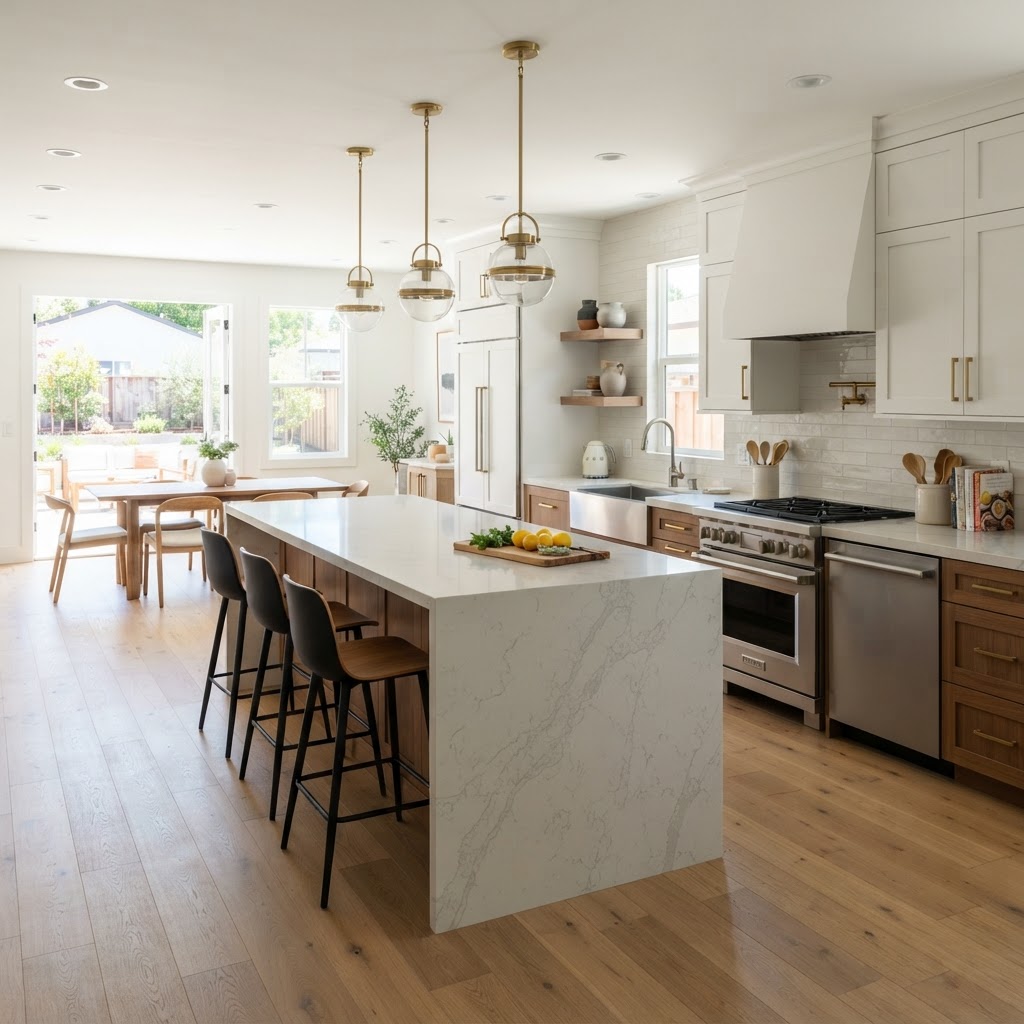
Smart Kitchen Upgrades to Boost Your Home Value
The kitchen is often referred to as the heart of the home. Whether you are planning to sell soon or simply want to improve your daily living experience, strategic kitchen upgrades offer the highest return on investment. You do not need a full-scale renovation to see a massive difference. Focus on cabinet refreshes, lighting swaps, or backsplash installation. For professional tasks, consider countertops, appliances, and major plumbing or electrical work. Always maintain a clear budget based on your home's value and plan your project during the off-season to save on costs.

Mastering Tenant Relations: A Guide for Successful Landlords
Managing rental properties is as much about people management as it is about property maintenance. A positive relationship with your tenants can drastically reduce turnover costs and keep your property in better shape. By setting clear expectations early, you foster an environment of mutual respect. The most common conflicts arise from misunderstandings regarding lease terms. When onboarding a new tenant, conduct a thorough walk-through and provide a comprehensive welcome packet. Promptness is the cornerstone of great tenant relations. Acknowledge maintenance requests within 24 hours. For minor tasks like lightbulb changes or air filters, handle them during inspections. For electrical or HVAC issues, hire a professional. Maintain written records and always reference the lease agreement. Conduct biannual inspections to ensure the unit stays in good condition and show the tenant you care about their living environment.
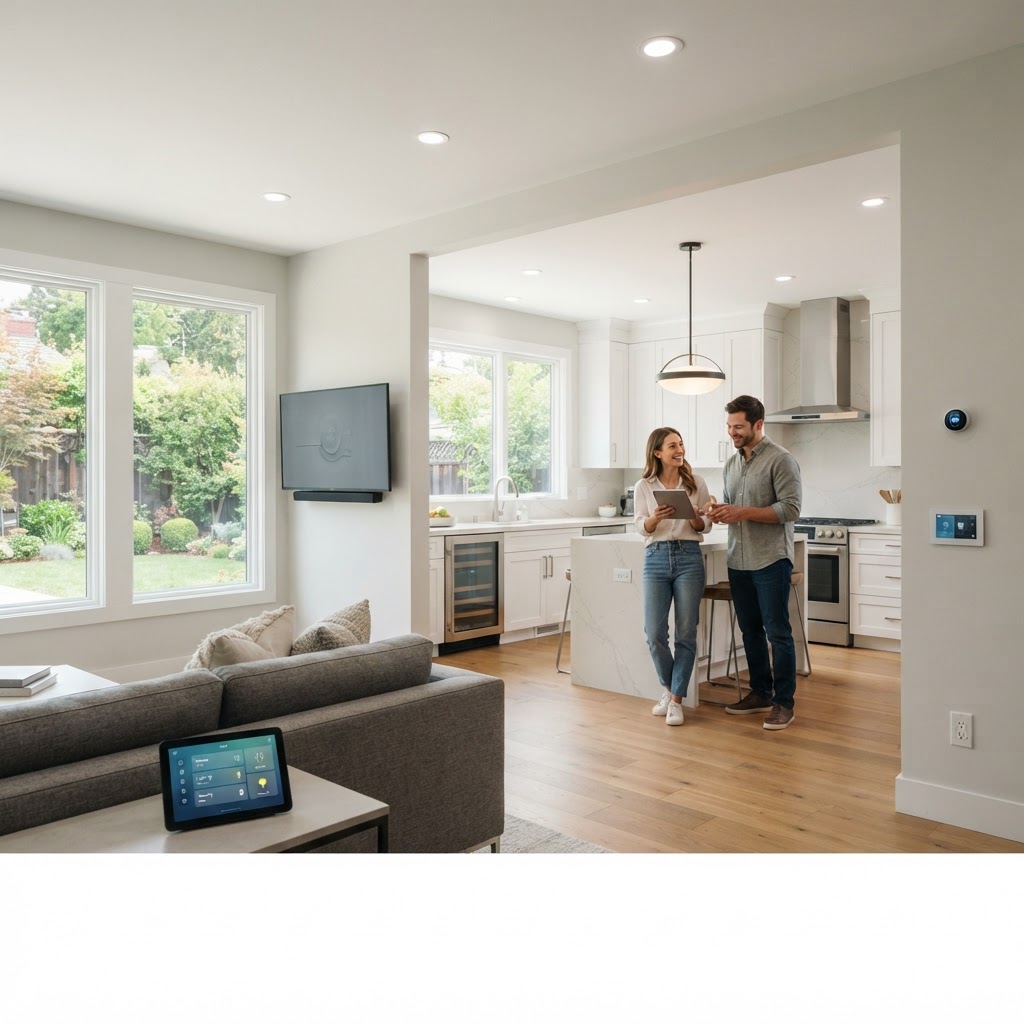
Smart Home Renovations: Where to Invest for Maximum ROI
Deciding which home improvements offer the best return on investment (ROI) requires balancing aesthetic upgrades with functional maintenance. Not all renovations increase property value equally; some serve as essential upkeep, while others provide direct equity growth. The kitchen remains the heart of the home, and minor updates here often yield the highest returns. Instead of a full-scale demolition, focus on cost-effective improvements. Curb appeal is the single most important factor for potential buyers. Understanding where your skill set ends and professional expertise begins is crucial to your investment strategy. Simple cosmetic updates are excellent DIY projects, but structural changes should be left to pros. Timing plays a massive role; prioritize projects that focus on functionality and neutral aesthetics if you plan to sell soon. By prioritizing low-maintenance, high-impact changes, you ensure that every dollar spent contributes to the long-term wealth of your household.

Flooring Upgrade Guide: How to Choose, Maintain, and Install Your Perfect Floor
Choosing the right flooring is a major investment. Consider functionality: high-traffic areas need durable materials like LVP or tile. Budget for subfloor prep and waste. DIY is possible for click-lock systems, but hire pros for hardwood or tile. Maintain by using felt pads, cleaning spills, and using entryway mats.
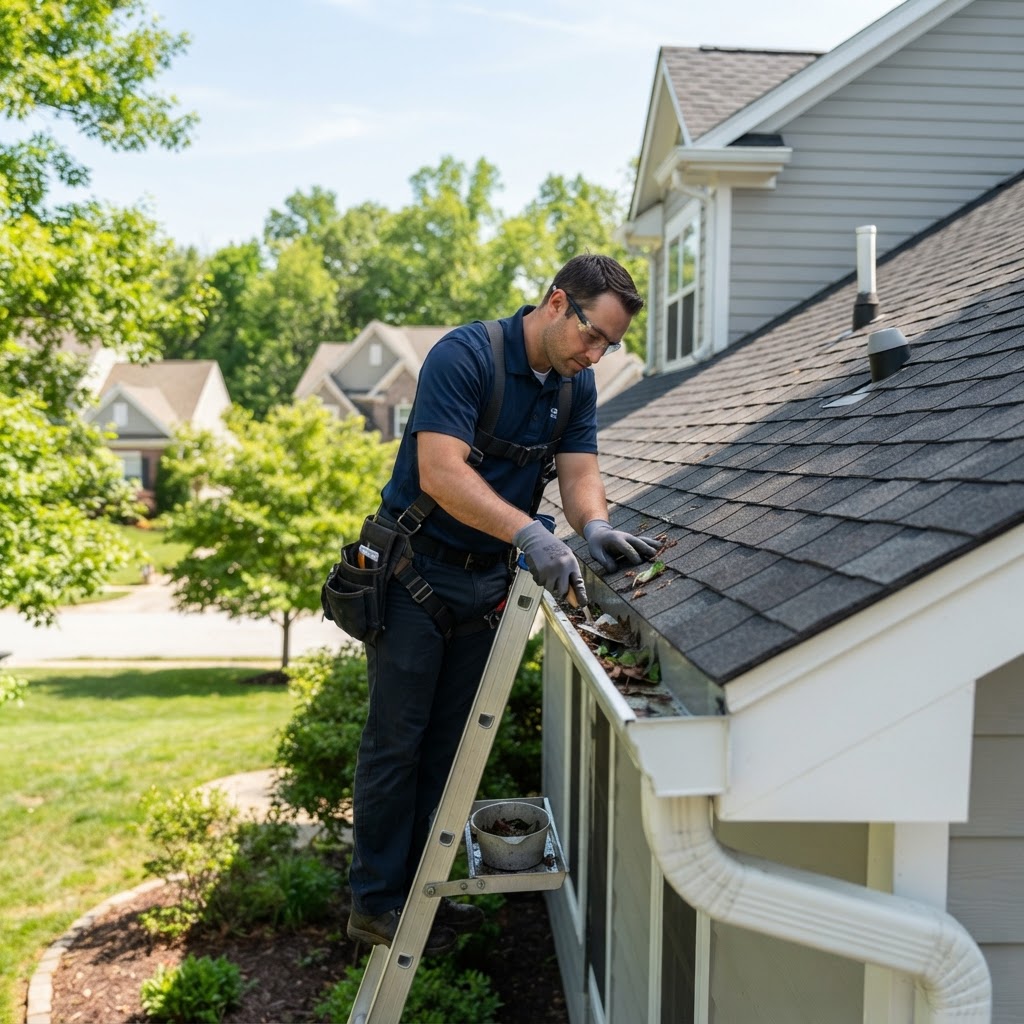
Essential Roof and Gutter Maintenance Guide for Homeowners
Your roof is your home's primary defense against the elements. Neglecting roof maintenance can lead to costly water damage, mold growth, and compromised structural integrity. By staying proactive, you can extend the lifespan of your roofing materials and avoid expensive emergency repairs. Routine inspections are the secret to a long-lasting roof. We recommend a full inspection at least twice a year. Always inspect for damaged shingles, check chimney flashing, clean gutters regularly, and trim overhanging tree branches. While simple cleaning can be a DIY job, always hire a licensed professional for structural repairs, interior leaks, or roof replacements. Preventive maintenance saves thousands in the long run.
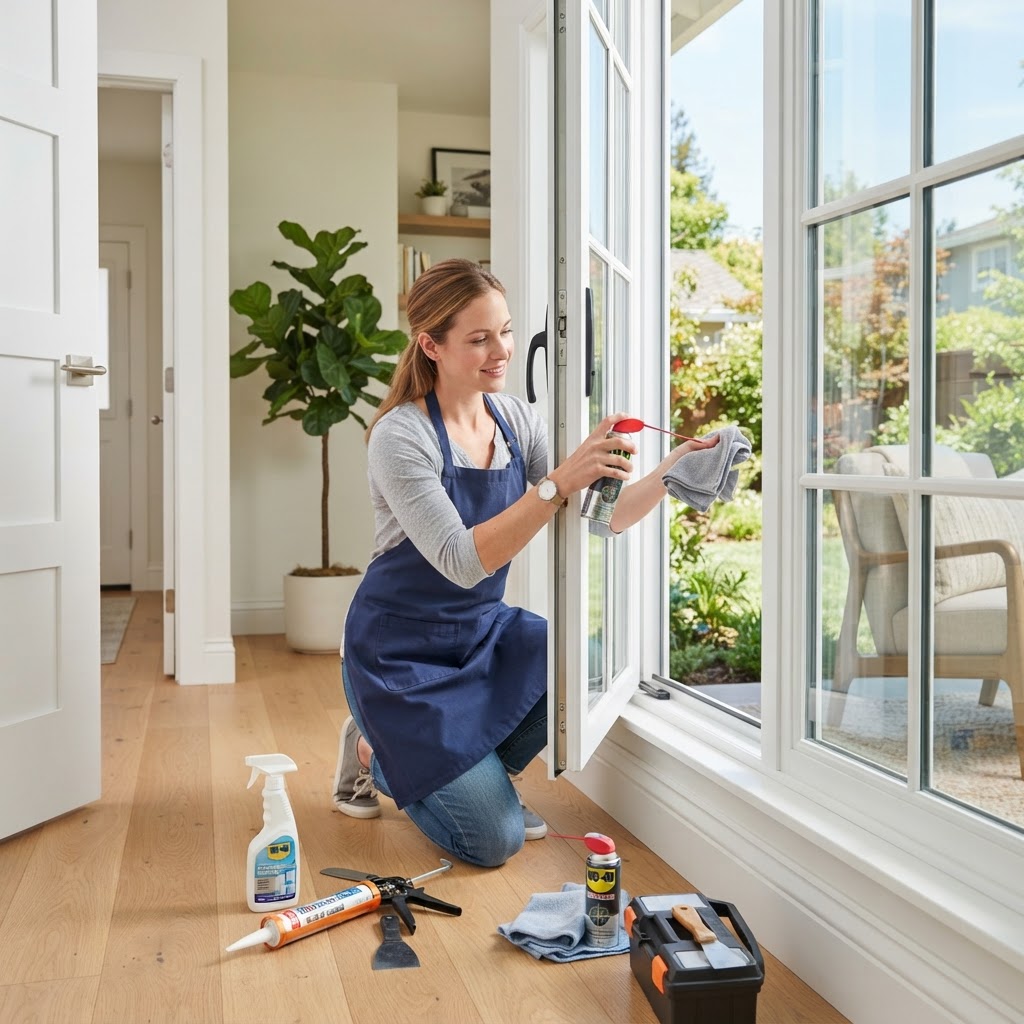
Essential Guide to Window and Door Maintenance for Homeowners
Your windows and doors are the first line of defense against the elements and a significant factor in your home's energy efficiency. Neglecting them can lead to drafty rooms, moisture damage, and inflated utility bills. Seasonal maintenance is key. In spring, check frames and weep holes. In summer, check weatherstripping. In fall, lubricate locks and hinges. DIY projects like cleaning or basic sealing are great, but major repairs like replacing failed insulated glass units should be left to professionals. Replacement costs vary widely based on material and scope, so always seek multiple quotes.
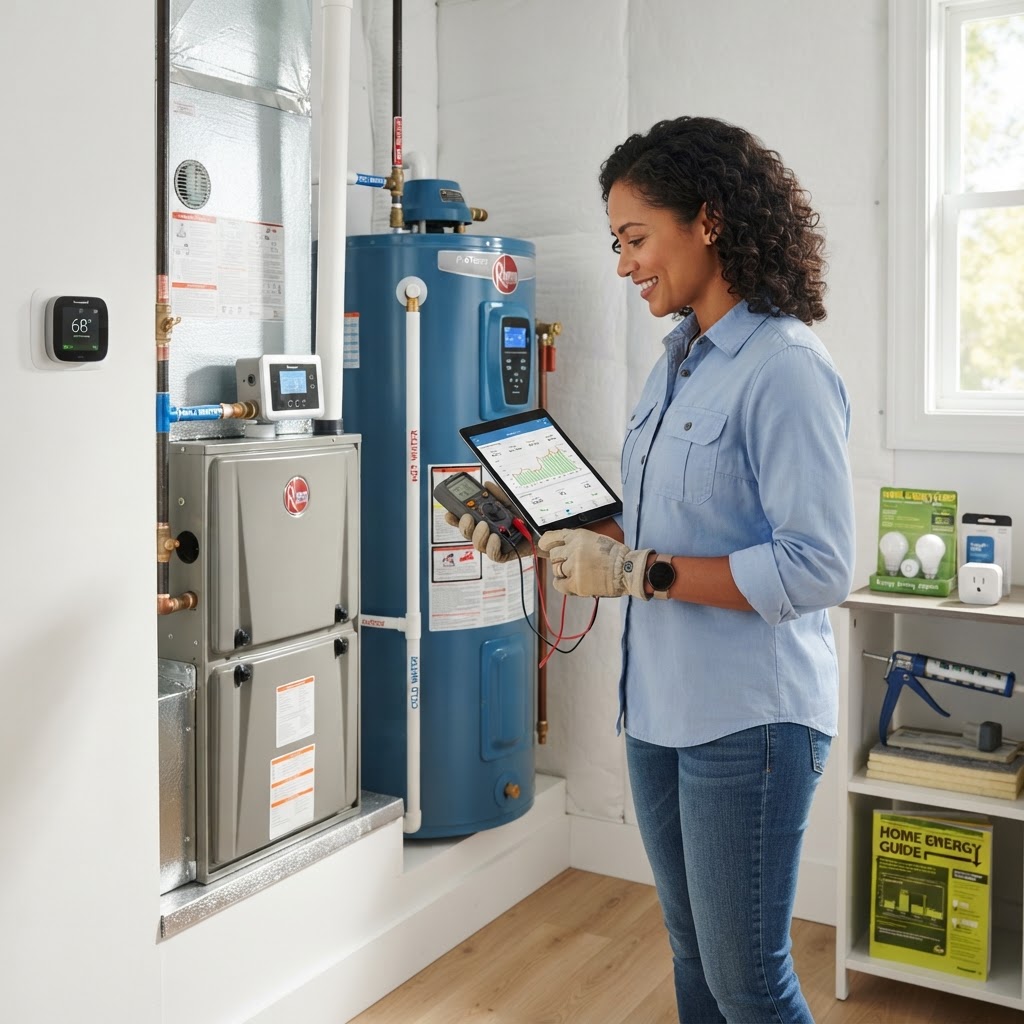
Slash Your Utility Bills: 5 Proven Home Energy Efficiency Tips
Reducing your home energy consumption is one of the smartest investments you can make as a homeowner. Not only does it lower your monthly utility bills, but it also significantly increases your property value and reduces your carbon footprint. Whether you are looking for quick DIY fixes or long-term structural upgrades, here is your guide to a more efficient home. Seal air leaks by checking windows and doors. Install a smart thermostat to optimize heating and cooling. Replace all incandescent bulbs with energy-efficient LEDs. Improve attic insulation to prevent heat loss, and always keep your HVAC system maintained with regular filter changes and annual professional inspections.

Smart Home Tech: A Practical Guide to Upgrading Your Living Space
Integrating smart technology into your home is no longer a luxury. It is a practical way to increase efficiency, comfort, and security. Start with high-impact upgrades like smart thermostats, which pay for themselves through energy savings. Focus on lighting, climate control, and security cameras for the most benefit. While most devices are easy to install yourself, hire a professional for hardwired security or complex home automation systems. Always prioritize network security by updating firmware and using two-factor authentication.
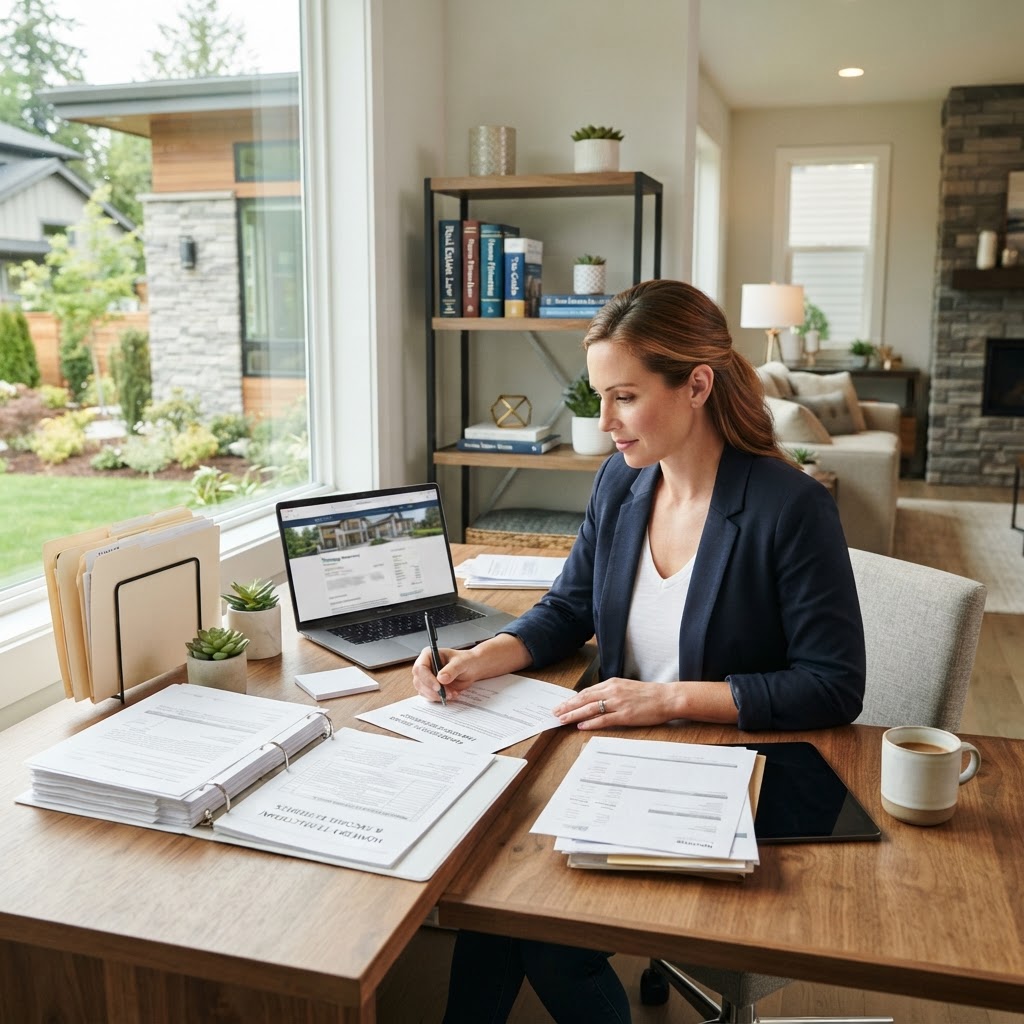
Homeowner Tax Breaks and Legal Protections: A Comprehensive Guide
Owning a home is a significant investment that comes with tax advantages and legal responsibilities. Homeowners should track mortgage interest and property taxes to maximize deductions. Energy-efficient upgrades may also qualify for federal tax credits. On the legal side, ensure property deeds are recorded and land surveys are conducted if boundaries are in question. Always verify contractor insurance before starting renovations. While tracking expenses is a DIY task, consult a CPA for tax filing and an attorney for legal disputes.
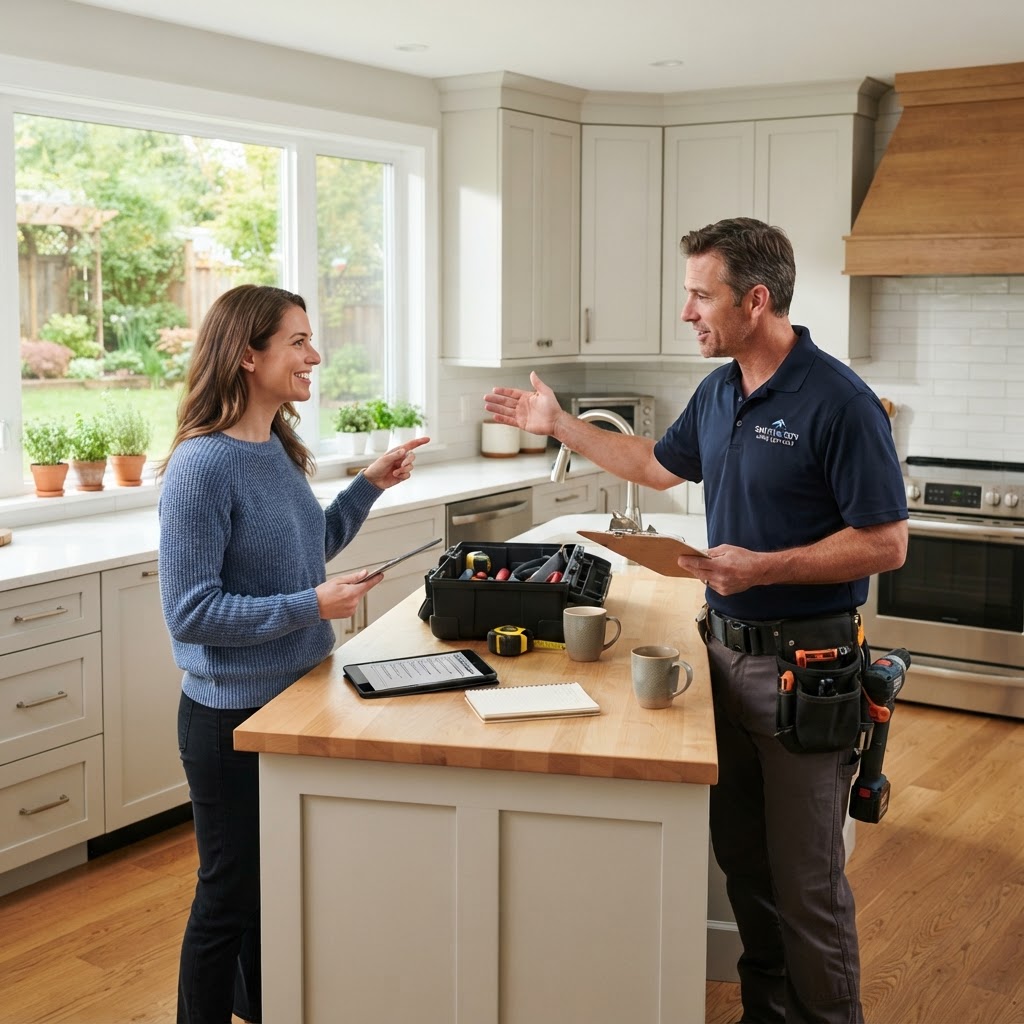
Property Management 101: Should You Hire a Pro or DIY?
For many homeowners, renting out a secondary property or an investment unit feels like a great way to generate passive income. However, the reality of managing tenants, maintenance, and legal compliance can quickly turn that dream into a stressful second job. Understanding whether you need professional property management is the first step toward a successful investment. Property management covers a vast array of duties that ensure your asset retains its value while generating cash flow. These typically include tenant screening, maintenance coordination, rent collection, and legal compliance. Deciding between self-management and hiring a professional comes down to time, proximity, and experience. If you live within 20 minutes of your property and have a background in basic maintenance, DIY might save you the 8% to 12% monthly fee that management companies charge. However, if you travel frequently or lack the patience for tenant interactions, a professional property manager is worth every penny. They provide a layer of legal protection and vendor networks that can save you significant money on repairs. Beyond the monthly management percentage, be aware of additional costs. Many firms charge a tenant placement fee, which is often equal to one month’s rent, to cover marketing and screening. You should also maintain a reserve fund—typically $500 to $1,000—for emergency repairs that pop up suddenly. If you choose to hire help, always review the management agreement for 'hidden' charges like lease renewal fees or site inspection fees. Regardless of who manages the unit, preventive care is key to profitability. Conduct a property inspection every six months. Check for leaky faucets, replace HVAC filters, and clear dryer vents. By staying on top of these small tasks, you prevent expensive long-term damage, keep your tenants happy, and reduce turnover costs. If you are managing the property yourself, keep a detailed digital log of all repairs, invoices, and tenant communications. This documentation is essential for tax season and will protect you in the event of a dispute. Remember, a well-maintained home attracts higher-quality tenants who stay longer and respect your property.

Homeowners Insurance: How to Maximize Protection and Minimize Costs
Homeowners insurance is more than just a mortgage requirement; it is your primary financial safety net. Most policies cover structural damage and personal property. Review your coverage annually. Bundle your policies, install safety features, and increase deductibles to save money. Only file claims for major damages to avoid premium hikes. Hire professional adjusters for large claims and maintain a digital home inventory to simplify the process.
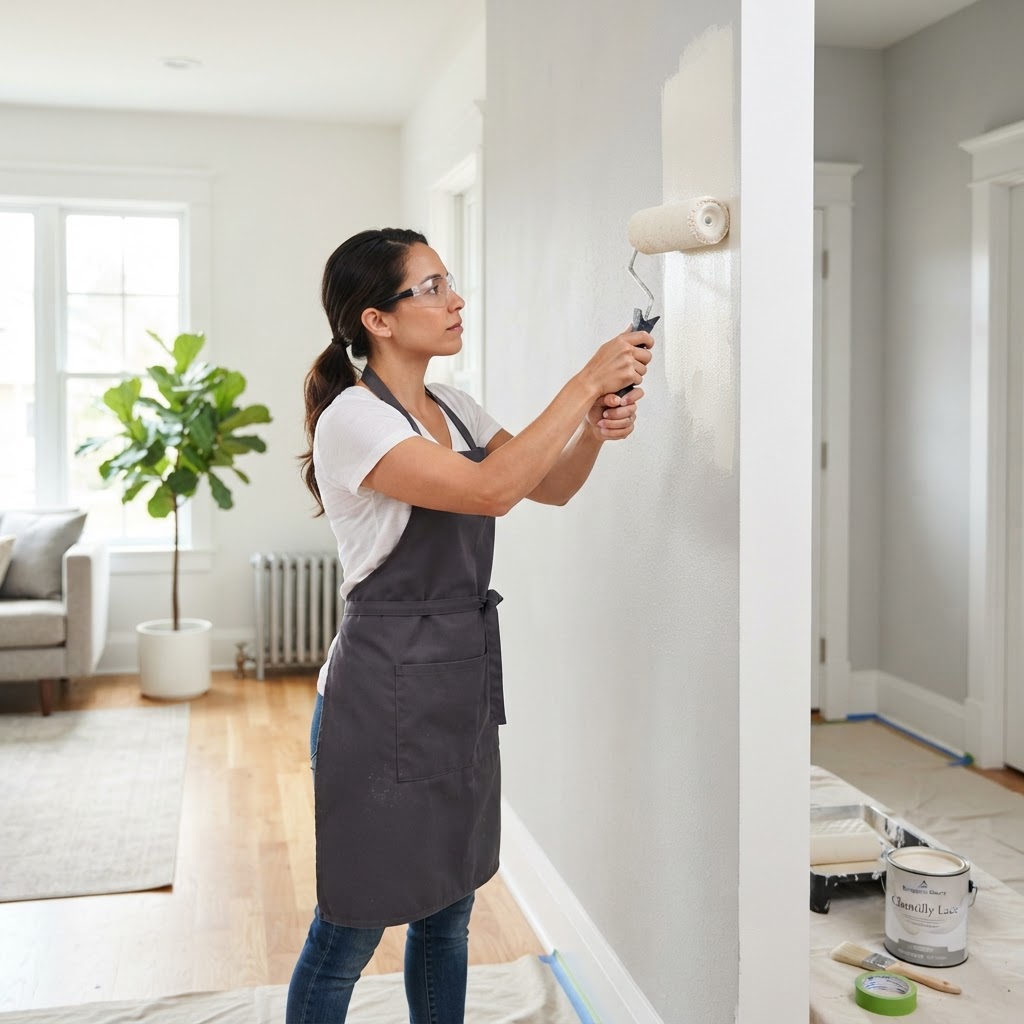
Mastering Interior Painting: A Guide to Professional Results
Painting is 80% preparation and 20% application. If you want a finish that lasts, you must start with clean, smooth surfaces. Begin by washing walls with a mild detergent to remove grease and dust. Fill any nail holes or cracks with spackle, allow it to dry, and sand the area until flush with the wall. Always prime your surfaces, especially if you are transitioning from a dark color to a lighter one or painting over raw drywall. Investing in high-quality brushes and rollers makes a significant difference in the final look of your room. Use a high-density foam roller for smooth surfaces and an angled sash brush for cutting into edges and corners. When selecting paint, consider the sheen: Flat/Matte: Best for ceilings and low-traffic areas, hides imperfections well. Eggshell: The gold standard for living rooms and bedrooms; easy to clean. Semi-Gloss: Ideal for trim, baseboards, and bathrooms due to its moisture resistance. For an average bedroom, expect to spend between $200 and $500 for quality paint and supplies. Professional contractors typically charge between $2 to $5 per square foot, depending on the complexity of the project. If you are doing this as a DIY project, budget at least one full weekend for a standard room to account for drying times between coats. Optimal humidity for painting is between 40% and 50%; try to avoid painting on extremely hot or humid days, as this can affect how the paint cures. While painting walls is a manageable task for most homeowners, certain jobs are better left to the pros. You should consider hiring a professional if you are tackling high ceilings, intricate trim work, or specialized finishes. By following these steps, you will ensure a professional-grade finish that refreshes your home and adds long-term value to your property.

Smart Energy Efficiency Tips to Lower Your Monthly Utility Bills
The most cost-effective way to improve energy efficiency is by preventing conditioned air from escaping. Start by inspecting your windows and doors for drafts. A simple DIY fix involves applying new weatherstripping or caulk around frames, which costs less than $50 and can be completed in an afternoon. If you notice significant drafts, consider installing heavy curtains, which act as thermal barriers. Your heating and cooling systems consume the lion's share of your energy budget. Regular maintenance is non-negotiable; replace air filters every 90 days to ensure optimal airflow. If your furnace or AC unit is over 15 years old, professional consultation is recommended. Upgrading to a smart thermostat is one of the easiest high-impact projects. These devices learn your schedule and adjust temperatures accordingly. Switch to LED bulbs, choose ENERGY STAR appliances, and use smart power strips. A professional energy audit is highly recommended to identify hidden thermal leaks that DIY methods might miss.
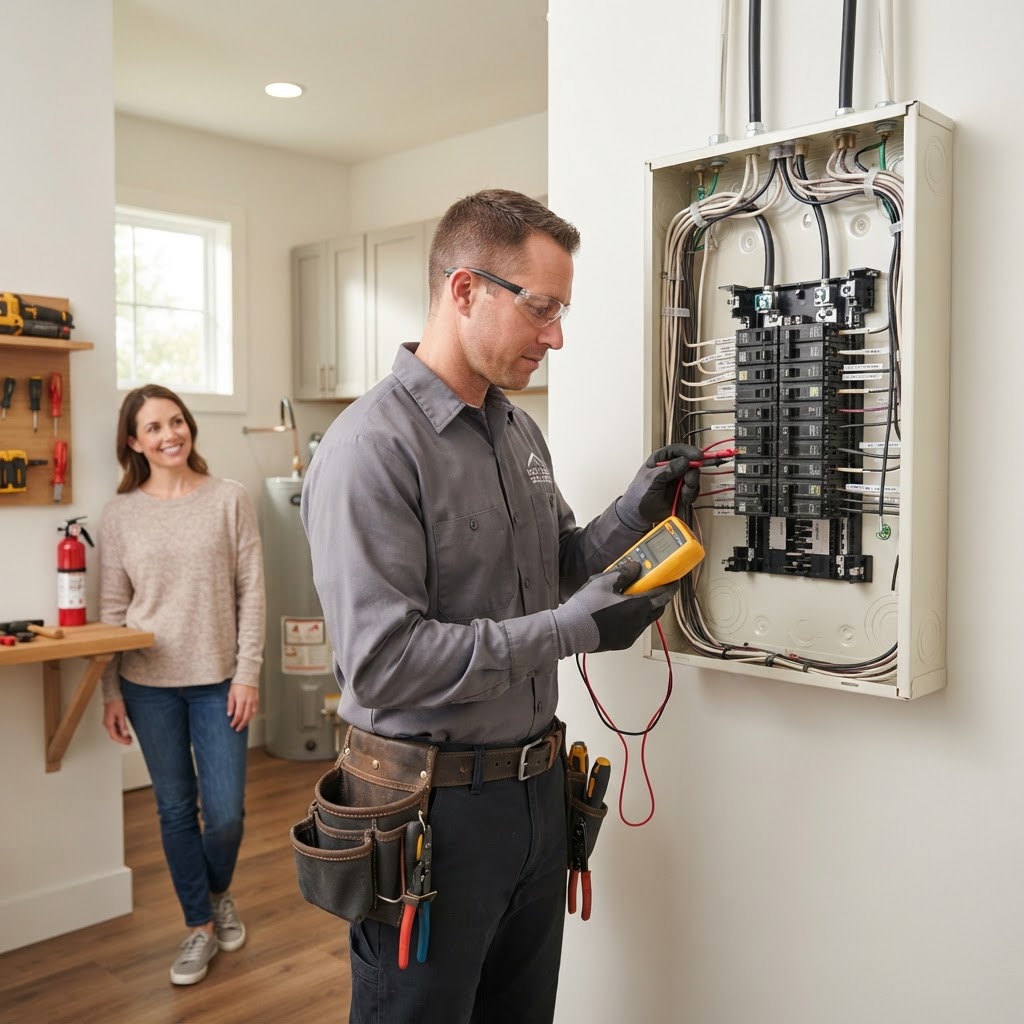
Essential Electrical Maintenance: A Homeowner’s Guide to Safety
Your home electrical system is vital. Proper maintenance, including testing GFCIs and avoiding overloads, ensures safety. Know when to call an electrician for panel work or old wiring. Keep your home safe by understanding your limits.
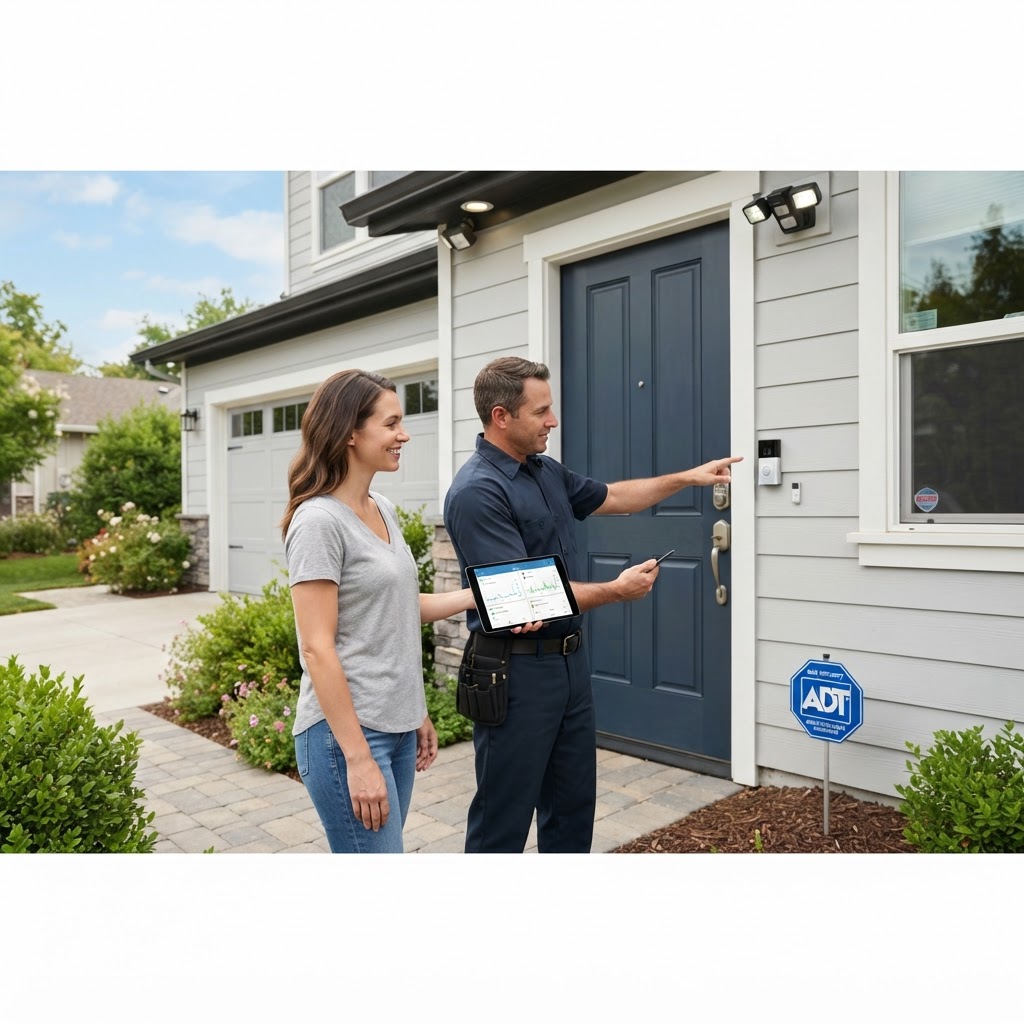
Essential Home Security Checklist: Protect Your Family and Property
The first line of defense is your property exterior. Walk around your home at night to identify dark spots. Installing motion-activated LED floodlights is a cost-effective DIY project, typically costing under $100 per unit. Ensure all ground-floor windows have secondary locks, which can be installed in minutes for less than $20 each. Most intruders enter through the front or back door. Replace standard strike plates with heavy-duty versions secured by 3-inch screws; this makes kicking in a door significantly more difficult. If you have an older home, consider upgrading to a smart deadbolt. These devices allow you to manage access remotely and receive alerts when the door is opened, providing both convenience and peace of mind for a professional installation cost ranging from $200 to $400. Modern security cameras are more accessible than ever. Video doorbells have become the industry standard for monitoring front porch activity. For comprehensive coverage, a multi-camera wireless system is recommended. While DIY kits exist, hiring a professional ensures optimal camera angles and secure network integration, which is critical for preventing digital tampering. Plan to spend between $300 and $800 depending on the number of cameras and recording storage options. Technology is only as effective as the habits behind it. Implement these routine tasks to maintain your security posture: test your alarm system batteries monthly, keep your landscaping trimmed so it does not provide cover for intruders, update your Wi-Fi password every six months to protect smart home devices, and join or establish a neighborhood watch group for extra eyes on the street. By layering these physical security measures with smart technology, you create a robust barrier against potential threats. While minor upgrades are great DIY weekend projects, do not hesitate to contact a professional locksmith or certified security technician if you are uncomfortable working with door hardware or complex integrated alarm systems. A secure home is a consistent, ongoing effort rather than a one-time setup.
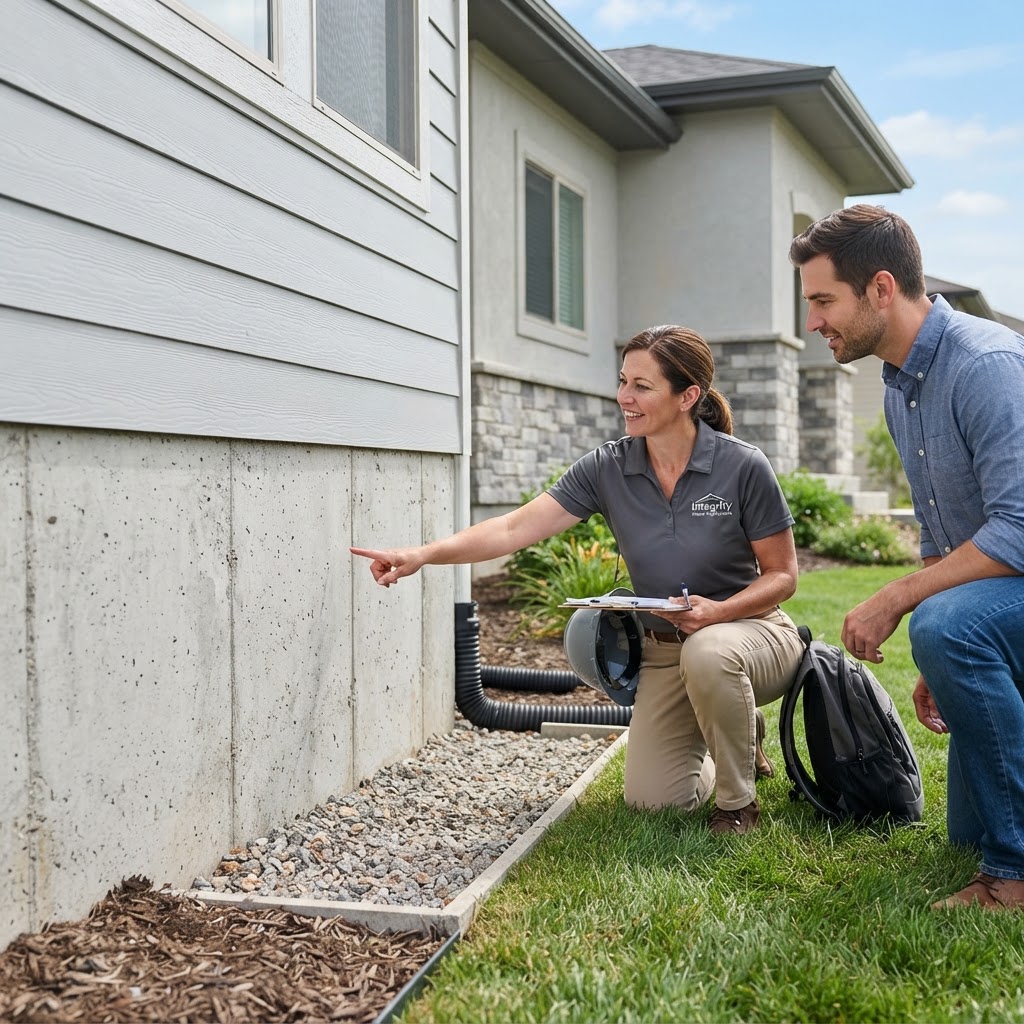
Foundation Health 101: A Homeowner’s Guide to Structural Integrity
Your home's foundation is the bedrock of its structural integrity. Over time, settling is common, but identifying the difference between cosmetic cracks and structural threats can save you thousands in repairs. Understanding how soil conditions, drainage, and material fatigue impact your foundation is the first step in long-term maintenance. Look for sticking doors, step-like cracks, and moisture issues. Direct water away from your home, grade the soil, and avoid planting trees too close. DIY minor cracks, but call an engineer for bowing walls. Repairs range from $500 for simple seals to $20,000 for structural stabilization.
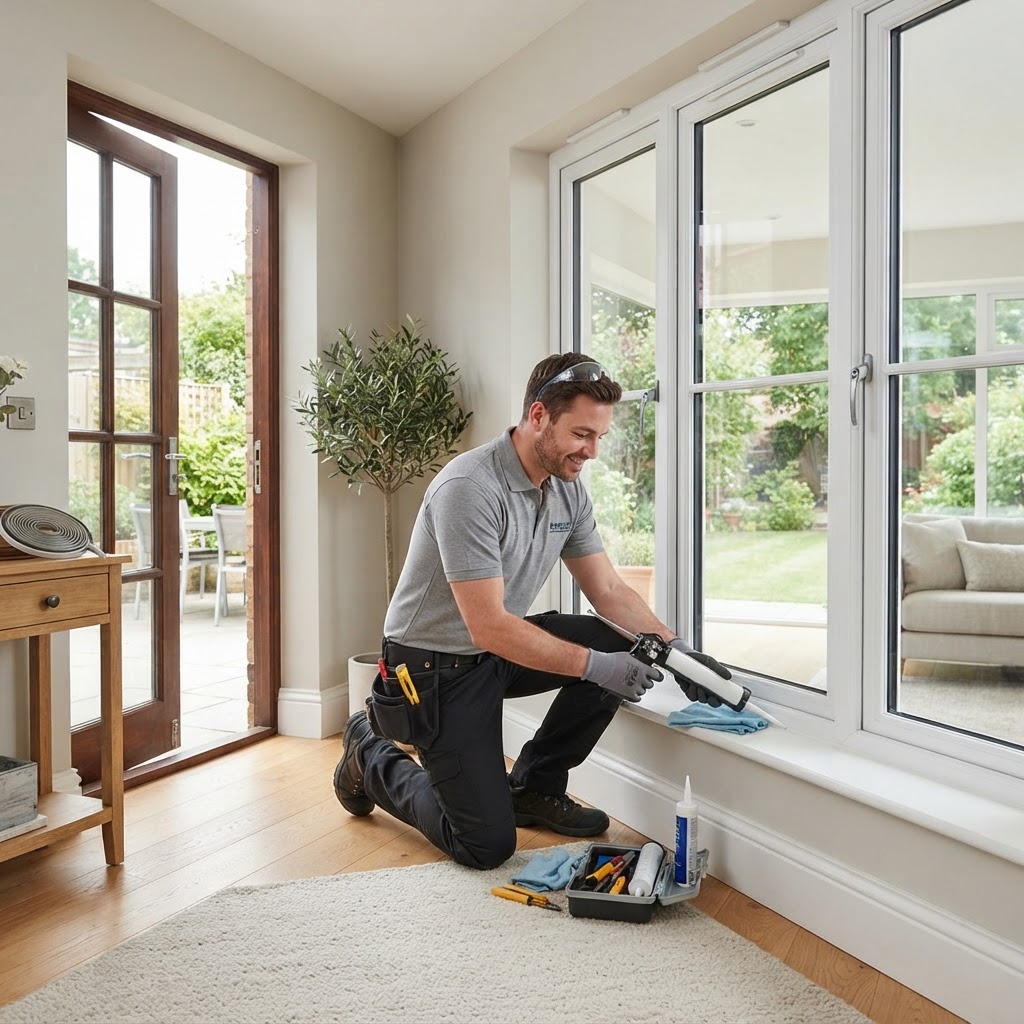
Boost Your Home Efficiency: A Guide to Windows & Doors Maintenance
Your windows and doors are the first line of defense against the elements. Beyond curb appeal, they play a critical role in your home's energy efficiency, security, and noise insulation. Regular maintenance includes checking weatherstripping, lubricating tracks, inspecting caulking, and cleaning frames. While minor tasks like replacing weatherstripping are perfect for DIYers, issues like failed seals or wood rot require professional help. If your windows are over 20 years old, consider full replacements to improve energy efficiency. Aim for inspections twice a year to ensure your home remains sealed and secure.
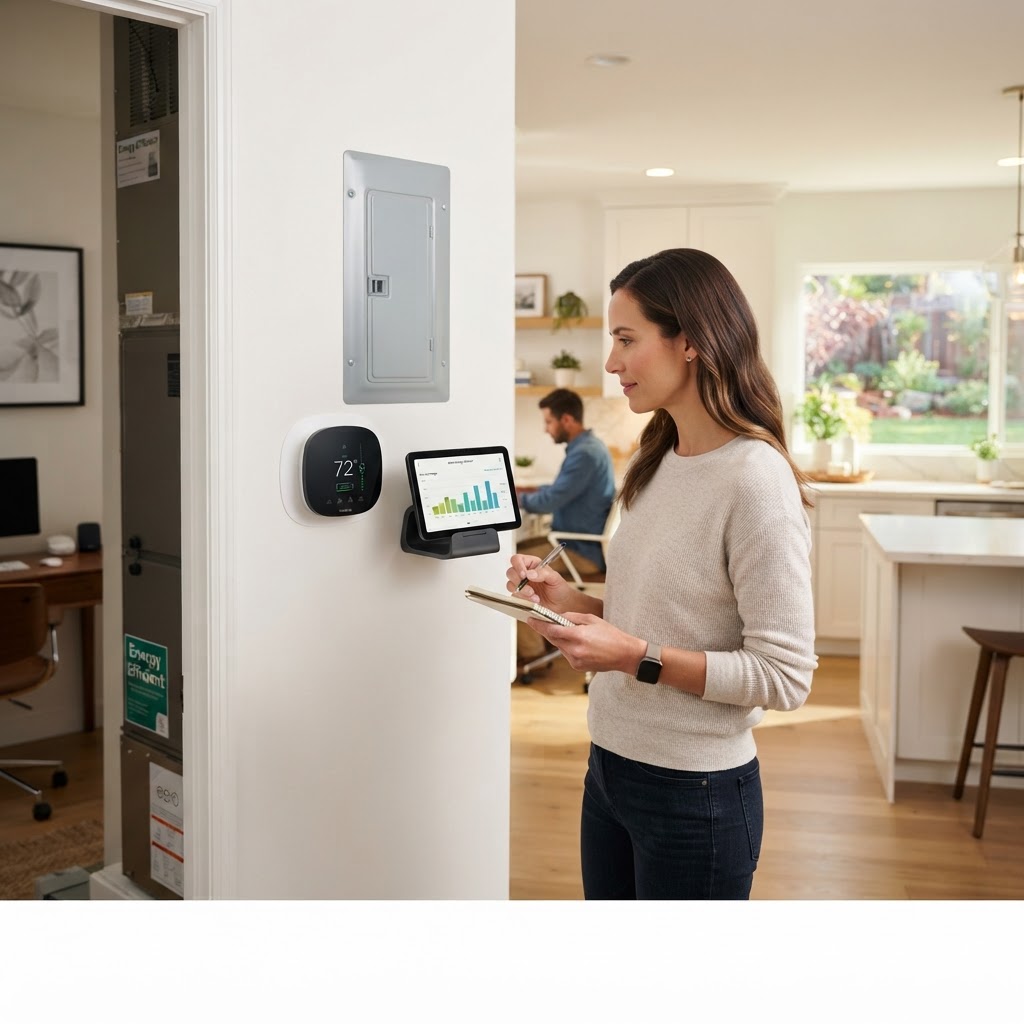
Smart Energy Efficiency Tips to Lower Your Monthly Utility Bills
Reducing your home energy consumption is one of the most effective ways to lower monthly utility bills while increasing your property's overall value. Start by sealing air leaks around doors and windows with weatherstripping, which can save up to 15% on utility bills. Switch all remaining incandescent bulbs to LEDs, as these use far less energy and last much longer. Installing a programmable thermostat is another high-impact DIY move that regulates climate control when you are away. For larger projects, consider upgrading your attic insulation or investing in Energy Star appliances. These upgrades are best managed by professionals to ensure proper installation and efficacy. Schedule your energy assessment during the spring or fall to prepare for peak seasons. Taking these steps systematically will maximize your return on investment and create a more comfortable home environment.

Homeowner Tax Breaks: Essential Tips for 2024
Maximize Your Tax Savings as a Homeowner. Owning a home is one of the largest financial investments you will ever make. Beyond the equity you build, there are several tax advantages designed to reduce your overall tax burden. Understanding these nuances can save you thousands of dollars annually. Key deductions include the Mortgage Interest Deduction for debt up to $750,000 and the Property Tax Deduction subject to SALT caps. Energy-efficient upgrades like solar panels provide significant tax credits under current law. If you run a business from home, you may be eligible for a home office deduction. Always keep detailed receipts for capital improvements as they affect your home's cost basis. While simple taxes can be done via software, complex filings involving business use of the home or large capital gains should be handled by a CPA to ensure you choose between the standard deduction and itemizing correctly.

Smart Home Tech: A Practical Guide to Modernizing Your Living Space
Transforming your house into a smart home is no longer just for tech enthusiasts; it is a practical way to increase energy efficiency, security, and convenience. Before diving in, focus on high-impact areas like smart lighting, thermostats, and video doorbells. Most systems are DIY-friendly, but hardwired projects should be left to licensed professionals. Start small, budget incrementally, and always prioritize network security by updating firmware and utilizing guest networks for IoT devices.

Smart Home Renovations: A Guide to High-Return Investments
For most homeowners, a house is not just a place to live; it is a significant financial asset. To ensure your home appreciates in value, it is essential to approach renovations as a strategic investment rather than just personal preference. Not all upgrades provide the same return on investment (ROI), so focusing your budget where it counts is crucial. High-impact projects include kitchen upgrades, focusing on cabinets and appliances; curb appeal enhancements like garage doors and landscaping; and bathroom remodels. While DIY projects like painting and minor landscaping can save money, technical work involving plumbing and electricity should always be handled by professionals to avoid inspection issues. Time your projects based on neighborhood standards and your personal timeline for selling. By focusing on functionality and energy efficiency, you can maximize your long-term return.

Homeowners Insurance: A Practical Guide to Protecting Your Investment
Homeowners insurance is a critical safety net. By reviewing your declarations page, conducting a home inventory, and understanding the impact of deductibles, you can better manage your costs. Focus on DIY maintenance to prevent claims, and consult professionals when assessing coverage needs after renovations. Always keep documentation of your belongings and evaluate your policy annually to ensure you are protected against evolving risks.

Mastering Tenant Relations: A Guide for Successful Landlords
Successful property management hinges on one critical element: your relationship with your tenants. When communication is clear and professional, turnover decreases and property care improves. Investing time in your tenants today saves you money in vacancy costs tomorrow. Transparency is the cornerstone of great tenant relations. Always establish a primary channel for communication, such as a portal or email, to maintain a paper trail. When a tenant reaches out regarding a maintenance request, acknowledge the receipt within 24 hours. Even if you cannot fix the issue immediately, setting an expectation for timing reduces anxiety and frustration. Proactive maintenance includes regular inspections every six months and respecting tenant privacy by providing legal notice before entering. For maintenance, handle simple tasks yourself but always hire licensed professionals for electrical, plumbing, or HVAC work to protect your liability. Investing in property upkeep is cheaper than the cost of unit turnover, which can exceed $2,000. By fostering a professional relationship, you ensure long-term stability for your investment.
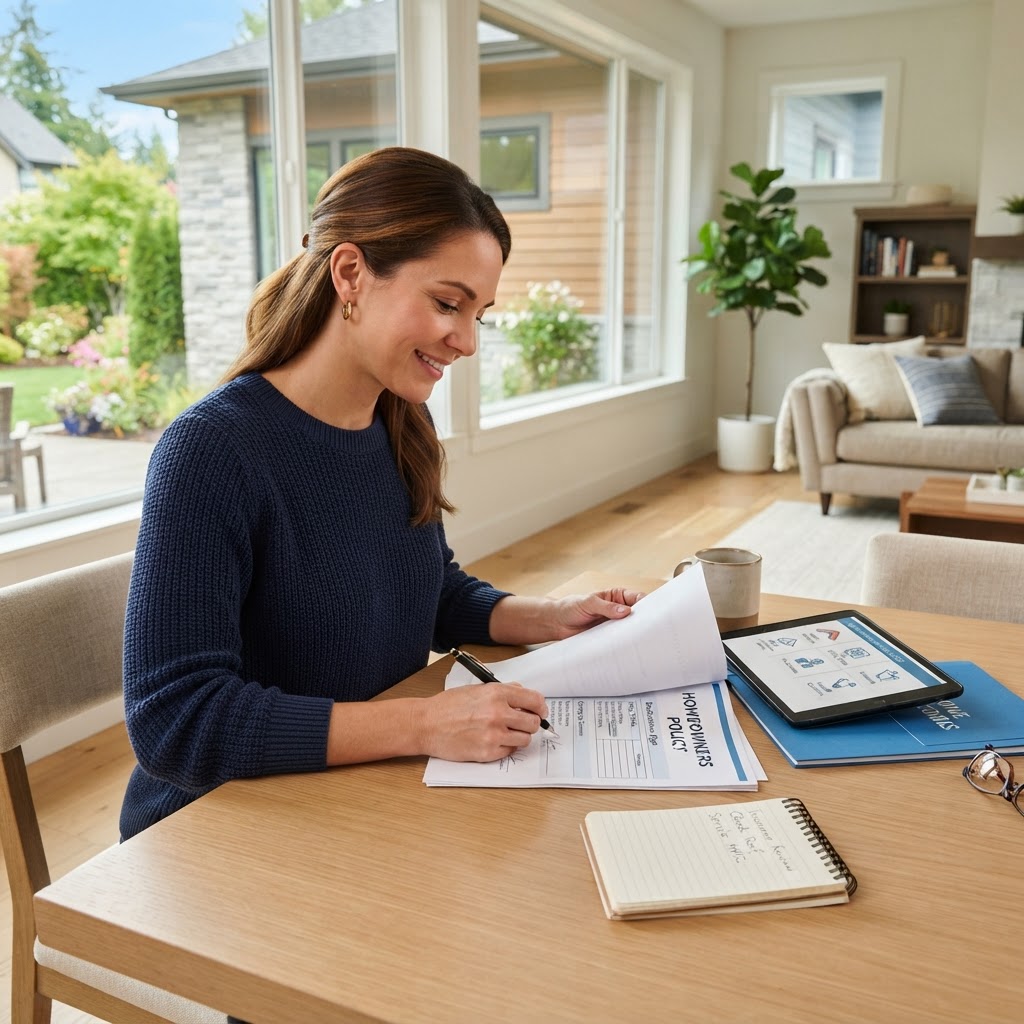
Homeowners Insurance: A Practical Guide to Protecting Your Investment
Your home is likely the largest investment you will ever make. While homeowners insurance is mandatory, many homeowners forget to review their coverage. A standard policy includes dwelling coverage, personal property, liability, and living expenses. Homeowners should conduct regular home inventories, choose replacement cost over actual cash value, and keep an emergency fund for deductibles. Always notify your agent of major renovations or high-value additions to ensure your policy keeps pace with your home's actual value.
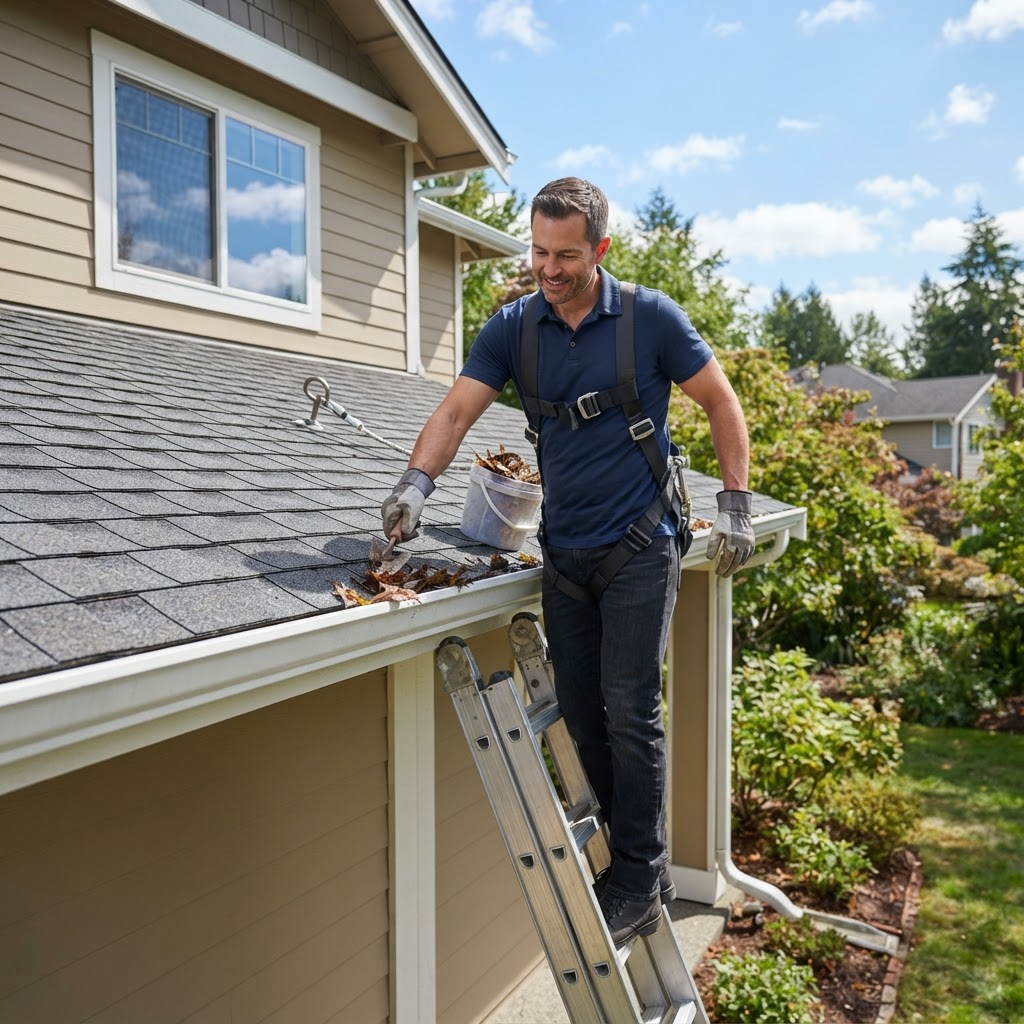
Essential Roof and Gutter Maintenance Guide for Homeowners
Your roof and gutter system is the primary line of defense against the elements. Regular maintenance is critical to preventing water damage. Essential tasks include cleaning gutters seasonally and checking for loose or missing shingles. While simple gutter clearing is a manageable DIY project, repairs involving flashing or major shingle work should be left to licensed professionals to ensure safety and quality. Expect to pay between $150 and $500 for routine professional maintenance. Always trim nearby tree limbs and ensure proper attic ventilation to extend your roof's service life.

Smart Kitchen Upgrades to Boost Your Home Value and Functionality
The kitchen is the heart of the home. Strategic upgrades improve your workflow and resale value. Whether you are planning minor refreshes or a full renovation, focus on high-impact areas like lighting, hardware, and countertops. DIY tasks include painting and hardware replacement, while professional help is essential for gas, electrical, and plumbing work. Always plan your project during the off-season to save on labor and ensure material availability.

Smart Home Tech: A Practical Guide for Modern Homeowners
Integrating smart home technology is a practical way to increase security, energy efficiency, and convenience. Start with devices that offer the highest return on investment, such as smart thermostats, which can reduce energy consumption by up to 15% annually. Smart plugs are also great for managing appliances remotely. Most smart products are DIY-friendly, but complex systems may require professional help. Budgeting should be done in phases, starting with climate and lighting, moving to security, and ending with integration hubs. Always prioritize Wi-Fi security and check for ecosystem compatibility before purchasing.
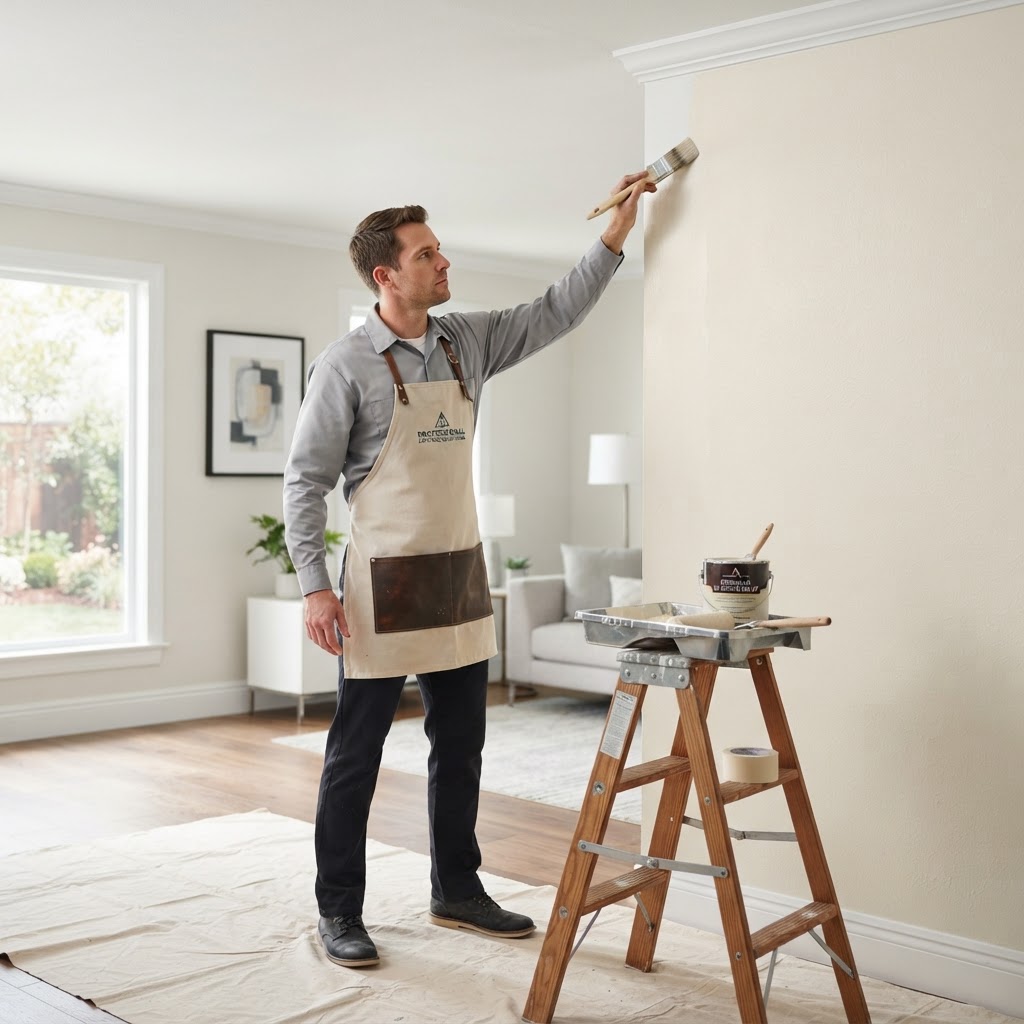
Mastering Interior Painting: A Pro Guide to a Flawless Finish
The secret to a professional-looking paint job is prep work. Clean your walls, patch holes with spackle, and sand until smooth. Invest in high-quality brushes and roller covers. Never skip primer, especially over dark colors or repairs. DIY is cost-effective but labor-intensive, taking roughly two days per room. Hire a professional for high ceilings or intricate trim. Key tips include cutting in first, maintaining a wet edge, and ensuring good ventilation for curing.
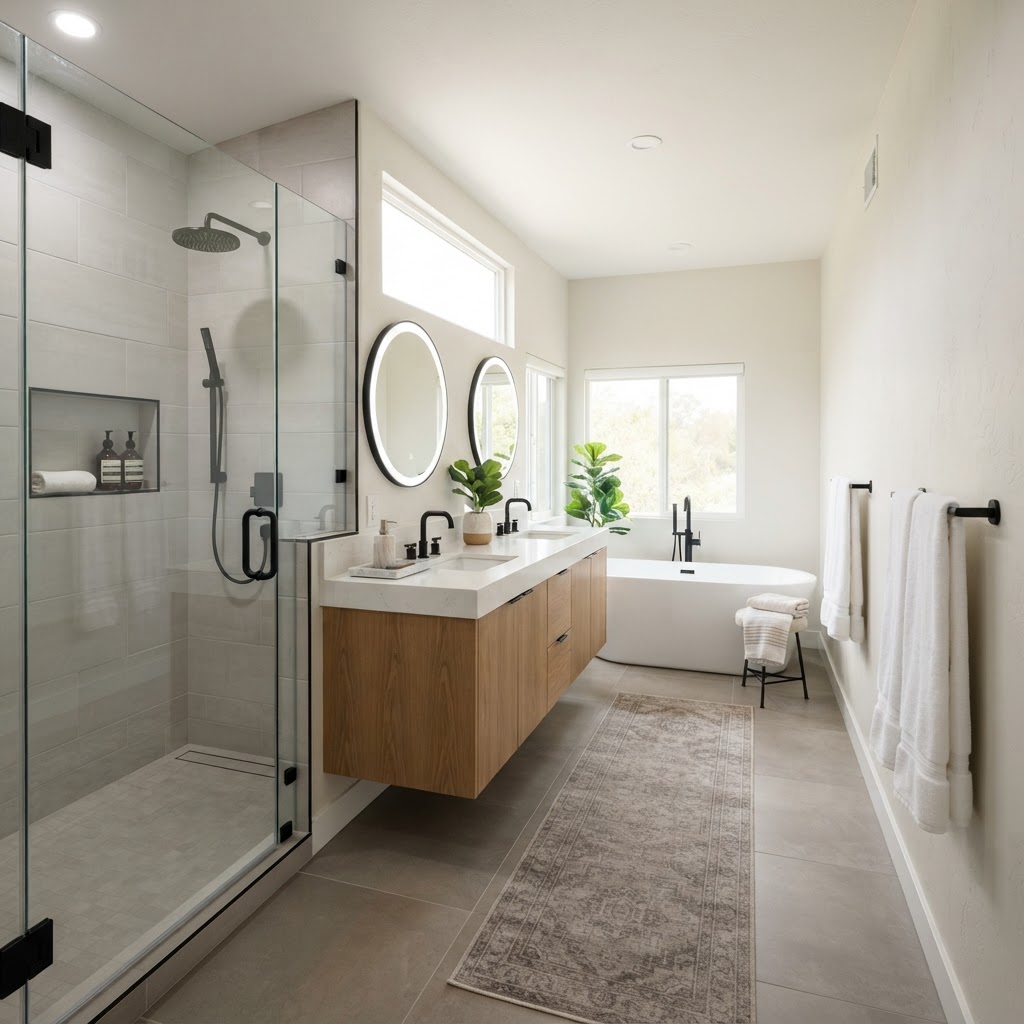
Bathroom Remodel Guide: How to Plan and Execute Your Renovation
A bathroom remodel is one of the most rewarding home improvements you can undertake. Whether you are looking to increase your home's resale value or simply create a more relaxing oasis, careful planning is the key to success. Start by assessing your current space and identifying your non-negotiables. Before swinging a hammer, establish a firm budget. A standard bathroom remodel can range from $5,000 for a minor facelift to over $25,000 for a full luxury overhaul. Allocate at least 15% of your budget for unexpected issues. While DIY projects can save money, know your limits. Leave major plumbing, electrical work, and structural modifications to the pros. On average, a bathroom remodel takes between three to six weeks. Key design tips include improving lighting, prioritizing ventilation, maximizing storage, and choosing neutral colors to ensure a high return on investment.
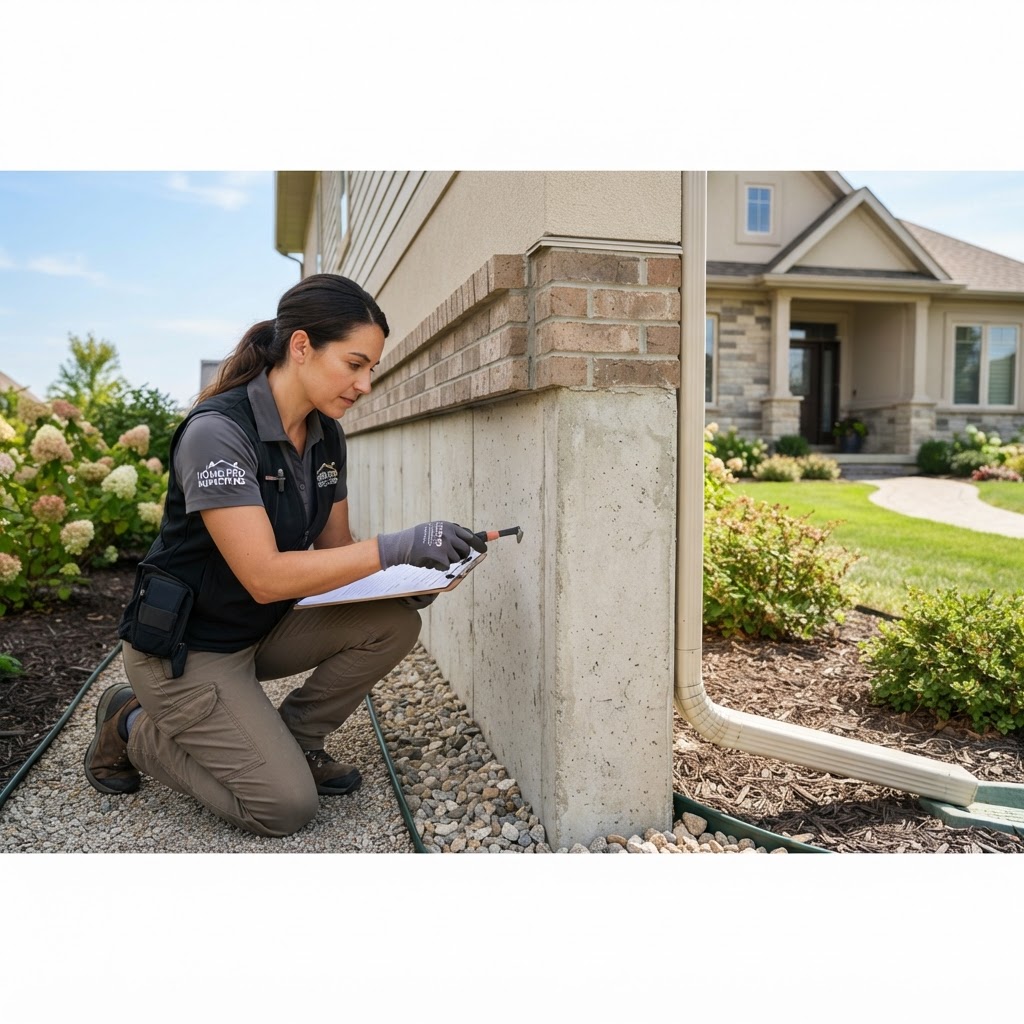
Foundation Maintenance: A Homeowner’s Guide to Structural Integrity
Your home's foundation is the bedrock of its structural health. Neglecting minor issues can lead to significant structural failure and astronomical repair bills. By understanding the early warning signs, you can protect your investment. Structural shifting often presents itself in subtle ways. Keep an eye out for these red flags: diagonal cracks, sticking doors and windows, uneven flooring, and gaps around frames. Managing moisture is key; keep gutters clear and direct water away from the house. While small hairline cracks are DIY-friendly, major structural issues require a professional engineer. Catching problems early saves thousands of dollars.
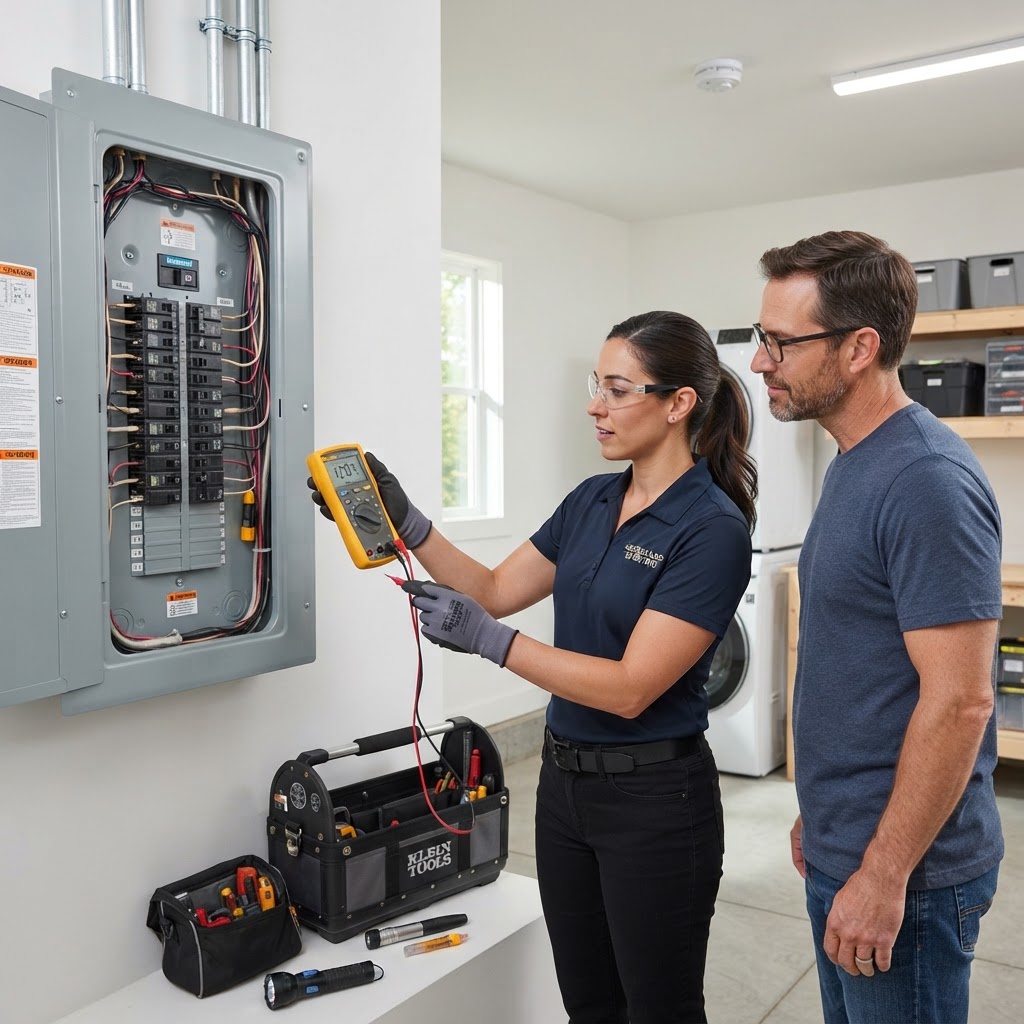
Essential Electrical Safety: A Homeowner’s Maintenance Guide
Maintaining your electrical system is vital for home safety. This guide covers the basics of DIY vs professional work, routine maintenance, and when to call for help to prevent fire hazards and ensure system efficiency.

Homeowners Insurance: A Strategic Guide to Protecting Your Investment
Homeowners insurance is a critical safety net. This article covers how to audit your policy, the importance of replacement cost coverage, when to hire professionals for home maintenance to protect your claims, and how to lower premiums through bundling and smart home upgrades. Learn the strategic approach to managing deductibles and when it is financially wise to file a claim versus paying out of pocket.
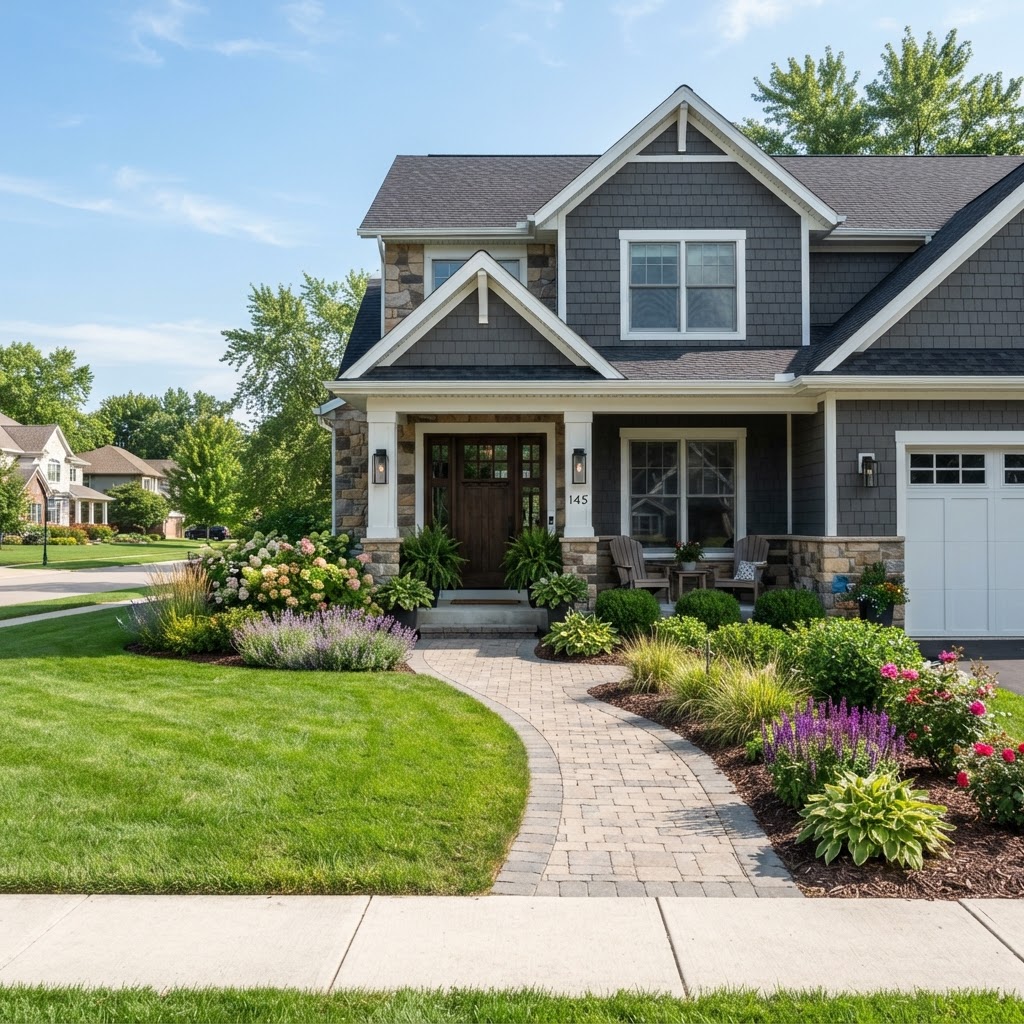
Mastering Your Curb Appeal: A Homeowner’s Guide to Landscaping
Transforming your yard is one of the most rewarding home improvement projects, significantly boosting property value and curb appeal. A well-maintained landscape requires a balance of thoughtful design, proper plant selection, and ongoing maintenance. Before buying plants or moving soil, determine your goals. Do you want a low-maintenance xeriscape, a functional space for outdoor entertaining, or a vibrant garden for local pollinators? Create a rough sketch of your yard to identify high-traffic zones, sunny areas, and shaded spots. Test your soil: Understanding your soil pH and nutrient levels is critical. Most hardware stores sell inexpensive kits that guide your fertilizer choices. Choose native plants: Native species are adapted to your local climate and rainfall, requiring significantly less water and chemical maintenance. Mulch wisely: A two-to-three-inch layer of organic mulch retains moisture, suppresses weeds, and insulates plant roots against temperature extremes. Install irrigation early: If you plan on a drip irrigation system, install it before planting to avoid damaging new root systems later. Many homeowners can handle tasks like mulching, planting shrubs, or laying paths. However, complex projects involving major grading, hardscaping, or large tree removal often require professional expertise. Professional landscaping costs vary widely—typically ranging from $3,000 to $15,000 depending on the scale—but they ensure local building codes are met and proper drainage is maintained. The best time to plant trees and shrubs is during the dormant season—late autumn or early spring. This allows the root systems to establish before the heat of summer. Avoid heavy landscaping work during peak heat or frozen conditions, as soil compaction can occur, damaging your lawn's health. By investing time in planning and focusing on sustainable choices, you ensure your landscape remains a beautiful, functional extension of your home for years to come.
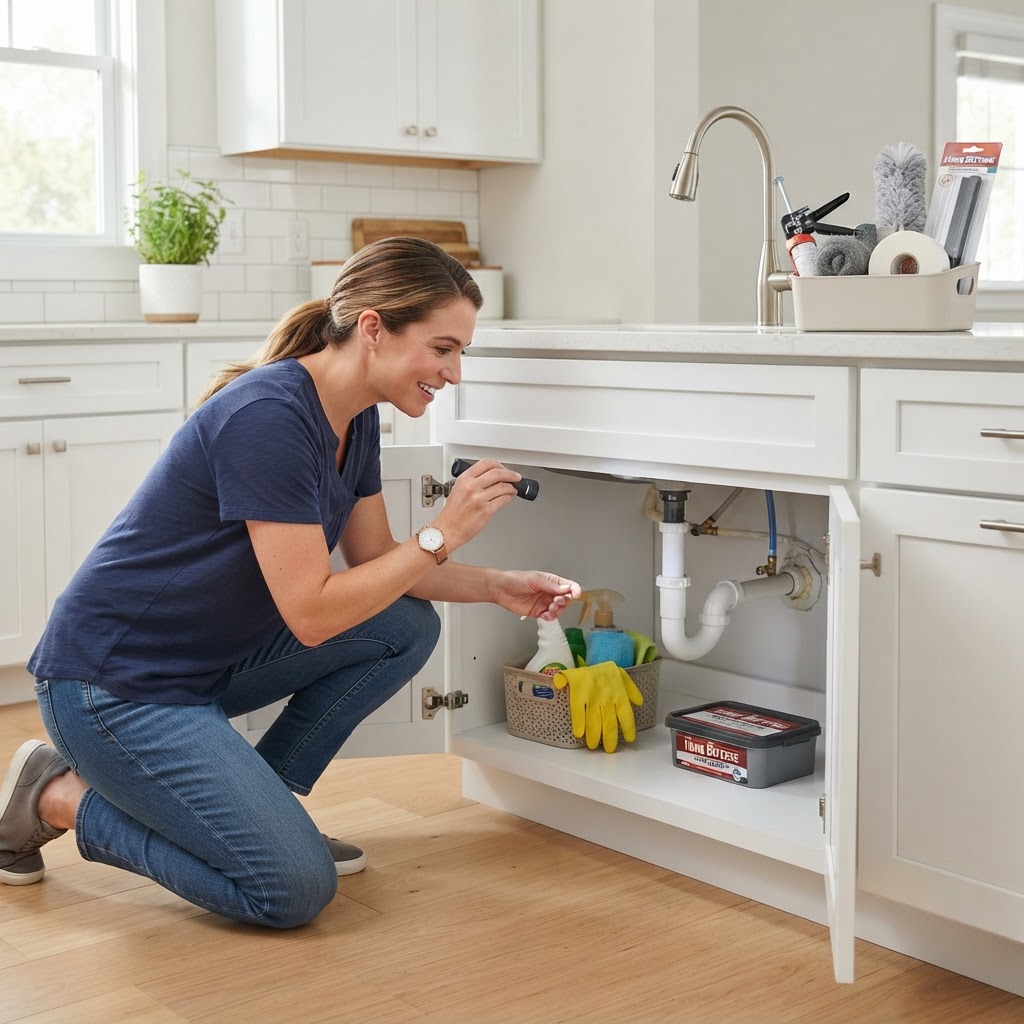
Essential Pest Control Tips: A Homeowner’s Guide to a Bug-Free House
Keeping your home free of unwanted guests is a crucial aspect of property maintenance. Prevention is always more cost-effective than remediation. Seal entry points, eliminate moisture, declutter storage, and manage your landscaping to stop pests. While DIY methods work for minor issues, professional help is necessary for structural threats like termites or rodents. Schedule perimeter treatments biannually to keep your home protected year-round.

Mastering Tenant Relations: A Guide for Successful Property Management
Building a Strong Foundation: Positive tenant relations are the cornerstone of a profitable rental business. When tenants feel respected and heard, they are far more likely to pay rent on time, treat your property with care, and renew their leases. Establishing expectations from day one is vital. Always respond promptly to requests, maintain professional boundaries, and be proactive in your communication. Regarding maintenance, stick to simple DIY tasks for small repairs while leaving complex electrical and plumbing work to professionals to avoid liability. Always respect privacy laws by providing proper notice before property entry. Ultimately, retaining a reliable tenant is far more cost-effective than managing a unit turnover.
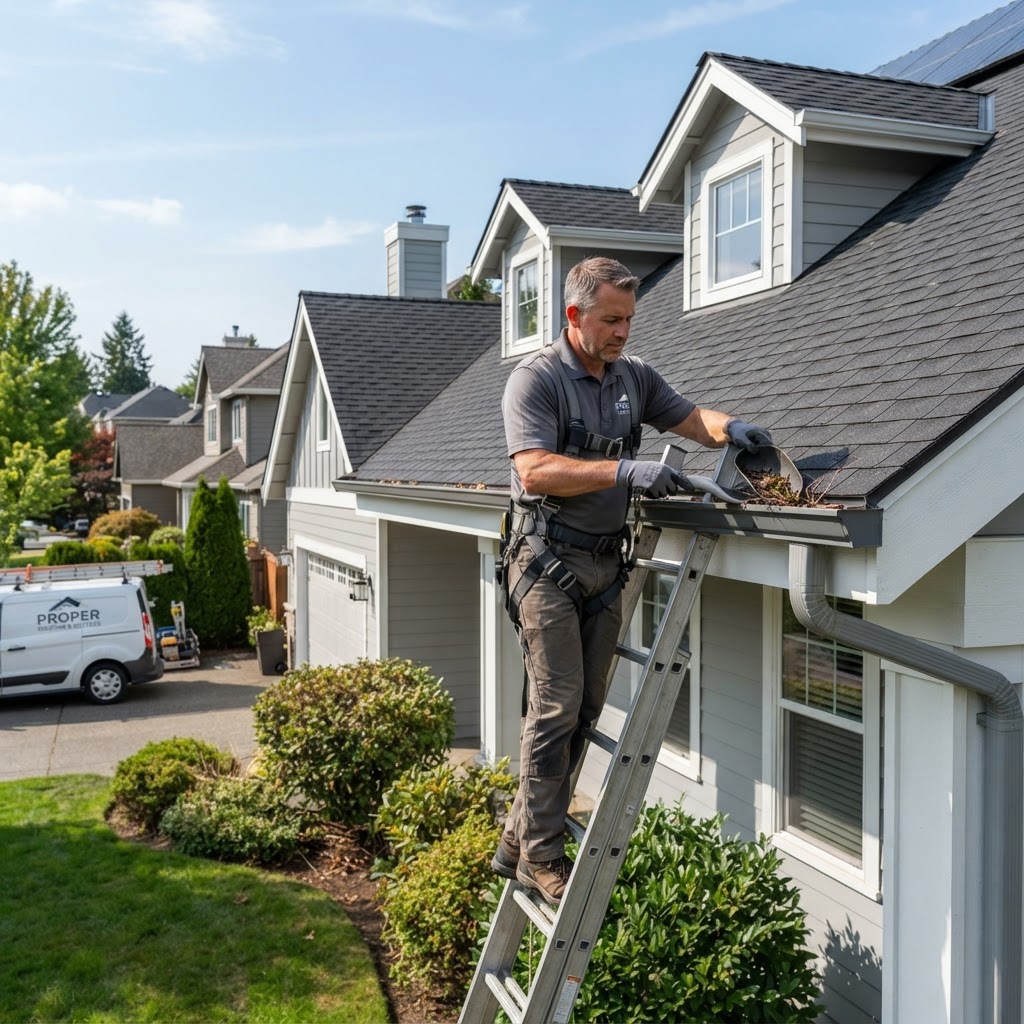
Roof and Gutter Maintenance: A Homeowner’s Essential Guide
Your roof and gutter system is your home's shield. Regular maintenance prevents costly water damage. Perform seasonal cleanings in spring and fall. DIY is fine for cleaning, but call pros for structural issues. Budget for annual maintenance to avoid expensive replacements later.
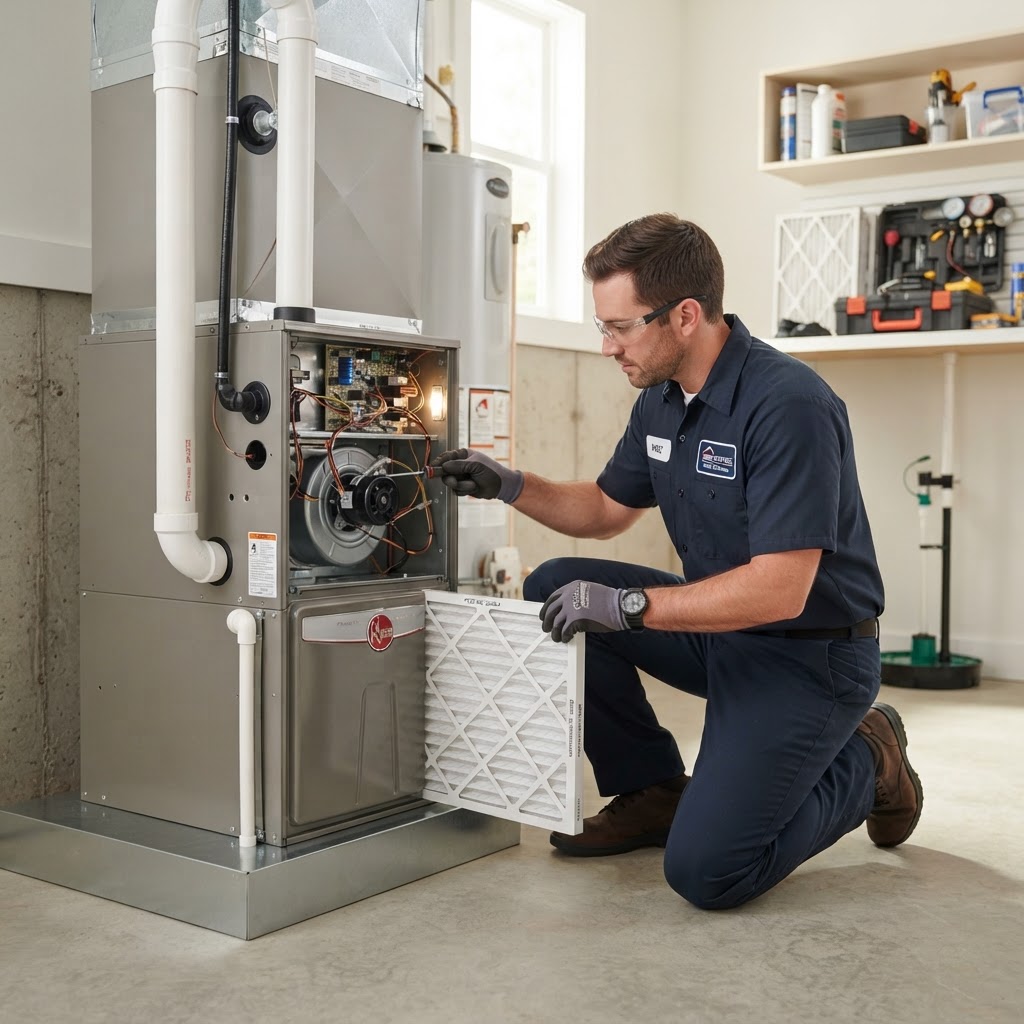
Essential HVAC Maintenance Tips for Homeowners
Your HVAC system is the heart of your home's comfort. Regular maintenance not only extends the lifespan of your unit but also ensures energy efficiency. Key tips include changing your filters every 1-3 months, keeping the exterior condenser unit clear of debris, and cleaning your vents. You should schedule a professional tune-up annually to inspect internal components like refrigerant levels and coils. This proactive approach helps avoid costly emergency repairs and optimizes system performance. While a professional visit costs roughly $100-$250, it is essential for preventing major system failures.

Homeowners Insurance: A Strategic Guide to Protecting Your Investment
Homeowners insurance is more than a monthly bill; it is your primary financial safeguard against the unexpected. Many homeowners operate under the misconception that their policy covers everything, but insurance is typically structured around specific perils like fire, wind, and theft. The first step in effective home maintenance is reviewing your Declarations Page to confirm your dwelling coverage, personal property limits, and liability thresholds. Every year, you should conduct a thorough inventory of your belongings. Use your smartphone to record video of every room, opening closets and drawers to document high-value items. This documentation is invaluable during the claims process. Additionally, verify your Replacement Cost coverage rather than Actual Cash Value. Replacement cost accounts for the price of buying new items, whereas actual cash value deducts for depreciation, often leaving you with insufficient funds to rebuild your life after a loss. Insurance companies reward homeowners who minimize risk. You can often negotiate lower premiums by installing security systems, upgrading your roof, utilizing water detection sensors, and ensuring fire safety. While DIY projects are great for home value, they can sometimes complicate insurance claims. If you perform significant electrical or plumbing work yourself, ensure you pull the proper city permits. Insurance companies may deny a claim if a fire or flood is traced back to unpermitted, non-code-compliant work. If you are not a licensed professional, hiring a contractor for major structural or systems work provides you with a paper trail of professional certification that protects your coverage status. One common pitfall is filing too many small claims. Frequent claims can lead to your policy being non-renewed or premiums skyrocketing. As a rule of thumb, only file a claim if the cost of repair significantly exceeds your deductible and the potential increase in your long-term premiums.

Smart Home Renovations: A Strategic Investment Guide for Homeowners
Prioritizing High-ROI Home Improvements. When it comes to home maintenance, not all projects are created equal. If you are looking to maximize your property value, you must treat your house like a portfolio. The Best Projects for Value Retention: Kitchen Refresh, Curb Appeal, Energy Efficiency, and Bathroom Upgrades. Knowing where to draw the line between DIY and professional help is essential for your bottom line. Timing Your Renovations: Avoid the temptation to renovate everything at once. Setting a Realistic Budget: A good rule of thumb is to set aside 1-3% of your home's value annually for maintenance and improvements.
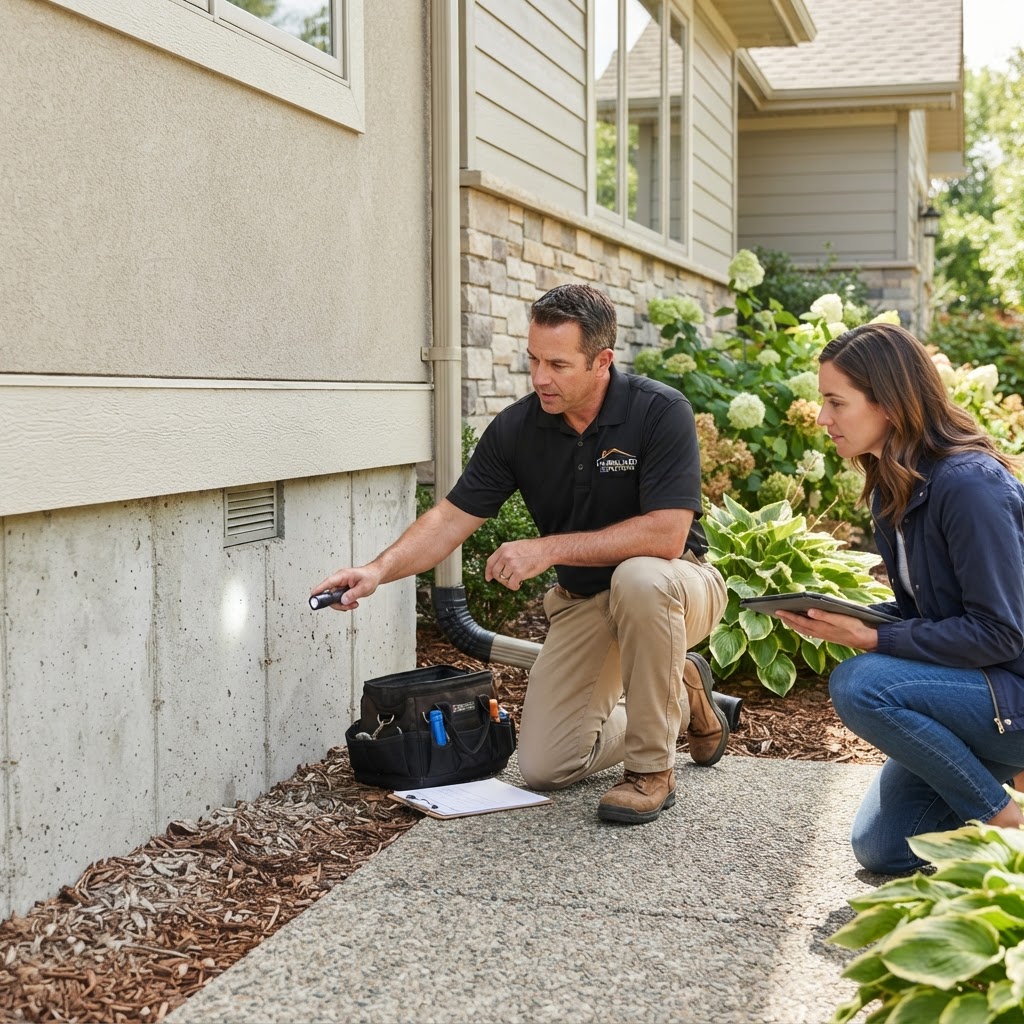
Foundation Health 101: A Homeowner’s Guide to Structural Integrity
Your home's foundation is its most critical component, serving as the bedrock for the entire structure. Neglecting signs of distress can lead to significant financial burdens, making regular inspections essential for every homeowner. Catching problems early is the key to preventing catastrophic failure. Keep an eye out for diagonal cracks, sticking doors, and sloping floors. Manage moisture by extending downspouts and ensuring proper grading away from the home. While minor cosmetic cracks can be sealed via DIY, structural repairs require a professional. Costs range from $500 for small fixes to $20,000 for major piering. Always consult a structural engineer if you see cracks wider than a nickel.
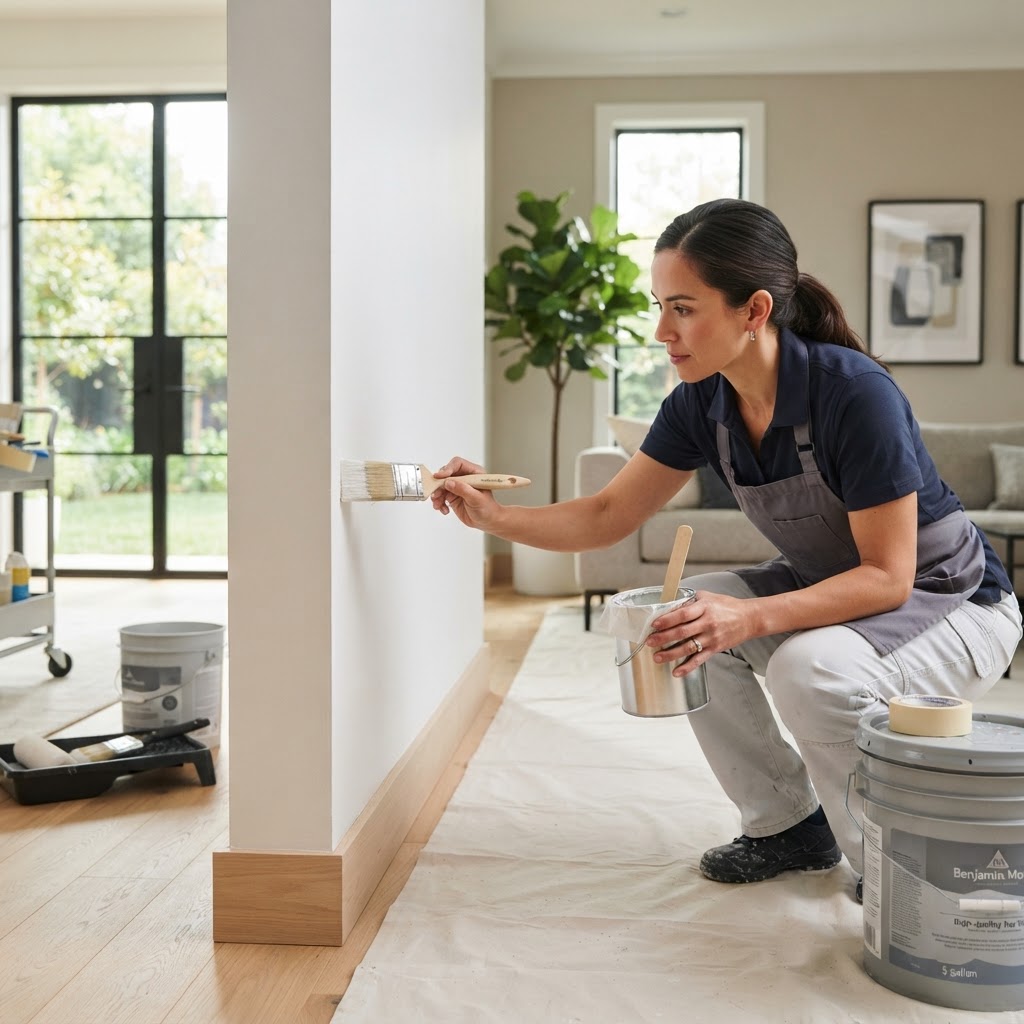
Mastering Interior Painting: A Pro Guide to a Flawless Finish
Mastering Interior Painting: A Pro Guide to a Flawless Finish. The Importance of Preparation. Before you even open a can of paint, remember that 80% of a successful project happens before you touch a brush. Failing to prep surfaces is the primary reason for peeling and uneven coats. Start by cleaning your walls with a mild soap solution to remove dust and grease, then patch any nail holes with spackle. Once dry, sand the patches until flush with the wall. Choosing the Right Tools. Investing in high-quality tools saves time and frustration. For most interior walls, a 3/8-inch nap roller is ideal for smooth surfaces. Don't forget an angled sash brush for cutting in corners and around trim. High-quality painter's tape is essential for crisp lines—apply it firmly and remove it while the paint is still slightly tacky to prevent tearing. The Professional Painting Process: Prime when necessary, cut in first, roll in a W-pattern, two-coat rule. DIY vs. Hiring a Professional. Painting is a common DIY project, but it is time-consuming. You can expect to spend $50-$100 on quality supplies per room. If you lack the time or the steady hand for complex trim work, hiring a pro is worth the investment. Professionals generally charge $2.00 to $6.00 per square foot. Timing Your Project. The best time to paint is during mild weather. High humidity can prevent latex paint from drying properly, while extreme heat can cause the paint to dry too quickly.

Flooring Upgrade Guide: Choosing the Right Surface for Your Home
Choosing the right flooring is one of the most impactful upgrades you can make for your home. From hardwood to luxury vinyl, this guide breaks down the best options for your space, how to decide between DIY and professional help, and essential maintenance tips to protect your investment.

Ultimate Guide to Choosing and Maintaining Your Home Flooring
Choosing new flooring is one of the most impactful home improvements you can make. Start by evaluating your household traffic. High-traffic areas like entryways and kitchens require materials that resist scratching and moisture. Budgeting for flooring goes beyond the price per square foot; factor in subfloor prep and removal costs. Professional installation ranges from $2 to $10 per square foot. Floating floors like LVP are great for DIY, but leave hardwood and tile to the professionals. Protect your investment with felt pads, entry mats, and pH-neutral cleaners.
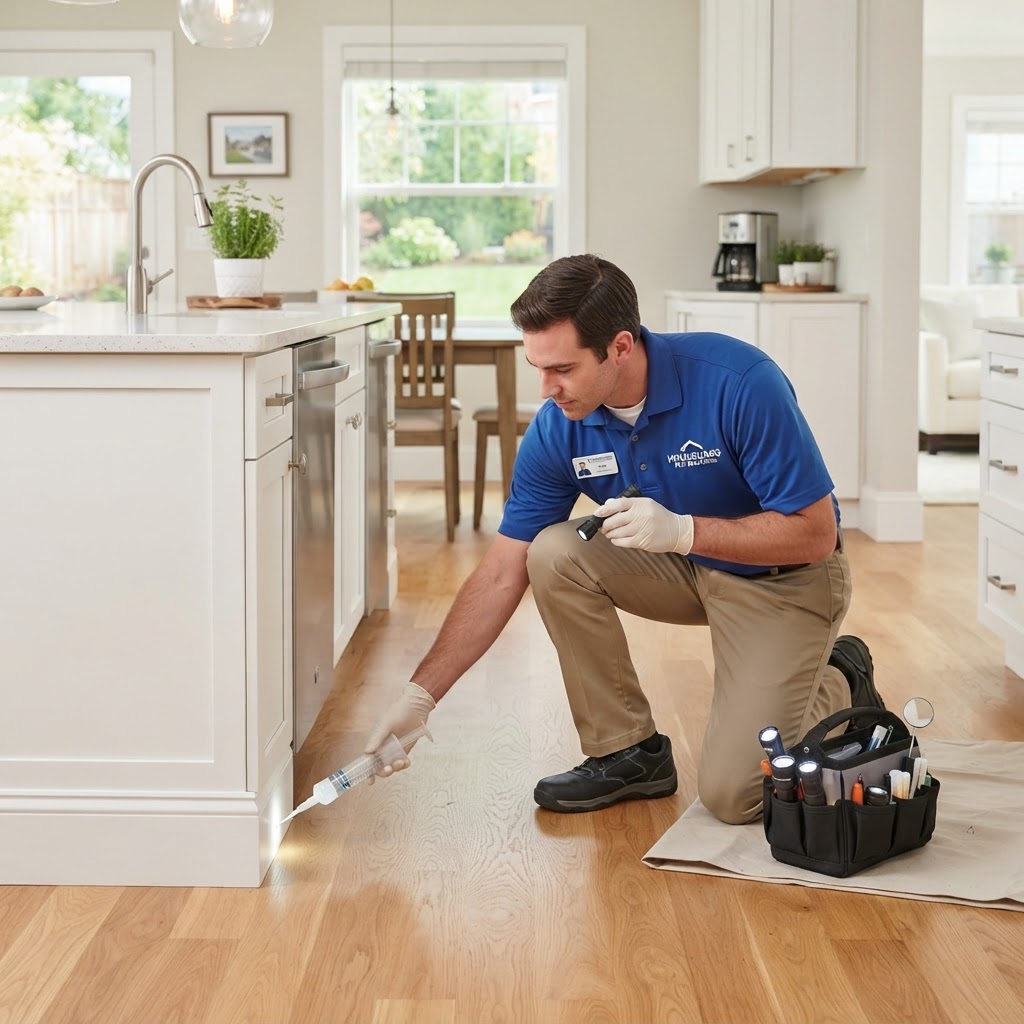
Essential Home Pest Control Guide: Tips for a Bug-Free House
Essential Home Pest Control Guide: Tips for a Bug-Free House. Pests are more than just a nuisance; they can compromise your home's structure and your family's health. Proactive strategy includes sealing entry points, eliminating moisture, managing waste, and maintaining landscaping. DIY methods work for small issues, but professionals are necessary for structural damage or large infestations. Expect to pay $300-$600 for professional help. Focus on seasonal preventative measures to keep your home safe.
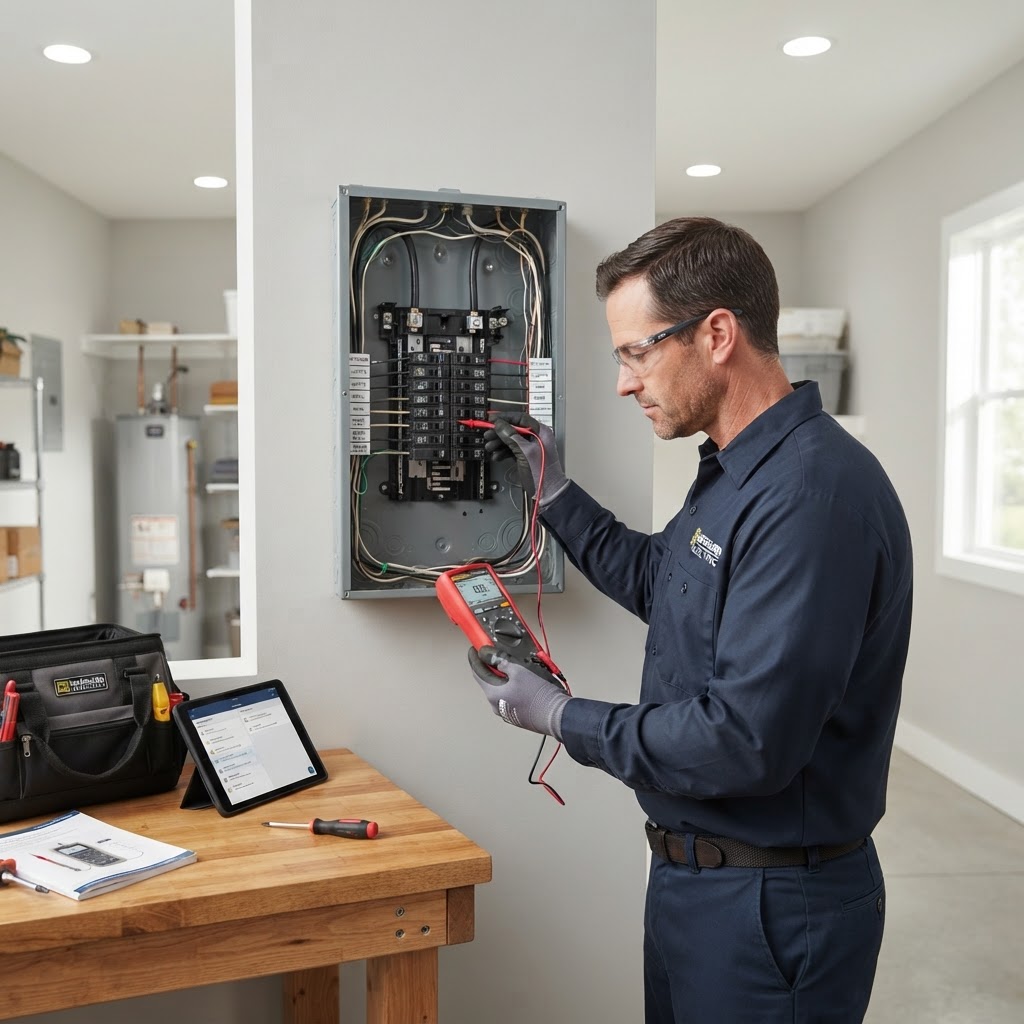
Electrical Safety and Maintenance: A Homeowner’s Essential Guide
Your home's electrical system is its lifeblood. Proactive maintenance prevents fire hazards and costly repairs. Signs you need a professional include flickering lights, warm outlets, frequent breaker trips, or burning smells. DIY projects should be limited to lightbulbs or simple switches; leave panels and wiring to the experts. Always hire licensed pros to ensure compliance with the National Electrical Code. Regular inspections every 5-10 years and basic habits like labeling your breaker box can keep your home safe.

Homeowners Insurance: A Strategic Guide to Protecting Your Investment
Homeowners insurance is more than just a mortgage requirement; it is a vital safety net for your most significant asset. Many homeowners wait until a disaster strikes to examine their policy, only to realize they are underinsured. Taking a proactive approach can save you thousands in the long run. Conduct an annual audit to ensure your dwelling coverage reflects rebuilding costs. Create a digital home inventory to simplify claims. Review your liability limits if you have high-risk features. Shop for policies 30 to 60 days before renewal and bundle services to save money. While online tools help, consult an independent agent to navigate complex endorsements and regional risks.
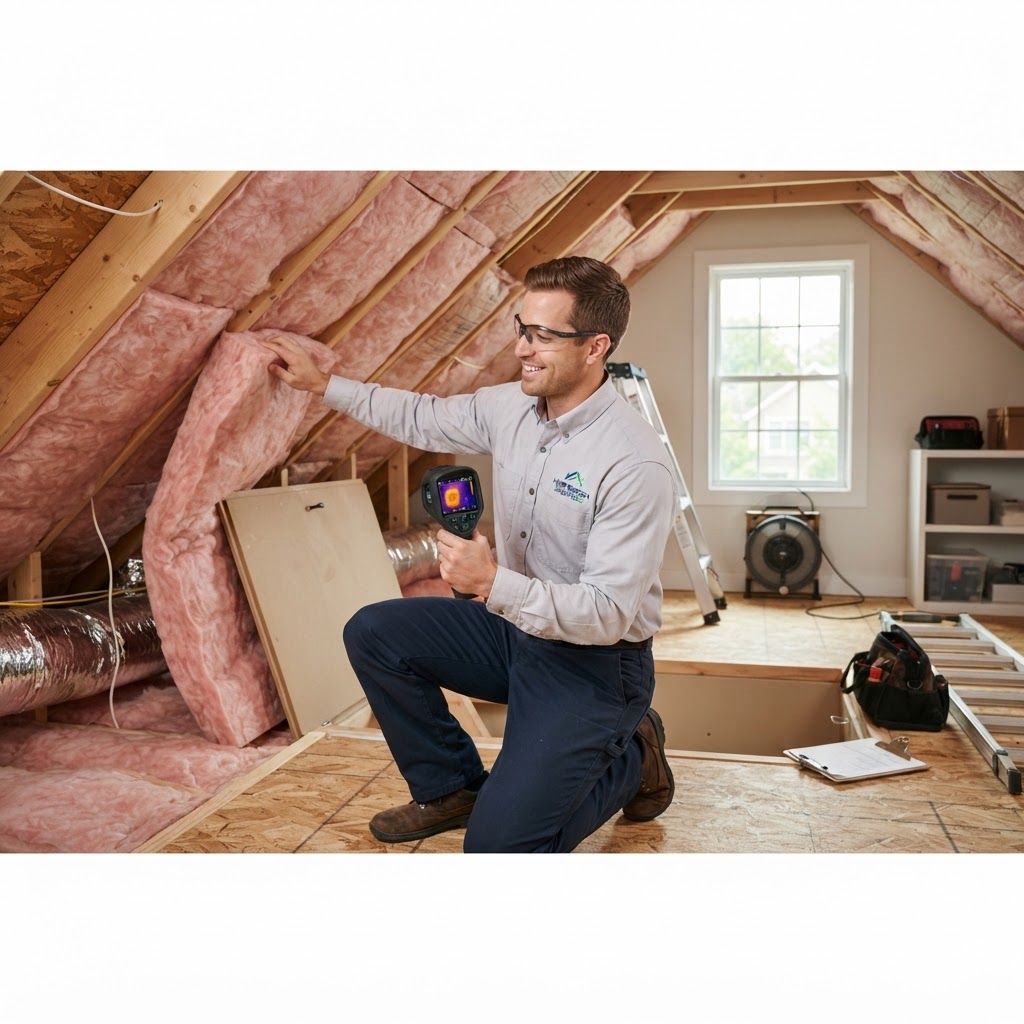
Slash Your Energy Bills: A Complete Guide to Home Insulation
Proper insulation acts as a thermal barrier, keeping your home comfortable year-round while reducing energy costs. Prioritize attic spaces, exterior walls, and floors over unheated basements. While weatherstripping and caulking are excellent DIY projects, consult professionals for larger insulation jobs like blown-in cellulose to ensure safety and proper coverage. Aim to inspect your home's thermal envelope during the spring or fall to prepare for seasonal extremes. Investing in quality insulation is one of the most effective ways to boost home equity and energy efficiency.
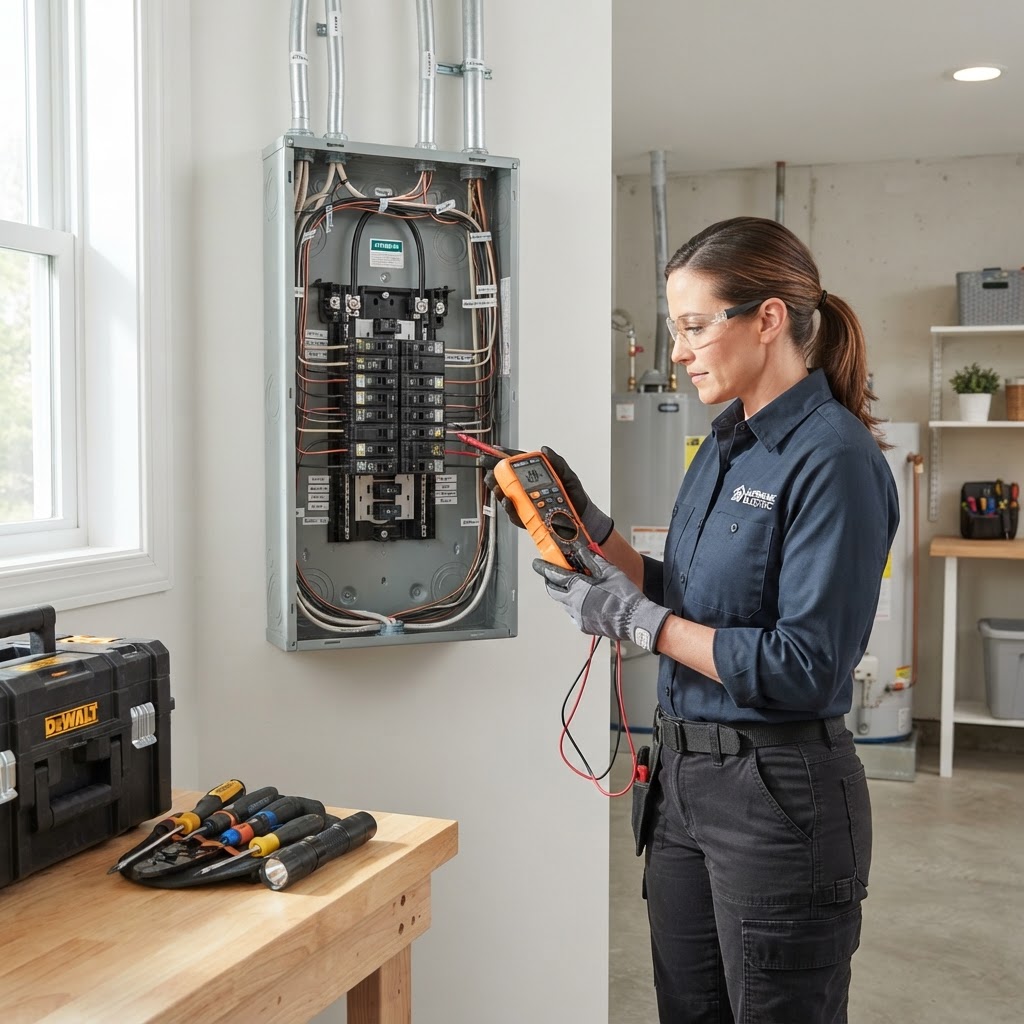
Electrical Safety 101: A Homeowner’s Guide to Essential Maintenance
Your home's electrical system is the unseen heartbeat of your daily routine. While often ignored until a breaker trips, proactive maintenance is crucial for safety and efficiency. Keep an eye out for flickering lights, buzzing outlets, or a persistent smell of burning plastic. These are critical warning signs that demand immediate attention from a licensed professional. Many homeowners are tempted to take on electrical repairs to save money, but the risks often outweigh the rewards. If you are comfortable, you can tackle minor cosmetic tasks like replacing light fixture covers or installing decorative switch plates. However, anything involving wiring inside the walls, circuit breaker panels, or ground-fault circuit interrupter (GFCI) installation must be handled by a certified electrician. Maintenance doesn't always require an expert. Small, consistent actions can extend the life of your system and prevent hazardous situations. Start by testing your GFCI outlets monthly using the 'test' and 'reset' buttons. Budgeting for electrical maintenance is about prioritizing. Expect to pay a professional electrician between $80 and $150 per hour depending on your local market. If you find yourself constantly resetting the same breaker, it is a sign that your electrical load is too high, or you have a failing component. Prioritize safety above all else.
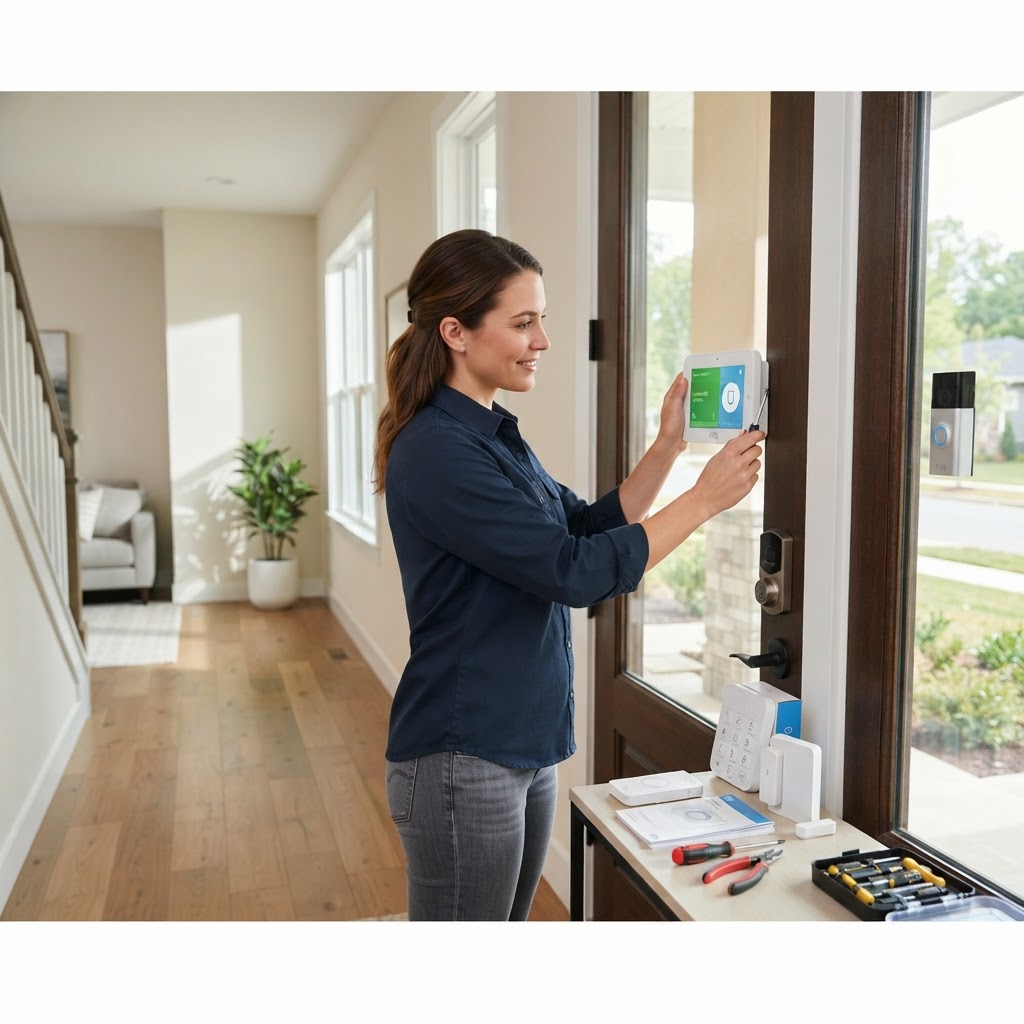
Essential Home Security Upgrades: A Comprehensive Safety Checklist
The foundation of home security begins with your perimeter. Start by ensuring all exterior doors have solid-core construction and deadbolt locks. Modern video doorbells and smart cameras provide real-time monitoring of your property for a cost between $100 and $300. Motion-activated floodlights and strategic landscaping, such as trimming back shrubs, further enhance protection. While many upgrades are DIY-friendly, complex alarm systems should be installed by professionals to ensure safety and code compliance. Maintain your safety by testing alarms monthly and trimming landscaping bi-annually.
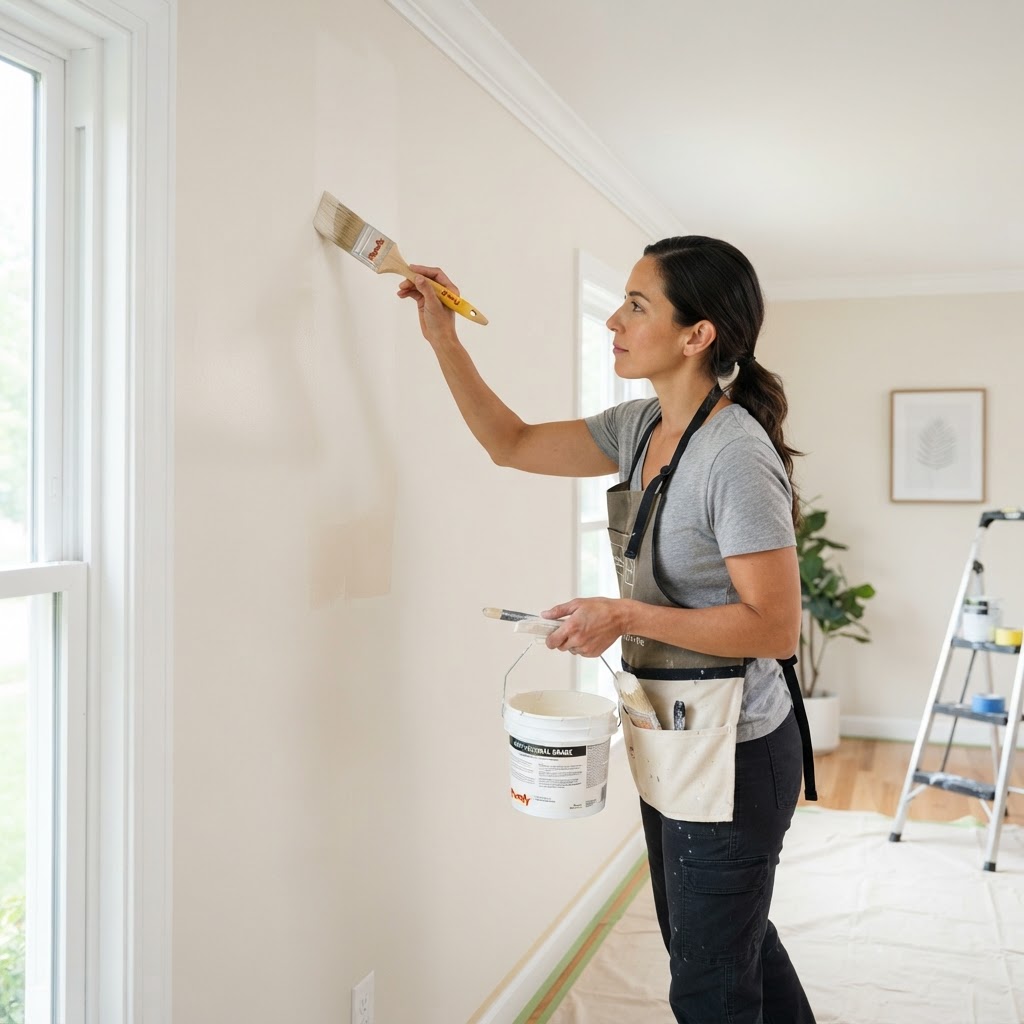
Mastering Interior Painting: A Pro Guide to a Flawless Finish
The secret to a professional paint job is prep work. Sand surfaces, fill holes, and clean walls before starting. Quality tools, such as angled sash brushes and high-density rollers, are vital for a smooth finish. Paint in mild conditions to ensure proper drying. Consider hiring professionals for large-scale jobs to ensure consistency and save time. Always remove tape while the paint is tacky for crisp lines.
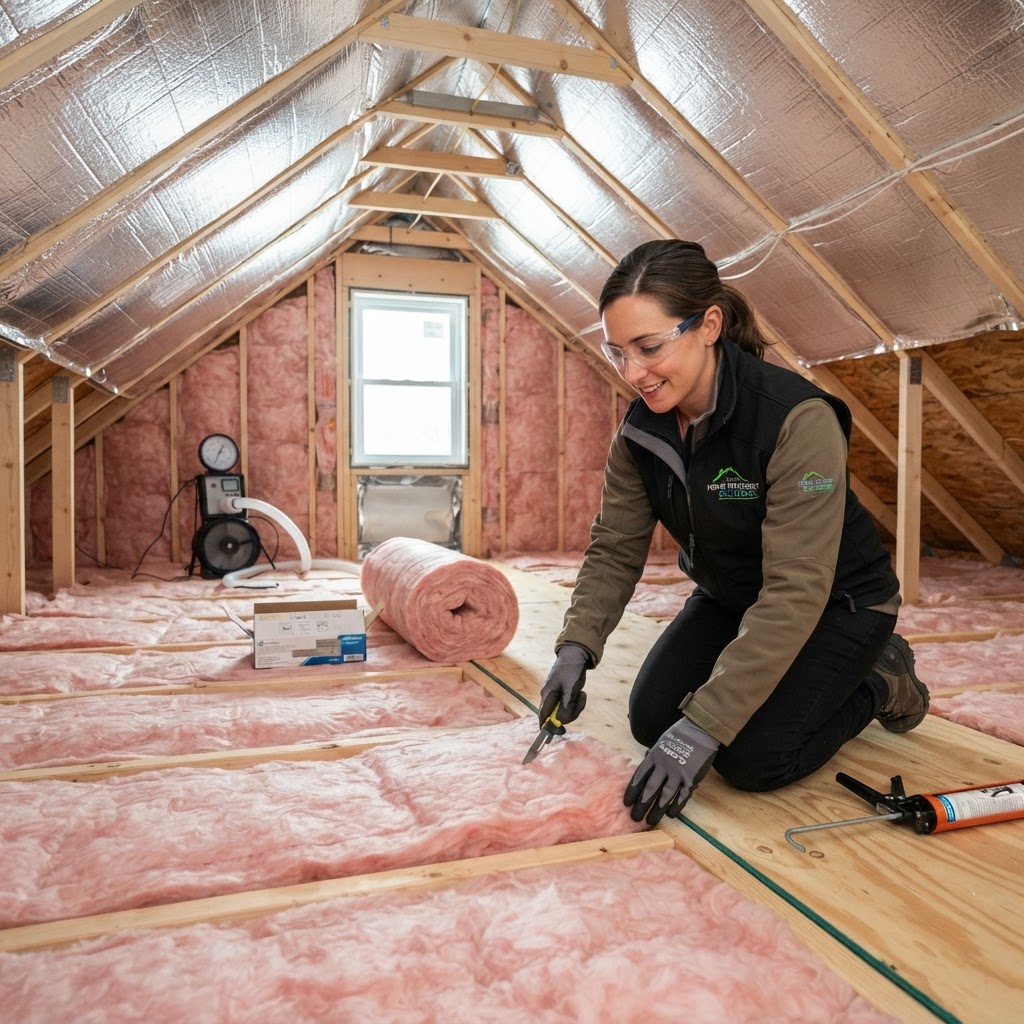
Master Your Home Efficiency: A Guide to Insulation and Weatherproofing
Your home's thermal envelope is the primary line of defense against the elements. If your house feels drafty, your insulation and weatherproofing are likely compromised. Proper sealing can reduce energy bills by 20%. Start by weatherstripping doors and caulking windows. Consider attic insulation upgrades to prevent the stack effect, which draws cold air in. While minor leaks are DIY-friendly, consider a professional energy audit or specialized crawlspace work for older, complex homes.
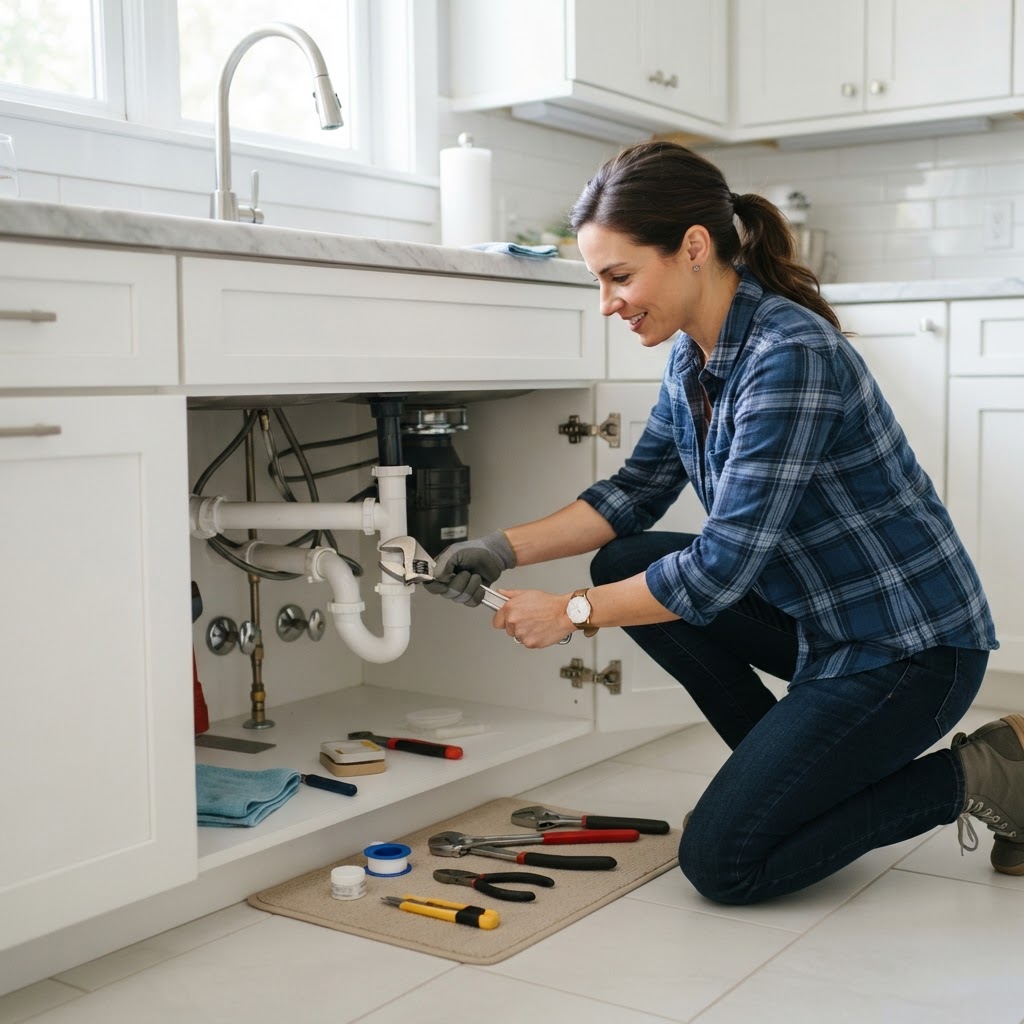
Essential Plumbing Tips Every Homeowner Should Master
Plumbing systems are the backbone of a functional home, yet they are often ignored until a disaster occurs. By performing routine maintenance, you can extend the life of your pipes and save thousands in emergency repair costs. Never pour grease down the drain, as it solidifies and creates clogs. Install hair catchers in showers. Check for leaks under sinks. Know where your main shut-off valve is. If you notice high water bills, low pressure, or sewage odors, call a pro. Routine maintenance is cheap, but emergency repairs can cost thousands.
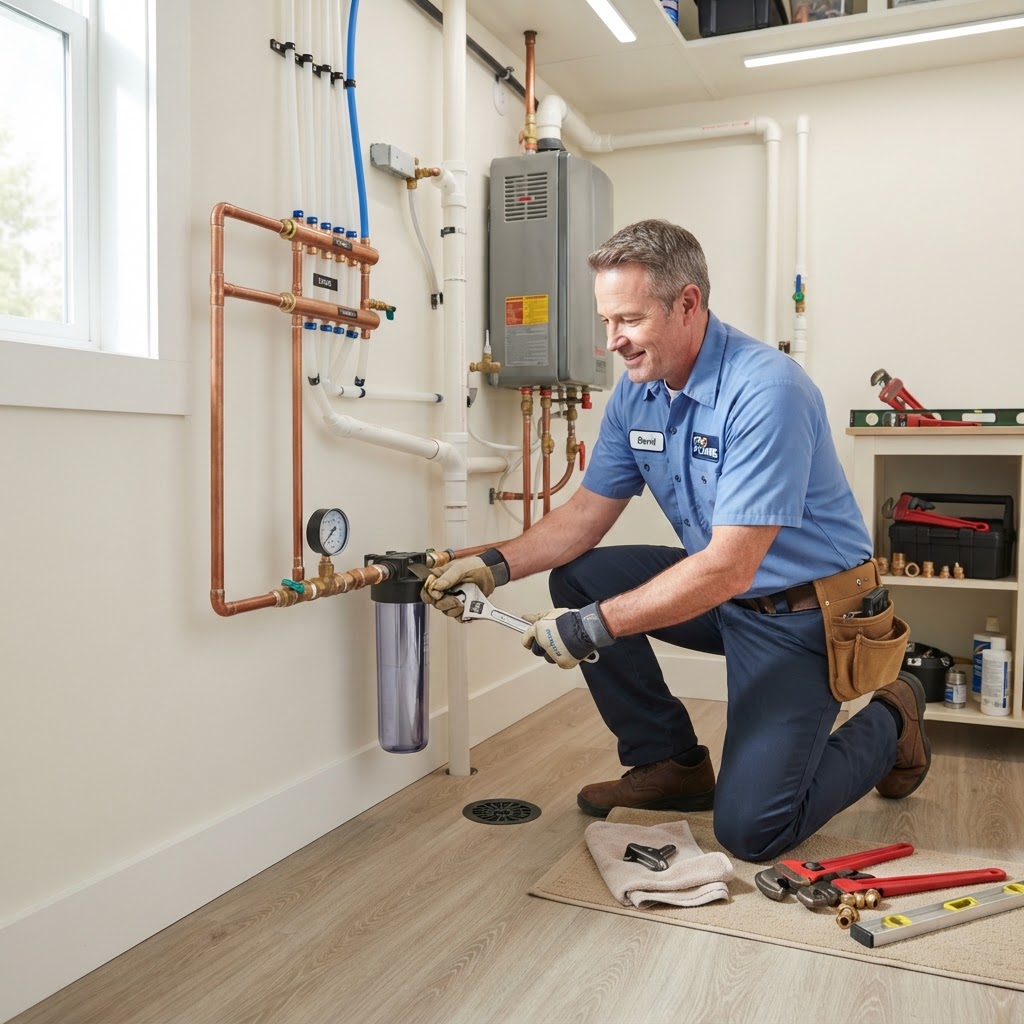
Essential Plumbing Tips Every Homeowner Must Know
Plumbing issues are the silent thief of home equity. While some projects require pros, many maintenance tasks save money. Clear drains with screens instead of chemicals. Monitor water pressure to protect appliances. Always locate your main shut-off valve. Do not DIY gas lines or main sewer repairs. Call a plumber if you see water stains or rising utility bills. Prevent backups by keeping fats, oils, and grease out of your drains.
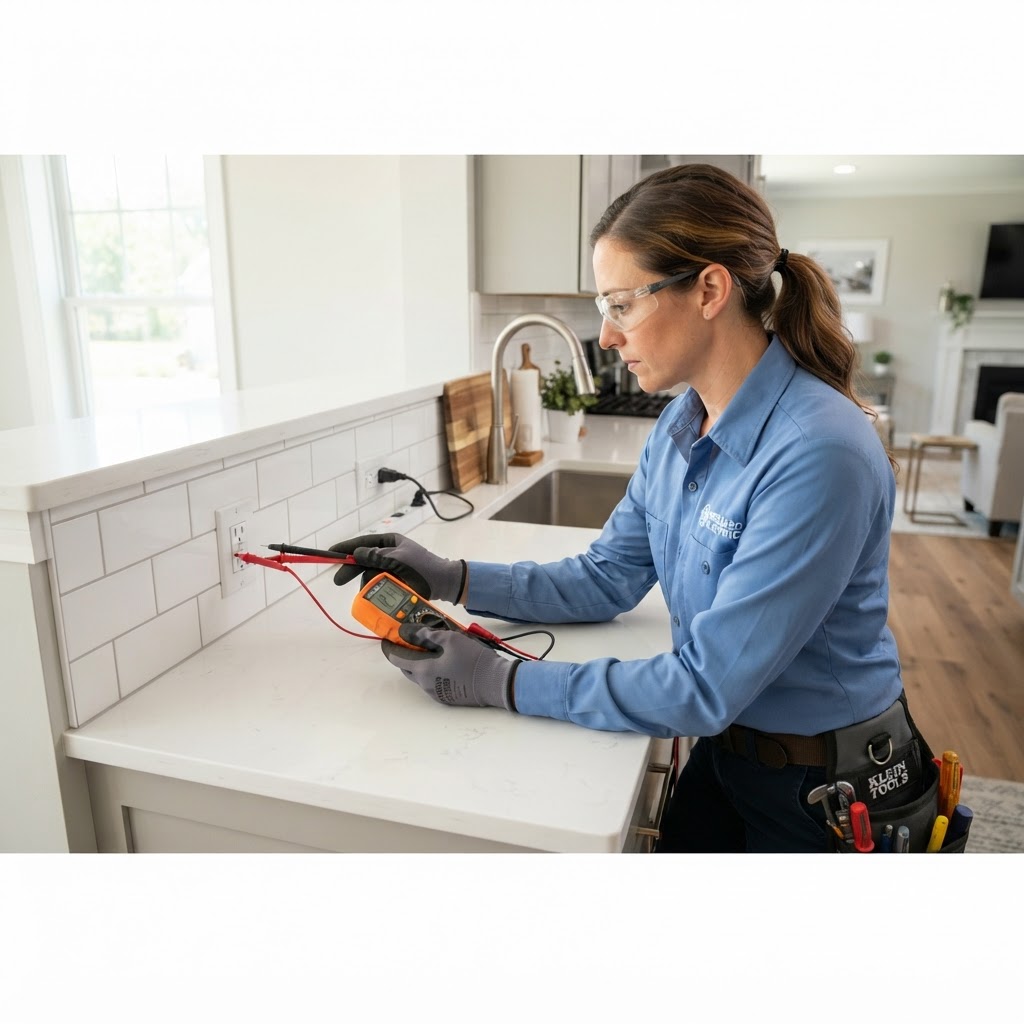
Essential Electrical Safety Tips for Every Homeowner
Understanding Your Home Electrical System. Your home's electrical system is the lifeblood of your modern comfort, but it is also one of the most hazardous components if neglected. As a homeowner, understanding basic maintenance and knowing when to call a professional can prevent fires and save money. Crucial Safety Signs. Never ignore the warning signs of failing electrical infrastructure. If you notice any of the following, contact a licensed electrician immediately: Frequent breaker trips, warm outlet covers, burning smells, or flickering lights. The DIY vs. Professional Boundary. While changing a light fixture is a manageable DIY task, anything beyond the surface level requires professional intervention. DIY electrical work carries a risk of improper grounding. Always hire a certified contractor for renovations or major repairs. Budgeting for Electrical Maintenance. Homeowners should set aside an emergency fund for electrical repairs. Simple service calls range from $150 to $350, while panel upgrades can cost up to $4,000. Maintenance Best Practices. Test GFCI outlets every six months, use LED bulbs to reduce heat load, and never overload power strips. Keep your panel labeled for safety.

Mastering Tenant Relations: A Guide for Successful Landlords
Successful property management hinges on the relationship you build with your residents. Effective communication, clear expectations, and timely maintenance are the pillars of good tenant relations. By prioritizing responsiveness and respecting tenant privacy, you can significantly reduce turnover costs and improve your investment returns. Focus on professional communication, clear legal documentation, and prompt handling of maintenance issues to ensure a mutually beneficial experience for both landlord and tenant.
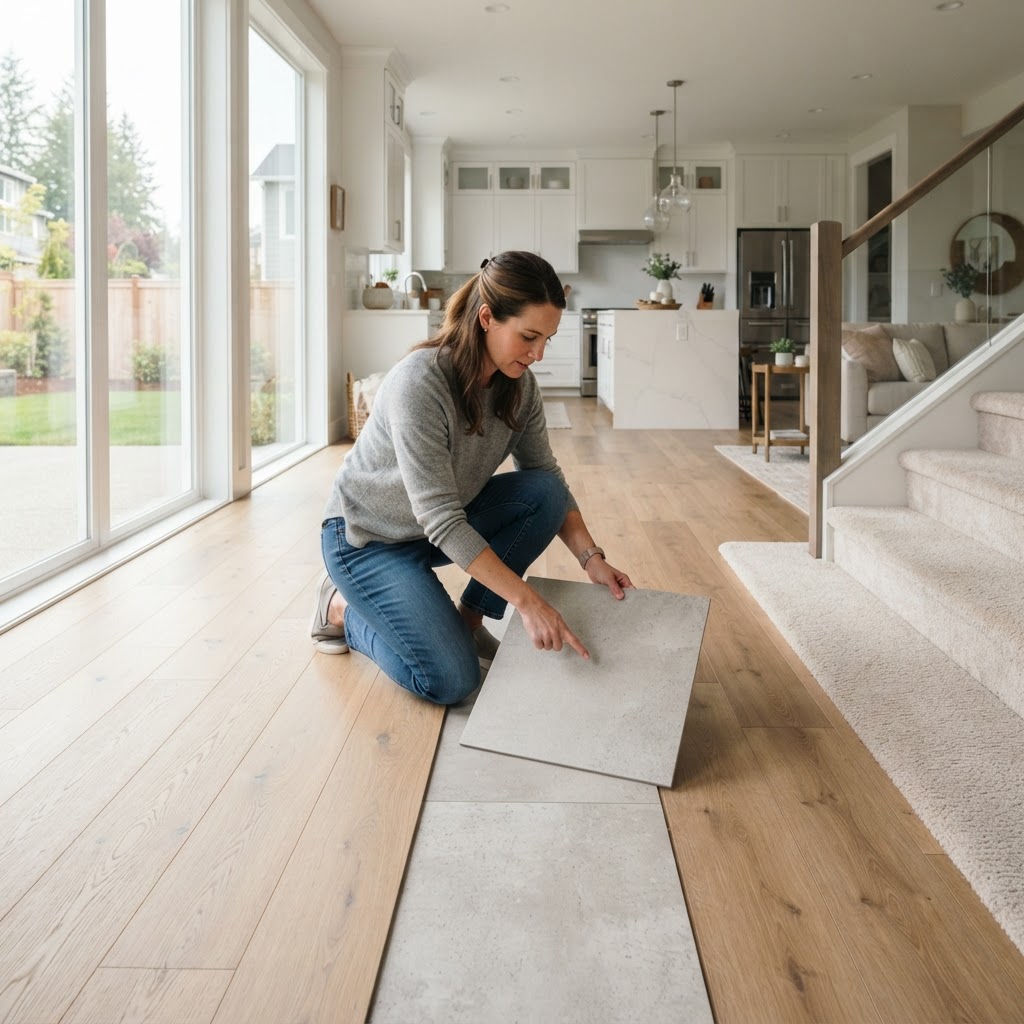
Choosing the Best Flooring: A Homeowner’s Complete Guide
Selecting the right flooring is a major investment that affects both your home's aesthetic appeal and its market value. Hardwood is the gold standard for resale value, costing $8-$15 per square foot. Luxury Vinyl Plank (LVP) is the modern favorite, being waterproof and costing $3-$7 per square foot. DIY installation is possible for LVP and laminate, but professional installation is recommended for tile and hardwood. Proper subfloor preparation is the secret to a professional finish. Maintenance tips include using doormats, avoiding steam mops, and applying felt pads to furniture. Replace flooring if you notice deep gouges, curling seams, or cracks, as these signify structural or wear-related issues.
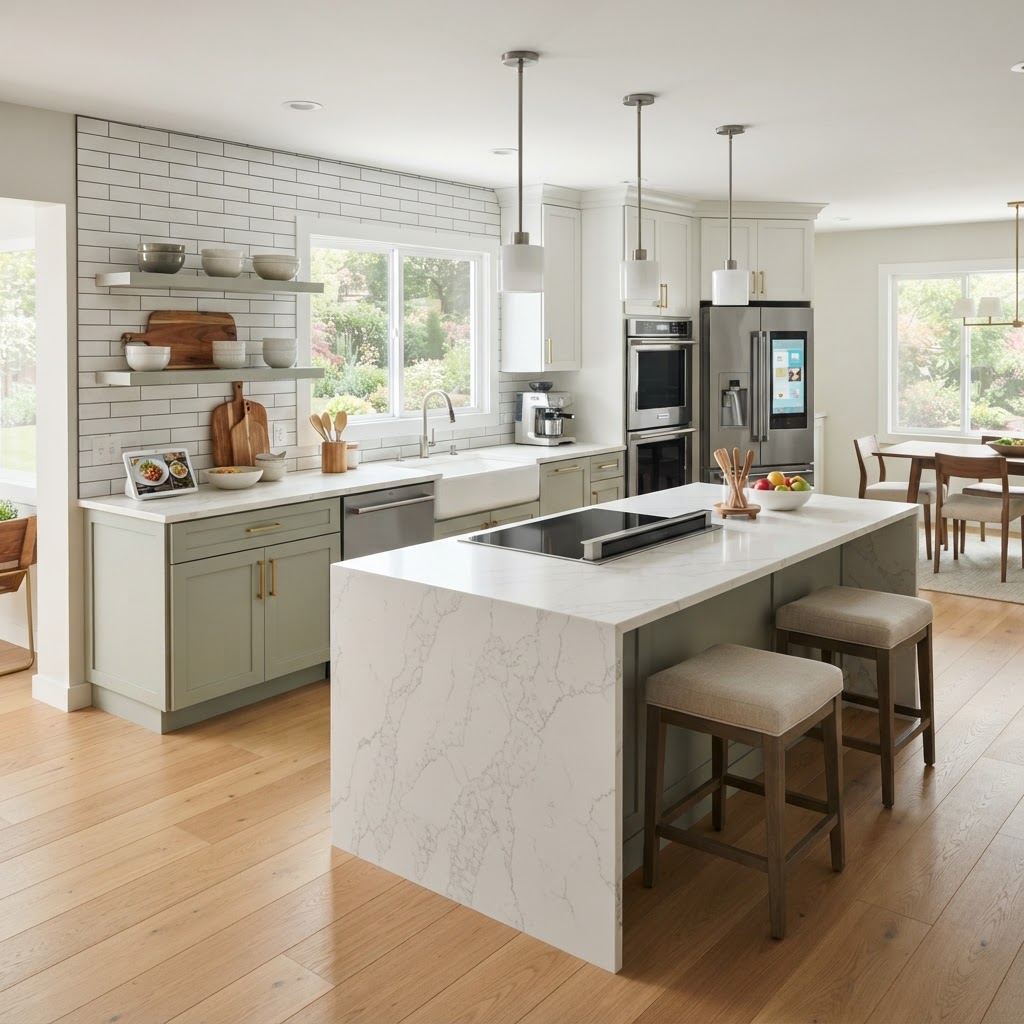
Smart Kitchen Upgrades to Boost Your Home Value and Functionality
The kitchen is the heart of the home. Whether you are increasing property value or improving workflow, strategic kitchen upgrades offer the best return. Focus on cabinet refreshes, hardware swaps, and backsplash installations for a budget-friendly facelift. For greater functionality, consider under-cabinet lighting or workstation sinks. Leave plumbing and electrical to professionals to ensure safety. Always set aside a 15% contingency fund for your budget and aim to renovate during the off-season to save on labor costs.
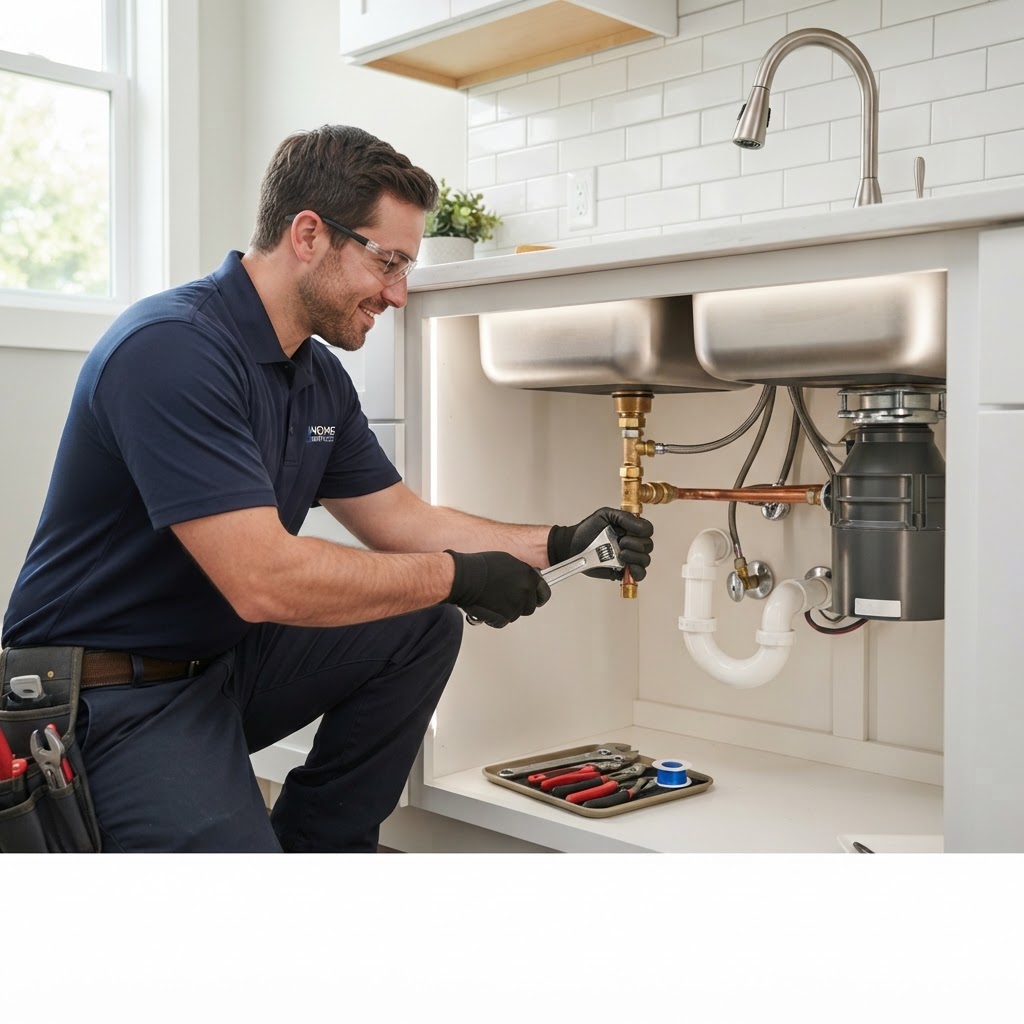
Essential Plumbing Tips Every Homeowner Must Know
Plumbing issues are stressful, but many can be prevented. Locate your main water shut-off valve immediately to prepare for emergencies. Perform routine maintenance like cleaning drains, checking for hidden leaks, and flushing your water heater annually. Simple tasks like replacing showerheads are DIY-friendly, but always hire professionals for gas or sewer lines to avoid safety risks. Investing in durable components like stainless steel supply lines saves money in the long run.

Flooring 101: Choosing the Best Materials for Your Home
Choosing the right flooring is a balance between aesthetic appeal, budget, and durability. Hardwood is the gold standard for resale value. LVP is perfect for busy households with pets. Tile is great for bathrooms. DIY projects like LVP are possible, but hardwood and tile often require professionals. Budget an extra 15% for waste. Maintenance is key: use felt pads and avoid excessive water.
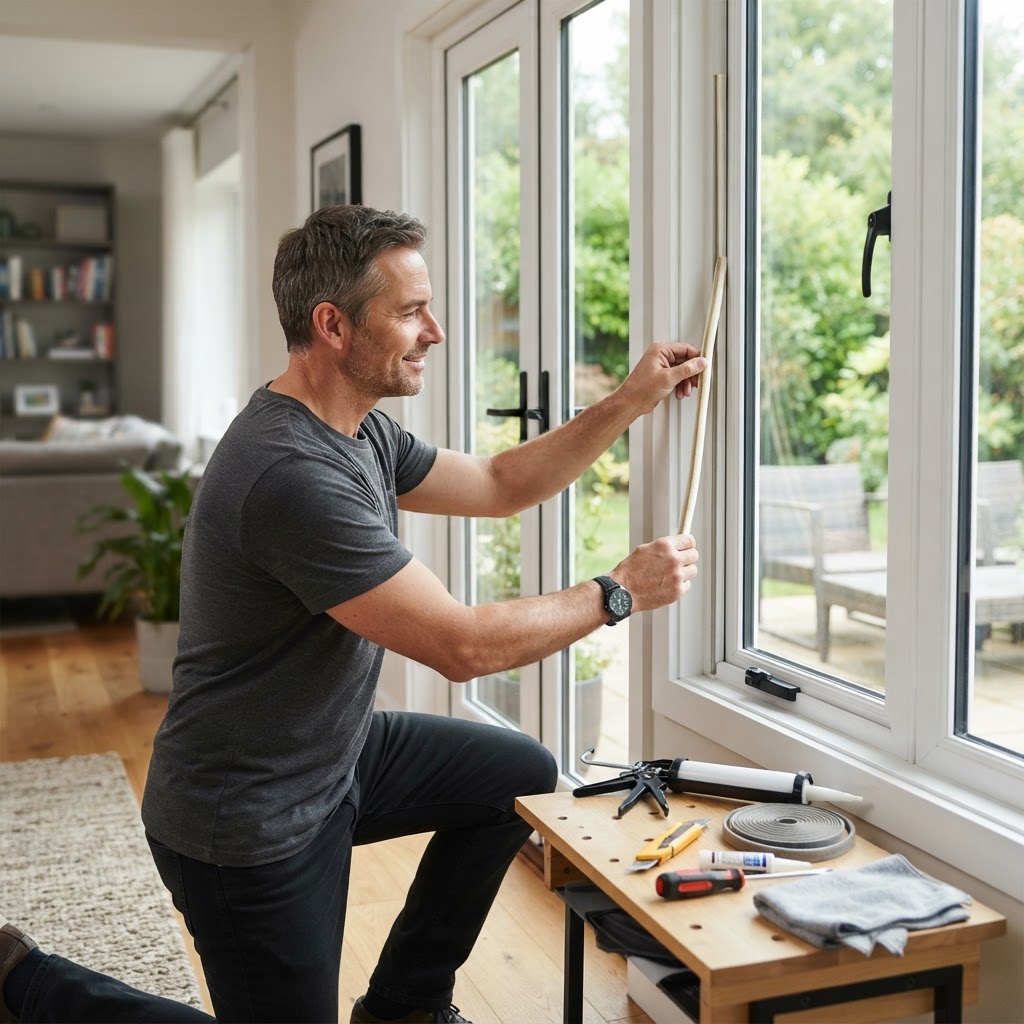
Boost Home Efficiency: A Guide to Window and Door Maintenance
Your windows and doors are the primary barriers between your comfortable indoor environment and the unpredictable outside world. Beyond aesthetics, they serve as the first line of defense for energy efficiency, security, and noise reduction. Neglecting them can lead to drafty rooms, skyrocketing utility bills, and structural damage. Seasonal maintenance includes checking for rot, cleaning tracks, and replacing weatherstripping. While minor hardware adjustments are great DIY tasks, structural rot or seal failure should be handled by professionals. Regular maintenance extends product life and saves on long-term replacement costs.
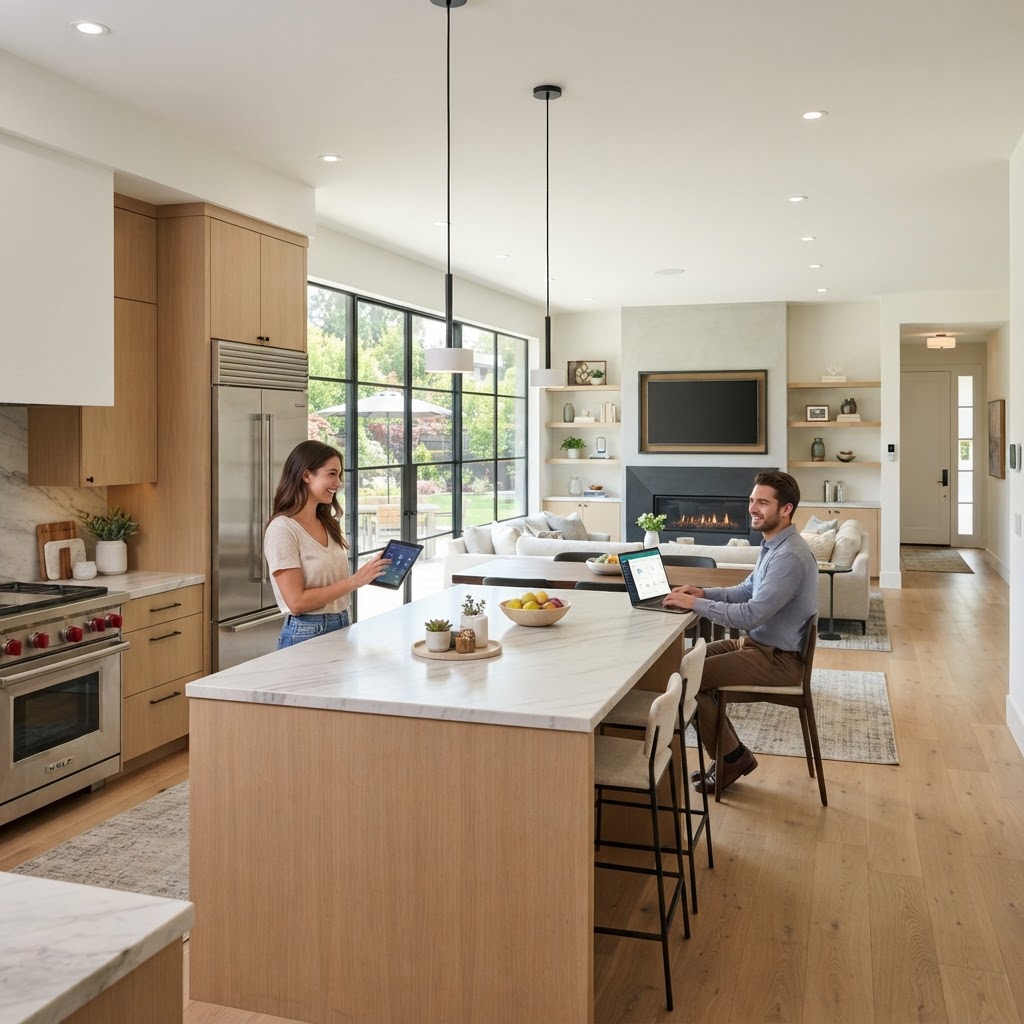
Smart Home Renovation: Maximizing Your Property Investment Strategy
Smart home renovation requires a strategic approach to ensure your property remains a strong financial asset. Focus on high-ROI projects like minor kitchen refreshes, enhancing curb appeal, and improving energy efficiency. Know when to DIY minor cosmetic updates and when to hire licensed professionals for major systems like plumbing or electrical work. Always maintain a 15 percent contingency fund for unforeseen repairs during the renovation process. Balancing personal comfort with market trends is the key to long-term equity growth.

Homeowners Insurance: A Complete Guide to Protecting Your Investment
Homeowners insurance is a critical safety net that protects your most valuable asset. Learn how to conduct a home inventory, understand common exclusions like flooding, and decide when to file a claim. We cover actionable tips on how to save money on your premiums through safety upgrades and bundling, as well as the importance of adjusting your coverage after home renovations.
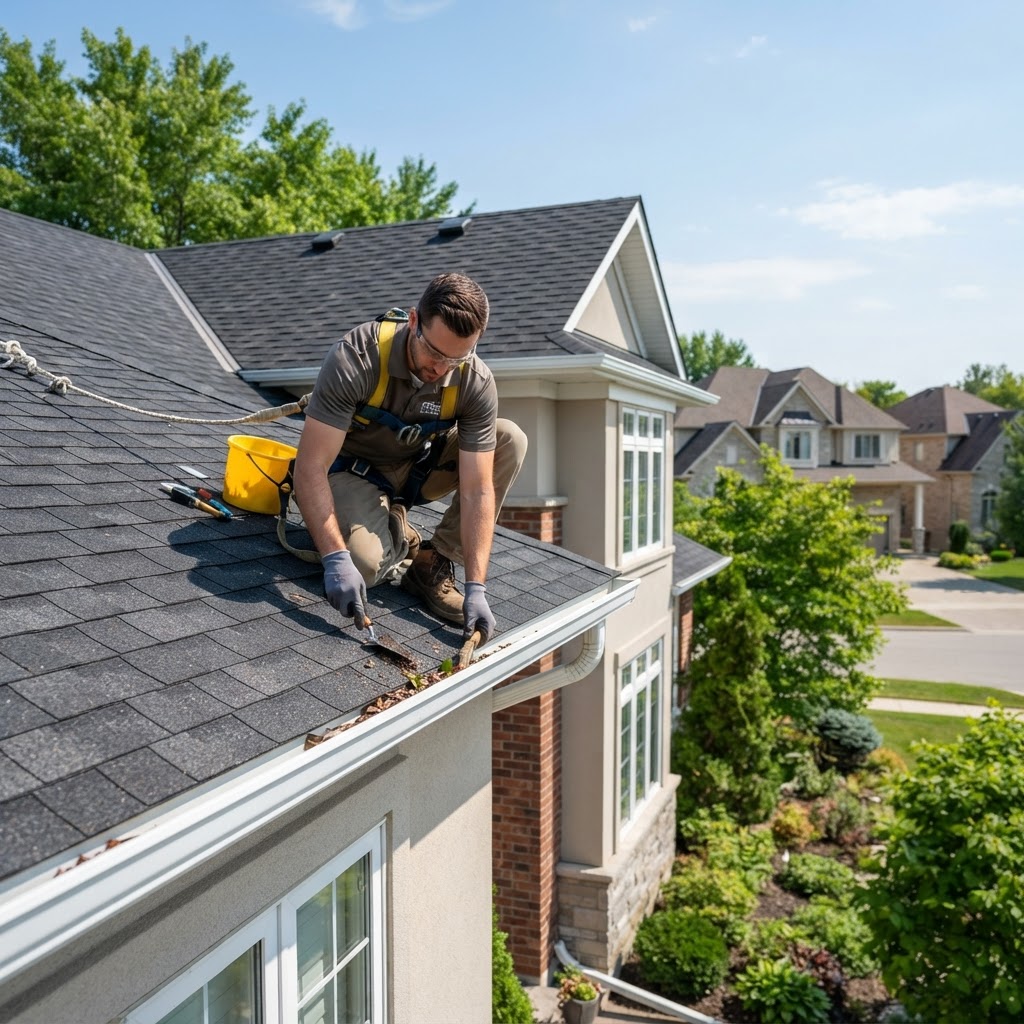
Essential Guide to Roofing and Gutter Maintenance for Homeowners
Your roof is the primary defense against the elements, and your gutters are the unsung heroes managing water runoff. Ignoring these systems can lead to costly water damage, mold, and structural decay. By performing seasonal checks, you can extend the lifespan of your roof by years. Quarterly Maintenance Checklist includes inspecting for damage, clearing debris, checking flashing, and verifying gutter alignment. For minor tasks, such as clearing debris, a confident DIYer can save money. However, roof work is dangerous. If you see signs of structural sagging or massive leaks, hire a pro. Gutter repairs cost $150-$400, while new roofs can range from $6,000 to $15,000. Perform inspections in late spring and early autumn.
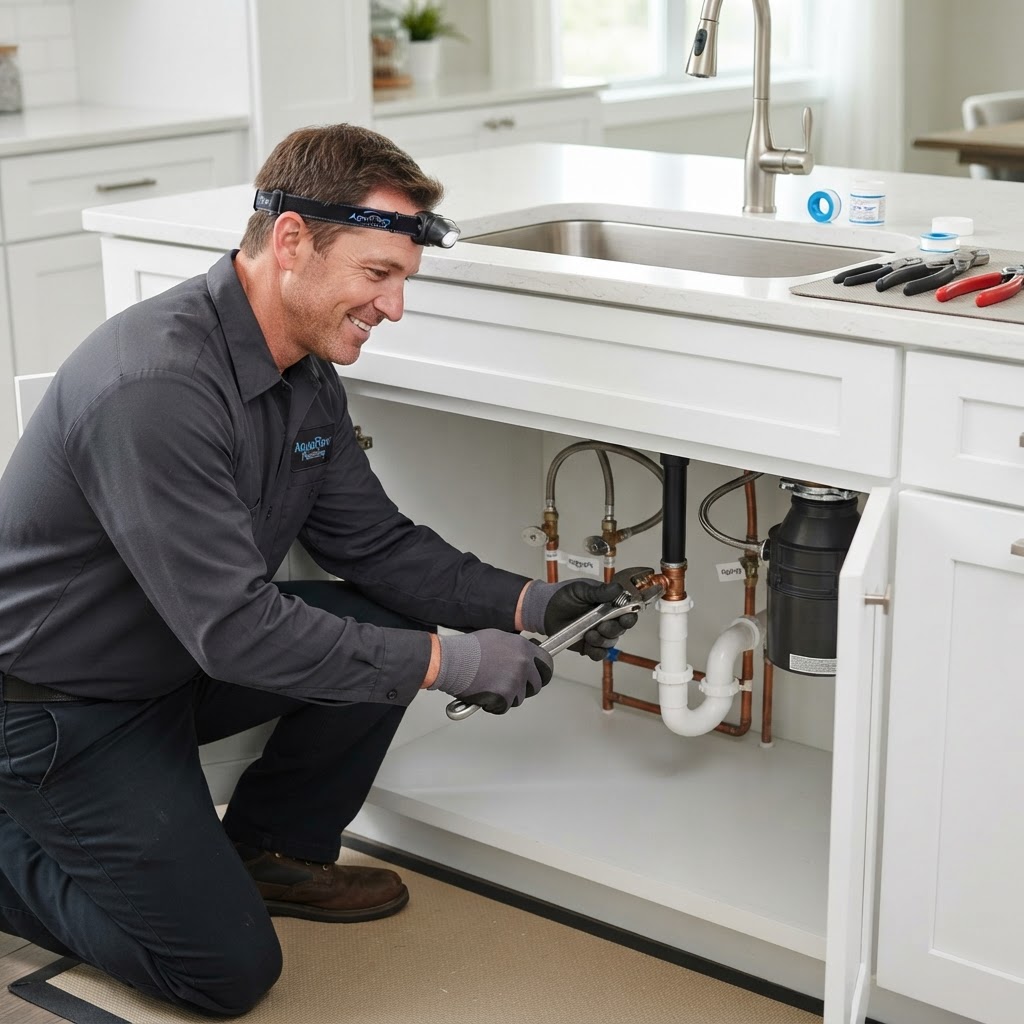
Master Your Pipes: Essential Plumbing Tips for Every Homeowner
Maintaining your home plumbing system is essential for preventing water damage. Learn how to locate your shut-off valve, practice proper drain care, and know when to hire a professional plumber. Simple proactive steps like using drain screens and inspecting hoses can save homeowners hundreds of dollars in repair costs annually. Focus on routine maintenance to ensure your home stays dry and functional.
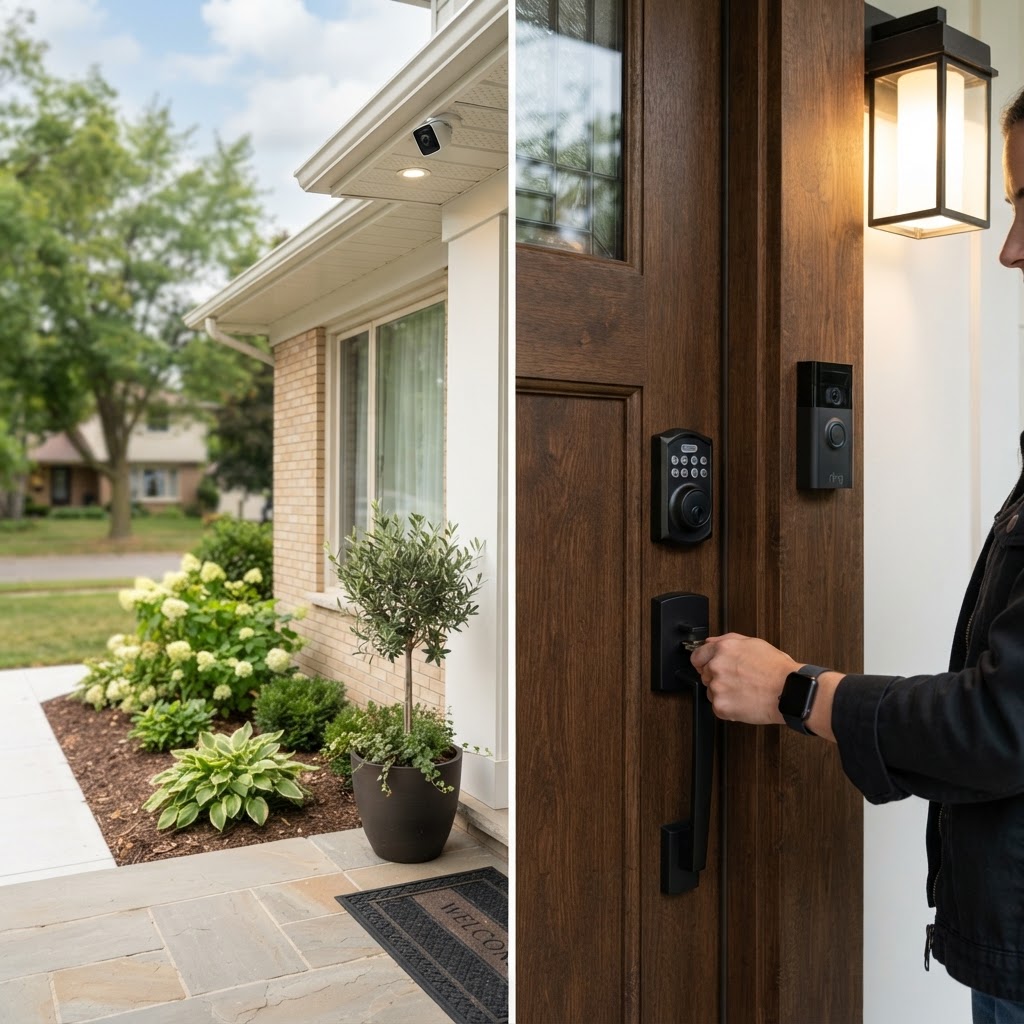
Essential Home Security Upgrades for Every Homeowner
The first step in securing your home is focusing on your perimeter. Most unauthorized entries occur through doors or windows. Start by replacing standard screws in your door strike plates with three-inch heavy-duty steel screws; this anchors the plate deep into the wall stud, making it significantly harder to kick in. Modern home security is more accessible than ever. Video doorbells and smart locks allow you to monitor your front porch and manage access from your smartphone. Criminals thrive in shadows. Implementing a layered lighting strategy can make your home a less attractive target. Use motion-activated lights in dark corners and pathways. For maintenance, test your smoke and carbon monoxide detectors monthly. While installing a smart lock is a great weekend project, more complex tasks should be left to the pros. If you are installing a comprehensive, integrated alarm system that requires wiring into your home’s electrical panel or monitoring service, hiring a licensed security technician is essential.
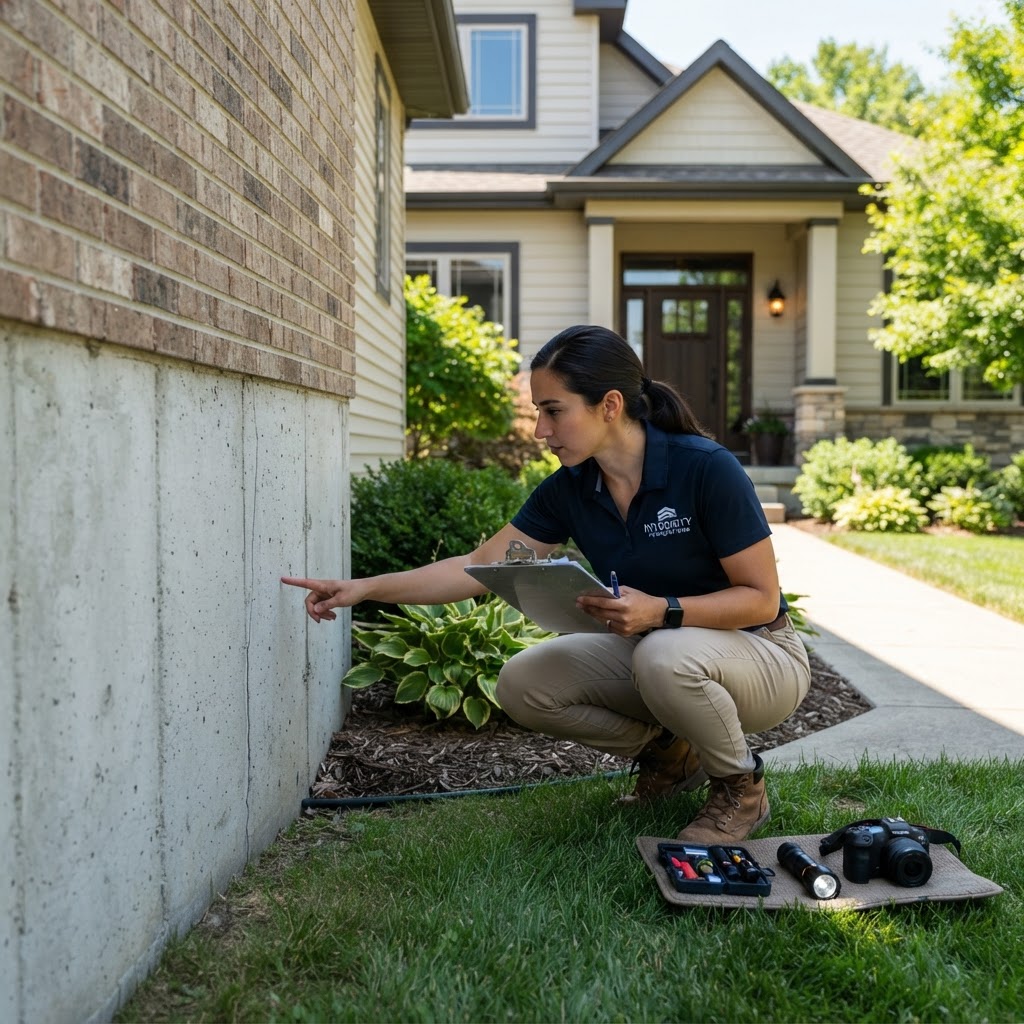
Foundation Health: A Homeowner’s Guide to Structural Integrity
Your foundation is the bedrock of your home's longevity. Neglecting structural warning signs can lead to plummeting property values and hazardous living conditions. Whether your home sits on a concrete slab, crawlspace, or basement, understanding how to spot early distress is essential. Common signs of trouble include stair-step cracks, sticking doors, floor sloping, and water pooling. To maintain, ensure gutters carry water at least 6-10 feet away and maintain a positive grade. Small cracks can be DIY patched, but major shifting requires a professional structural engineer. Budget between $300 for minor repairs and up to $15,000 for major stabilization work.
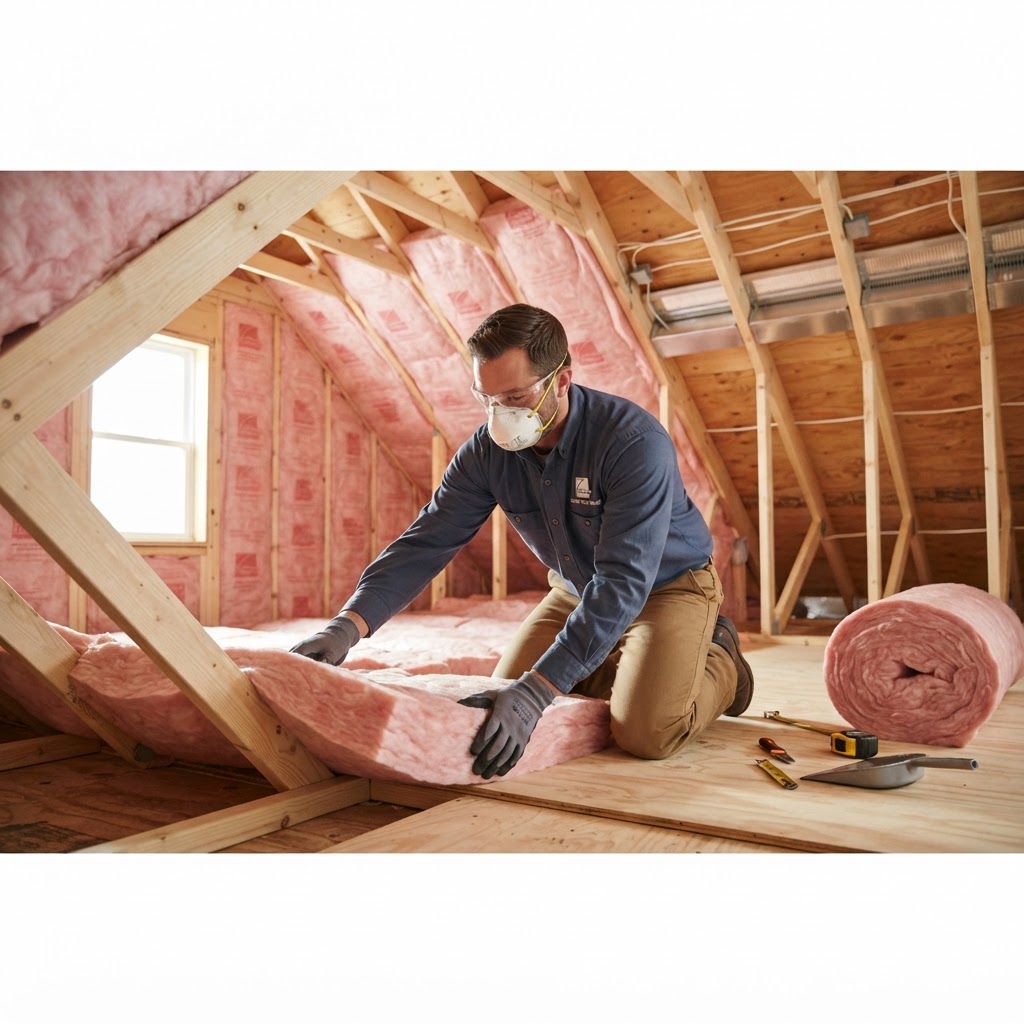
Mastering Home Insulation: Lower Bills and Increase Comfort Today
Proper home insulation is the single most effective way to improve energy efficiency. By creating a thermal envelope, you keep your home warm in the winter and cool in the summer, significantly reducing utility bills and wear on your HVAC system. Focus on your attic, walls, and windows to see the biggest impact. While small sealing tasks are great for DIYers, consider professional help for larger insulation upgrades. Regular inspections will keep your home efficient year-round.

Smart Home Renovations: A Guide to High-ROI Property Investments
As a homeowner, distinguishing between luxury upgrades and smart investments is essential for long-term equity growth. Focus your budget on high-ROI projects like minor kitchen remodels, curb appeal improvements, and energy-efficient upgrades. Know your limits when it comes to DIY versus professional help, and ensure you do not over-improve your home relative to your neighborhood. Always budget for contingencies and prioritize durability for the best financial return.
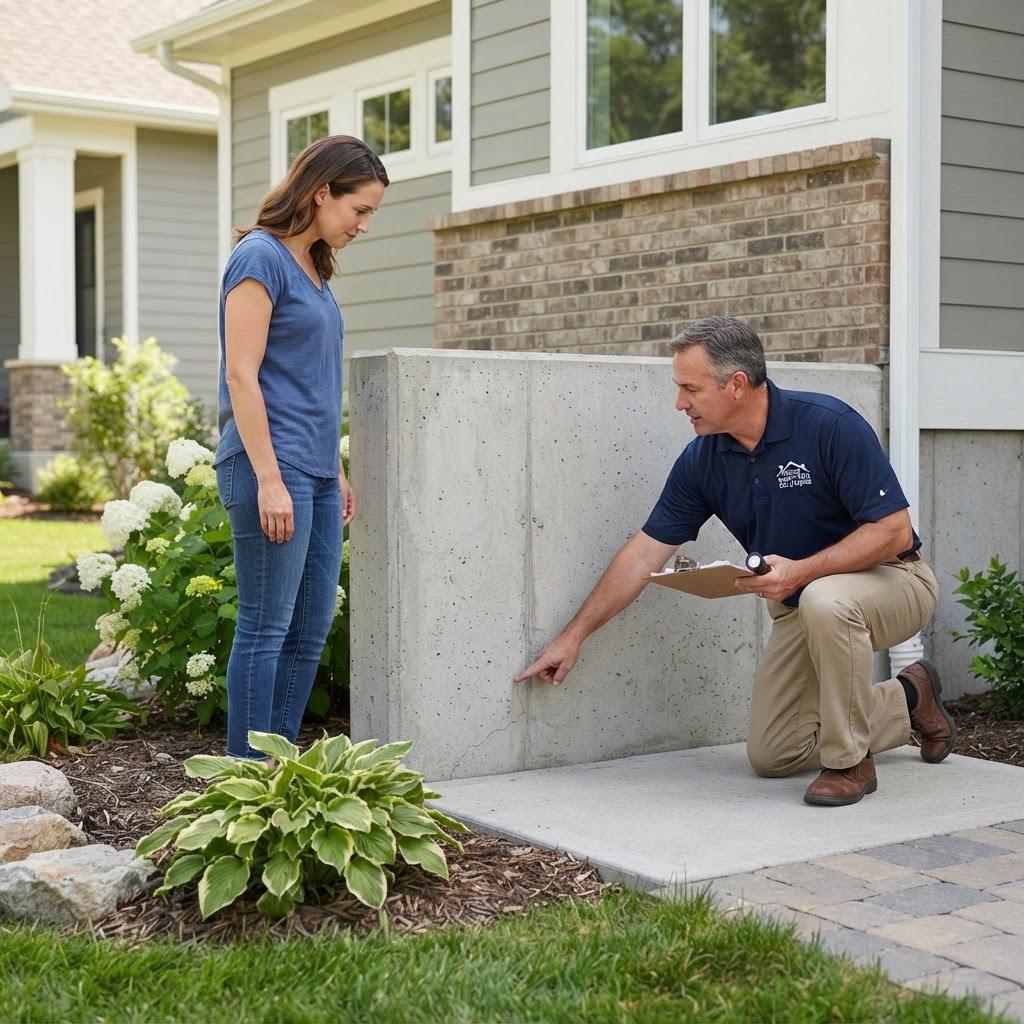
Foundation Health: A Homeowner’s Guide to Structural Integrity
Your foundation is the bedrock of your home, supporting everything from the walls to the roof. Ignoring minor cracks or shifts can lead to catastrophic structural damage and massive repair bills. Common warning signs include visible cracks in concrete, sticking doors and windows, and uneven floors. Maintenance tips include directing water away from your foundation with extended downspouts and managing soil moisture. While minor crack repairs can be DIY, significant structural shifting requires professional intervention. Expect costs ranging from $500 for minor fixes to $20,000 for major pier installations. Regularly inspect your home exterior to catch issues early.
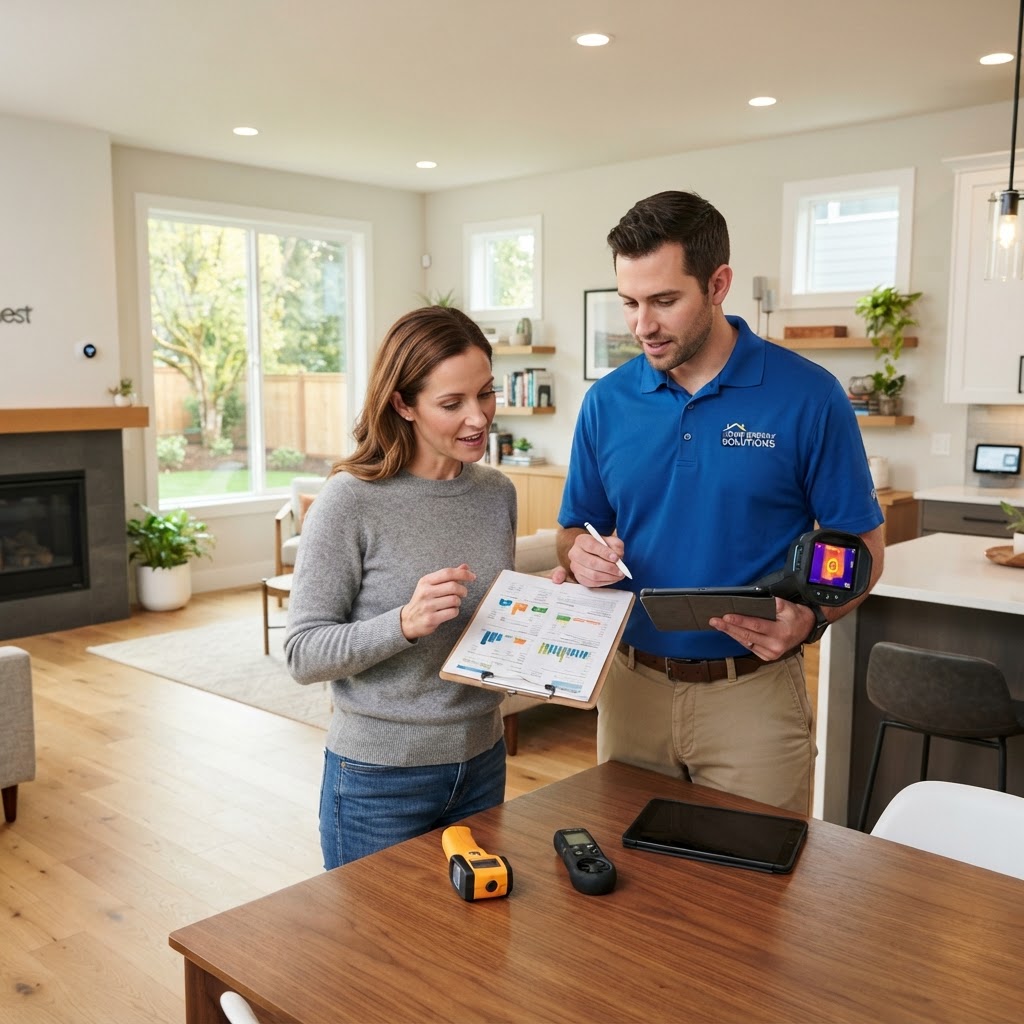
Maximize Home Energy Efficiency: A Practical Guide for Homeowners
Improving your home's energy efficiency is one of the smartest investments you can make. Not only does it reduce your monthly utility bills, but it also increases your property value and lowers your overall carbon footprint. While some upgrades require a professional, many effective measures can be completed as a weekend DIY project. Seal air leaks by checking windows and doors for drafts. Use weatherstripping or caulk to seal gaps. Swap all incandescent bulbs for LEDs. Install a programmable thermostat to optimize heating and cooling. Service your HVAC system by replacing air filters every three months. Call a professional for attic insulation or HVAC replacement. Plan larger projects during mild weather and research local utility rebates to offset costs.

Homeowner Tax Breaks: Essential Tips for 2024
Owning a home is a significant financial instrument. This guide covers mortgage interest deductions, property tax caps, energy credits, and home office rules. Keep meticulous records of all capital improvements to reduce capital gains when you sell. While tax software works for simple returns, hiring a CPA is recommended for those with rental income or complex renovations.
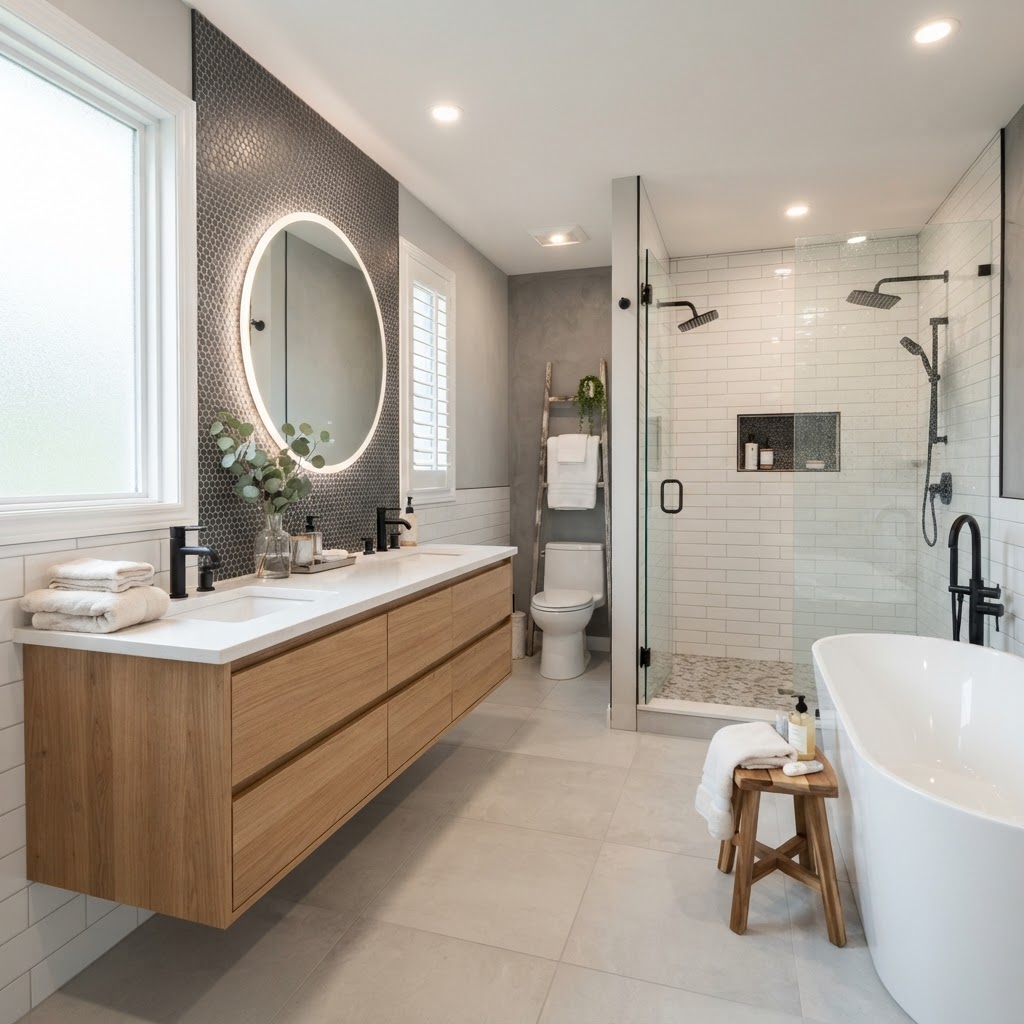
Bathroom Remodel Guide: How to Plan Your Perfect Renovation
A bathroom remodel is a significant home improvement that adds value and comfort. Key steps include setting a 15% contingency fund, hiring professionals for plumbing and electrical work, and focusing on moisture-resistant materials and ventilation to ensure longevity.

Homeowners Insurance: A Strategic Guide to Protecting Your Investment
Homeowners insurance is more than just a mandatory lender requirement; it is your primary financial shield against the unpredictable. To ensure you are adequately protected, start by reviewing your policy annually. Many homeowners make the mistake of underinsuring their property based on the purchase price rather than the rebuild cost, which is the amount required to reconstruct your home from the ground up in the current market. Conduct a home inventory using your smartphone. Review endorsements for specific risks like floods. Consider adjusting your deductible. Know when to file a claim versus paying out-of-pocket to avoid premium spikes.
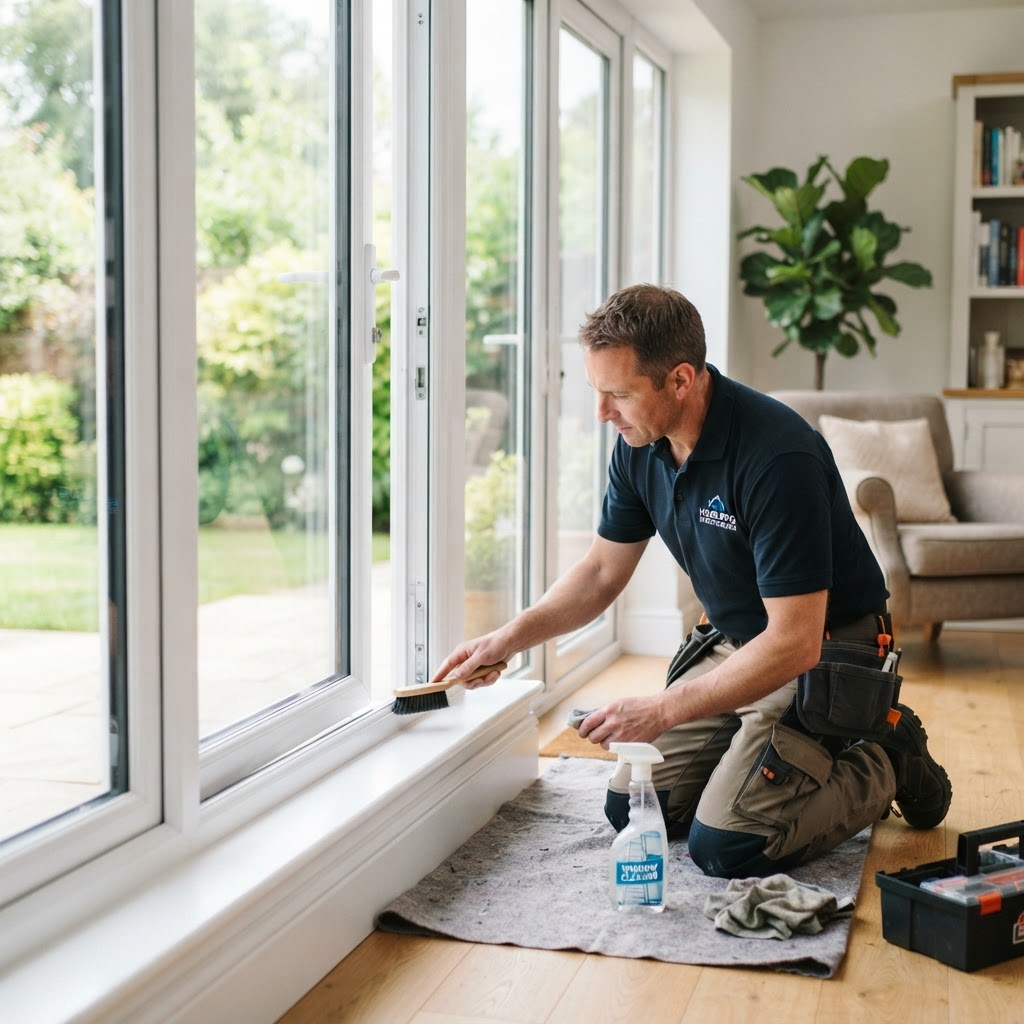
Essential Guide to Window and Door Maintenance for Homeowners
Your windows and doors are the primary barriers between your home and the elements. Proper maintenance not only improves energy efficiency and lowers utility bills but also enhances home security and curb appeal. Neglecting these components can lead to costly water damage, rot, and drafts. To extend the life of your installations, perform routine checks such as inspecting seals for air leaks, lubricating hinges and tracks, and cleaning debris from sliding tracks. While basic maintenance is a great DIY project, structural issues like rotten frames or failed insulated glass should be handled by professionals. Budget roughly $50 for routine supplies, or plan for $400-$1,200 per window for replacements. Aim to schedule significant work during the mild spring or autumn months for the best results.
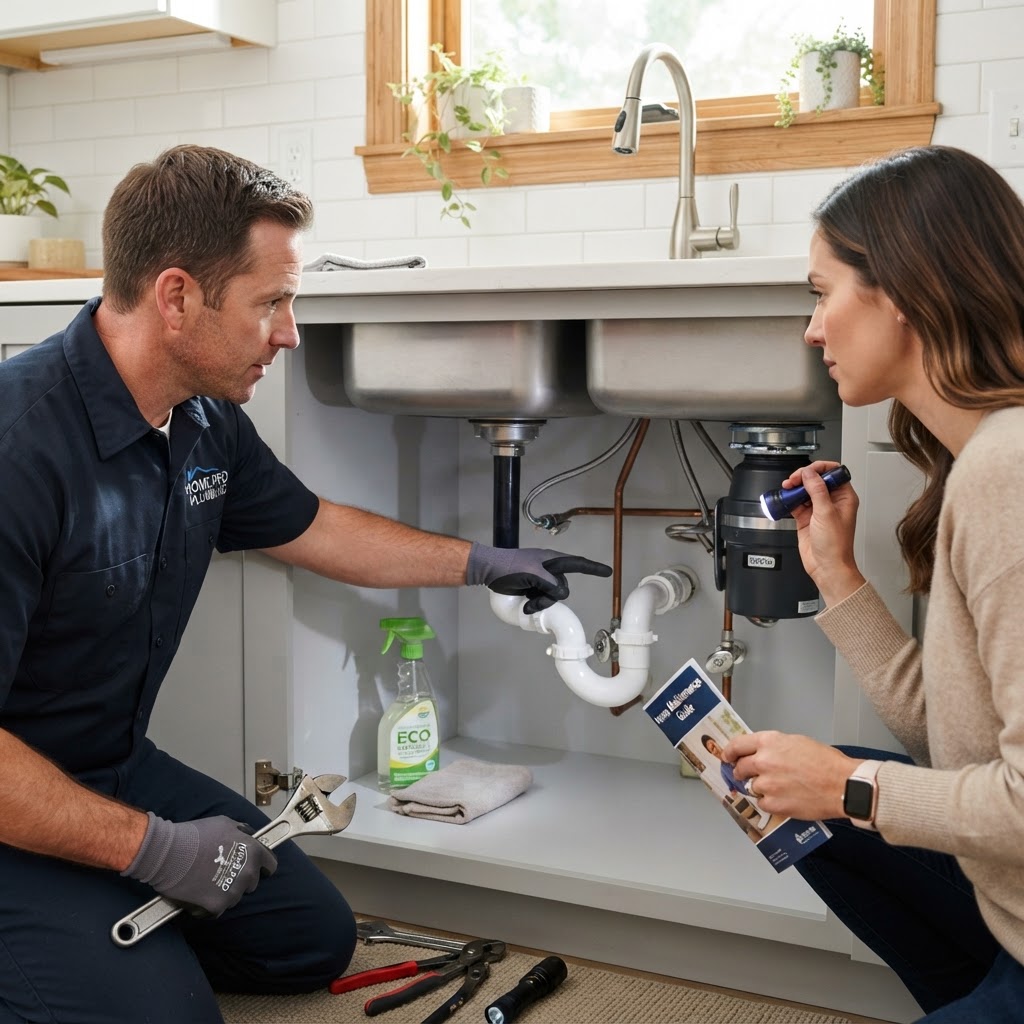
Essential Plumbing Tips Every Homeowner Must Know
Maintaining your home plumbing is more than just fixing leaks; it is about protecting your largest investment from water damage. By following a few proactive steps, you can save thousands in emergency repairs and extend the life of your pipes. Top Preventative Maintenance Tips: Watch What You Flush, Monitor Your Water Pressure, Locate Your Main Shut-off Valve, Inspect for Silent Leaks. DIY tasks like plunging a minor sink clog are fine, but gas lines and sewer mains require pros. Preventative care saves money compared to emergency calls.
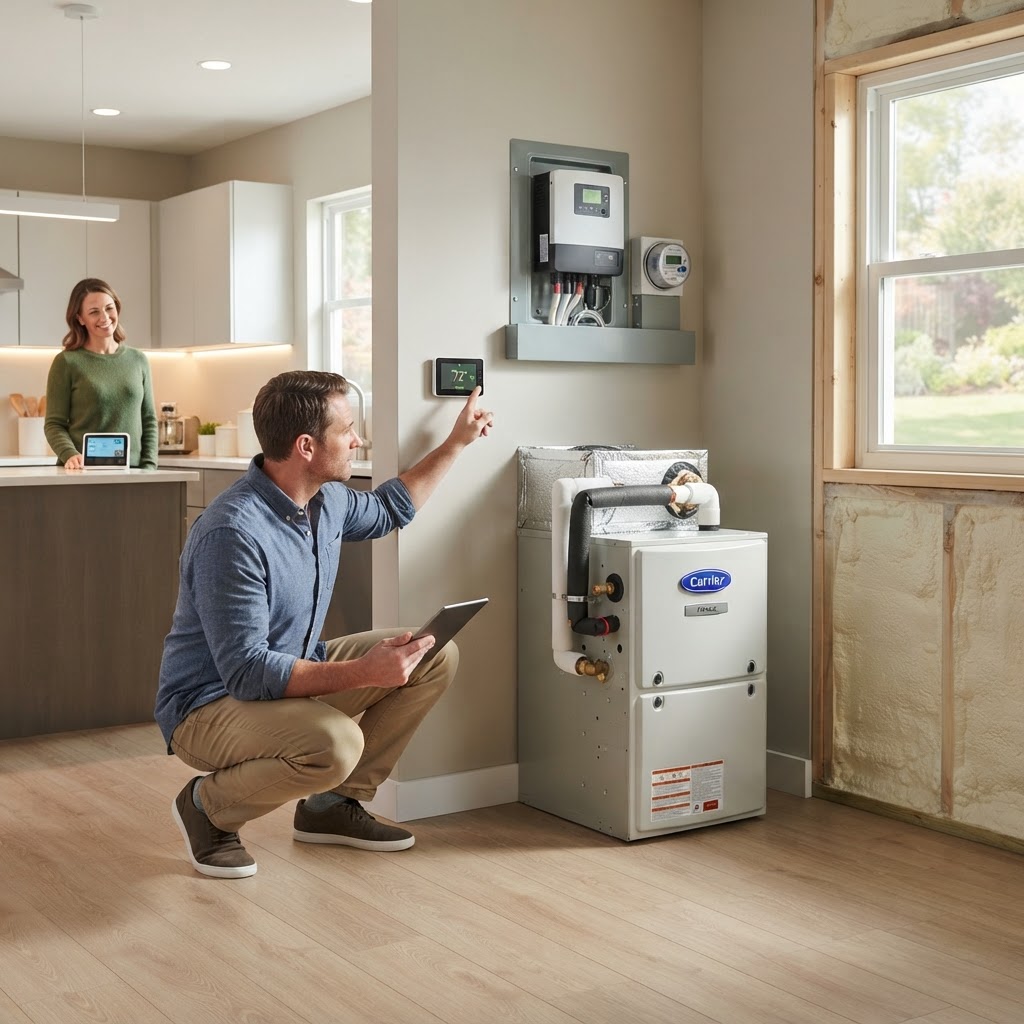
Slash Your Utility Bills: 5 Proven Home Energy Efficiency Upgrades
The most cost-effective way to improve energy efficiency is to stop conditioned air from escaping your home. Start by inspecting window frames and door thresholds for gaps. Using caulk or weatherstripping, which costs less than $50 for a standard house, can prevent significant heat loss during winter. Installing a smart thermostat is a high-impact DIY project. These devices learn your schedule and adjust temperatures accordingly, potentially saving you 10% to 15% on cooling and heating costs. Poor insulation in your attic is the leading cause of wasted energy. While blowing in extra cellulose insulation is often a project for professionals, checking your R-value and sealing bypasses around recessed lighting and plumbing stacks is a great weekend task for homeowners. If you still have incandescent bulbs, replace them immediately. LED bulbs use at least 75% less energy and last up to 25 times longer. Finally, schedule a professional energy audit to identify specific hidden efficiency gaps in your property.
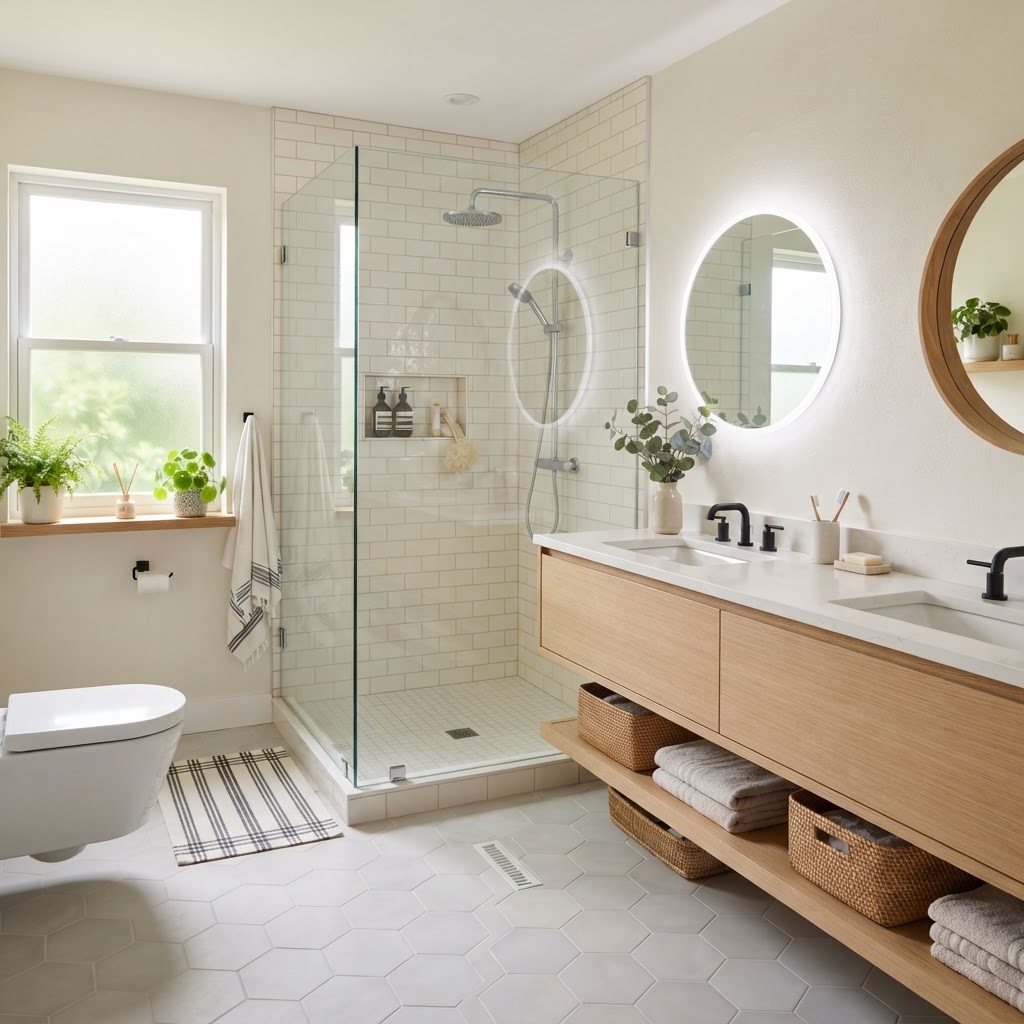
Bathroom Remodel Guide: How to Plan Your Perfect Renovation
A bathroom remodel is one of the most rewarding home improvement projects you can undertake. Start by defining your goals: Are you fixing functional issues or doing an aesthetic update? Budgeting is crucial; minor refreshes cost $2,000-$5,000, while full remodels go up to $40,000. Always save a 15% contingency fund. DIY demolition and painting are fine, but leave plumbing and electrical to pros. Keep your floor plan the same to save money, prioritize ventilation, and focus on high-quality materials to ensure durability.

Property Management 101: Maximizing Your Rental Investment
For many homeowners, turning a property into a rental is a major financial milestone. Effective management is the cornerstone of a successful investment. Deciding between managing your own property and hiring a professional depends on your availability, proximity, and temperament. DIY management saves you the management fee, but it requires you to be on-call 24/7. Professionals provide legal protection and vetted contractors. Key maintenance strategies include annual HVAC and plumbing checks, digital communication portals, and an emergency fund. Consider hiring a professional if you live far away or own multiple properties. Always prioritize legal compliance to avoid litigation. A well-managed property ensures higher value and consistent returns.
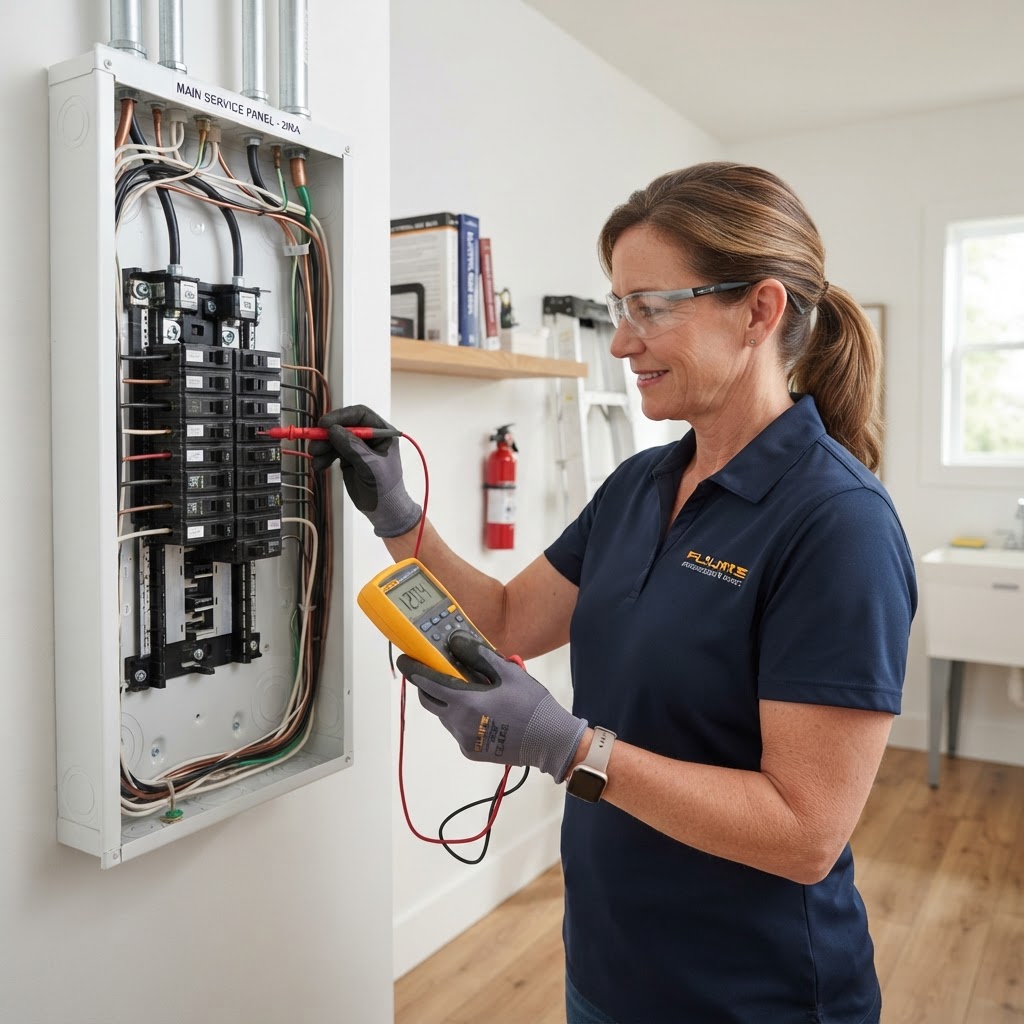
Electrical Safety at Home: A Homeowner’s Essential Guide
Your home's electrical system is the lifeblood of your daily routine. Understanding basic safety and maintenance can prevent costly repairs and house fires. While changing a lightbulb is safe, wiring projects require professional help. If you notice flickering lights, warm outlets, or burning smells, call an electrician immediately. Homeowners should schedule electrical inspections every 3-5 years, especially in older homes. Budget for these projects by prioritizing safety upgrades like panel replacements. Always use surge protectors and keep outlets in good condition to protect your home and your family.

Homeowners Insurance Guide: How to Protect Your Biggest Investment
Homeowners insurance is more than just a monthly bill; it is your primary financial safety net against disaster. Many homeowners mistakenly assume their policy covers everything, but understanding the nuances of your coverage can save you thousands during an emergency. To ensure you are fully protected, perform an annual home inventory, review policy limits annually, understand your deductibles, and assess risks for floods or earthquakes. While you should maintain your home, rely on professionals for major claims and complex repairs. Consider bundling policies or upgrading safety features to save on premiums.

Smart Kitchen Upgrades: Boosting Value and Efficiency
The kitchen is often referred to as the heart of the home. Whether you are looking to increase your property value or simply want a more functional cooking space, kitchen upgrades offer one of the best returns on investment. High-impact cosmetic upgrades include cabinet painting, updating hardware, new lighting, and a fresh backsplash. While many cosmetic projects are perfect for DIY enthusiasts, always hire professionals for plumbing, electrical, and structural modifications. Budgeting for a refresh typically falls between $1,000 and $3,000, while full remodels can exceed $15,000. Focus on the kitchen work triangle to ensure efficiency and always choose durable materials for high-touch areas.
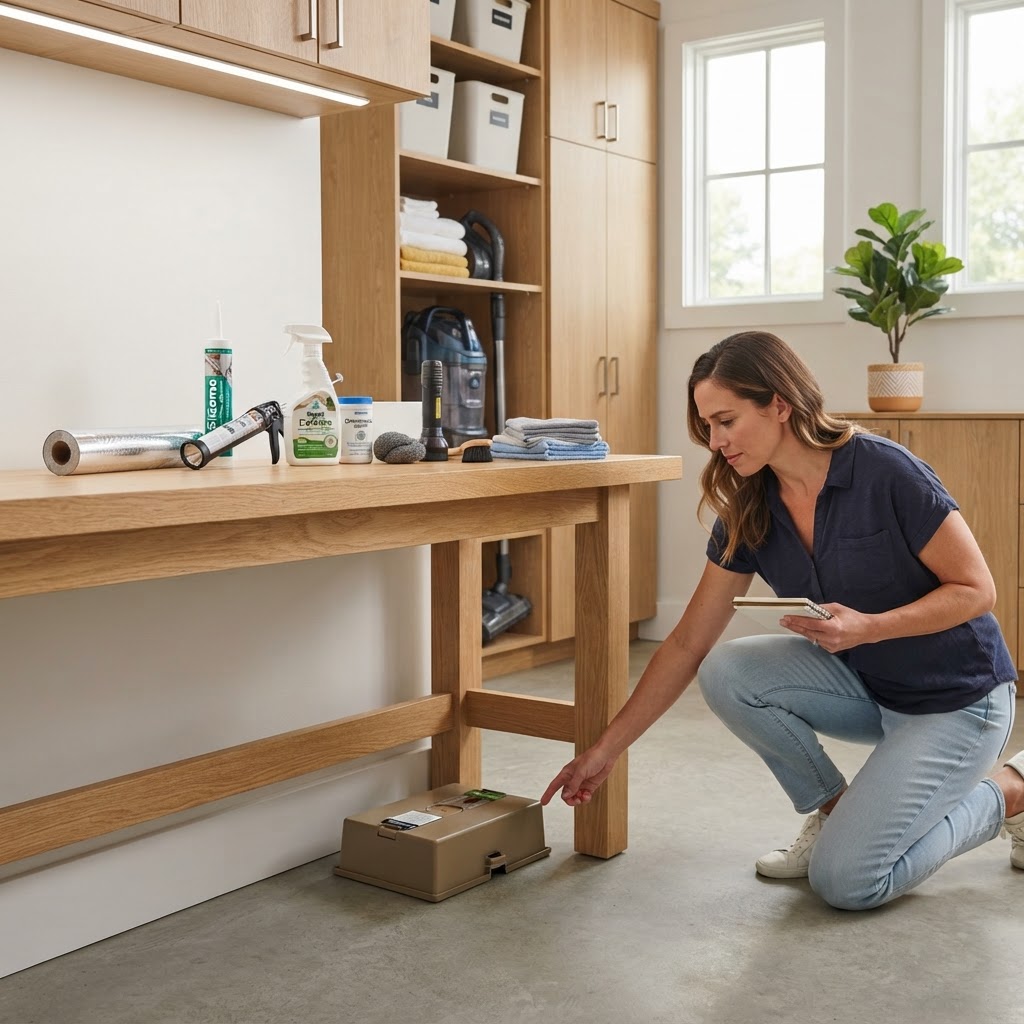
Essential Pest Control Tips: How to Keep Your Home Pest-Free Year-Round
Pests are more than just a nuisance; they can cause significant structural damage and pose serious health risks to your family. Maintaining a pest-free home requires a blend of prevention, vigilance, and timely intervention. To prevent infestations, eliminate food sources by using airtight containers, seal cracks around your home with caulk, and fix leaks to keep moisture levels down. While DIY methods like bait traps work for occasional ants, major issues like termites or rodents require professional help. Professional treatments generally cost between $300 and $600. Always look for signs like droppings or structural damage to know when to escalate to an expert.
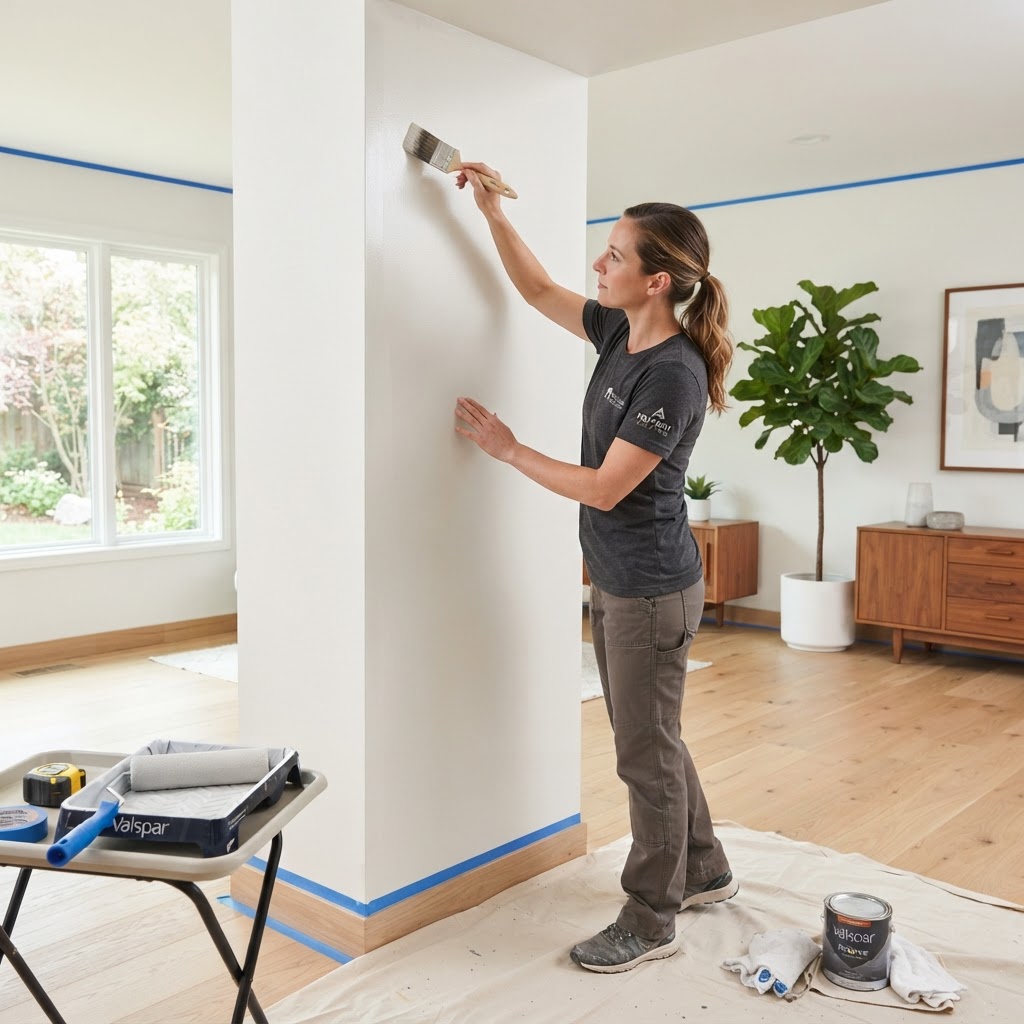
Mastering Interior Painting: A Pro Guide to a Flawless Finish
The secret to a professional paint job is 80% preparation. Clean your walls, fill holes, and sand before starting. Invest in high-quality brushes and rollers to avoid streaks. Always cut in corners first before rolling the main surface. Two coats are standard for a professional look. While DIY saves money, professional painters are worth the cost for high ceilings or entire home jobs.
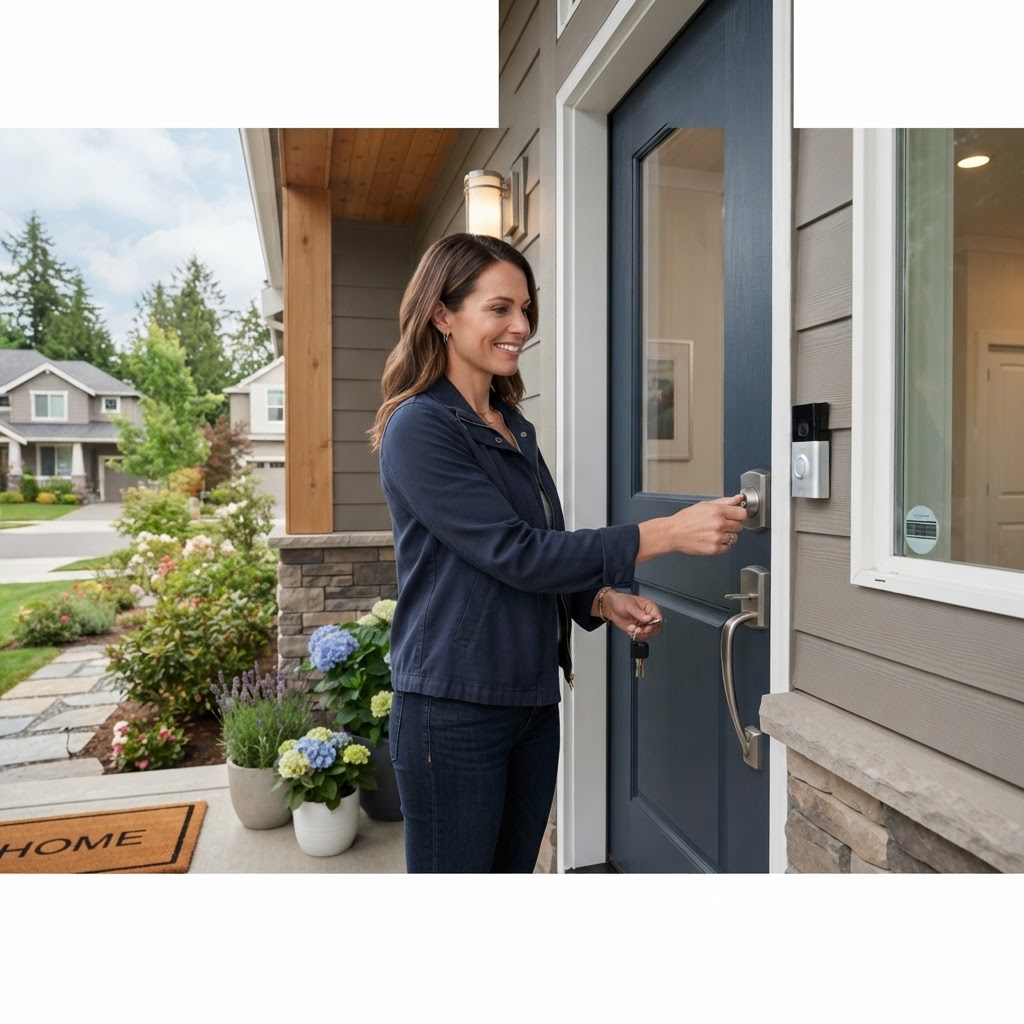
Essential Home Security Tips for Every Homeowner
Strengthen Your Home Security Today. Securing your home is not just about installing expensive alarms; it is about creating layers of protection that deter potential intruders and alert you to emergencies. Whether you are looking for DIY solutions or professional installations, proactive maintenance is key to long-term safety. The First Line of Defense: Perimeter Security. Your exterior is the first point of contact. Ensure your locks are deadbolts with at least a one-inch throw. Replace screws in strike plates with three-inch versions to prevent doors from being kicked in. Modern Surveillance and Smart Tech. Smart video doorbells and Wi-Fi security cameras have revolutionized home safety. Window Safety and Integrity. Install window locks or secondary blocking devices to prevent them from sliding open. Emergency Preparedness. Test all smoke and carbon monoxide detectors monthly and replace batteries twice a year. When to Call a Professional. While changing locks and installing smart cameras are great DIY tasks, hire a certified security expert if you are planning to install a hardwired alarm system.
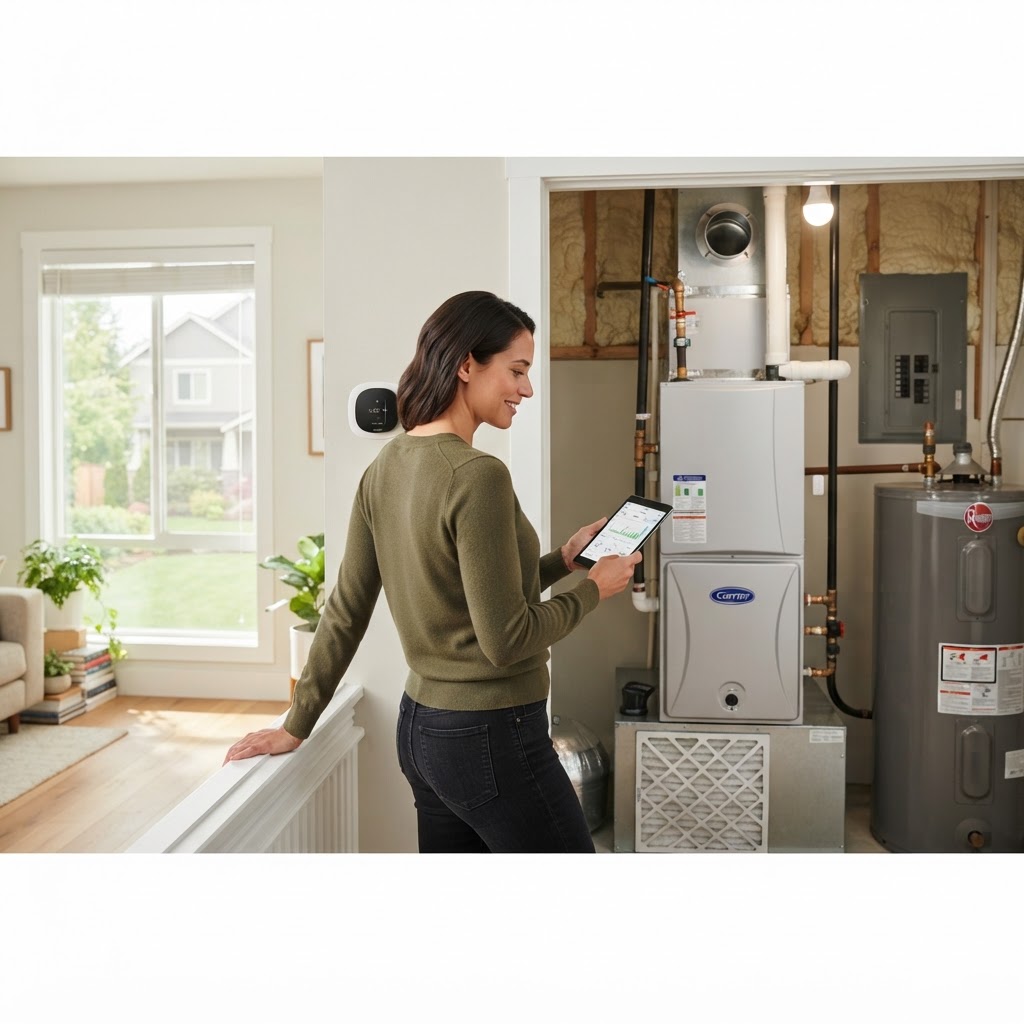
Maximize Your Home Energy Efficiency: Simple Tips for Big Savings
Improving your home's energy efficiency is one of the smartest investments you can make. Not only does it lower your monthly utility bills, but it also increases your property value and reduces your carbon footprint. Whether you are looking for quick weekend projects or long-term renovations, these actionable steps will help you maximize your home's performance. Seal air leaks using caulk or weatherstripping. Switch to LED bulbs. Install a smart thermostat. Professional insulation and HVAC upgrades offer long-term savings. Perform audits in the spring or fall to take advantage of utility rebates.
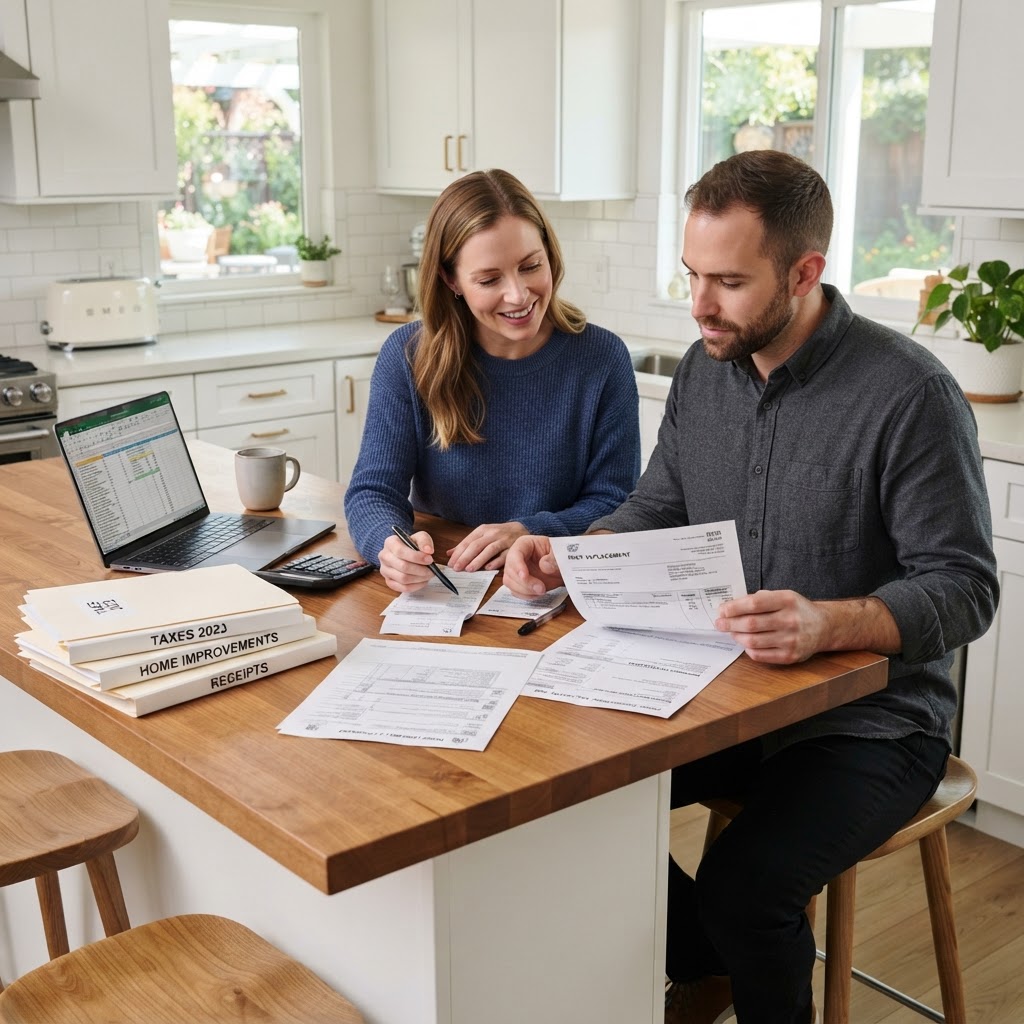
Homeowner Tax Breaks: A Practical Guide to Saving Money
Owning a home is a significant financial asset, but navigating tax deductions is crucial. Key deductions include mortgage interest, property taxes (up to $10,000), and specific energy-efficient upgrades like solar panels. Homeowners should maintain meticulous records of all capital improvements, as these increase your cost basis and lower capital gains taxes upon sale. While tax software is useful for simple filings, consider professional guidance for complex situations involving multiple properties or home office deductions. Remember to complete major renovations by year-end to qualify for current-year tax credits.
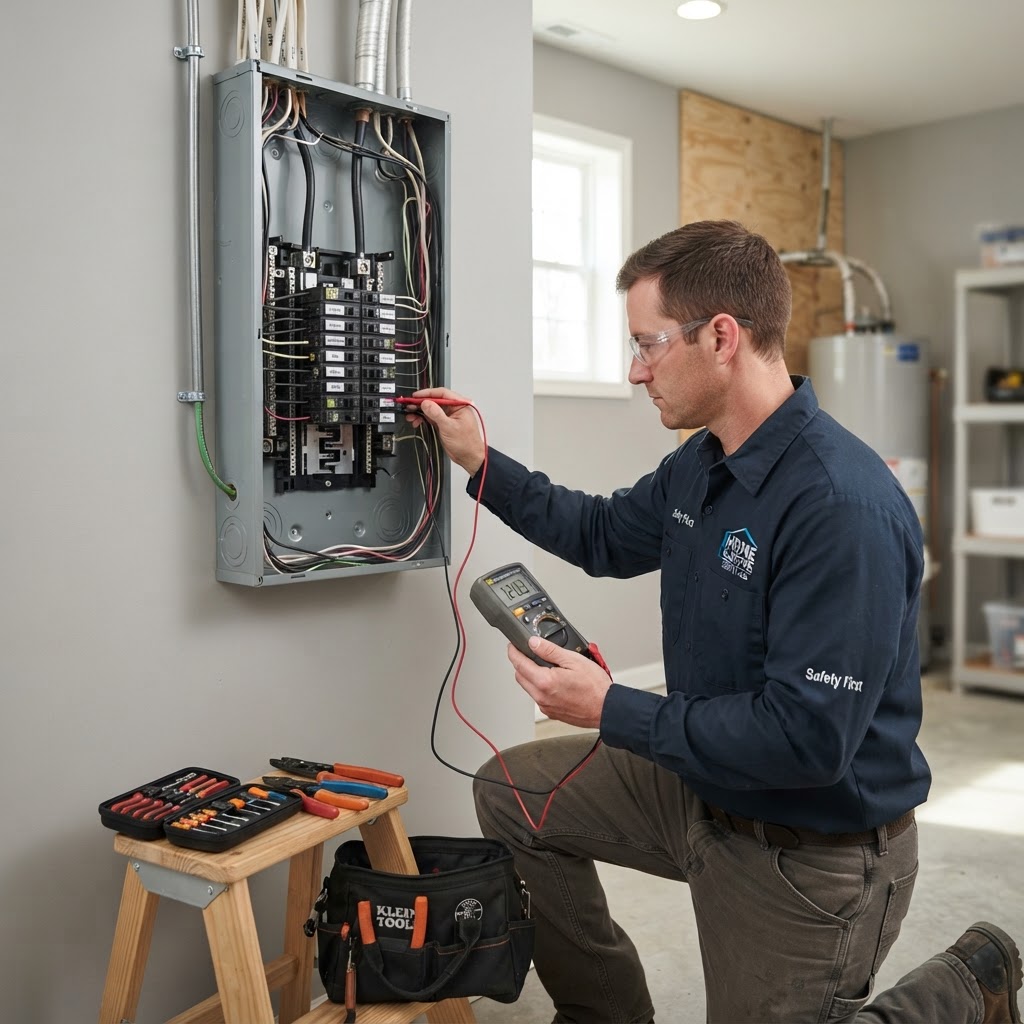
Electrical Safety and Maintenance: A Homeowner’s Essential Guide
Your home's electrical system is the invisible backbone of modern living. While it often works quietly in the background, neglecting maintenance can lead to safety hazards, flickering lights, or even electrical fires. Understanding when to perform basic checks and when to call a professional is key to home longevity. Crucial Safety Tips: Test your GFCI outlets monthly to ensure they trip properly. Check your breaker panel for labels that are clear and up-to-date. Look for hot faceplates or buzzing sounds, which are immediate red flags indicating loose wiring. DIY vs. Professional: While replacing a light fixture is manageable, anything involving the service panel or new circuits requires a licensed electrician. Amateur work is a major fire risk and can void insurance. Budgeting: Minor repairs cost $150-$300, while major upgrades range from $2,000-$10,000. When to Call: Contact a pro for frequent breaker trips, loose outlets, or installing heavy appliances like EV chargers to ensure safety and NEC compliance.
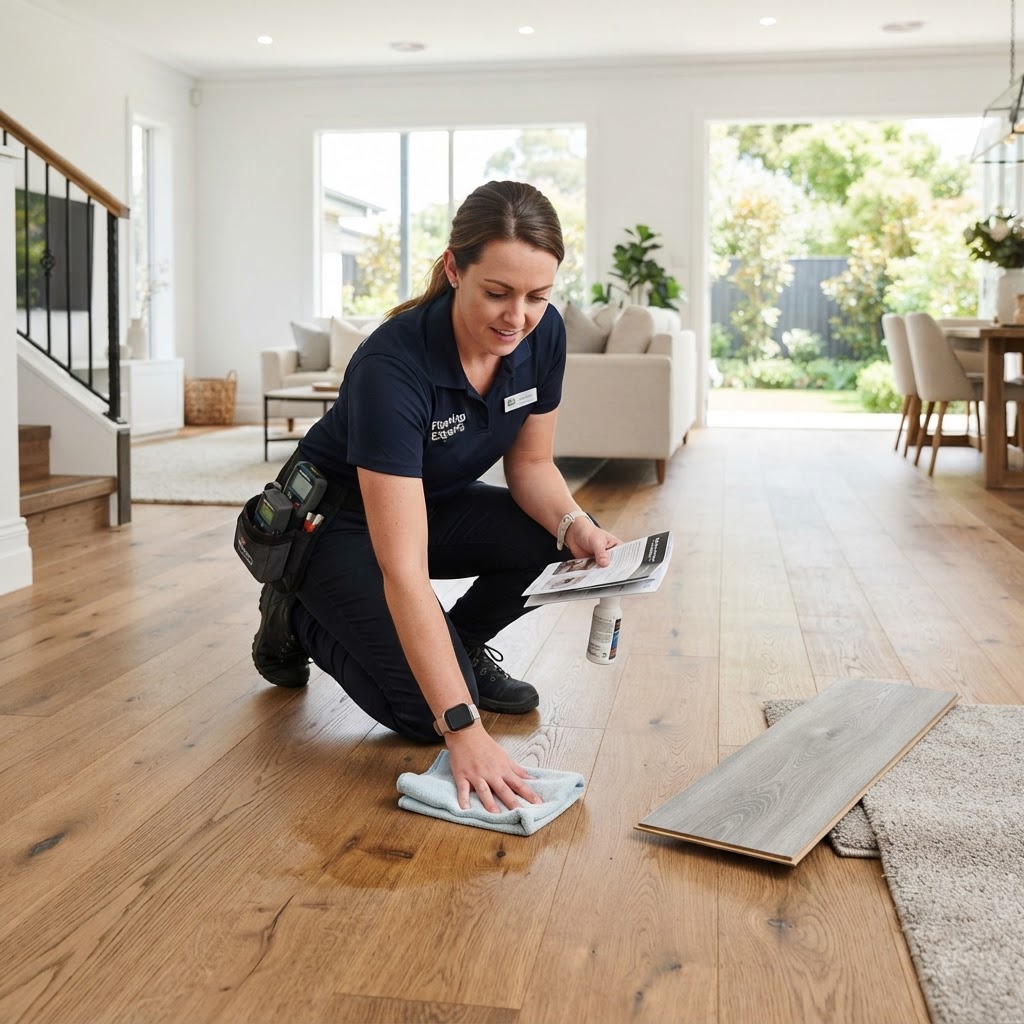
Ultimate Guide to Choosing and Maintaining Your Home Flooring
Choosing the right flooring is a balance between aesthetic appeal, budget, and lifestyle requirements. Popular options include hardwood, LVP, tile, and carpet. Hardwood adds value, while LVP is waterproof and easy to install. Budget for 10-15% extra for waste. DIY is fine for LVP, but hire professionals for tile and hardwood. Maintain your floors by using felt pads, removing shoes at the door, and cleaning spills immediately.
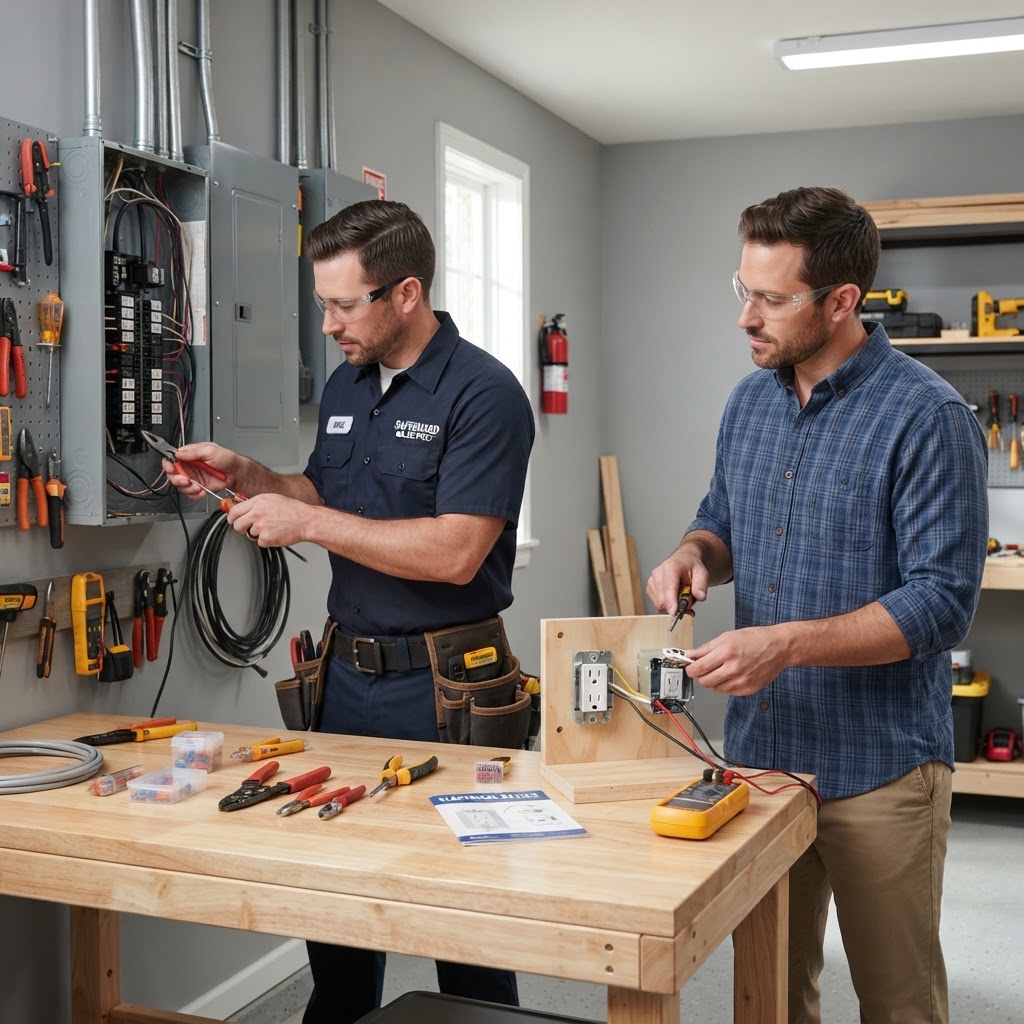
Electrical Safety Essentials: When to DIY and When to Call a Pro
Electricity is the lifeblood of your home, powering everything from your morning coffee to your late-night security systems. However, it is also one of the most dangerous components of home maintenance. Knowing the difference between minor maintenance and high-risk repair is vital for your safety and your home's integrity. Recognizing Common Electrical Hazards: Before attempting any work, perform a quick audit of your system. Watch for these red flags that indicate you need professional intervention: Frequently tripping breakers or blowing fuses; Warm or discolored outlet cover plates; A persistent burning smell near appliances; Flickering or buzzing lights; Outlets that do not hold plugs firmly. If you notice these signs, do not wait. Contact a licensed electrician immediately. DIY vs. Professional Repairs: Simple tasks like replacing a light fixture can be safe DIY projects if you turn off the power first. Never attempt panel upgrades or adding new circuits yourself. Budgeting: Expect $75-$150 per hour for professional help. Proactive Tips: Keep panels accessible, test GFCI outlets monthly, and avoid overloading power strips.
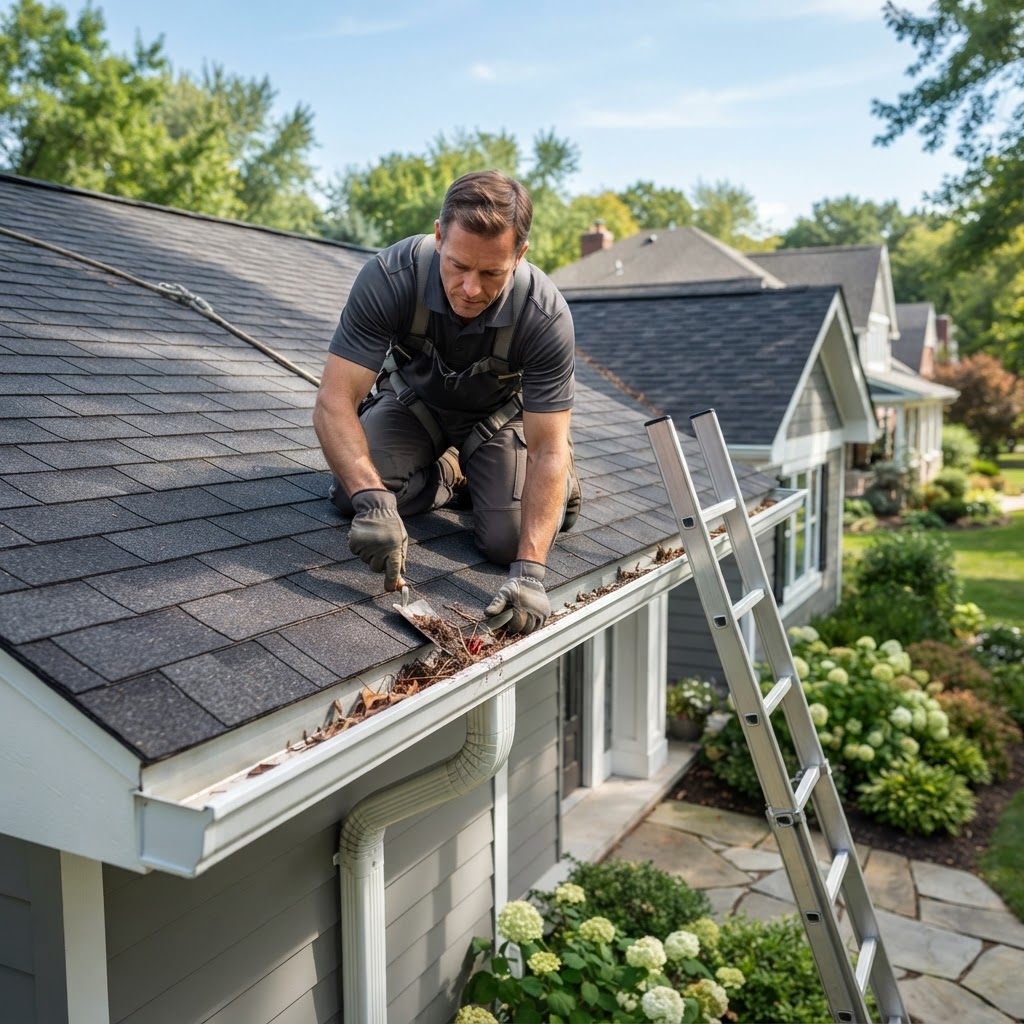
Essential Roof and Gutter Maintenance Guide for Homeowners
Your roof and gutter system acts as the primary shield against the elements. Neglecting these areas can lead to thousands of dollars in water damage, mold, and structural decay. By performing routine maintenance, you can extend the lifespan of your roof and ensure your home stays dry throughout the seasons. Experts recommend inspecting your roof at least twice a year, ideally in the spring and autumn. During these checks, look for missing or cracked shingles, damaged flashing around chimneys, and signs of moss growth. Clogged gutters are the leading cause of basement flooding and siding damage. When debris accumulates, water spills over the sides, eroding your foundation and rotting fascia boards. Small tasks like clearing debris from gutters or replacing a single asphalt shingle can often be handled by a confident DIYer. However, if you are uncomfortable working at heights or notice significant structural damage, it is time to hire a professional. A roofing contractor provides the necessary insurance and expertise to handle complex issues. Always maintain a dedicated home maintenance fund. While a minor repair might only cost a few hundred dollars, a complete roof replacement can range from $8,000 to $20,000. By staying proactive, you avoid the high costs of emergency repairs.
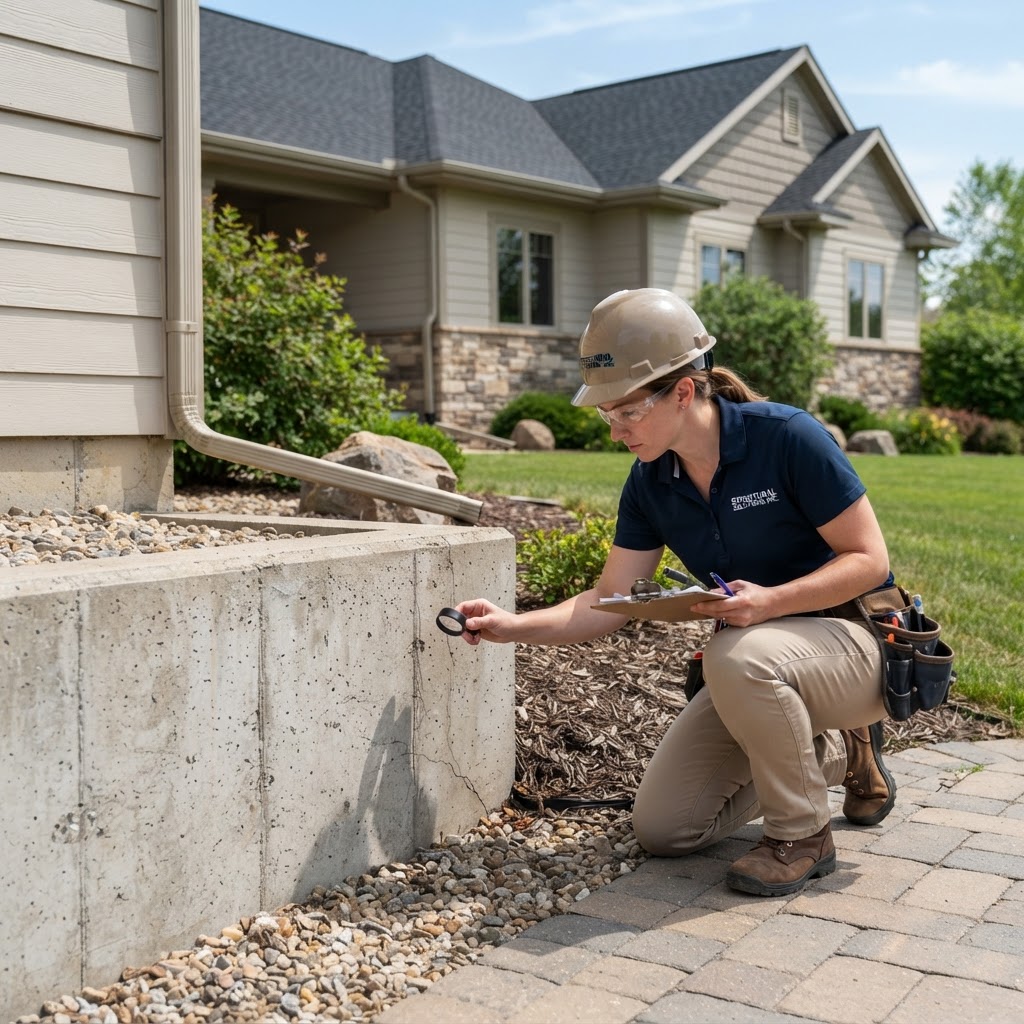
Foundation Health 101: How to Spot and Prevent Structural Damage
Your home's foundation is the bedrock of its structural integrity. While concrete is durable, it is not immune to settling. Early warning signs include diagonal cracks, sticking doors, and uneven floors. To protect your home, ensure downspouts divert water away and the soil slopes away from your foundation. While minor cracks can be sealed DIY, structural issues like bowing walls or wide cracks require a professional structural engineer. Regular inspections twice a year are the best way to prevent costly repairs.
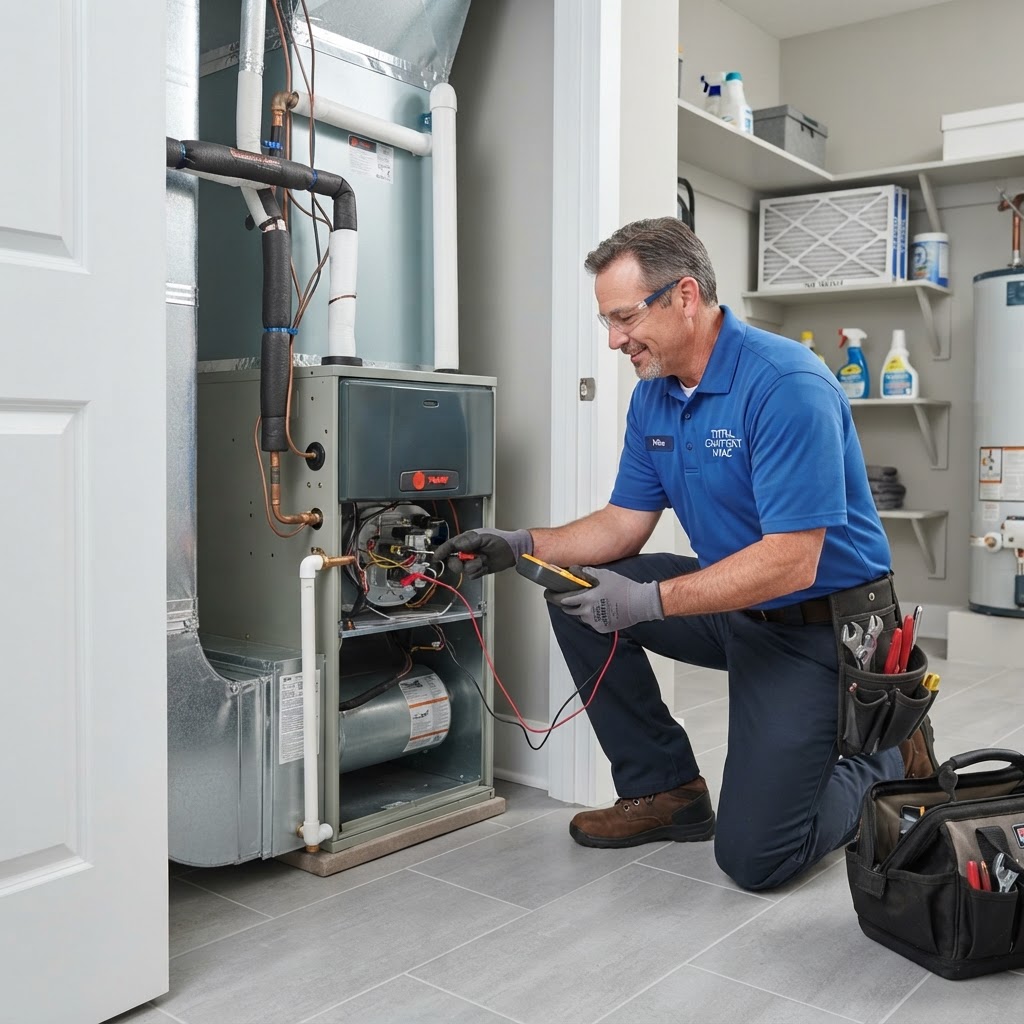
HVAC Maintenance Guide: Keep Your Home Comfortable All Year Long
HVAC maintenance is essential for home comfort, energy efficiency, and preventing costly breakdowns. Homeowners should focus on replacing air filters every 1-3 months, keeping the outdoor condenser unit clear of debris, and cleaning interior vents. While these DIY tasks are important, a professional technician should perform a seasonal tune-up twice a year—once for the heating system in the fall and once for the cooling system in the spring. Professional maintenance typically costs between $75 and $200 and includes tasks like checking refrigerant levels, cleaning coils, and inspecting electrical connections. By staying proactive, you can avoid emergency repairs and ensure your system runs effectively for years to come.

Smart Home Tech: A Practical Guide for Modern Homeowners
Integrating smart home technology into your living space is no longer a luxury reserved for tech enthusiasts; it is a practical way to increase energy efficiency, security, and overall convenience. High-impact upgrades include smart thermostats, smart lighting, and security cameras. While many devices are DIY-friendly, complex hardwired systems should be installed by professionals. Always prioritize device compatibility and network security when building your system.

Homeowners Insurance: A Strategic Guide to Protecting Your Investment
Homeowners insurance is a critical financial safeguard. This guide covers understanding policy perils, why you need to review your coverage after renovations, and actionable ways to lower premiums through security upgrades and bundling. It also clarifies when to handle DIY maintenance versus when to involve professional adjusters for claims.

Smart Kitchen Upgrades to Boost Your Home Value and Functionality
The kitchen is often described as the heart of the home. Whether you are looking to increase your property value or simply make your daily cooking experience more enjoyable, strategic upgrades are the way to go. You do not need a complete gut renovation to see a major impact. If you are working on a budget, focus on surfaces and lighting. Swapping out outdated cabinet hardware for modern matte black or brushed nickel handles can transform the look of your space instantly. Additionally, upgrading your lighting—incorporating under-cabinet LED strips—adds both aesthetic appeal and task-oriented functionality. If you have more capital, prioritize your appliances and backsplash. A high-efficiency range or a smart refrigerator can be a major selling point for future buyers. Installing a subway tile or mosaic backsplash is a project that balances cost and visual payoff. While tiling is often considered a weekend DIY project, hiring a professional ensures the grout lines are perfect and moisture is properly sealed. DIY projects include painting cabinets, installing hardware, and switching out faucets. Professional services are recommended for electrical rewiring, moving gas lines, or countertop installation. Avoid starting projects during peak holiday seasons; early spring is the best time to schedule contractors. Always pad your budget by 15% for hidden repairs.
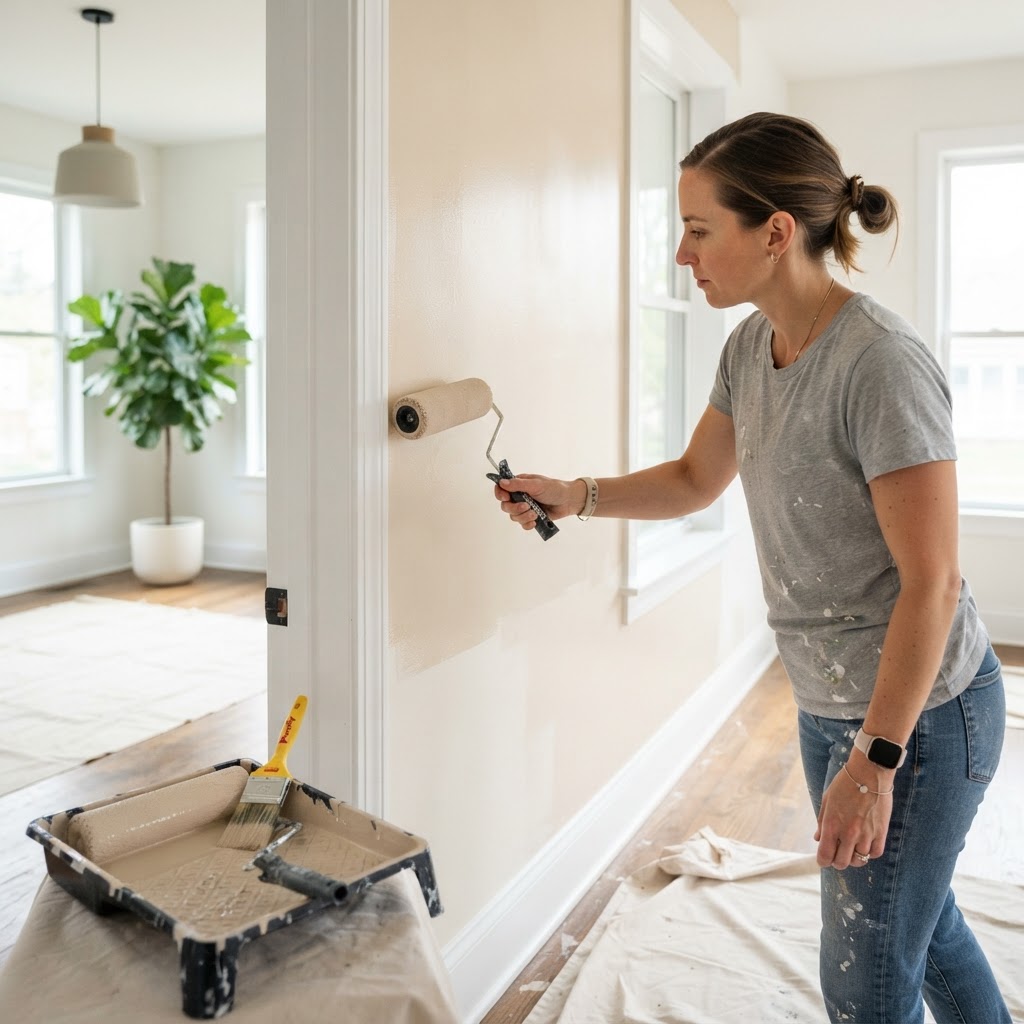
Mastering Interior Painting: A Guide to Professional Results
Painting is often viewed as the quickest way to refresh a home's aesthetic, but the secret to a high-end finish lies entirely in the prep work. Before you open a paint can, take the time to clean your walls with a mild degreaser and fill any nail holes with high-quality spackle. Selecting the correct finish is critical for both durability and style. Flat or matte is best for ceilings, eggshell or satin for living areas, and semi-gloss for trim. Deciding between DIY and hiring a professional comes down to time and complexity. While DIY saves money, pros offer specialized equipment for a flawless look. Budget roughly $2-$6 per square foot for pros, or $200-$500 per room for materials if DIYing. Always prime when changing colors and use premium tape for crisp edges.
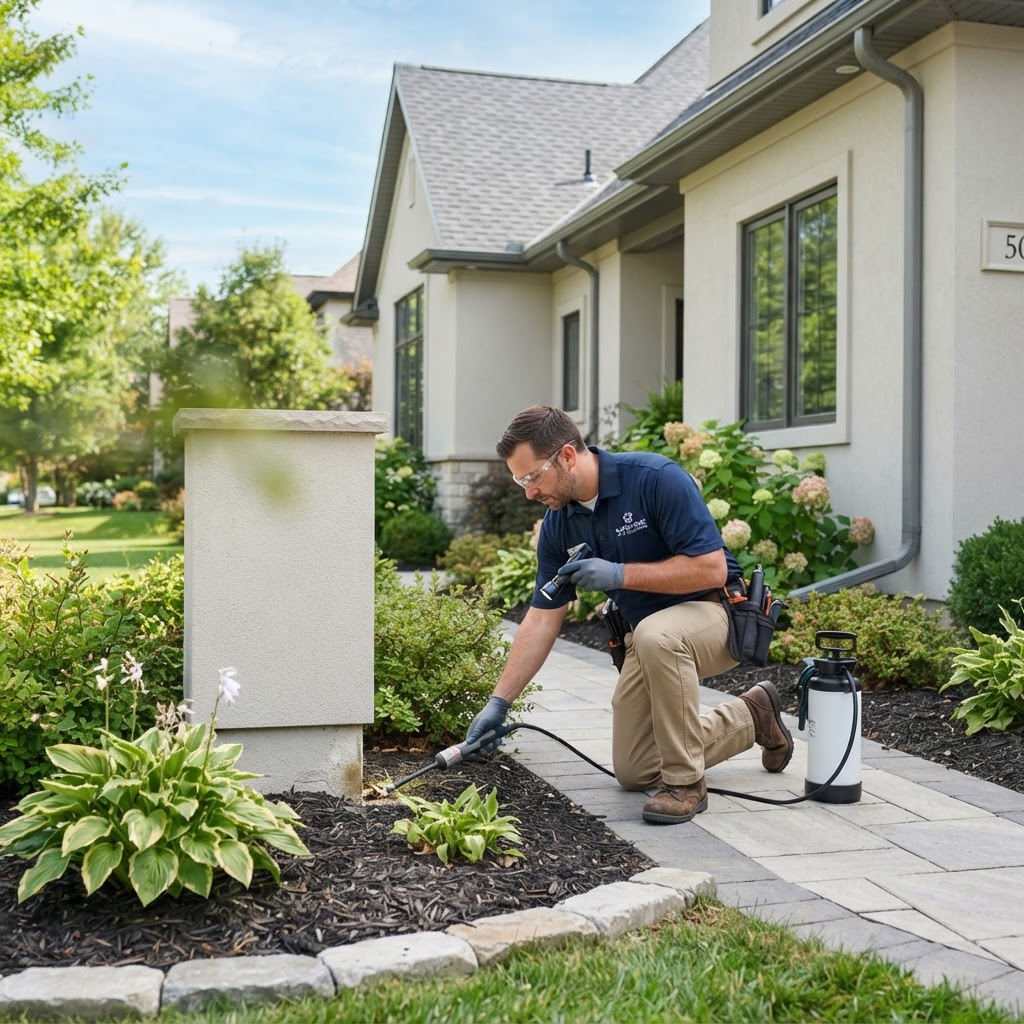
Essential Home Pest Control Guide: Tips for a Bug-Free House
Maintaining a pest-free home is about more than just comfort; it is a critical aspect of structural health and hygiene. By sealing entry points, managing moisture, and storing food properly, you can prevent most infestations. While DIY methods work for minor issues, professional help is necessary for pests like termites and rodents. Budget for quarterly treatments to save money in the long run by preventing structural damage.

Homeowners Insurance: A Strategic Guide for Every Property Owner
Homeowners insurance is a vital financial tool. Annual reviews of your policy, including documenting renovations and adjusting deductibles, are essential. Use professionals to assess coverage gaps, while using DIY methods for home inventories. Bundle policies, upgrade home safety features, and maintain good credit to reduce costs. Always document damage thoroughly before starting repairs.
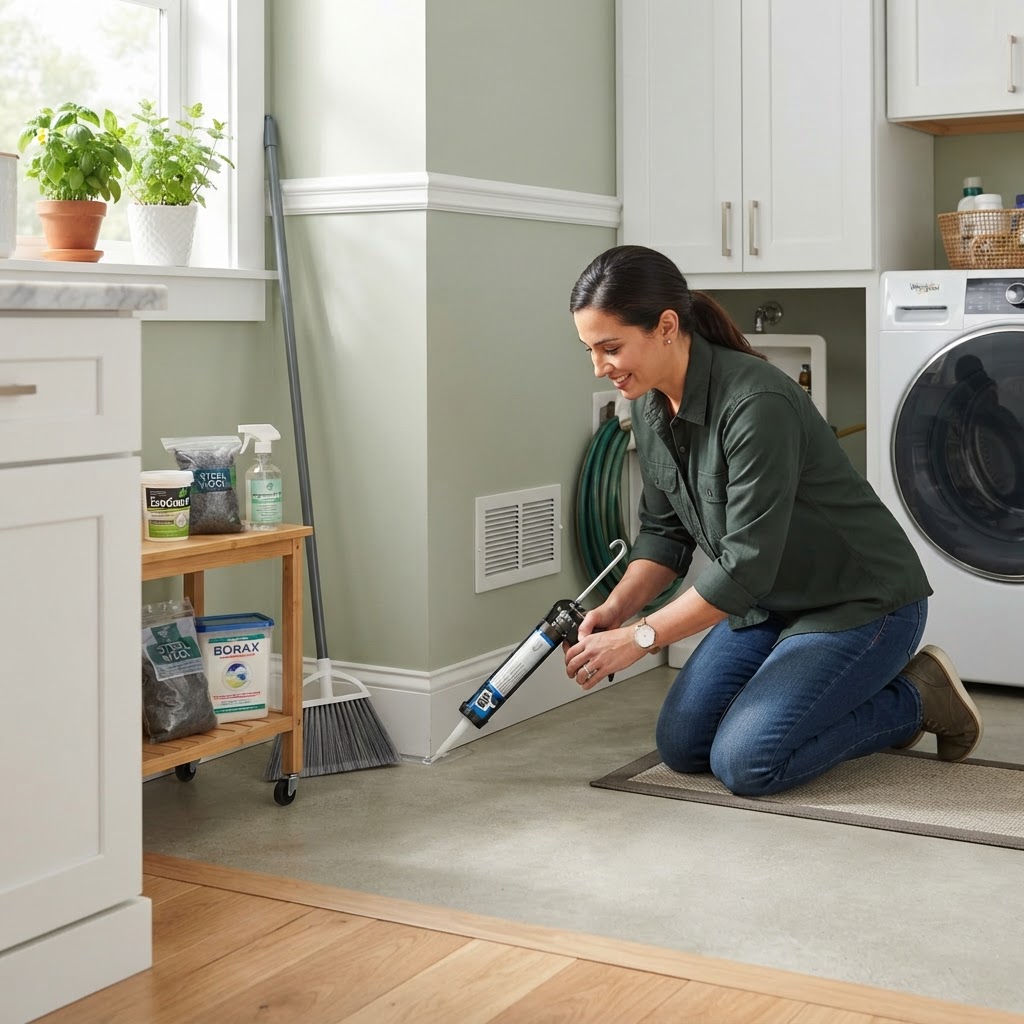
A Homeowner's Guide to Effective Pest Control and Prevention
Pest infestations can turn a comfortable living space into a nightmare. Whether it is ants in the kitchen, rodents in the attic, or termites in the foundation, proactive management is key to protecting your investment. You can significantly reduce the risk of pests by sealing entry points, controlling moisture, storing food properly, and managing landscaping. If you notice structural damage or recurring infestations, it is time to call a professional. Expect to pay between $150 and $300 for a general treatment, with recurring plans often being more cost-effective. Start your treatment in early spring to prevent infestations before they begin.

Smart Home Tech: A Practical Guide for Modern Homeowners
Integrating smart home technology is a practical way to increase home security, energy efficiency, and convenience. Start by ensuring a robust Wi-Fi network, as smart devices rely on connectivity. Essential upgrades include smart thermostats, which can lower energy bills, smart lighting for automated scheduling, and video doorbells for security. Most smart devices are DIY-friendly and easy to install, but seek professional help for hardwired electrical components. Start with a budget of $200-$500 to build a foundation. Maintenance involves regular firmware updates, battery checks, and privacy audits.
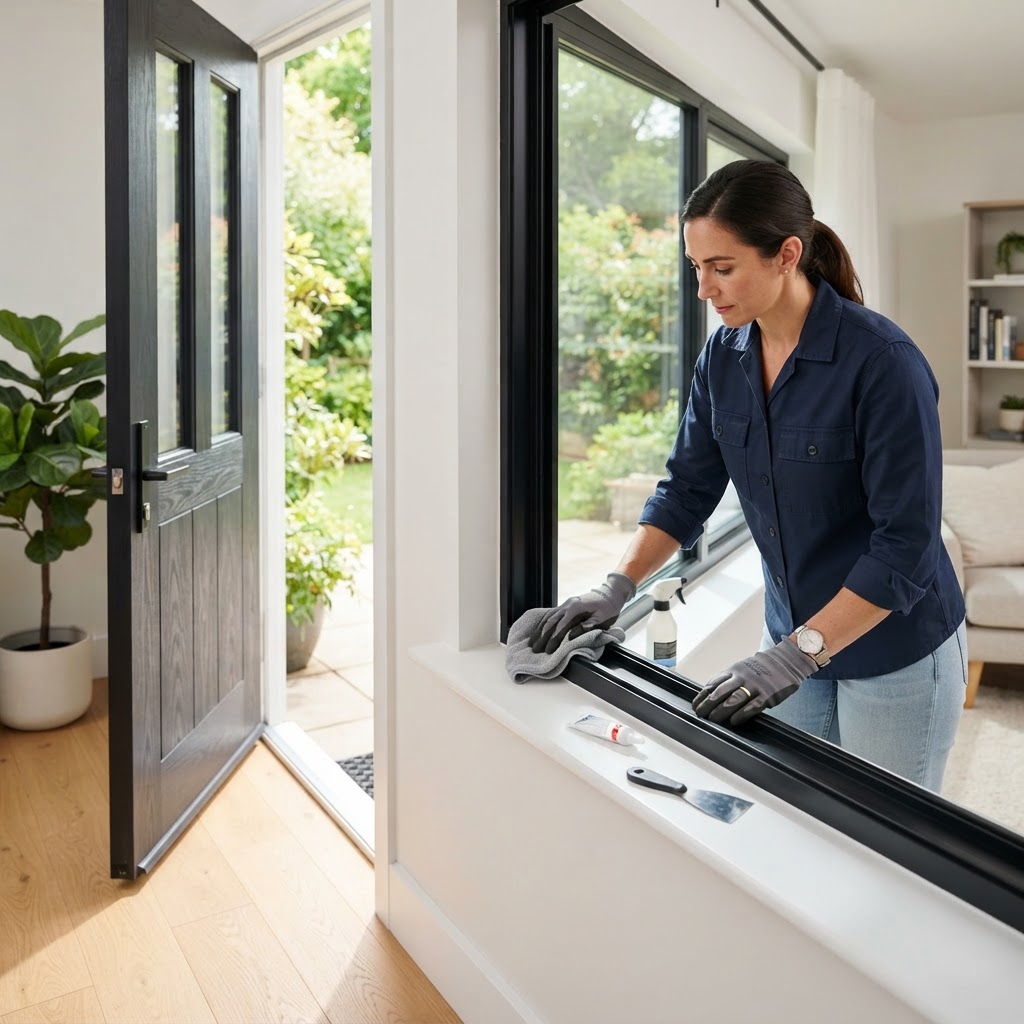
Essential Window and Door Maintenance Guide for Homeowners
Your windows and doors are the first line of defense against the elements. Over time, seals degrade, frames warp, and hardware wears down. Proactive care includes clearing tracks, lubricating moving parts, and inspecting weatherstripping and caulking. DIY is great for cleaning and minor seals, but call a pro for structural issues like rotting frames or fogged glass. Replacement costs range from $300 to $1,200 per window, and the best time to perform major work is during the spring or fall.
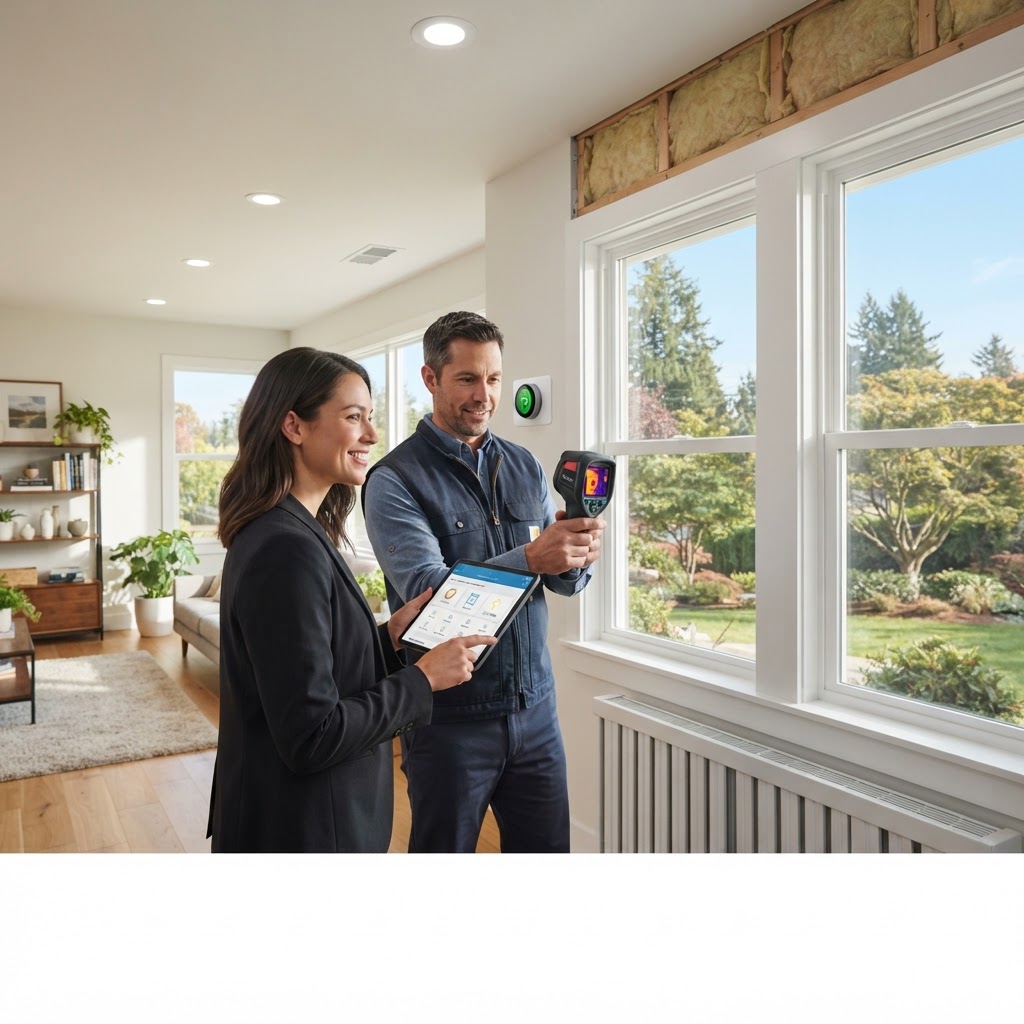
Slash Your Utility Bills: 5 Proven Home Energy Efficiency Upgrades
The easiest way to improve home efficiency is by addressing air leaks around windows and doors. Air infiltration accounts for significant energy loss. Use weatherstripping to seal movable joints and high-quality silicone caulk for stationary gaps. These DIY projects cost less than $100 and can typically be completed in an afternoon. Installing a smart thermostat is one of the most effective ways to manage your HVAC usage. These devices learn your schedule and adjust temperatures accordingly, saving the average homeowner up to 10% on heating and cooling costs. Switching your home to LED lighting is the simplest, most cost-effective upgrade you can make. LEDs use at least 75% less energy than traditional incandescent bulbs. Attic insulation is crucial as heat rises, meaning your attic is a primary source of energy loss if improperly insulated. Finally, use thermal window treatments to regulate internal temperatures effectively. Always consider a professional energy audit to identify specific, high-impact areas for improvement.
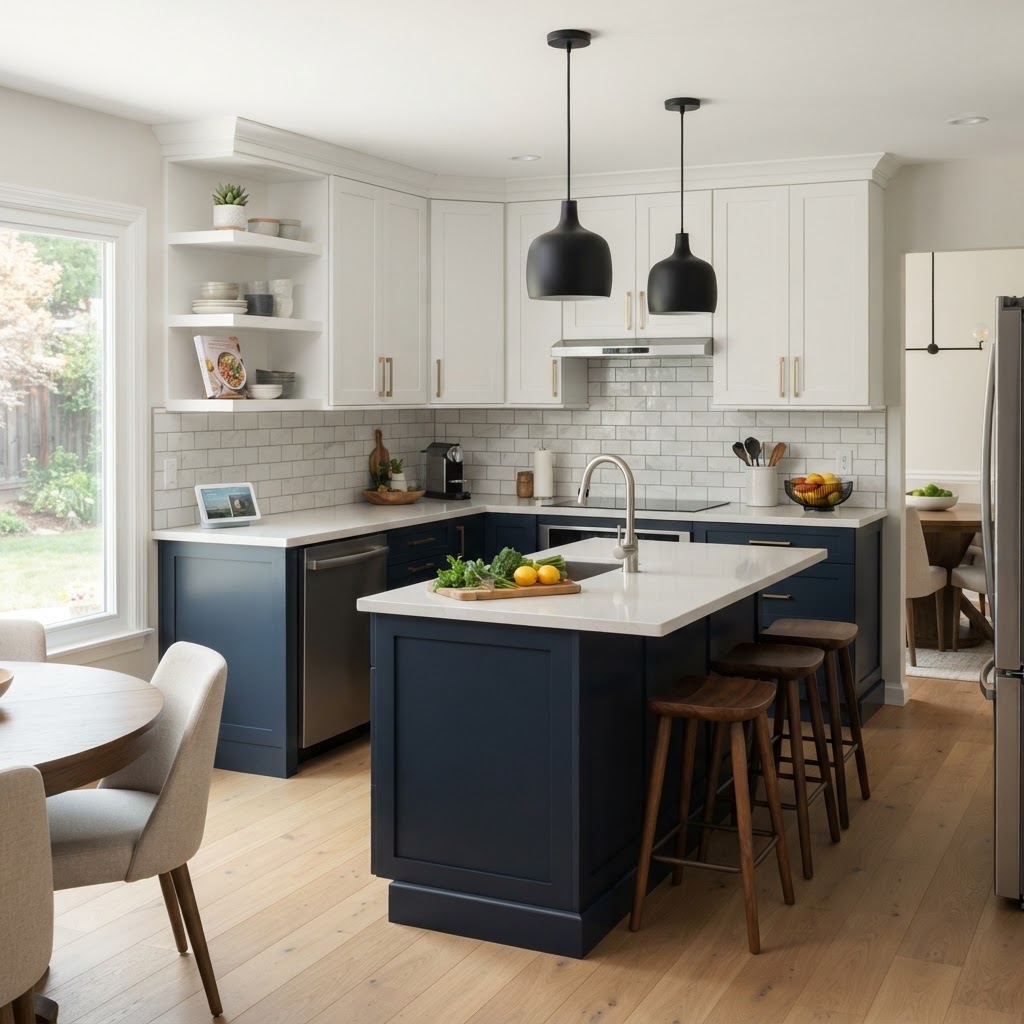
Smart Kitchen Upgrades: Transform Your Space Without a Full Remodel
The kitchen is the heart of every home, but it often becomes the first place to show signs of wear and tear. You do not need to invest tens of thousands of dollars in a gut renovation to breathe new life into your cooking space. Whether you are looking to increase property value or simply improve daily functionality, these high-impact upgrades deliver significant results. Top Impact Upgrades include refreshing hardware, enhancing lighting, installing a backsplash, and painting cabinets. These projects range from weekend DIY tasks to minor electrical work requiring professionals. Always budget an extra 15 percent for hidden issues.

Maximize Your Home Energy Efficiency: Simple Tips for Lower Bills
Improving your home's energy efficiency is one of the smartest investments you can make as a homeowner. Not only does it reduce your monthly utility costs, but it also increases your property value and lowers your carbon footprint. By taking intentional steps, you can create a more comfortable living environment year-round. You don't need a massive budget to start seeing changes. Many improvements are DIY-friendly and offer quick returns on investment. Seal air leaks, upgrade to LEDs, install a programmable thermostat, and optimize attic insulation. While small tasks are perfect for DIY, major structural changes like insulation retrofitting often require professional help. Start with a home energy audit, which is often free through local utility providers. By focusing on consistency and making small, incremental changes, you can transform your home into a model of energy efficiency.

Smart Home Tech: A Practical Guide to Upgrading Your Living Space
Transforming your house into a smart home is no longer just for tech enthusiasts; it is a practical way to increase energy efficiency, security, and convenience. Whether you are looking to automate your lighting or secure your front porch, there is an entry point for every budget. Essential Smart Home Upgrades include smart thermostats, video doorbells, and smart lighting. While most devices are easy to install as DIY projects, some complex systems may require professional assistance. Focus on one ecosystem to ensure compatibility and start with a modest budget, scaling up as you become more comfortable with the technology. Regular maintenance, including firmware updates and strong Wi-Fi, is essential for a reliable system.

Choosing the Best Flooring: A Homeowner’s Ultimate Guide
Selecting the right flooring is a major investment. Hardwood offers value, Luxury Vinyl Plank offers waterproof durability, and Tile is perfect for high-moisture areas. DIY is possible for simple click-lock systems, but professionals are recommended for complex installations. Always prioritize high-quality underlayment and perform regular maintenance to protect your investment.

Mastering Property Management: A Guide for Smart Homeowners
Whether you own a secondary vacation home or a long-term rental, effective property management is the backbone of asset protection and income generation. Managing a property requires balancing maintenance, tenant relations, and legal compliance. By staying organized, you can maximize your ROI while minimizing stress. Effective management boils down to three core areas: maintenance, financial record-keeping, and communication. Establishing a consistent schedule for seasonal inspections, such as checking HVAC systems in the spring and gutters in the autumn, prevents small issues from becoming expensive repairs. Deciding between managing it yourself or hiring a professional comes down to your time and expertise. DIY approach saves on management fees but requires availability for emergencies. Professional management is ideal for absentee owners. To keep your property in top shape, create a maintenance reserve, standardize tenant communication using software, and prioritize preventive maintenance like changing filters. Successful management is about proactive care and maintaining a network of reliable contractors.

Smart Kitchen Upgrades to Increase Home Value
The kitchen is the heart of the home. Updating it improves your lifestyle and resale value. Focus on cabinet refacing, energy-efficient appliances, and improved lighting to maximize results. Some tasks like painting are great for DIYers, while plumbing and gas require professional help. Always keep a 15% budget buffer for surprises.
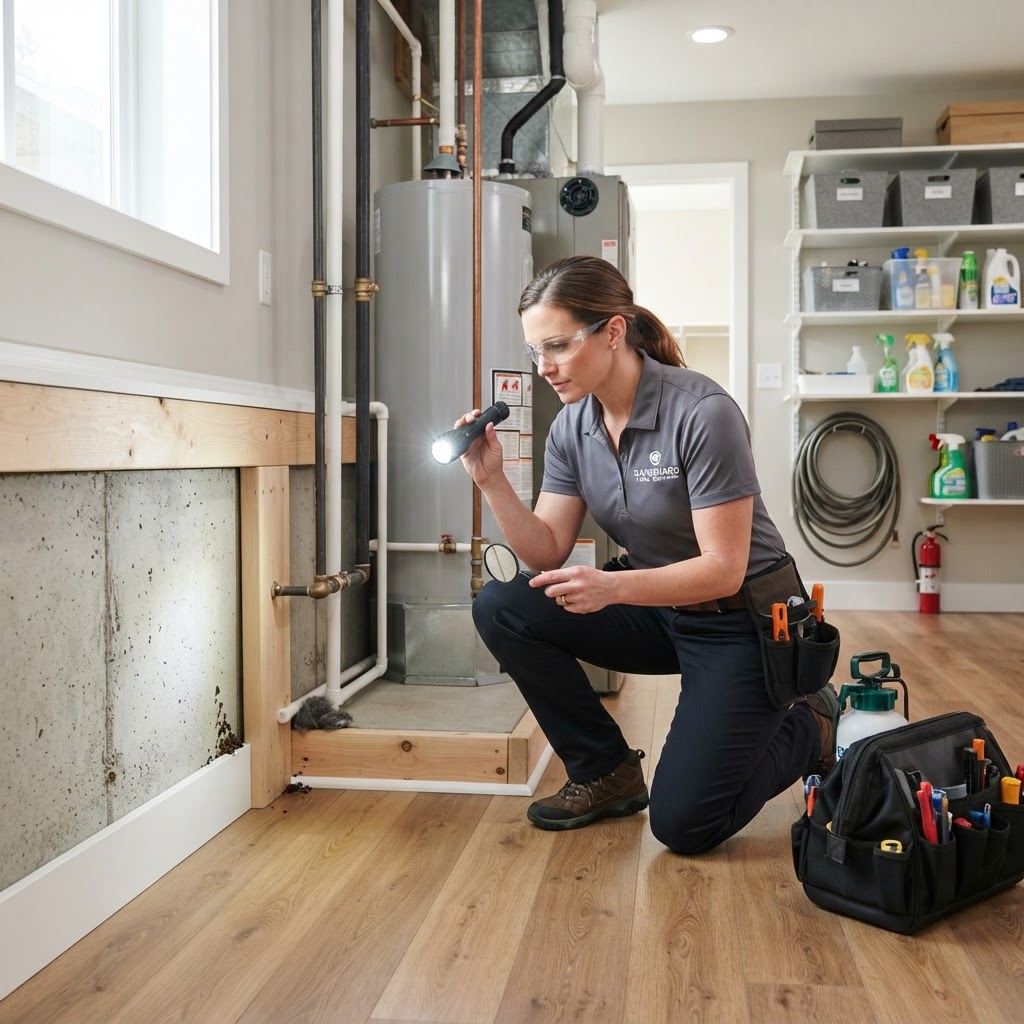
A Homeowner's Guide to Effective Pest Control and Prevention
Pest control is a critical component of home maintenance. By sealing entry points, managing moisture, and storing food properly, you can significantly reduce the risk of infestations. While DIY methods work for minor pests, professional help is necessary for structural threats like termites. Quarterly maintenance costs are affordable, usually ranging from $100-$200 per visit, and are worth the investment for peace of mind.
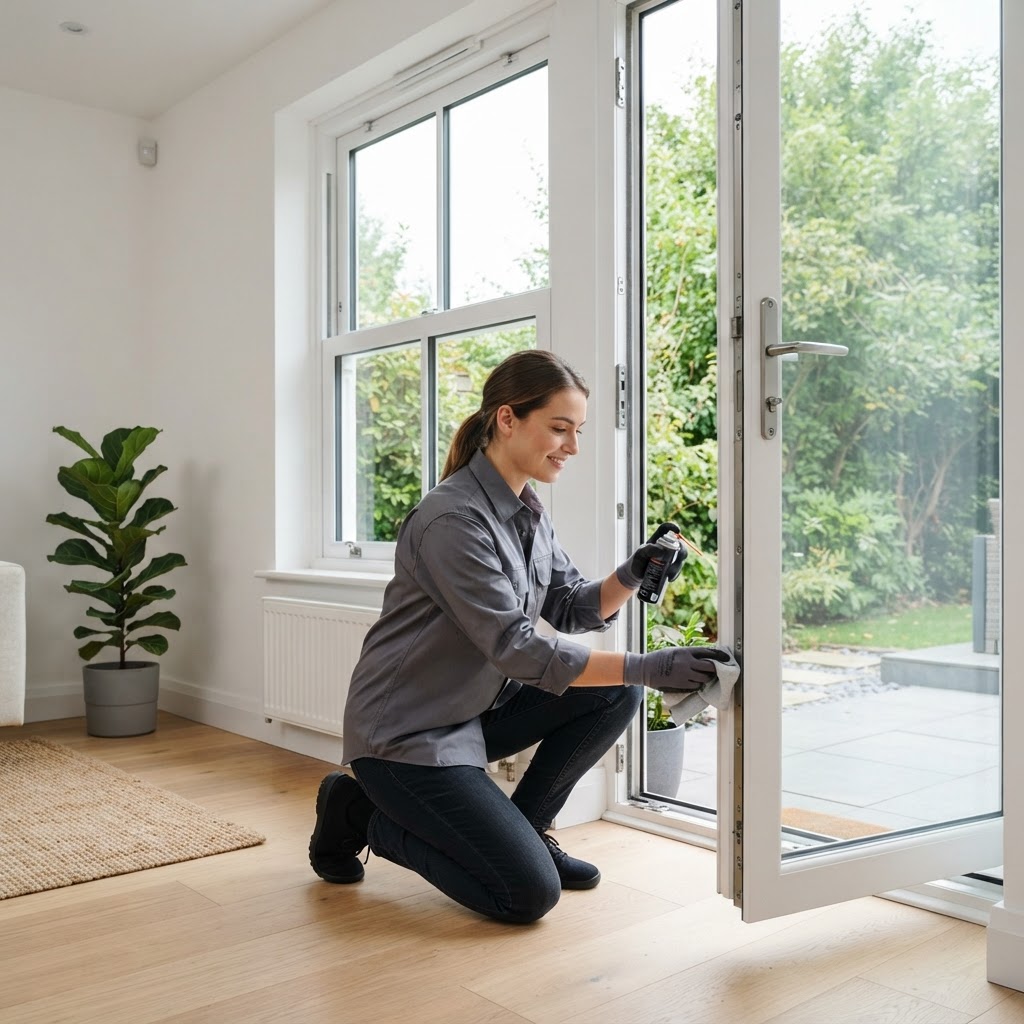
Boost Efficiency: The Ultimate Guide to Windows and Doors Maintenance
Windows and doors are the silent guardians of your home, protecting you from the elements and ensuring energy efficiency. Over time, seals degrade and hardware loosens, leading to higher utility bills and security risks. By proactively maintaining these essential entry points, you can extend their lifespan significantly. Essential Maintenance Checklist: Inspect Weatherstripping: Check for cracks or gaps in the rubber seals around doors and window frames. If they are brittle, replace them immediately to keep out drafts. Lubricate Moving Parts: Use a silicone-based spray on door hinges, sliding window tracks, and locking mechanisms to ensure smooth operation and prevent rust. Clean Tracks and Weep Holes: Debris in window tracks can prevent proper sealing. Vacuum these areas regularly and ensure weep holes are clear to prevent water buildup. Check Caulk Quality: Examine the exterior caulking. If it is peeling or cracked, remove the old sealant and apply a fresh bead of exterior-grade silicone caulk to prevent water infiltration. For most homeowners, routine cleaning, lubricating, and replacing simple weatherstripping are perfect weekend DIY projects. However, if you notice significant fogging between glass panes, rotting wooden frames, or doors that sag, it is time to call a professional. Neglecting your windows and doors is costly. Drafty windows can account for up to 30% of your home's total heating and cooling loss. The best time to perform an inspection is during spring or fall.
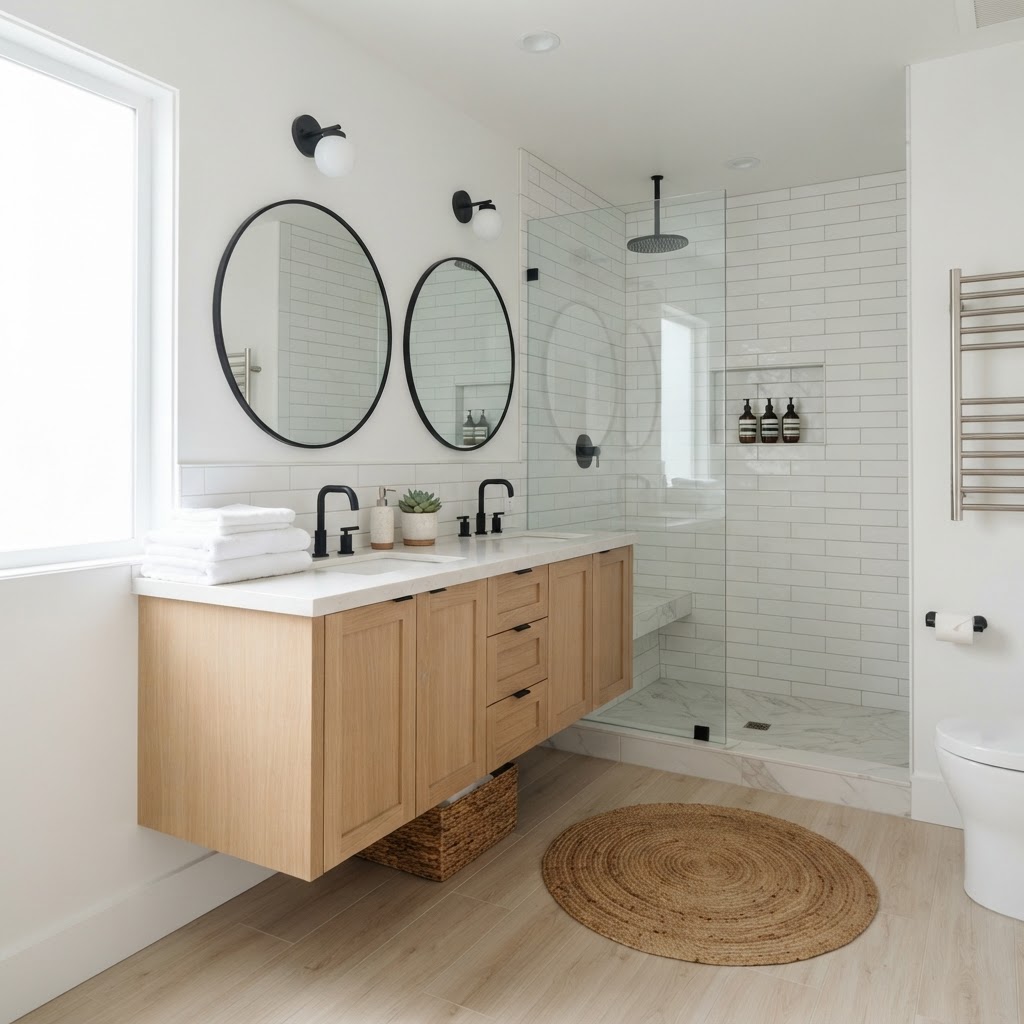
Bathroom Remodel Guide: How to Plan Your Perfect Renovation
A bathroom remodel is one of the most effective ways to increase your home's value and improve your daily comfort. Setting a budget of $6,000-$20,000 is common, but keep a 15% buffer for surprises. DIY is best for painting and light fixtures, while plumbing and waterproofing should be left to pros. Projects usually last 2-5 weeks. Focus on lighting and ventilation for long-term satisfaction.
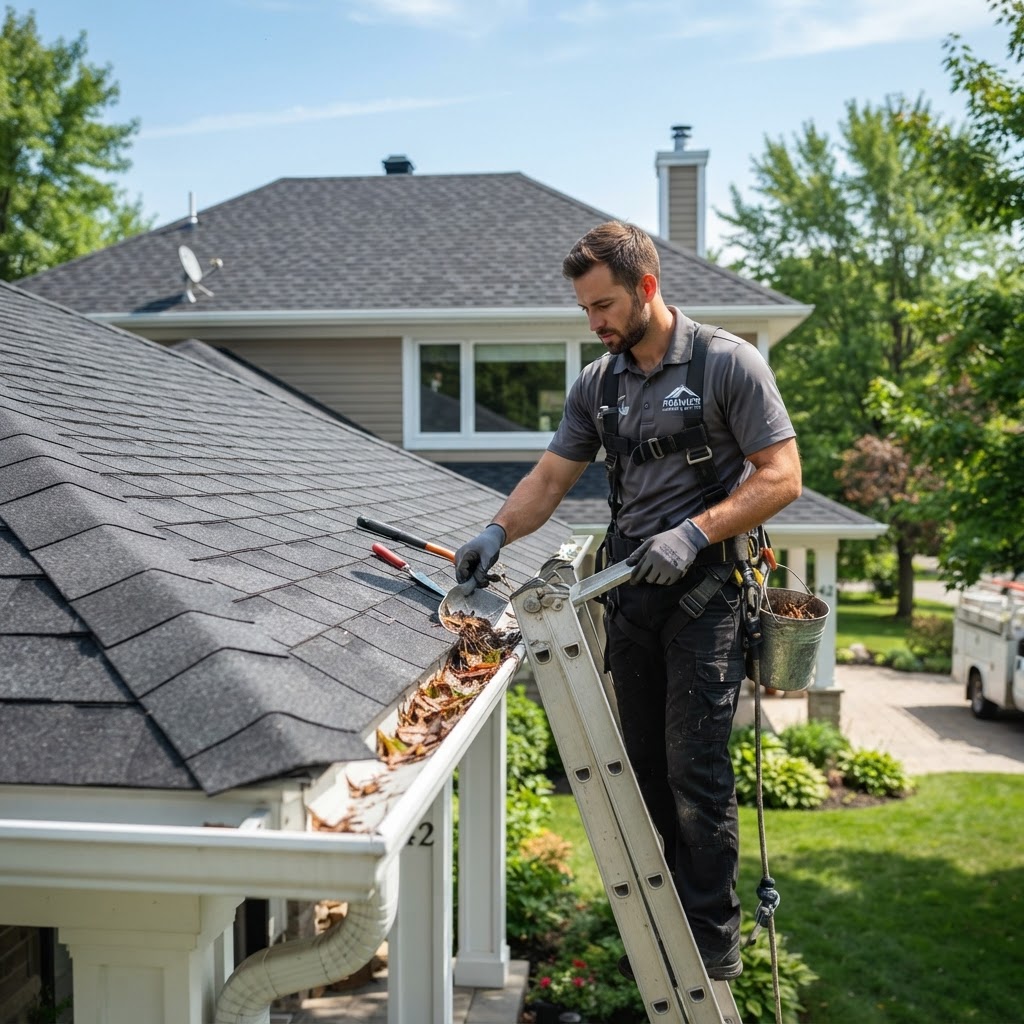
Essential Roof and Gutter Maintenance Guide for Homeowners
Your roof and gutter system acts as the first line of defense against the elements. Ignoring maintenance can lead to thousands of dollars in water damage, structural rot, and mold growth. By performing routine checks and seasonal cleanings, you can significantly extend the lifespan of your roofing materials and keep your home safe. Clogged gutters are a leading cause of roof leaks and basement flooding. When debris traps water, it sits against your fascia boards, leading to wood rot. Aim to clean your gutters at least twice a year—once in late spring and again in late autumn after the leaves have fallen. You do not need to walk on your roof to spot problems. Grab a pair of binoculars and inspect the surface from the ground. Look for curling shingles, missing granules, or rust spots on metal flashings. Homeowners can safely handle basic gutter cleaning and minor debris removal. However, any work involving steep slopes, structural repairs, or roofing material replacement should be left to certified professionals. Routine inspections are relatively inexpensive or free if done yourself. Hiring a professional service for gutter cleaning typically costs between $150 and $350. For full roof replacements, expect to pay between $8,000 and $20,000 depending on materials. Remember, the goal of home maintenance is to catch small issues before they become catastrophic emergencies.
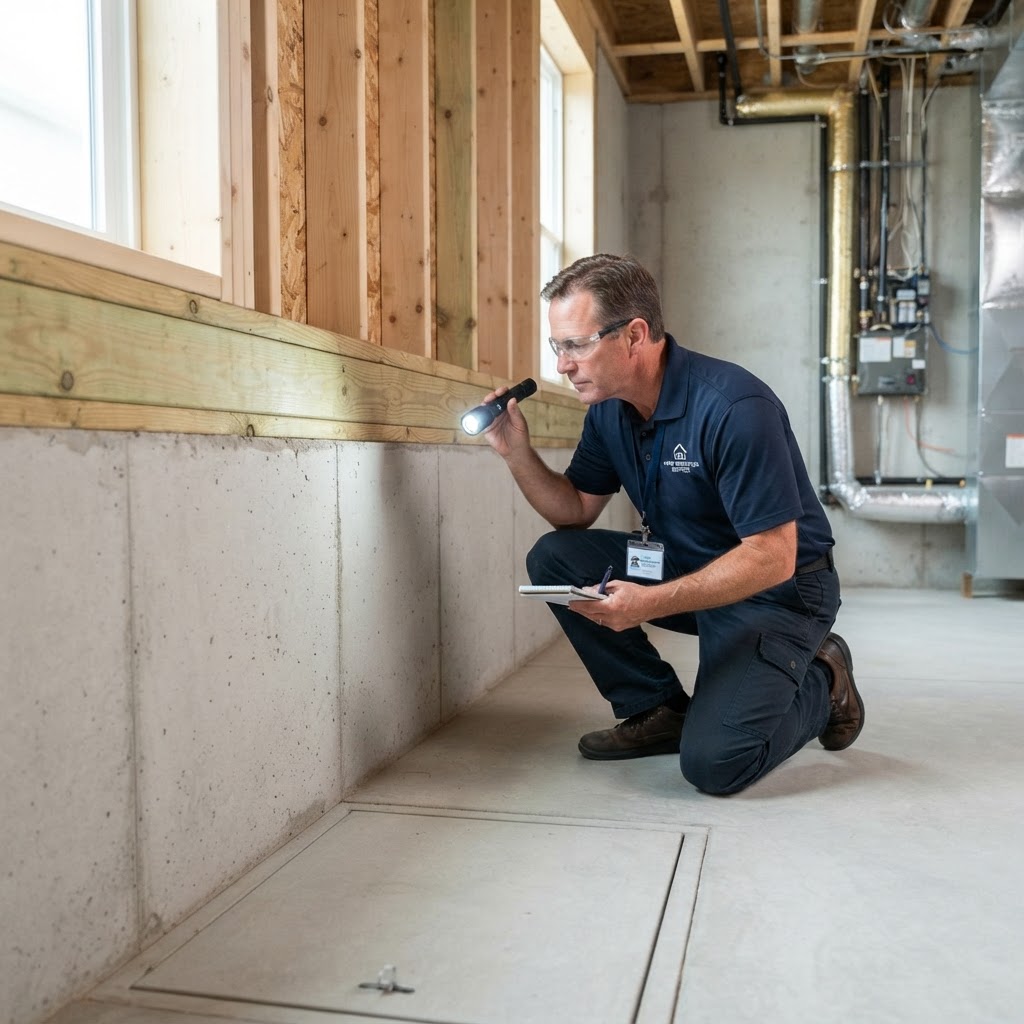
Foundation Maintenance: A Homeowner’s Guide to Structural Integrity
Your home's foundation is the bedrock of its structural integrity. Over time, soil movement, moisture fluctuations, and age can lead to issues. Spotting problems early is the most effective way to prevent costly repairs. Common indicators include jagged cracks in foundation walls, sticking doors or windows, and uneven or sloping floors. If you notice horizontal cracks, these are typically more serious than hairline vertical cracks and warrant an immediate professional inspection. Effective drainage management, such as extending downspouts and ensuring proper soil grading, is essential. While minor maintenance can be handled by homeowners, structural repairs require a professional engineer to prevent long-term damage and high repair costs.
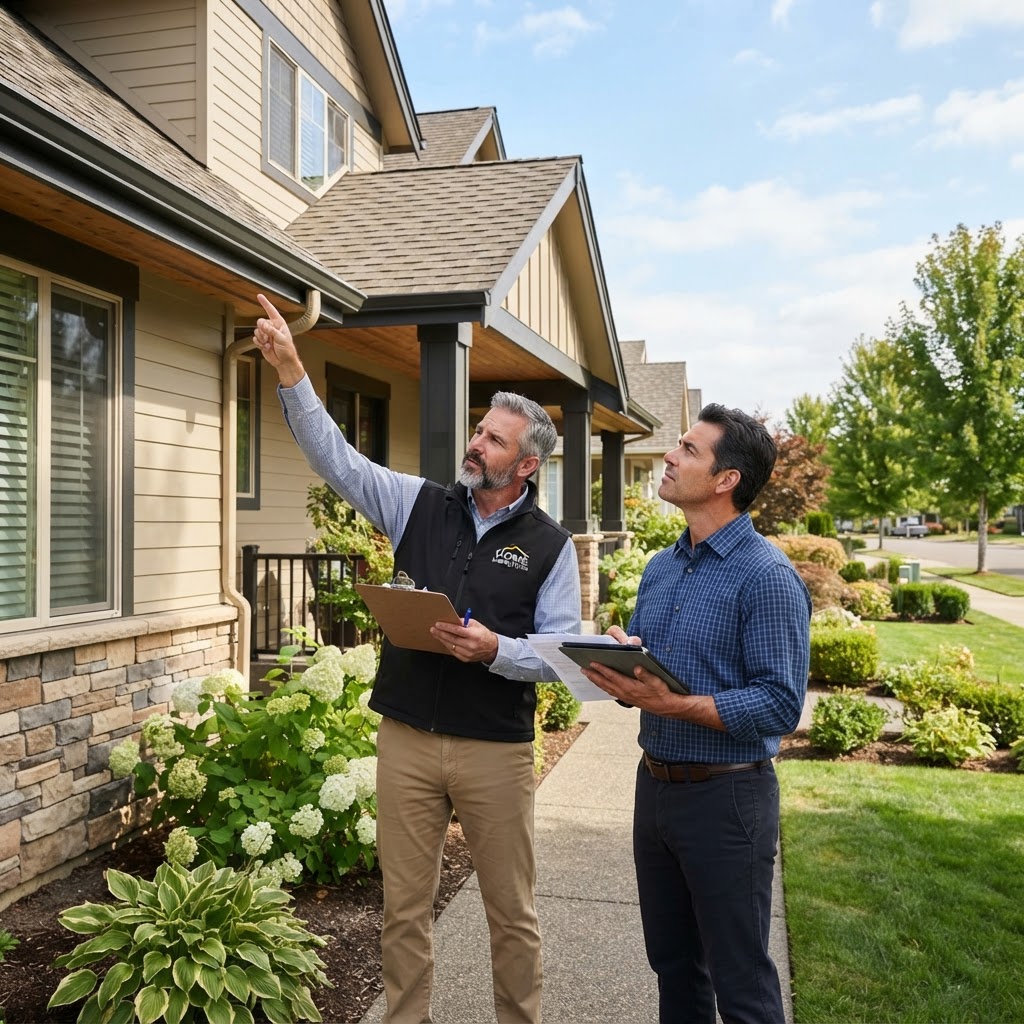
Homeowners Insurance: A Strategic Guide to Protecting Your Investment
Homeowners insurance is a vital safety net. Review your declarations page to understand coverage limits. Conduct a digital home inventory for easier claims. Reduce premiums by installing security systems and upgrading aging infrastructure. Be cautious with filing small claims to avoid premium hikes. Review your policy annually, especially after renovations.

Smart Home Tech: A Practical Guide to Upgrading Your Living Space
Integrating smart home technology can seem overwhelming, but it is one of the most effective ways to increase energy efficiency and home security. Whether you are a tech enthusiast or a casual user, starting with a clear plan is essential. Top categories to prioritize include smart lighting, climate control, and security systems. Most devices are DIY-friendly, but professionals should be used for complex wiring. Budgeting for smart home tech is flexible, starting from simple plugs to full-home automation. Remember to keep firmware updated and ensure a strong Wi-Fi network for optimal performance.
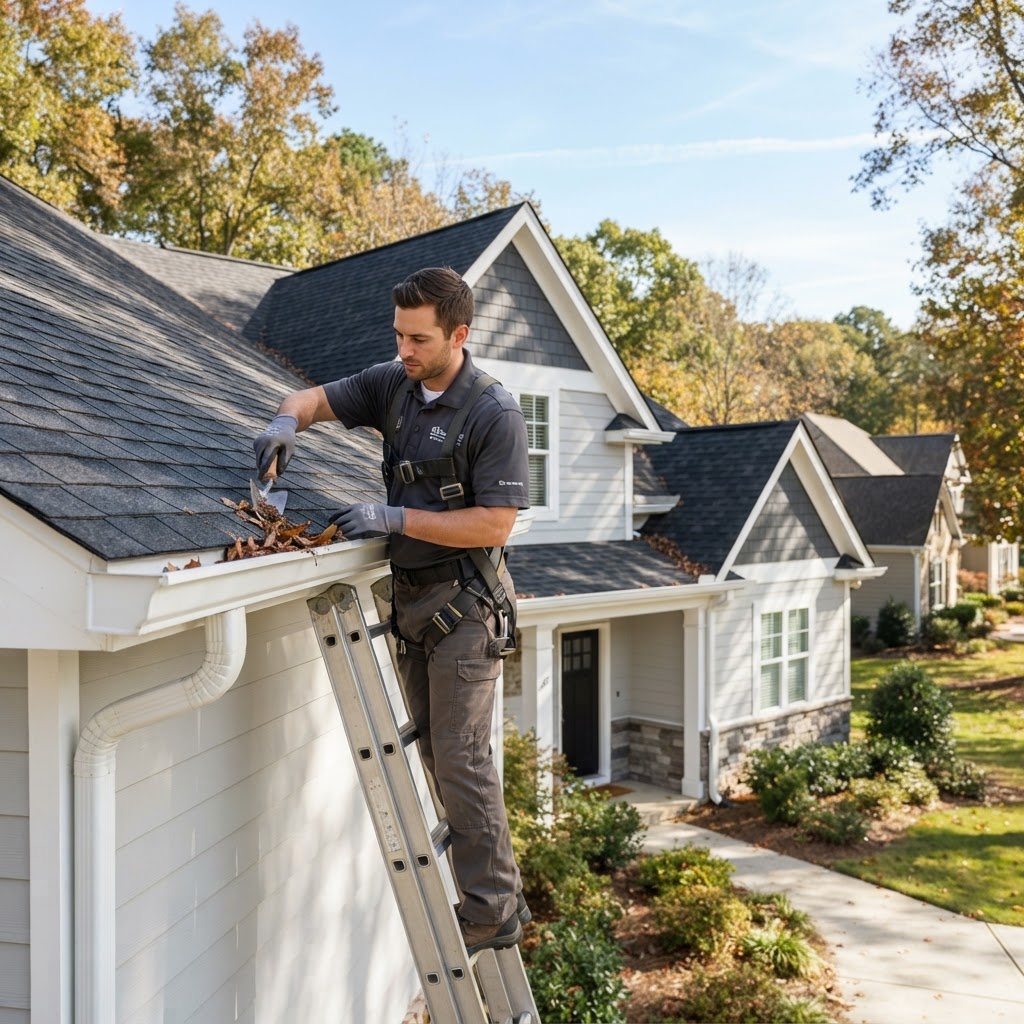
Essential Guide to Roofing and Gutter Maintenance for Homeowners
Your roof is the first line of defense against the elements. Neglecting small issues can lead to structural damage. Perform seasonal inspections by clearing debris, checking shingles, and ensuring your flashing is secure. While cleaning gutters is a standard DIY project, complex repairs should be handled by a licensed professional to ensure safety and warranty compliance. Roof replacements are a major investment, so prioritize regular maintenance to maximize your current roof's longevity. Remember that attic ventilation is just as critical as the external shingles to prevent long-term damage.

Transform Your Yard: Essential Landscaping Tips for Every Homeowner
A beautiful landscape does more than boost curb appeal; it enhances your home's value and provides a functional outdoor living space. Proper planning is the foundation of success. Essential tips include testing your soil, choosing native plants, starting with hardscaping, layering your plants for depth, and using mulch to protect soil health. Autumn is generally the best time for major planting, while spring is ideal for lawns. DIY is great for gardening and light landscaping, but hire professionals for grading, hardscaping, and irrigation. Expect to budget appropriately, keeping an extra 10% for surprises.

Homeowner's Guide: Navigating Property Taxes and Legal Essentials
Owning a home is a significant investment, and staying on top of your tax and legal obligations is crucial. Property taxes vary by location and assessment. To challenge an assessment, gather market data and check local deadlines. For legal protection, utilize property surveys to avoid neighbor disputes, maintain title insurance, and consider placing your home in a trust for estate planning. While some research can be done DIY, legal or tax professionals are recommended for major disputes. Always keep organized records of improvements to help reduce future capital gains taxes.
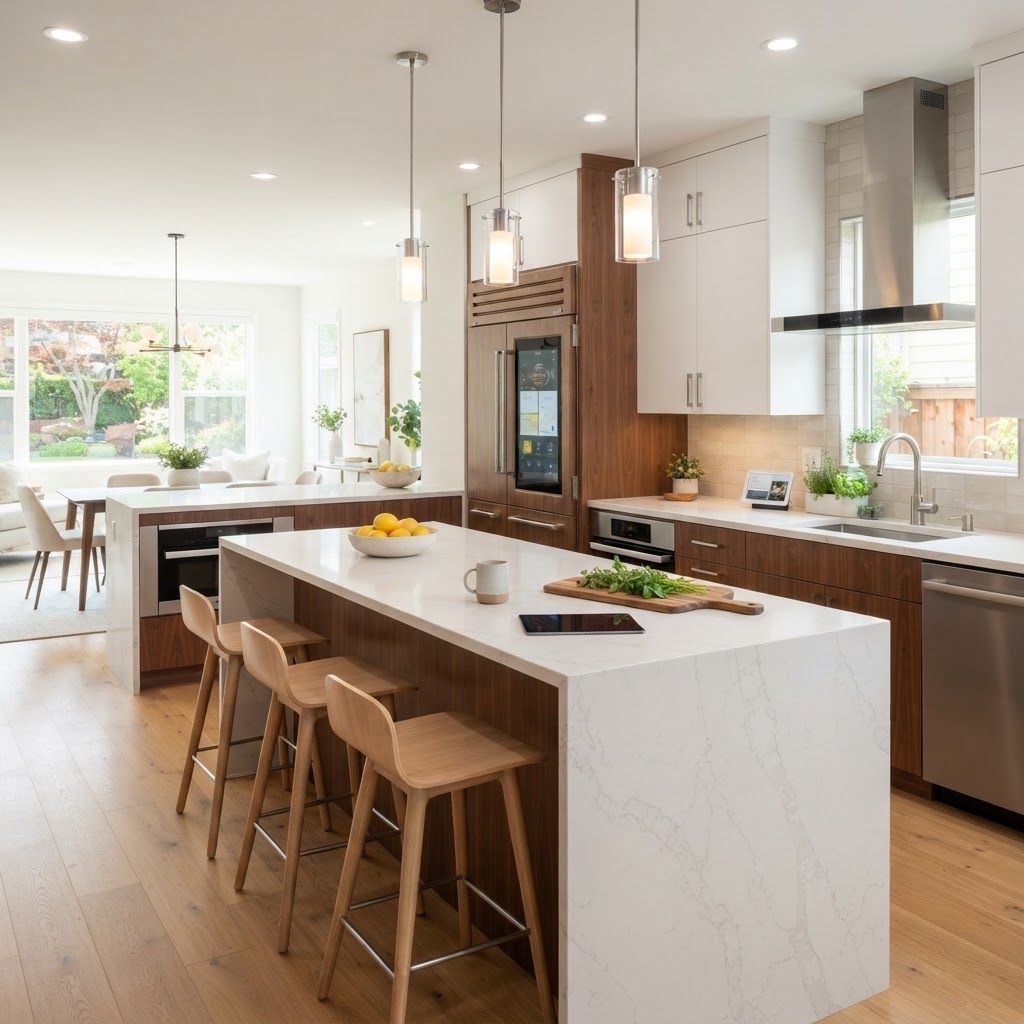
Smart Kitchen Upgrades to Boost Your Home Value and Functionality
The kitchen is the heart of the home. Whether you are looking to increase your property value or improve your daily workflow, strategic kitchen upgrades offer a high return on investment. Start with low-cost updates like painting cabinets, upgrading hardware, and adding LED lighting. When considering larger changes, hire professionals for electrical, plumbing, and countertop installations to ensure code compliance and safety. Always budget for a 15% contingency fund and plan for a project timeline of several weeks for cosmetic updates to several months for full renovations. Prioritize function and energy efficiency to create a space that serves your household effectively.
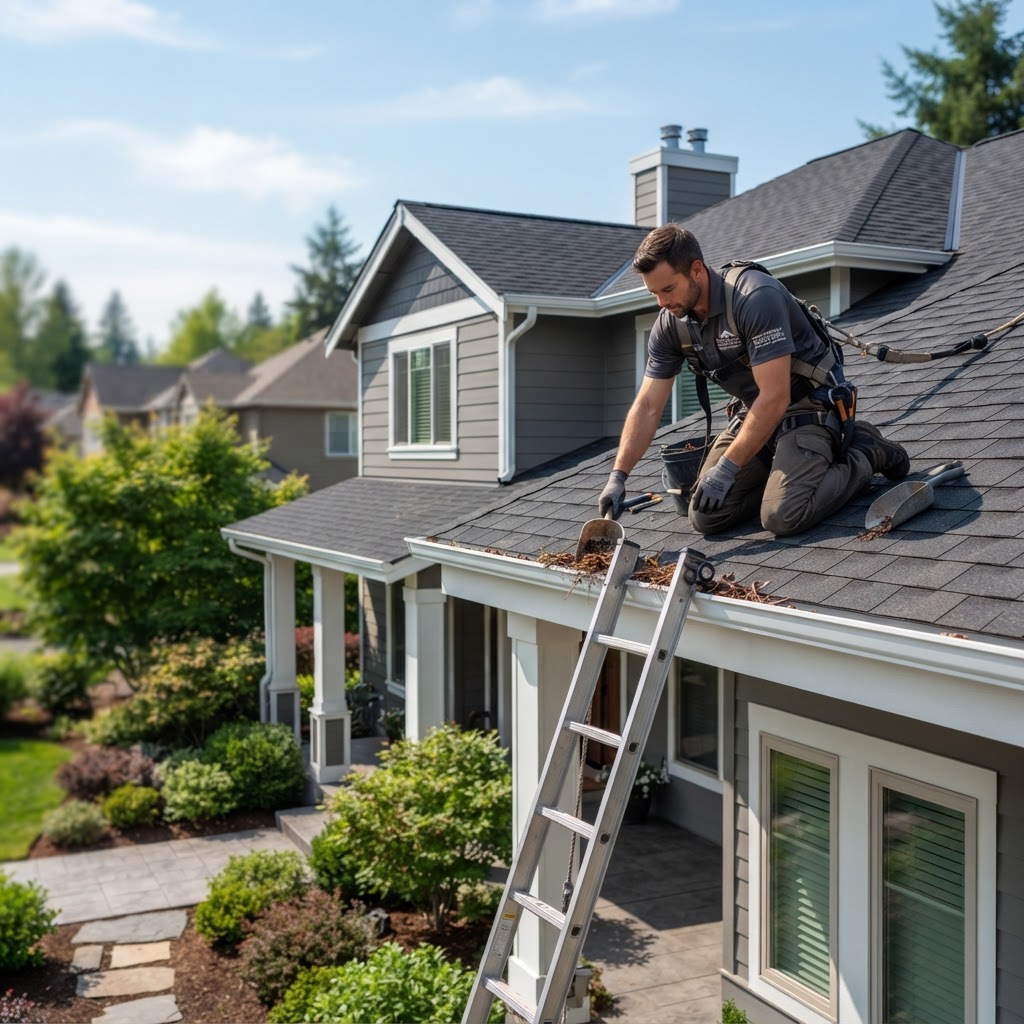
Essential Guide to Roofing and Gutter Maintenance for Homeowners
Your roof and gutter system is the first line of defense for your home. Neglect leads to expensive water damage. Clean gutters twice a year, specifically in late spring and autumn. Monitor your roof for missing shingles, granule buildup, or sagging. Repairs might cost a few hundred dollars, while full replacements are major investments. Use safety precautions when climbing ladders for DIY maintenance and consult professionals for structural issues or high-altitude work.

Smart Home Renovations: A Guide to High-ROI Property Investments
Not all home renovations are created equal. When your goal is to increase property value, focus on kitchen refreshes, curb appeal, bathroom updates, and energy efficiency. While DIY is great for painting and landscaping, leave major systems to professionals. If selling soon, stick to cosmetics; if staying long-term, prioritize infrastructure. Always keep a 10% contingency fund for unexpected repairs.
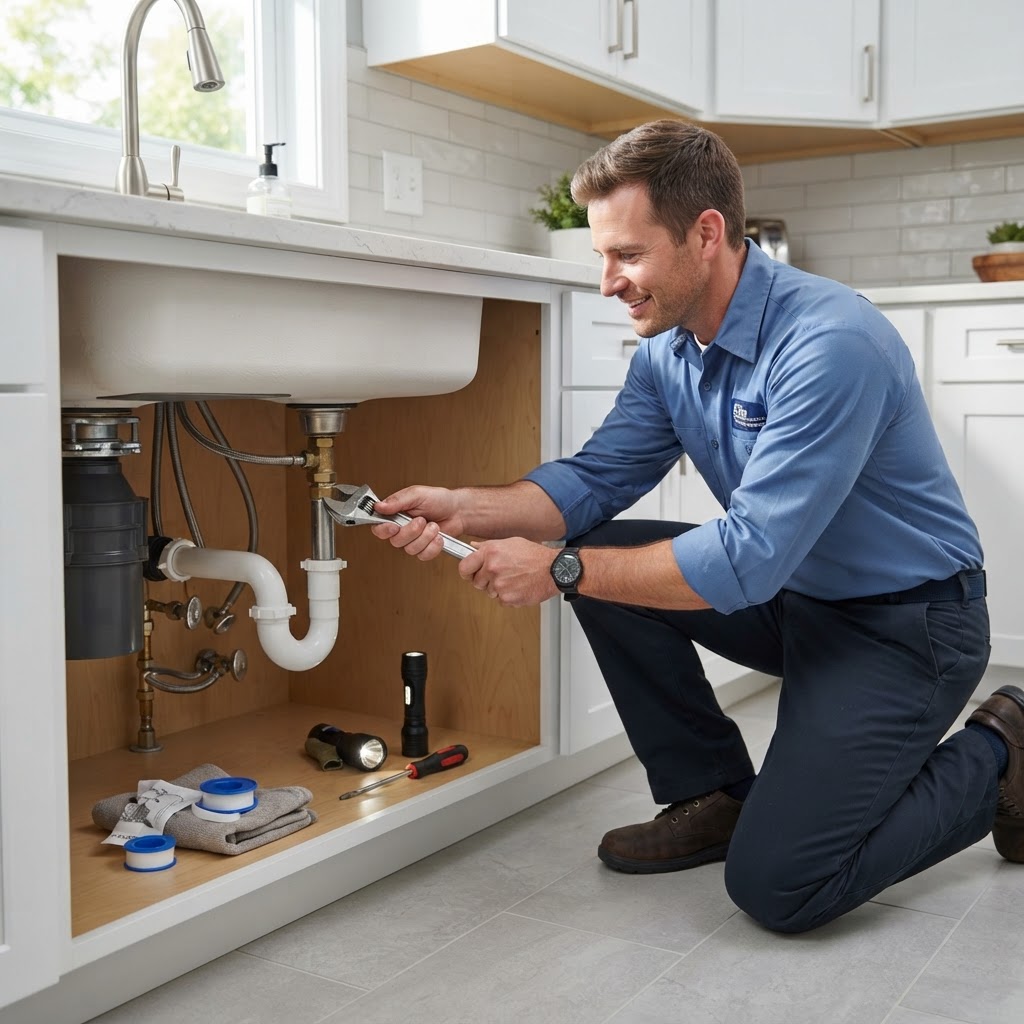
Essential Plumbing Maintenance Tips Every Homeowner Should Know
Maintaining your home's plumbing system is one of the best ways to avoid costly emergencies. By spending a little time each month on basic upkeep, you can extend the lifespan of your fixtures and pipes significantly. Essential tips include watching what goes down the drain, monitoring water pressure, checking for leaks, and flushing your water heater annually. While small clogs are manageable DIY projects, major issues like sewer backups or structural leaks require a professional. Investing in a professional inspection annually is a cost-effective way to protect your home.
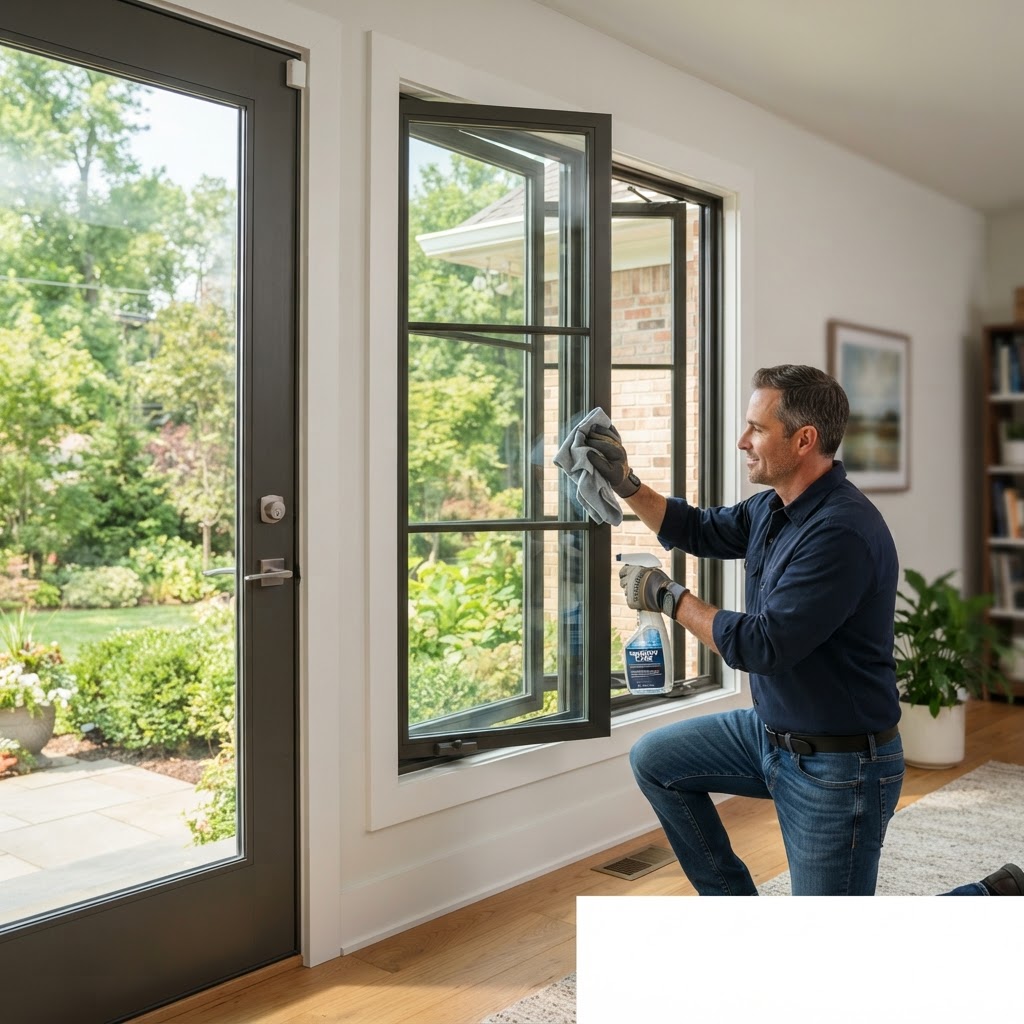
Boost Your Home Value: A Guide to Windows and Doors Maintenance
Your windows and doors are the first line of defense against the elements, acting as the primary barriers for security, noise control, and energy efficiency. Regular maintenance not only prolongs the lifespan of these fixtures but also significantly lowers your monthly utility bills. To keep your home in peak condition, perform seasonal inspections: clean tracks in the spring, check weatherstripping in the summer, inspect caulk in the fall, and audit for drafts in the winter. While lubricating hinges and cleaning are perfect DIY tasks, projects like replacing glass units or correcting sagging doors are best left to professionals. Watch for signs like condensation between glass panes or frame rot, which suggest it is time for a full replacement to improve energy efficiency and home value.
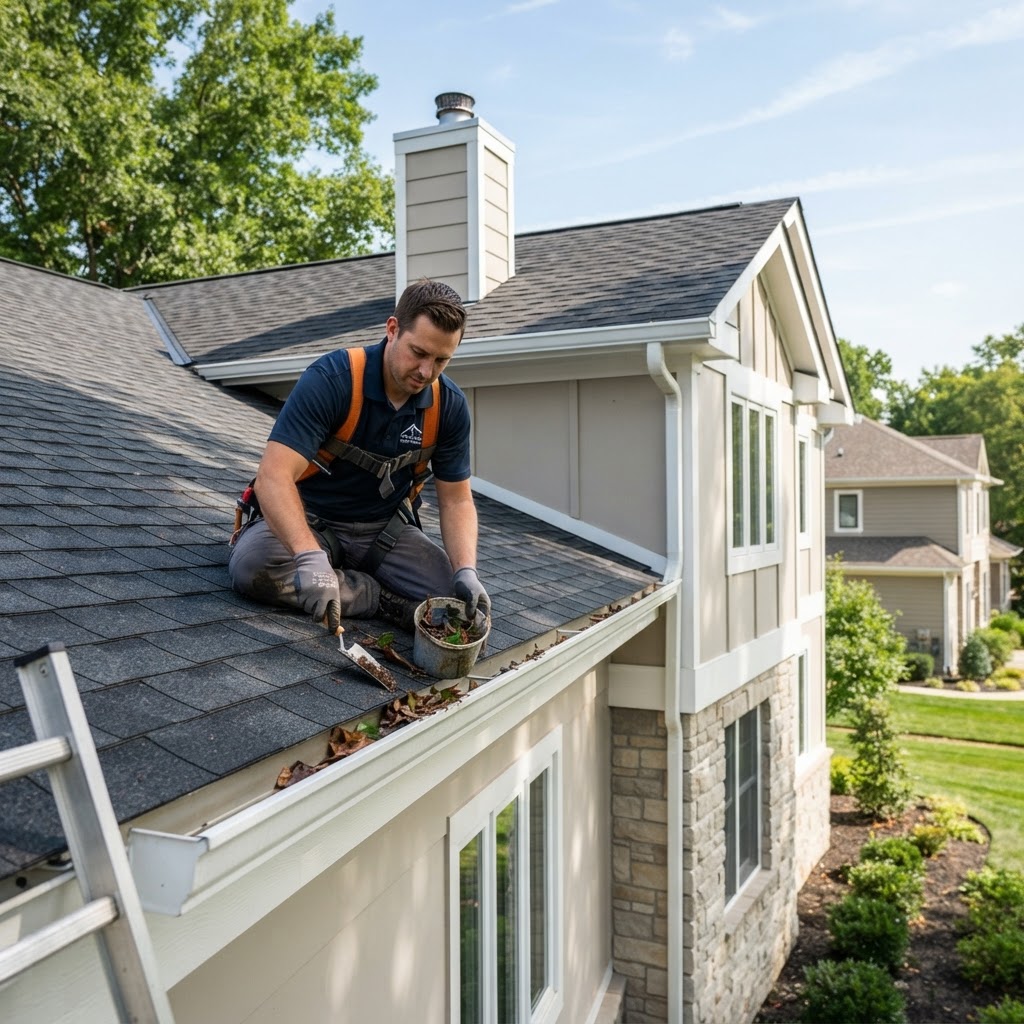
Essential Roofing & Gutter Care: A Homeowner’s Maintenance Guide
Your roof and gutters are the primary defense against the elements. Neglecting them can lead to costly interior water damage, mold growth, and structural rot. By performing regular inspections, you can extend the life of your roof by years and avoid emergency repair bills. Twice a year—ideally in early spring and late autumn—perform a thorough inspection of your home's exterior envelope. Look for cracked, curled, or missing shingles. Inspect the metal strips around chimneys, vents, and skylights. Remove debris from gutters and test downspouts. While gutter cleaning can be a DIY task, leave major structural repairs to professional contractors. Budgeting for future roof replacements is essential for long-term homeownership. Remember to check for sagging gutters or peeling paint, which indicate the need for a full replacement.
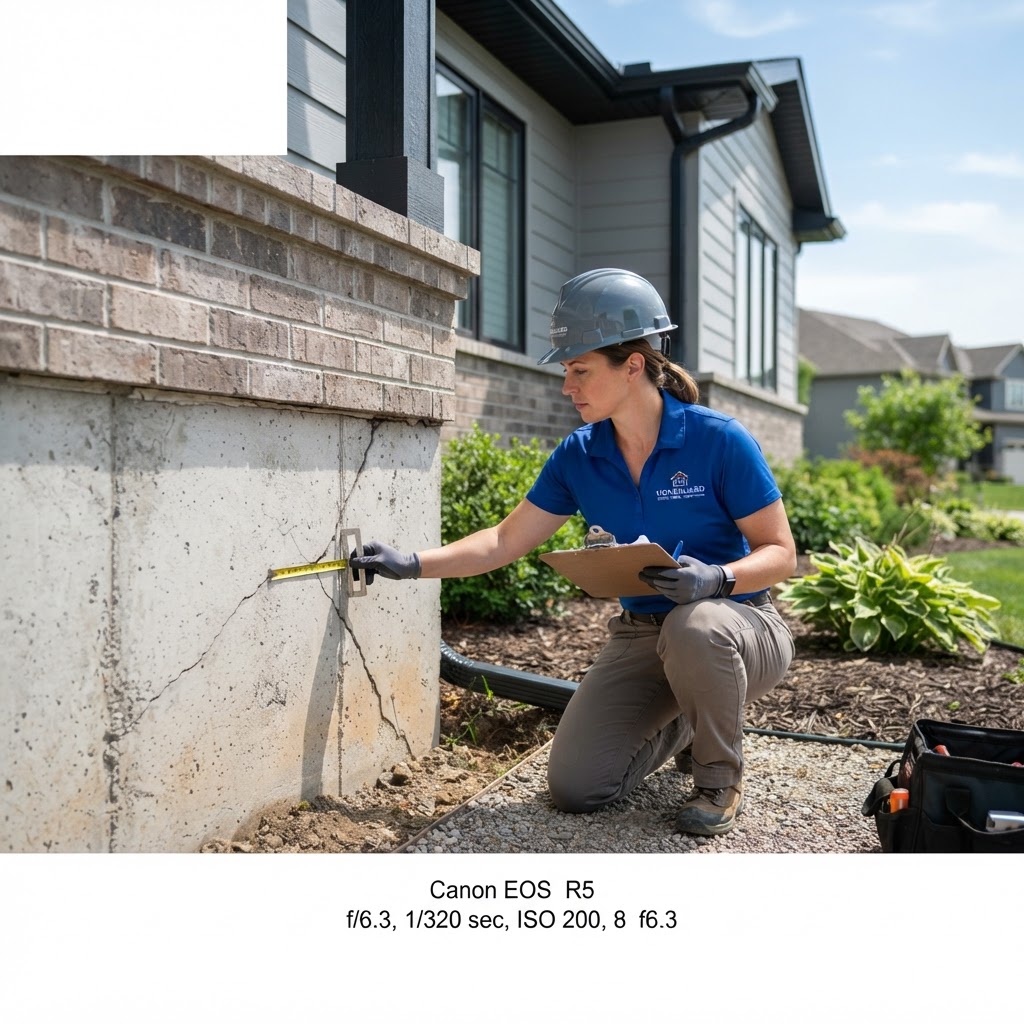
Essential Guide to Identifying and Fixing Foundation Issues
Your home's foundation is the bedrock of its structural integrity. While minor settling is common in many climates, significant cracks or shifts can lead to costly repairs if left unaddressed. Understanding the signs of trouble is the first line of defense for any homeowner. Common signs include cracks in walls, sticking doors, uneven floors, and moisture issues. While minor surface cracks can be handled DIY, serious structural shifts require a professional engineer. Proper drainage via gutter extensions and correct grading are the best ways to prevent long-term damage. Inspections should occur twice yearly to avoid high repair costs.
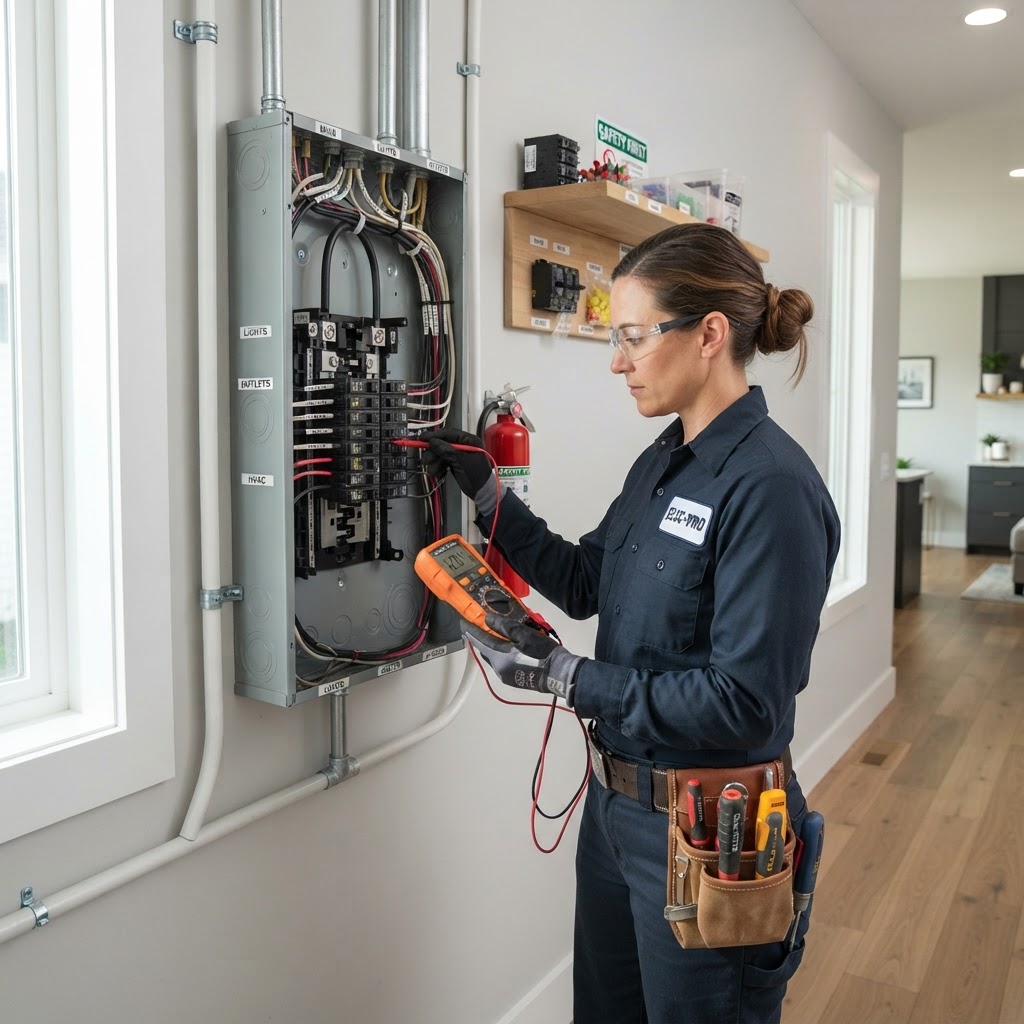
Electrical Safety Essentials: What Every Homeowner Needs to Know
Your home electrical system is the backbone of modern living. Maintaining your system is crucial for both energy efficiency and home safety. Regularly inspecting your outlets and service panel can help you identify fire hazards early. Basic tasks like replacing wall plates can be done by homeowners, but complex jobs like panel upgrades require licensed electricians. Always test your GFCI outlets annually and keep extension cords to a minimum. Professional inspections every 5 to 10 years are recommended to ensure your home meets current safety codes and to prevent costly emergencies later on.

Mastering Tenant Relations: A Guide for Successive Landlords
Building a Strong Foundation: Positive tenant relations are the cornerstone of successful property management. By fostering a professional yet approachable environment, you can significantly reduce vacancy rates and protect your investment. The relationship begins the moment you list your property; clear communication is your most valuable asset. Top Strategies for Landlords: Set Clear Expectations: Use a comprehensive lease agreement that details maintenance protocols, rent payment procedures, and house rules. Establish a Communication Protocol: Decide on a primary method of contact—email, text, or a property management portal—to keep records organized. Prioritize Repairs: When a tenant reports an issue, acknowledge it within 24 hours. Even if a full repair takes days, keeping them informed prevents frustration. Respect Privacy: Always provide the legally required notice (usually 24-48 hours) before entering the premises for inspections or repairs. Handling Maintenance and Disputes: Maintenance is the leading cause of friction. DIY repairs can save money upfront, but if you lack professional expertise, it can lead to bigger, more expensive issues later. Budget roughly 1% of your property's value annually for maintenance. For major systems like HVAC, plumbing, or electrical, always hire licensed professionals to ensure compliance and safety. When disputes occur, remain objective. Listen to the tenant's concern, reference the lease agreement, and find a resolution that honors your contract. If the situation escalates, do not hesitate to consult a local real estate attorney to ensure your actions remain compliant with state and local landlord-tenant laws. The Value of Tenant Retention: It is far cheaper to keep a reliable tenant than to find a new one. The cost of turnover—including professional cleaning, minor repairs, marketing, and lost rent—can easily exceed $2,000 per unit. A small investment in a tenant, such as a thoughtful move-in gift or a timely lease renewal incentive, pays dividends in long-term stability. Remember that communication is a two-way street. Encourage feedback and stay proactive rather than reactive. By treating your property as a business and your tenants as valued clients, you will create a harmonious arrangement that benefits everyone involved.
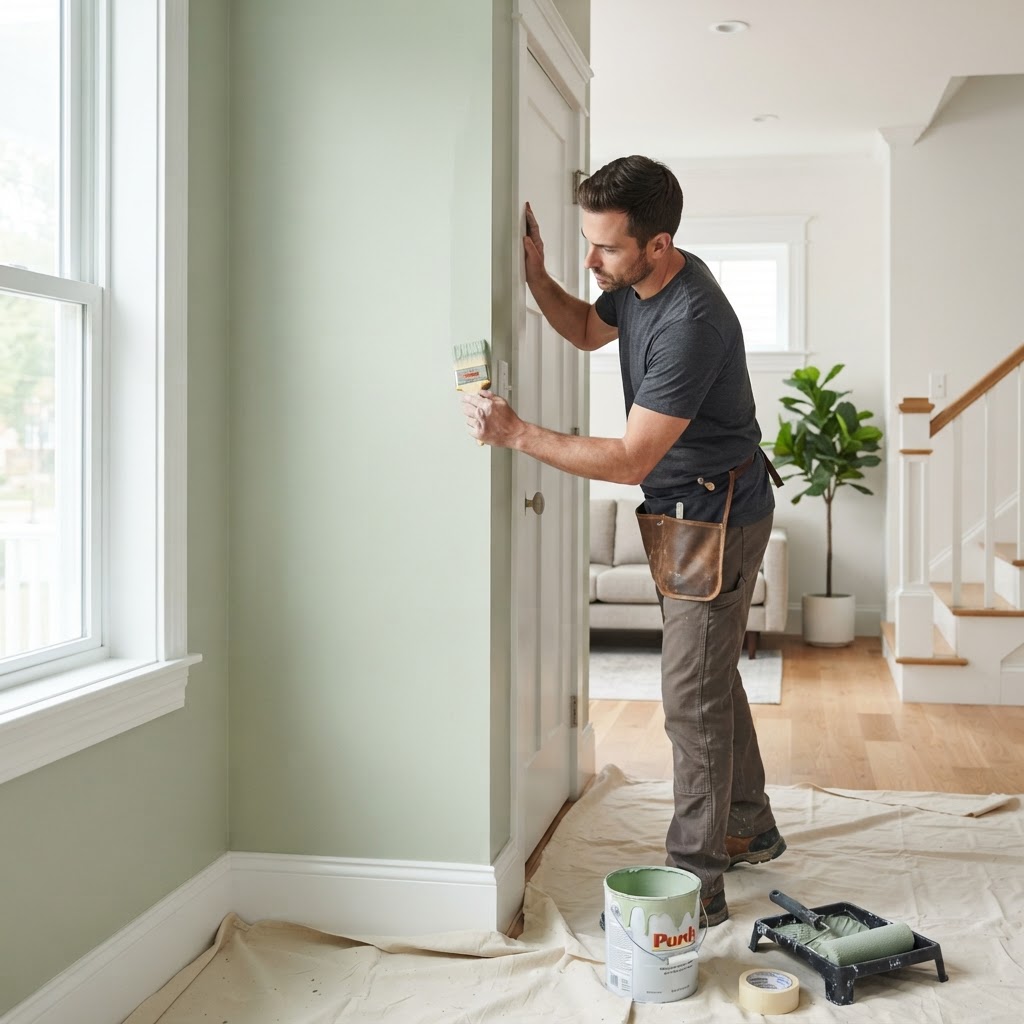
Mastering Interior Painting: A Pro Guide to a Flawless Finish
The secret to a professional-looking paint job lies in preparation. Clean your walls, fill holes, and sand them smooth. Invest in quality rollers and brushes to ensure an even finish. When deciding between DIY and professional services, weigh your budget against the complexity of the project, such as high ceilings or intricate trim. Always choose the right sheen for the room—eggshell for living spaces and semi-gloss for moisture-prone areas. Finally, time your project during mild weather to ensure the paint cures correctly for a long-lasting, durable result.
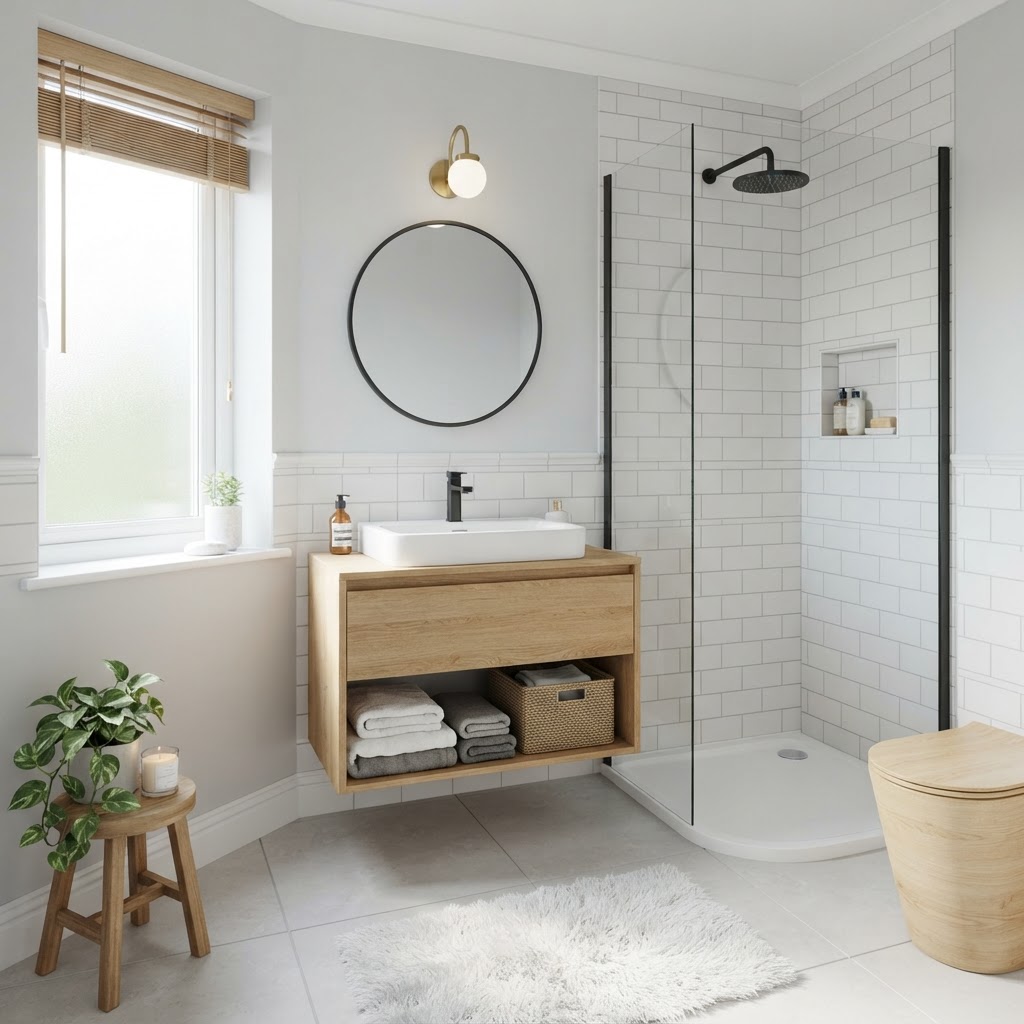
Bathroom Remodel Guide: Transforming Your Space on a Budget
A bathroom remodel is one of the most effective ways to increase your home's value and improve your daily routine. Planning involves budgeting, understanding plumbing layouts, and knowing when to call a professional. Budget between $10,000 and $25,000 for a mid-range project. Always prioritize professional help for plumbing and electrical work to avoid future hazards. Set aside a 15-20% contingency fund for unexpected wall damage. To maximize small spaces, use floating vanities and large-format tiles to create the illusion of more square footage.

Mastering Property Management: A Homeowner’s Guide to Stress-Free Ownership
Effective property management is essential for preserving the value of your home. Whether you are managing a rental or your own residence, proactive maintenance and clear documentation are key. This guide covers the pros and cons of hiring professionals versus DIY, provides a seasonal maintenance schedule, and explains how to budget for capital expenditures. By focusing on routine inspections and tenant vetting, you can ensure your investment remains profitable and well-maintained for years to come.

Homeowner Tax Breaks and Legal Tips You Need to Know
Owning a home is a significant financial commitment, but the tax code offers several incentives. If you itemize, you may deduct mortgage interest and property taxes. Distinguish between repairs and capital improvements; improvements can lower capital gains tax upon sale. Legally, ensure you pull permits for renovations, understand your HOA rules, and maintain proper liability coverage. Consult CPAs and real estate attorneys for complex issues to protect your long-term investment.
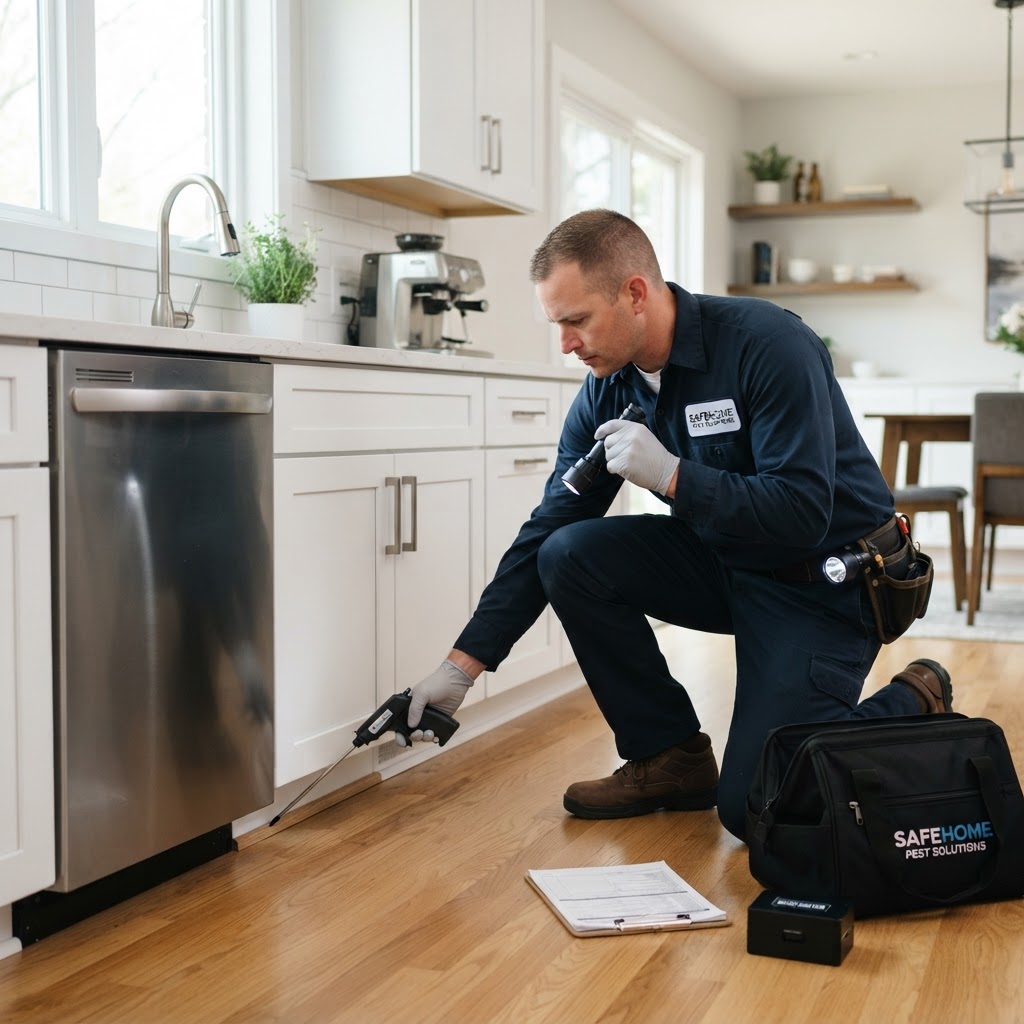
Essential Home Pest Control: A Practical Guide for Homeowners
Keeping your home free from unwanted guests like ants, rodents, and termites is a year-round commitment. Effective pest control starts with prevention, ensuring your property remains an unwelcoming environment for invaders. By focusing on maintenance and monitoring, you can significantly reduce the risk of infestations. Seal Entry Points: Use caulk or weather stripping to seal gaps around windows, doors, and utility pipes. Manage Moisture: Fix leaky faucets and ensure gutters are clean. Proper Food Storage: Store pantry items in airtight containers. Declutter Storage Areas: Remove cardboard boxes and wood piles near your foundation. For minor issues, DIY solutions like baits and traps can be highly effective. If you notice signs of structural damage or repeat infestations, call a professional. Professional services can cost between $150 and $500 per visit. Schedule a professional inspection annually, preferably in early spring, to identify potential weaknesses before the warmer months trigger insect activity.
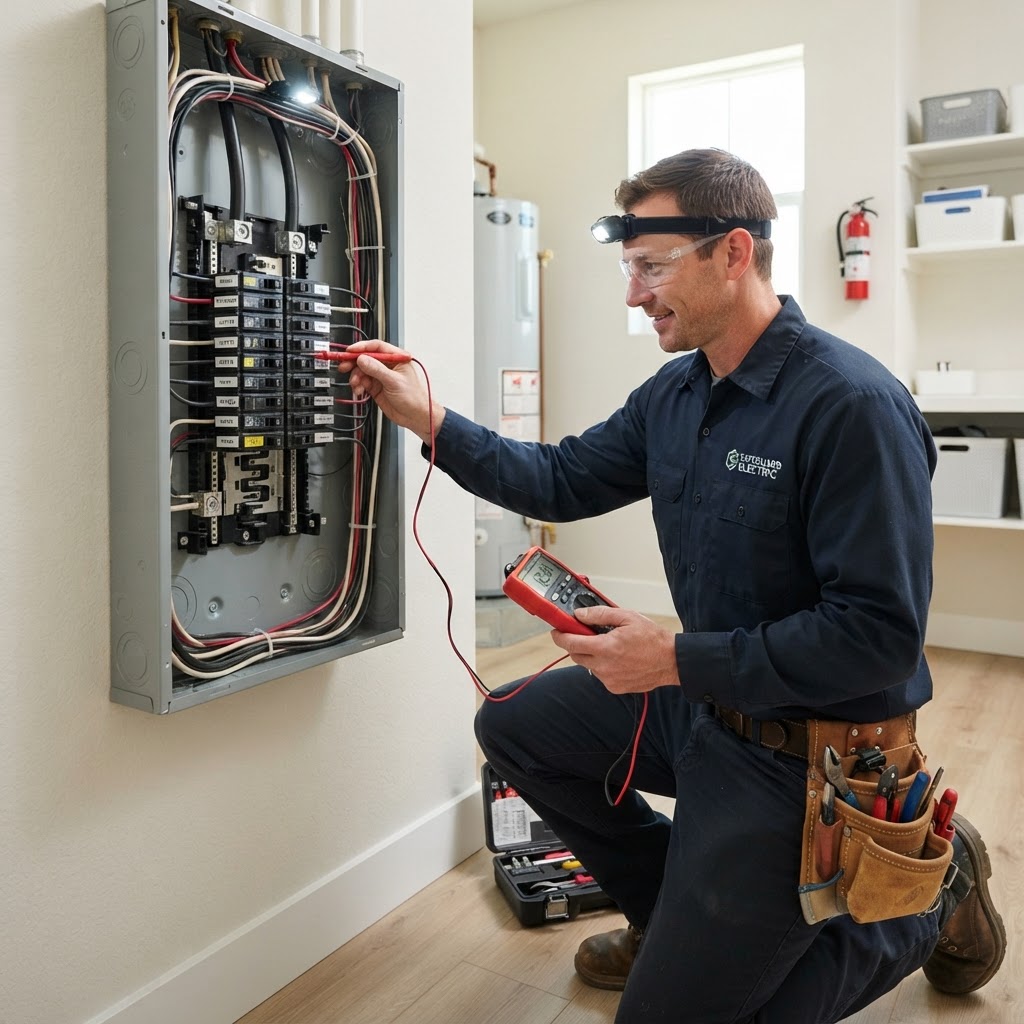
Essential Electrical Safety Tips for Every Homeowner
Your home's electrical system is the lifeblood of your modern comfort, but it is also one of the most hazardous components if neglected. Understanding basic safety protocols and knowing when to call a professional can save you money and protect your family from fire risks. While some minor tasks like replacing a light fixture or a wall plate are safe for DIYers, complex electrical work requires a licensed professional. You should always contact a certified electrician if you experience frequent breaker trips, flickering lights, warm outlets, burning smells, or the need for a panel upgrade. Maintaining your electrical system involves testing GFCI outlets monthly, avoiding overloading circuits, inspecting power cords for damage, and scheduling annual audits. Electrical costs for service calls typically range from $150 to $300, while major upgrades can cost several thousand dollars. Always prioritize safety and code compliance over low costs by hiring licensed experts.
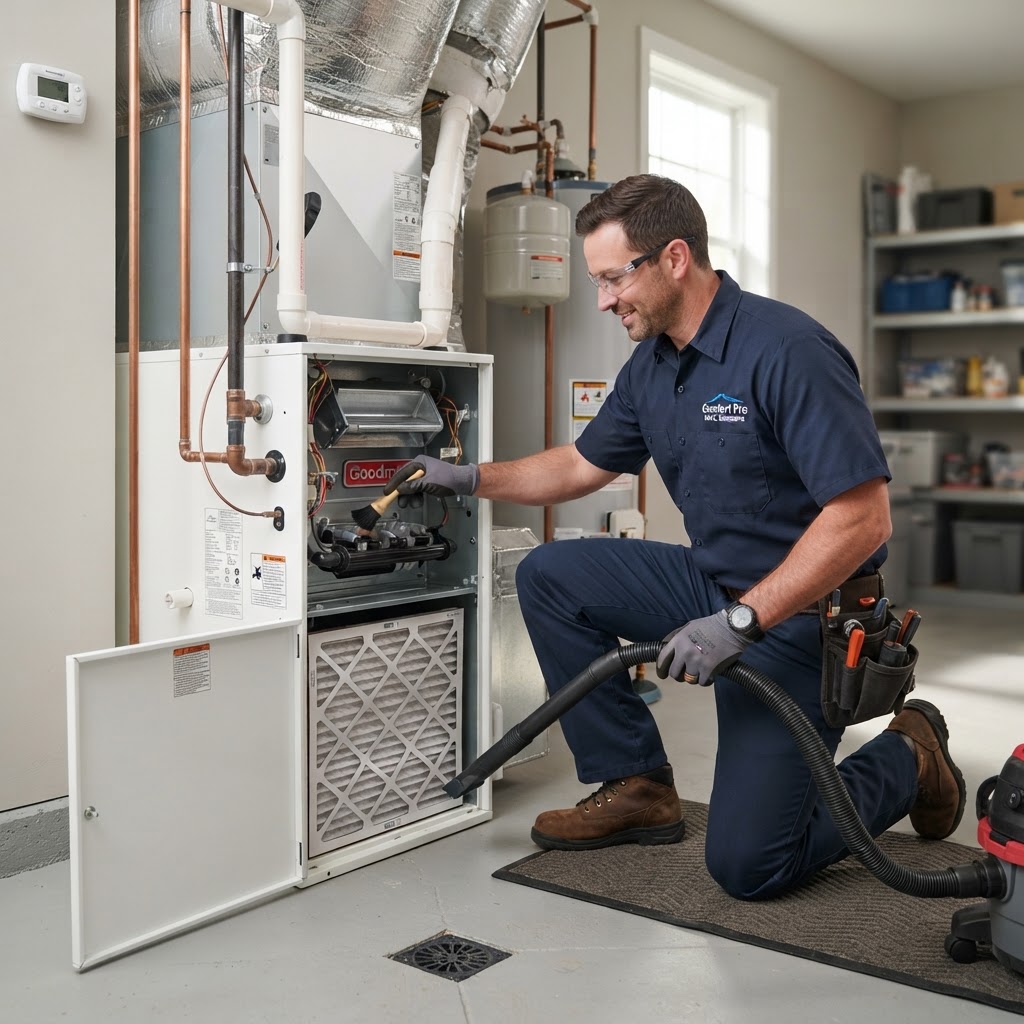
HVAC Maintenance Guide: How to Keep Your Home Comfortable Year-Round
Your HVAC system is the heart of your home's comfort. Regular maintenance prevents breakdowns and improves efficiency. DIY tasks include changing filters, clearing debris, and cleaning vents. Professional tune-ups should happen twice a year to check refrigerant, electrical components, and coils. Costs range from $100-$250, saving you money on future repairs.

Smart Home Tech: A Practical Guide for Modern Homeowners
Integrating smart home technology is a practical way to increase security, efficiency, and comfort. This article covers key smart home categories, DIY vs professional installation, and budget tips.
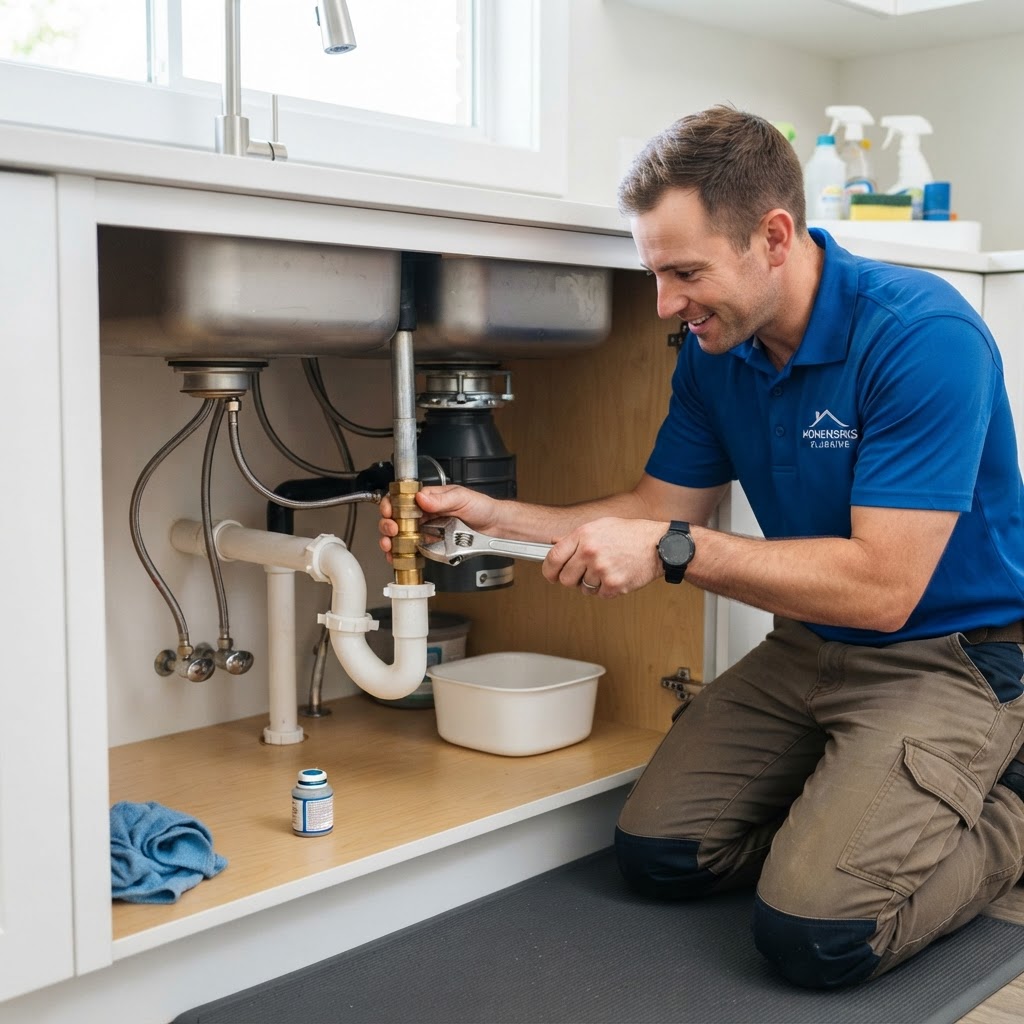
Essential Plumbing Tips Every Homeowner Must Know
Plumbing issues are inevitable for every homeowner, but knowing how to manage them can save you thousands of dollars. From routine maintenance like monthly drain cleaning to knowing when to call a professional, this guide covers everything. DIY tasks like replacing showerheads are great for beginners, but leave gas lines and major pipe repairs to the experts to avoid high costs and safety hazards. Remember to inspect for leaks regularly and keep oils out of your drains.
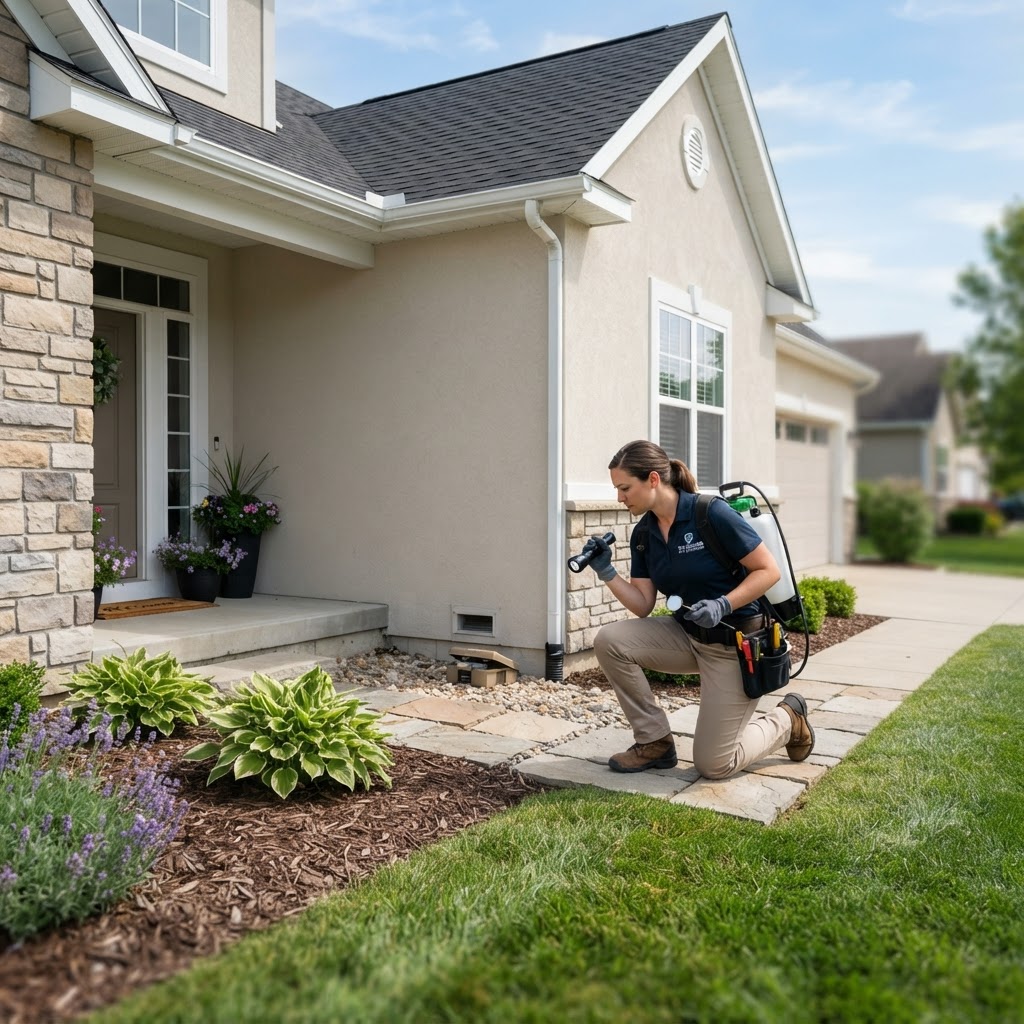
A Homeowner's Guide to Effective Pest Control and Prevention
A Homeowner's Guide to Effective Pest Control and Prevention. Understanding Your Pest Control Strategy: Pest control is a fundamental aspect of home maintenance that protects both your property value and your family's health. While some minor issues can be managed with DIY methods, knowing when to call in the professionals is critical for long-term success. The Best DIY Prevention Tactics: The most effective pest control is prevention. Before you buy chemicals, focus on these actionable steps to make your home less inviting to invaders: Seal Entry Points, Eliminate Food Sources, Reduce Moisture, Yard Maintenance. When to Call the Professionals: DIY solutions are perfect for ants or an occasional spider, but certain pests require specialized equipment and expertise. Professionals typically charge between $200 and $600 for initial treatments depending on the severity of the infestation. Timing Your Treatments: Pest activity is highly seasonal. Spring is the ideal time to schedule a preventative exterior barrier treatment. Conclusion: Effective pest management is not about one-time elimination, but rather a consistent, proactive approach.
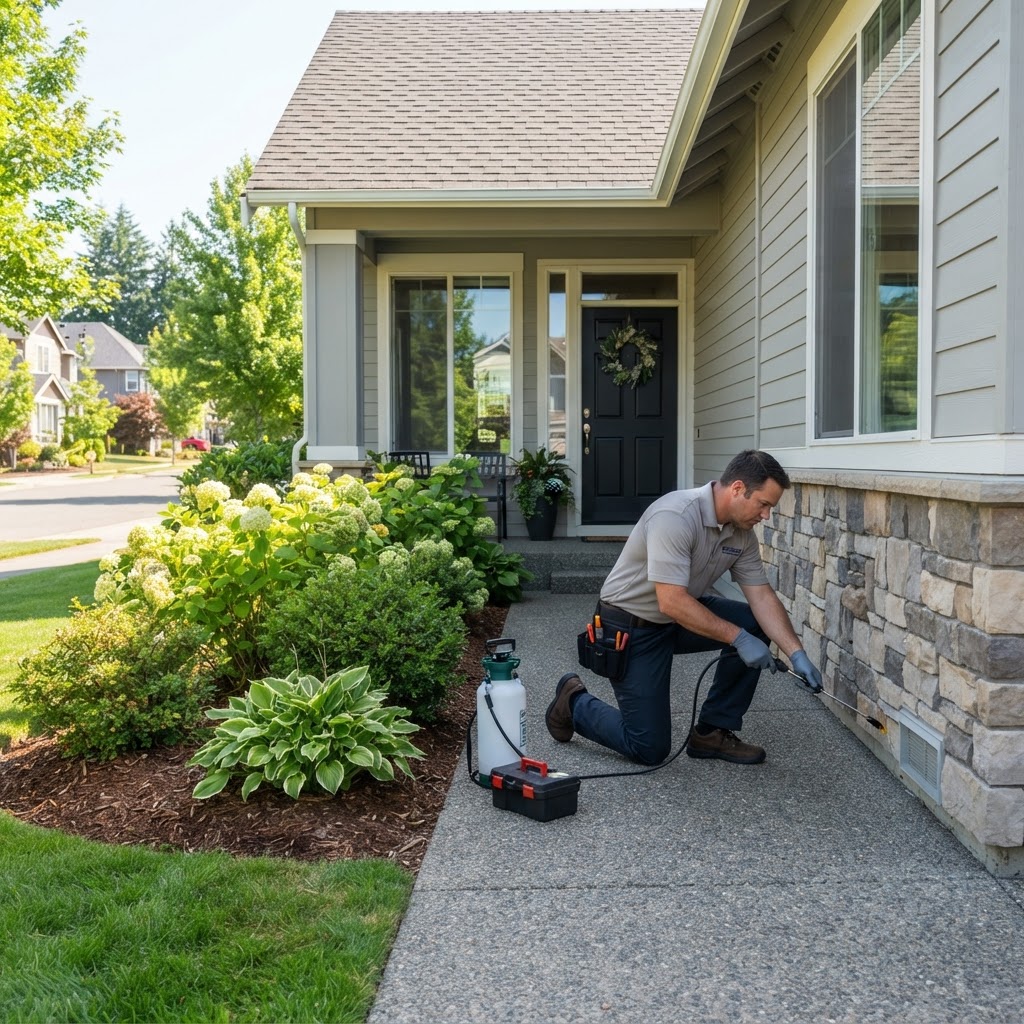
Essential Pest Control Tips: How to Keep Your Home Pest-Free Year-Round
Understanding Your Pest Control Strategy. Home ownership comes with the inevitable challenge of unwanted guests. From scurrying rodents to wood-destroying termites, pests can compromise both your property value and your family's health. Developing a proactive strategy is far more cost-effective than reactive eradication. The Best Defense: Exclusion Techniques. The first line of defense is physical exclusion. Pests enter through gaps as small as a dime. Follow these actionable steps to seal your home: Seal Entry Points: Use silicone caulk to seal cracks in the foundation and around window frames. Door Sweeps: Install heavy-duty sweeps on all exterior doors to block access for rodents and insects. Vents and Chimneys: Cover attic vents and chimney tops with fine-gauge wire mesh screens. Landscaping: Keep tree limbs trimmed at least six feet away from your roofline to prevent bridge-building for squirrels and ants. DIY vs. Professional Services. For minor seasonal incursions like pantry moths or occasional house spiders, DIY solutions such as bait stations, boric acid, and essential oil-based repellents can be highly effective. However, professional intervention is necessary for: Termite Infestations, Rodent Colonies, and Bed Bugs. Professional pest control typically ranges from $300 to $600 for a one-time treatment, or $40 to $100 monthly for maintenance contracts. Timing Your Treatments. Pest activity is seasonal. Schedule your preventative inspections in early spring as temperatures rise. Fall is the ideal time to focus on rodent-proofing.
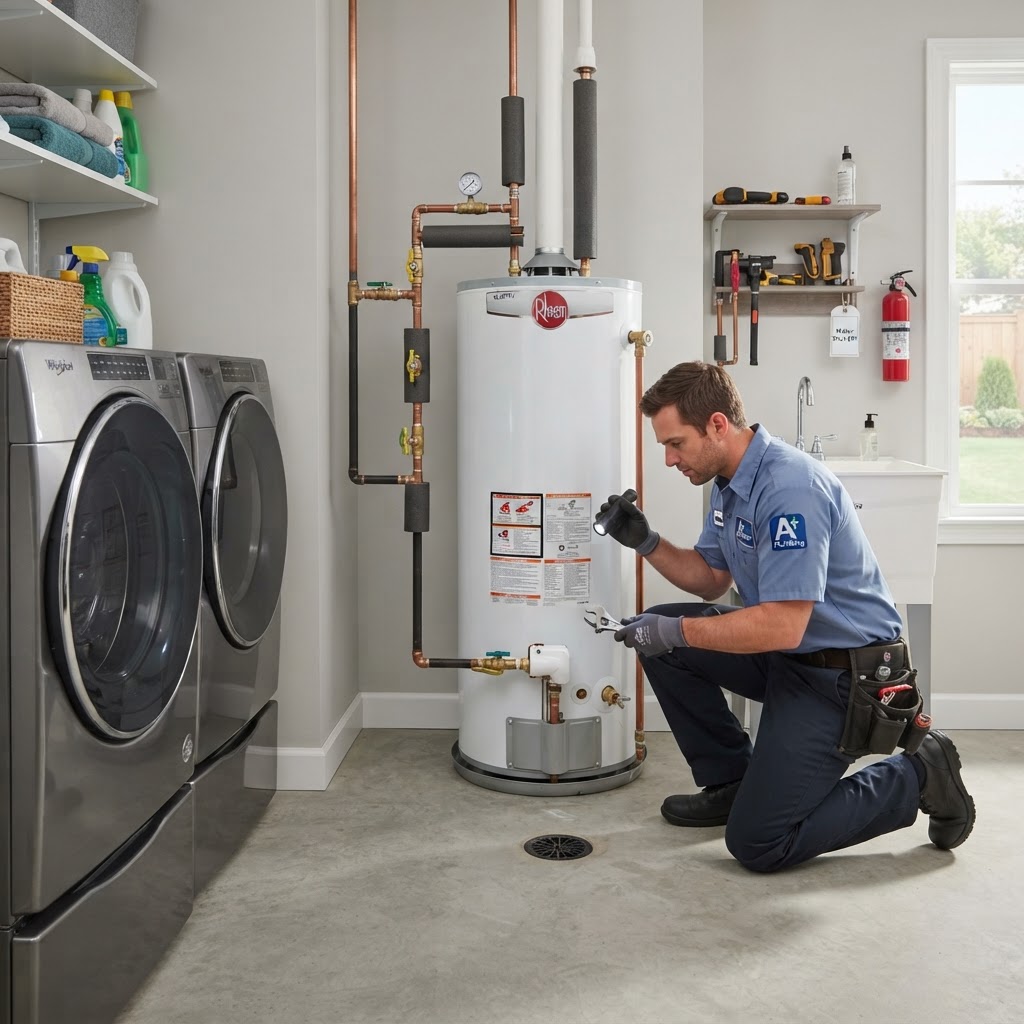
Essential Plumbing Maintenance Tips Every Homeowner Should Know
Plumbing systems are the lifeline of your home, yet they are often ignored until a disaster occurs. By performing routine maintenance, you can extend the life of your pipes and avoid expensive emergency repairs. Most minor issues, if caught early, cost less than $100 to fix, whereas a burst pipe can lead to thousands of dollars in restoration costs. Essential tips include checking for leaks under sinks, flushing your water heater annually, avoiding grease disposal in sinks, and knowing your main shut-off valve location. While minor DIY maintenance is encouraged, complex repairs like sewer line issues or gas plumbing should always be handled by a licensed professional to ensure safety and code compliance. Regular inspections every two years are highly recommended for every homeowner.
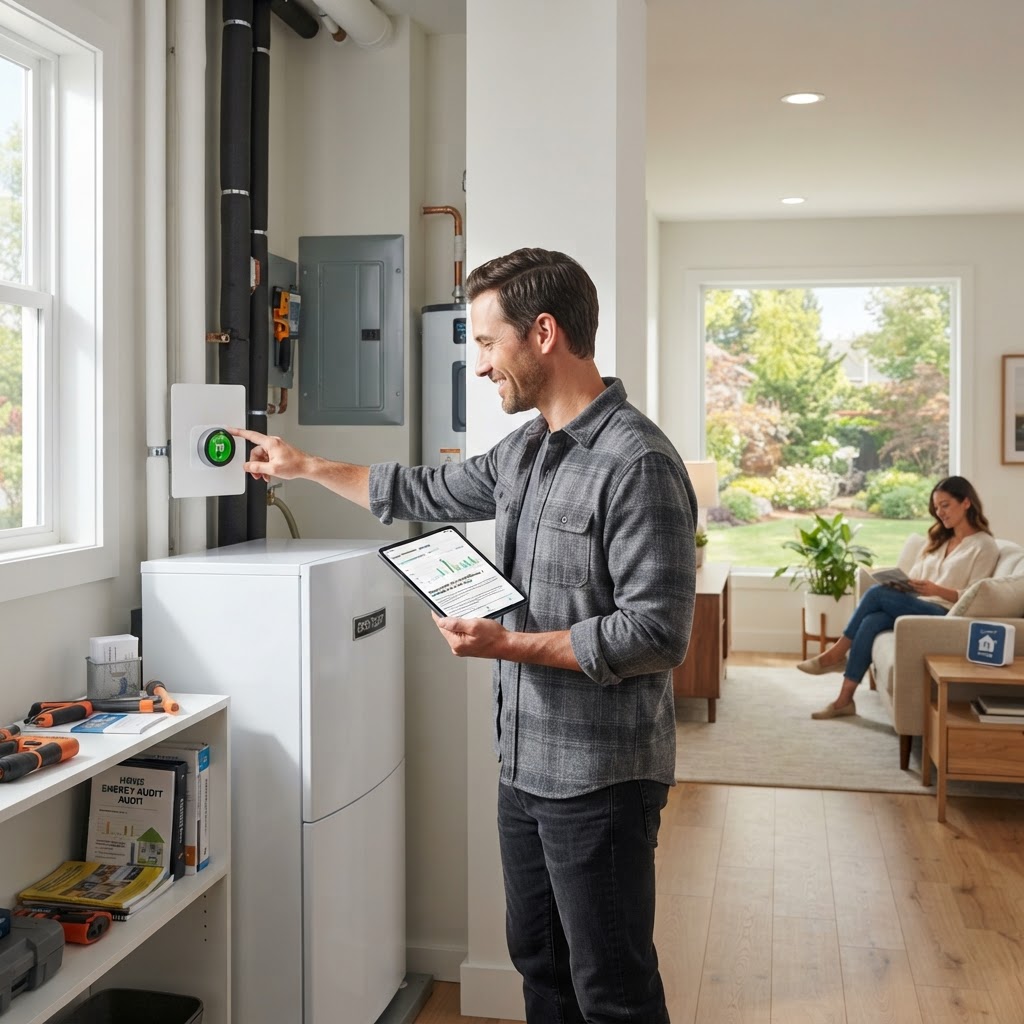
Mastering Home Energy Efficiency: A Practical Guide for Lower Bills
The most cost-effective way to improve energy efficiency is to stop conditioned air from escaping. Inspect your home for gaps around windows, doors, and utility penetrations. Using high-quality caulk or weatherstripping is a weekend DIY project that costs less than $50 but can reduce heating and cooling costs by up to 15%. Swapping incandescent bulbs for LEDs is the easiest energy-saving win. LEDs use 75% less energy and last significantly longer. When shopping for larger appliances, always look for the Energy Star label. Your HVAC system is the biggest energy consumer in the house. Replace air filters every 1 to 3 months, schedule annual professional tune-ups, and install a smart thermostat. Proper insulation in your attic keeps your home comfortable year-round. Lower your water heater thermostat to 120 degrees Fahrenheit to save on energy costs. By tackling these projects in stages, you can transform your home into an energy-efficient sanctuary while keeping your utility bills manageable.
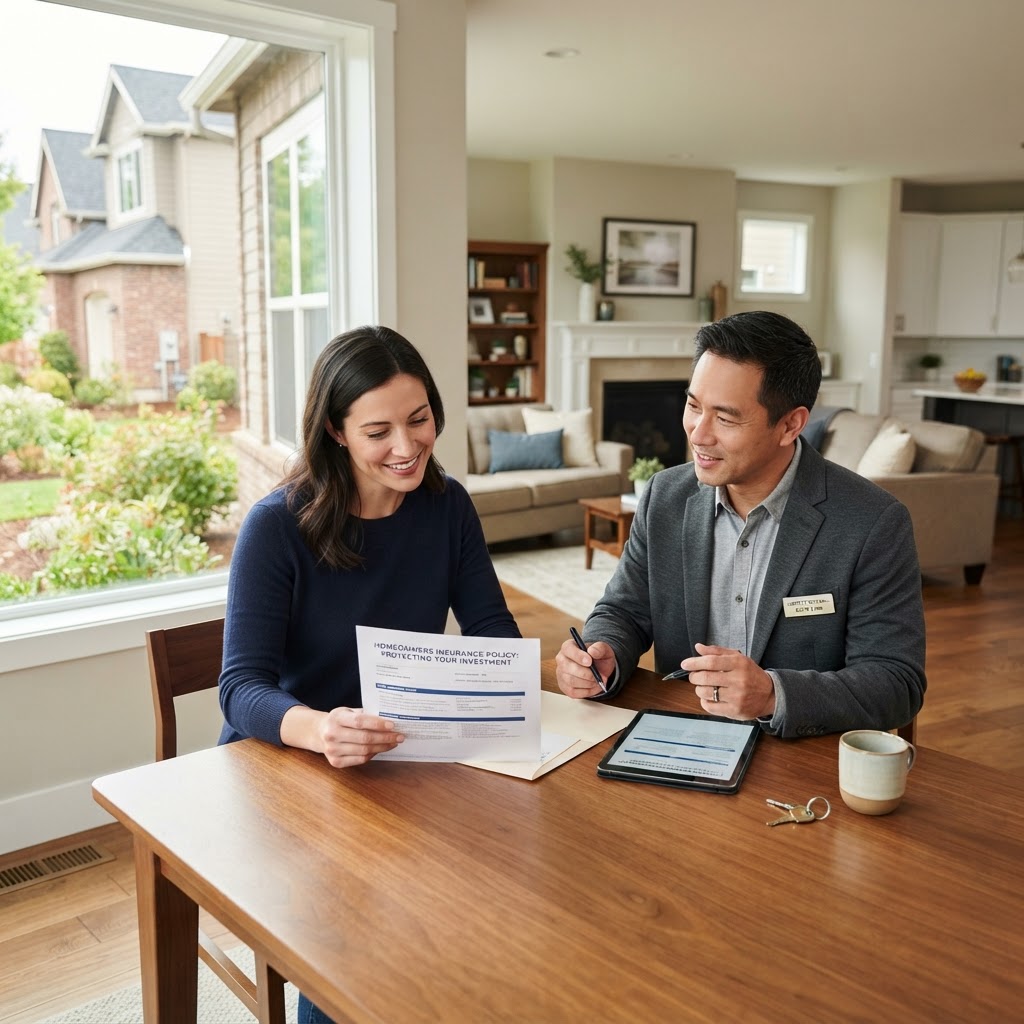
Homeowners Insurance Guide: Protecting Your Investment
Homeowners insurance is a vital safety net for every property owner. This guide explains how to audit your policy, the importance of documenting your assets, and the strategic decision-making required when deciding to file a claim. Learn how to balance coverage costs with deductibles and when it is best to consult a professional broker versus managing small repairs yourself.
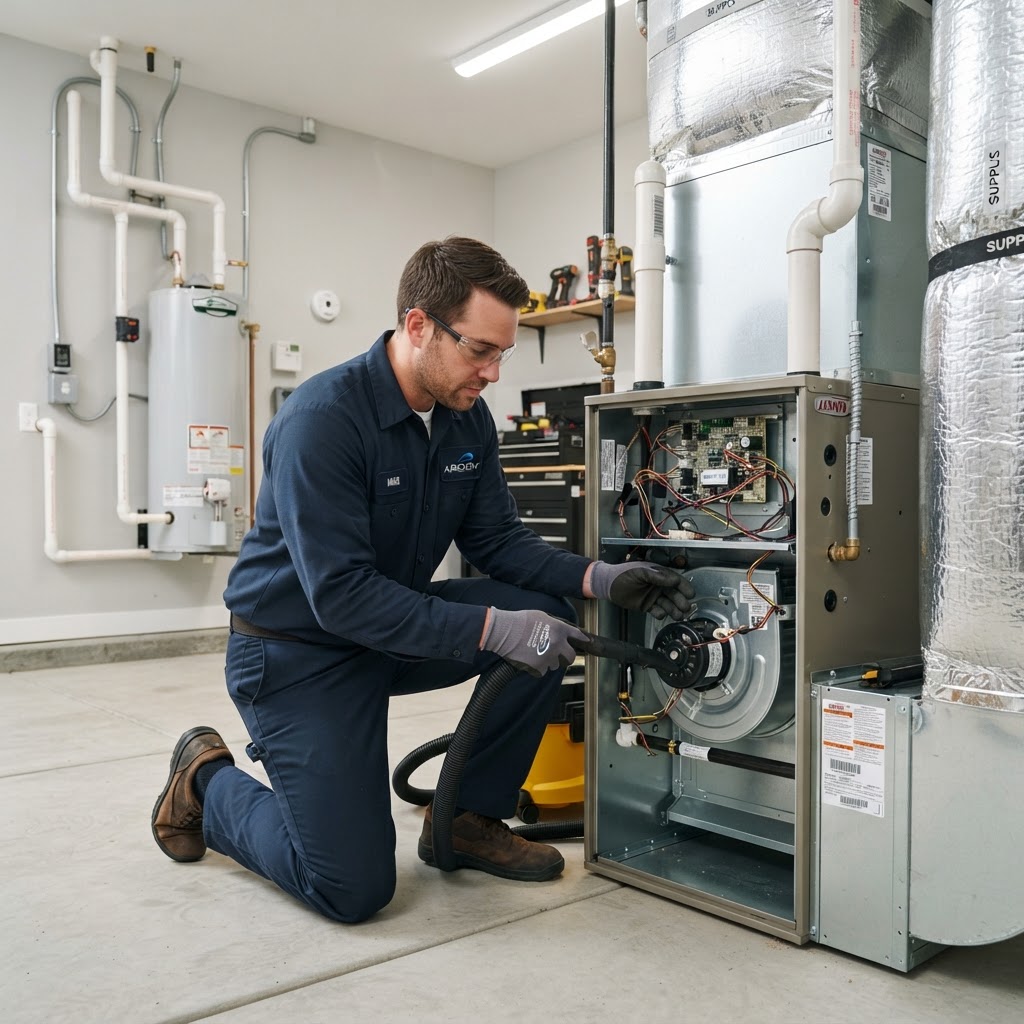
Essential HVAC Maintenance Tips to Save Money and Extend System Life
Your HVAC system is the heartbeat of your home comfort. Neglecting it leads to inefficient operation, soaring energy bills, and premature system failure. Regular maintenance keeps your system running at peak performance. Replace your air filters every 90 days. Keep the outdoor unit free of debris. Schedule a professional tune-up annually in the spring or fall. Costs range from $100 to $200 for a service call, which is a bargain compared to expensive repairs or full system replacement. Consistent care saves money and prevents mid-season breakdowns.

Transform Your Yard: Essential Landscaping Tips for Every Homeowner
A beautiful landscape is more than just curb appeal; it is an extension of your living space. Planning your landscape involves assessing your functional needs, testing soil quality, and managing drainage. Homeowners should choose between DIY and professional help based on project complexity—hiring experts for hardscaping is safer. Budget about 5-15% of your home value for major projects, and remember that planting in autumn provides the best results for long-term health. Native plants reduce maintenance costs and effort significantly.
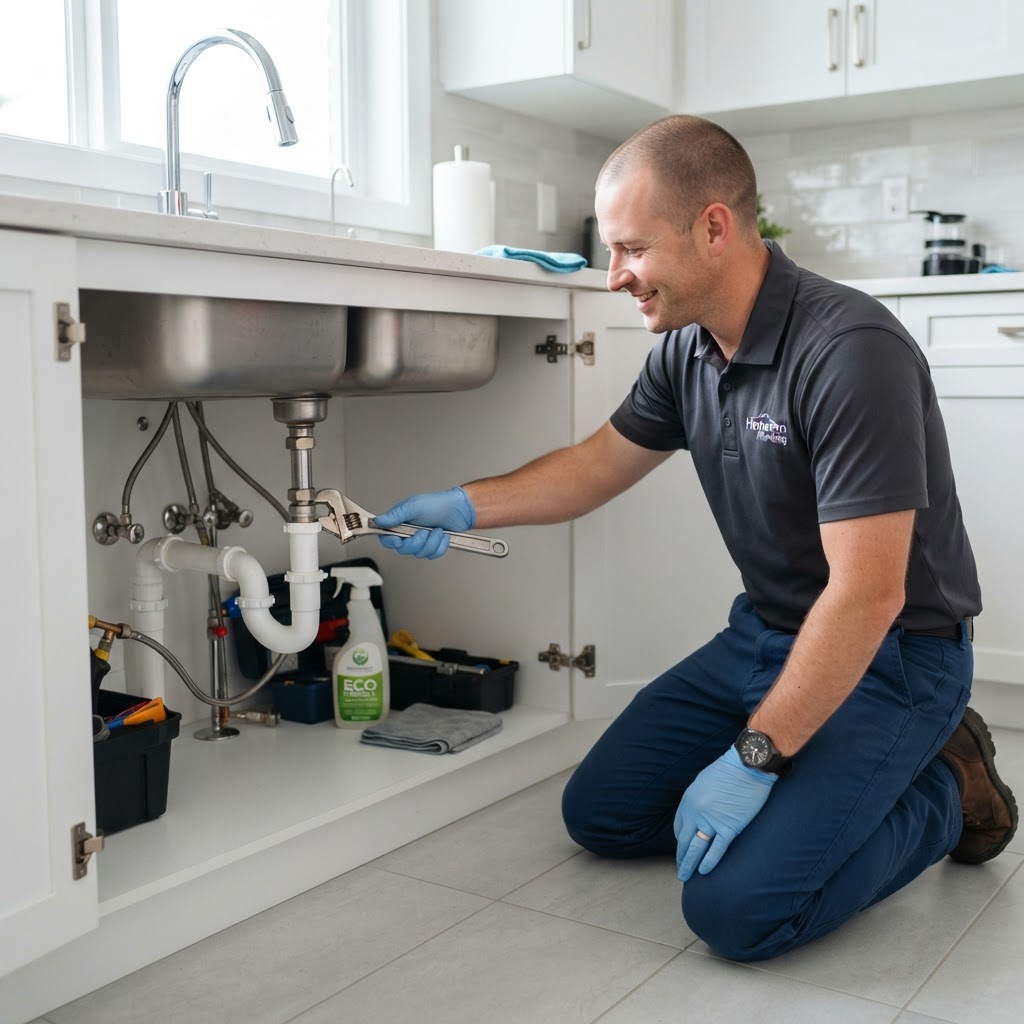
Essential Plumbing Tips Every Homeowner Must Know
Plumbing issues are the silent thief of home maintenance budgets. From dripping faucets to hidden leaks, proactive care can save you thousands. Understanding your system is the first step toward effective management. Every family member should know where the main water shut-off valve is. In a pipe burst emergency, stopping the flow immediately is the difference between a minor mess and thousands in structural damage. Never pour grease down drains. It solidifies in pipes, creating stubborn clogs. Always scrape grease into a container. Inspect for silent leaks by checking under sinks for moisture. Use drain strainers to catch hair and debris. DIY tasks include changing sink aerators or replacing toilet flappers. Call a professional for widespread water pressure issues, persistent clogs, or gas line concerns. Professional help prevents costly water damage restoration.
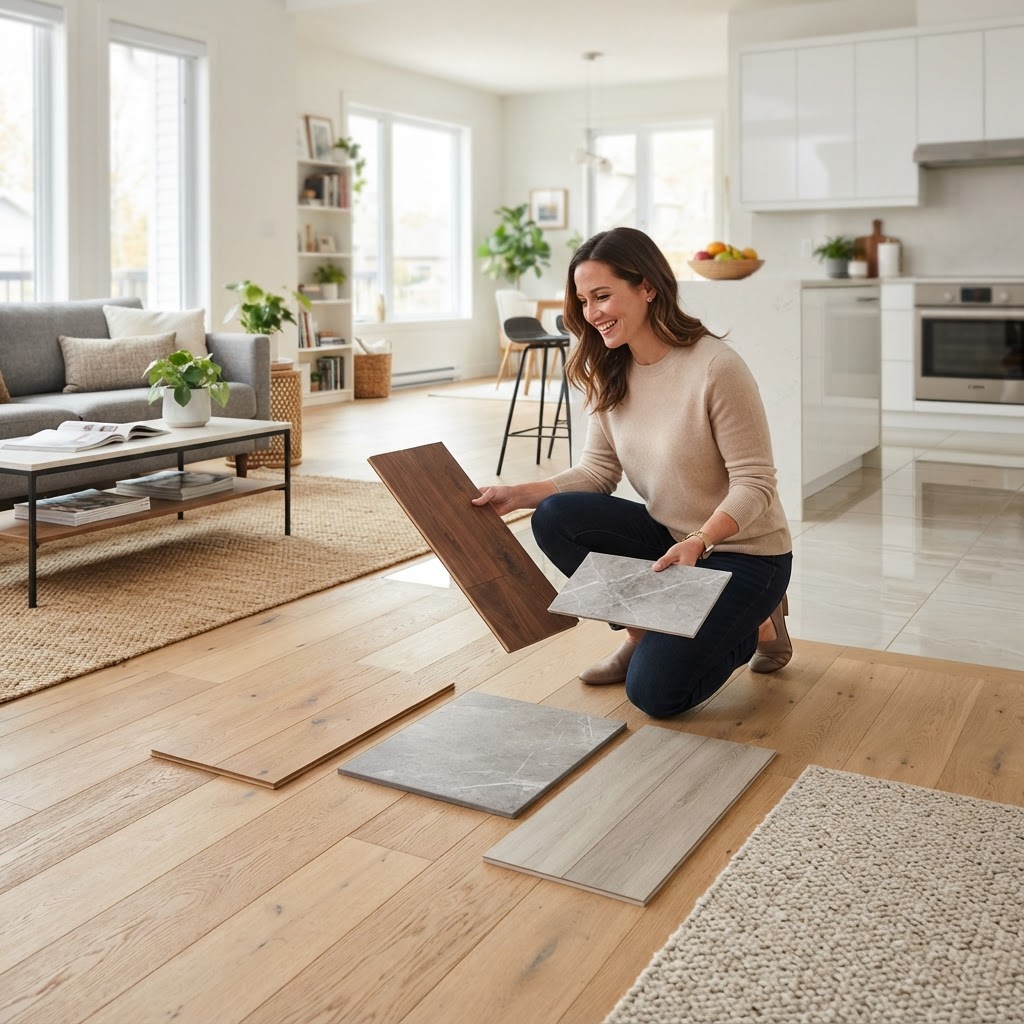
Flooring 101: A Homeowner’s Guide to Choosing the Best Material
Selecting the right flooring is a balance between aesthetic appeal, budget, and durability. Whether you are renovating a kitchen or refreshing a bedroom, your choice will impact your home's value for years to come. Hardwood is the gold standard for resale value, costing $8-$15 per square foot. Luxury Vinyl Plank is the modern champion for busy households, costing $4-$8 per square foot. Tile is perfect for bathrooms, and carpet remains a cozy choice for bedrooms. While LVP is DIY-friendly, hardwood and tile often require professional installation. Always use felt pads under furniture and maintain consistent humidity to protect your investment.
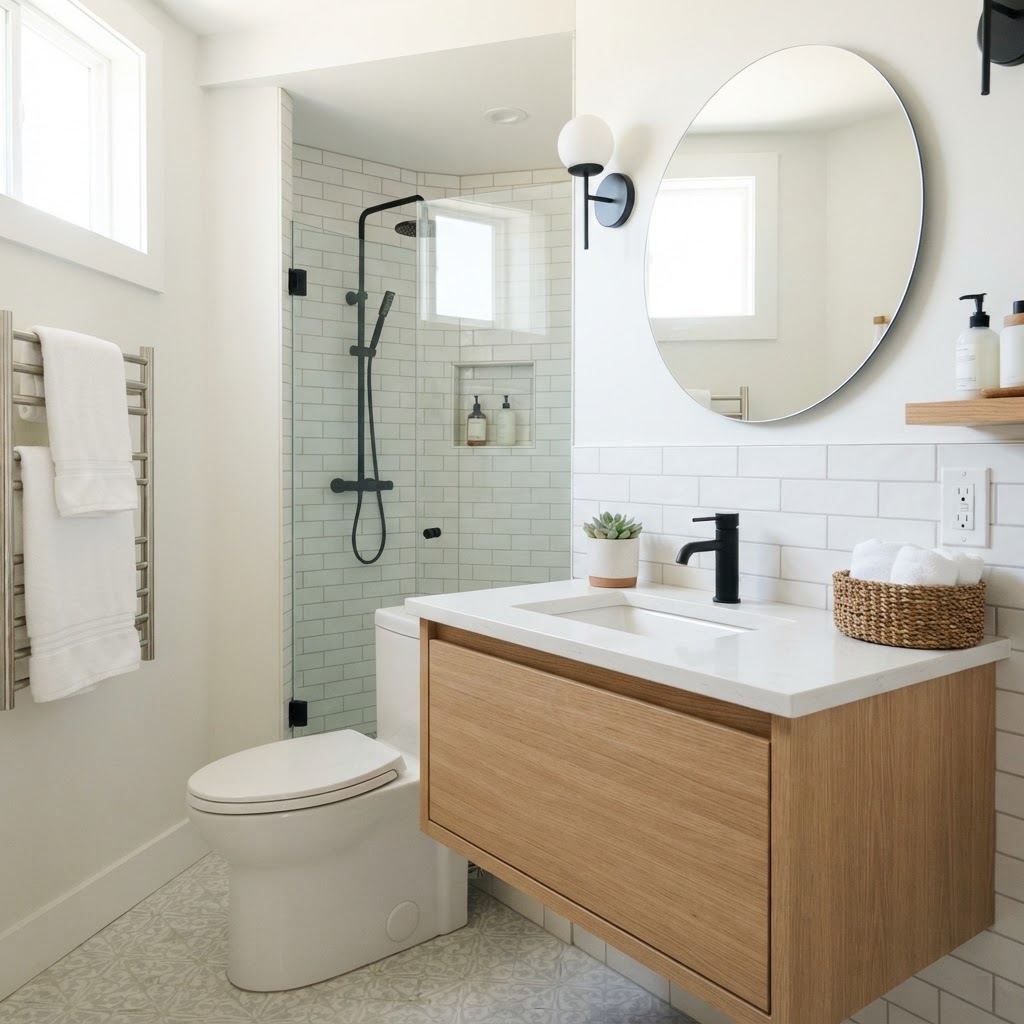
Bathroom Remodel Guide: Transforming Your Space on a Budget
A bathroom remodel is one of the most rewarding home improvement projects you can undertake. Start by defining your goals. Set a realistic budget, usually between $5,000 and $15,000, and include a 15% buffer for surprises. DIY tasks include painting and hardware updates, but leave plumbing and electrical work to pros. Focus on ventilation and lighting for maximum impact. Expect a timeline of three to six weeks for full projects.
Mastering Tenant Relations: A Guide for Successful Property Management
Successful property management is centered on people. By maintaining clear communication, responding promptly to maintenance needs, and conducting respectful property inspections, you can ensure a long-term, positive relationship with your tenants. Always prioritize safety over cost when handling repairs, and consider professional management if the workload becomes overwhelming.
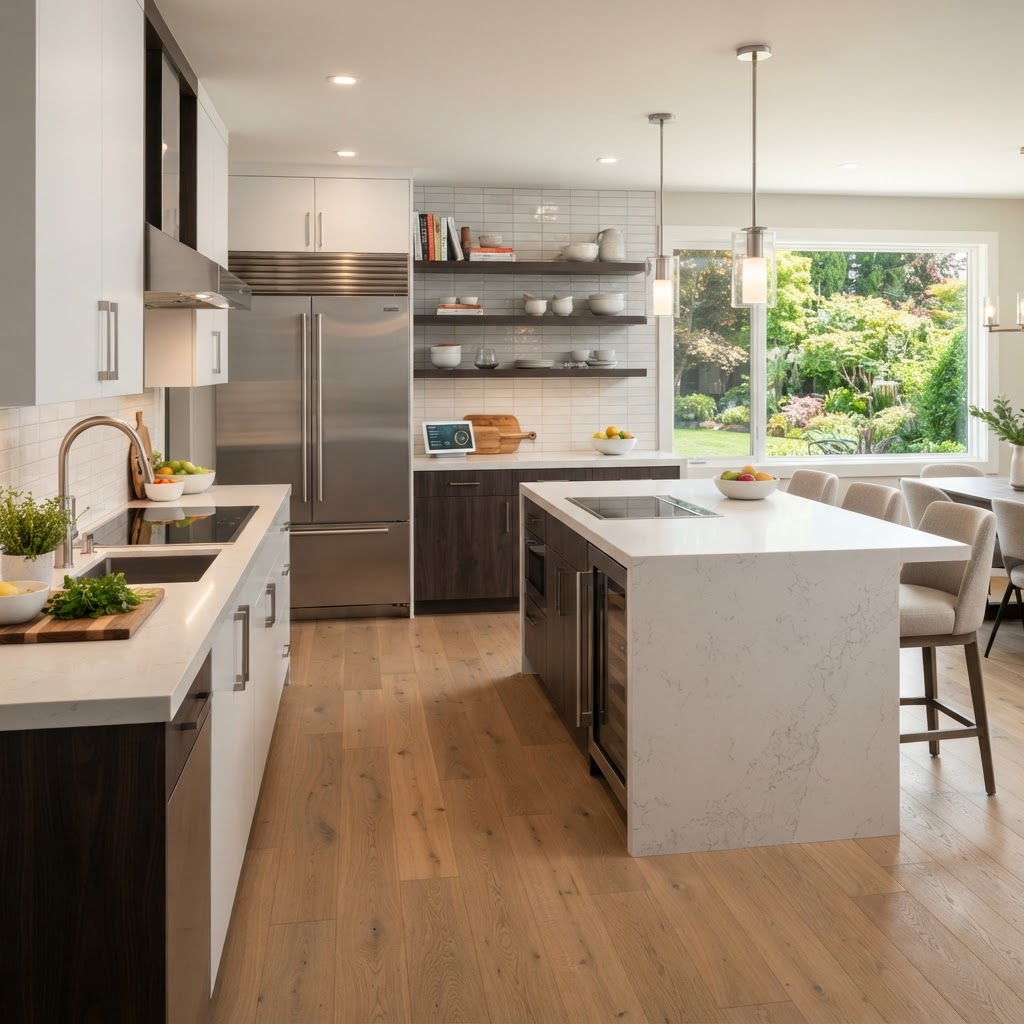
Smart Kitchen Upgrades to Boost Your Home Value and Functionality
The kitchen is often called the heart of the home, but it is also the room that experiences the most wear and tear. If you are looking to increase your home value or simply improve your daily workflow, strategic upgrades can make a massive difference. You do not always need a full-scale renovation to see transformative results. High-impact DIY improvements include refinishing cabinets, installing backsplashes, and upgrading lighting. Professional upgrades such as countertop replacement and appliance integration provide significant resale value. Always budget for a 15% contingency fund and prioritize the areas where you spend the most time.
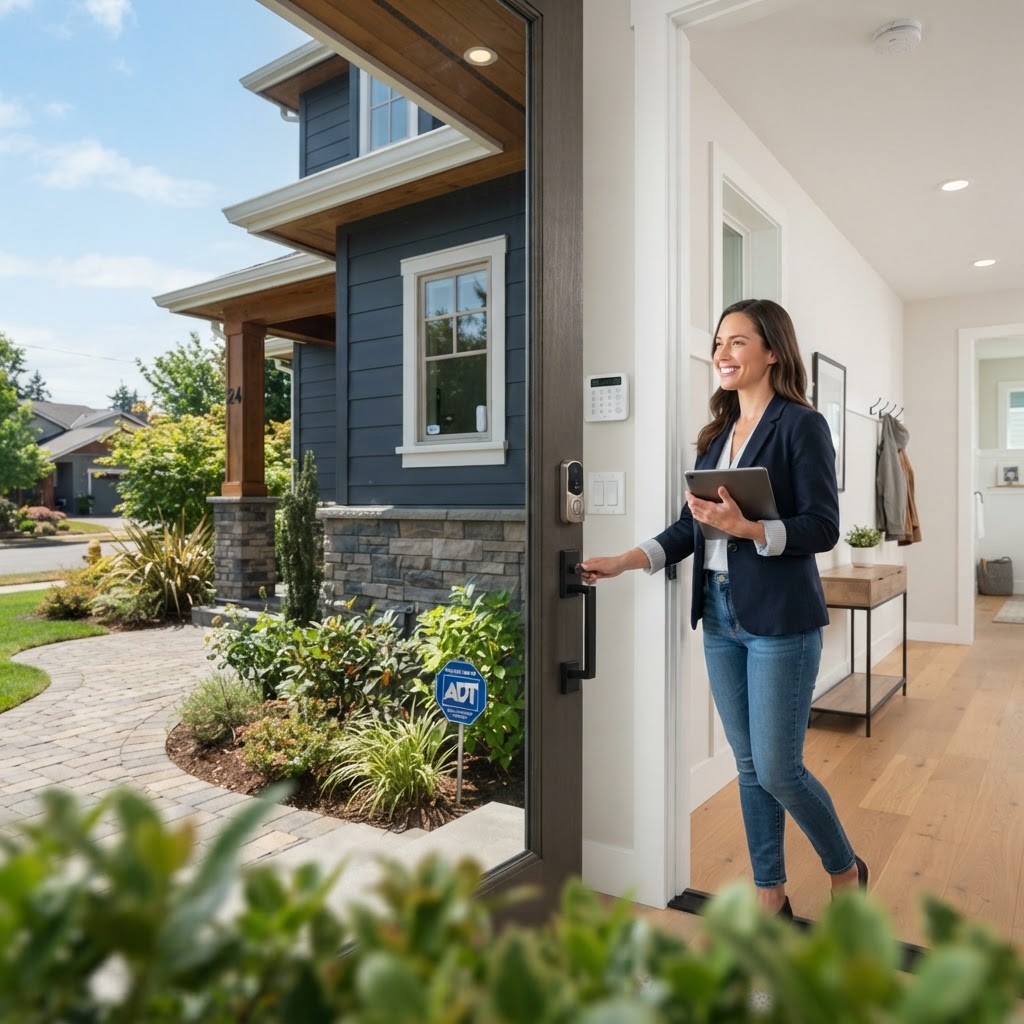
Home Security & Safety: Protect Your Castle
Home Security & Safety: Protect Your Castle Your home is your sanctuary, a place where you and your loved ones should feel safe and secure. Investing in your home's security and safety isn't just about preventing break-ins; it's also about safeguarding against potential hazards like fires and carbon monoxide leaks. This guide will walk you through practical steps to enhance your home's protection, from DIY solutions to when you might need a professional. Essential Security Measures A layered approach to security is the most effective. Start with the basics: - Solid Locks: Ensure all exterior doors have deadbolt locks. These are relatively inexpensive (DIY installation: $20-$50 per lock) and significantly deter forced entry. Consider a smart lock for added convenience and remote access control (DIY installation: $100-$300). - Window Security: Basic window locks are often sufficient. For added security, especially on the ground floor, consider window security film (DIY: $30-$60 per window) or more robust locks ($10-$30 per window). - Exterior Lighting: Well-lit exteriors are a major deterrent. Motion-sensor lights are excellent for entry points and dark corners. (DIY installation: $40-$100 per light). - Visible Deterrents: Security system signs and window decals, even if you don't have a full system, can make potential intruders think twice. Home Safety Essentials Beyond security, active safety measures are crucial for protecting your family from immediate threats: - Smoke Detectors: Install smoke detectors on every level of your home, inside each bedroom, and outside sleeping areas. Test them monthly and replace batteries annually. Smart smoke detectors offer app alerts and can be networked. (DIY: $20-$50 per detector, Smart: $50-$100 per detector). Aim to replace units every 10 years. - Carbon Monoxide (CO) Detectors: These are vital, especially if you have fuel-burning appliances (furnace, gas stove, fireplace) or an attached garage. Install them near sleeping areas and on each level. (DIY: $30-$70 per detector). - Fire Extinguishers: Keep at least one multi-purpose (ABC) fire extinguisher in an accessible location, like the kitchen. Know how to use it. (DIY: $30-$60). - Emergency Preparedness: Have a family emergency plan, including evacuation routes and a designated meeting spot. Keep a well-stocked first-aid kit readily available. When to Call a Professional While many security and safety upgrades are DIY-friendly, consider professional help for: - Full Security System Installation: Professional monitoring systems offer advanced features like cameras, alarms, and integration with smart home devices. Installation costs vary widely, but expect $300-$1000 for setup, plus monthly fees ($20-$60). - Complex Electrical Work: Installing hardwired security cameras or extensive outdoor lighting may require an electrician. - Smart Home Integration: If you're building a comprehensive smart home security network, a professional can ensure seamless integration. Prioritizing your home's security and safety is an ongoing process. By implementing these measures, you can significantly reduce risks and enjoy greater peace of mind.

Mastering Tenant Relations: A Guide for Stress-Free Property Management
Successful property management hinges on the relationship you build with your tenants. When communication is clear and professional, turnover decreases and property care improves. Setting the right tone starts from the very first interaction during the application process. Establish Professional Boundaries: Always keep communication written via email or a property management portal to ensure you have a record of every interaction. Be Responsive: Aim to acknowledge maintenance requests within 24 hours, even if the repair takes longer to schedule. Respect Privacy: Always provide the legally required notice before entering the premises for inspections or repairs. Maintenance is the most common point of friction. To minimize costs, perform preventative maintenance twice a year. When a request comes in, assess if it is a true emergency. For complex electrical or structural issues, hiring a licensed professional is non-negotiable. Minor tasks are manageable DIY projects. The cost of tenant turnover often exceeds $3,000. Investing time in being a fair landlord is the most cost-effective way to keep income stable. Ultimately, a positive relationship is built on mutual respect.
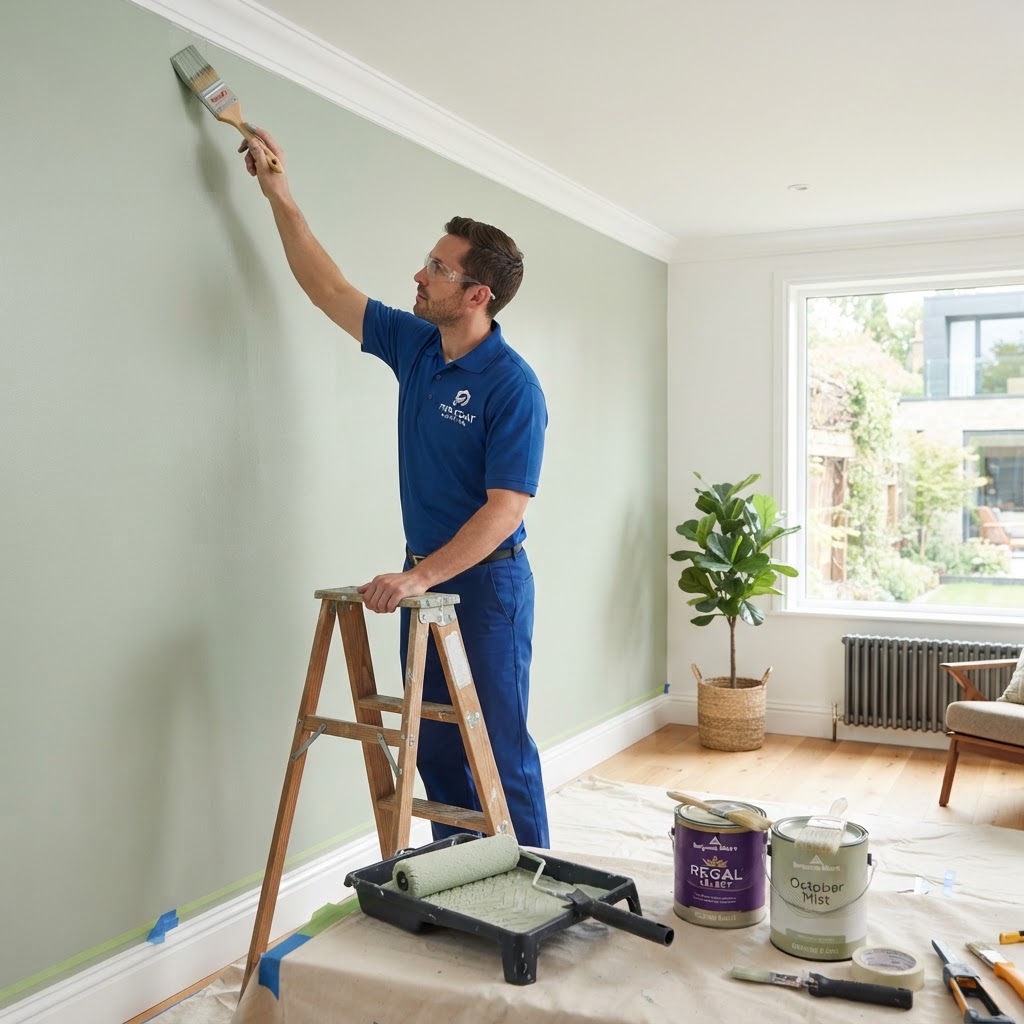
Mastering Interior Painting: A Pro Guide to a Flawless Finish
Painting is one of the most cost-effective ways to transform your home. The difference between an amateur look and a professional finish lies in the preparation. Start by cleaning your walls with a mild detergent and filling any nail holes with spackle. Always use high-quality painter's tape to protect trim. Invest in a good angled sash brush for cutting in and a premium roller cover for even distribution. Work in manageable sections, starting with the edges. DIY is great for small projects, while professionals should be hired for high ceilings or complex trim. Aim to paint during mild, low-humidity weather for the best results.

Homeowners Insurance Guide: How to Protect Your Biggest Investment
Homeowners insurance is a vital safety net for your property. Review your policy annually for replacement costs and liability. Perform preventative maintenance like water sensors and roof inspections to avoid claims. Consult professionals for major repairs to keep coverage valid. Manage costs by adjusting deductibles and bundling policies.
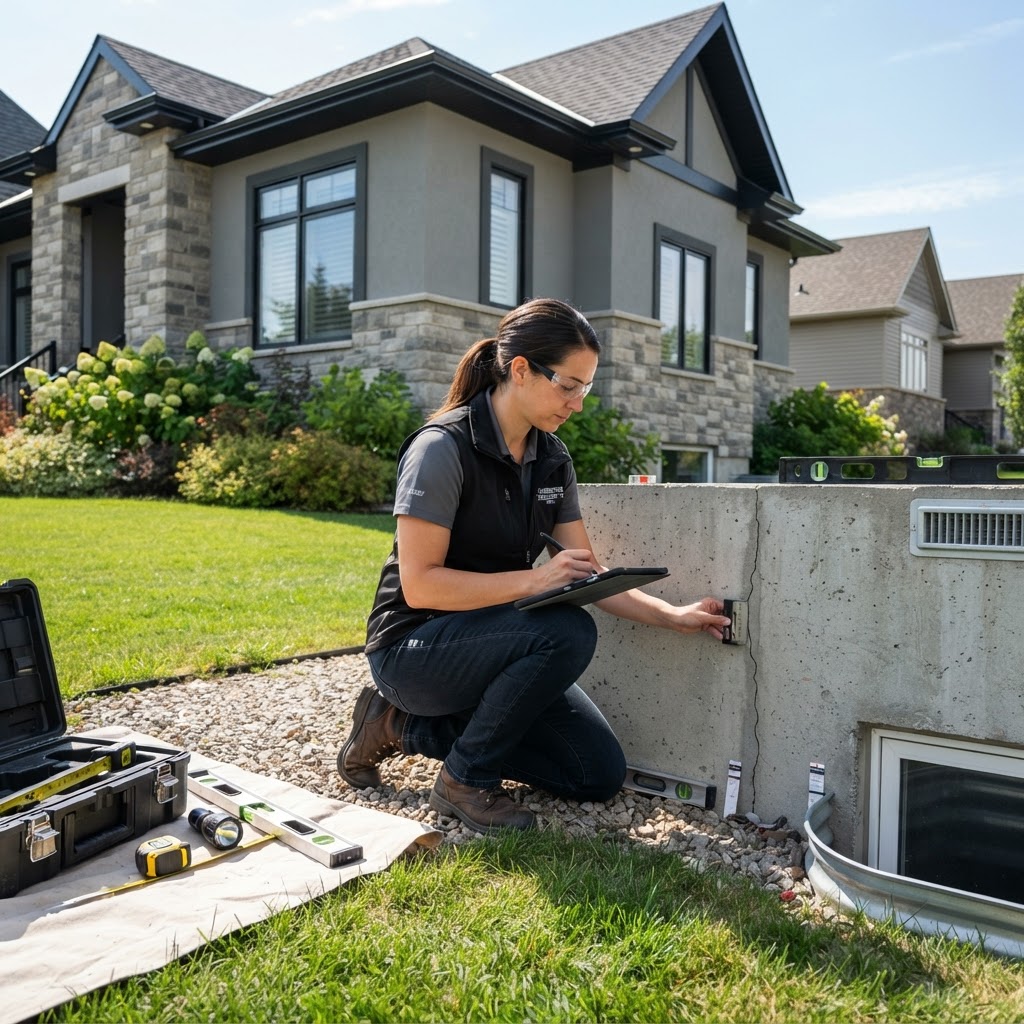
Essential Guide to Identifying and Fixing Foundation Issues
Your home's foundation is its most critical structural element, providing the literal base upon which your house stands. Recognizing early warning signs of settlement or damage can save you thousands of dollars in long-term repairs. While minor hairline cracks are often a normal part of house settling, significant structural shifts require immediate professional intervention. Homeowners should perform a routine check of their basement, crawlspace, and exterior walls at least twice a year. Sticking doors, stair-step cracks, sloping floors, and gaps around frames are all warning signs. While you can seal small cracks yourself, structural issues require professional engineers. Costs range from $500 for minor repairs to over $30,000 for underpinning. Address these issues in the dry season to ensure a stable repair process.
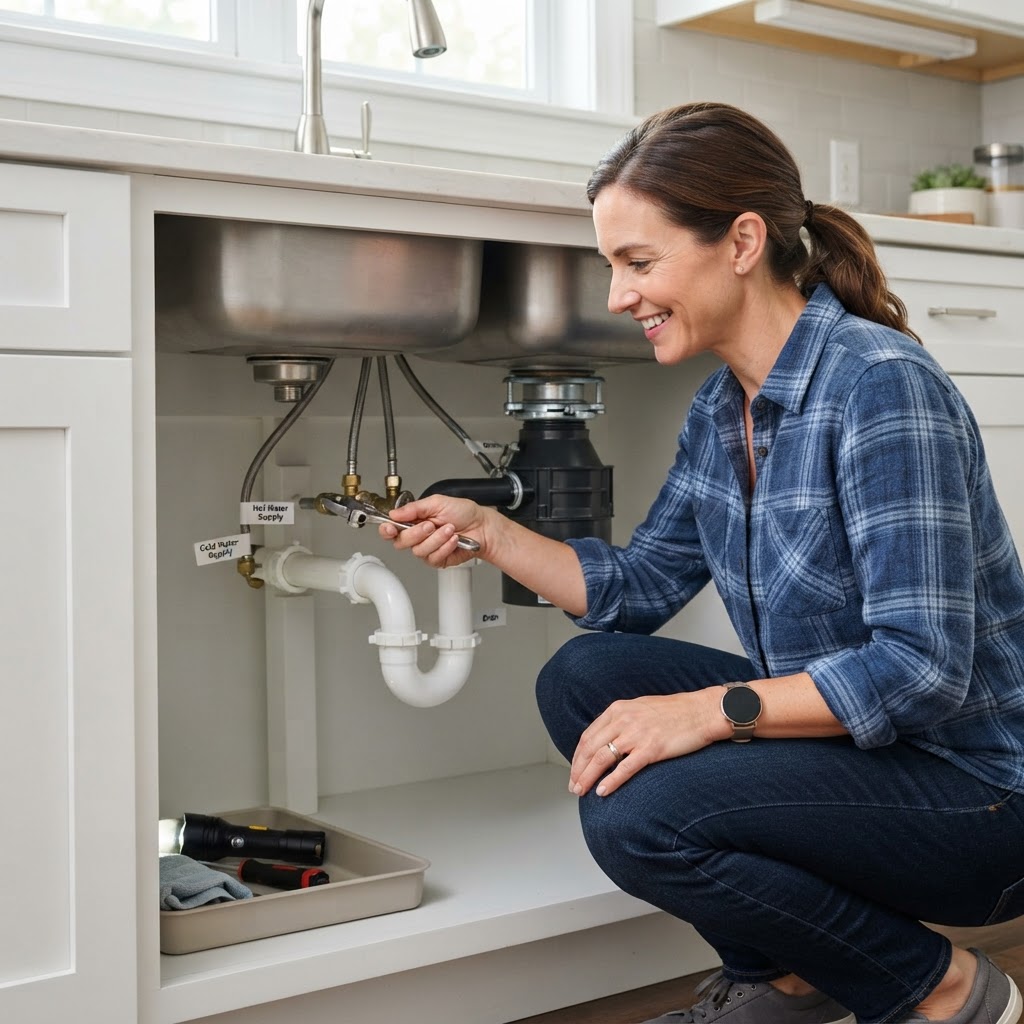
Essential Plumbing Maintenance Tips Every Homeowner Must Know
Preventative Plumbing Maintenance Basics. Home plumbing issues are often synonymous with expensive repairs. However, many common problems can be avoided with consistent maintenance. By spending just one hour a month inspecting your system, you can save thousands in potential water damage and emergency service fees. Crucial Maintenance Tasks: 1. Check for Leaks: Regularly inspect under sinks, around toilets, and near water heaters for damp spots or signs of corrosion. 2. Maintain Your Drains: Avoid pouring grease, oil, or coffee grounds down the kitchen sink. 3. Test Water Pressure: If your pressure exceeds 80 PSI, consider installing a pressure-reducing valve. 4. Water Heater Flushing: Flush your tank annually to remove mineral deposits. DIY vs. Professional Repairs: Simple tasks like tightening a loose nut, replacing a showerhead, or clearing a slow drain with a snake can be easily handled by most homeowners. Any work involving gas lines, major sewer main blockages, or complex pipe replacement should be left to a licensed professional. Budgeting for Plumbing Needs: For routine maintenance, budget approximately $100 to $200 per year. Proactive maintenance is the best way to ensure that your annual plumbing budget remains predictable.

Homeowners Insurance: A Strategic Guide to Protecting Your Investment
Homeowners insurance is more than just a monthly bill; it is your primary financial safeguard against the unexpected. Many homeowners make the mistake of choosing the cheapest policy without understanding the nuances of their coverage. A standard HO-3 policy typically covers the structure of your home, your personal belongings, and liability, but the devil is in the details. The most actionable step you can take today is performing a comprehensive home inventory. In the event of a fire or theft, you must prove what you owned to receive full compensation. Use your smartphone to record a video walk-through of every room, opening drawers and closets to capture high-value items. Store this file in the cloud so it remains accessible if your physical property is destroyed. When reviewing your policy, verify whether you have Replacement Cost or Actual Cash Value (ACV) coverage. Replacement cost pays for the expense of buying new items today, while ACV accounts for depreciation. Always opt for replacement cost if your budget allows, as ACV payouts rarely cover the cost of replacing older appliances or electronics. Your home is a dynamic asset. Have you installed a new roof, upgraded your plumbing, or added a smart home security system? These updates can lower your premiums. Contact your insurance agent at least once a year to discuss these improvements. Additionally, ensure your coverage limits keep pace with the rising costs of construction materials. If a total loss occurs, you want your policy limit to match current rebuilding costs, not what you paid for the house a decade ago. While you can manage your inventory and general maintenance independently, consult with a licensed insurance broker when evaluating coverage gaps. Ask them specifically about riders or endorsements for items like jewelry, fine art, or expensive photography equipment, which are often capped under standard policies. Additionally, ask about flood and earthquake coverage, as these are almost always excluded from standard homeowners insurance. Protecting your home is a professional-grade responsibility that requires proactive communication with your provider.

Smart Home Renovations: How to Maximize Your Property Value
Strategic Home Improvements for High ROI. As a homeowner, your property is likely your largest asset. When planning renovations, it is essential to distinguish between personal preferences and projects that actually increase market value. Smart investment strategy involves focusing on functional updates that appeal to future buyers. High-Impact Projects: Kitchen Refresh: You do not need a full gut job. Refacing cabinets, upgrading hardware, and installing modern lighting can provide a massive aesthetic boost for a fraction of the cost. Curb Appeal: First impressions matter. Landscaping, power washing, and painting your front door are low-cost, high-return activities. Energy Efficiency: Installing a smart thermostat, adding attic insulation, or upgrading to double-pane windows significantly lowers utility bills and attracts eco-conscious buyers. DIY vs. Professional Guidance: While DIY projects like painting walls or replacing light fixtures can save thousands, complex electrical, plumbing, or structural work should always be handled by licensed professionals. Improper DIY work can lead to failed home inspections and costly remediation later. Always weigh the time investment against your hourly earning potential; sometimes, paying a pro is the more efficient choice. Budgeting and Timing: Before starting, create a budget that allows for a 15% contingency fund. Unexpected issues, such as water damage found behind a wall, are common. The best time to start large projects is during the off-season for contractors, typically late fall or winter, when you may find better labor rates and availability. Avoiding Over-Improvement: Avoid the over-improvement trap. If your home becomes the most expensive property on the street, you may struggle to recoup your costs. Research comparable homes in your neighborhood to ensure your upgrades align with market expectations. Focus on quality materials that stand the test of time rather than fleeting design trends that may look dated in three years. By prioritizing maintenance, efficiency, and timeless aesthetics, you transform your home into a high-performing investment that pays dividends when it is time to sell.

Transform Your Yard: Essential Landscaping Tips for Every Homeowner
A beautiful landscape is more than just curb appeal; it is an extension of your home's living space. Whether you are aiming for a xeriscape design or a lush garden, proper planning is the foundation of success. The best time to start major landscaping projects is during the early spring or late fall when temperatures are mild. Budgeting is vital; professional renovations range from $3,000 to $15,000, while DIY projects are usually much cheaper. Key tasks include aeration, mulching, selecting native plants, and using drip irrigation. While pruning is perfect for DIY, leave structural hardscaping and drainage grading to the experts. Always start by observing your yard's sunlight and drainage patterns before making purchases.
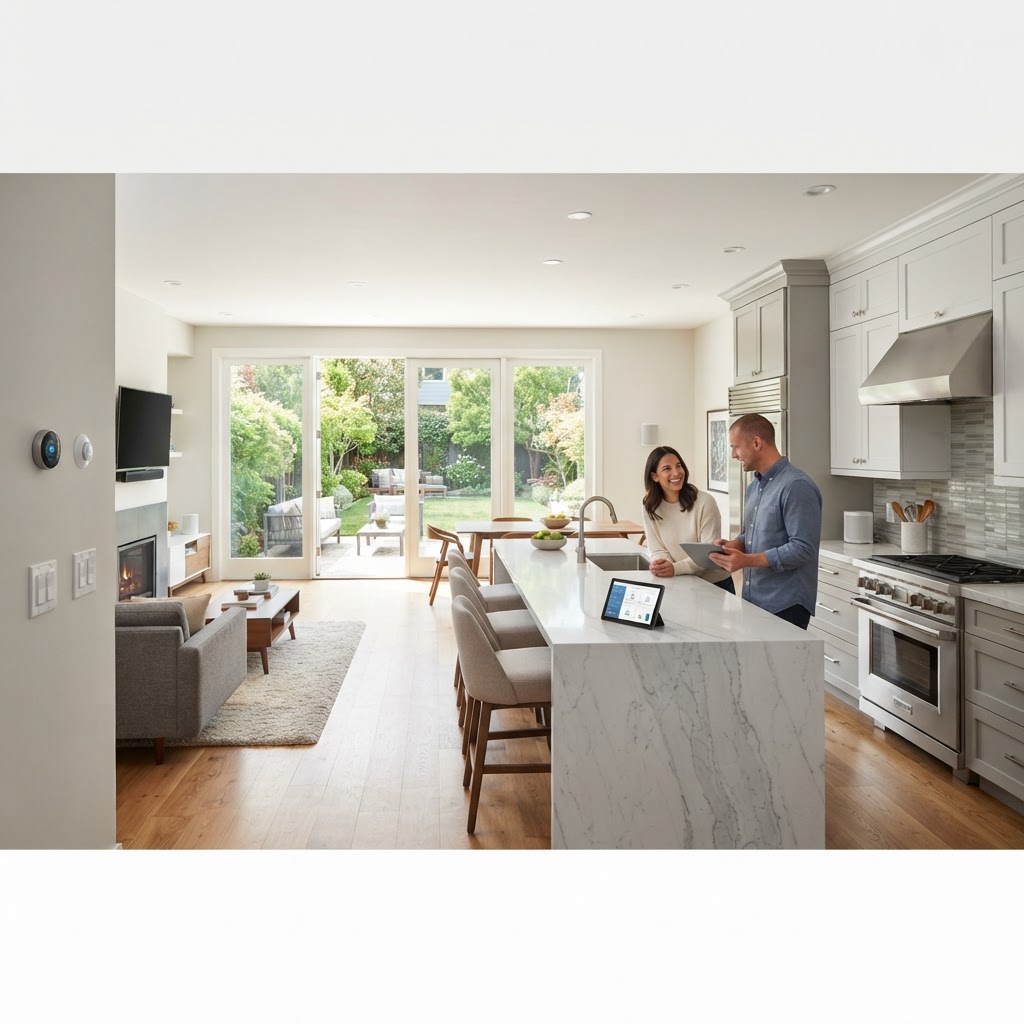
Smart Home Renovations: How to Invest for Maximum Return on Investment
When considering home improvements as an investment, it is crucial to distinguish between projects that increase resale value and those that primarily offer personal comfort. To maximize your return, focus on maintenance and upgrades that appeal to the broadest range of future buyers. Key projects include minor kitchen refreshes, enhancing curb appeal, and improving energy efficiency. While DIY projects like painting can save money, structural and technical work should always be left to professionals to avoid safety and valuation risks. Timing is also essential; ensure you do not over-improve your home relative to your neighborhood market. Always keep a contingency fund for unexpected costs, and aim to complete major work well before you intend to list your home.

Homeowner Tax Breaks: A Practical Guide to Saving Money
Homeowners can save significantly on taxes by understanding mortgage interest deductions, property tax benefits, and energy efficiency credits. Differentiating between routine repairs and capital improvements is key to managing your home's cost basis. By keeping meticulous records of receipts and permits, homeowners can reduce their future capital gains tax. While minor DIY tasks are straightforward, consulting a tax professional is recommended for complex financial situations or property sales.
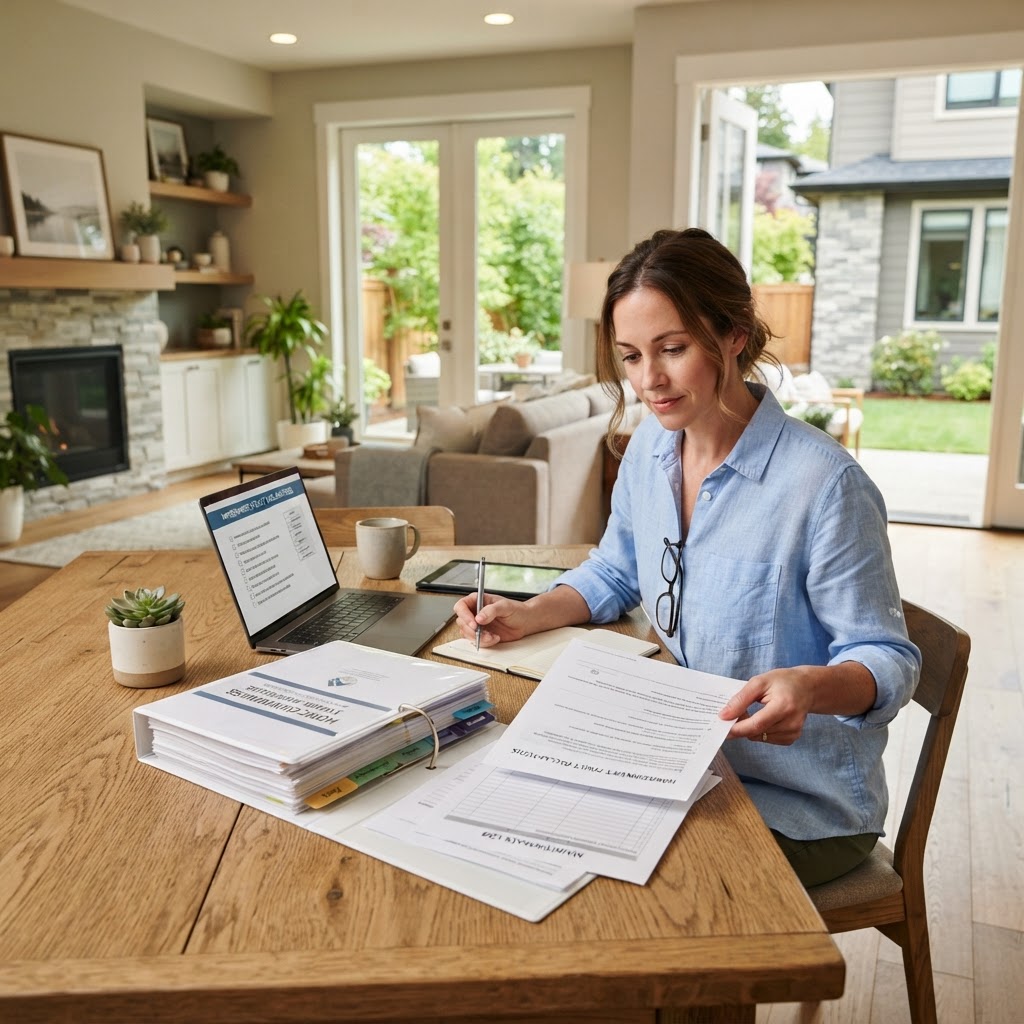
Homeowners Insurance: A Proactive Guide to Protecting Your Investment
Homeowners insurance is often treated as a set it and forget it expense, but your policy requires regular attention to ensure your investment remains fully protected. Failing to review your coverage annually can leave you vulnerable to significant financial loss. Every year, take thirty minutes to audit your policy. Update your personal inventory by recording a video walkthrough. Review replacement cost versus actual cash value to ensure your policy covers the full rebuild cost. Assess your liability limits if you have made major life changes like buying a pet or adding a pool. You can lower premiums by installing security systems, upgrading your roof or electrical, and bundling policies. When damage occurs, document everything with photos and call a professional rather than attempting DIY fixes to avoid mold or denial of claims. Keep your policy current as your home value changes through renovations.
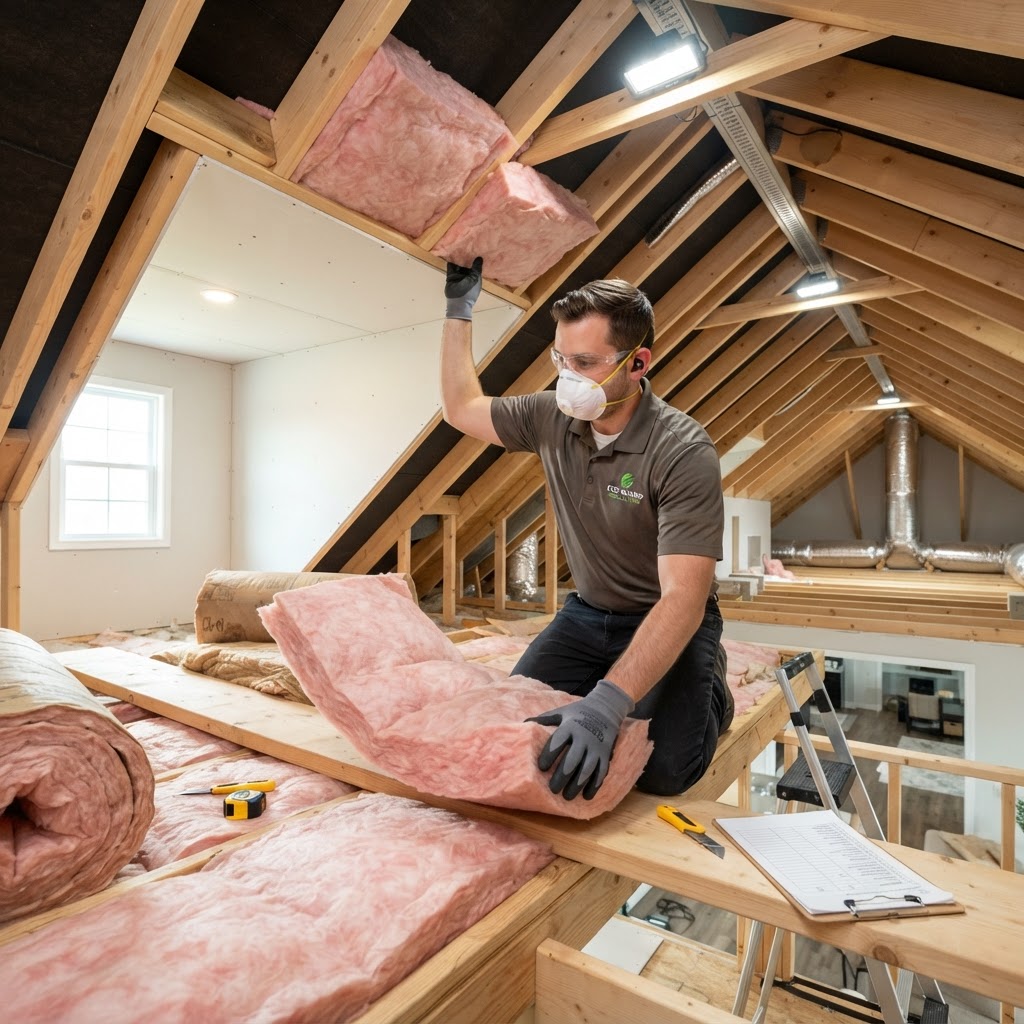
Mastering Home Insulation: A Guide to Lower Energy Bills
Proper insulation is the silent hero of home maintenance. It keeps your living space comfortable year-round, significantly lowers utility bills, and prevents moisture damage. Whether you are dealing with drafty rooms or high HVAC costs, upgrading your insulation is one of the highest-ROI improvements a homeowner can make. Focus on your attic, rim joists, and walls for the best results. Simple tasks like weatherstripping are great DIY projects, while attic upgrades are best left to professionals. Use the candle test to find air leaks and seal them with caulk. Investing in insulation today yields energy savings that pay for the project within a few years.

Mastering Tenant Relations: A Guide for Successful Landlords
Successful property management is less about maintenance and more about people. Establishing a professional, respectful, and transparent relationship with your tenants is the single most effective way to reduce turnover costs and protect your investment. Start by setting clear expectations during the initial lease signing. Communication is the cornerstone of tenant relations. Be responsive, respect privacy, and stay professional. Handle maintenance requests by categorizing them by urgency and prioritize repairs. Setting firm boundaries regarding rent due dates and noise complaints establishes your authority. Retaining a good tenant is far more cost-effective than managing turnover.

Essential Landscaping Tips to Boost Your Curb Appeal and Home Value
Landscaping is more than just mowing the lawn; it is about creating a functional, beautiful outdoor extension of your home. Assessing your space for light and drainage is the first step. DIY projects like mulching are great for savings, while hardscaping usually requires professional expertise. Focus on mulching, proper pruning schedules, and efficient irrigation for long-term success. Fall is the optimal time for most planting projects.

Mastering Homeowners Insurance: A Guide to Protecting Your Investment
Homeowners insurance is a critical safety net. Understand your perils. Step 1: Inventory your belongings. Step 2: Adjust for home improvements. Step 3: Bundle policies. For repairs, hire professionals for plumbing and electrical to keep insurance valid. Avoid filing small claims near your deductible to prevent premium hikes. Focus on preventative maintenance like cleaning gutters and installing leak detectors to save costs.
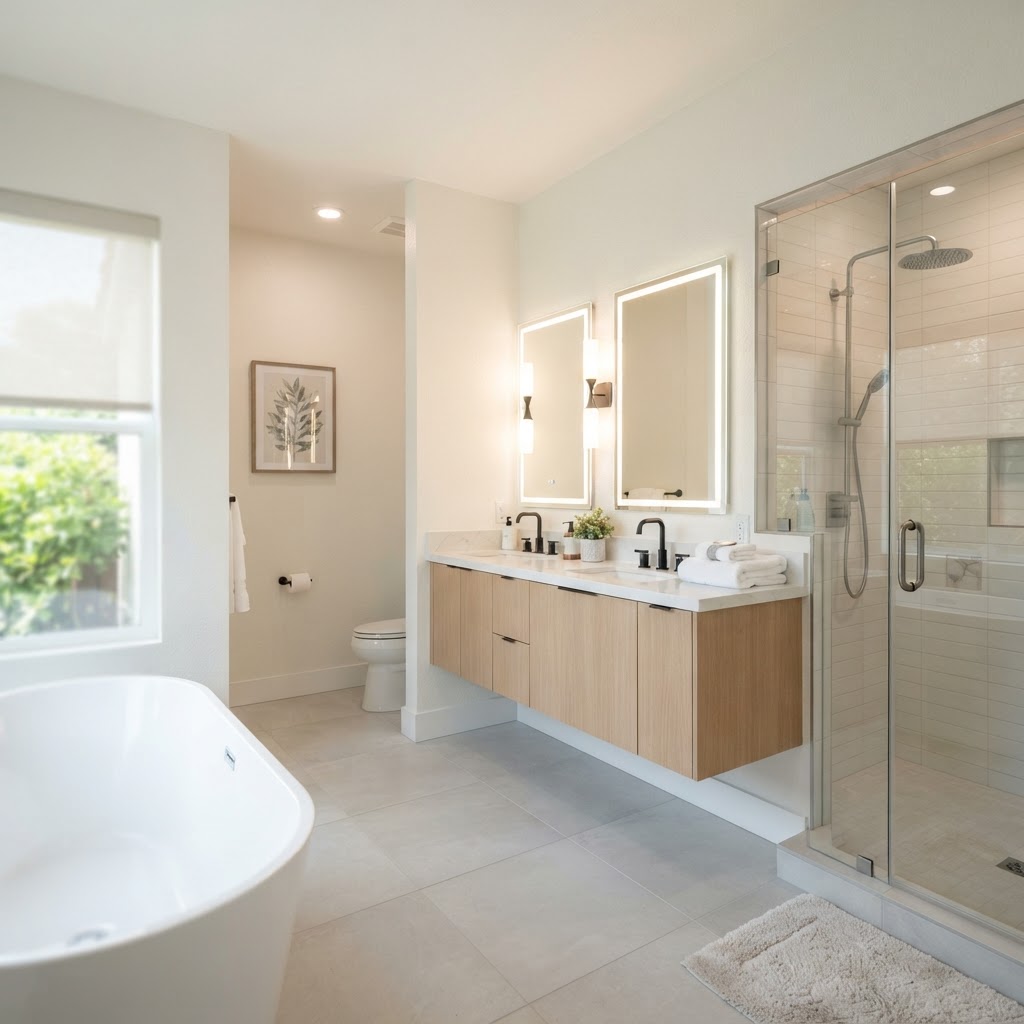
Bathroom Remodel Guide: Costs, Planning, and Pro Tips for Success
A bathroom remodel is one of the most rewarding home improvement projects you can undertake. Whether you are looking to increase your property value or simply create a spa-like retreat, careful planning is the key to success. Start by defining your goals: Are you fixing a layout issue, updating outdated fixtures, or maximizing small space storage? Before swinging a sledgehammer, establish a realistic budget. A typical mid-range bathroom renovation can cost between $10,000 and $25,000 depending on the scope. Always allocate at least 15% of your total budget for unexpected plumbing or electrical surprises, which are common behind walls in older homes. While DIYing tasks like painting or installing hardware can save money, certain projects require professional expertise: Plumbing (always hire a licensed professional), Electrical (ensure GFCI compliance), and Waterproofing. A standard remodel usually takes 3 to 6 weeks. To minimize downtime, order materials well in advance. Focus on moisture-resistant materials like porcelain tile and quartz countertops to ensure longevity.
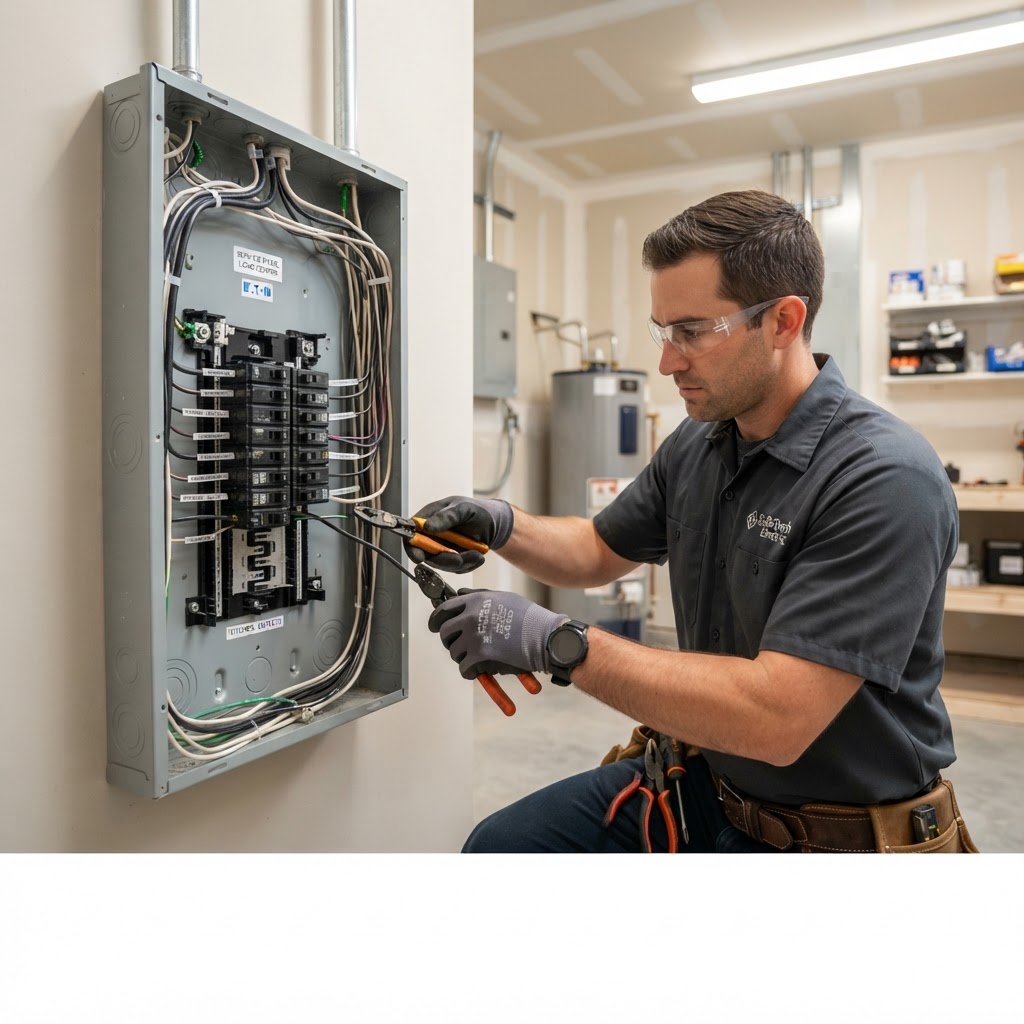
Electrical Work Essentials: A Homeowner’s Guide to Safety and Savings
Your home's electrical system is its lifeblood. Maintaining it is critical for safety. While you can handle simple tasks like swapping light bulbs, leave panel upgrades and wiring to the professionals. Test your GFCI outlets monthly and never overload circuits. If you notice warm outlets, seek professional help immediately. Expect to pay between $150 and $400 for minor repairs, and consider a professional inspection every 5 to 10 years.
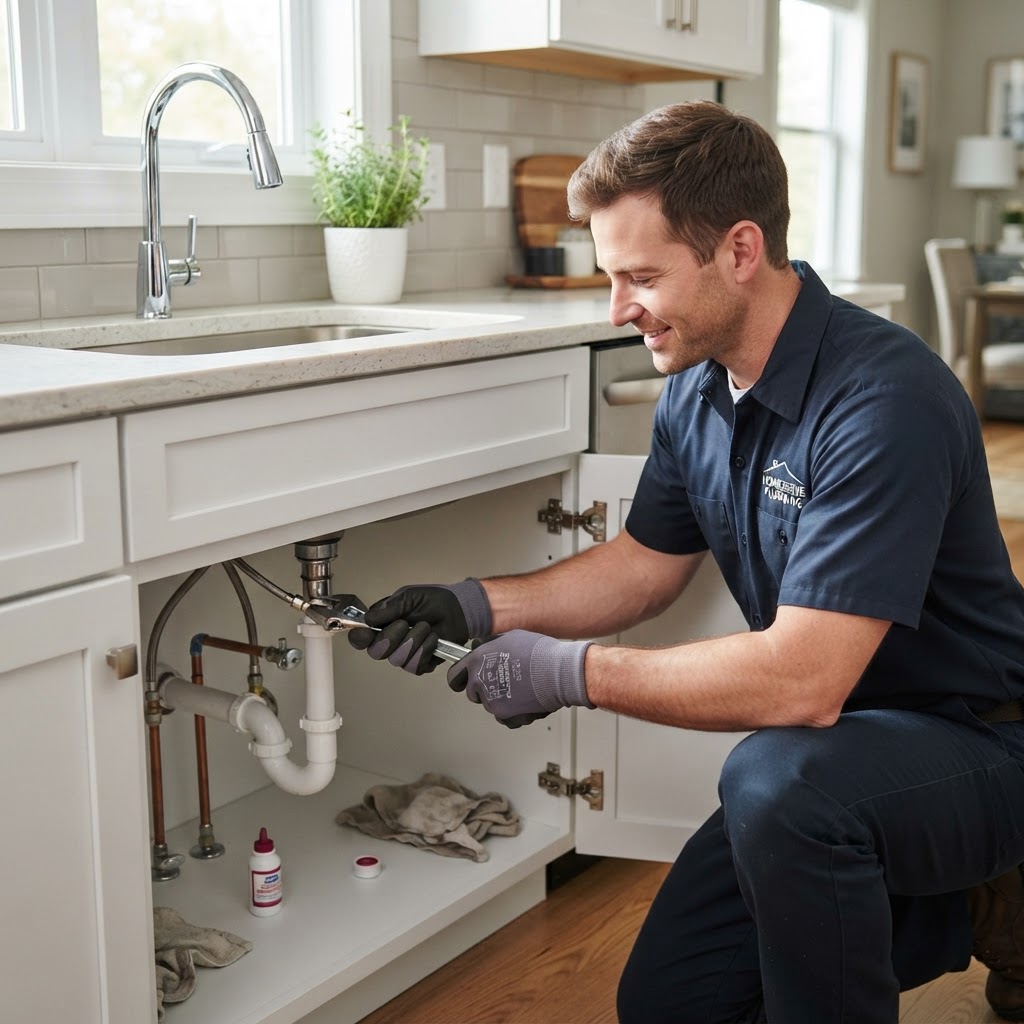
Essential Plumbing Tips Every Homeowner Must Know
Plumbing issues are often the most stressful home repairs. A little preventative maintenance goes a long way in avoiding costly water damage. Never pour grease down the drain, as fat and oil harden and lead to blockages. Install hair catchers in shower drains to prevent 90% of bathroom clogs. Always know where your main shut-off valve is located in case of a burst pipe. While DIY tasks like plunging a sink are manageable, call a professional for widespread water pressure drops or sewage odors. Preventative maintenance is free, but small repairs typically cost $150 to $450. Schedule biennial inspections to avoid emergency costs, especially in homes over 20 years old.

Mastering Property Management: A Homeowner’s Guide to Efficiency
Property management is more than just collecting rent; it is the comprehensive oversight of your real estate assets to ensure they remain functional, profitable, and compliant. Managing a property effectively involves routine maintenance, financial oversight, and tenant relations. While DIY management saves on fees, professional management protects against liabilities and saves time. Follow a seasonal maintenance schedule and prioritize high-quality appliances to control long-term costs.

Transform Your Yard: Essential Landscaping Tips for Every Homeowner
A well-manicured lawn does more than just boost curb appeal; it creates a personal sanctuary and can increase your property value by up to 15%. Whether you are tackling a weekend DIY project or planning a major hardscape renovation, strategic planning is the key to long-term success. Before buying plants or hiring contractors, define how you intend to use your space. Are you looking for a low-maintenance xeriscape, a functional area for outdoor entertaining, or a vibrant garden that attracts pollinators? Start by sketching out your yard and noting areas that receive full sun versus deep shade. Timing is everything in landscaping. Spring is for planting perennials, Summer is for maintenance, Fall is for trees and grass seed, and Winter is for planning. Knowing when to call in the experts can save you thousands in the long run. DIY tasks like mulching and weeding are manageable, but structural work like retaining walls or drainage should be handled by pros. Landscaping costs vary; budget $500-$2,000 for simple refreshes or $10k+ for major remodels. Always prioritize native plants for low-maintenance success.
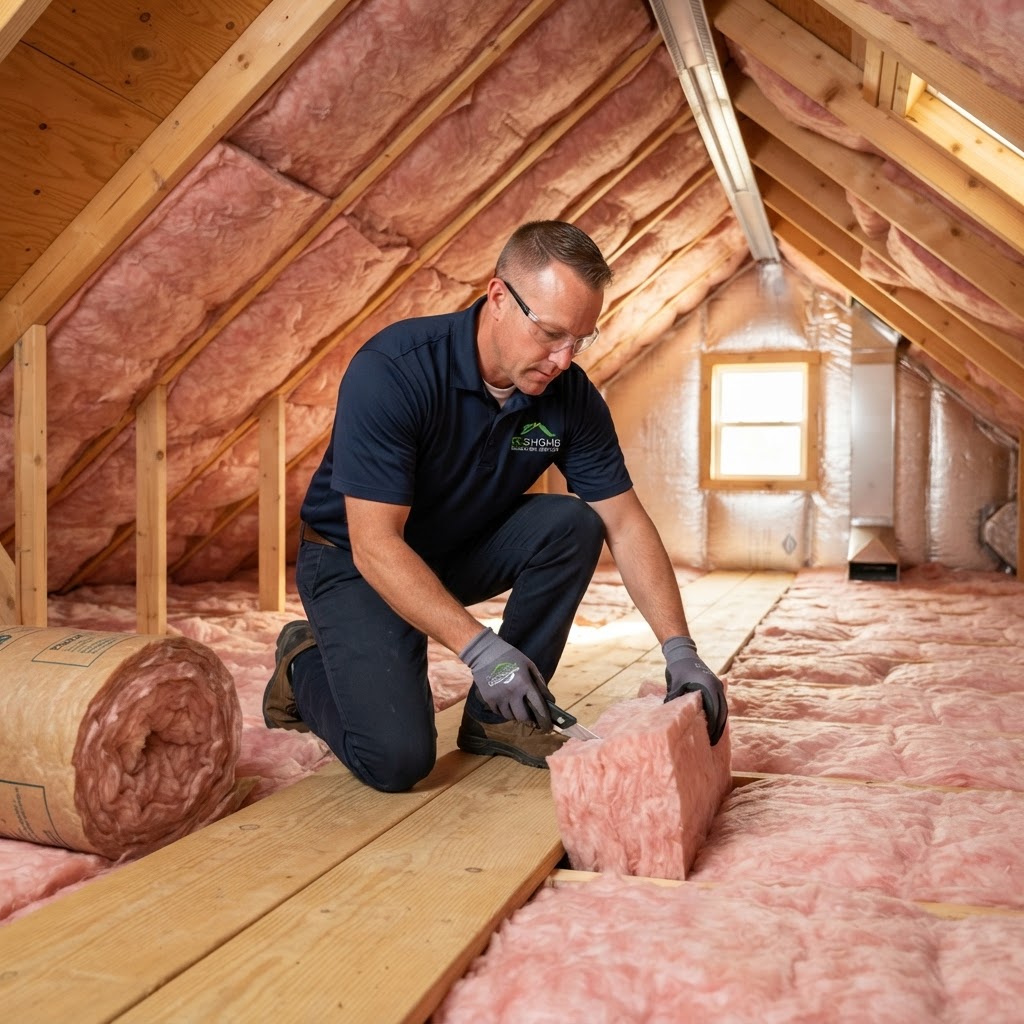
Mastering Home Insulation: Lower Energy Bills and Increase Comfort
Proper insulation is the silent hero of home maintenance. By creating a thermal barrier between your living space and the outdoors, you reduce the workload on your HVAC system, leading to significant savings on energy bills. Whether you are dealing with sweltering summers or freezing winters, a well-insulated home maintains a consistent, comfortable temperature. DIY projects include sealing air leaks with caulk, installing foam gaskets behind outlets, and adding door sweeps. Professionals should be consulted for attic insulation projects, especially in older homes. Annual inspections in the fall help identify weak spots. While DIY costs are under $100, professional jobs range from $1,500 to $3,500 with a quick return on investment.
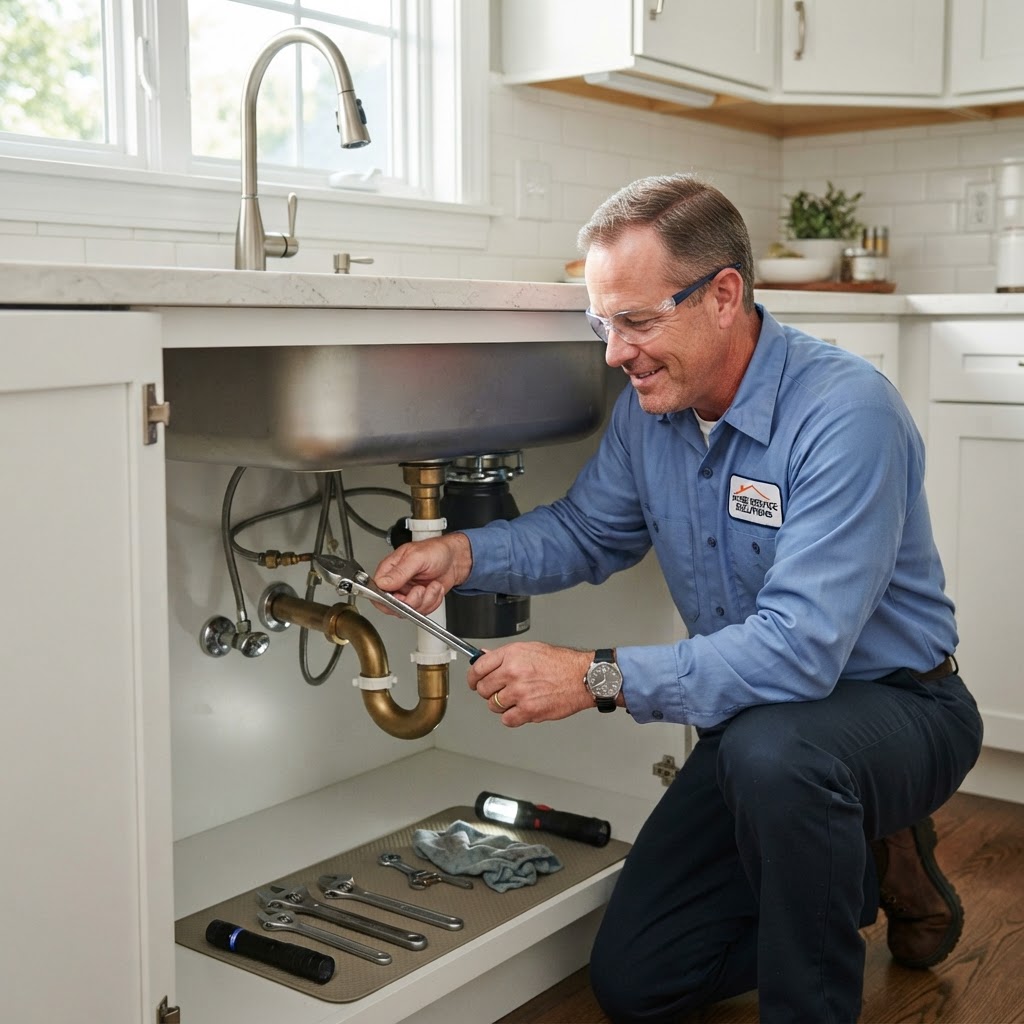
Essential Plumbing Tips Every Homeowner Must Know
Plumbing issues are the silent killers of home equity. From slow leaks to major pipe bursts, water damage can cost thousands of dollars in repairs if not addressed quickly. The most important step in home plumbing maintenance is understanding your systems before an emergency occurs. Locate your main water shut-off valve immediately. Avoid pouring grease down the drain, as it solidifies and causes blockages. Monitor your water pressure to keep it between 40-60 PSI. Use mesh drain strainers to prevent debris buildup. For DIY, handle minor tasks like tightening faucets or cleaning P-traps. Always call a professional for sewer line backups or slab leaks. Budget for a $150-$300 professional inspection every two years.
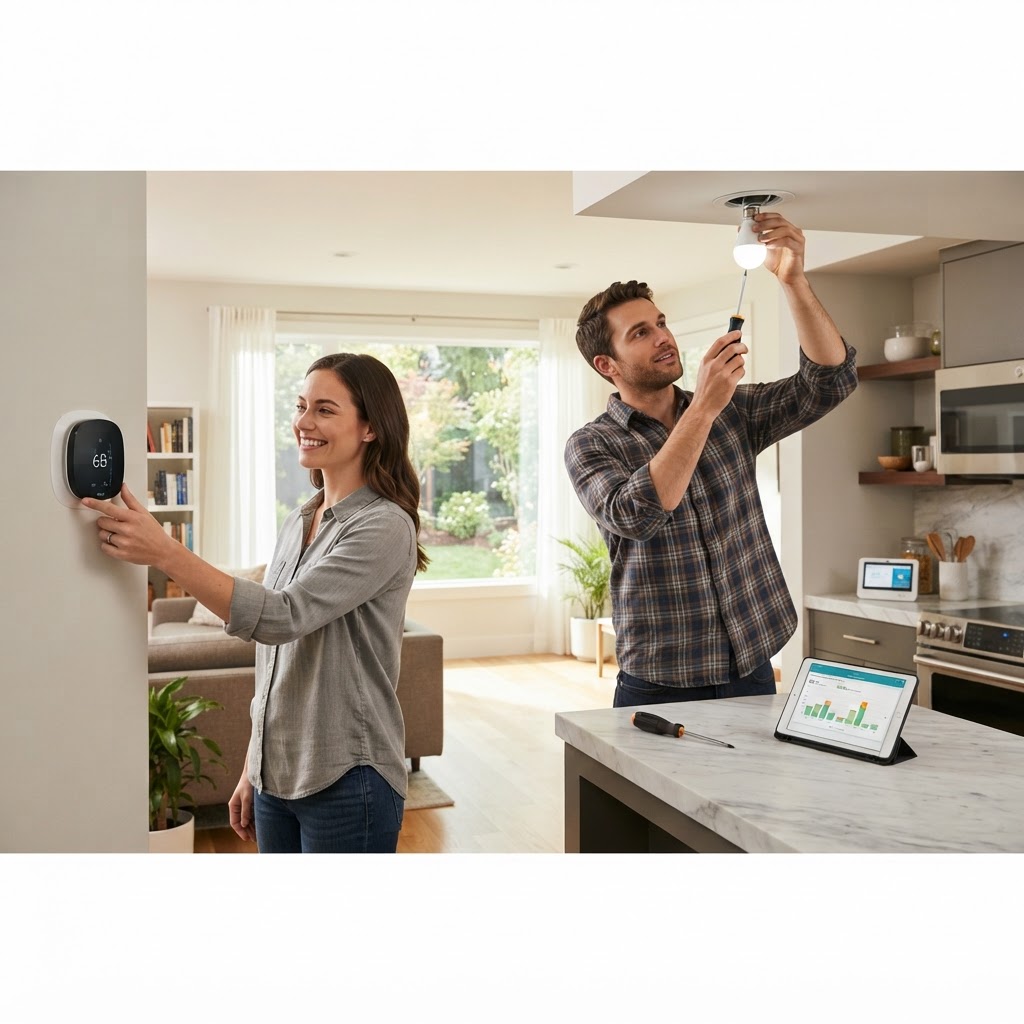
Smart Home Energy Efficiency: 5 Actionable Tips to Lower Your Bills
The most cost-effective way to improve energy efficiency is by preventing air leaks. Inspect your window frames and door sweeps for gaps. Using caulk or weatherstripping is an affordable DIY project that costs less than $50 and can save you up to 15% on monthly heating and cooling costs. Heat loss through the attic is a major energy drain. If your insulation is level with or below your floor joists, it is time to add more. While hiring a professional for blown-in cellulose is recommended for complete coverage, rolling out fiberglass batts is a manageable weekend DIY task. A smart thermostat learns your schedule and automatically adjusts temperatures when you are away. This prevents heating or cooling an empty house. Installation typically takes under 30 minutes, and most models pay for themselves within two years through energy savings. Replace every remaining incandescent bulb in your home with LEDs. LEDs use at least 75% less energy and last 25 times longer. This is the simplest energy-saving step a homeowner can take. Your HVAC system works harder when filters are clogged or coils are dirty. Replace your air filters every 90 days at a minimum. Additionally, schedule a professional tune-up once a year in the spring to ensure your system is running at peak performance, which can extend the lifespan of your unit by several years.
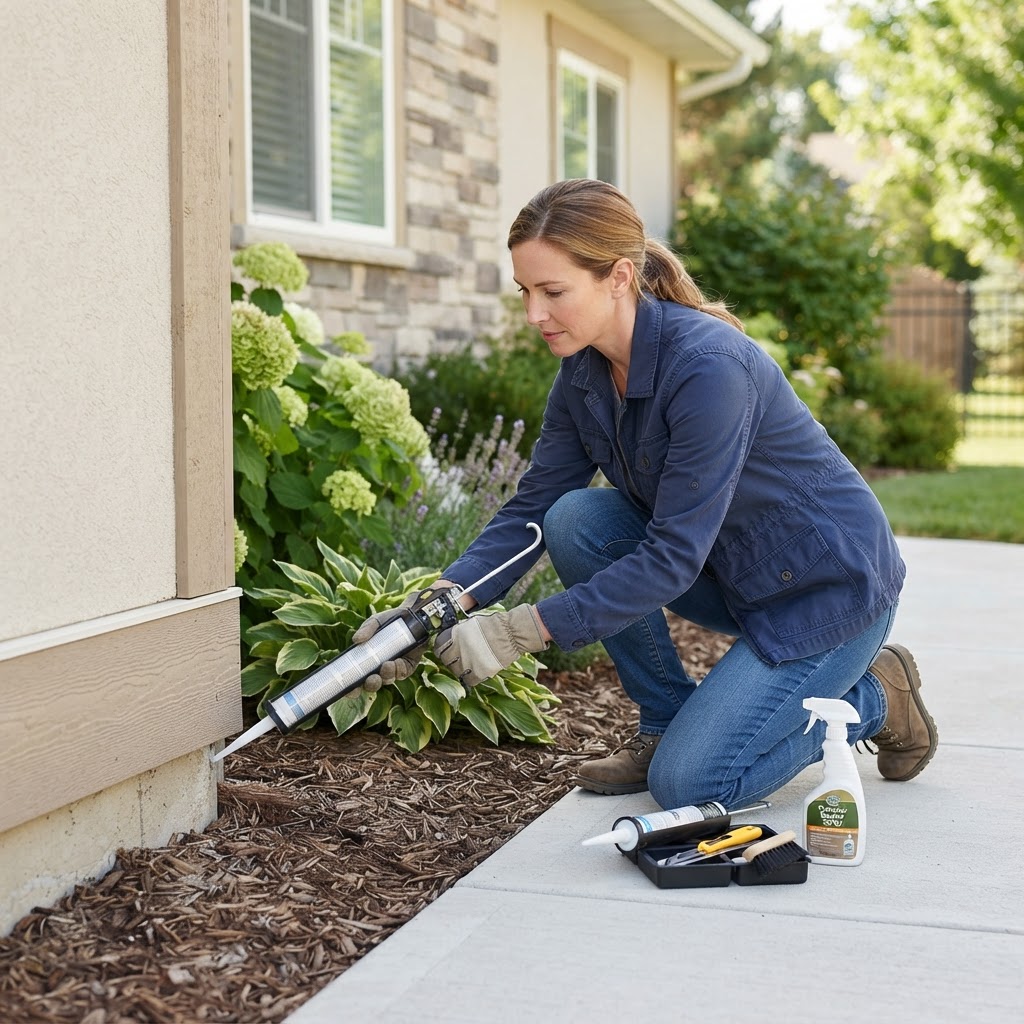
Essential Pest Control Tips: A Homeowner’s Guide to a Pest-Free House
Pests are more than just a nuisance; they can compromise the structural integrity of your home and pose significant health risks to your family. Keeping your living space protected requires a proactive approach that blends routine maintenance with professional intervention. Sealing entry points like gaps in the foundation or windows is vital. Fixing moisture issues and keeping food sealed in containers are also essential. While DIY solutions like traps are useful for minor issues, professional help is recommended for termite or bed bug infestations. Aim to perform major inspections in early spring and autumn to keep your home safe year-round.
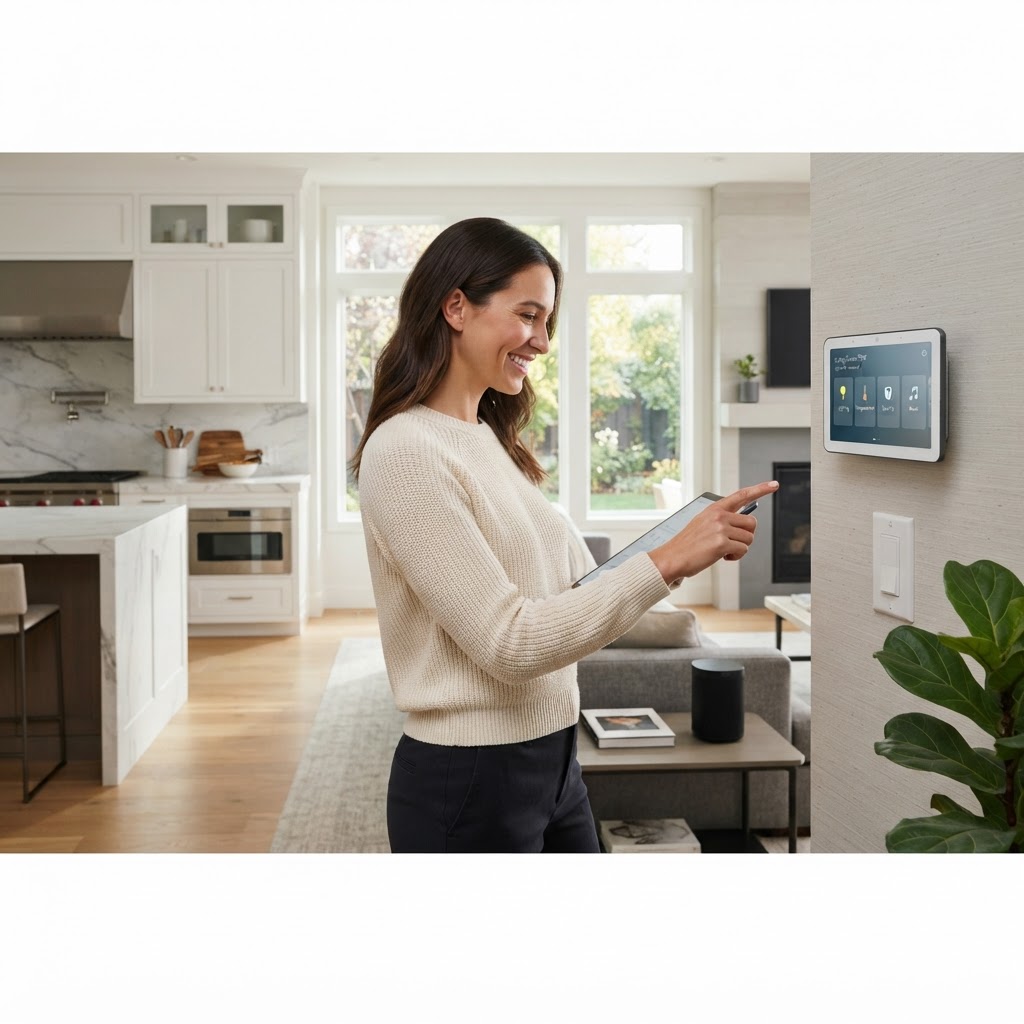
Smart Home Tech: A Practical Guide for Modern Homeowners
Integrating smart home technology can transform your living space into a more efficient, secure, and convenient environment. Key upgrades include smart thermostats, video doorbells, smart lighting, and leak detectors. Most devices are DIY-friendly, but complex security or electrical integrations should be handled by pros. Budgeting for a smart home is flexible, starting with small kits and expanding over time. Remember to keep firmware updated and maintain a strong Wi-Fi mesh network to ensure all devices stay connected.
Boost Your Curb Appeal: A Homeowner’s Guide to Smart Landscaping
Transforming your yard into a functional oasis starts with a solid plan. Before you buy a single plant, assess your current space. Observe how sunlight hits your yard throughout the day and identify drainage patterns. A well-planned landscape not only increases property value but also reduces maintenance time in the long run. Essential Steps for a Thriving Garden: Soil Testing, Native Plants, Mulching, Hardscaping. Timing Your Projects: In most regions, spring and autumn are the ideal times for planting. DIY vs. Professional Help: Many homeowners can handle tasks like mulching, planting small shrubs, or installing basic drip irrigation. Consider hiring a professional for complex drainage or structural work. Maintenance Best Practices: Follow a seasonal calendar to ensure year-round beauty and health for your plantings.

Home Security Essentials: A Comprehensive Guide to Protecting Your Property
Home security begins at the exterior. Start by ensuring all entry points are hardened. Deadbolts should be installed on all exterior doors, and strike plates should be reinforced with three-inch screws to prevent kick-in attacks. Motion-activated floodlights are an inexpensive, highly effective deterrent that discourages intruders before they reach your porch. Modern security is increasingly digital. Installing a video doorbell allows you to monitor deliveries and visitors from anywhere. Smart locks and integrated alarm systems provide peace of mind and are often manageable via smartphone apps. While many entry-level cameras are DIY-friendly, complex alarm systems with 24/7 monitoring services are best handled by professional installers to ensure proper sensor calibration and network security. Home safety is not a one-time project. Test all smoke and carbon monoxide detectors to ensure batteries are functional. Inspect window locks for signs of wear or rust. Trim back shrubs and trees near windows. Update passwords for all smart home devices. Security solutions can fit any budget. DIY basics can be set up for under $200. Professional systems range from $500 to $2,000. Combine physical hardening, smart technology, and disciplined habits to create a layered defense.
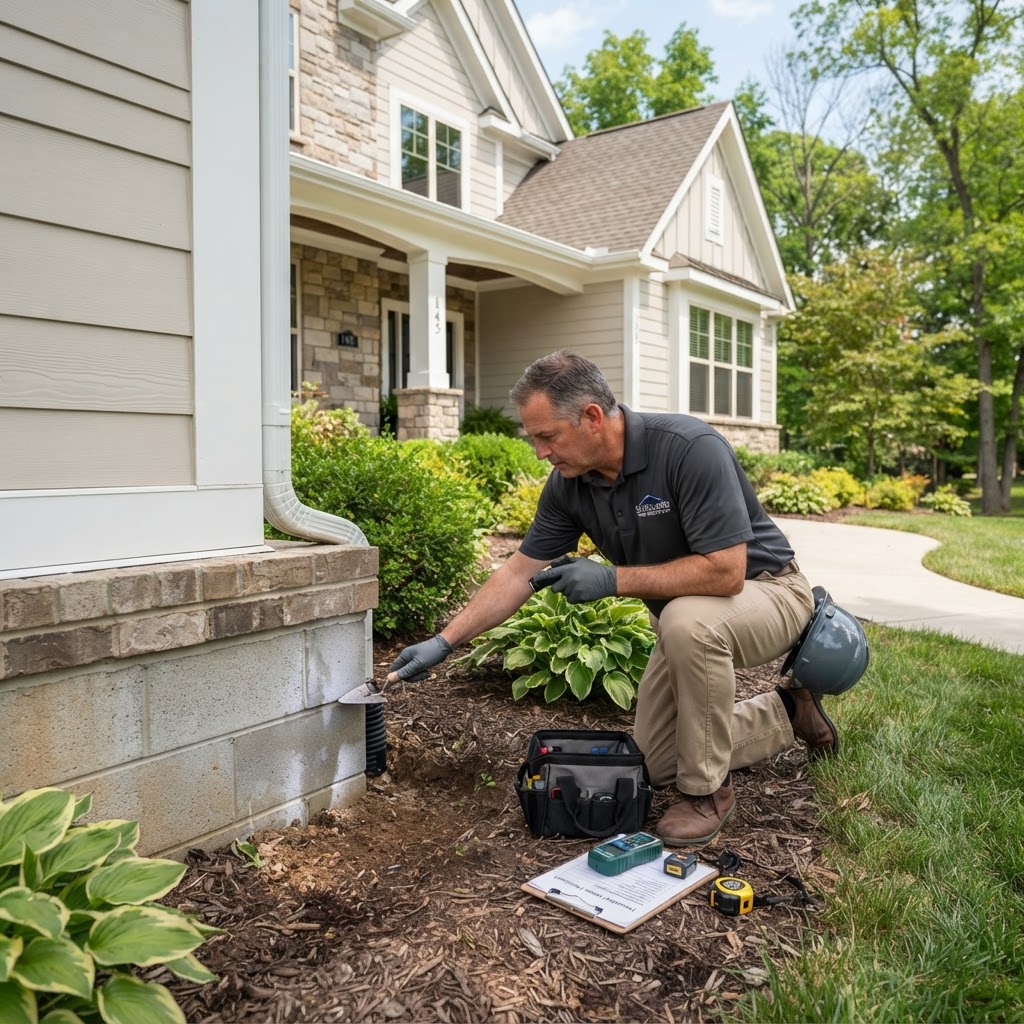
Foundation Health: A Homeowner’s Guide to Structural Integrity
Your home's foundation is its most critical structural component. Recognizing warning signs like stair-step cracks, sticking doors, or floor slopes is vital. Maintain gutters and soil grading to prevent moisture issues. Minor cracks can be DIY-fixed, but significant structural shifts require professional intervention and engineering reports to ensure long-term stability and property value.
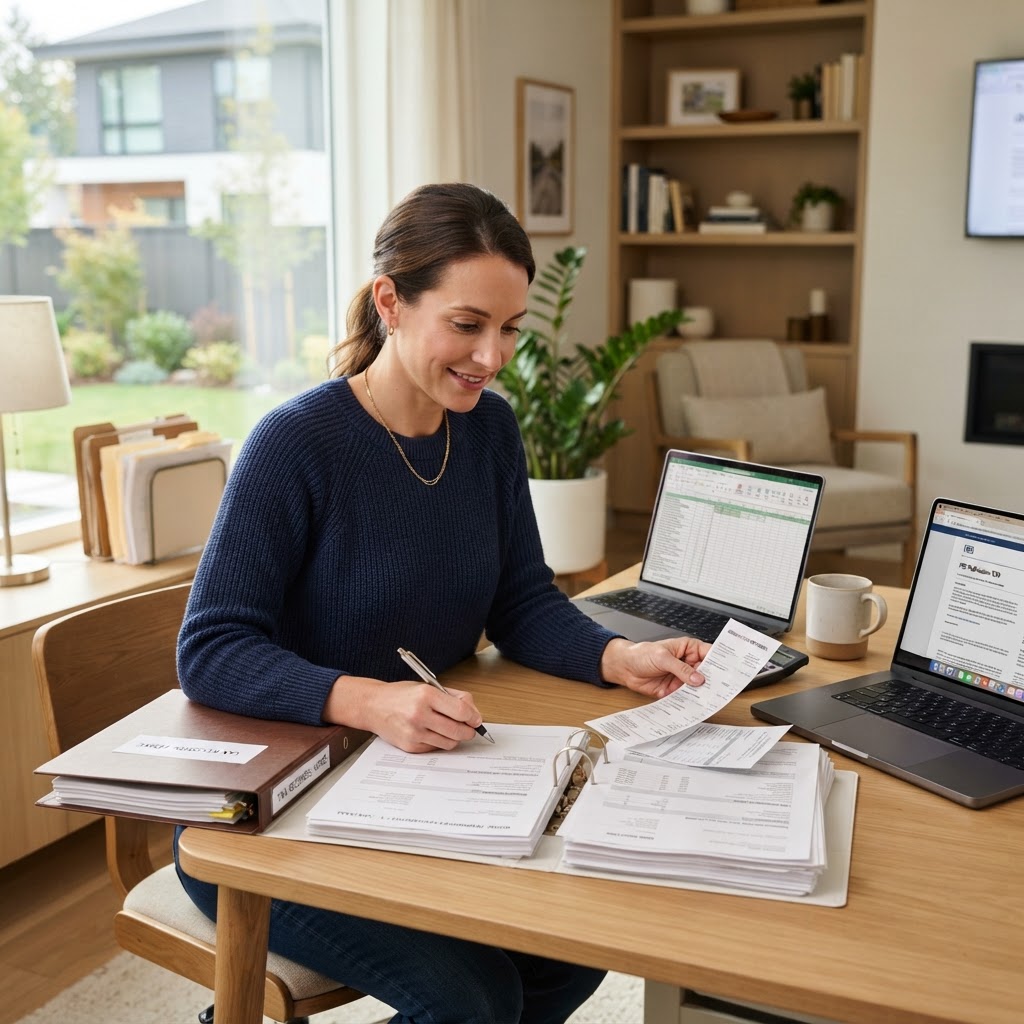
Homeowner Tax Guide: Maximizing Deductions and Legal Protections
Owning a home is a significant financial commitment. By understanding IRS rules and legal protections, you can save money and secure your investment. Focus on mortgage interest deductions, property tax limits, and the difference between home repairs and capital improvements. For long-term protection, consider estate planning and umbrella insurance policies. Always keep meticulous records of home improvements to maximize your cost basis and consult professionals for legal or complex tax advice.

Kitchen Upgrades: Smart Ways to Boost Your Home's Value
Kitchen Upgrades: Smart Ways to Boost Your Home's Value The kitchen is often called the heart of the home, and for good reason. It's where meals are prepared, families gather, and memories are made. If yours is feeling a little dated or just not serving your needs anymore, it might be time for an upgrade. Beyond aesthetics, strategic kitchen upgrades can significantly increase your home's value and improve your daily living experience. Let's explore some impactful options. Cabinet Refresh: Big Impact, Varied Costs Cabinets take up a lot of visual real estate, so updating them can make a dramatic difference. Depending on your budget and desired outcome, you have several choices: Refacing: This involves keeping your existing cabinet boxes and replacing the doors and drawer fronts. It's a more affordable option than full replacement, typically costing between $4,000 and $9,000 for an average-sized kitchen. It's often a DIY-friendly project for those comfortable with basic tools. Refinishing/Painting: If your cabinet boxes are in good shape, a fresh coat of paint or stain can work wonders. This is the most budget-friendly option, ranging from a few hundred dollars for DIY supplies to $2,000-$5,000 for professional services. It's a very achievable DIY project, but requires patience and attention to detail for a professional finish. Replacement: For a completely new look or if your current cabinets are in poor condition, full replacement is the way to go. Costs can range from $7,000 to $20,000 or more, depending on the material, style, and brand. This is generally a professional job. Countertop Makeover: Function Meets Style New countertops can instantly modernize your kitchen and improve functionality. Consider these popular materials: Laminate: The most budget-friendly option ($1,000 - $3,000 installed). Offers a wide variety of colors and patterns but is less durable than other options. Solid Surface (e.g., Corian): Mid-range cost ($2,000 - $4,000 installed). Seamless and non-porous, making it hygienic and easy to clean. Scratches can often be buffed out. Granite/Quartz: Premium choice ($3,000 - $7,000+ installed). Extremely durable, heat-resistant, and available in stunning natural patterns (granite) or consistent designs (quartz). Professional installation is highly recommended due to the weight and precision required. Appliance Upgrades: Efficiency and Aesthetics Modern appliances offer better energy efficiency and sleeker designs. While a full suite of high-end appliances can cost $10,000+, you can make a significant impact by replacing just one or two key items, like a refrigerator or range. Look for ENERGY STAR certified models to save on utility bills. This is usually a professional installation job, especially for gas ranges or built-in models. Backsplash Boost: Personality and Protection A new backsplash is a relatively inexpensive upgrade that adds a lot of personality. Options range from classic subway tile to intricate mosaics. Costs can vary from $300 for simple DIY tile jobs to $1,500+ for more complex designs or professional installation. It's a great DIY project for those with some tiling experience. Timing and Budget: Plan your upgrades thoughtfully. A phased approach, tackling cabinets one year and countertops the next, can make larger projects more manageable. Always get multiple quotes for professional work and factor in a 10-15% buffer for unexpected costs. Whether you're planning a full overhaul or just a few key updates, smart kitchen upgrades are an investment that pays off in enjoyment and home value.
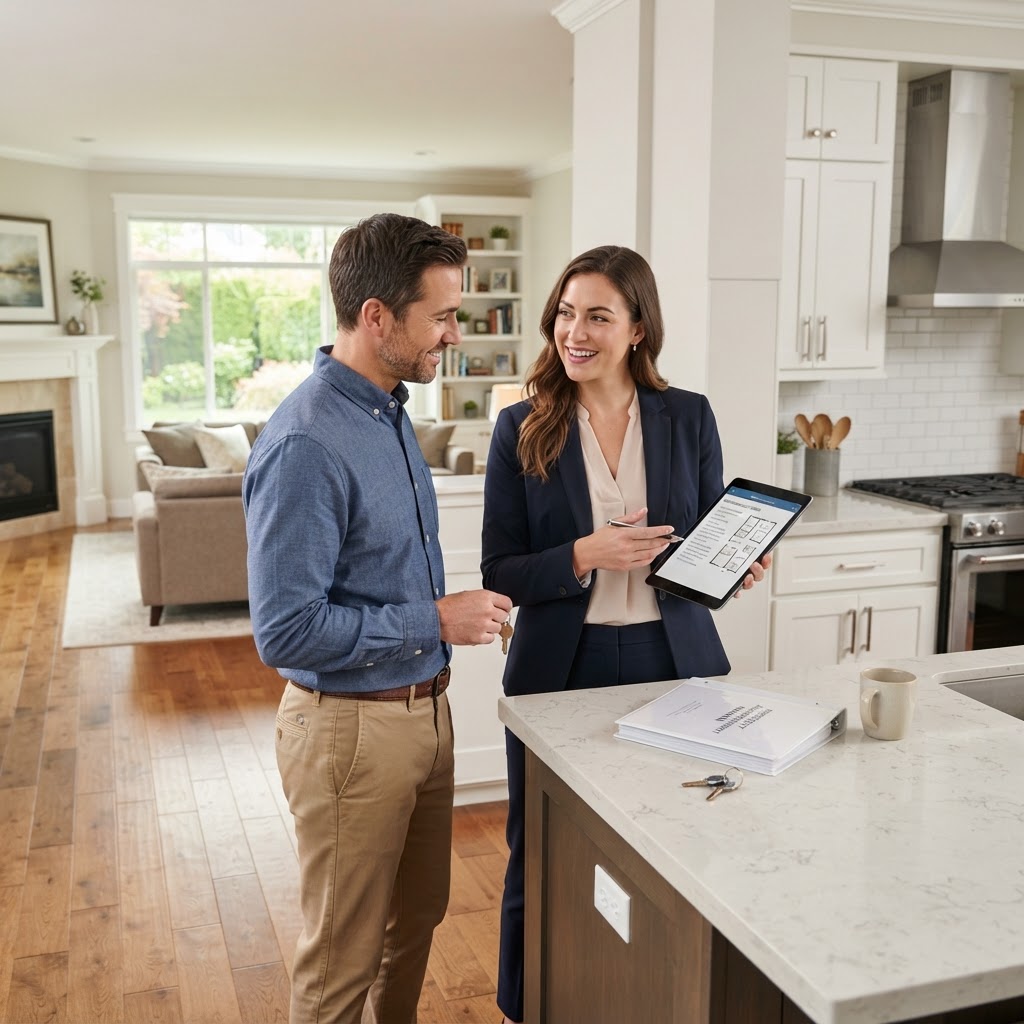
Mastering Property Management: A Guide for Homeowners and Landlords
Whether you own a single rental unit or a collection of properties, effective property management is the backbone of a successful real estate investment. It involves much more than collecting rent; it encompasses maintenance, tenant relations, and legal compliance. By staying organized, you can maximize your ROI and minimize stress. Many homeowners start by managing their properties themselves to save on costs. While this keeps more cash flow in your pocket, it requires a significant time commitment. If you have limited time or live far from your investment, the DIY approach can quickly become overwhelming. Hiring a professional property manager typically costs between 8% and 12% of the monthly rent collected. They handle everything from screening tenants to 24/7 maintenance. Finally, prioritize preventive maintenance like seasonal HVAC checks and gutter cleaning to save on long-term costs.
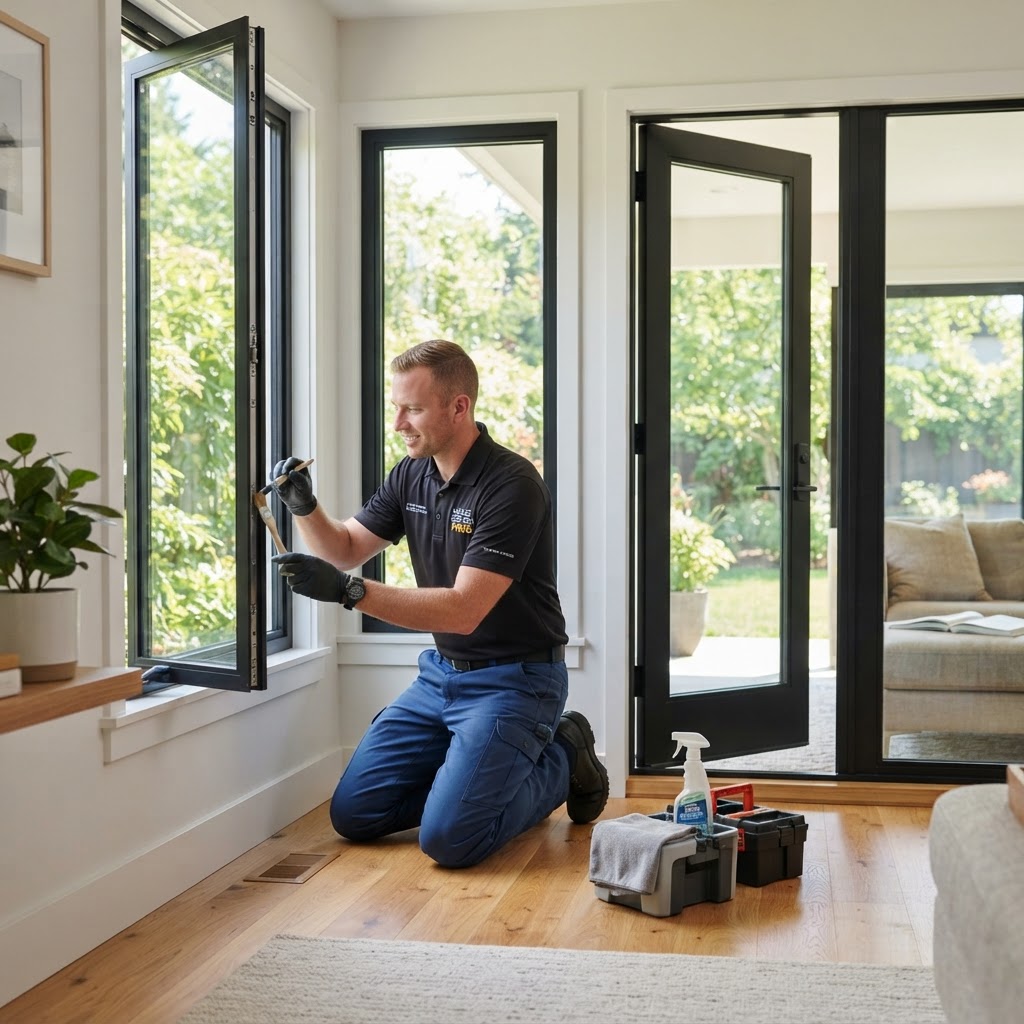
Essential Guide to Maintaining Your Home's Windows and Doors
Your windows and doors are the primary barriers between your comfortable indoor environment and the harsh outside elements. Regular maintenance not only increases the longevity of these components but also significantly improves your home's energy efficiency. By keeping them in top shape, you can lower your utility bills and prevent costly structural repairs down the line. Seasonal tasks include inspecting frames for cracks, checking weatherstripping, cleaning screens, and re-caulking ahead of winter. While small tasks like cleaning or weatherstripping are great DIY jobs, professional help is required for structural rot or issues with double-pane seals. Neglect can lead to high energy loss, whereas consistent maintenance saves thousands in premature replacement costs.
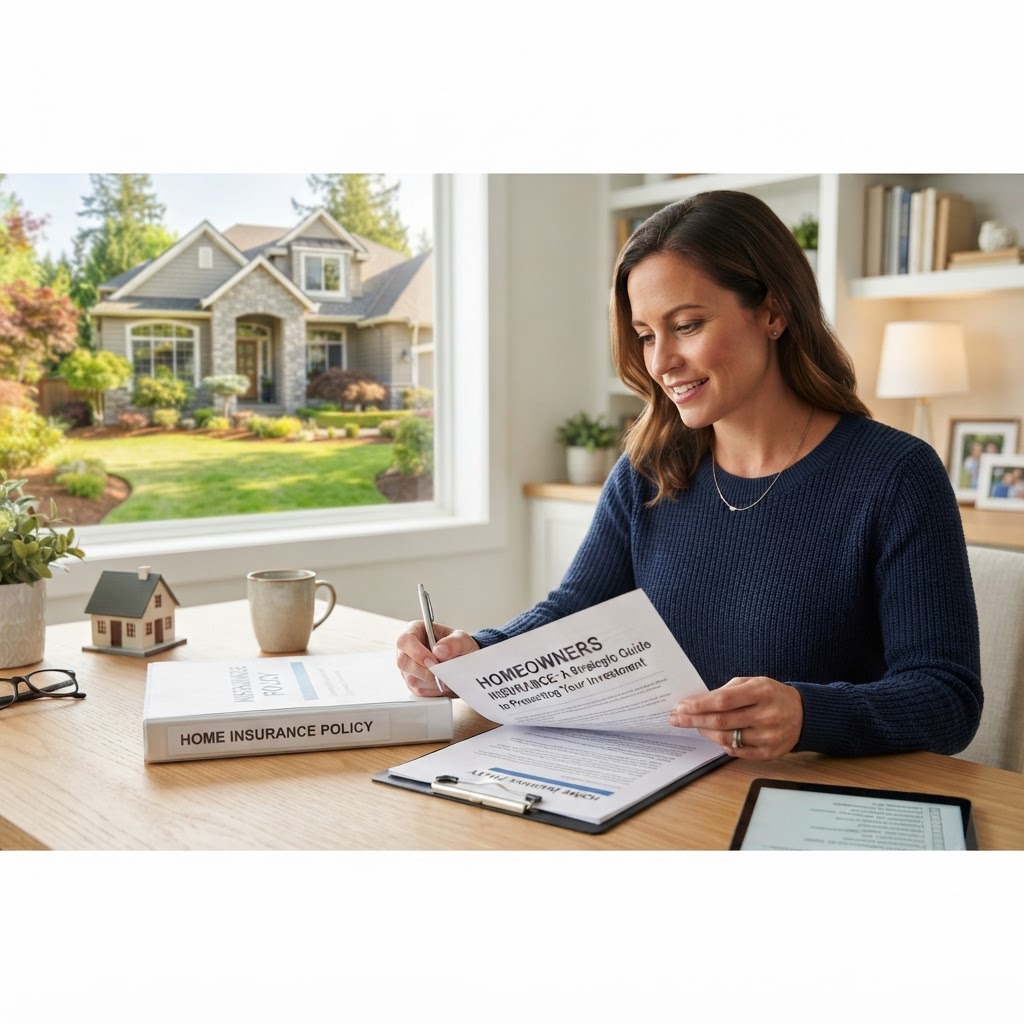
Homeowners Insurance: A Strategic Guide to Protecting Your Investment
Homeowners insurance is a vital financial tool. To maximize your protection, focus on regular maintenance to prevent risks, understand when to file claims to avoid premium hikes, and always update your coverage after major home improvements. Proper documentation of professional repairs is key to ensuring your claims are honored.

Flooring Upgrade Guide: How to Choose the Best Material for Your Home
Choosing the right flooring is a major home improvement task. From hardwood to luxury vinyl, this guide breaks down the best options for your home, including costs, maintenance tips, and the pros and cons of DIY installation versus hiring a contractor.
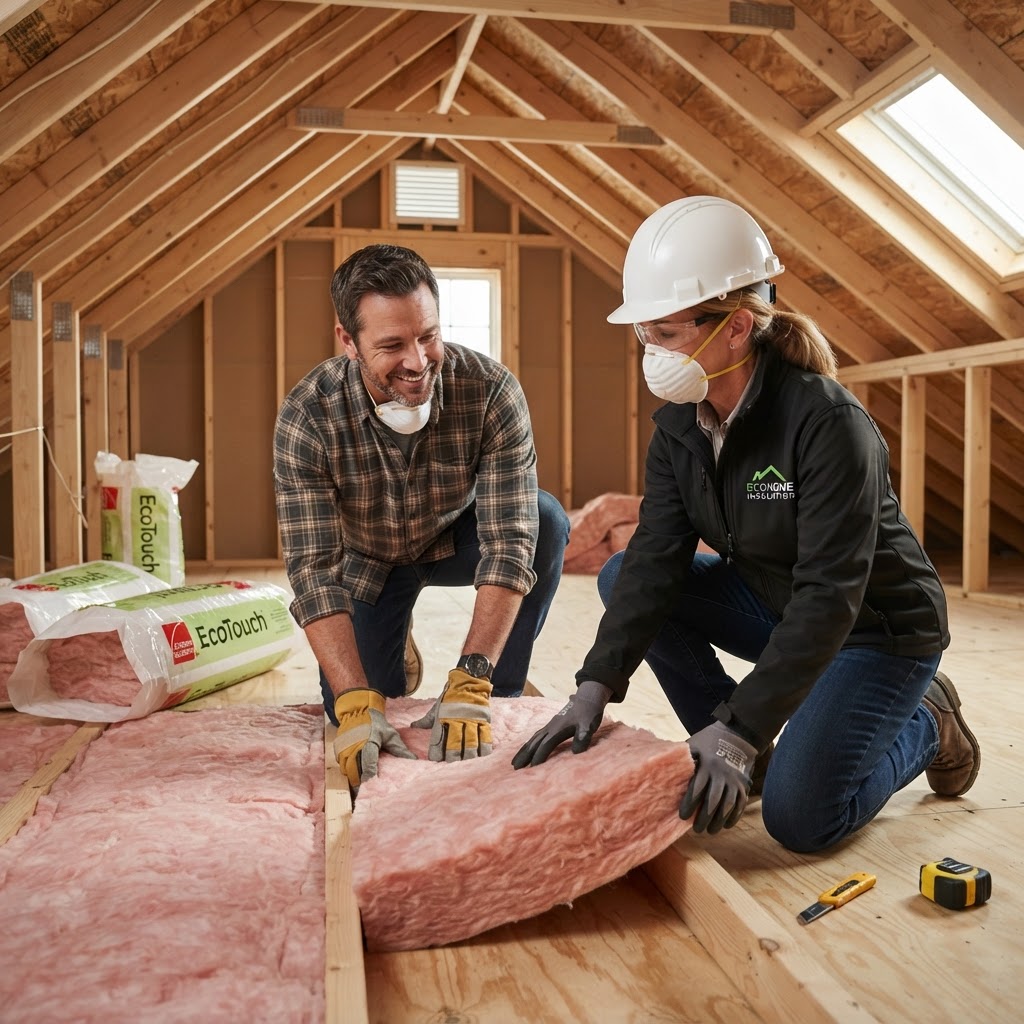
Maximize Comfort and Savings: A Homeowner’s Guide to Insulation
Proper insulation is the silent hero of home efficiency. It acts as a thermal barrier, keeping your home cozy in the winter and cool in the summer. Beyond comfort, upgrading your insulation can slash monthly energy bills by up to 20%. Top Areas to Insulate: Attics (heat rises, making the attic critical), Walls (if older than the 1980s, consider injectable foam), and Basements (prevents moisture). DIY projects include weatherstripping and pipe insulation, while professional help is best for wall cavities and crawl spaces. Assess insulation if you notice temperature swings or rising bills, ideally before the winter season hits.

Transform Your Yard: Essential Landscaping Tips for Homeowners
A beautiful landscape does more than just boost curb appeal; it provides a sanctuary for your family and adds significant value to your property. Before you start digging, take time to observe how your yard functions during different times of the day. Note where the sun hits, where water pools during rain, and which areas have high foot traffic. Professional landscaping projects can range anywhere from $3,000 to over $15,000 depending on the scope. If you are DIY-focused, you can complete most garden bed projects for under $500. Allocate 20% of your budget for unexpected soil amendments, irrigation repairs, or specialized equipment rentals. Focus on native plants, mulching, hardscapes, and irrigation efficiency. DIY simple tasks but hire professionals for structural work. Fall is the best time for planting.
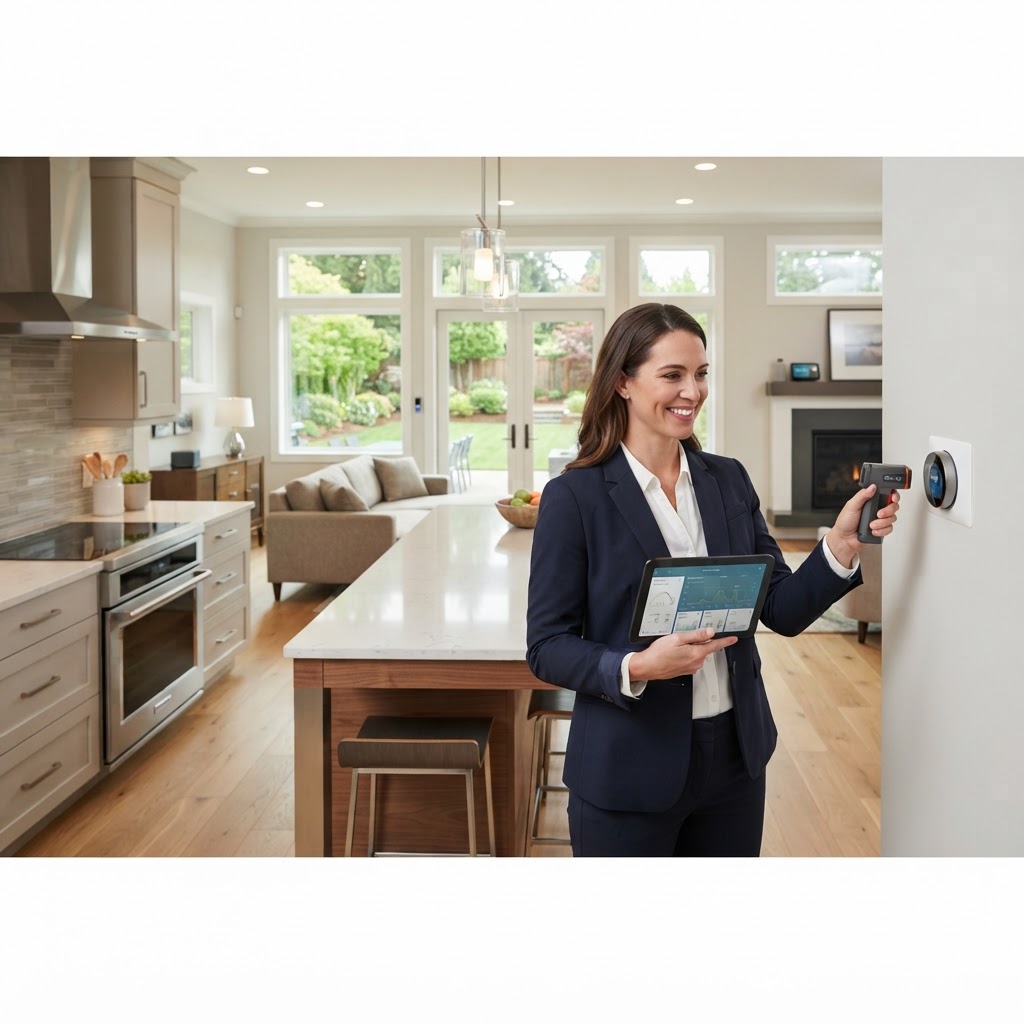
Smart Home Renovations: Investing for Maximum ROI
Strategic Home Improvements. For most homeowners, property is their largest asset. To increase its value, you must treat renovations as an investment strategy rather than just aesthetic updates. Prioritizing projects that offer the best return on investment (ROI) is essential for long-term equity growth. The Best ROI Projects. Kitchen Upgrades: A full remodel is expensive, but minor updates like painting cabinets, replacing hardware, and installing modern appliances can offer high returns. Bathroom Refresh: Focus on regrouting, modern lighting, and low-flow fixtures. These small changes modernize a space without the cost of a full demolition. Curb Appeal: First impressions matter. Landscaping, power washing, and painting your front door are low-cost, high-impact tasks. Energy Efficiency: Investing in smart thermostats, modern insulation, or high-efficiency windows lowers monthly utility bills and attracts eco-conscious buyers. When to DIY vs. Hire a Pro. DIY is tempting, but knowing your limits is critical to your budget. Basic painting, gardening, and deep cleaning are perfect weekend DIY tasks that cost little more than supplies. However, electrical work, plumbing, and major structural changes should always be left to licensed professionals. Budgeting for Renovations. Before starting any project, create a strict budget including a 20% contingency fund for unexpected issues. Avoid over-improving for the area. Timing Your Improvements. If you plan to sell within five years, focus on neutral updates. If you are staying long-term, prioritize upgrades that improve your quality of life today.

Homeowner Tax Guide: Maximize Your Deductions and Savings
Owning a home is often the largest investment you will make, but did you know it can also serve as a powerful tool for tax efficiency? Understanding the legal and financial landscape of homeownership is crucial to keeping more money in your pocket at the end of the year. Key deductions include mortgage interest, property taxes, and energy-efficient upgrade credits. It is vital to distinguish between repairs and capital improvements, as the latter can reduce your capital gains tax when you sell. While tax software is useful for simple filings, professional guidance from a CPA is recommended for those who have refinanced or completed major renovations. Always maintain a digital folder of receipts and mortgage documents to ensure you have proof for every claim. Proactive record-keeping is the best way to maximize your financial returns as a homeowner.
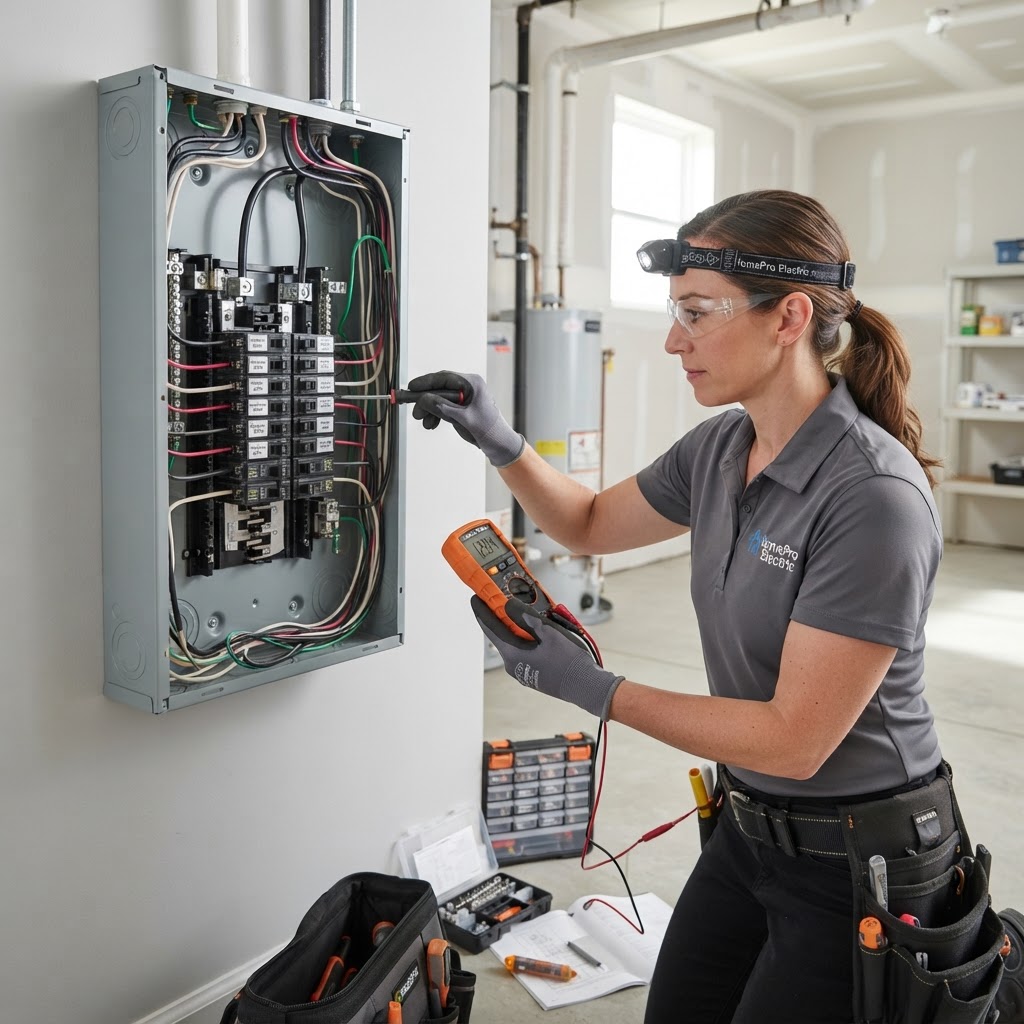
Essential Electrical Maintenance: A Homeowner’s Guide to Safety
Your home electrical system is the lifeblood of modern comfort. Regular maintenance prevents fire hazards and protects your electronics. Homeowners should test GFCIs monthly, inspect cords for damage, and clearly label their breaker panels. While simple tasks like changing faceplates are DIY-friendly, complex jobs like panel upgrades require licensed professionals. Expect to spend $150-$300 for minor repairs and significantly more for major system upgrades. Always call a pro if you smell burning, hear buzzing, or experience frequent tripped breakers.
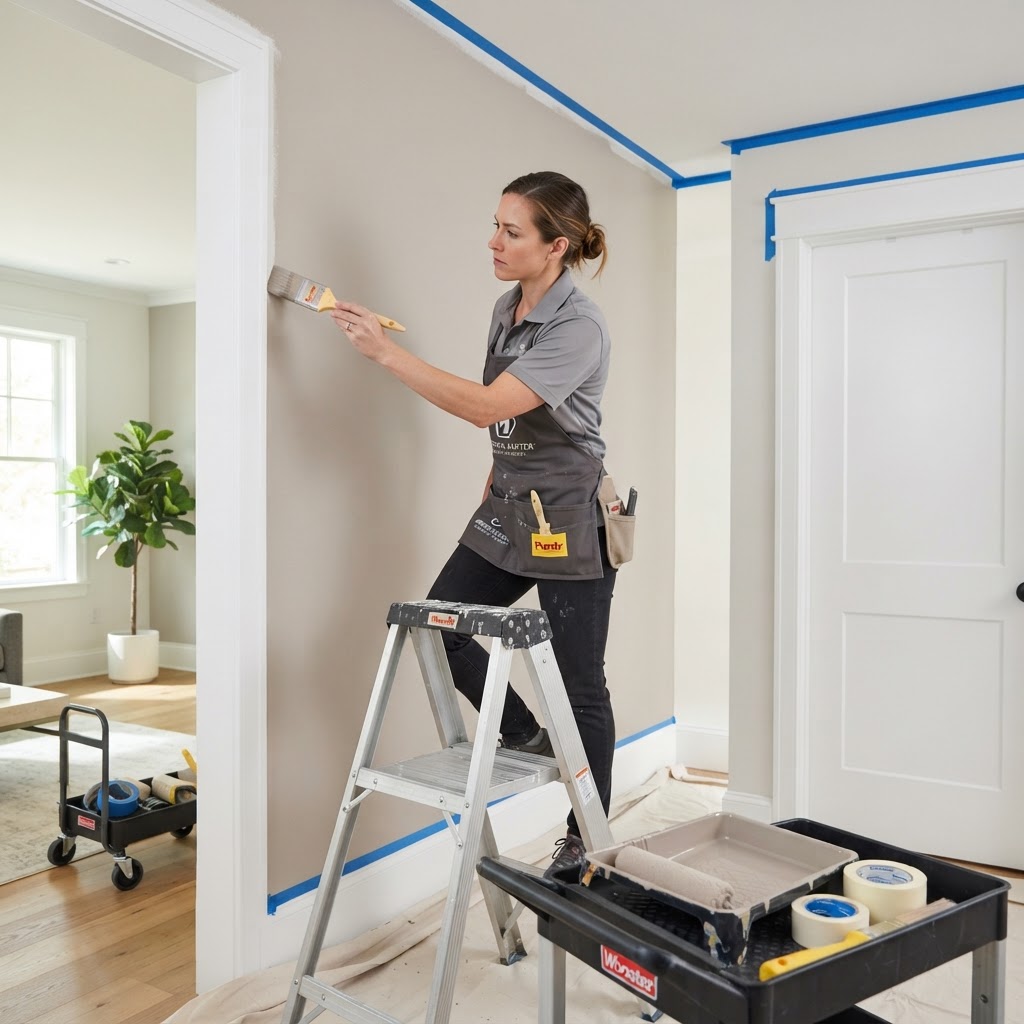
Mastering Interior Painting: A Pro Guide to a Flawless Finish
The secret to a professional paint job is 90% preparation. Clean your walls, use quality tools, and pick the right finish for your room. Flat paint is great for ceilings, while eggshell is perfect for living areas. DIY is great for saving money, but professionals are worth it for trim and complex spaces. Remember to remove painter's tape while the paint is tacky for clean lines.

Smart Energy Efficiency Tips to Lower Your Monthly Utility Bills
Reducing your home energy consumption is one of the most effective ways to lower monthly utility costs while simultaneously increasing your property value. Whether you are dealing with drafty windows or an aging HVAC system, making small, calculated upgrades can yield significant dividends over time. High-impact upgrades include sealing air leaks, upgrading to LED lighting, installing a programmable thermostat, and insulating your attic. Many efficiency tasks, such as sealing gaps, are perfect for DIYers, but HVAC upgrades or window replacements require professional help. Consistency is key; perform seasonal maintenance like cleaning AC coils in the spring and servicing heating systems in the fall.
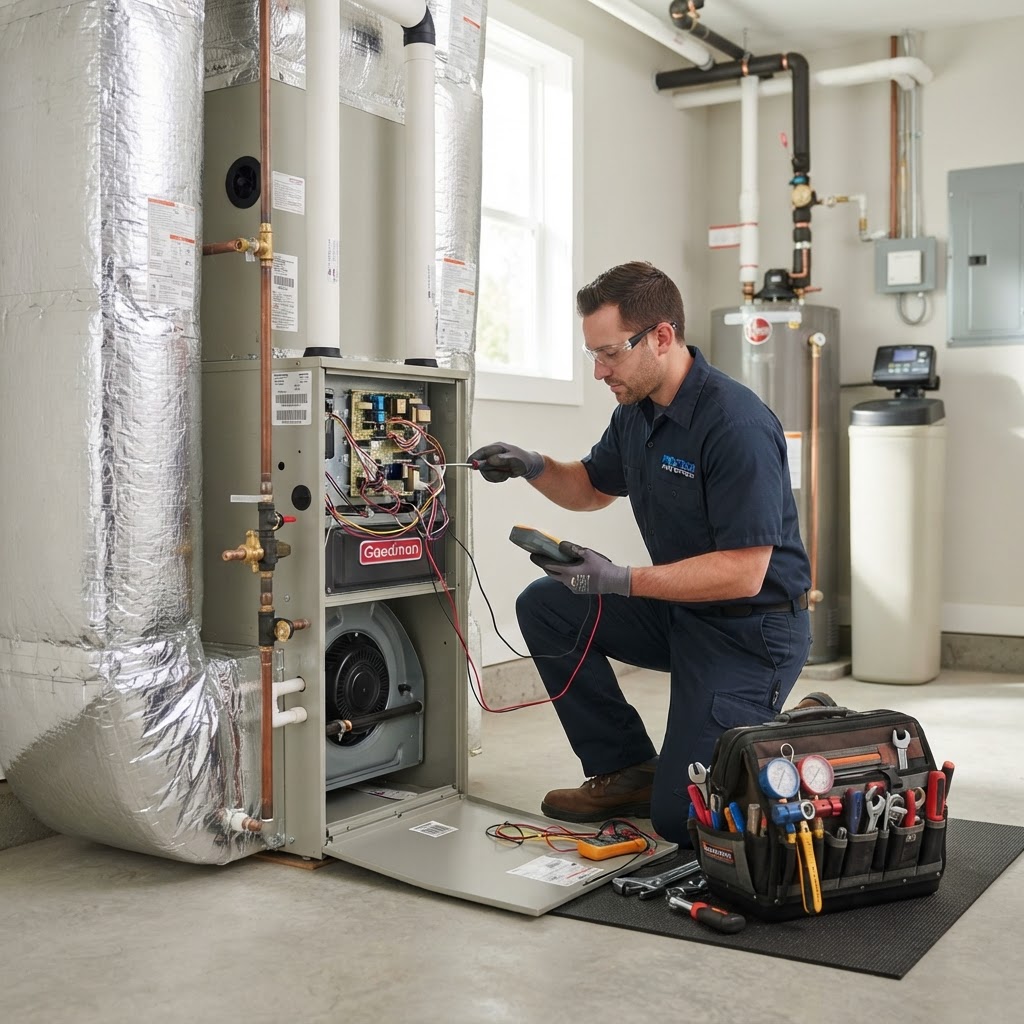
HVAC Maintenance Guide: How to Keep Your Home Comfortable Year-Round
Your HVAC system is the heartbeat of your home. Regular maintenance extends lifespan, saves energy, and prevents costly repairs. DIY tasks include changing air filters every 30-90 days, clearing debris from the outdoor condenser, and verifying thermostat calibration. Professional tune-ups are recommended twice annually for in-depth cleaning, refrigerant checks, and electrical inspections. These services typically cost between $75 and $150, which is significantly cheaper than a full system replacement. Pay attention to strange noises or utility spikes, as these are often precursors to major failures.
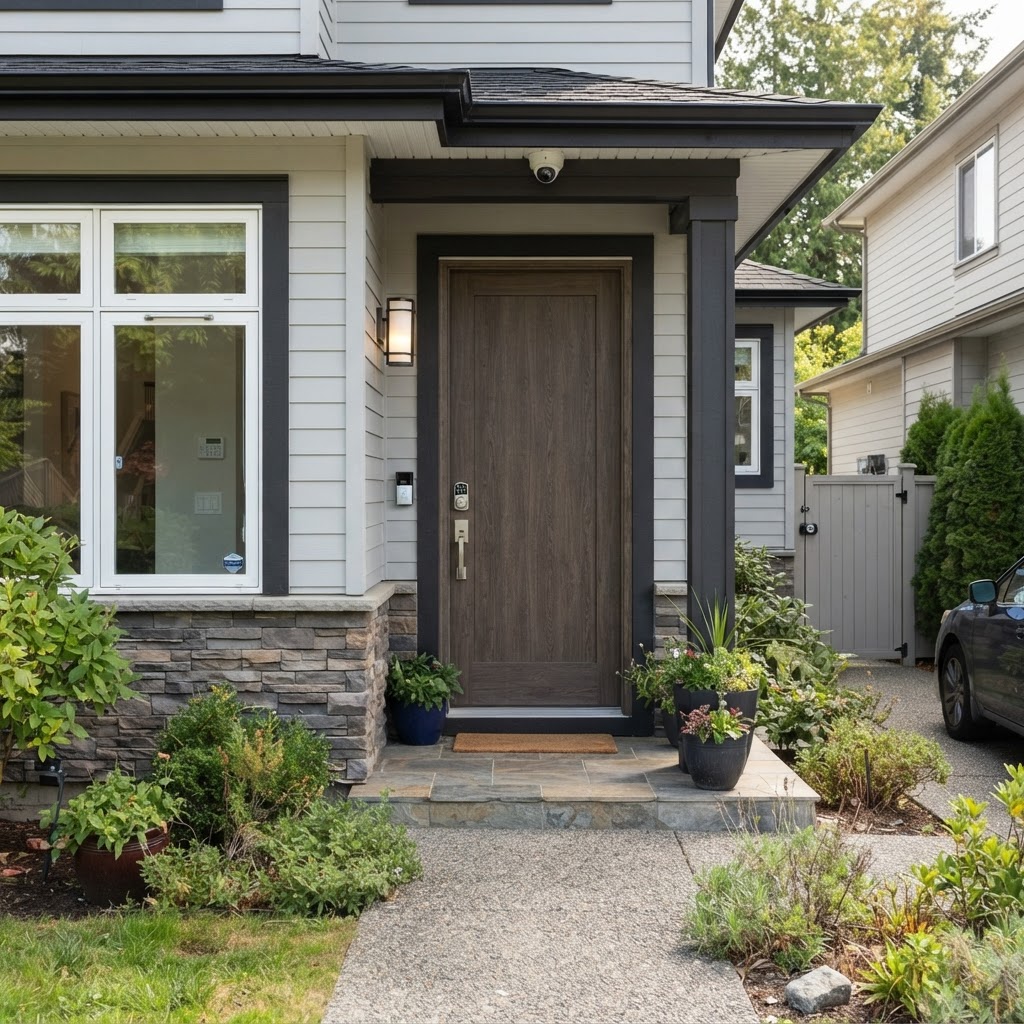
Essential Home Security Checklist: Protect Your Property Today
Strengthen Your Home Security. Securing your home is not just about installing a complex alarm system; it is about creating layers of protection that deter intruders. Whether you are a new homeowner or looking to update your current setup, these actionable steps will help you maximize your safety while keeping costs manageable. The Perimeter Defense. Your first line of defense is the exterior of your property. Ensure that all entry points are well-lit and physically secure. Install motion-activated LED floodlights around garages, driveways, and backyards. Reinforce door strikes with 3-inch screws to prevent forced entry. Use smart locks or deadbolts with a minimum grade-2 rating for all exterior doors. Smart Technology Integration. Modern security systems are more accessible than ever. For a DIY approach, video doorbells and internal cameras offer excellent surveillance for under $500. Professional systems often range from $800 to $2,500 depending on the complexity of the sensor network and monitoring requirements. Maintenance and Testing. Home security is not a 'set it and forget it' task. You should perform the following maintenance tasks every six months: Test all smoke and carbon monoxide detectors. Check the battery levels on all wireless sensors. Update firmware on any connected smart security devices to patch vulnerabilities. Review the status of your window locks and replace worn weather stripping that might hide security gaps. DIY vs. Professional Installation. Most basic security hardware like video doorbells and smart locks can be installed in an afternoon with basic hand tools. However, if you are looking to wire a comprehensive whole-home alarm system with hardwired cameras and complex monitoring zones, professional installation is highly recommended to ensure proper configuration and prevent system failure during emergencies. By investing time and a small budget into these practical security measures, you provide your family with peace of mind and protect your most valuable investment from potential threats.

Essential Plumbing Tips Every Homeowner Must Know
Plumbing issues are the silent killers of home equity. From minor leaks to catastrophic bursts, staying ahead of maintenance can save you thousands. Learn your shut-off valves, watch what you flush, combat clogs with baking soda, and flush your water heater annually. DIY is fine for simple faucet fixes, but major sewer or pressure issues require professional plumbing help to avoid costly damage. Regular inspections are the best way to prevent expensive emergency repairs.
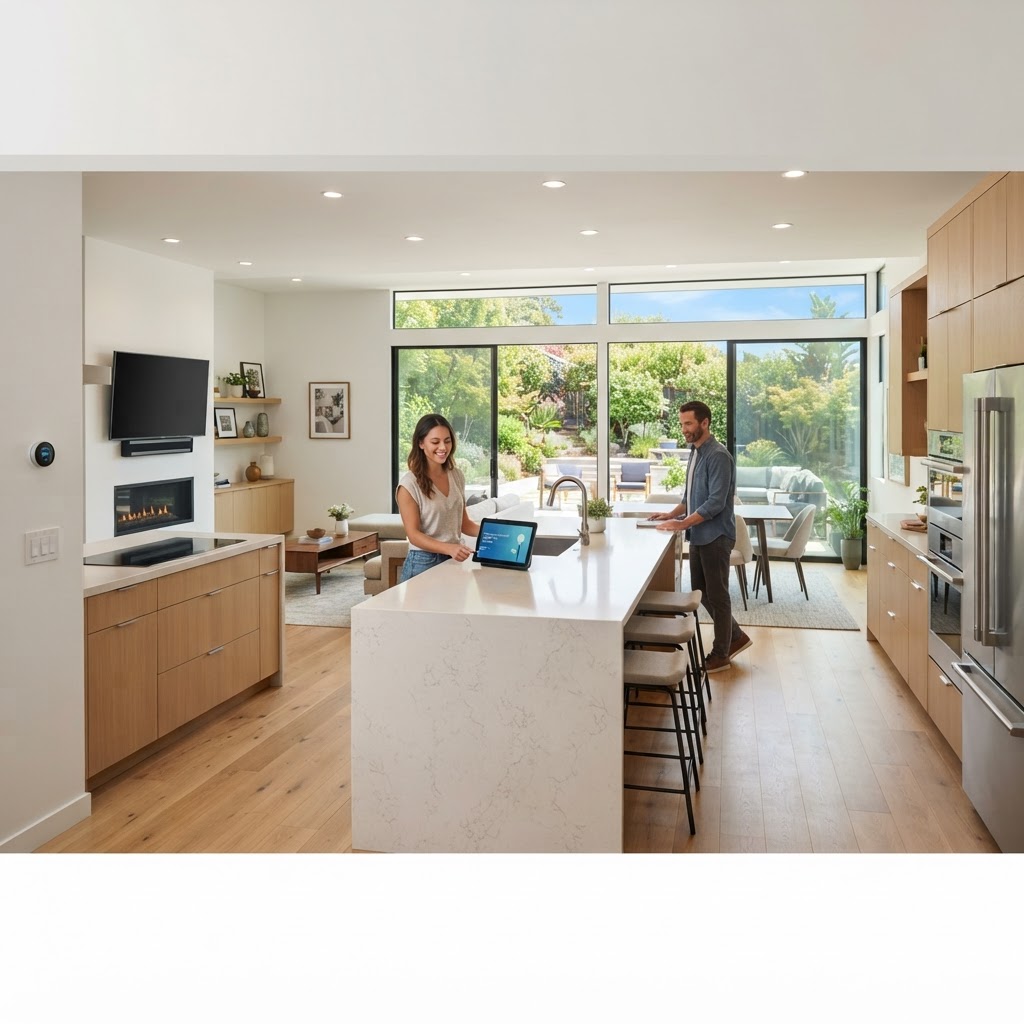
Smart Home Renovations: How to Maximize Your Property Investment
Not every home improvement project delivers the same return on investment. Focusing on high-impact projects like kitchen refreshes and curb appeal increases home value efficiently. DIY tasks like painting and light fixture replacement are perfect for budgets, but complex work like plumbing or electrical systems should always be left to professionals to avoid safety hazards. Always research your local real estate market to avoid over-improving beyond the neighborhood standard, and time your renovations to take advantage of contractor availability during off-peak seasons.
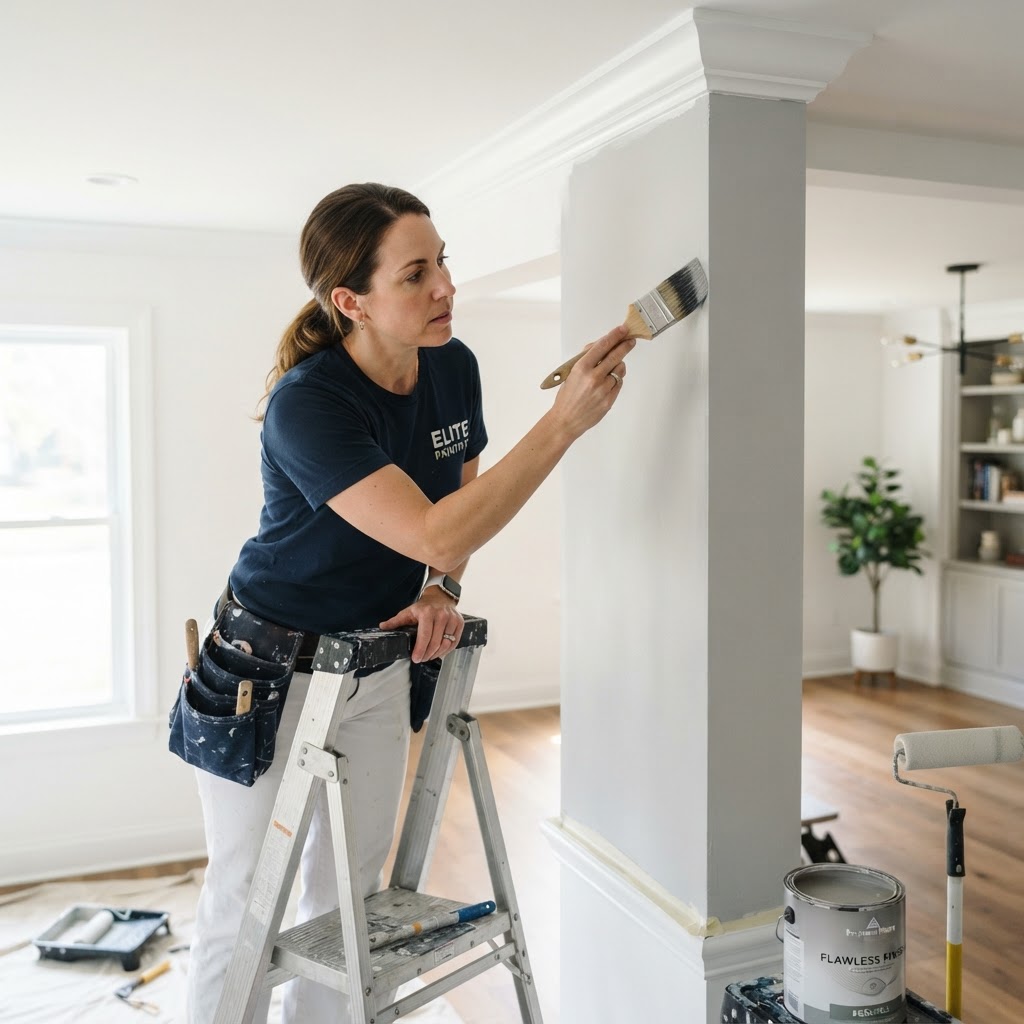
Mastering Interior Painting: A Pro Guide to a Flawless Finish
The Importance of Preparation Before you even open a can of paint, remember that the secret to a professional-looking finish lies in the preparation. Skipping steps like sanding, cleaning, and priming is the most common mistake DIYers make. Begin by washing walls with mild soap to remove dust and oils, then fill any holes with high-quality spackle. Once dry, sand the spots smooth and ensure all surfaces are debris-free. Choosing the Right Tools High-quality tools save you time and provide superior coverage. For most interior projects, you will need: A high-density foam roller for smooth surfaces, an angled sash brush for precise edging, a sturdy extension pole to avoid constant ladder repositioning, and quality painter's tape. To DIY or Hire a Pro? Deciding between DIY and professional help comes down to your budget and time. If you are tackling a single bedroom, a DIY project costs $100–$300 in materials. If you are painting an entire home, high ceilings, or complex trim, professionals offer speed and insurance. Timing and Execution Temperature and humidity play significant roles in paint curing. Aim to paint when the indoor humidity is low. Always use a primer, especially if transitioning from dark to light colors, to ensure the topcoat adheres properly. Two thin coats are almost always superior to one thick coat for durability.
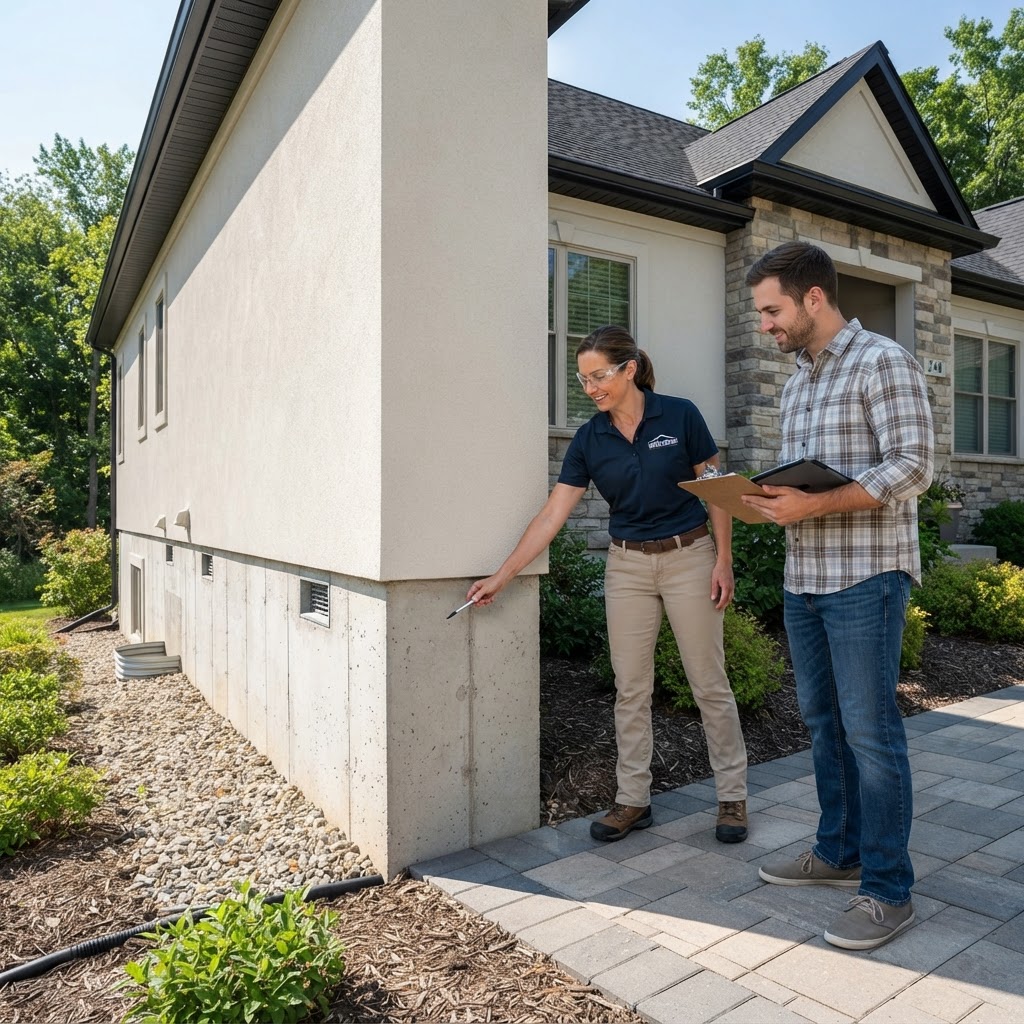
Foundation Maintenance: A Homeowner’s Guide to Structural Integrity
Your foundation is the bedrock of your home, supporting everything from the roof to the basement. Ignoring minor issues can lead to severe structural failure. Regular inspections are the most cost-effective way to preserve your home’s value. Catching issues early is critical. Walk the perimeter of your home and look for diagonal cracks in drywall or masonry, sticking doors, or gaps around windows. Manage water by extending downspouts and ensuring proper drainage. DIY repairs are only for minor cosmetic cracks; structural issues require professional engineers. Budget $200-$1000 for maintenance and $5,000+ for repairs.
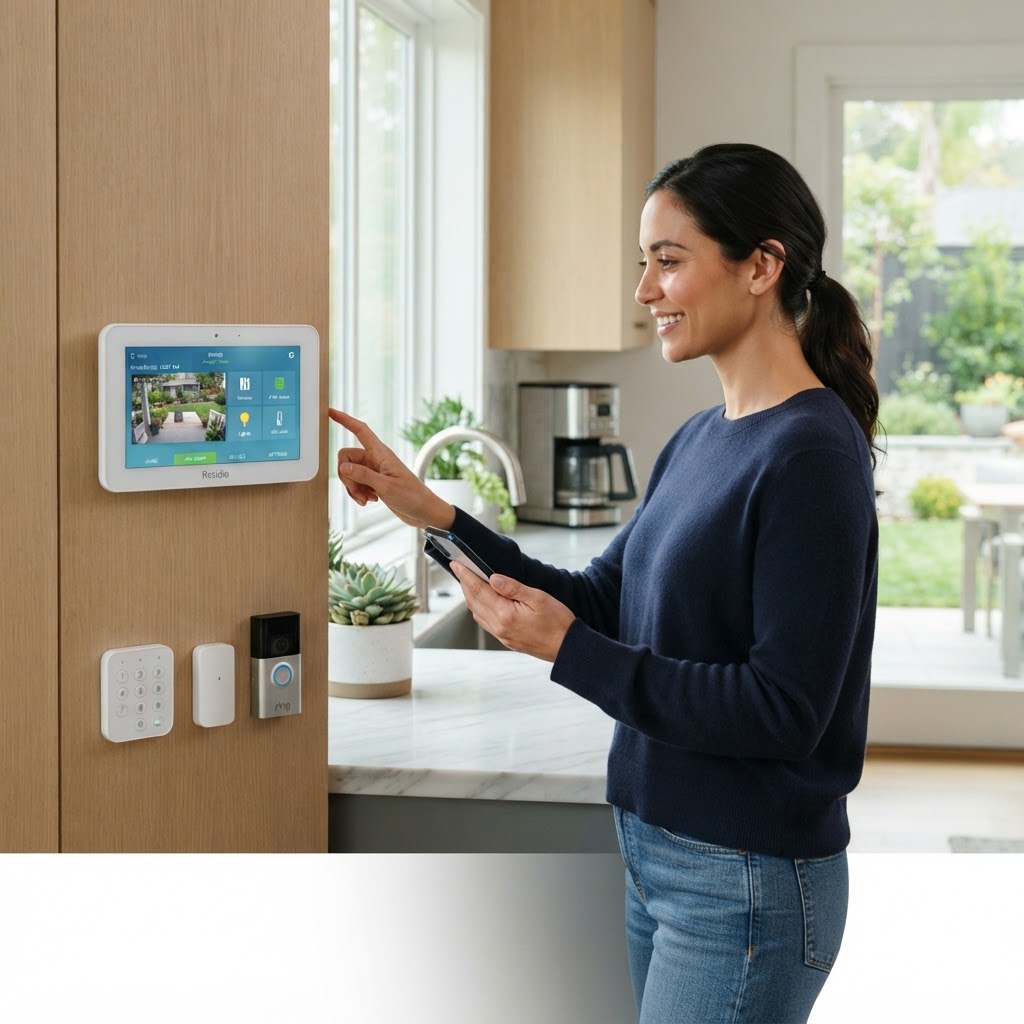
Smart Home Security: A Comprehensive Guide to Protecting Your Property
Home security is about creating layers of protection that deter intruders and alert you to emergencies. Start with perimeter defense by installing motion-activated lights, costing $30-$100. Enhance your surveillance with smart doorbells; DIY is simple, but professional hardwiring costs $150-$300. Strengthen entry points by installing solid-core doors and heavy-duty strike plates. For alarm systems, DIY kits offer flexible monitoring for $15-$40 per month. Always prioritize testing smoke detectors and updating device firmware to keep your home safe.
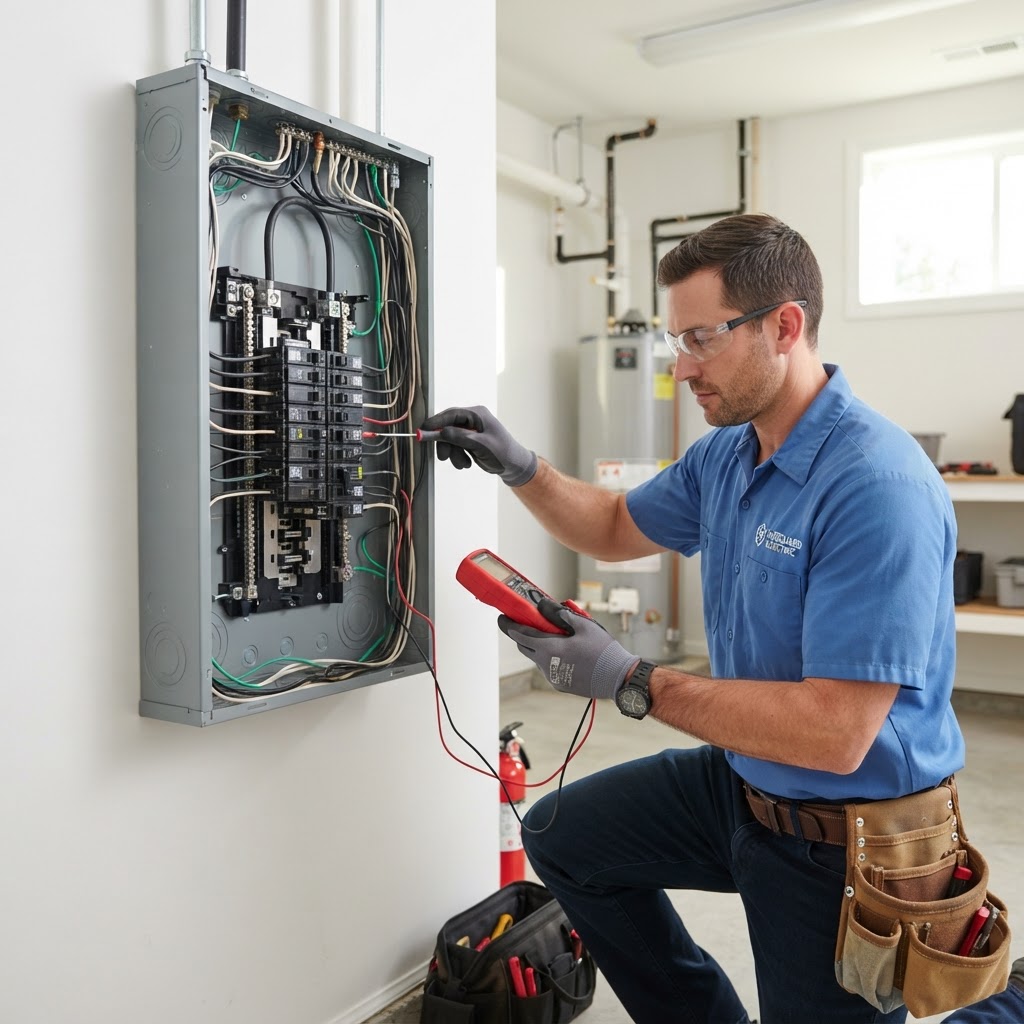
Electrical Safety and Maintenance: A Homeowner’s Guide
Your home's electrical system is the lifeblood of modern comfort, yet it is often overlooked until something goes wrong. Regular maintenance and awareness can prevent fire hazards and costly repairs. Understanding when to tackle a minor fix and when to call a professional is key to home safety. While many home improvements are great DIY projects, electrical work carries significant risks, including fire and lethal shock. You can safely handle replacing light bulbs, updating switch plates, and resetting breakers. Leave complex work like rewiring or panel upgrades to licensed electricians. Warning signs that you need a pro include flickering lights, warm outlets, burning smells, or frequent breaker trips. Expect to pay between $150 and $350 for basic service calls, with larger upgrades costing significantly more. Aim for an inspection every 5-10 years. Prioritize safety by keeping the breaker area clear and considering AFCI upgrades for older homes.

Smart Home Renovations: A Guide to High-ROI Property Investments
When considering an investment strategy for your home, it is essential to distinguish between projects that boost personal comfort and those that genuinely increase market value. Focus on projects like minor kitchen remodels, exterior curb appeal, and energy-efficient upgrades. Budget roughly 10-15% of your home's value on projects to avoid over-improving. DIY is perfect for cosmetic tasks, but always hire licensed professionals for plumbing, electrical, or structural work to ensure safety and code compliance.

Homeowners Insurance: A Complete Guide to Protecting Your Investment
Homeowners insurance is more than just a monthly bill; it is your primary financial shield against unexpected disasters. Whether you are dealing with storm damage, theft, or liability claims, having the right policy is crucial for peace of mind. Most standard policies, known as HO-3 policies, cover your dwelling, other structures, personal property, and liability. However, it is vital to remember that not everything is included by default. For example, damage from floods and earthquakes typically requires separate, supplemental policies. Before a crisis strikes, review your declarations page to confirm your dwelling coverage limits match your current home reconstruction costs. Take actionable steps like conducting an annual inventory, reviewing deductibles, bundling policies, and improving home security. When it comes to filing a claim, always get professional estimates from contractors for minor damage before deciding to file, as small claims can lead to premium hikes. For major structural issues, contact your insurance adjuster immediately. Review your policy annually to ensure your coverage aligns with your current home value.
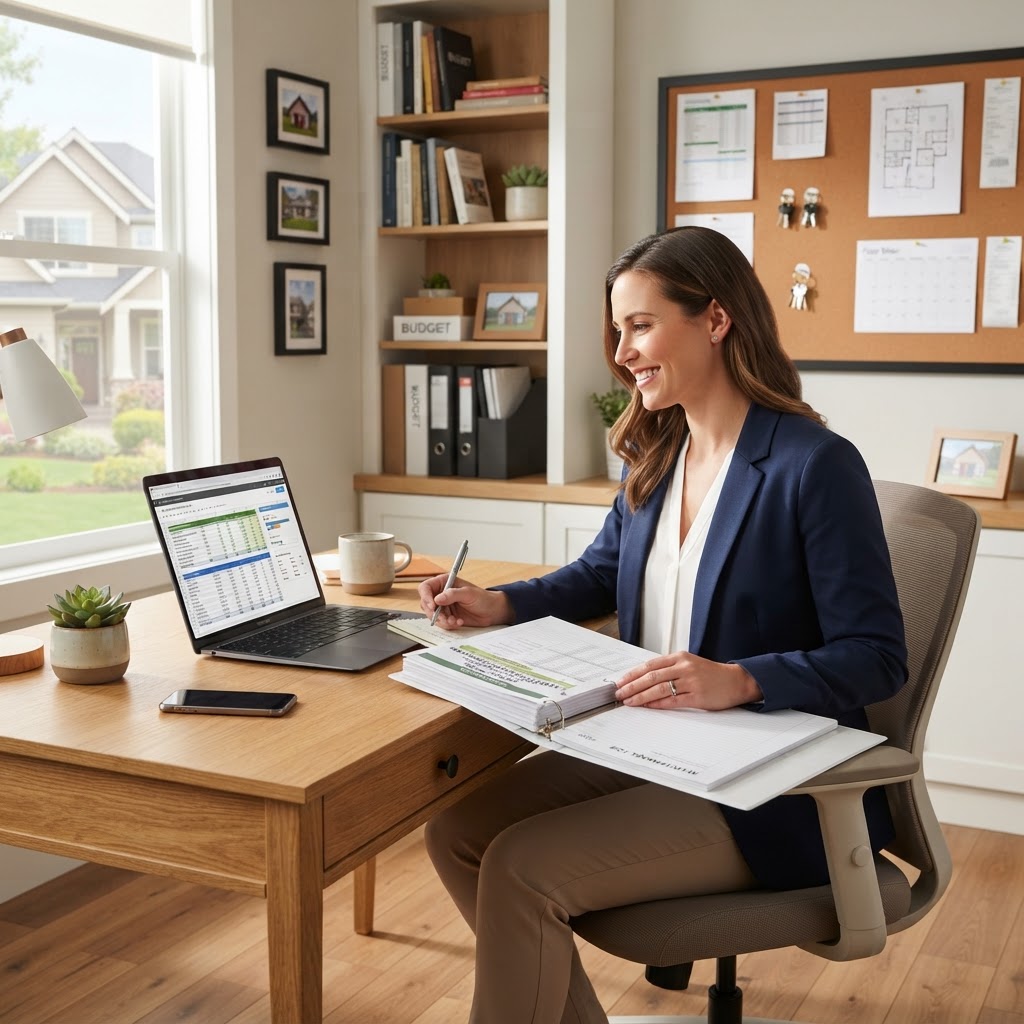
Mastering Property Management: A Guide for Homeowners
Property management is more than just collecting rent; it involves the ongoing maintenance, financial oversight, and legal compliance required to keep your investment profitable. Deciding between managing your own property and hiring a professional comes down to your time, proximity, and budget. Preventative maintenance is the cornerstone of protecting your asset value. Focus on seasonal inspections, appliance care, and keeping thorough documentation. Always hire licensed pros for electrical, plumbing, or HVAC work. Finally, set aside 10% of income for maintenance to ensure you are always prepared for unexpected repairs.
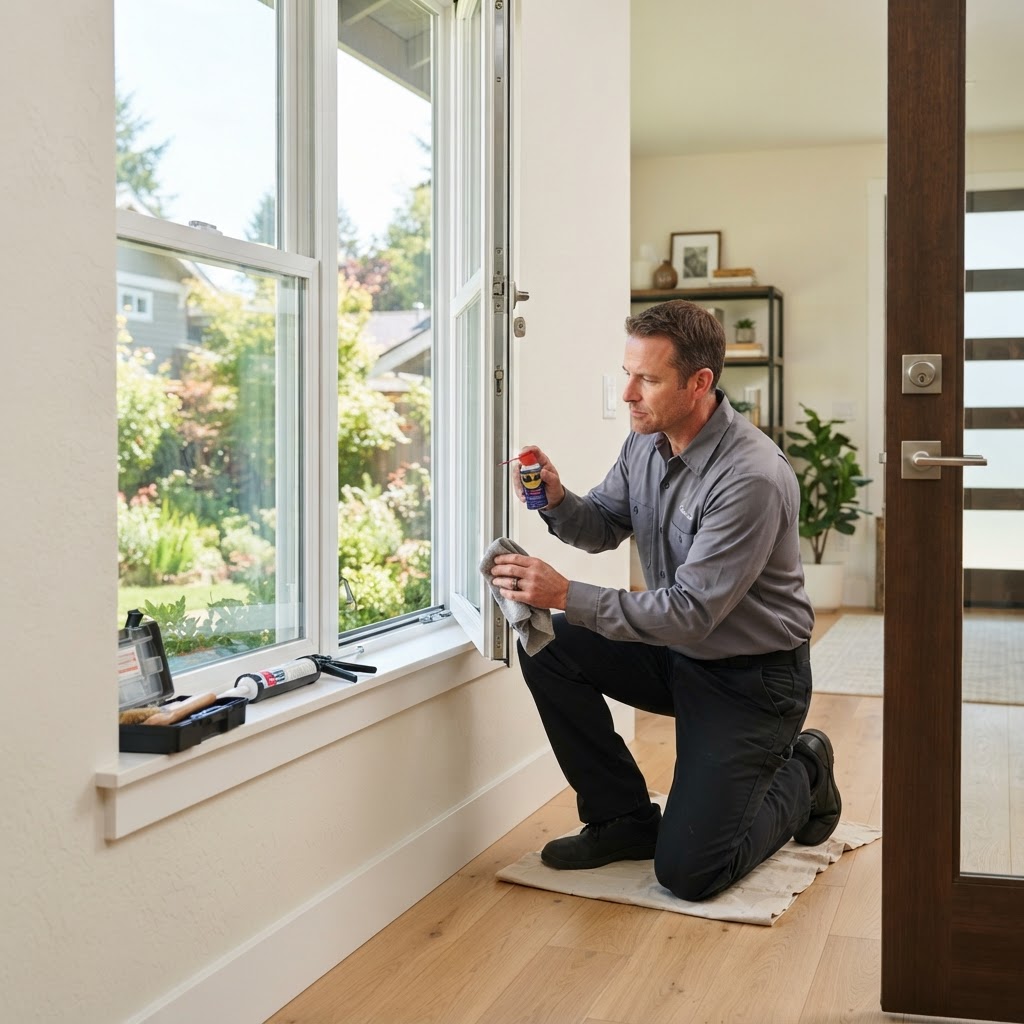
Essential Guide to Maintaining Your Windows and Doors
Your windows and doors are the primary barriers between your home and the elements. Regular maintenance enhances curb appeal and improves energy efficiency. Focus on inspecting seals, cleaning tracks, and lubricating hardware. DIY is great for small tasks, but call a professional for wood rot or broken thermal seals. Budget accordingly for replacements as they are a long-term investment.
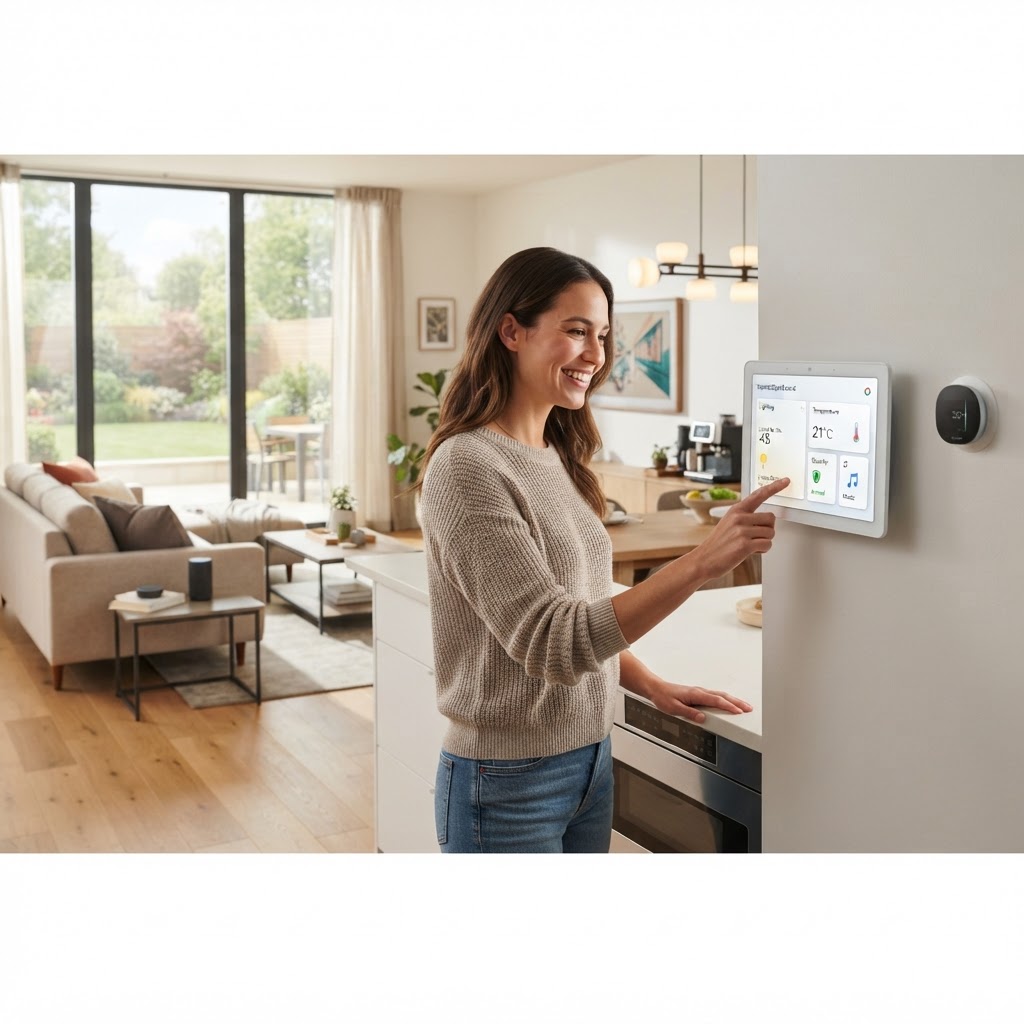
Smart Home Tech: The Ultimate Guide to Upgrading Your Living Space
Integrating smart home technology is a practical way to increase security, energy efficiency, and comfort. Essential upgrades include smart thermostats, video doorbells, smart lighting, and smart locks. While most devices are user-friendly for DIYers, complex electrical setups should be handled by pros. Start small to manage costs and always keep firmware updated for security.
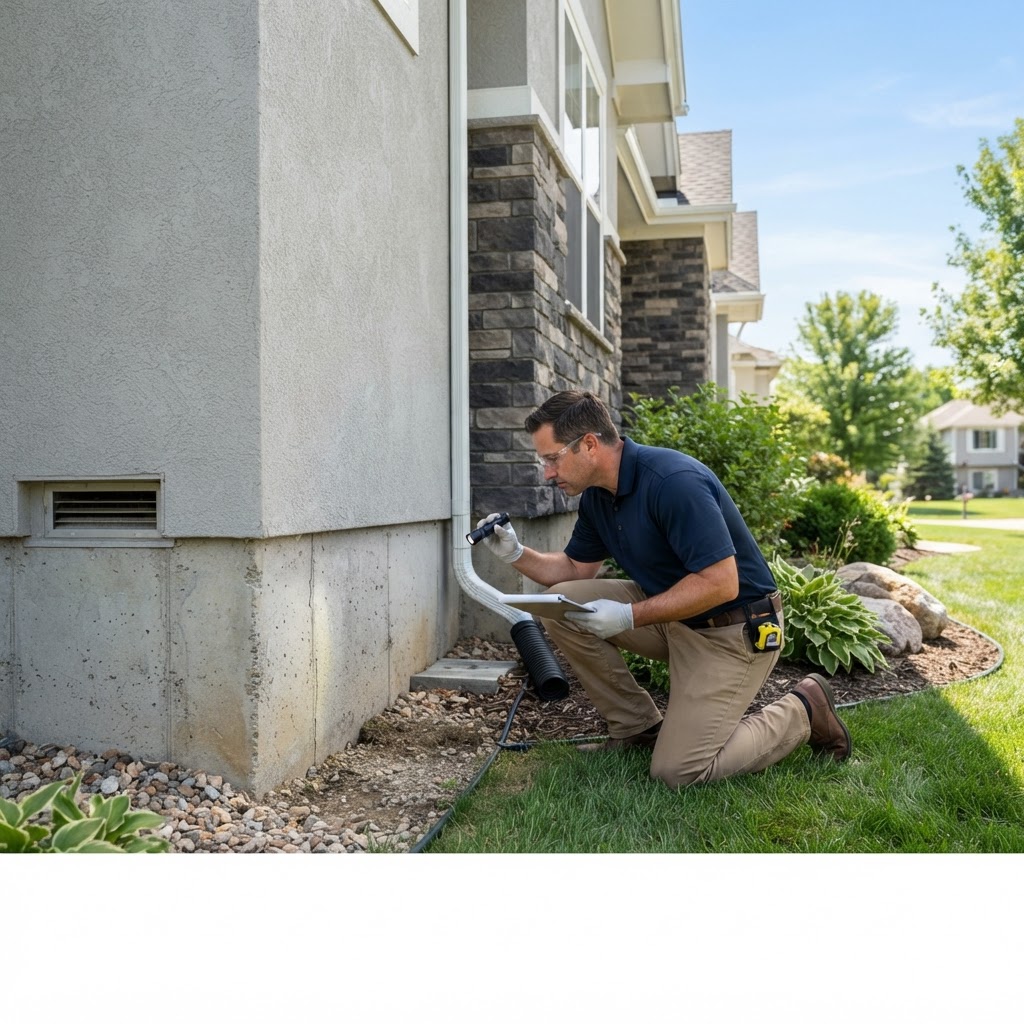
Foundation Health: A Homeowner’s Guide to Detecting and Preventing Damage
Your home's foundation is the bedrock of its structural integrity. While minor settling is common, significant issues can lead to costly repairs if ignored. Key indicators include diagonal wall cracks, sticking doors and windows, and gaps in crown molding. Maintenance should focus on moisture control: extend downspouts, grade soil away from the home, and monitor landscaping. While minor fixes are DIY, structural issues require professional engineers. Expect to pay between $500 for minor repairs and $40,000 for major stabilization work.
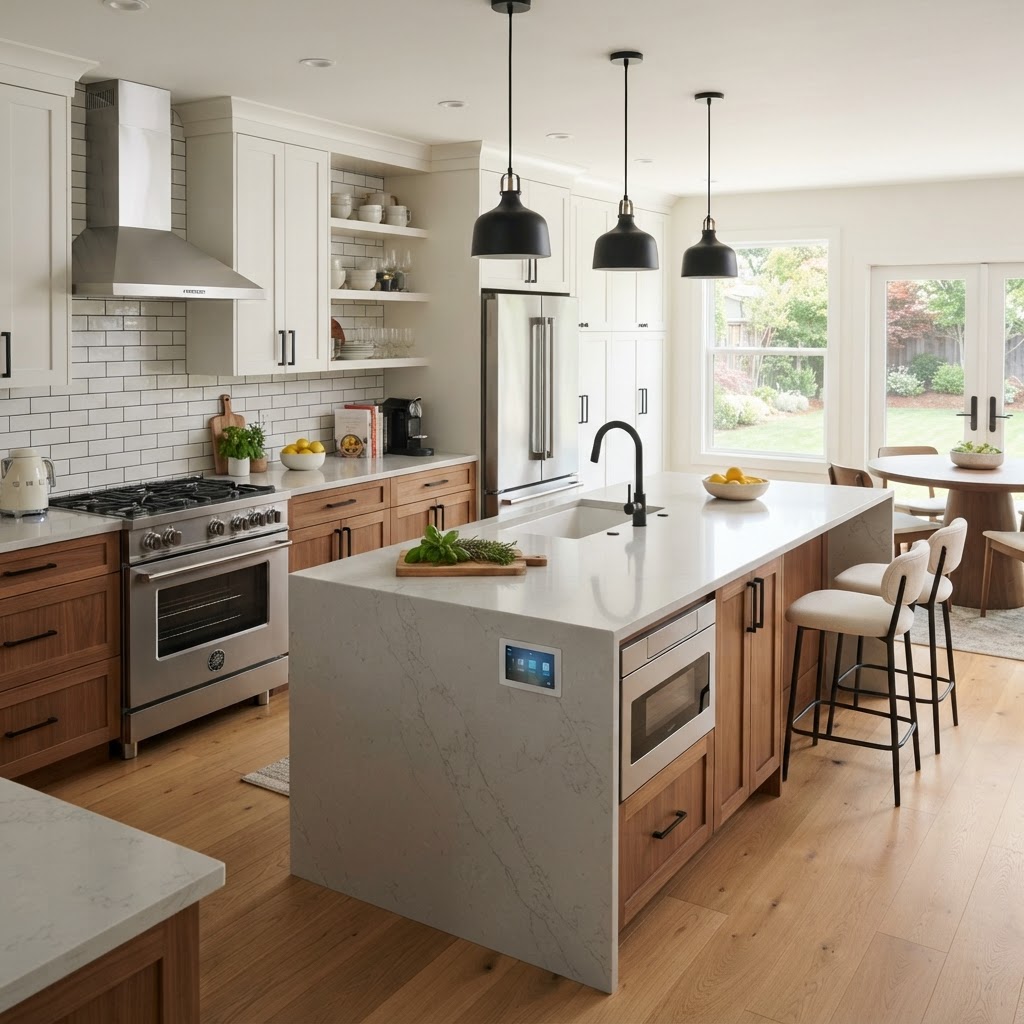
Smart Kitchen Upgrades: Best ROI Improvements for Your Home
The kitchen is the heart of the home, but it does not always require a total gut renovation. Focusing on high-impact DIY projects like updating cabinet hardware, adding under-cabinet LED lighting, or installing new backsplashes can breathe new life into the space. For more complex jobs like countertop replacement or plumbing upgrades, it is best to hire a professional to ensure safety and quality. Budgeting is key, and homeowners should set aside an additional 15% for unforeseen issues. By prioritizing functional needs, you can significantly increase your home's value without breaking the bank.
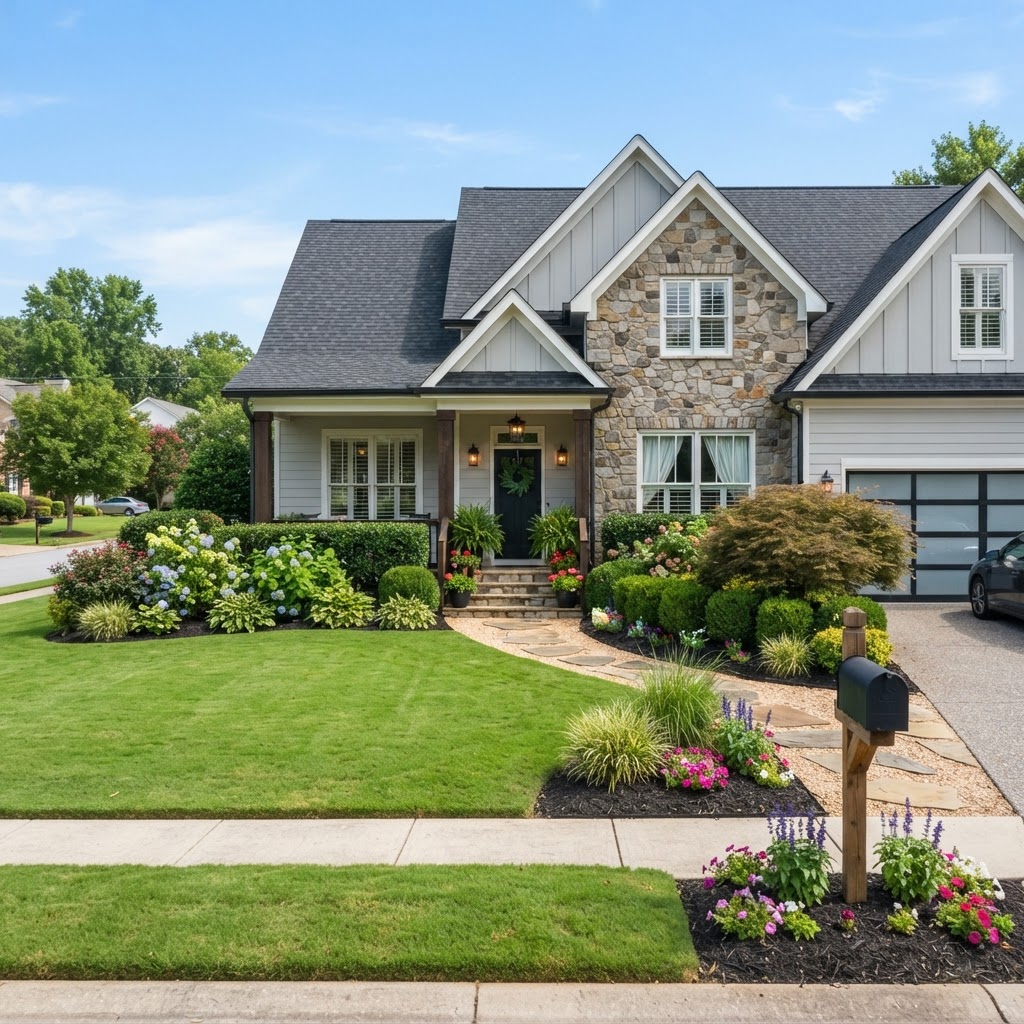
Landscaping Basics: A Practical Guide to Enhancing Your Curb Appeal
A beautiful landscape is more than just aesthetics; it increases property value and creates a functional outdoor living space. Planning is the most critical phase. Observe sunlight patterns and traffic flow. For simple tasks like mulching, DIY is great. For major hardscaping, hire a pro. Budget accordingly and stick to seasonal maintenance schedules to ensure success. Native plants are the secret to a low-maintenance yard.
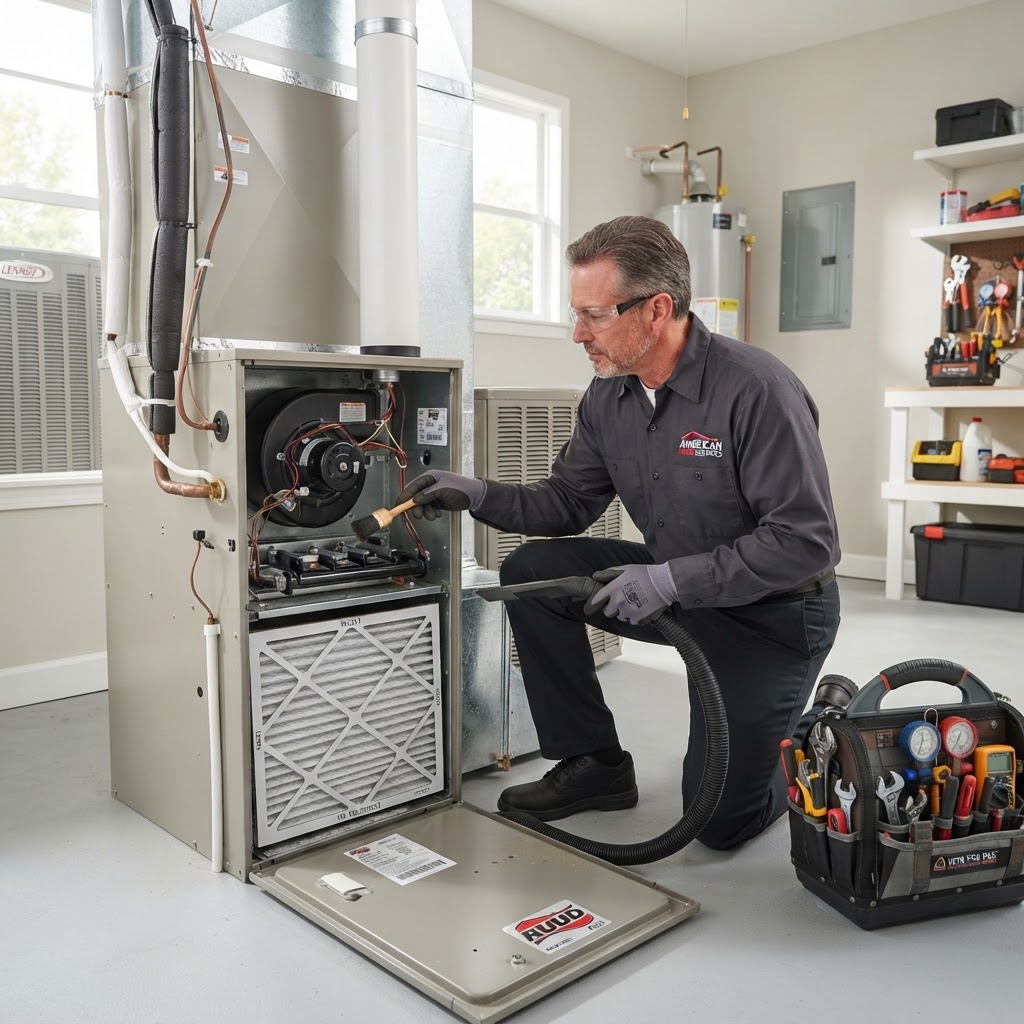
Essential HVAC Maintenance Tips for Homeowners
Your HVAC system is the heartbeat of your home comfort. Without regular upkeep, systems lose efficiency, suffer from premature breakdowns, and can even compromise indoor air quality. By investing a little time in maintenance, you can extend the lifespan of your unit and significantly lower your monthly utility bills. You can handle several tasks yourself, such as changing filters, cleaning the outdoor unit, and clearing drain lines. However, annual professional inspections are essential. A technician will check refrigerant levels, electrical connections, and coils for $100-$200. Schedule these before the peak cooling or heating season.
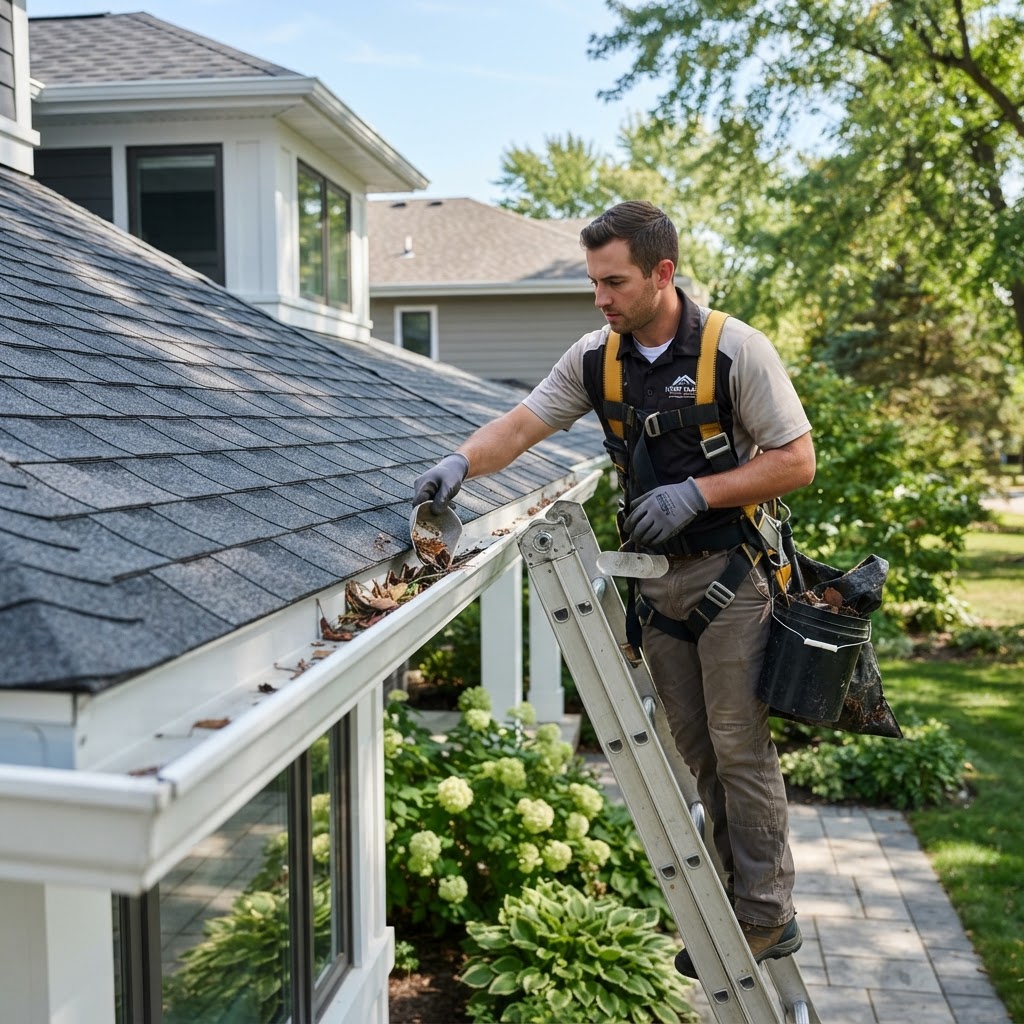
Essential Roofing and Gutter Maintenance Tips for Every Homeowner
Your roof and gutter system are the primary defenses protecting your home from water damage. Neglecting these areas can lead to structural decay, mold, and costly interior repairs. By implementing a proactive maintenance schedule, you can extend the lifespan of your roof significantly. Twice a year, once in the spring and again in late autumn, perform a thorough inspection. Start by checking for cracked or missing shingles from the ground using binoculars. If you spot granular buildup in your gutters, this is a clear sign that your shingles are deteriorating and may need replacement soon. Clear debris from gutters and downspouts to prevent water overflow. Check roof flashing around chimneys and vents for gaps or rust. Inspect your attic for signs of daylight peeking through, which indicates potential leaks. Trim overhanging tree branches to prevent abrasion and debris accumulation. Basic cleaning tasks like clearing gutters are safe for many homeowners if they have proper ladder safety equipment and a spotter. However, any work involving steep pitches or electrical lines near the roofline should be left to professionals. A roofing contractor can perform a deep dive inspection, checking for damaged underlayment that you cannot see from the ground. Roofing projects vary widely based on materials and square footage. An asphalt shingle replacement typically ranges from $7,000 to $15,000, while premium materials like metal or slate can exceed $30,000. Gutters are more budget-friendly, generally costing between $1,000 and $3,000 depending on the material and length of the home. Investing in high-quality guards can reduce the frequency of professional cleaning but requires an upfront investment. Remember that a small leak today often turns into a massive restoration bill tomorrow. If you notice interior water stains, sagging, or unexpected spikes in your utility bills due to poor insulation, contact a local licensed roofing expert immediately. Consistent maintenance is the smartest way to protect your largest financial asset.
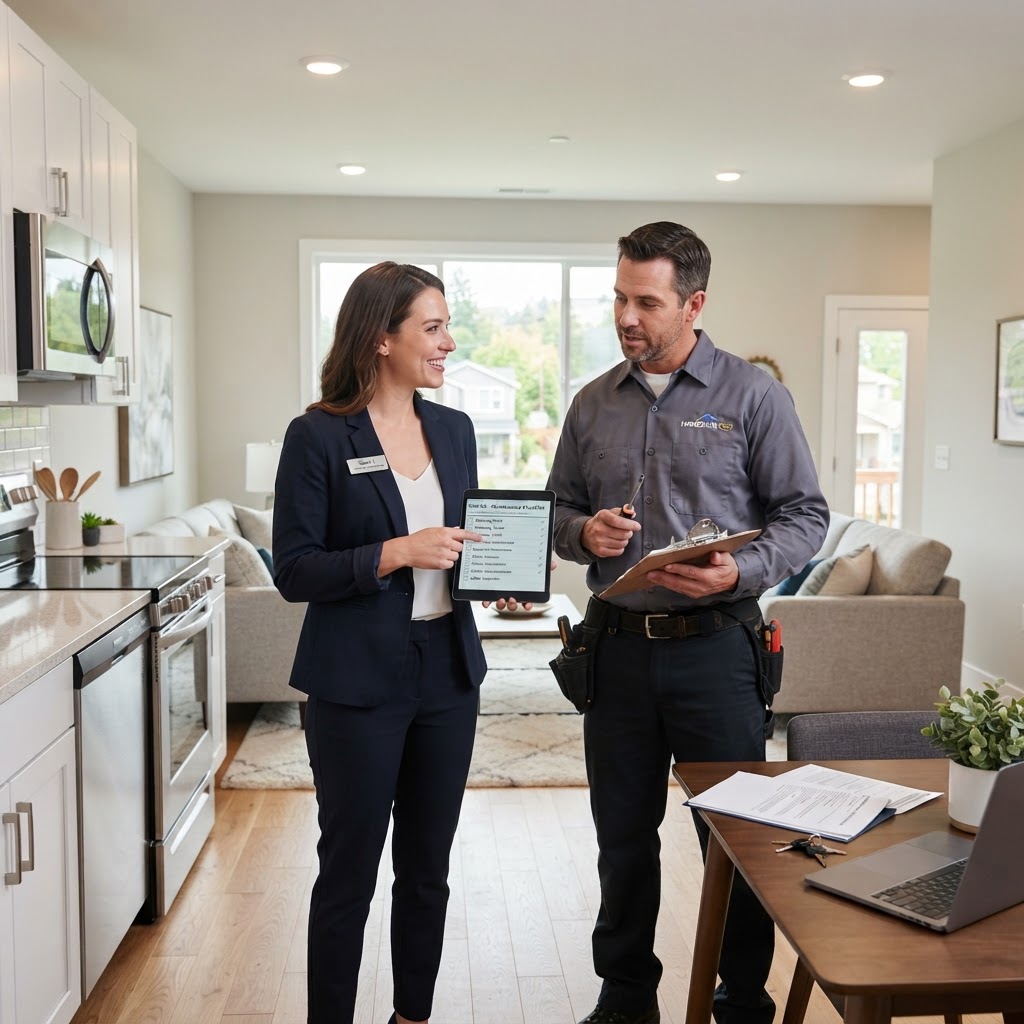
Property Management 101: Maximizing Your Rental Investment
For many homeowners, turning a property into a rental is a great way to generate passive income. However, the reality of being a landlord involves maintenance, tenant screening, and legal compliance. Effective property management is the bridge between a profitable asset and a headache. Deciding between managing your own property or hiring a professional comes down to your time and proximity. If you live within a 30-minute drive of your rental and have basic repair skills, DIY management can save you 8-12% in management fees. However, professional property managers offer advanced tenant screening, vendor networks, and legal protection. Key tasks for owners include scheduling bi-annual inspections, following a preventive maintenance calendar, and budgeting for long-term capital expenditures. When hiring a professional, prioritize transparency and ask for references and clear communication protocols. Success in property management depends on protecting your asset while keeping tenants satisfied.

Smart Home Tech: A Practical Guide to Upgrading Your Living Space
Transforming your house into a smart home is a practical way to increase energy efficiency and security. By focusing on smart lighting, climate control, and security systems, homeowners can save money and improve convenience. Most devices are simple to install, though complex hardwired systems may require professional assistance. Always start with a central hub to ensure device compatibility and scale your upgrades based on your daily routines and budget.
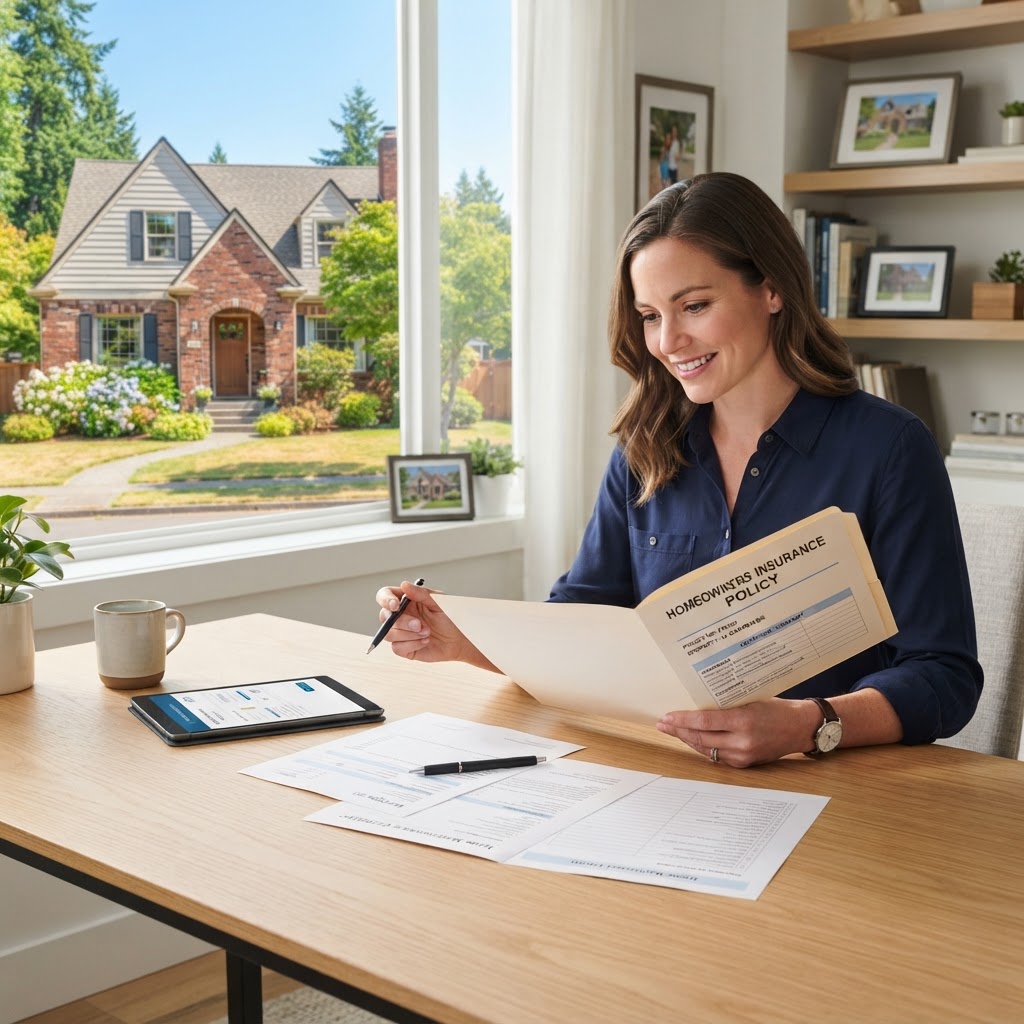
Homeowners Insurance Guide: Protect Your Biggest Investment
Homeowners insurance is your primary safety net against financial catastrophe. This guide covers dwelling protection, personal property, liability, and how to lower your premiums. Key tips include bundling policies, raising your deductible, and installing security systems. Always review your coverage after major renovations to ensure your limits match your home's current replacement cost.
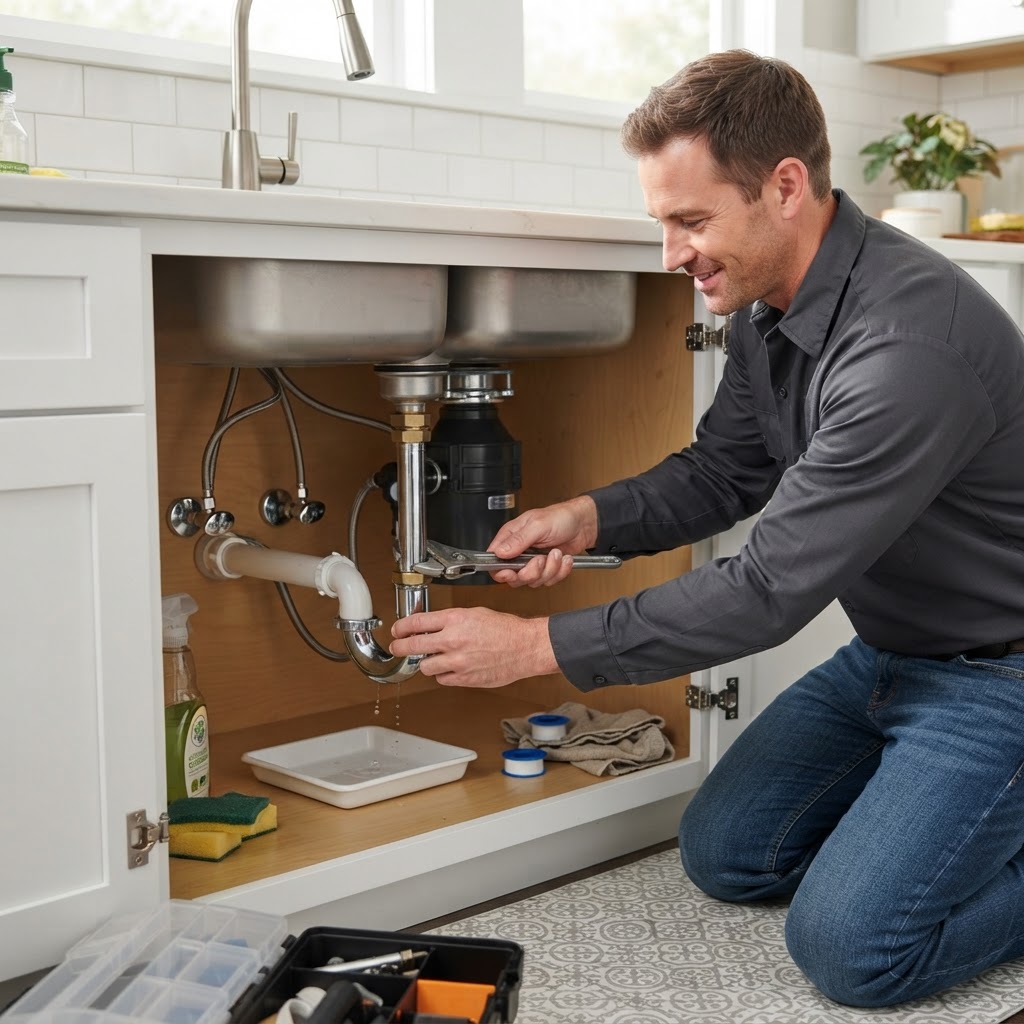
Essential Home Plumbing Tips Every Homeowner Must Know
Preventative Maintenance for Your Pipes. Plumbing issues are often the most stressful home maintenance challenges, but many can be avoided with proactive care. By following a few simple habits, you can extend the life of your systems and avoid costly emergency repairs. Top Actionable Plumbing Tips. Mind Your Drains: Never pour grease or cooking oil down the kitchen sink. It solidifies in pipes, causing stubborn clogs. Instead, dispose of it in a jar. Monitor Water Pressure: High water pressure can damage joints and pipes. Consider installing a pressure regulator if your system exceeds 80 PSI. Regular Leak Checks: Routinely check under sinks and around water heaters for moisture. Catching a small drip early can save you thousands in water damage remediation. Know Your Shut-Off Valves: Every family member should know where the main water shut-off valve is located in case of a burst pipe emergency. DIY vs. Professional Repairs. Basic maintenance tasks, such as clearing a minor hair clog with a plastic drain snake or replacing a flapper in a toilet tank, are perfect DIY projects that cost under $20. However, if you notice recurring clogs, discolored water, or hidden leaks behind walls, it is time to call a licensed professional. While a plumber may charge between $150 and $400 for a standard service visit, this is significantly cheaper than repairing structural damage caused by a major leak or sewer backup. When to Call the Pros. If your drain clearing methods fail after two attempts, stop immediately. Over-using harsh chemical cleaners can corrode older pipes and cause more harm than good. Additionally, any issue involving gas water heaters or main sewer lines should strictly be handled by certified professionals for safety and code compliance reasons. Aim to have a professional inspection of your home’s plumbing system every two to three years to ensure everything remains in optimal working order.
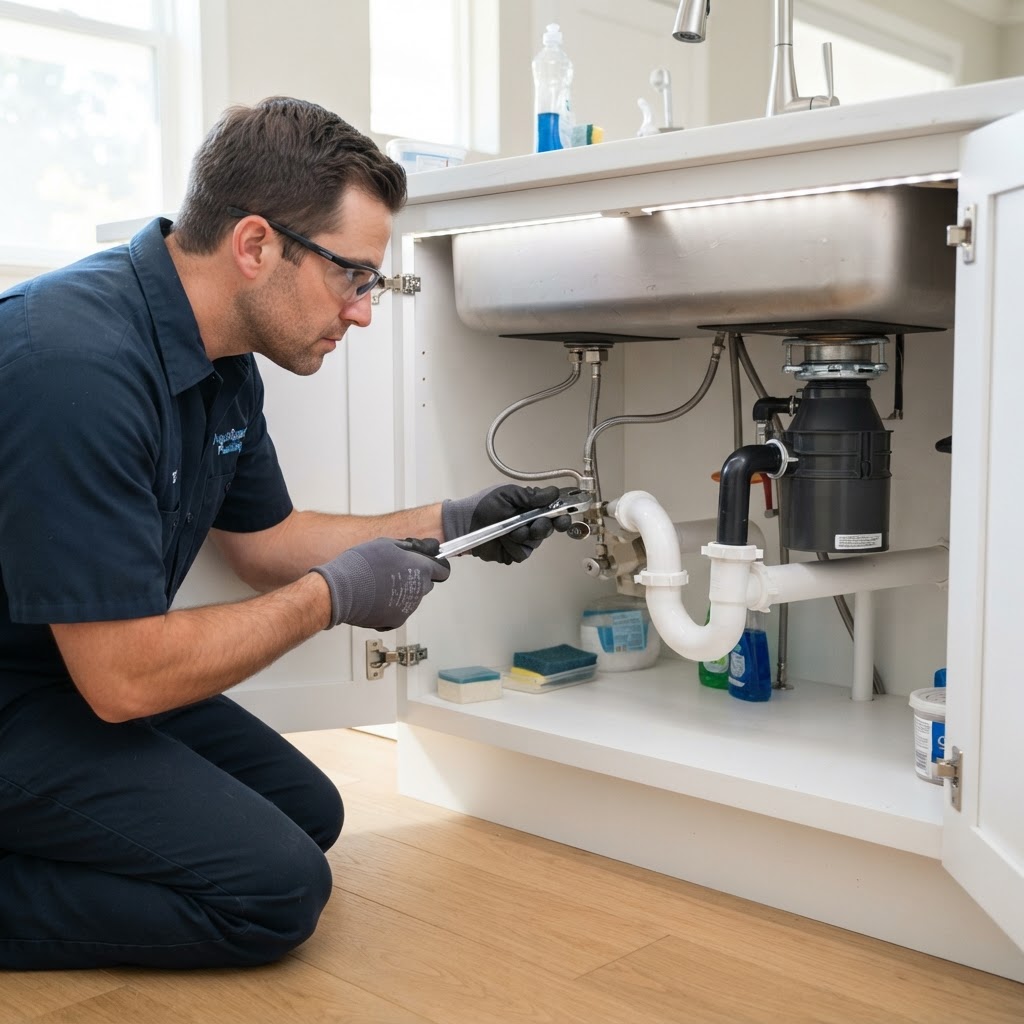
Essential Plumbing Tips Every Homeowner Must Know to Avoid Costly Repairs
Home plumbing issues are often cited as the most stressful and expensive repairs for homeowners. By staying proactive, you can avoid emergency calls and preserve the integrity of your home's infrastructure. Start by monitoring your water pressure; excessively high pressure can stress joints and cause pinhole leaks over time. Watch what you flush: Only human waste and toilet paper belong in the toilet. Avoid wet wipes, even those labeled flushable, as they frequently clog pipes. Protect your drains: Use mesh strainers in kitchen and bathroom sinks to catch hair and food particles before they enter the P-trap. Know your shut-off valves: Ensure every family member knows exactly where the main water shut-off valve is located. In an emergency, turning this off immediately can save thousands in water damage. Avoid chemical cleaners: Harsh liquid drain cleaners can erode older metal pipes. Instead, use a drain snake or a mixture of baking soda and vinegar for minor clogs. For minor issues like a loose faucet handle or a slow-draining sink, many homeowners can successfully perform DIY repairs with basic tools like a crescent wrench, plumber’s tape, and a drain auger. Expect to spend $20-$50 on these essential tools. However, you should call a licensed plumber if you detect signs of deep-rooted issues, such as sewage odors, recurring clogs across multiple fixtures, or discolored water. Professional drain cleaning typically ranges from $150 to $350, whereas major pipe replacements can cost several thousand dollars. Addressing a small leak early—often a task that takes under an hour—is far more economical than waiting for a pipe to burst, which causes significant water damage to floors and walls. It is recommended to have a professional plumber inspect your system every two years, especially in homes older than 20 years. Regular inspections can detect corrosion or minor cracks in pipes hidden behind drywall, providing you the opportunity to address them during scheduled maintenance rather than during an emergency.
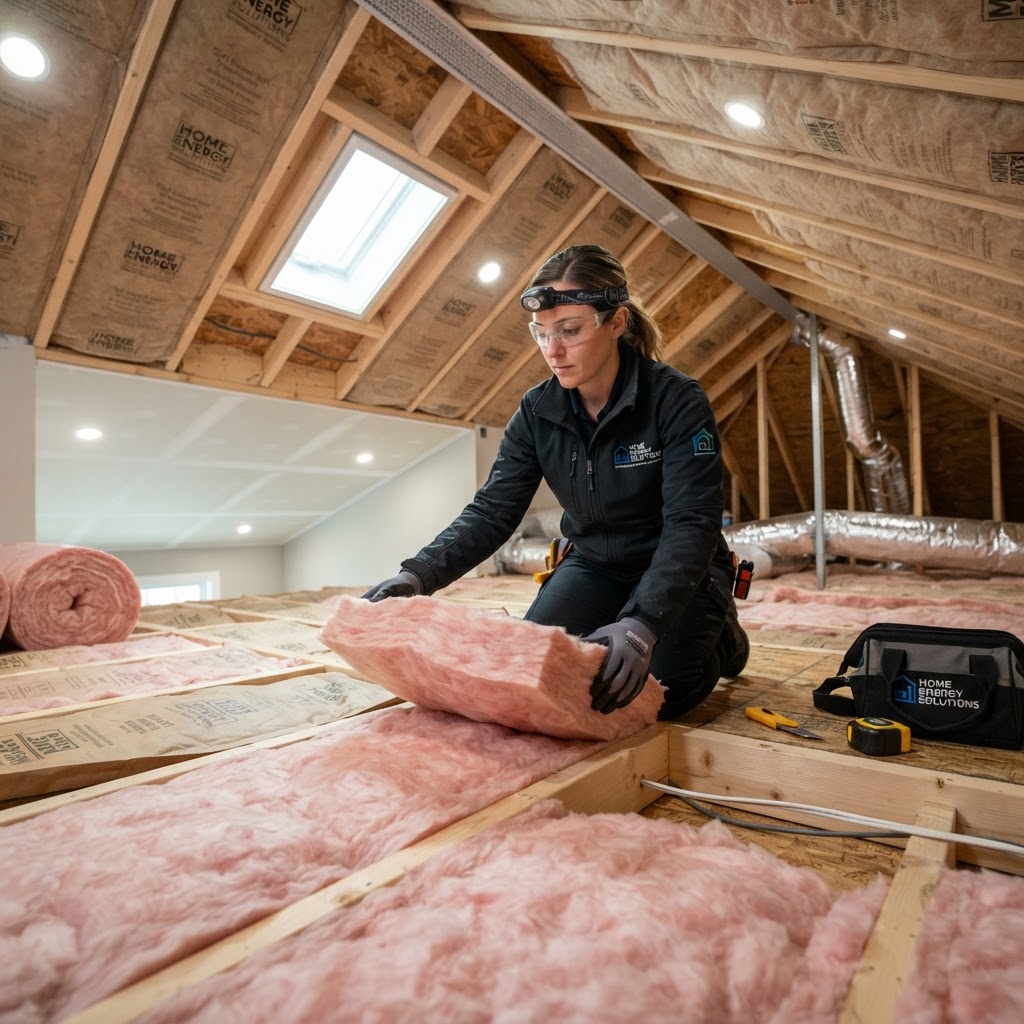
Slash Your Energy Bills: A Complete Guide to Home Insulation
Proper insulation is the silent hero of your home. It acts as a thermal barrier, keeping conditioned air inside during the summer and preventing heat loss in the winter. Beyond saving money on utility bills, effective insulation enhances your home's comfort and prevents moisture-related structural issues. Top areas to target include your attic, walls, basement, and doors. While DIY tasks like weatherstripping are budget-friendly, professional blown-in or spray foam insulation provides superior long-term performance. Always prioritize air sealing before adding extra layers of insulation to maximize energy efficiency.

Smart Home Tech: A Practical Guide to Modernizing Your Living Space
Integrating smart home technology is an effective way to enhance comfort, security, and energy efficiency. Start with a phased approach. Smart thermostats can reduce utility bills by learning your schedule. Smart lighting allows for scheduling and remote control. Security cameras provide peace of mind. Smart plugs are a low-cost entry point. DIY projects like bulbs and plugs are easy, but hardwired systems or locks may require professional help. Budget $200-$500 initially and ensure devices are compatible with your ecosystem.
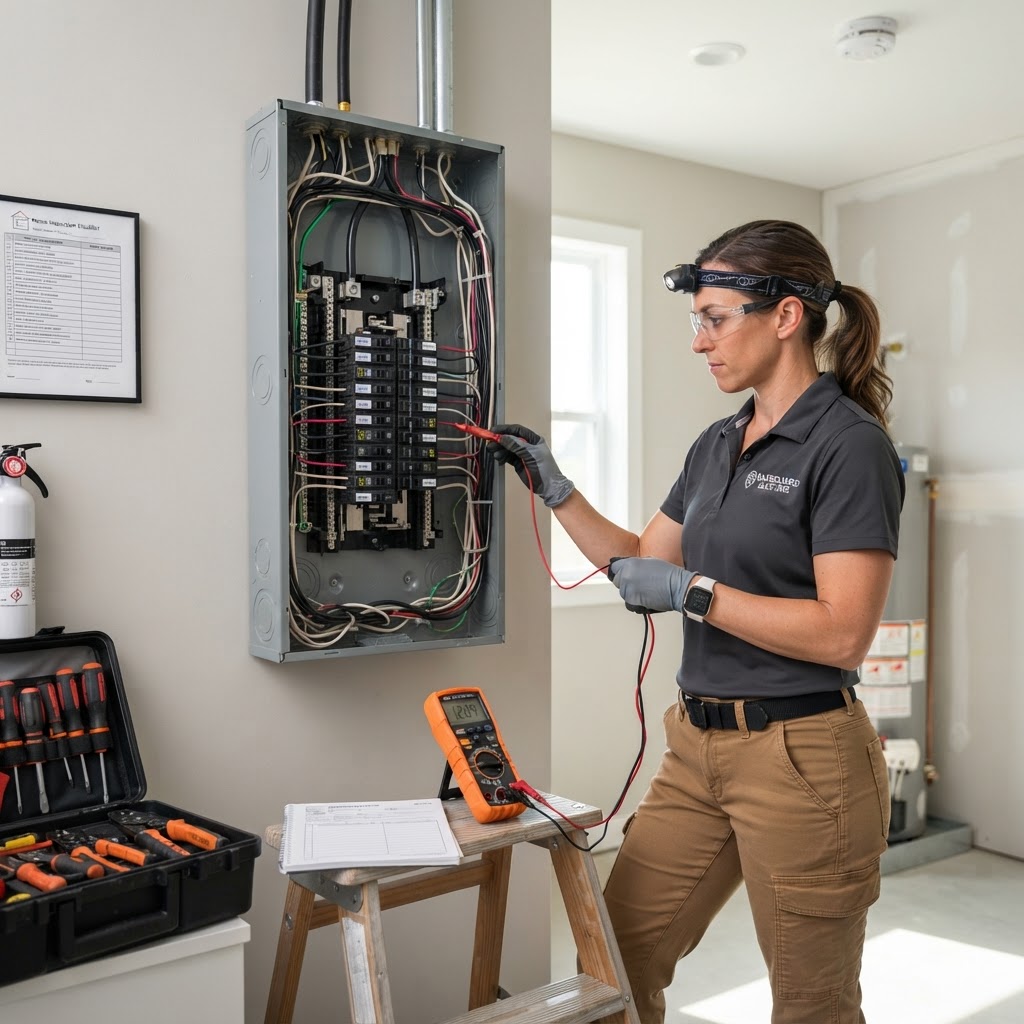
Essential Home Electrical Maintenance Tips for Safety and Savings
Your home's electrical system is its lifeline. Neglecting maintenance can lead to fire risks and inefficient energy consumption. Consider a professional inspection every three to five years. While DIY tasks like replacing switch plates are fine, panel upgrades and new circuits require a licensed professional. Always budget for a 15 percent contingency when planning electrical repairs. Prioritize testing GFCI outlets and watching for burning smells to keep your home safe.
Property Management 101: Maximizing Your Rental Investment
Property management involves everything from finding qualified tenants to handling emergency repairs. Managing your own property can save you the typical 8-12% management fee, but it requires significant time and legal knowledge. Consider hiring a professional if you are busy or live far away. Always follow the 1% rule for maintenance budgeting. Thorough tenant screening and meticulous documentation are the keys to a successful rental experience.

Smart Kitchen Upgrades: Boost Value & Joy on Any Budget
Transform Your Kitchen: Smart Upgrades for Every Homeowner The kitchen is the heart of the home, but over time, even the most beloved spaces can feel dated. Upgrading doesn't always mean a full renovation; countless ways exist to enhance appeal and efficiency, regardless of budget or timeline. This guide explores smart kitchen upgrades, from simple DIY refreshes to significant overhauls, helping you make informed decisions that boost both value and joy in your home. Budget-Friendly Refreshers ($100 - $2,000) For quick, impactful changes without breaking the bank, these options are often DIY-friendly. Paint Cabinets & Walls: A fresh coat brightens and modernizes. Lighter colors enlarge the space. Cost: $100 - $500 (DIY materials) Timing: 1-3 weekends DIY Potential: High. Update Hardware & Faucet: New cabinet pulls, knobs, and a modern faucet instantly uplift the look. Cost: $50 - $400 Timing: A few hours DIY Potential: Very High. Install a New Backsplash: Peel-and-stick or simple ceramic tiles add texture and color. Cost: $100 - $700 Timing: 1-2 days DIY Potential: Moderate. Upgrade Lighting: Swapping old fixtures for LED improves ambiance and energy efficiency. Cost: $100 - $500 per fixture Timing: A few hours DIY Potential: Moderate (for basic swaps). Mid-Range Makeovers ($2,000 - $15,000) These upgrades offer significant aesthetic and functional improvements, often requiring more investment or professional help. Countertop Replacement: Upgrading to quartz, granite, or solid surface elevates durability and look. Cost: $2,000 - $10,000+ Timing: 1-2 weeks DIY Potential: Low (professional recommended). Appliance Upgrades: Replacing old units with energy-efficient, modern models enhances performance and appeal. Cost: $500 - $3,000+ per appliance Timing: 1 day per appliance DIY Potential: Moderate (complex hookups may need a pro). Refinish or Reface Cabinets: If boxes are solid, refinishing (paint/stain) or refacing (new doors/fronts) offers a fresh look without full replacement. Cost: $2,000 - $8,000 Timing: 1-3 weeks DIY Potential: Moderate (refinishing) to Low (refacing). Major Renovations ($15,000+) For a complete transformation, a full kitchen renovation allows redesigning the layout and replacing everything. This requires significant planning and professional involvement. Full Cabinet Replacement: New custom or semi-custom cabinets. Cost: $5,000 - $30,000+ Timing: 3-8 weeks DIY Potential: Low. Layout Redesign: Moving walls, changing plumbing/electrical lines for a new flow. Cost: Adds $5,000 - $20,000+ Timing: Significantly extends project. DIY Potential: Very Low (licensed contractors essential). DIY vs. Professional: When to Call for Help Knowing your limits is crucial. While some tasks are perfect DIY projects, others demand specialized skills: DIY Friendly: Painting, hardware, minor lighting, peel-and-stick backsplashes. Hire a Pro: Countertop installation, major plumbing/electrical/gas work, structural changes, full cabinet installation, complex tiling. Professionals ensure safety, quality, and prevent costly mistakes. Maximizing Your Investment Focus on functionality, timeless design, and energy efficiency. Minor remodels often yield the best ROI for resale value. Conclusion Upgrading your kitchen is an investment in your home's comfort and value. With careful planning, budget awareness, and knowing when to enlist experts, you can create a kitchen that truly is the heart of your home for years to come.
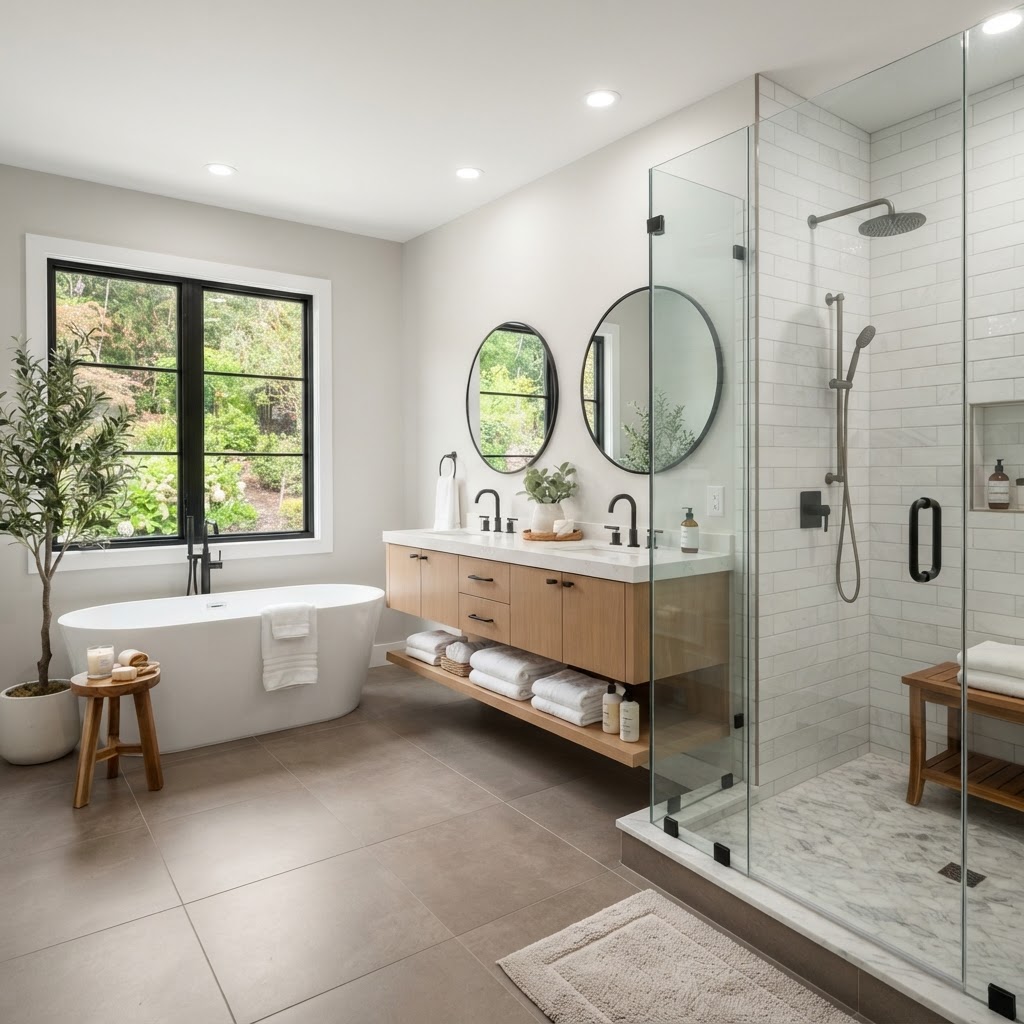
Dream Bathroom Remodel: Your Guide to a Stunning Update
Dream Bathroom Remodel: Your Guide to a Stunning Update Thinking about a bathroom remodel? It's one of the most impactful upgrades you can make to your home, enhancing both its functionality and aesthetic appeal. But where do you start? This guide will walk you through the essential steps, from planning and budgeting to deciding what you can tackle yourself and when to call in the pros. Planning Your Perfect Bathroom Before you swing a hammer, meticulous planning is key. Consider your needs: Who uses the bathroom? What are their habits? Do you need more storage? Better lighting? A more accessible shower? * Layout: Think about traffic flow. Can you reposition the vanity, toilet, or shower to improve usability? * Style: Modern, traditional, spa-like? Gather inspiration from magazines and online platforms like Pinterest. * Fixtures and Finishes: Choose durable, water-resistant materials. Consider sink types, faucet styles, showerheads, and toilet options. * Lighting: Layered lighting – ambient, task, and accent – can transform a bathroom. * Ventilation: Proper ventilation is crucial to prevent mold and mildew. Budgeting for Your Remodel Bathroom remodels can range widely in cost. A simple cosmetic update might cost a few thousand dollars, while a full gut renovation can easily reach tens of thousands. Here's a general breakdown: * DIY vs. Professional: Doing some work yourself can save money, but complex tasks like plumbing and electrical work are best left to licensed professionals. * Materials: Tile, vanity, countertops, fixtures, and lighting all contribute to the total cost. * Labor: This is often the largest expense, especially for extensive renovations. * Contingency Fund: Always set aside 10-20% of your budget for unexpected issues that may arise during the remodel. DIY vs. Hiring Professionals The decision to DIY or hire professionals depends on your skill set, available time, and the complexity of the project. * DIY-Friendly Tasks: Painting, installing new cabinet hardware, replacing a faucet (if you're comfortable with basic plumbing), and installing shelves. * When to Hire Pros: Major structural changes, electrical work, complex plumbing (moving pipes), tiling a shower, and installing a new tub or toilet. Professionals ensure the work is done safely, up to code, and with a warranty. Timeline Considerations A bathroom remodel can take anywhere from a few days for a minor refresh to several weeks or even months for a complete overhaul. Factors influencing the timeline include the scope of work, the availability of contractors, and the delivery of materials. Communicate clearly with your contractor about the expected duration and any potential delays. Making Your Dream a Reality A well-planned bathroom remodel can significantly enhance your home's value and your daily enjoyment. By carefully considering your needs, budget, and the expertise required, you can achieve a beautiful and functional space that you'll love for years to come.

Smart Home Tech: A Practical Guide to Modernizing Your Living Space
Integrating smart technology into your home is more than just a trend; it is a practical way to enhance security, improve energy efficiency, and simplify your daily routines. Whether you are a tech enthusiast or a beginner, smart home devices offer scalable solutions for every budget. Before purchasing devices, ensure you have a robust Wi-Fi network. Start with devices that provide immediate value, such as smart thermostats and video doorbells. Smart thermostats help you save on heating and cooling, smart lighting adds convenience, and security cameras improve safety. While many devices are simple to install yourself, hardwired components should be handled by professionals. Keep your software updated and check batteries regularly to keep your system running smoothly.

Smart Home Renovations: How to Invest for Maximum Resale Value
As a homeowner, your property is likely your most significant investment. Knowing which renovations add genuine market value versus those that simply cater to personal taste is the key to a successful investment strategy. Kitchens and bathrooms are the heart of home valuation. Focus on refinishing cabinets, updating fixtures, and installing mid-range countertops. Exterior improvements like landscaping and front door replacements offer significant ROI. Remember to balance DIY efforts with professional expertise for major systems to avoid costly mistakes. Research your neighborhood ceiling to ensure your upgrades are financially sound.
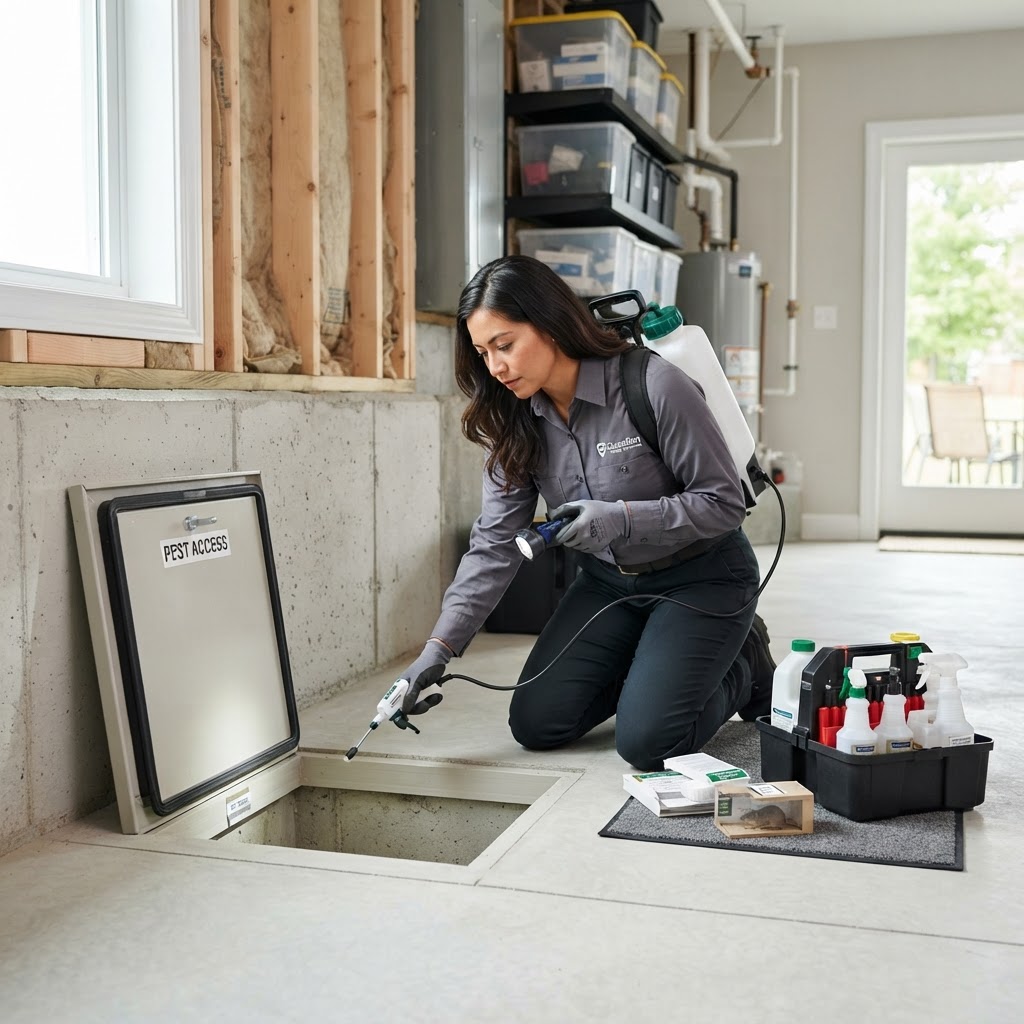
A Complete Homeowner’s Guide to Effective Pest Control
Pests are more than just a nuisance; they can compromise your health and the structural integrity of your property. Maintaining a pest-free home requires a combination of proactive prevention and timely intervention. Prevention is the most cost-effective way to manage pests. Start by eliminating the three things pests crave: food, water, and shelter. Seal entry points, eliminate moisture, and manage food sources. While DIY methods work for minor issues, professionals should be called for termite or rodent activity. Services cost $100-$300 per visit, and quarterly maintenance is highly recommended.

Transform Your Yard: Essential Landscaping Tips for Every Homeowner
A beautiful landscape does more than just improve your home's curb appeal; it adds value and creates a functional outdoor living space. Whether you are starting from scratch or refreshing an existing garden, a successful project requires careful planning and a realistic budget. Landscaping costs can vary wildly depending on the scope of work. On average, homeowners spend between $3,000 and $15,000 on major renovations. To manage costs, start by prioritizing high-impact areas like the front entrance or a main patio zone. Always set aside an extra 15% of your total budget for unexpected soil conditions, drainage issues, or last-minute plant replacements. Timing is everything when it comes to plant health. In most of the United States, the ideal time to landscape is during the fall or early spring. Planting during the fall allows root systems to establish in cooler, moist soil before the heat of summer arrives, significantly increasing the survival rate of new trees, shrubs, and perennials. Not every project requires a landscape architect, but knowing when to call a pro is vital. DIY tasks include mulching, planting small shrubs, and laying simple pavers. Professional projects include complex irrigation, major grading, and structural retaining walls. By breaking your landscaping journey into manageable phases, you can transform your outdoor space into a lush, inviting sanctuary.

Mastering Tenant Relations: A Guide for Successful Landlords
Successful property management hinges on the relationship you build with your residents. Positive tenant relations reduce turnover, ensure timely rent payments, and keep your investment property in better condition. By establishing clear expectations from day one, you minimize friction and maximize your return on investment. The most common conflicts arise from misunderstandings regarding lease terms. During the onboarding process, provide a clear, written handbook. Establish a professional, centralized system for communication. Document all correspondence and respond promptly to requests. When handling maintenance, assess urgency and always respect privacy requirements. Investing in your tenants through prompt service and professional conduct ultimately reduces vacancy costs. If disputes arise, rely on your lease agreement and consult professionals if legal issues emerge.
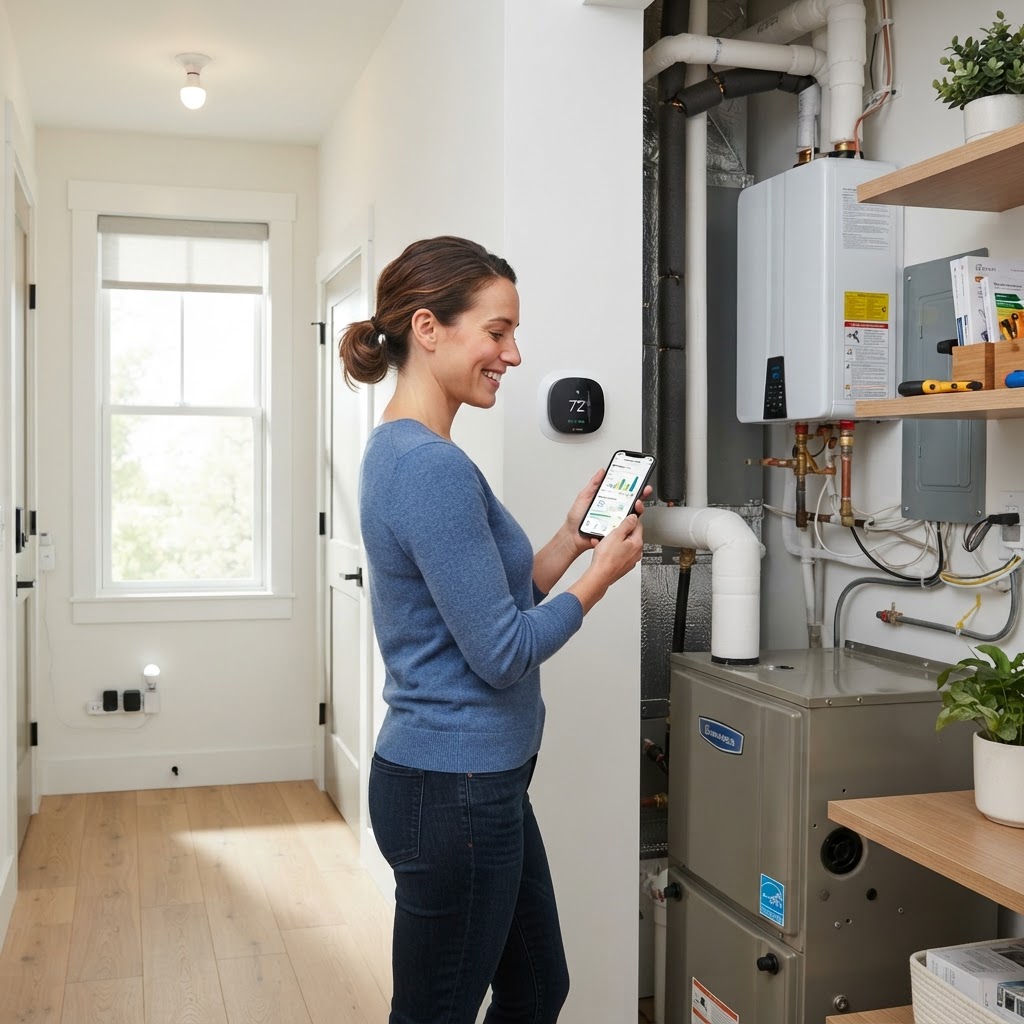
Smart Energy Efficiency Tips to Lower Your Monthly Utility Bills
Managing home energy consumption is one of the most effective ways to lower your monthly utility costs while increasing the long-term value of your property. By making strategic adjustments to your habits and infrastructure, you can create a more sustainable living environment. Start by auditing your home for energy leaks. Drafts around windows and doors are primary culprits for heat loss. Using caulk or weatherstripping is an inexpensive DIY project that costs less than $50 and can be completed in a single afternoon. Additionally, swapping all incandescent bulbs for ENERGY STAR-certified LEDs provides immediate savings. Your HVAC system is the largest energy consumer. Replace filters every 1 to 3 months to keep it running efficiently. Consider a smart thermostat to automate your climate control. For long-term ROI, upgrade attic insulation or install double-pane windows. While small tasks are perfect for DIYers, leave complex electrical or HVAC work to licensed professionals.

Homeowners Insurance: How to Protect Your Investment and Save Money
Your home is your biggest investment, and homeowners insurance is your primary defense. Learn the difference between replacement cost and actual cash value to ensure you are fully covered. By increasing your deductible, bundling policies, and keeping your home well-maintained, you can reduce premiums. Always inform your insurer of home improvements. Use insurance for large losses rather than minor repairs to keep your premiums stable.
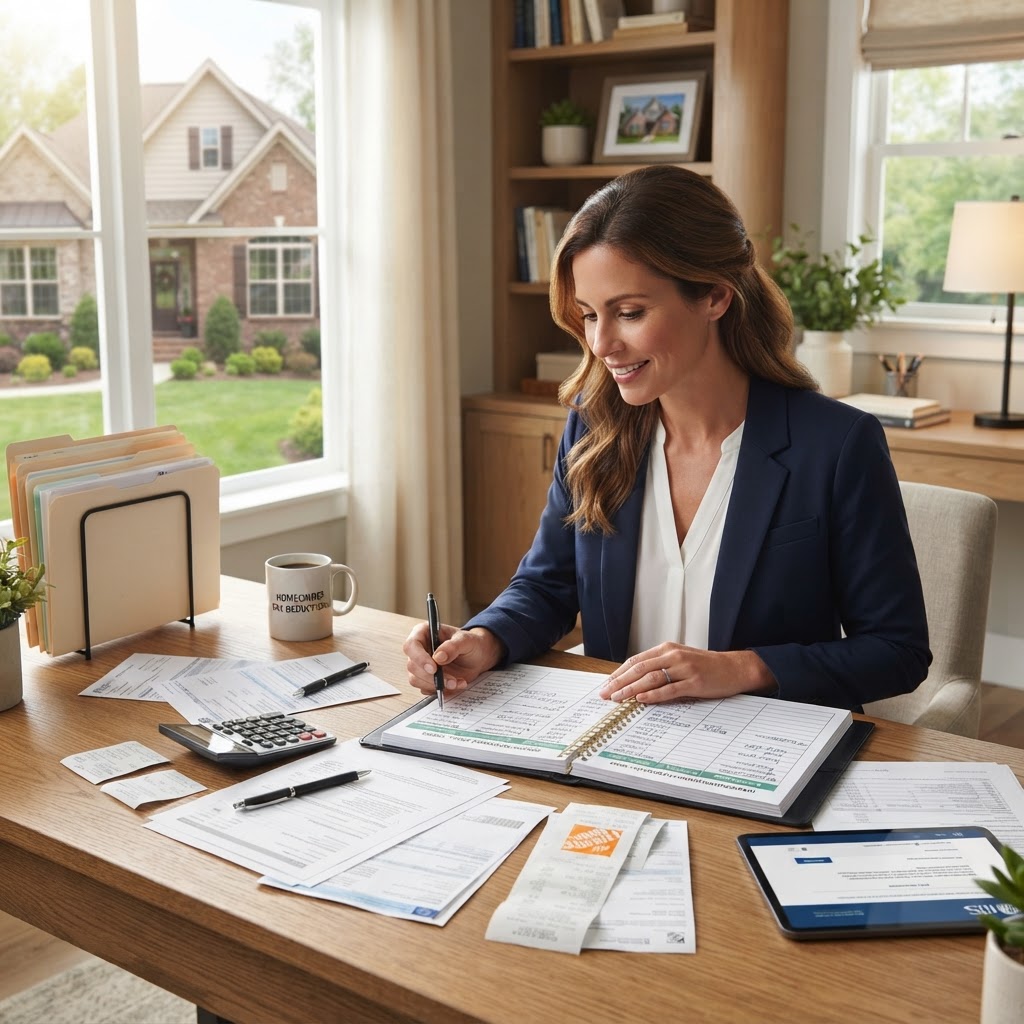
Homeowner Tax Breaks: Essential Deductions You Shouldn't Miss
Owning a home is a significant financial investment, but many homeowners miss out on valuable tax breaks. You can deduct mortgage interest, property taxes (up to the SALT cap), and potentially home office expenses if you are self-employed. Energy efficiency upgrades also provide tax credits. Remember that routine repairs are not deductible, but capital improvements increase your home's cost basis, lowering future capital gains. Keep detailed receipts and consult a CPA if your situation involves rentals or home-based businesses.

Smart Kitchen Upgrades to Boost Value and Efficiency
The kitchen is the heart of the home. This guide covers cabinet refacing, energy-efficient appliances, lighting, and hardware. We break down what you can DIY and what requires a professional, along with essential budgeting tips.
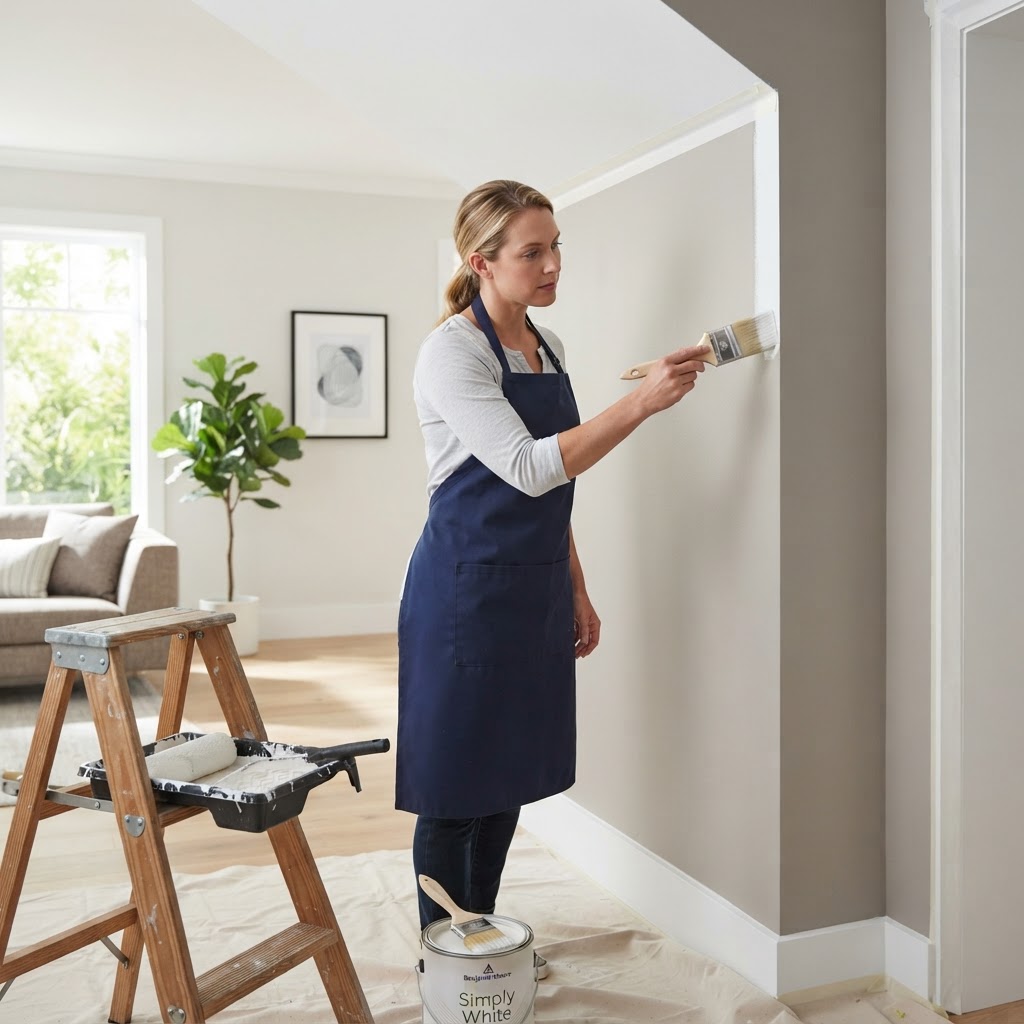
Mastering Interior Painting: A Guide to Professional Results
Painting is one of the most impactful ways to refresh your home, but the difference between an amateur look and a professional finish lies entirely in the preparation. Follow this guide to achieve smooth, durable results. First, prioritize prep by patching holes and scuffing glossy surfaces. Invest in high-quality tools like angled brushes and microfiber rollers. Use a W-pattern when rolling to keep paint even and always apply two coats. DIY is cost-effective, but consider a professional for high ceilings or complex trim. Aim to paint during mild, low-humidity days.
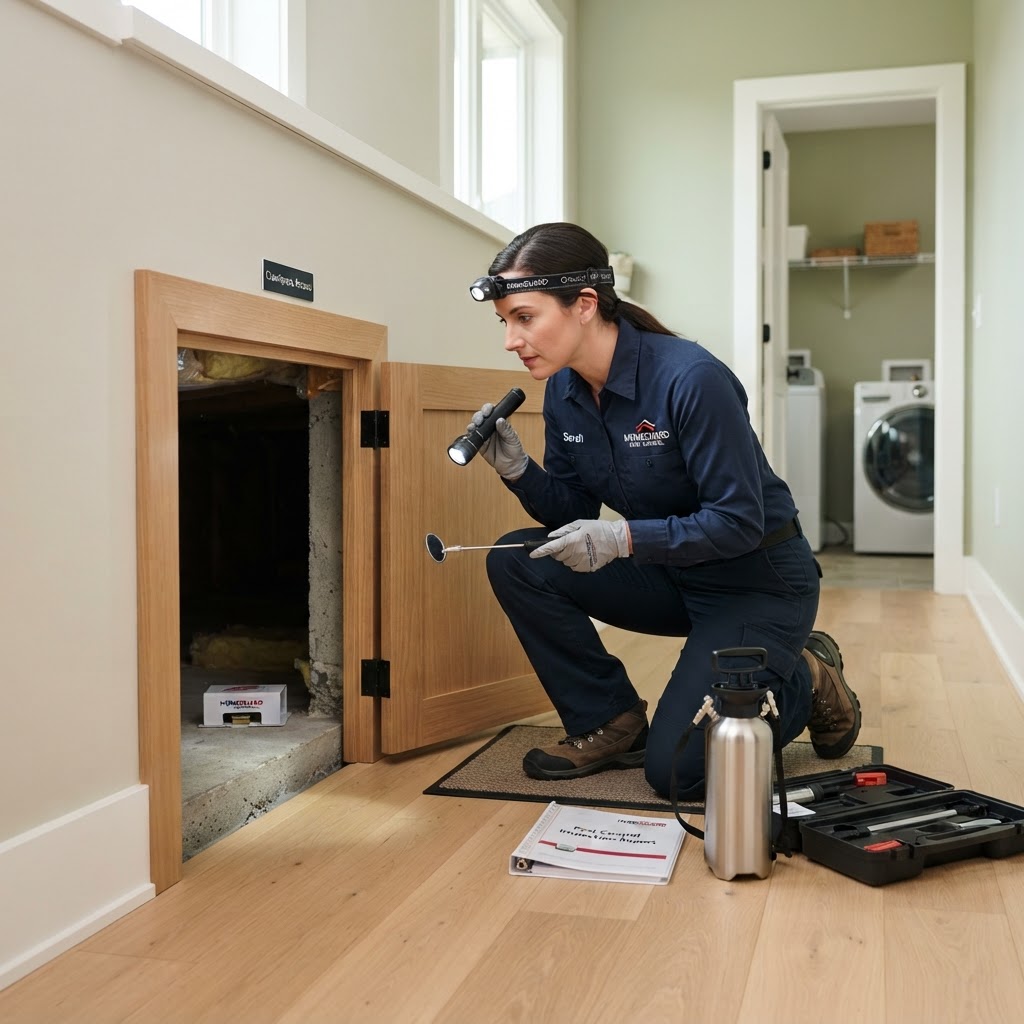
Effective Pest Control: A Homeowner’s Essential Guide
Maintaining a pest-free home is essential for the health of your family and the structural integrity of your property. Whether you are dealing with seasonal ants, termites, or rodents, a proactive strategy is your best line of defense. Start with prevention: seal cracks, install door sweeps, fix plumbing leaks, and keep vegetation trimmed away from the foundation. For minor issues, DIY baits and traps are often sufficient. However, for termites or recurring infestations, hire a professional. Quarterly professional services typically cost $80 to $150 per visit. Focus on inspections during the spring and fall transitions to keep your home protected year-round.
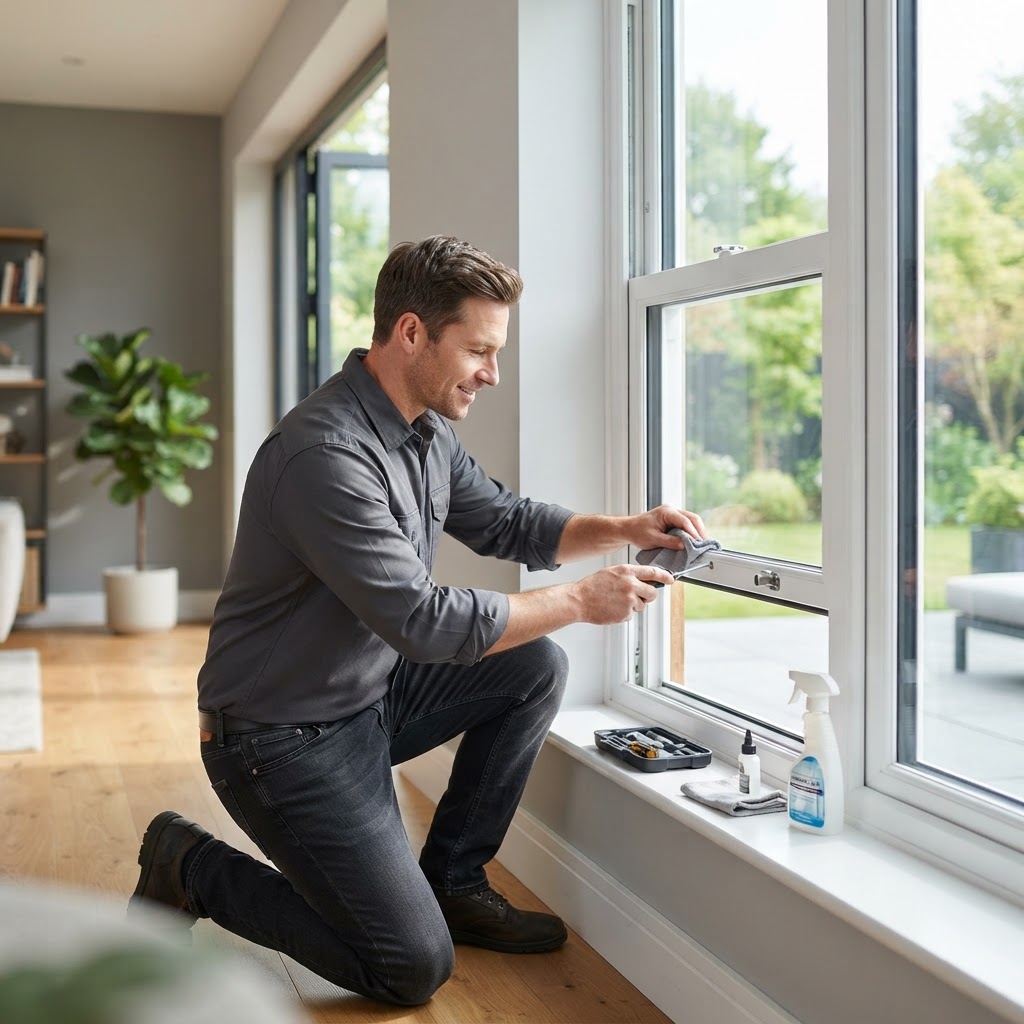
Essential Guide to Home Window and Door Maintenance
Your windows and doors are the first line of defense against the elements and the primary barrier for your home's energy efficiency. Regular maintenance not only prolongs the lifespan of these installations but also significantly lowers your monthly utility bills. Cleaning tracks, lubricating hinges, and inspecting weatherstripping are critical routine tasks. While small fixes are perfect for DIYers, structural damage or major replacements are best left to professionals. Budgeting for high-quality replacements and scheduling work during mild weather will ensure the best performance and ROI for your home.
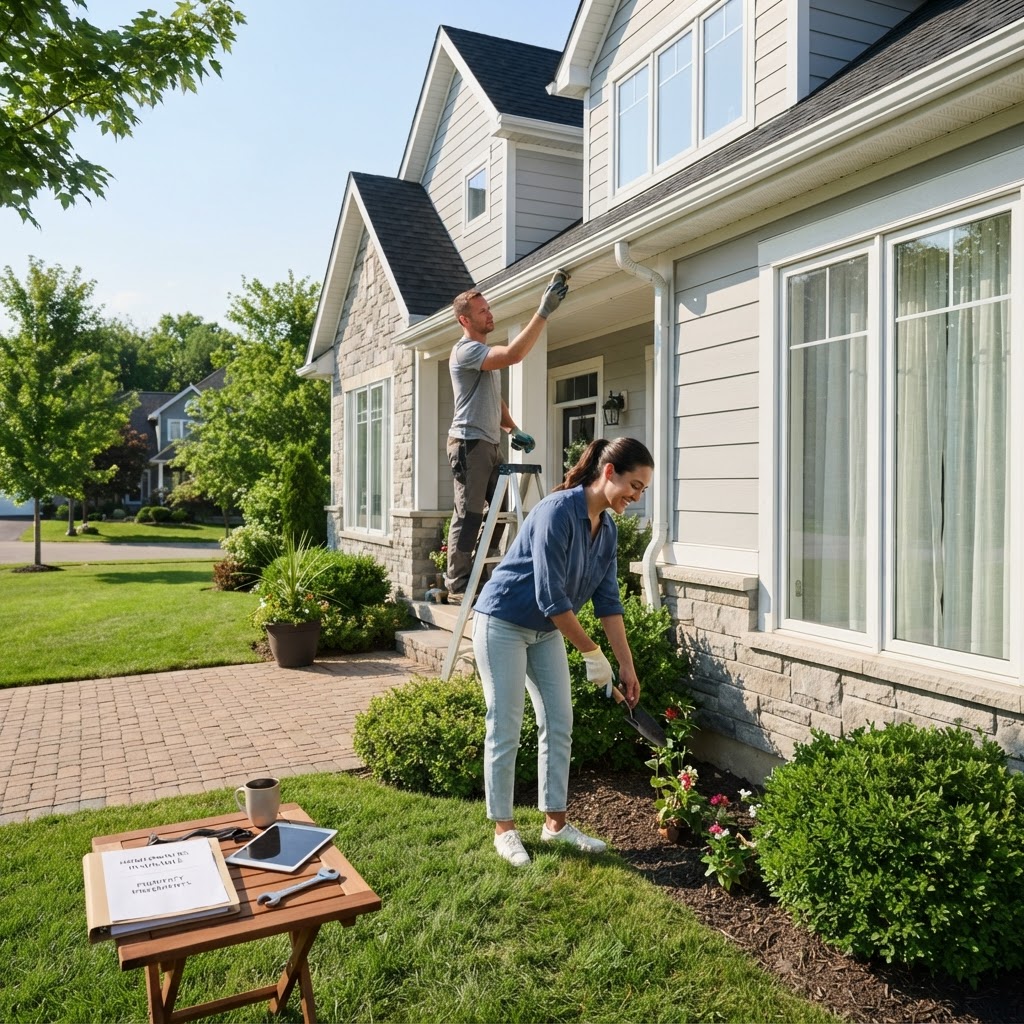
Homeowners Insurance: A Strategic Guide to Protecting Your Investment
Homeowners insurance is a critical safety net. This guide covers how to perform annual audits, the importance of accurate asset documentation, and why you should carefully weigh filing small claims against the long-term impact on your premiums. Learn when to rely on professional inspections and how proactive home maintenance can lead to lower insurance costs.
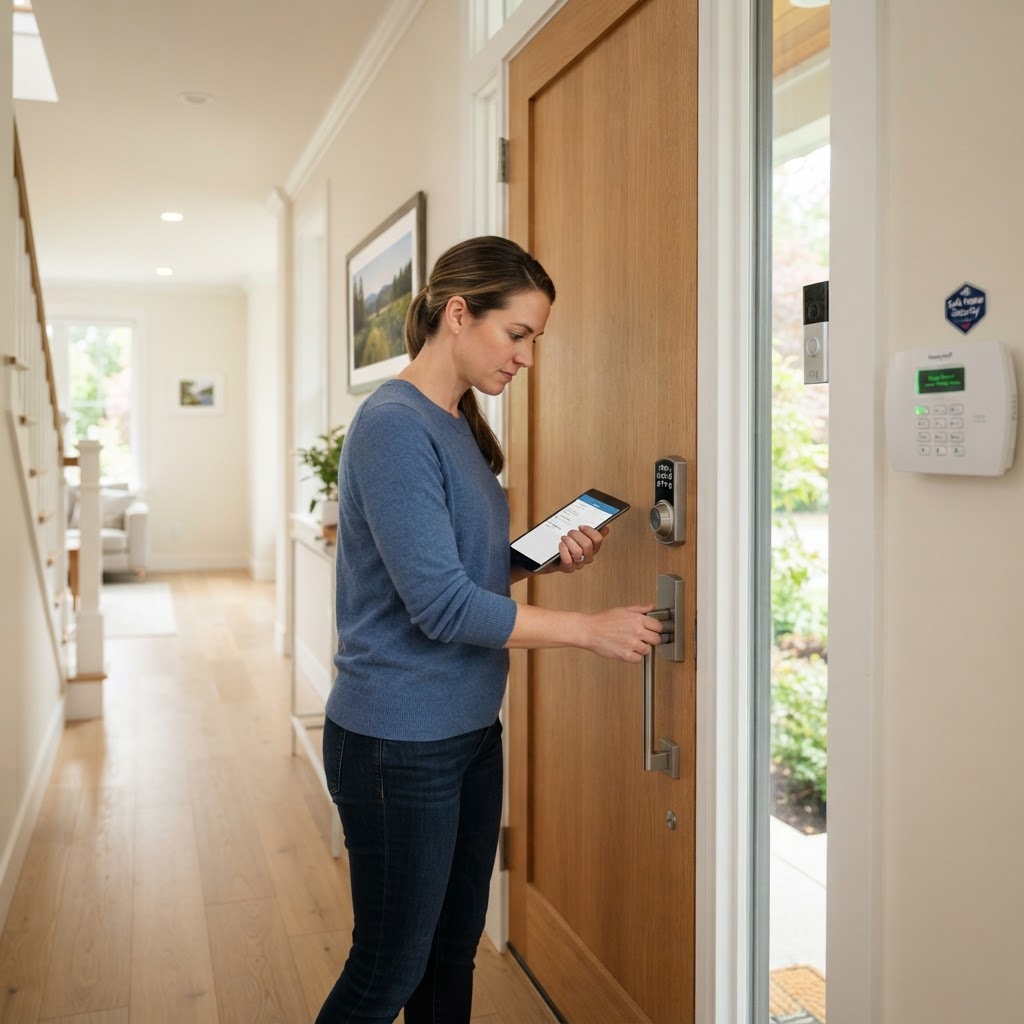
Home Security: Your Essential Safety Checklist
Home Security: Your Essential Safety Checklist Your home is your sanctuary, and ensuring its security and safety is paramount. A well-protected home not only deters intruders but also provides peace of mind for you and your family. This guide offers practical, actionable steps to enhance your home's safety, covering everything from basic deterrents to smart technology. Deterrence: The First Line of Defense Often, the simplest measures are the most effective. Visible deterrents can make a potential burglar think twice before targeting your property. * Exterior Lighting: Well-lit exteriors are a significant deterrent. Install motion-sensor lights around entry points like doors, windows, and pathways. Solar-powered options are eco-friendly and easy to install (DIY, cost: $20-$50 per light). * Landscaping: Keep shrubs and trees trimmed, especially near windows and doors, to eliminate hiding spots. Consider thorny bushes under ground-floor windows. (DIY, ongoing maintenance). * Visible Signage: "Beware of Dog" signs or security system stickers (even if you don't have one) can be surprisingly effective. (DIY, cost: $5-$20). Reinforcing Entry Points Doors and windows are the most common points of entry for burglars. Strengthening these areas is crucial. * Doors: Ensure all exterior doors are solid core or metal. Use deadbolt locks with a minimum 1-inch throw. Reinforce the door frame with a longer strike plate and longer screws. (DIY or professional, cost for hardware: $50-$150 per lock; professional installation: $100-$200). * Windows: Install window locks or security film. For ground-floor or easily accessible windows, consider security bars (ensure they have quick-release mechanisms for fire safety). (DIY, cost: $10-$50 per window for locks/film; professional installation for bars: $100-$300 per window). * Sliding Doors: Place a security bar or a sturdy piece of wood in the track to prevent forced opening. (DIY, cost: $10-$20). Smart Home Security Technology offers advanced solutions for monitoring and protecting your home. * Security Systems: Professionally monitored systems offer comprehensive protection, including sensors, cameras, and remote access via smartphone. Costs vary widely, from $30-$60 per month for monitoring, plus initial equipment costs. DIY systems are also available. (Professional installation recommended for complex systems, cost: $500-$2000+; DIY systems: $200-$800+). * Smart Doorbells/Cameras: Video doorbells allow you to see and speak to visitors remotely. Outdoor cameras provide live feeds and motion alerts. (DIY, cost: $100-$300 per device). * Smart Locks: Keyless entry and remote locking/unlocking offer convenience and enhanced security. (DIY or professional, cost: $150-$300). Fire and Carbon Monoxide Safety Beyond intrusion, your home's safety includes protection against fires and dangerous gases. * Smoke and CO Detectors: Install interconnected smoke detectors on every level and inside/outside sleeping areas. Install carbon monoxide detectors on each level and near sleeping areas. Test them monthly and replace batteries annually (or as needed for sealed units). Replace detectors every 10 years. (DIY, cost: $20-$50 per detector). * Fire Extinguishers: Keep at least one ABC-rated fire extinguisher accessible in the kitchen and garage. Know how to use it. (DIY, cost: $30-$60). Implementing these security and safety measures will significantly improve your home's protection and your overall peace of mind. Regularly review and update your security plan as needed.

Homeowners Insurance: A Practical Guide to Protecting Your Investment
Homeowners insurance is more than just a mortgage requirement; it is a vital safety net for your most significant investment. Many homeowners renew their policies annually without checking if their coverage aligns with current property values or recent home improvements. Standard policies typically cover structure, personal belongings, and liability. However, you must verify your coverage type: actual cash value versus replacement cost. Replacement cost is generally recommended as it covers the expense of rebuilding your home to its previous standard without depreciation deductions. Annual Inventory: Use your smartphone to record a video tour of your home. Open closets and cabinets to document high-value items like electronics, jewelry, and tools. Store this digitally in the cloud. Perform a Risk Assessment: Check if you live in an area prone to floods or earthquakes. These events are rarely covered by standard policies and often require separate endorsements. Maximize Deductibles: If you have an emergency fund, consider raising your deductible. A higher deductible can lower your annual premiums significantly, saving you hundreds over time. Bundle and Save: Most carriers offer discounts for bundling auto and home insurance policies. Always ask about multi-policy savings. While you should handle the initial inventory and risk assessment yourself, consult with a licensed insurance agent or broker when making major changes to your home. If you are adding a deck, finishing a basement, or installing a swimming pool, your liability risk increases, and your dwelling coverage may need to be adjusted to account for the increased value of the property. DIY tools like online insurance calculators provide a good baseline for how much coverage you might need, but they are not a substitute for professional advice. An insurance agent can help you navigate complex terminology, explain exclusions in detail, and ensure you are not underinsured. Remember, the goal of insurance is not just to replace your home but to protect your financial future in the event of a catastrophic loss.
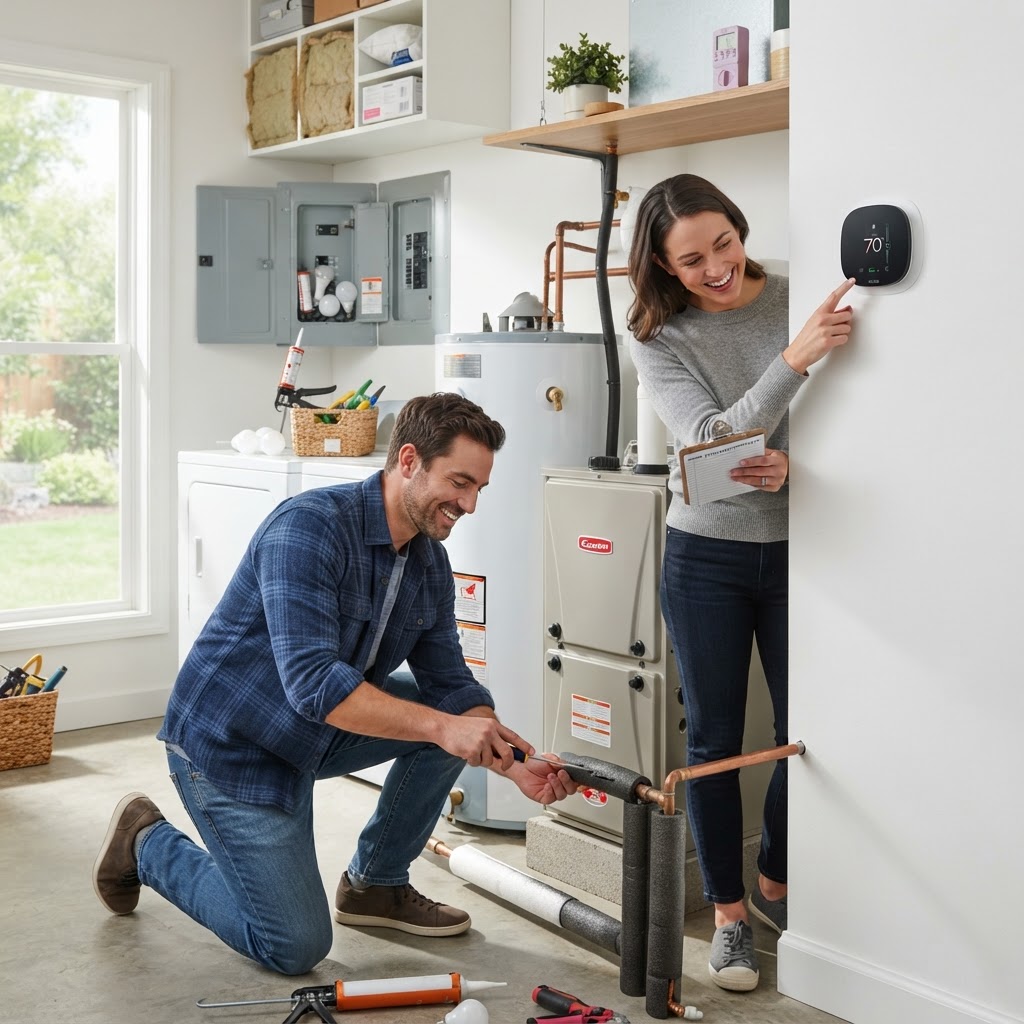
Slash Your Utility Bills: A Homeowner’s Guide to Energy Efficiency
The most cost-effective way to improve energy efficiency is to stop conditioned air from escaping. Inspect windows and doors for drafts; a simple tube of caulk or a roll of weatherstripping can save you significantly on monthly heating and cooling costs. This is a low-cost DIY project that usually takes less than an afternoon. Adding insulation to your attic is a high-impact upgrade. Replace manual thermostats with smart versions to automate temperature settings. Swap all lightbulbs for LEDs to save on electricity. Maintain your HVAC system with regular filter changes and annual professional servicing. When replacing appliances, choose Energy Star rated models for long-term savings.
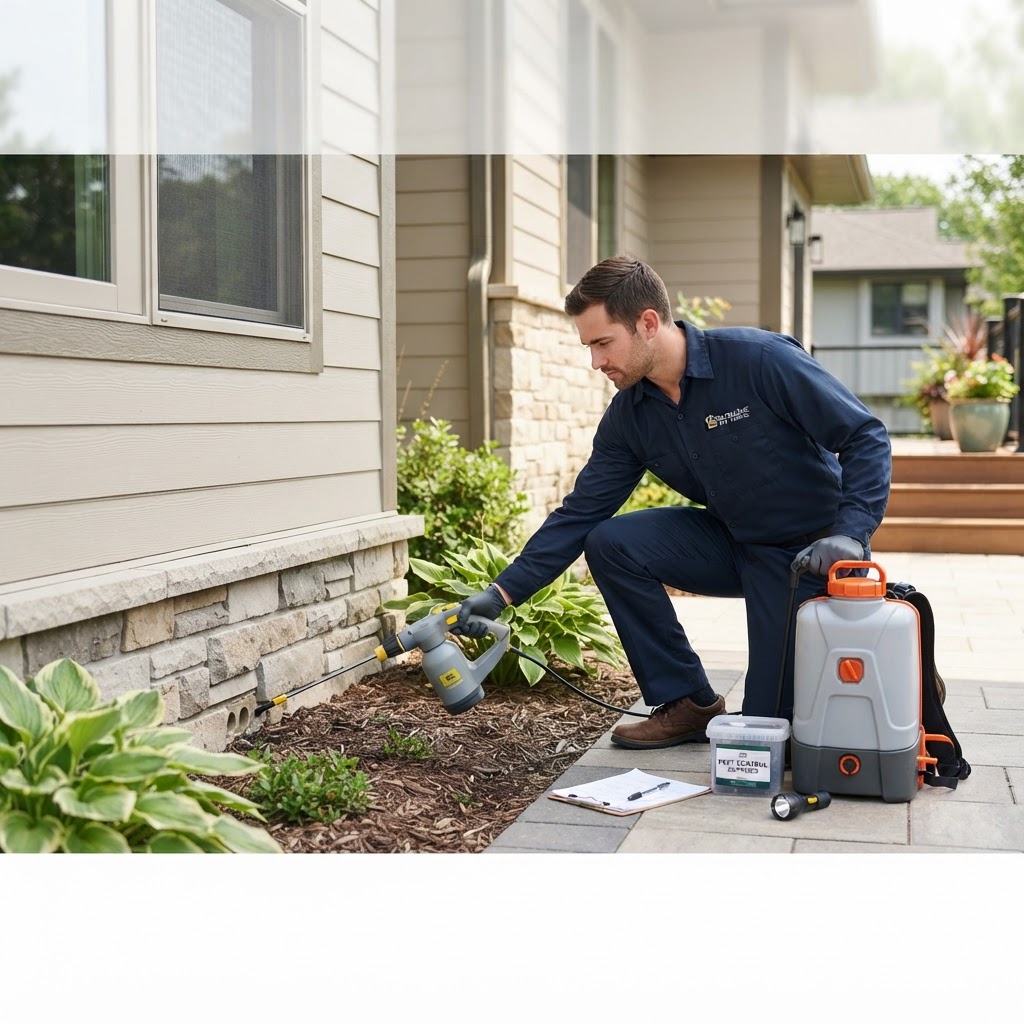
Essential Pest Control Tips: A Complete Homeowner Guide
Keeping your home pest-free is a year-round commitment. By focusing on exclusion, moisture control, and proper food storage, you can protect your property. DIY methods work for minor issues, but structural pests require professional help. Quarterly maintenance plans are a cost-effective way to prevent major infestations.
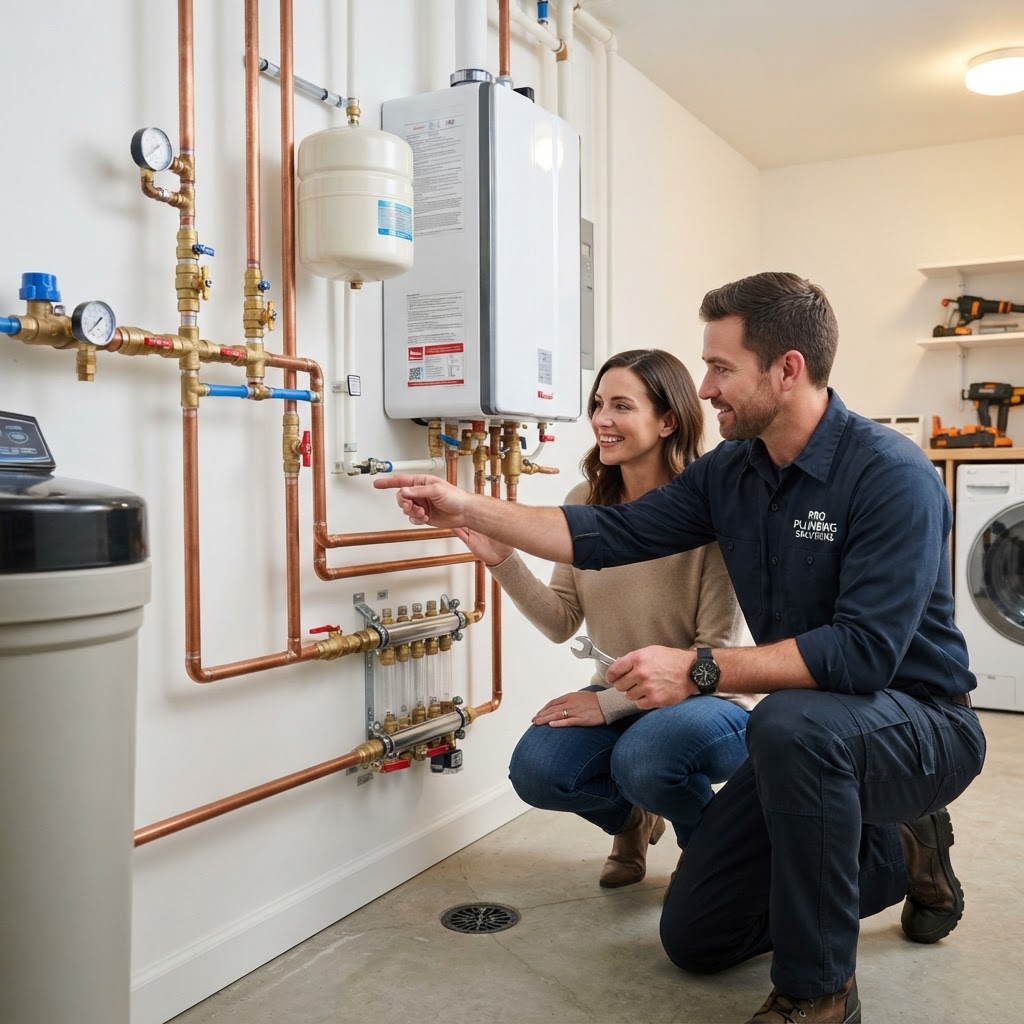
Essential Plumbing Tips Every Homeowner Must Know
Plumbing issues are often the most stressful home repairs. However, many major disasters can be avoided with consistent preventative care. Understanding your home's system is the first step toward saving money and preventing structural water damage. Preventative tips include protecting drains with mesh strainers, never pouring grease down the sink, and locating your main water shut-off valve. High water pressure should be monitored with a gauge to stay between 40 and 60 PSI. While minor clogs are DIY-friendly, professional help is required for recurring issues or sewage backups. Routine inspections every two years cost roughly $150-$300, which is significantly cheaper than emergency repairs.

Mastering Tenant Relations: A Guide for Successful Landlords
Building a Strong Foundation. Positive tenant relations are the cornerstone of a profitable rental property. High turnover rates are expensive, costing landlords thousands in marketing, cleaning, and lost rent. By fostering a professional yet approachable relationship, you can encourage long-term tenancies and consistent care of your investment. Effective Communication Practices. Communication is the bridge between a landlord and tenant. Establishing boundaries early is key to maintaining a professional rapport. Use these actionable tips to streamline your interactions: Set clear expectations, Respect privacy, Acknowledge requests promptly. Handling Maintenance and Repairs. Maintenance is where most tenant disputes arise. Managing this effectively can drastically improve your relationship. For minor issues, encourage tenants to report them immediately. While DIY repairs might save money, always hire a licensed professional for electrical, plumbing, or HVAC work. The Value of Appreciation. Small gestures go a long way, such as welcome gifts or thank-you cards. Managing Conflict Professionally. When conflict arises, remain objective and rely on the lease agreement. Document everything. If situations escalate, consult an attorney to stay compliant with laws. Conclusion. Tenant relations is a blend of clear boundaries and empathy. By responding to repairs efficiently, you transform your rental into a reliable source of passive income.
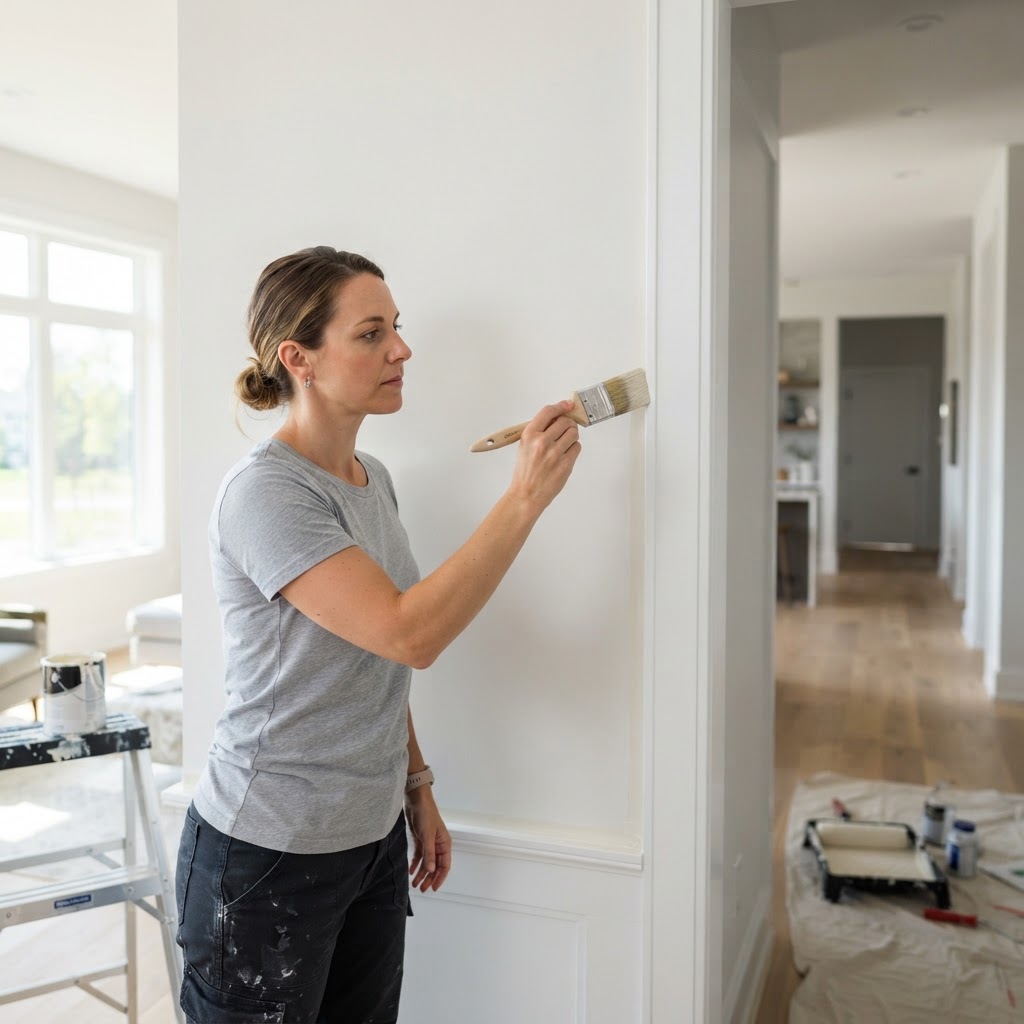
Mastering Interior Painting: A Pro Guide to a Flawless Finish
Many homeowners rush into painting, eager to see the new color on the walls. However, the secret to a professional-grade finish lies in preparation. Before you open a single can of paint, ensure your surfaces are clean, patched, and primed. Scrub walls with a mild degreaser to remove dust and oils, fill any nail holes with high-quality spackle, and sand those spots smooth once dry. Investing in quality tools makes the work easier and the result better. Avoid cheap brushes that shed bristles. Instead, opt for high-quality nylon or polyester brushes. Choosing the right finish is vital: flat is great for hiding imperfections, eggshell is perfect for living rooms, and semi-gloss is essential for trim and high-moisture areas. DIY is great for small rooms, but professionals are recommended for high ceilings or complex trim. Always paint in moderate temperatures with good ventilation for the best results.

Homeowners Insurance: How to Properly Insure Your Biggest Investment
Homeowners insurance is a critical financial safety net. This guide covers how to audit your policy, the importance of replacement cost coverage, and how maintenance helps lower your premiums. Learn why working with an independent agent can save you money and ensure your home is fully covered against common risks like fire, theft, and natural disasters.
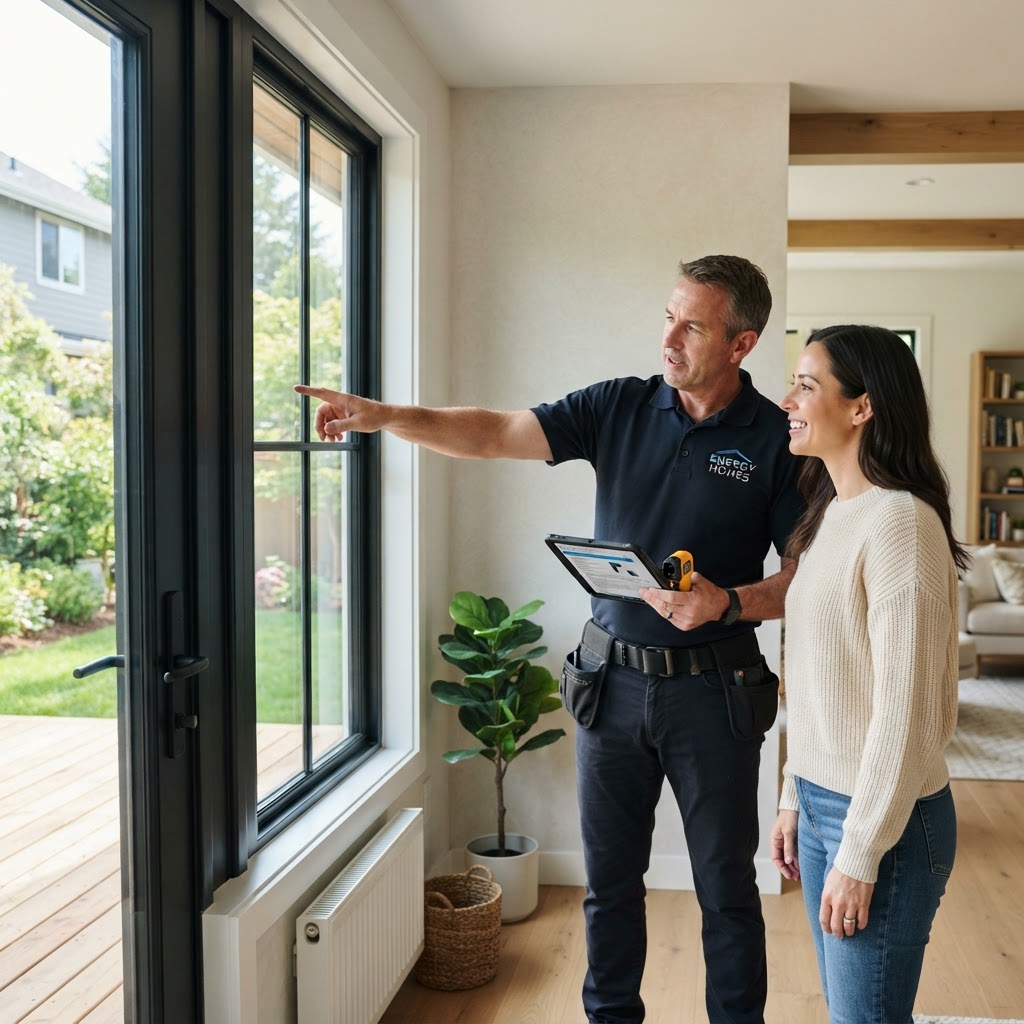
Boost Efficiency: The Ultimate Homeowner Guide to Windows and Doors
Your windows and doors are the primary barrier between your home and the elements. Investing in maintenance can slash energy bills and improve security. Look for signs like condensation, rotting frames, or operational difficulty. Regular maintenance involves cleaning tracks, lubricating hardware, and checking weatherstripping. While minor fixes are great DIY projects, full window replacement should be left to professionals to ensure proper flashing and insulation. Budget for quality, Energy Star-rated units to maximize long-term savings and comfort.

Property Management 101: Maximizing Your Investment Value
Property management is more than just collecting rent; it is a holistic approach to maintaining and increasing the value of your real estate assets. Whether you own a single rental home or a multi-unit complex, effective management is the cornerstone of long-term profitability. Professional property managers handle tenant screening, maintenance coordination, rent collection, and legal compliance. While professional services typically cost 8-12% of monthly rent, they often pay for themselves by reducing vacancy times and preventing neglect. Homeowners should perform quarterly inspections, maintain a capital expenditure fund, and keep meticulous digital records to protect their investment. Treating your property as a business is the most effective way to ensure long-term success.
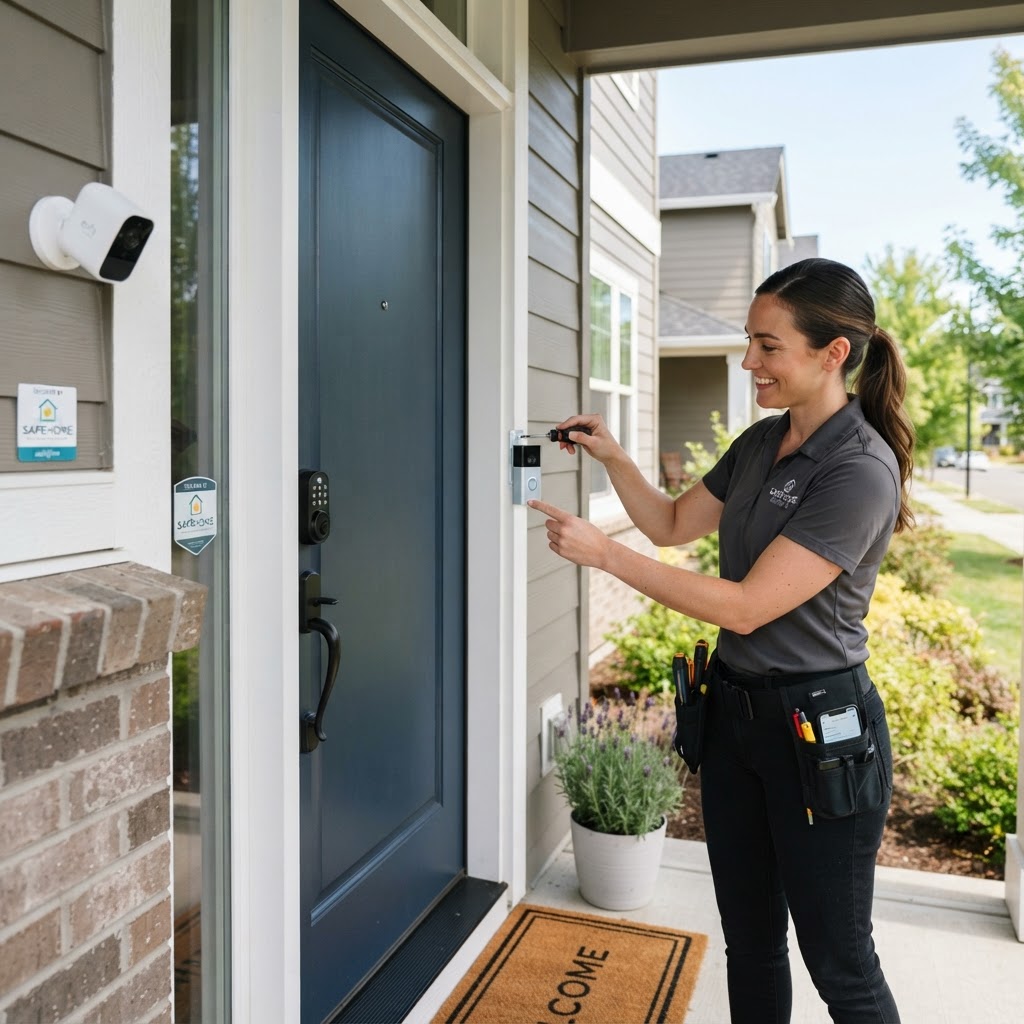
Essential Home Security Upgrades Every Homeowner Should Know
Securing your home is not just about installing expensive gadgets; it is about creating a layered defense system that deters intruders and protects your family. The first line of defense is physical hardware. Ensure all exterior doors are solid core and utilize high-quality deadbolts. Adding a strike plate with three-inch screws is a simple DIY project costing less than $50. Lighting is equally important; install motion-activated LED floodlights to eliminate dark corners. Smart security systems, including video doorbells and window sensors, are accessible for $200-$600. Remember to keep landscaping trimmed so it does not provide cover for intruders. Perform monthly tests on detectors and bi-annual maintenance on locks to keep your home safe.

Essential Guide to Maintaining Your Home's Windows and Doors
Your windows and doors are the first line of defense against the elements, pests, and energy loss. Regular maintenance not only extends the lifespan of these critical components but also keeps your home energy-efficient and secure. Neglecting them can lead to drafts, higher utility bills, and costly structural damage. Performing a walkthrough twice a year is the best way to catch issues before they escalate. Spring cleaning involves washing frames and glass to remove winter debris. Fall preparation includes checking weatherstripping for cracks and applying a fresh bead of exterior caulk. Simple tasks like cleaning glass or replacing weatherstripping are perfect DIY projects costing less than $50. However, consult a professional for foggy glass, extensive wood rot, or foundation-related sticking issues. Upgrading to energy-efficient windows can save significant money on utility bills. Finally, always avoid harsh chemicals like bleach on vinyl surfaces to ensure they remain durable over time.
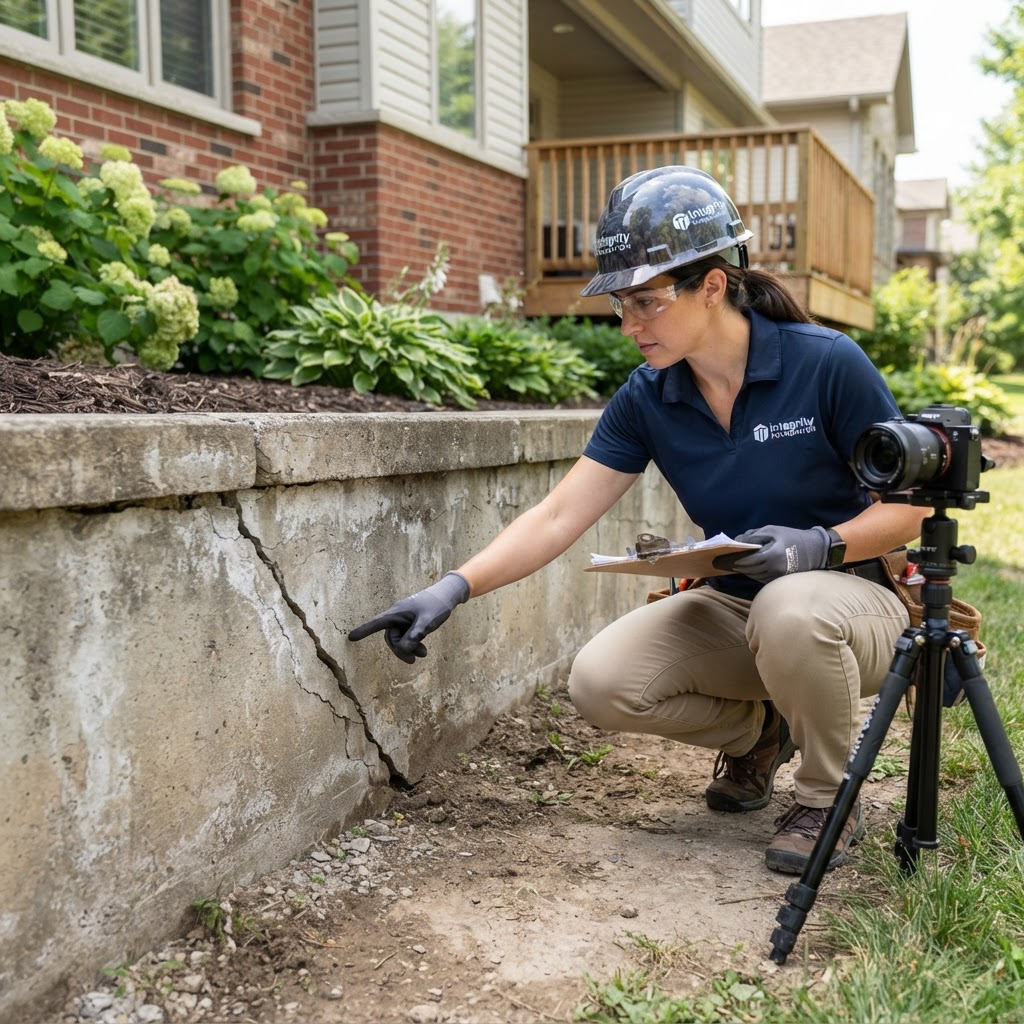
Foundation Health 101: Signs Your Home Needs Structural Repairs
Your foundation is the most critical component of your home's longevity. When the structure settles unevenly or experiences moisture intrusion, the consequences can be expensive and dangerous. Recognizing early warning signs is essential for any responsible homeowner. Key signs include stair-step cracks, sticking doors, uneven floors, and masonry separation. To protect your investment, manage your soil moisture by extending downspouts and grading the soil to slope away from the house. While basic monitoring is a DIY task, structural issues require a licensed professional and a certified structural engineer. Foundation repairs are a significant investment, often ranging from several hundred to tens of thousands of dollars, making regular inspections vital for long-term home health.
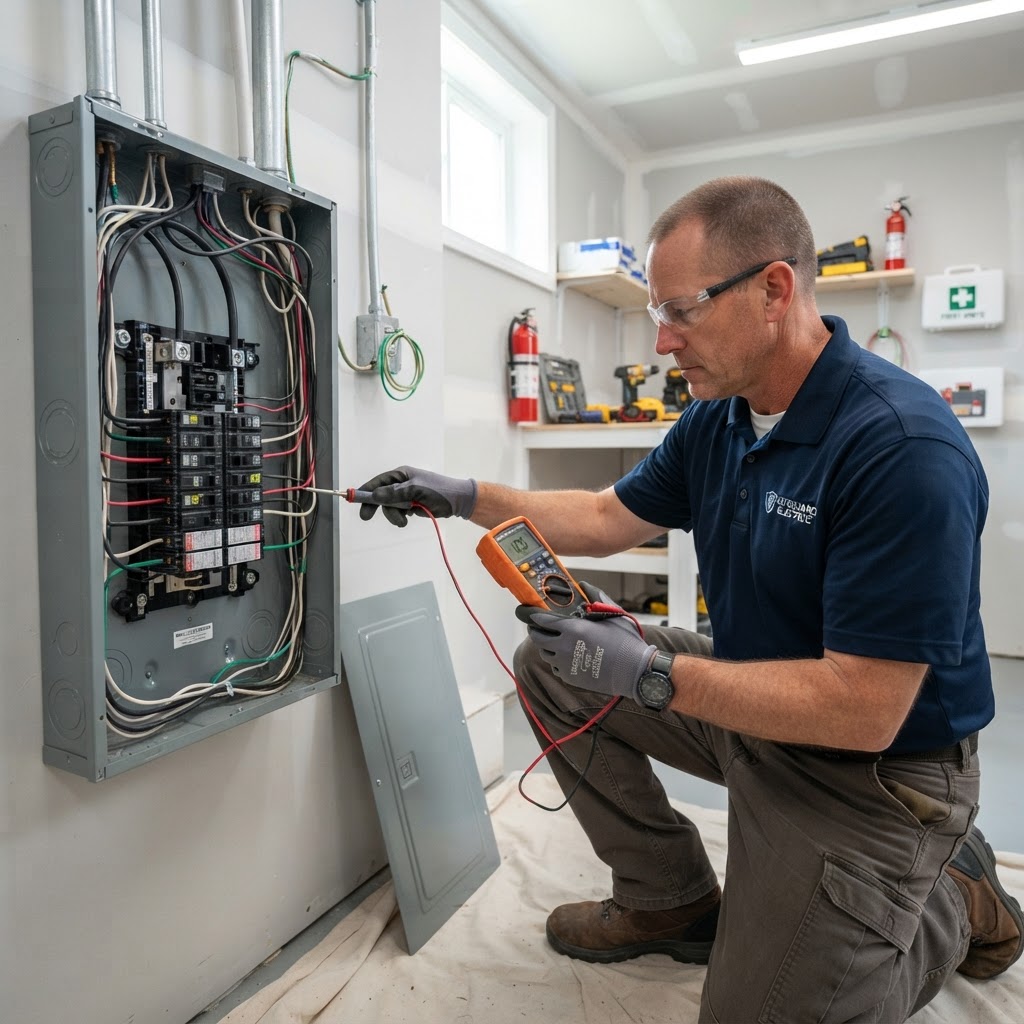
Electrical Maintenance 101: Essential Safety Tips for Homeowners
Your home's electrical system is the lifeblood of modern comfort, yet it is often ignored until a breaker trips or a light flickers. Performing routine maintenance not only ensures your devices run efficiently but also prevents potential fire hazards. Understand your panel and wiring basics to save on repairs. Test your GFCIs monthly, inspect your breaker panel for rust, and replace damaged cords immediately. Stick to minor DIY tasks like changing faceplates; for anything involving the breaker panel or high-voltage wiring, always hire a licensed electrician. Budget $150-$350 for minor tasks and expect higher costs for panel upgrades. If your home is over 50 years old, schedule a professional safety inspection today.
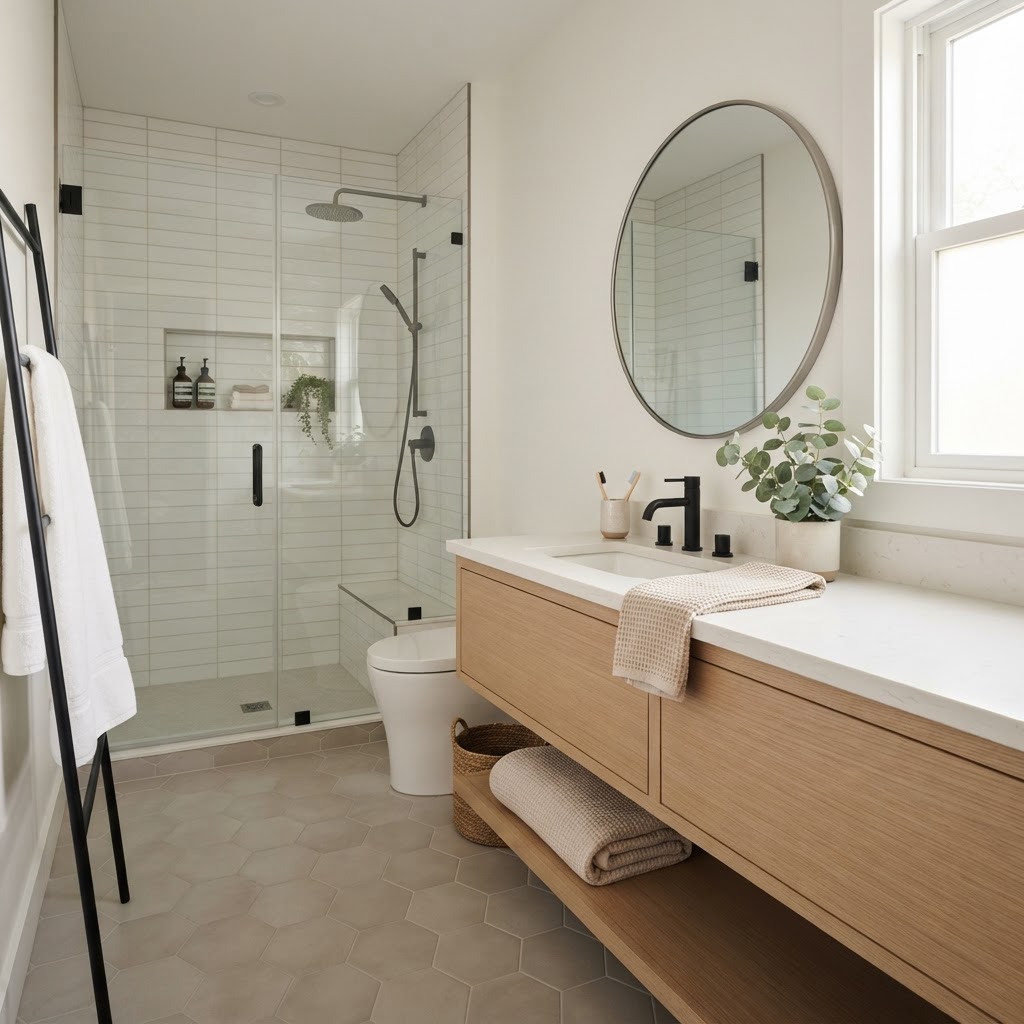
Bathroom Remodel Guide: Transforming Your Space on Any Budget
A bathroom remodel is one of the most effective ways to boost your home's resale value and personal comfort. However, the process requires careful planning. Establish a clear budget early. A mid-range remodel costs $10,000-$25,000. Leave plumbing and electrical to professionals. Focus on lighting, ventilation, and storage to get the most value for your money.

Smart Home Tech: A Practical Guide for Modern Homeowners
Integrating smart home technology can seem overwhelming, but it is one of the most effective ways to boost home security, energy efficiency, and overall comfort. Start with smart thermostats, lighting, and security cameras. While most devices are DIY-friendly, consider professional installation for complex electrical work. Phase your investments to manage costs effectively, and remember to perform routine firmware updates and battery checks to keep your system running smoothly.
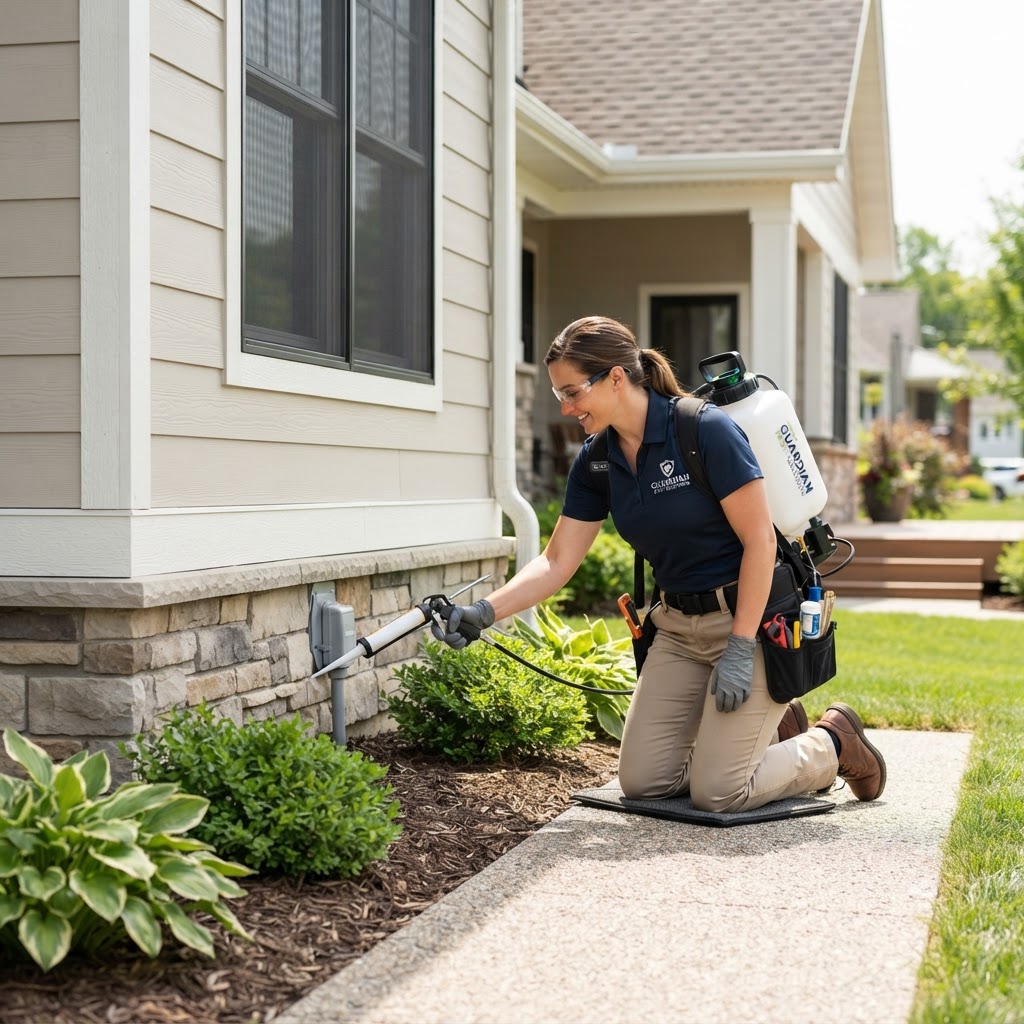
Essential Pest Control Tips: How to Protect Your Home Year-Round
Keeping your home pest-free is essential for health and home maintenance. By sealing entry points, eliminating moisture, and managing food storage, you can prevent most infestations. While DIY methods work for minor issues, professional help is recommended for termites or persistent rodent problems. Focus on proactive seasonal treatments in spring and fall to maintain a secure perimeter.

Smart Home Renovations: A Strategic Investment Guide for Homeowners
For most homeowners, a property is their largest financial asset. When considering renovations, it is essential to distinguish between projects that boost personal comfort and those that genuinely increase market value. Strategic home improvement is about calculating the Return on Investment (ROI) and timing your projects to maximize equity. Kitchen, Curb Appeal, and Energy Efficiency are the best areas for investment. Prioritize professional contractors for structural work and keep a 15% contingency budget for hidden costs. Avoid over-improving beyond your neighborhood standard.
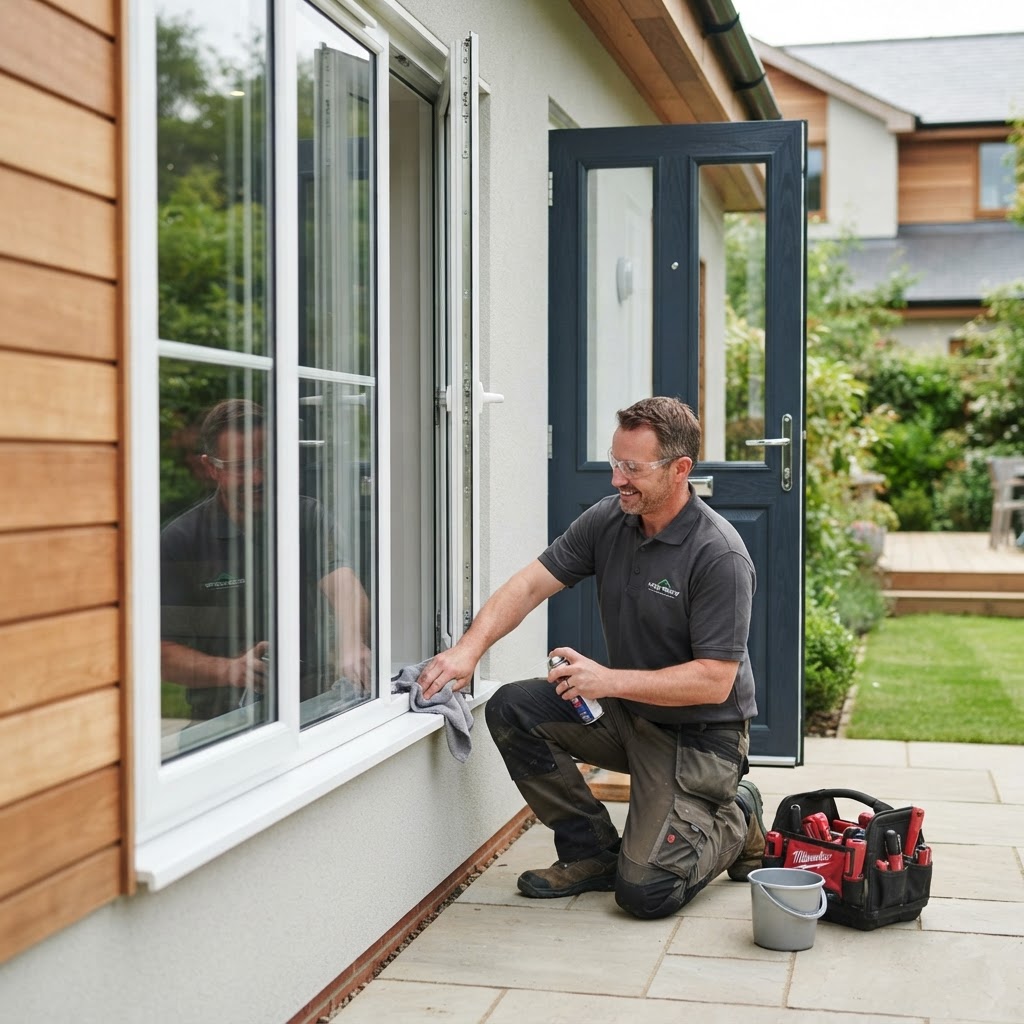
Essential Guide to Maintaining Your Home's Windows and Doors
Your windows and doors are the first line of defense against the elements and intruders. Regular maintenance not only extends their lifespan but also significantly lowers energy bills by preventing drafts. Taking care of these components today saves you from expensive emergency repairs tomorrow. To keep your home running efficiently, perform these inspections twice a year: Clear the tracks, inspect weatherstripping, lubricate hardware, and examine caulking. Many basic maintenance tasks are perfect DIY projects, but call a pro for fogged glass or structural rot. Expect to pay $400-$1,200 for window replacements and $500-$3,000 for doors. Proactive care is the best way to maintain home value.
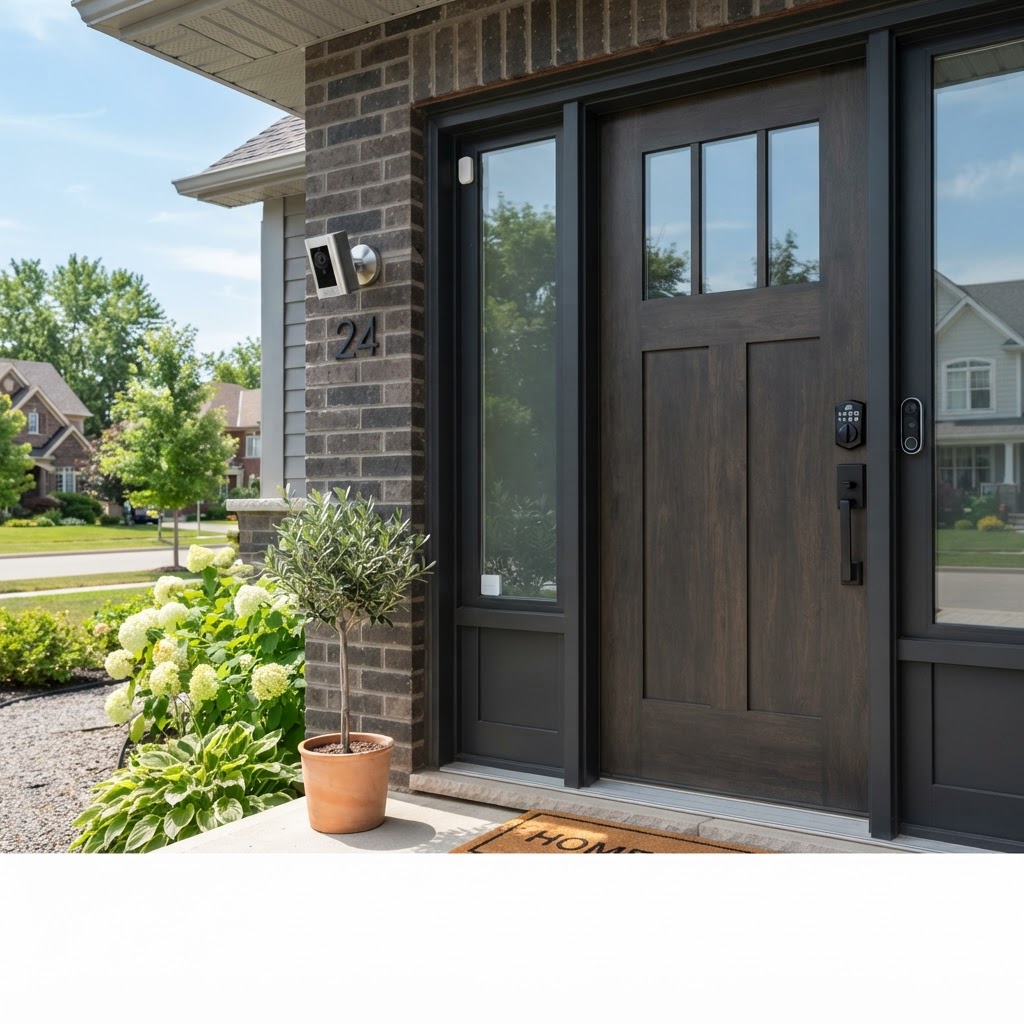
Essential Home Security Upgrades for Every Budget
Home security begins at the doorstep. Ensure your doors are solid and equipped with heavy-duty deadbolts. Motion-activated lighting is an affordable way to deter intruders. You can choose between professional monitoring systems or DIY options depending on your budget. Window security, including locks and reinforcement film, is an overlooked but crucial element. Regular maintenance of your security devices and landscape grooming will keep your home safer year-round.
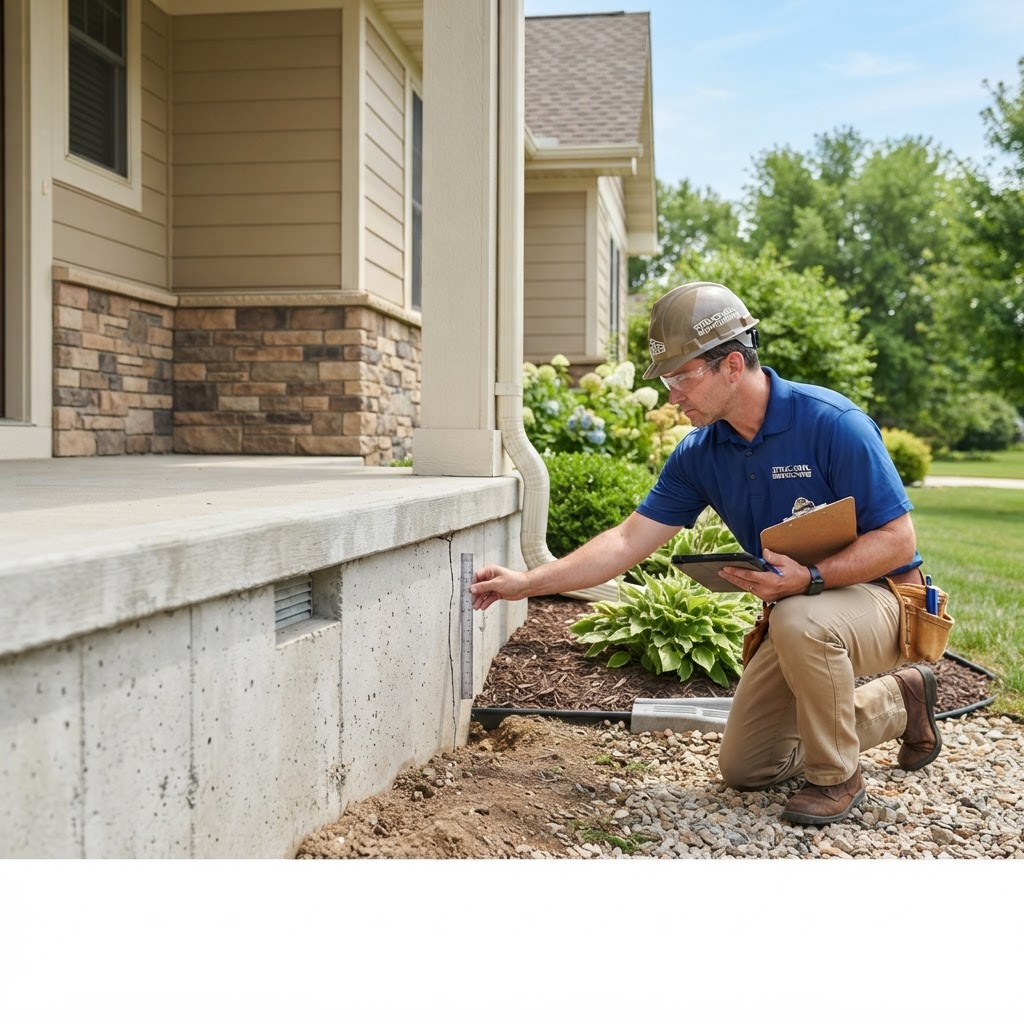
Foundation Health 101: A Homeowner’s Guide to Structural Integrity
Your home's foundation is the bedrock of its structural integrity. While often out of sight, issues beneath the floorboards can lead to catastrophic damage if left unaddressed. Understanding the early warning signs can save you thousands in repairs. Common warning signs include stair-step cracks, sticking doors or windows, gaps around frames, and floor sloping. Prevention starts with drainage management, such as extending downspouts and ensuring proper soil grading. While small DIY fixes for hairline cracks exist, major structural shifts require a professional structural engineer. Budgeting for potential repairs is essential for long-term home ownership.
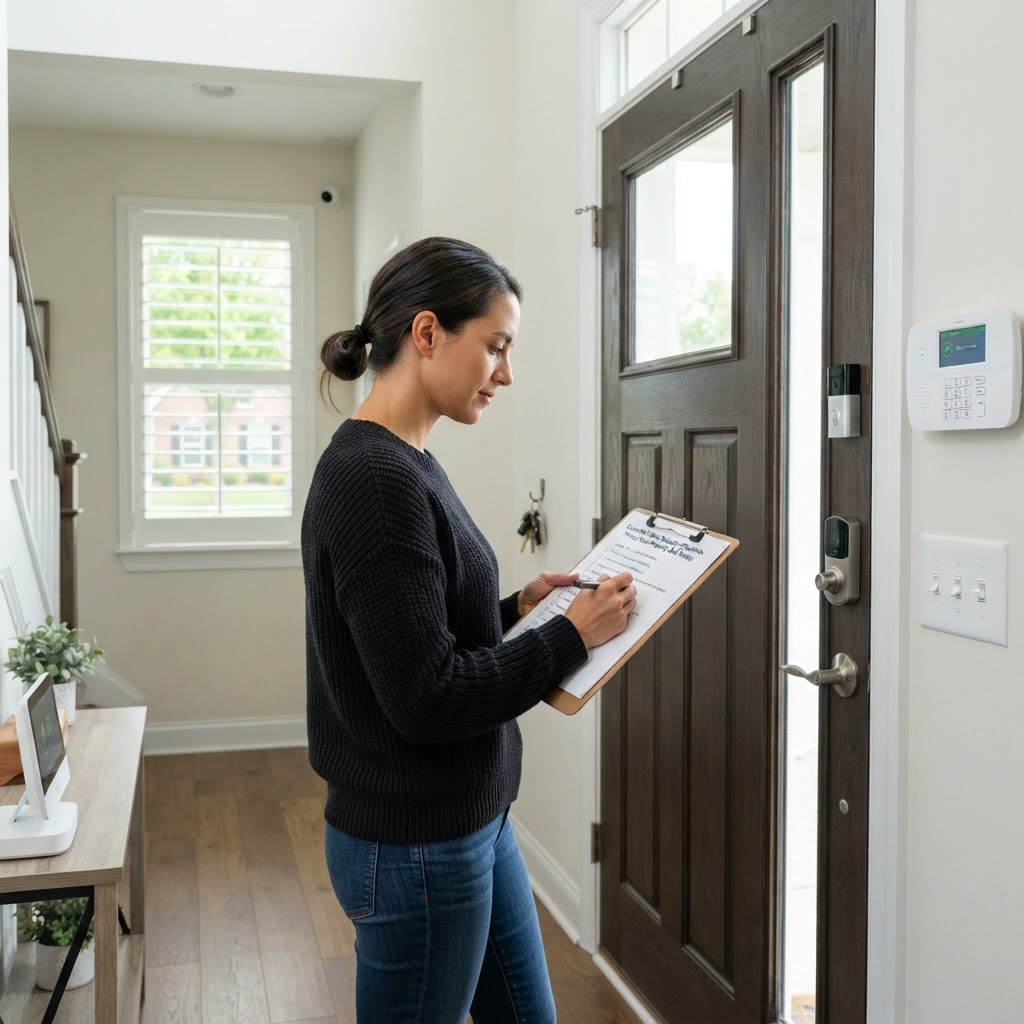
Essential Home Security Checklist: Protect Your Property and Family
The first line of defense is your physical perimeter. Start by conducting a walk-around of your home. Ensure that all exterior doors have solid cores and are equipped with heavy-duty deadbolts. For sliding glass doors, a simple wooden rod or security bar placed in the track can prevent intruders from forcing them open. Inspect your window locks; if they are outdated, consider installing secondary pin locks to restrict how far windows can slide open. Intruders prefer the shadows. Motion-activated floodlights are one of the most cost-effective security upgrades available. Position them near entry points, dark corners, and detached garages. For a DIY approach, LED smart bulbs can be programmed to turn on at sunset or simulate occupancy while you are away on vacation. These solutions generally cost under $200 and can be installed in a single weekend. Modern security systems have evolved significantly. Today, a robust setup often includes a video doorbell, indoor cameras, and window/door contact sensors. Most professional systems, like those from ADT or Vivint, offer 24/7 monitoring services for a monthly fee of $30 to $60. If you prefer a DIY route, companies like Ring or SimpliSafe offer plug-and-play kits that avoid long-term contracts. Always ensure your Wi-Fi network is password-protected and that your devices are updated with the latest firmware to prevent digital breaches. Technology is only as effective as your habits. Ensure that spare keys are never left under doormats or in fake rocks—these are the first places burglars look. Instead, provide a trusted neighbor with a copy. Regularly test your smoke and carbon monoxide detectors by pressing the test button monthly; this habit is a crucial part of overall home safety. If you have a security system, test the sensors every few months to ensure they are communicating correctly with the base station. By combining physical hardening, smart lighting, and proactive habits, you can significantly reduce the risk of home intrusion.
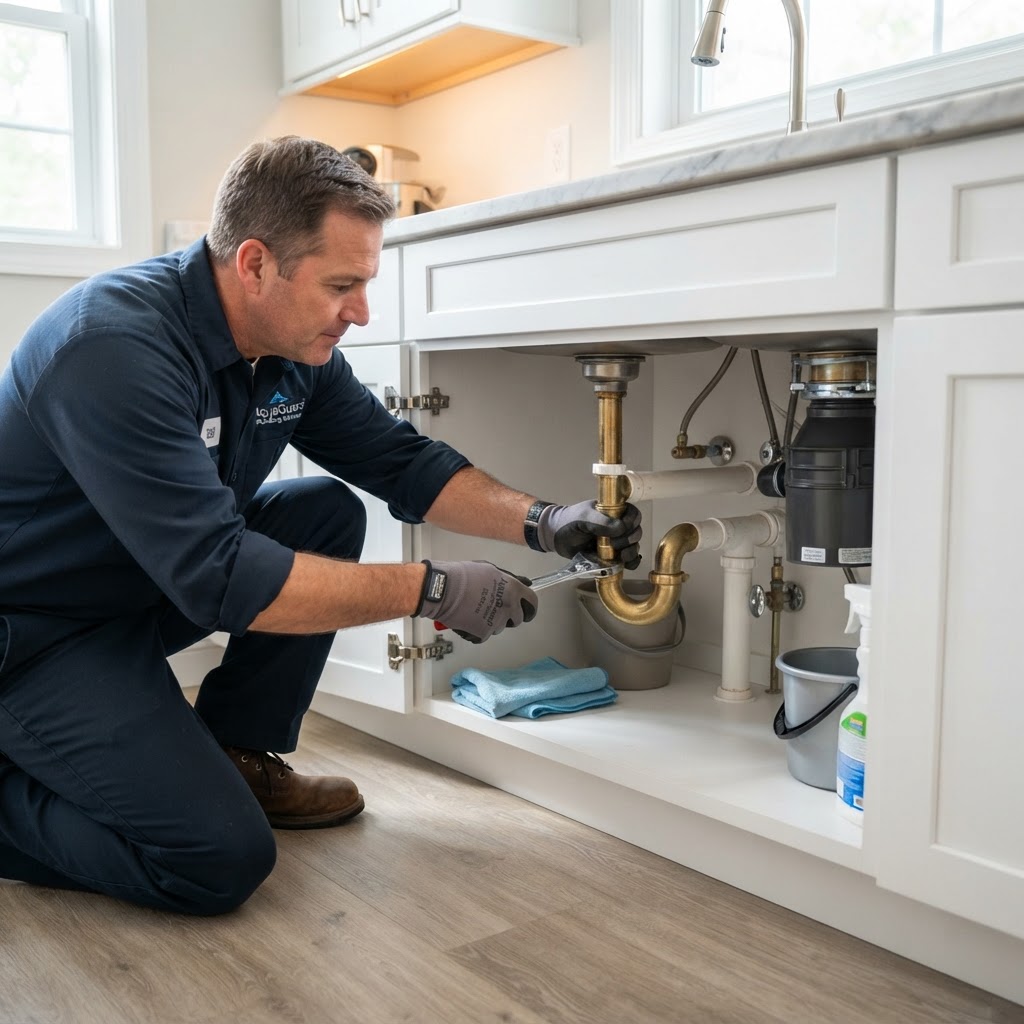
Essential Plumbing Tips Every Homeowner Should Know
Maintaining your home's plumbing system is essential for every homeowner. By following simple maintenance steps like monitoring water pressure, cleaning drains with natural products, and knowing how to shut off the main water valve, you can prevent major damage. While many tasks are DIY-friendly, always call a professional for sewer line issues, water heater malfunctions, or structural leaks. Annual inspections are the best way to save money and avoid costly emergency repairs.
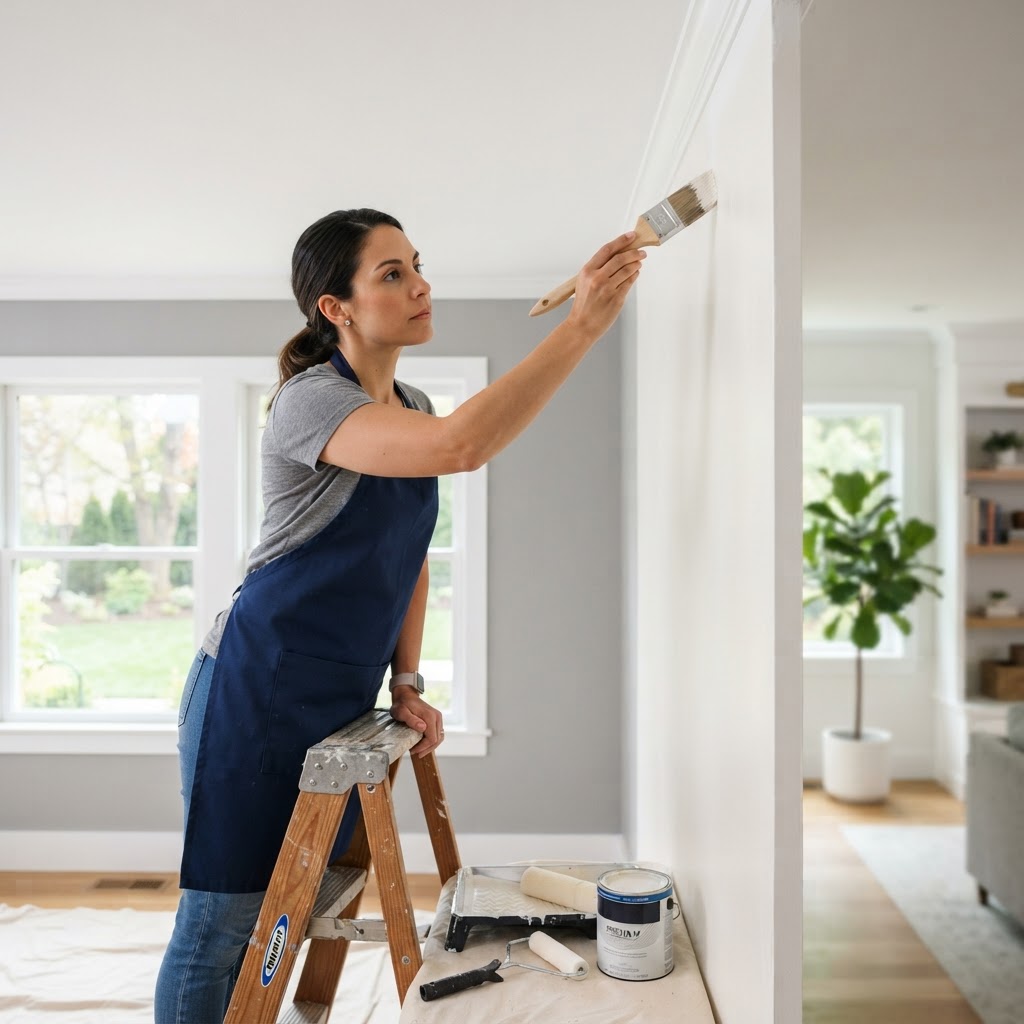
Mastering Interior Painting: A Pro Guide to a Professional Finish
Preparation is Everything. 80% of a professional result comes from prep work. Clean walls, fill holes, and sand surfaces. Priming is crucial for covering dark colors or raw drywall. Quality tools, including angled brushes and canvas drop cloths, are essential. DIY is cost-effective, but hire pros for high ceilings or complex trim. Maintain a wet edge and remove tape while paint is tacky for a crisp look.
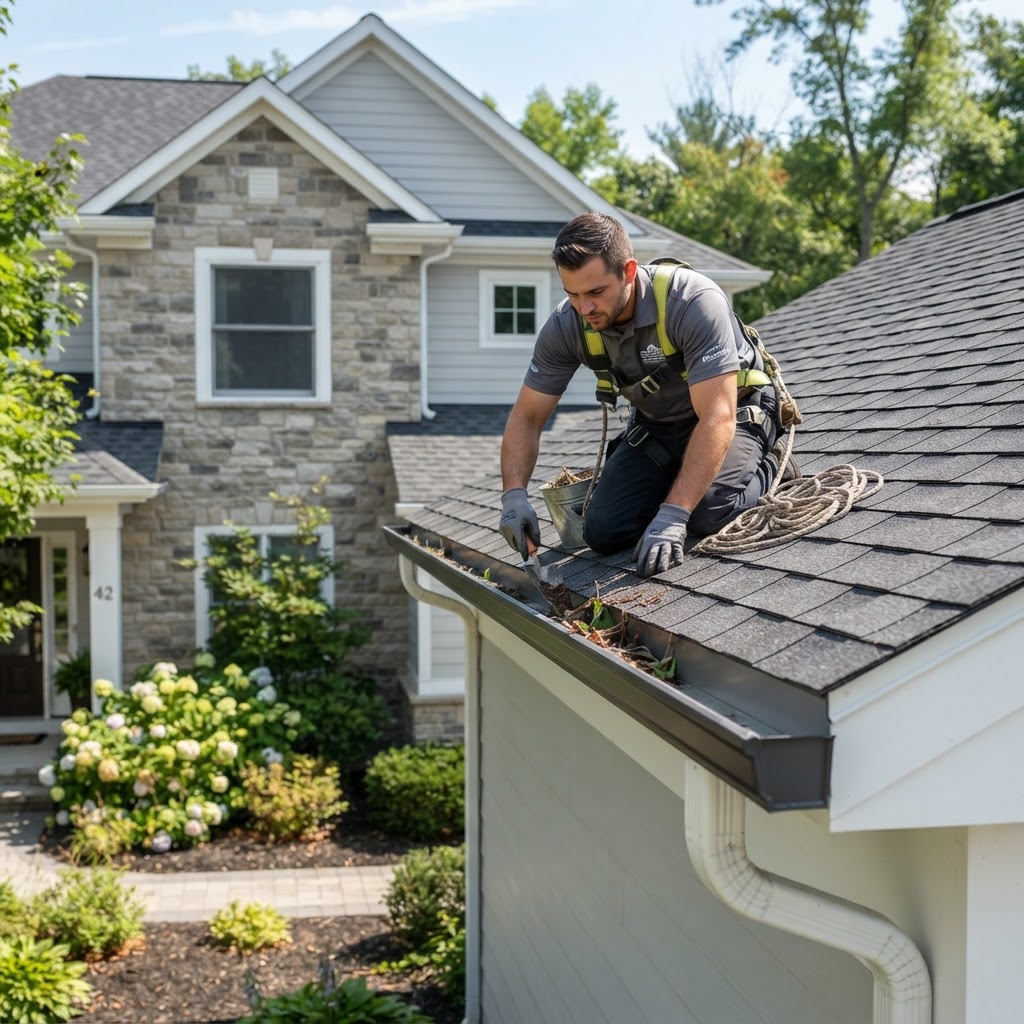
Essential Guide to Roofing and Gutter Maintenance for Homeowners
Your roof is your home's first line of defense. Regular maintenance involves inspecting for missing shingles, clearing gutters twice a year, and addressing potential leaks early. While some tasks are DIY-friendly, major repairs should be left to professionals to ensure safety and quality. Expect to invest in annual checkups to avoid massive replacement costs down the road.
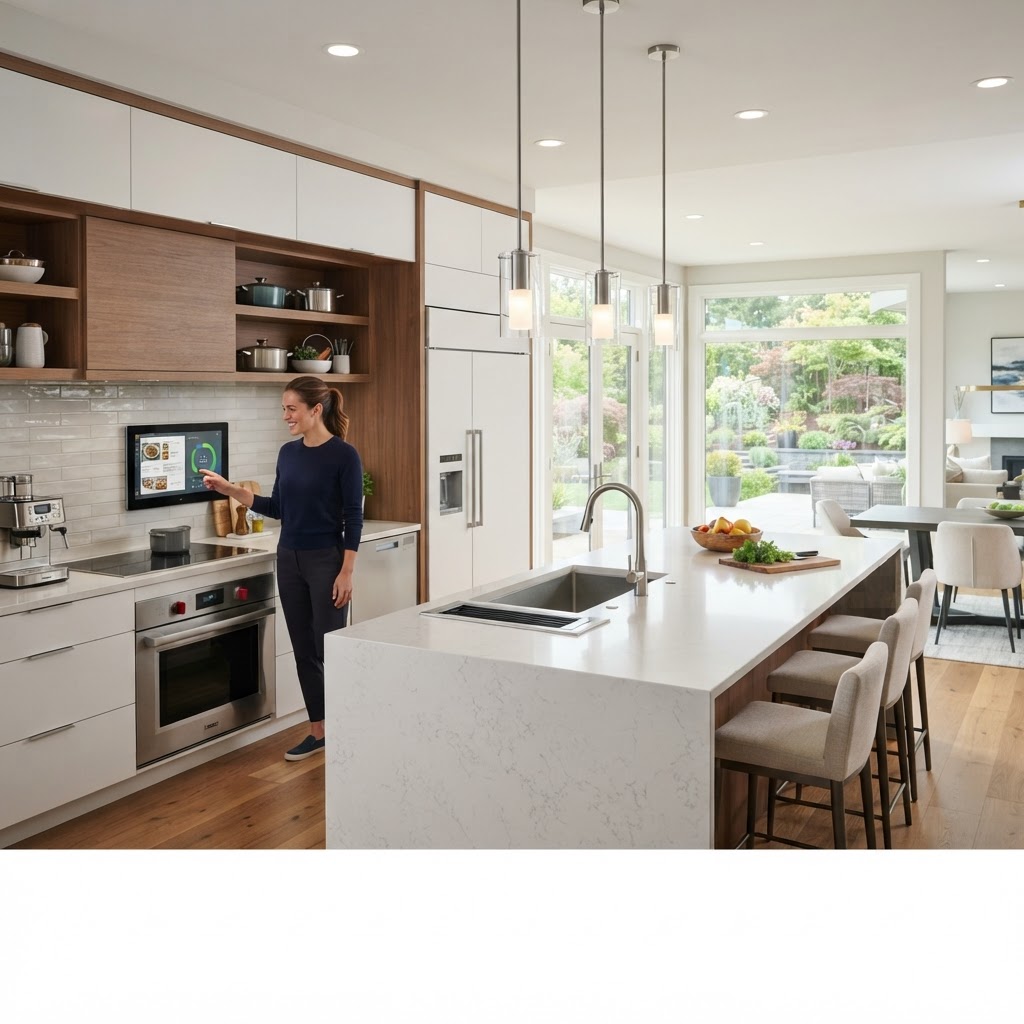
Smart Kitchen Upgrades: Enhance Value and Functionality
Elevate Your Cooking Space. The kitchen is the heartbeat of the home, and whether you are planning to sell or settling in for the long haul, strategic upgrades can yield a significant return on investment. From minor cosmetic refreshes to functional improvements, here is how to tackle your kitchen renovation. High-Impact Kitchen Upgrades. Cabinet Refacing: If your cabinet boxes are structurally sound, save money by replacing just the doors and drawer fronts. This process costs roughly 30-50% less than a full replacement. Statement Backsplash: A new tile backsplash is a DIY-friendly project that adds texture and personality. Lighting Layering: Swap outdated lights for under-cabinet LED strips and stylish pendants. Hardware Refresh: Swapping out cabinet pulls and knobs is the fastest way to modernize. DIY vs. Professional: If you are moving plumbing or gas lines, hire a pro. Small DIY projects can cost $500-$2000, while full remodels often start at $20,000. Plan for an extra 15% contingency budget.

Smart Home Tech: A Practical Guide for Modern Homeowners
Integrating smart home technology is a practical way to increase security, save energy, and improve convenience. Start with smart thermostats, lighting, and security cameras for the biggest impact. DIY is great for simple setups, while professional help is best for complex electrical work. Budget accordingly, prioritize network security, and stick to one ecosystem for the best experience.
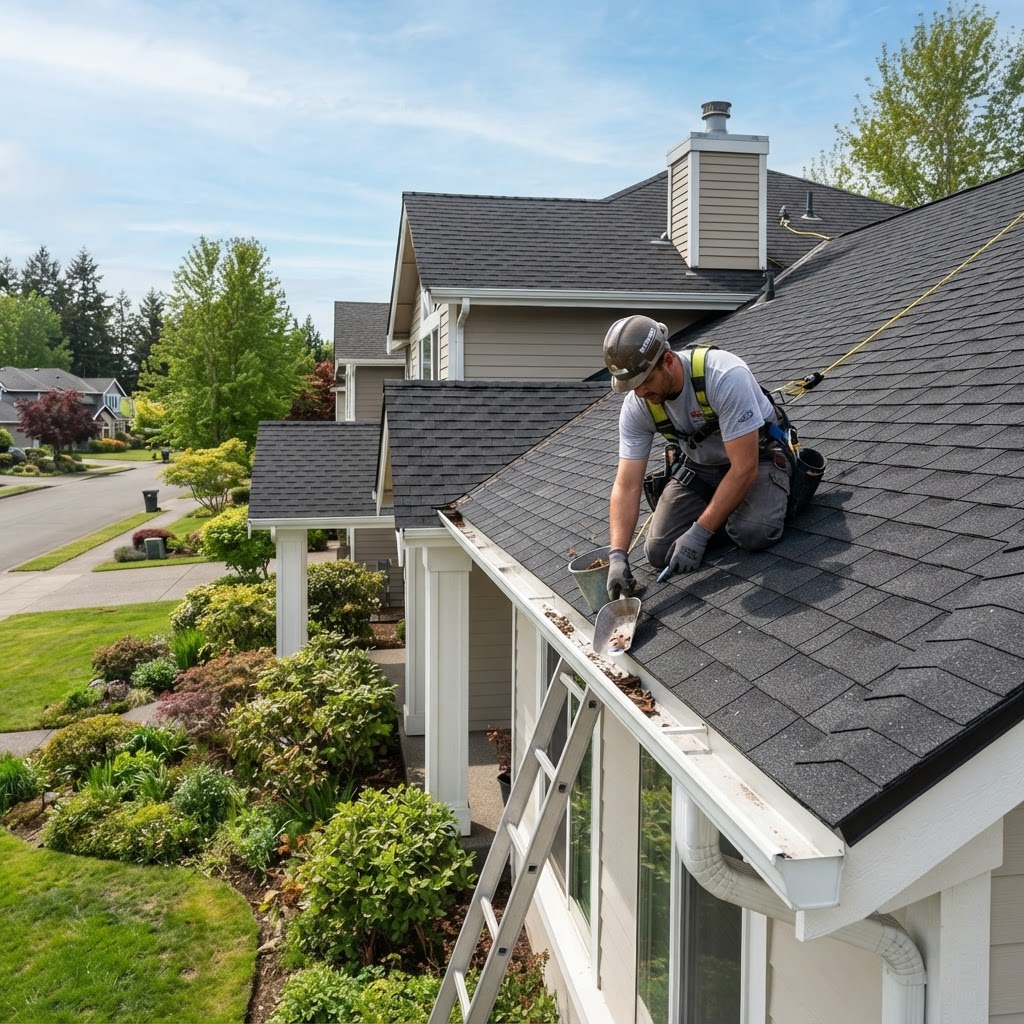
Essential Guide to Roofing and Gutter Maintenance for Homeowners
Your roof and gutter system acts as the primary shield against the elements, protecting your home’s structural integrity. Neglecting these areas can lead to costly water damage, mold growth, and premature roof failure. Proactive maintenance is the best investment a homeowner can make. Seasonal checklists include inspecting shingles in spring, checking for heat damage in summer, cleaning gutters in fall, and monitoring for ice in winter. While DIY gutter cleaning is manageable, roof repairs should almost always be left to licensed professionals due to safety risks. Regular inspections cost roughly $150-$300, and keeping up with these tasks can delay expensive roof replacements. Always keep trees trimmed and monitor for granule loss to identify wear early.
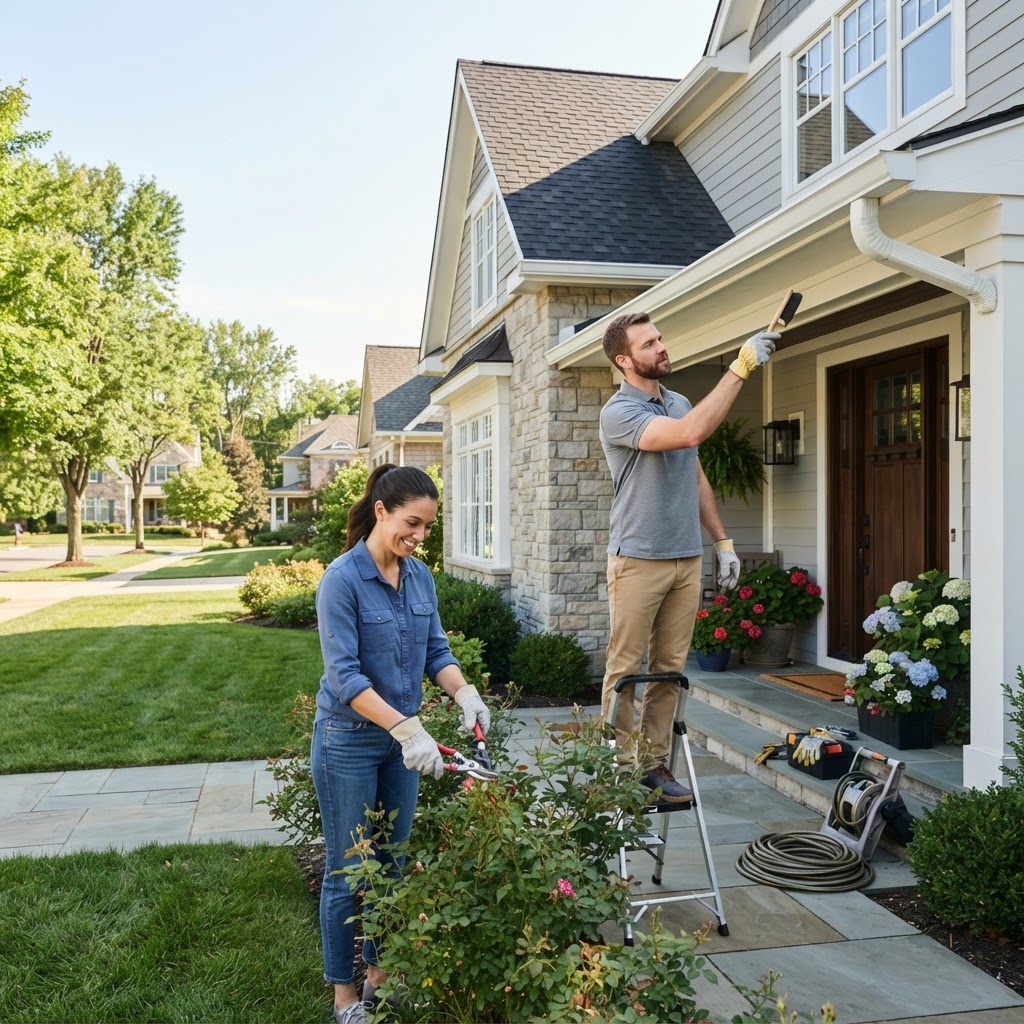
Homeowners Insurance: A Proactive Guide to Protecting Your Investment
Homeowners insurance is a critical safety net. Conduct a home inventory using video, perform regular maintenance to lower premiums, and hire professionals for major repairs to stay compliant with your policy. Review your coverage annually to account for home improvements and rising property values.
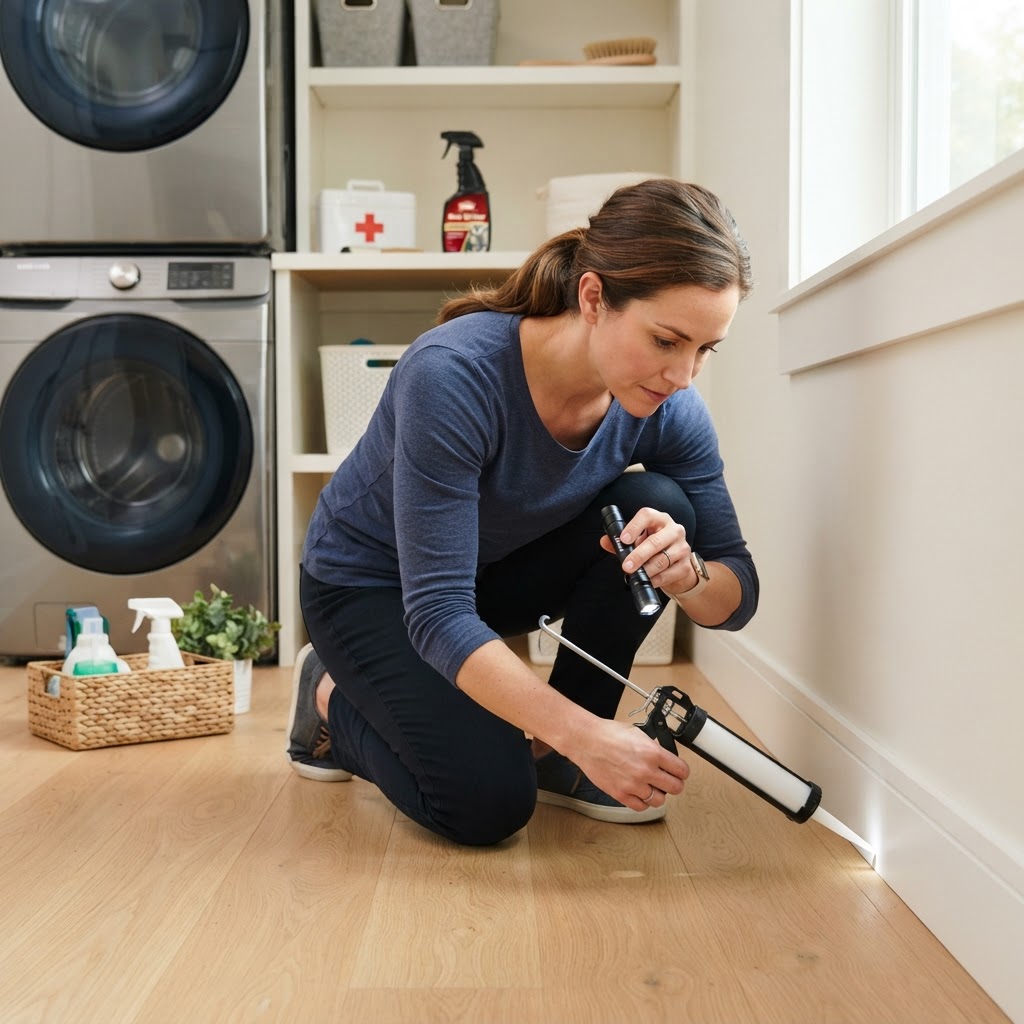
Essential Pest Control Tips: A Complete Homeowner's Guide
Maintaining a pest-free home is essential for protecting your property value and your family's health. Focus on sealing entry points like gaps around pipes and foundations. Eliminate moisture by fixing leaks and clearing gutters. Store food in airtight containers and replace cardboard storage with plastic bins. While DIY works for small issues, call professionals for termites or bed bugs. Expect to pay $100-$300 for single treatments or $300-$600 for annual maintenance plans. Schedule inspections in early spring and late fall for the best results.
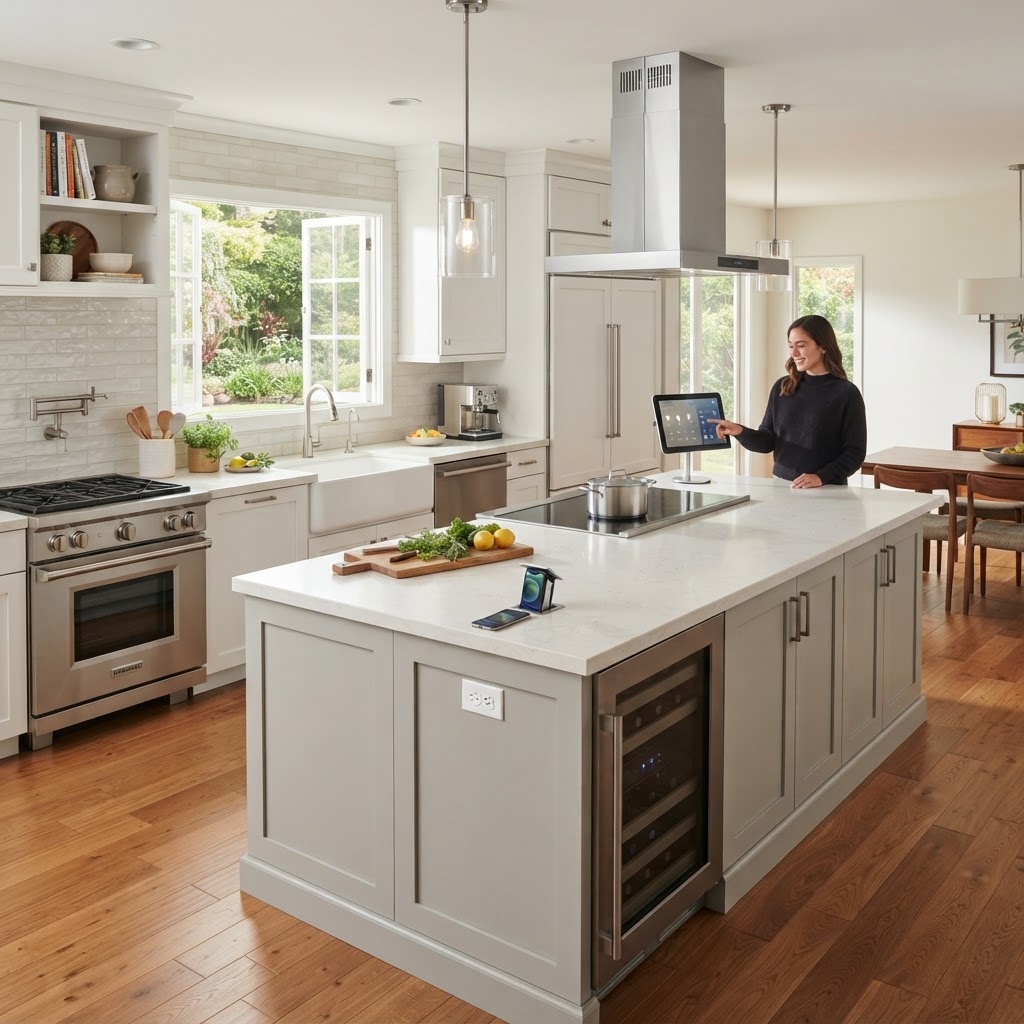
5 Smart Kitchen Upgrades That Boost Home Value and Functionality
The kitchen is the heart of any home. If yours feels outdated or inefficient, you do not always need a full-scale remodel to make a significant impact. Smart upgrades can modernize your space while improving your workflow. 1. Cabinet Facelifts: Replacing cabinetry is expensive. Instead, consider painting or refacing existing cabinets. Swapping hardware for modern pulls provides an instant visual boost. 2. Modernize Lighting: Replace old fixtures with energy-efficient LED recessed lighting and stylish pendants. Under-cabinet lighting is also essential for safe food prep. 3. Smart Faucets: Touchless or voice-activated faucets reduce germs and save water. 4. Backsplash: A new backsplash adds character. Peel-and-stick options are great for beginners. 5. Energy-Efficient Appliances: Upgrade to Energy Star appliances to lower bills and increase resale value. When to hire a pro: Leave major plumbing and electrical work to licensed contractors to ensure safety and code compliance.
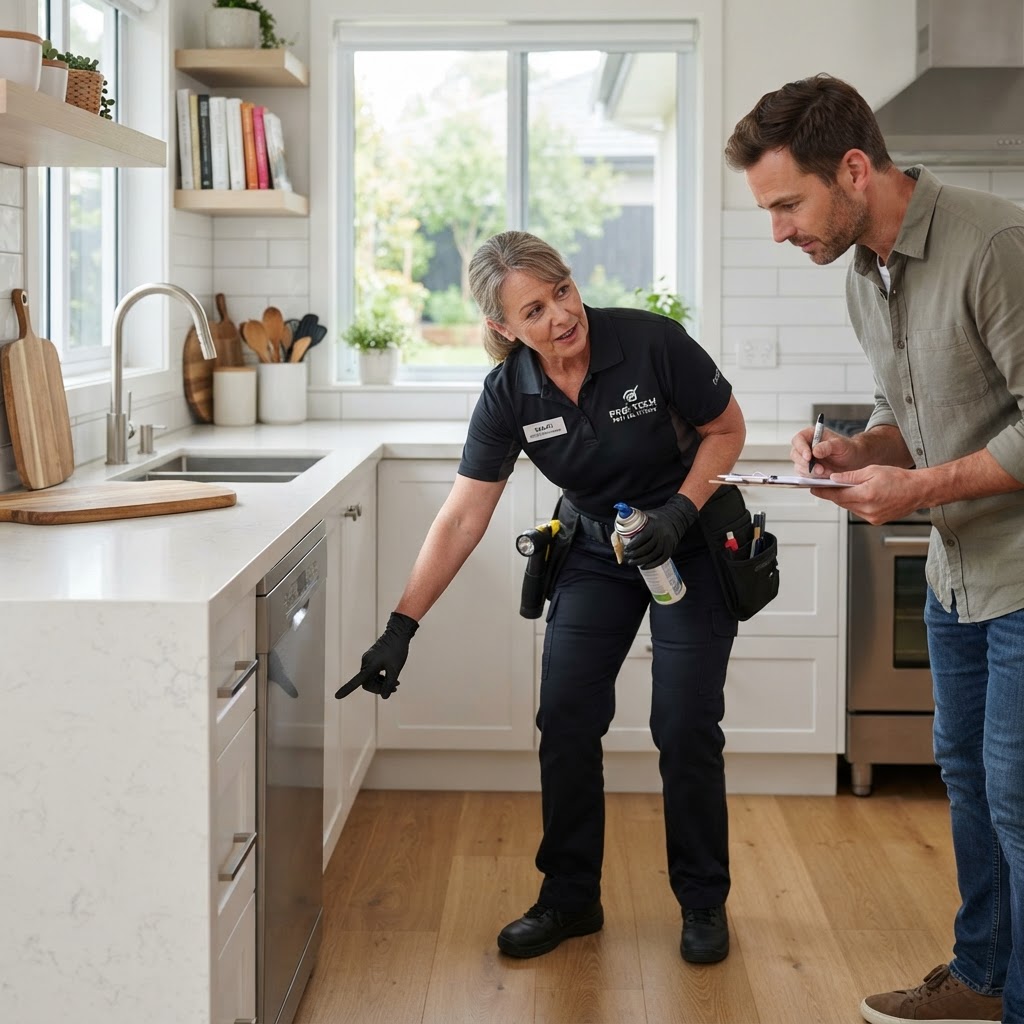
Essential Pest Control Tips: A Homeowner’s Guide to a Bug-Free House
Keeping your home free of pests is not just about comfort; it is about protecting your property and health. Whether you are dealing with seasonal ants or a year-round threat like rodents, a proactive approach is your best defense. You can manage many pest issues before they start with consistent maintenance: Seal Entry Points: Use caulk to fill gaps around windows, doors, and utility pipes where pests gain access. Eliminate Moisture: Fix leaky pipes and clear gutters. Standing water attracts mosquitoes, roaches, and termites. Proper Food Storage: Keep dry goods in airtight containers and wipe down kitchen surfaces daily to remove crumbs. Manage Landscaping: Keep shrubs trimmed away from the exterior walls to prevent pests from climbing into your siding. While DIY sprays work for minor sightings, there are times when professional intervention is mandatory. If you notice structural damage, wood-boring insects like termites, or persistent rodent activity, do not hesitate to call experts. Professionals use commercial-grade treatments that are often safer and more effective for deep-seated infestations. Costs for professional pest control typically range from $100 to $300 per treatment depending on the home size and the severity of the issue. Spring is the most critical time for pest prevention. As the weather warms, insects emerge from dormancy to find food and nesting sites. Schedule a professional inspection every spring to check for termite activity and fortify your home's exterior. Additionally, a fall inspection helps ensure that mice and spiders do not try to move indoors as the temperature drops. The most effective home defense is a hybrid approach. Perform routine maintenance tasks like cleaning and sealing yourself, but bring in professionals for annual inspections or major infestations. This reduces the need for heavy chemical use and saves you significant money on emergency repairs in the long run.
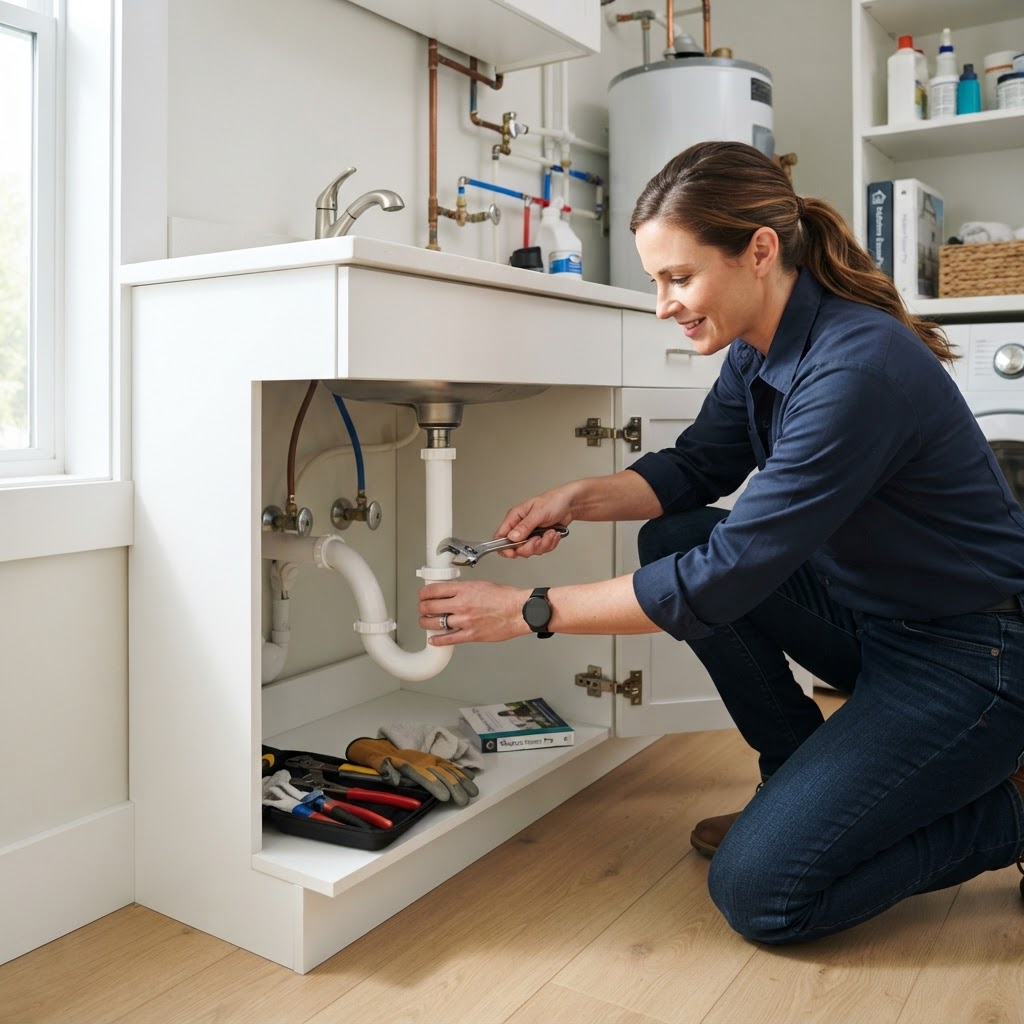
Master Your Home Plumbing: 5 Essential Tips for Every Homeowner
Plumbing issues are often the most stressful home maintenance challenges. However, with a proactive approach, you can avoid costly emergency repairs and extend the lifespan of your fixtures. From regular inspections to knowing when to call a pro, here is how you can manage your home plumbing system like a master. Never pour grease down the drain. Fat, oil, and grease solidify in pipes, creating massive blockages over time. Install mesh strainers. Prevent hair, food particles, and debris from entering your drains. Know your main water shut-off. If a pipe bursts, turning this off immediately can save you thousands. Check for silent leaks. A running toilet can waste hundreds of gallons of water per month. Avoid chemical cleaners. Harsh chemicals can corrode pipes. For minor tasks like replacing a showerhead or clearing a sink, DIY is fine. For behind-the-wall pipes or major backups, contact a pro. Preventative maintenance is the best way to keep costs low.

Homeowners Insurance: A Strategic Guide for Every Property Owner
Homeowners insurance is a critical financial tool. This guide covers how to perform annual audits, the importance of documenting your inventory, and why you should work with an agent rather than just relying on online DIY tools. It also provides actionable tips on reducing premiums through safety upgrades and property maintenance.
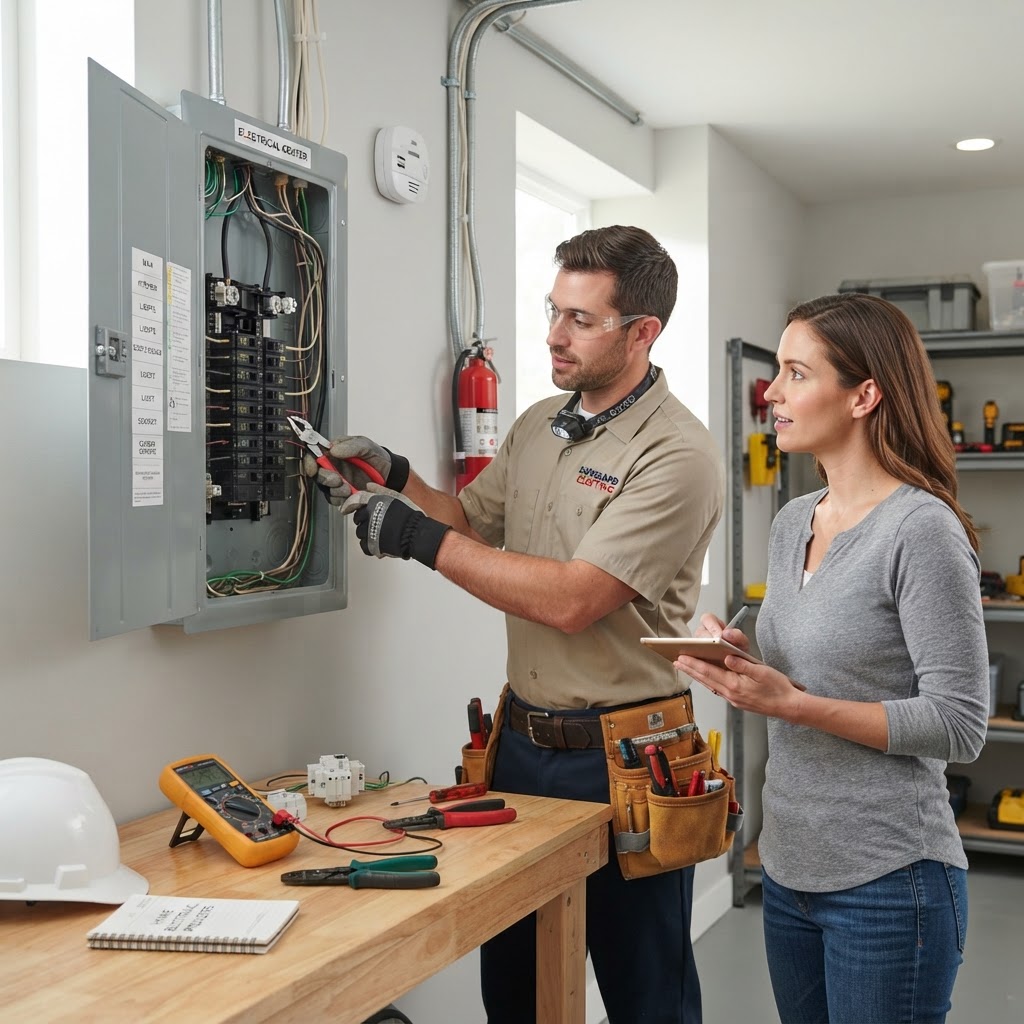
Electrical Safety Essentials: When to Call a Pro vs. DIY
Your home's electrical system is the lifeblood of modern comfort. This guide covers essential maintenance tips, safety protocols, and guidance on when to hire a professional. Topics include GFCI outlet testing, identifying hazards like flickering lights, and knowing the difference between minor DIY tasks and professional electrical work. Protect your home and your family by staying informed on modern electrical safety standards.
Boost Curb Appeal: Essential Home Landscaping Tips for Beginners
A beautiful landscape is more than just aesthetics; it is an investment in your property's value. Whether you are looking to fix a patchy lawn or design a complete garden oasis, starting with a plan is crucial. Before buying plants, assess your soil quality, drainage, and sun exposure. High-impact DIY projects include mulching, edging, and power washing hardscapes. Hire professionals for structural changes like retaining walls or complex irrigation. Follow a seasonal maintenance schedule to keep your yard healthy year-round, focusing on pruning in spring and planting in fall. Budget wisely for your projects to ensure a sustainable and beautiful outdoor space.
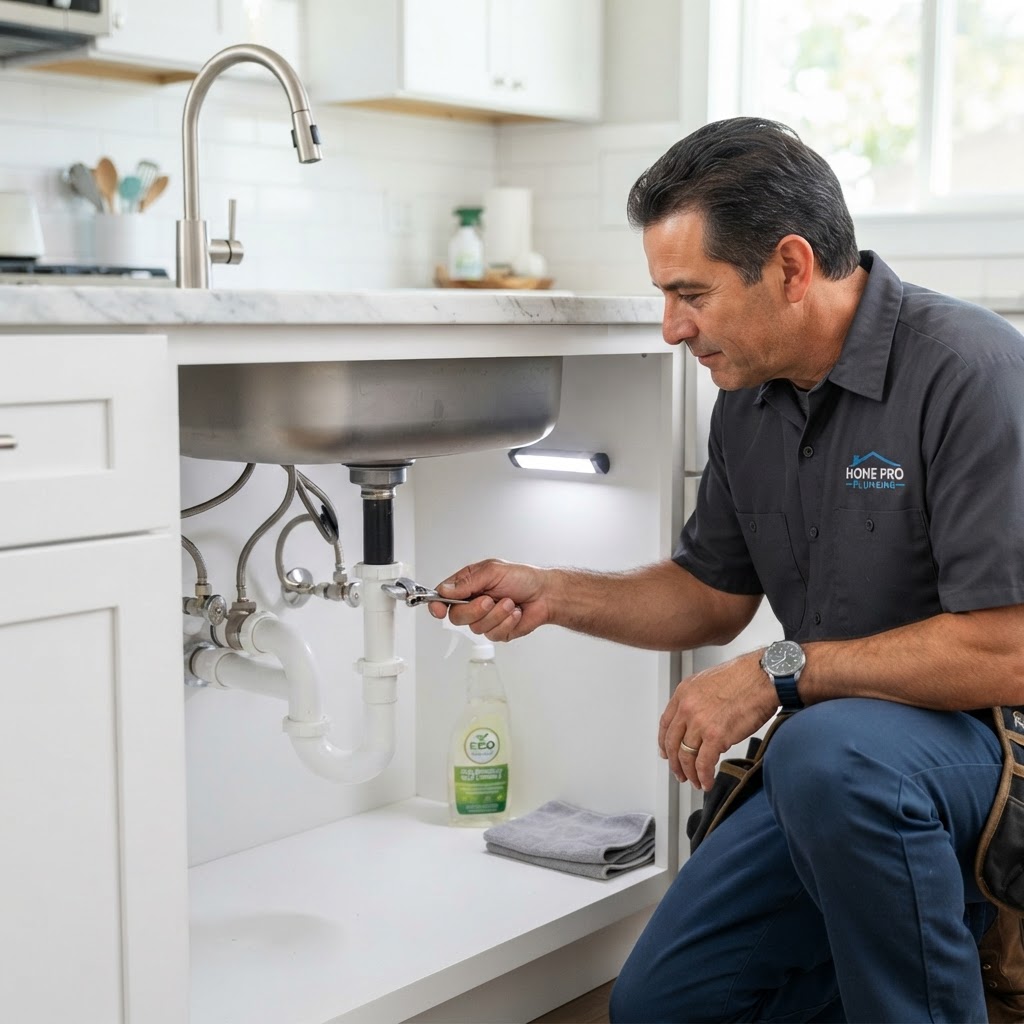
Essential Plumbing Tips Every Homeowner Must Know to Avoid Costly Repairs
Plumbing issues are among the most stressful problems a homeowner can face. Understanding how to manage your system can save you thousands of dollars in repair costs. Conduct a monthly inspection of all exposed pipes, under-sink areas, and water heater units for signs of dampness or corrosion. Keep drains clear by avoiding grease, coffee grounds, and hair. Learn your main water shut-off valve location. Basic DIY tasks like replacing showerheads are manageable, but leave gas lines and major pipe work to professionals. Professionals typically charge $150-$450 per visit. Seasonal maintenance like flushing your water heater helps avoid emergency service calls and costly repairs.
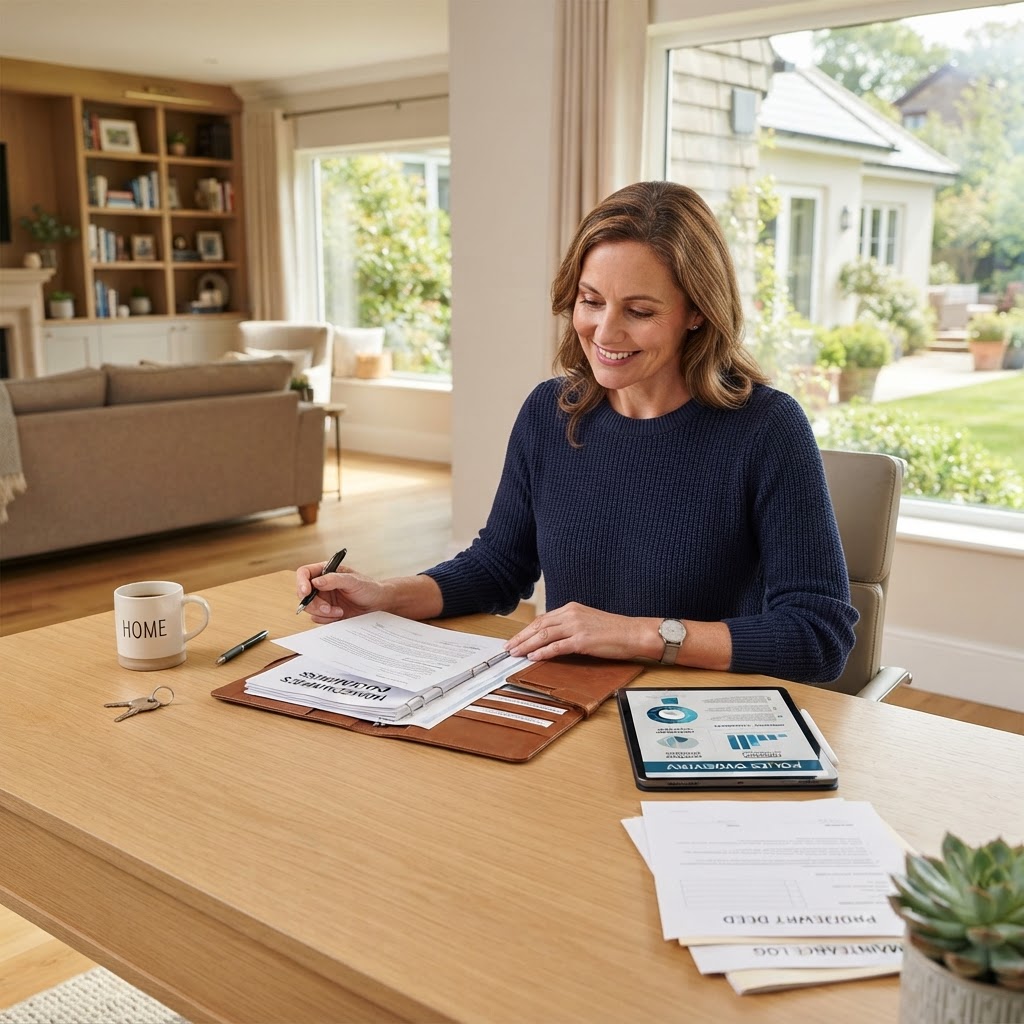
Homeowners Insurance: A Strategic Guide to Protecting Your Investment
Homeowners insurance is more than just a monthly bill; it is a financial safety net for your biggest asset. Many homeowners mistakenly believe their policy covers everything, but understanding specific perils is essential for proper protection. Every year, you should evaluate whether your coverage limits meet current market conditions. If you have recently renovated your kitchen, added a deck, or purchased expensive jewelry, your existing policy might leave you underinsured. Conduct a home inventory using your smartphone. Review your deductible to potentially lower premiums. Aim for replacement cost coverage instead of actual cash value. Maintain your home proactively to avoid damage, but always use licensed professionals for complex repairs. Save your insurance claims for catastrophic events rather than minor repairs to keep your premiums stable.
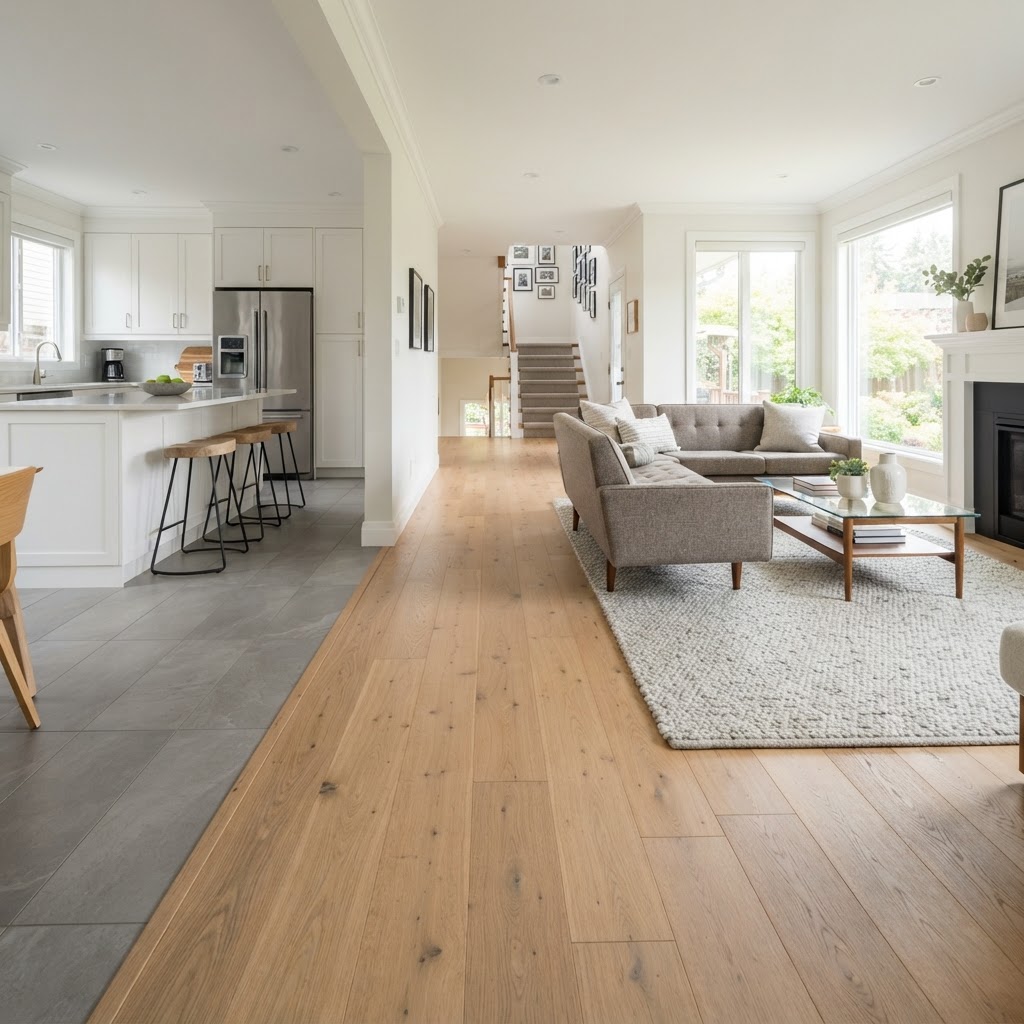
Flooring 101: A Homeowner’s Guide to Choosing the Best Material
Choosing the right flooring is a foundational decision that impacts your home's aesthetics, comfort, and resale value. Before diving into samples, assess your lifestyle. Do you have pets, high foot traffic, or humidity concerns? Understanding these factors will dictate which materials will stand the test of time. Hardwood remains the gold standard for value, while Luxury Vinyl Plank offers waterproof durability for busy families. Budgeting should include at least 10% for waste, and while some DIYers can handle click-lock systems, professional help is vital for tile and hardwood to ensure a flat, squeaky-free subfloor.
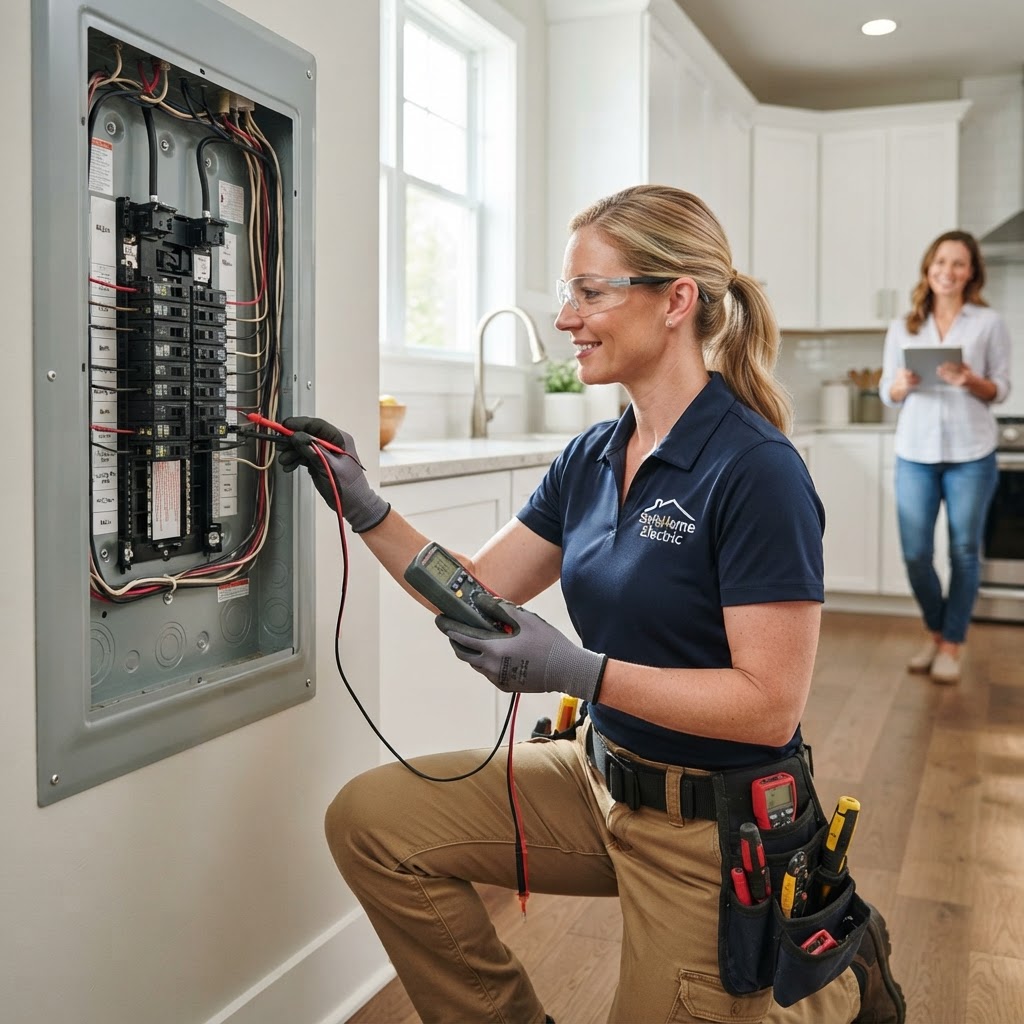
Essential Electrical Safety Tips for Every Homeowner
Your home electrical system is the lifeblood of modern comfort. Understanding the basics helps keep your family safe. Only perform simple tasks like changing switches; always hire a professional for panel work or complex wiring. Budget for minor repairs around $200 and major upgrades in the thousands. Always prioritize safety and local building codes.
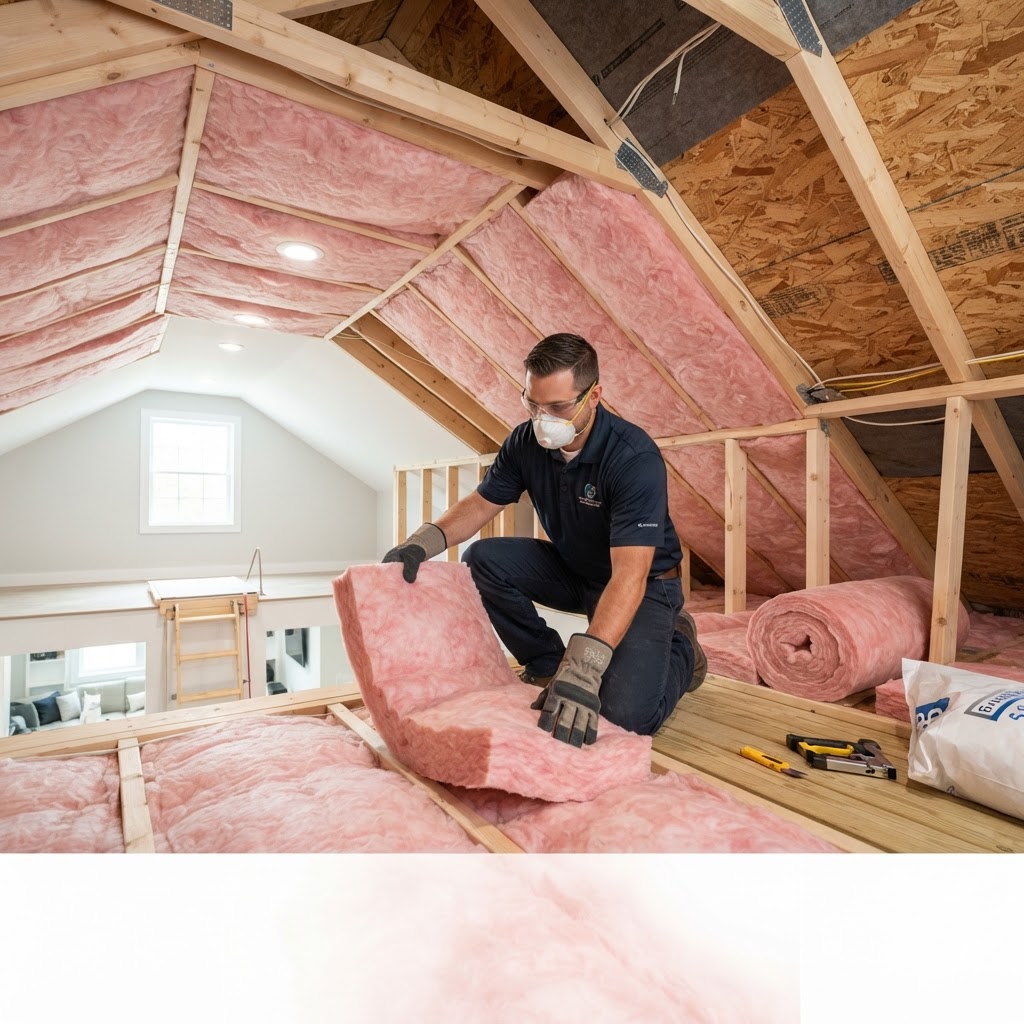
Mastering Home Insulation: Lower Energy Bills and Increase Comfort
Proper insulation and weatherproofing are the most effective ways to lower your energy bills and improve home comfort. By creating an airtight barrier, you prevent conditioned air from escaping in the summer and keep freezing drafts out in the winter. Neglected gaps can account for up to 30% of your energy loss. DIY weatherproofing includes sealing window leaks with caulk, installing door sweeps, and adding foam gaskets to outlets. Upgrading attic insulation is also a priority; if you can see your floor joists, you need more coverage. While DIY methods work for many tasks, professional help is suggested for complex projects like spray foam installation or mold remediation. Taking action now will save money and boost your home's long-term value.

Smart Kitchen Upgrades to Boost Value and Efficiency
The kitchen is the heart of the home. Whether you are increasing property value or improving your daily experience, strategic upgrades make a difference. 1. Refresh Cabinetry: Refacing or repainting costs $1,000-$3,000 vs $10,000+ for replacement. 2. Hardware: A simple DIY project replacing knobs and faucets for under $500. 3. Lighting: Use under-cabinet LEDs for tasks and pendants for ambiance. 4. Backsplash: Can be done DIY with peel-and-stick or professionally with tile. 5. Appliances: Energy-efficient models save long-term costs. Always hire pros for electrical and plumbing.

Homeowner Tax Guide: Maximizing Deductions and Legal Protections
Owning a home is often the largest investment an individual makes, but many homeowners fail to capitalize on the tax advantages and legal protections available to them. This guide covers how to maximize mortgage interest deductions, property tax benefits, and energy credits. It also explores the importance of homestead exemptions and title insurance, helping you decide when to seek professional accounting or legal advice versus handling tasks yourself. Maintain organized records of capital improvements to lower future capital gains taxes.
Essential Property Management Tips for Homeowners
For many homeowners, managing a property involves more than just collecting rent or mowing the lawn. It encompasses maintenance, legal compliance, and tenant relations. Whether you are managing your own home or a rental, staying organized is key. Seasonal inspections include checking your roof, gutters, and HVAC system twice a year to prevent costly repairs. Preventative plumbing involves clearing drains and checking for leaks. Safety checks require testing smoke detectors and carbon monoxide monitors every six months. Deciding when to DIY or hire a pro is important; minor tasks like painting are fine, but structural or electrical work needs a licensed pro. Budget 1-3% of your home's value for maintenance annually. Finally, keep digital logs of all work to maintain your property value.

Flooring 101: Expert Guide to Choosing and Maintaining Your Home Floors
Choosing the Right Material for Your Home. Selecting the perfect flooring depends on your lifestyle, budget, and the specific needs of each room. Hardwood remains the gold standard for resale value, while luxury vinyl plank (LVP) offers a durable, waterproof solution for active households. Tile is ideal for moisture-prone areas like bathrooms and mudrooms, whereas carpet provides comfort in bedrooms. Understanding Costs and Budgeting. When budgeting for new floors, remember to account for both materials and professional labor. On average, you should allocate 20% extra for subfloor repairs and waste during installation. Hardwood typically ranges from $8 to $15 per square foot installed, while LVP is more budget-friendly at $4 to $8 per square foot. Always obtain three quotes from licensed contractors before signing a contract. DIY vs. Professional Installation. While floating floors like LVP or laminate are often manageable for a confident DIYer, materials requiring adhesives, nailing, or complex subfloor prep—such as solid hardwood or large-format ceramic tile—are best left to the pros. Improper installation can void manufacturer warranties and lead to costly issues like buckling or moisture damage. Essential Maintenance Tips for Longevity. Place heavy-duty mats at every exterior entrance to trap grit and dirt. Use felt pads under all furniture legs to prevent scratching. Vacuum or sweep weekly to remove debris that acts like sandpaper on finishes. For hardwood, use pH-neutral cleaners and avoid excessive water. Deep clean carpets professionally every 12 to 18 months to extend their lifespan. When Is the Best Time to Replace? Replace your flooring when you notice significant structural issues like soft spots in the subfloor, pervasive mold, or finish wear that sanding can no longer fix. If you are planning a home sale, updating outdated carpet to modern engineered wood can offer a significant return on investment.
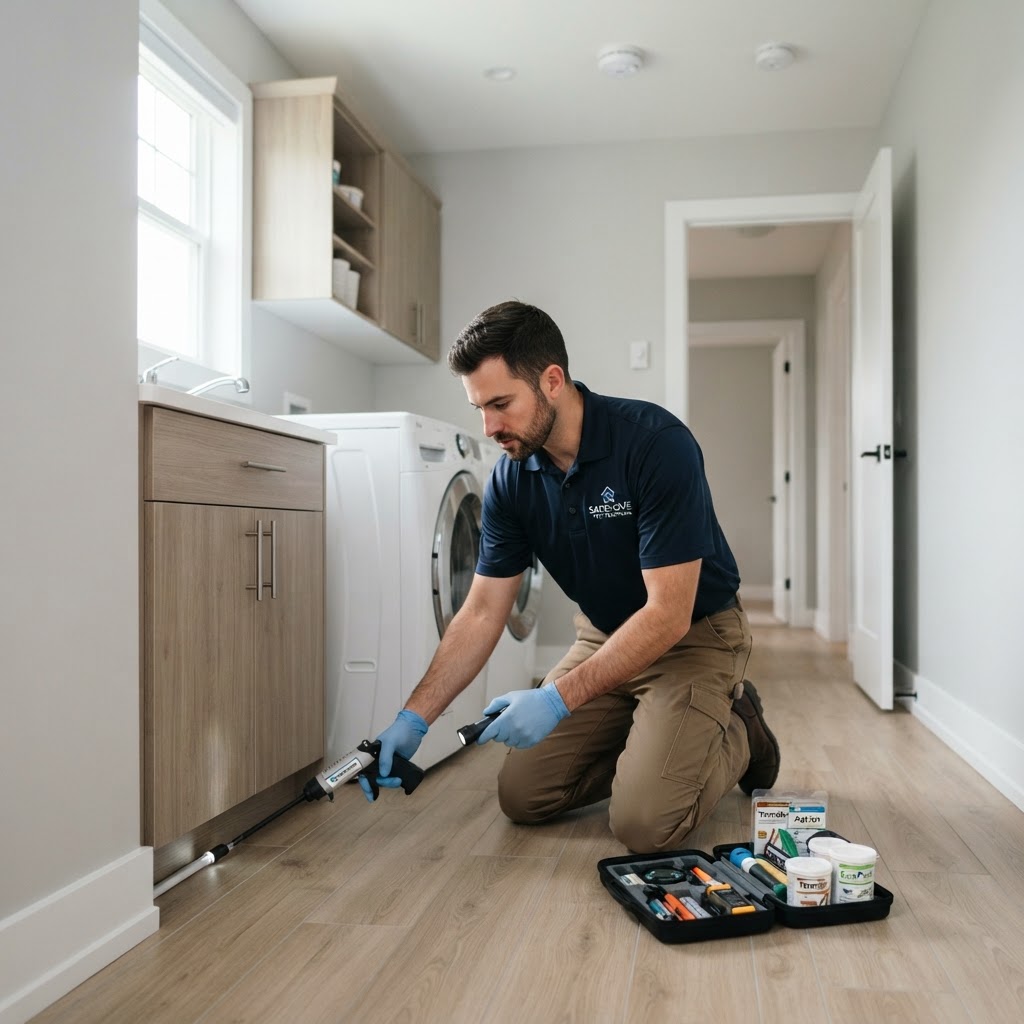
A Complete Guide to Effective Residential Pest Control
Pests are a common challenge for every homeowner, but they do not have to be a permanent fixture in your living space. By sealing cracks, removing food sources, and managing moisture, you can prevent most infestations before they start. While DIY solutions are great for minor issues, persistent pests like termites or rodents require professional intervention to protect your home's foundation. Stay ahead of the curve with seasonal inspections and proactive maintenance to ensure your house remains a sanctuary.
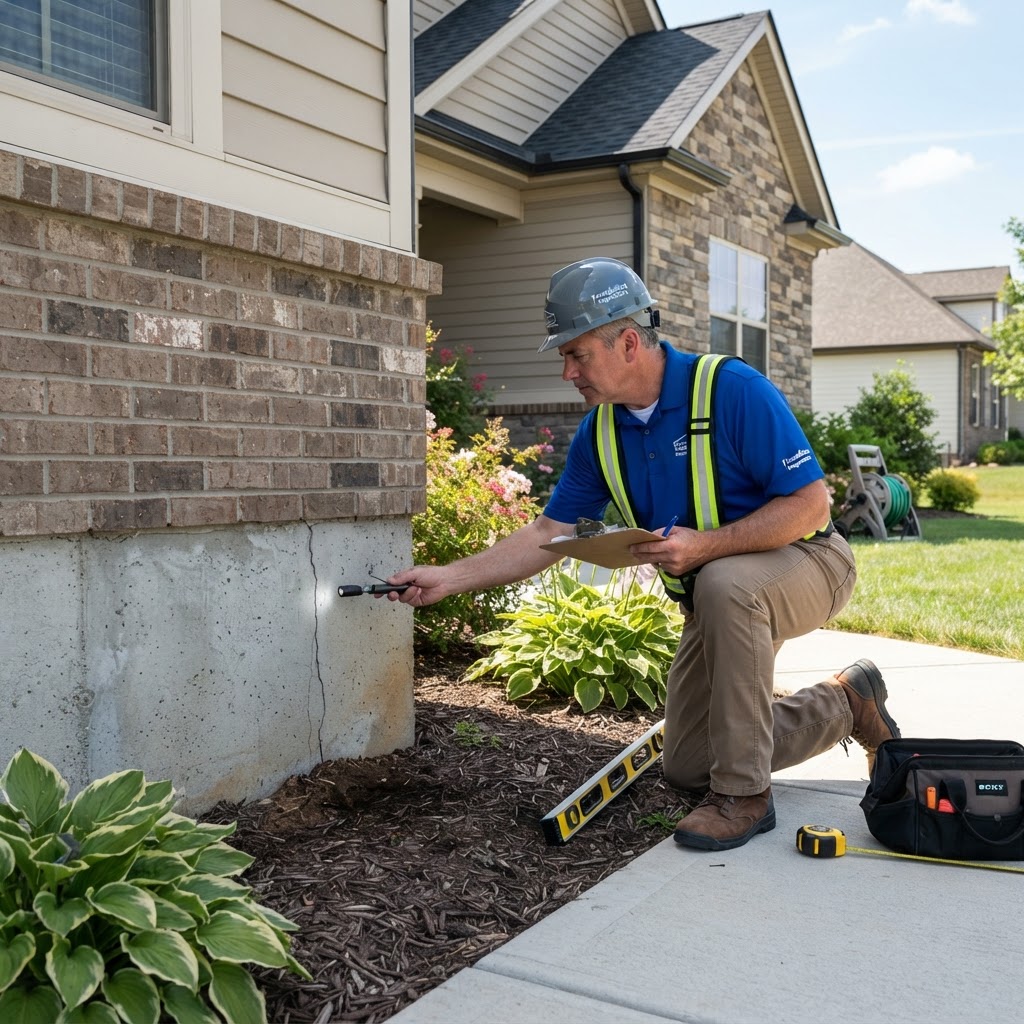
Essential Guide to Identifying and Preventing Foundation Problems
Your home's foundation is the bedrock of its structural integrity. As a homeowner, catching issues early can mean the difference between a simple DIY fix and a multi-thousand-dollar nightmare. Common red flags include diagonal cracks in interior drywall, doors or windows that stick or refuse to close properly, and visible cracks in the concrete foundation walls. Most foundation issues stem from water. Manage this by extending downspouts, ensuring proper soil grading, and cleaning gutters. Minor hairline cracks are often DIY-friendly, but structural displacement requires a professional structural engineer. Budgeting for repairs can range from $500 for small fixes to $15,000+ for stabilization. Perform bi-annual inspections to keep your home safe.
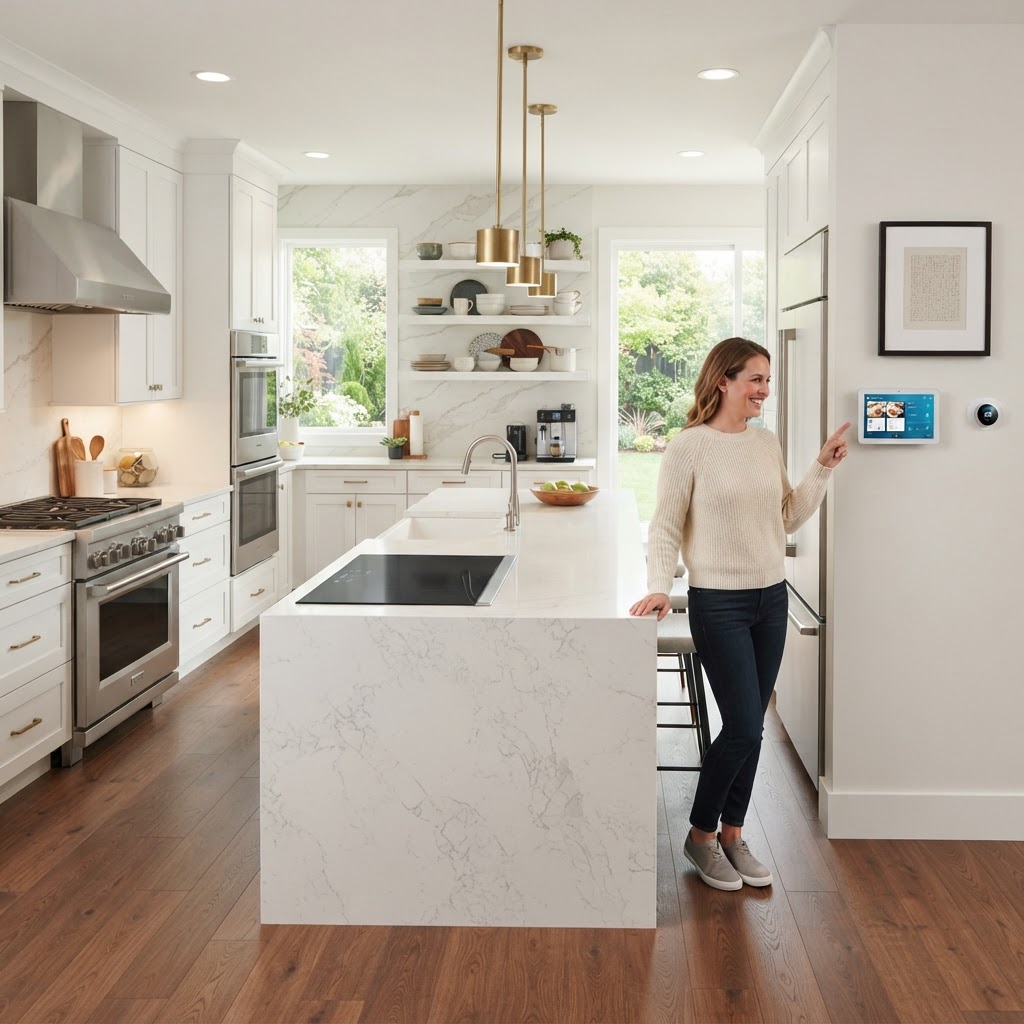
Smart Kitchen Upgrades to Increase Home Value and Functionality
The kitchen is the heart of the home. Whether you are selling or living, smart upgrades add value. Start with hardware, lighting, and faucets for quick wins. DIY tasks like painting cabinets require patience, while plumbing and electrical tasks should always go to pros. Major upgrades like quartz counters and new appliances offer the best long-term return on investment. Always budget for a 15% contingency fund and plan your renovation during the off-season for the best rates.
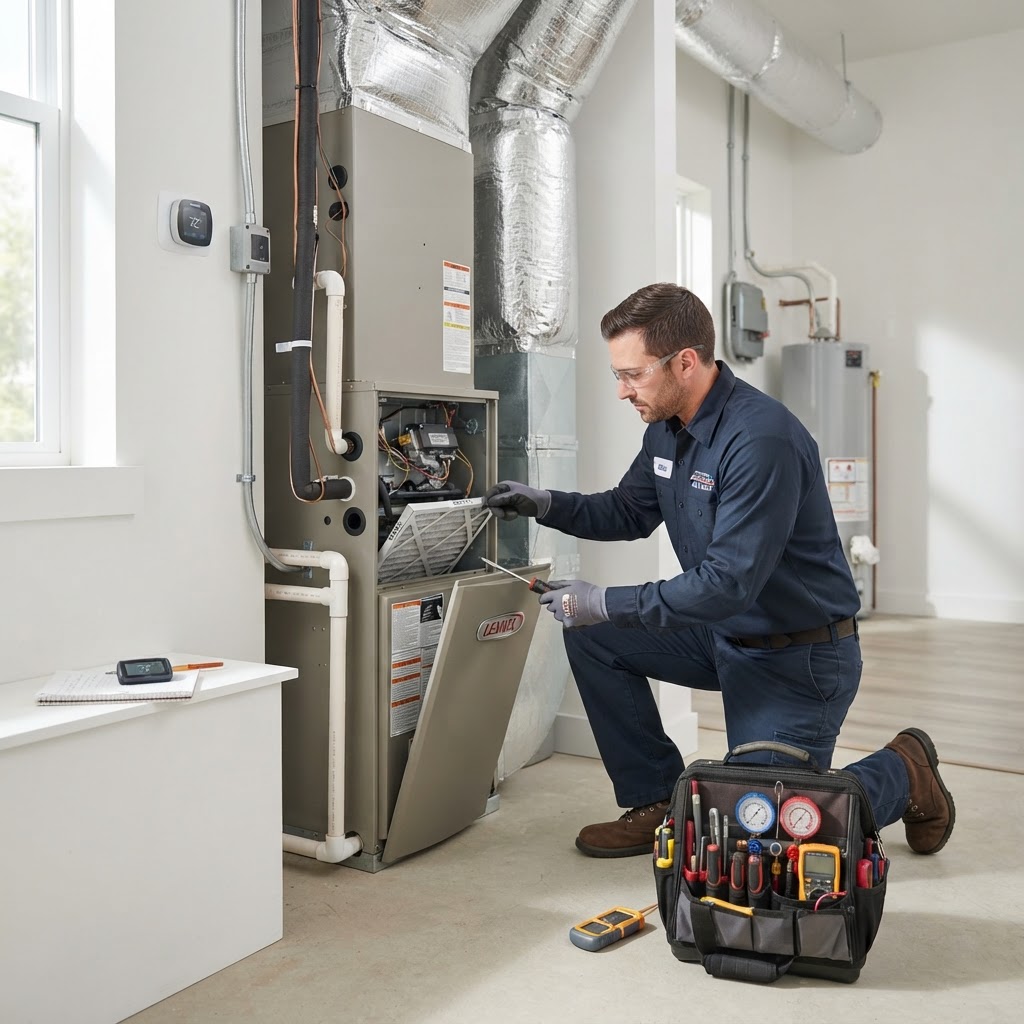
Essential HVAC Maintenance Guide: Keep Your Home Comfortable All Year
Your HVAC system is the heartbeat of your home, responsible for maintaining comfort regardless of the season. Neglecting routine maintenance can lead to inefficient operation, higher energy bills, and unexpected breakdowns. Quarterly DIY tips include replacing filters, clearing outdoor debris, and keeping vents unobstructed. Professional tune-ups should occur twice yearly—once in the spring and once in the fall. These visits, costing $100 to $200, catch minor issues before they become expensive repairs. Watch for signs like strange noises, rising bills, or uneven heating/cooling to determine if you need immediate service.
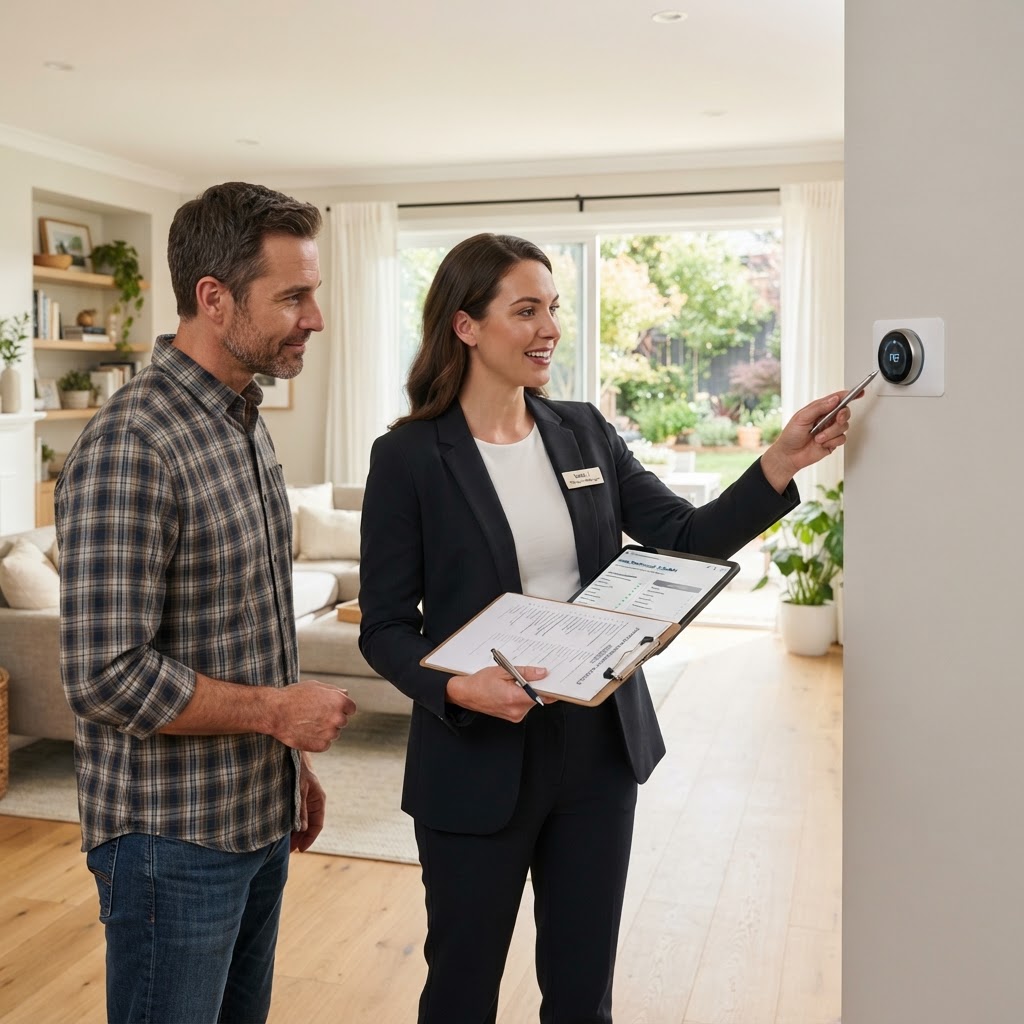
Mastering Property Management: A Guide for Every Homeowner
Property management is more than just collecting rent; it is about preserving the value of your asset and ensuring a seamless living experience. Whether you manage your own investment property or hire a professional, understanding the core components is vital. Key Responsibilities include: Tenant Screening - thorough background checks; Routine Inspections - bi-annual walkthroughs to identify issues early; Financial Reporting - maintaining records for taxes. DIY vs. Professional Management: DIY saves 8-12% in fees but requires time. Professional management is recommended for remote properties. Maintenance Budgeting: Follow the 1% rule and perform seasonal checks on gutters, HVAC, and roofing to prevent costly long-term damage.
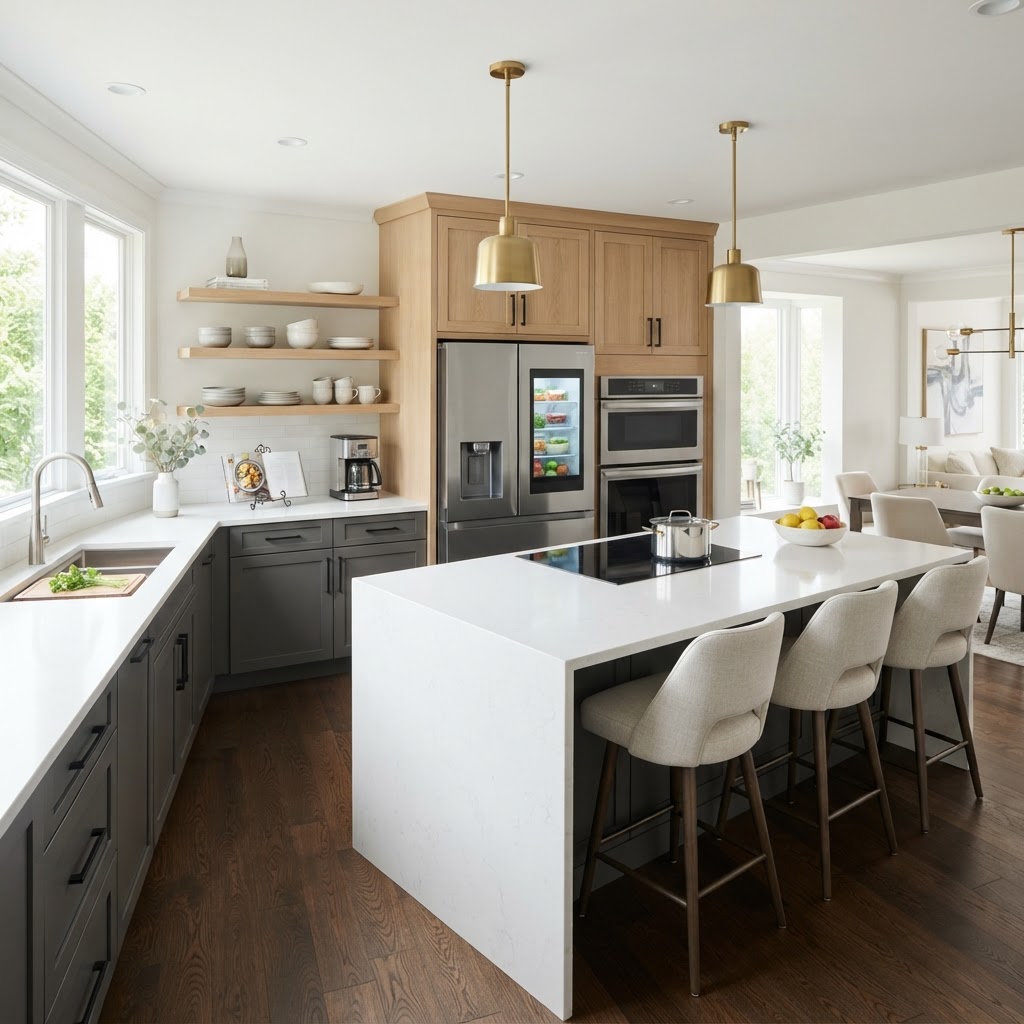
Smart Kitchen Upgrades to Boost Your Home Value
Elevate Your Kitchen Without a Full Renovation. The kitchen is the heart of the home. If your space feels outdated but a total gut renovation isn't in your budget, there are several high-impact upgrades that offer an excellent return on investment. DIY improvements include painting cabinets, updating hardware, swapping lighting fixtures, and installing peel-and-stick backsplashes. For professional upgrades, consider replacing countertops, installing high-arc faucets, or upgrading to smart appliances. Always set aside 15% of your budget for unexpected costs and hire professionals for plumbing or electrical work to ensure safety and compliance.
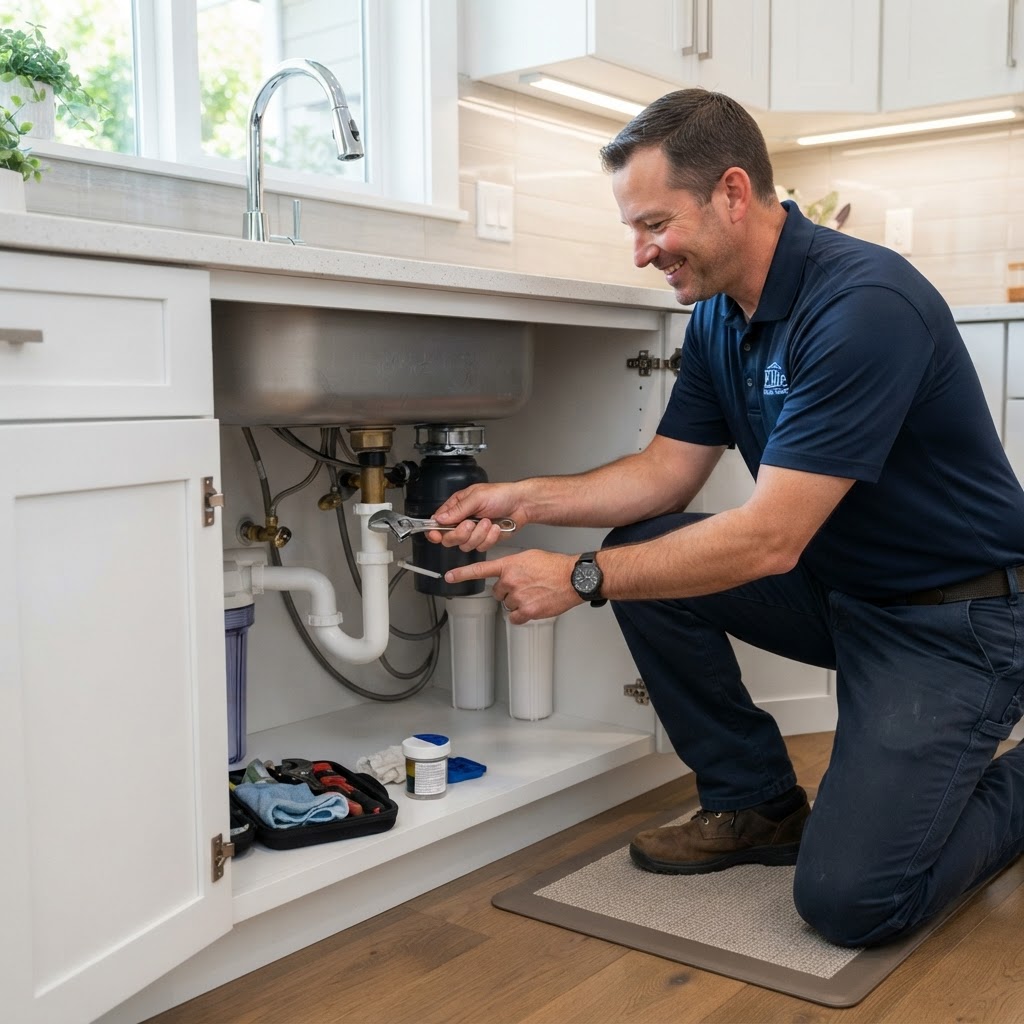
Essential Plumbing Tips Every Homeowner Must Know
Preventative Maintenance for Your Pipes. Plumbing issues are every homeowner's nightmare, often leading to costly water damage and stressful repairs. By taking a proactive approach, you can extend the life of your plumbing system and avoid common emergencies. Routine checks can save you thousands in the long run. Top Actionable Plumbing Tips: Never pour grease down the drain. Fats and oils solidify in your pipes, creating stubborn clogs. Always wipe pans with a paper towel before washing. Install hair catchers. Shower drains are magnets for hair. A simple mesh screen is a cheap, effective way to prevent slow drains. Know your main shut-off valve. In the event of a burst pipe, seconds count. Ensure every adult in your house knows exactly where the water shut-off is located and how to operate it. Check for silent leaks. Monitor your water meter. If it is ticking when all faucets are off, you may have a hidden leak. When to DIY vs. When to Call a Pro: Minor fixes like changing a showerhead, tightening a loose faucet nut, or clearing a slow drain with a snake are perfect DIY tasks. Most basic tools for these jobs cost under $50. However, never attempt to tackle major repairs involving main sewer lines, natural gas pipes, or complex interior wall work without professional assistance. Hiring a licensed plumber may cost between $150 and $400 for a standard service call, but it is a small price to pay compared to the cost of repairing structural water damage. The Timeline for Maintenance: Consistency is key. Schedule a professional inspection every two years, especially if your home is older than 20 years. On a monthly basis, run hot water and a mixture of vinegar and baking soda through your drains to keep them clear of debris. By following these simple habits, you can keep your plumbing flowing smoothly for years to come.

Flooring 101: A Homeowner’s Guide to Choosing the Best Material
Choosing the right flooring is a major investment that balances aesthetic appeal, durability, and budget. Hardwood offers timeless appeal, while Luxury Vinyl Plank provides a waterproof, DIY-friendly solution for busy families. Ceramic tile remains the best choice for bathrooms. While many modern floors are designed for easy installation, complex materials like solid hardwood or natural stone are best handled by professionals. Always budget for waste material and subfloor prep to ensure a smooth project finish.
Master Your Home Energy Efficiency: A Comprehensive Homeowner Guide
Improve your home's energy efficiency with these actionable tips. Start by sealing air leaks with weatherstripping, which is an inexpensive DIY task. Attic insulation remains a top priority, often paying for itself quickly. Smart thermostats offer automated climate control for added savings. Switching to LED lighting is the simplest immediate change you can make. Always maintain your HVAC system with professional annual checkups and regular filter changes. Finally, use window treatments strategically to manage heat gain and loss throughout the seasons.

Smart Home Tech: A Practical Guide to Upgrading Your Living Space
Integrating smart technology into your home is no longer just about convenience; it is about increasing energy efficiency, bolstering security, and simplifying your daily routines. Start with smart lighting, thermostats, and security cameras. Most devices are DIY-friendly, but complex wiring should be handled by pros. Remember to keep firmware updated to ensure home security.

Flooring Upgrade Guide: How to Choose the Best Materials for Your Home
Choosing the right flooring is a major home investment. This guide covers the best materials like hardwood, LVP, and tile, offers insights on budgeting, and helps you decide between DIY installation or hiring a professional. Proper maintenance tips are included to help your floors last.
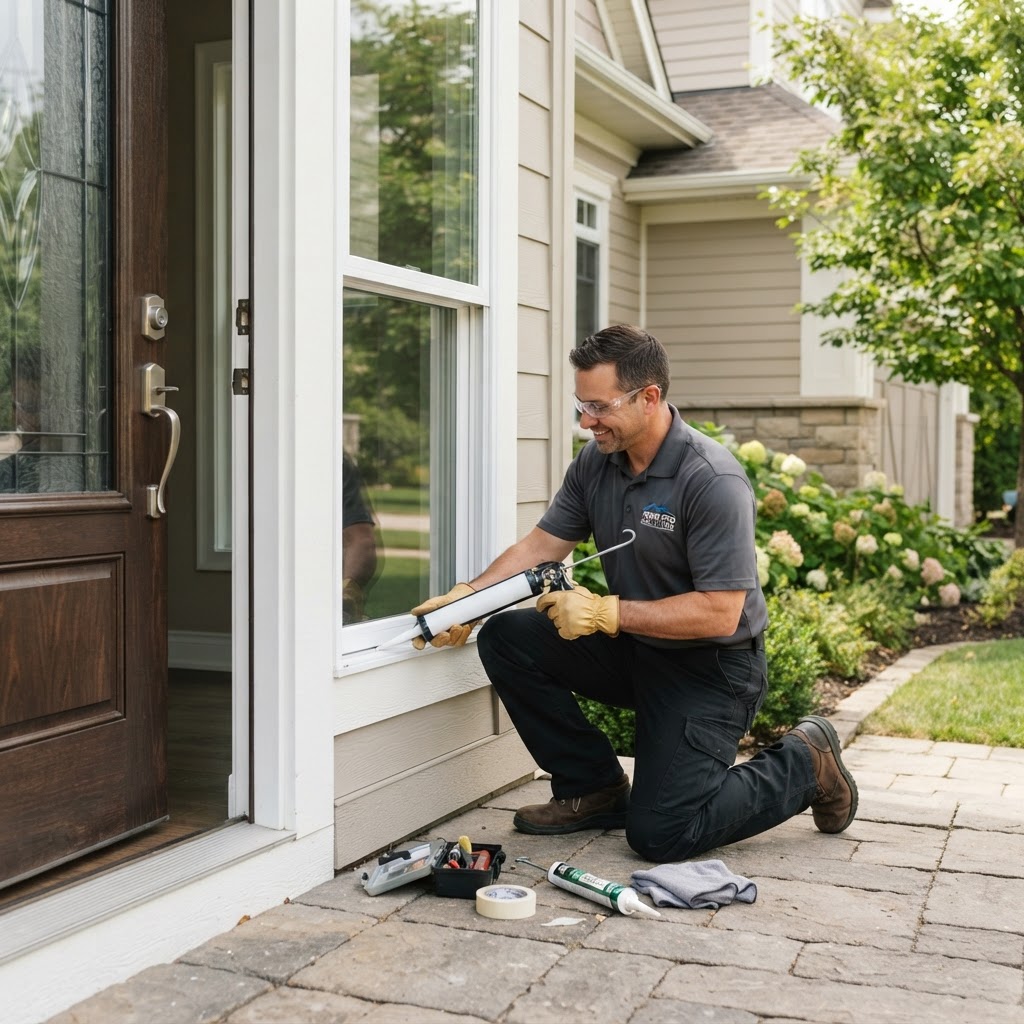
Essential Home Maintenance Tips for Windows and Doors
Keeping Your Entryways and Views Clear. Windows and doors are the first line of defense for your home against the elements, and they are critical for maintaining energy efficiency. Regular maintenance not only prolongs the life of these components but also keeps your utility bills in check. Routine Inspections and Seasonal Care. At least twice a year, perform a visual inspection of your windows and exterior doors. Look for cracks in caulking, signs of wood rot, or hardware that feels loose. Use these simple steps to maintain your home: Check the Seals: Use a candle or a piece of incense to check for drafts around window frames. If the smoke flickers, you need to replace your weatherstripping. Lubricate Hardware: A small amount of silicone spray on door hinges and window tracks can prevent sticking and premature wear. Clean Tracks: Debris buildup in sliding door tracks often leads to misalignment. Vacuum these areas regularly to ensure smooth operation. When to DIY and When to Call a Pro. Minor tasks like applying fresh weatherstripping, tightening loose screws, or painting wooden frames are perfect for the DIY enthusiast. These low-cost projects, usually costing under $50, can save you hundreds in energy losses. However, professional help is required if you notice fog between double-pane windows, which indicates a seal failure, or if a door is sagging due to structural issues. A professional window replacement typically ranges from $600 to $1,200 per unit depending on materials and labor. The Long-Term Value. Proactive care allows you to spot moisture penetration early before it causes expensive water damage to your wall studs or subflooring. By investing an hour each season in cleaning and inspecting your home's openings, you ensure the longevity of your investment and maximize the security of your property. If your current windows are over 20 years old and you feel consistent drafts, consult a contractor about high-efficiency upgrades to improve your home's overall thermal performance.
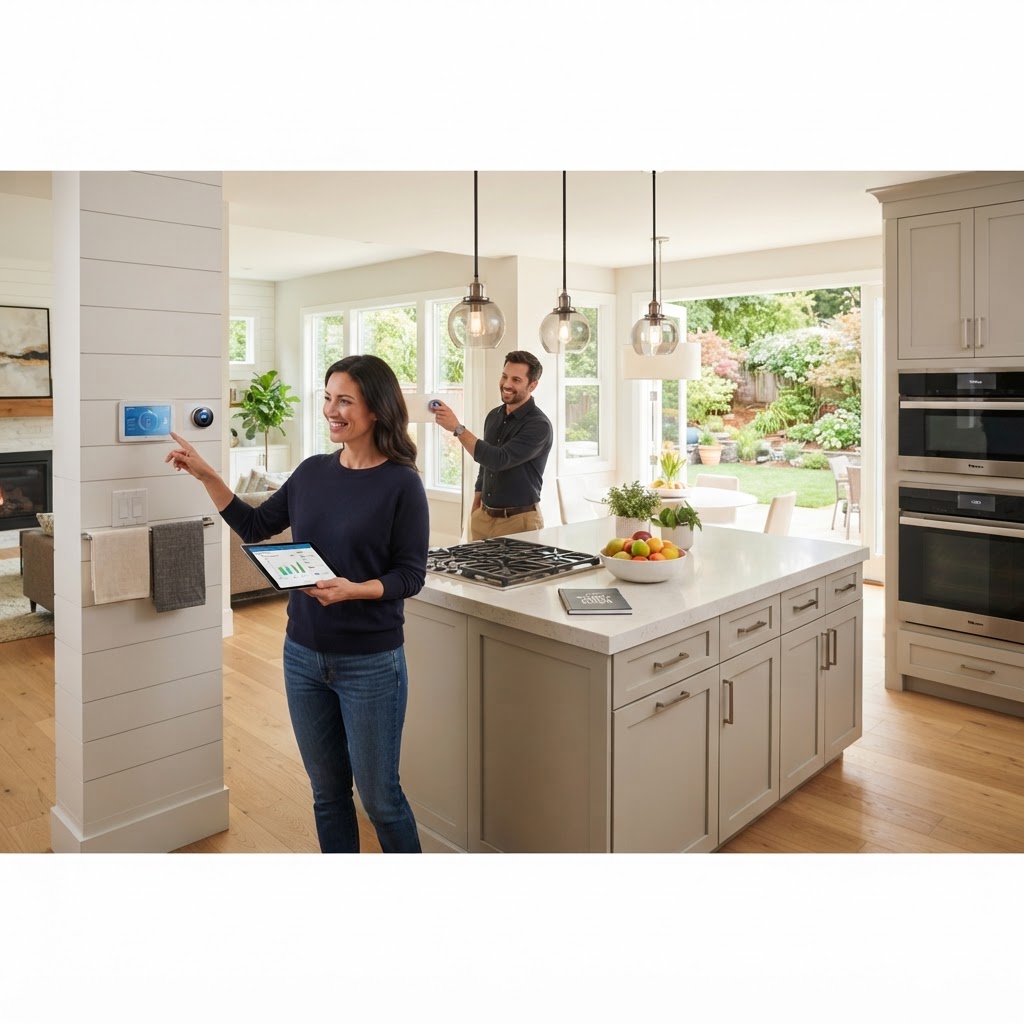
Smart Home Improvements: Boosting Your Property Value for Maximum ROI
As a homeowner, your property is likely your largest financial asset. When deciding how to spend your budget, it is vital to distinguish between projects that merely add personal comfort and those that provide a genuine return on investment (ROI). Strategic renovations focus on long-term appreciation and immediate marketability. High-Return Projects include kitchen upgrades, energy efficiency improvements, curb appeal, and bathroom refreshes. Timing is critical; avoid over-improving beyond neighborhood standards. Always prioritize essential home systems like HVAC and roofs over cosmetic finishes. DIY projects like painting and hardware swaps are great for budgets, but leave electrical and plumbing to professionals to avoid safety issues. Maintain detailed records of all work performed for tax and resale purposes.
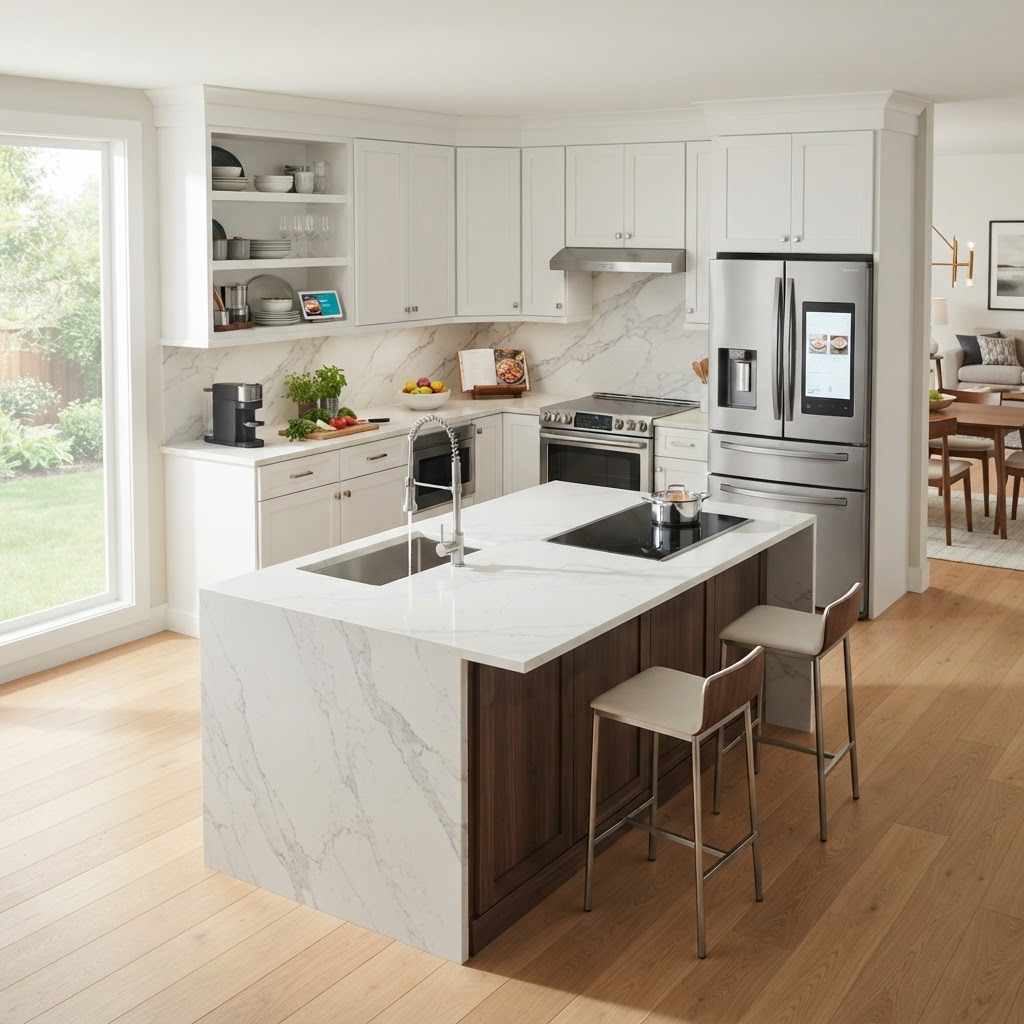
Smart Kitchen Upgrades to Boost Your Home Value and Functionality
The kitchen is the heart of the home. This guide covers high-impact upgrades like cabinet refinishing, lighting improvements, and hardware swaps. It also discusses when to hire pros versus DIY projects and how to budget effectively for renovations.
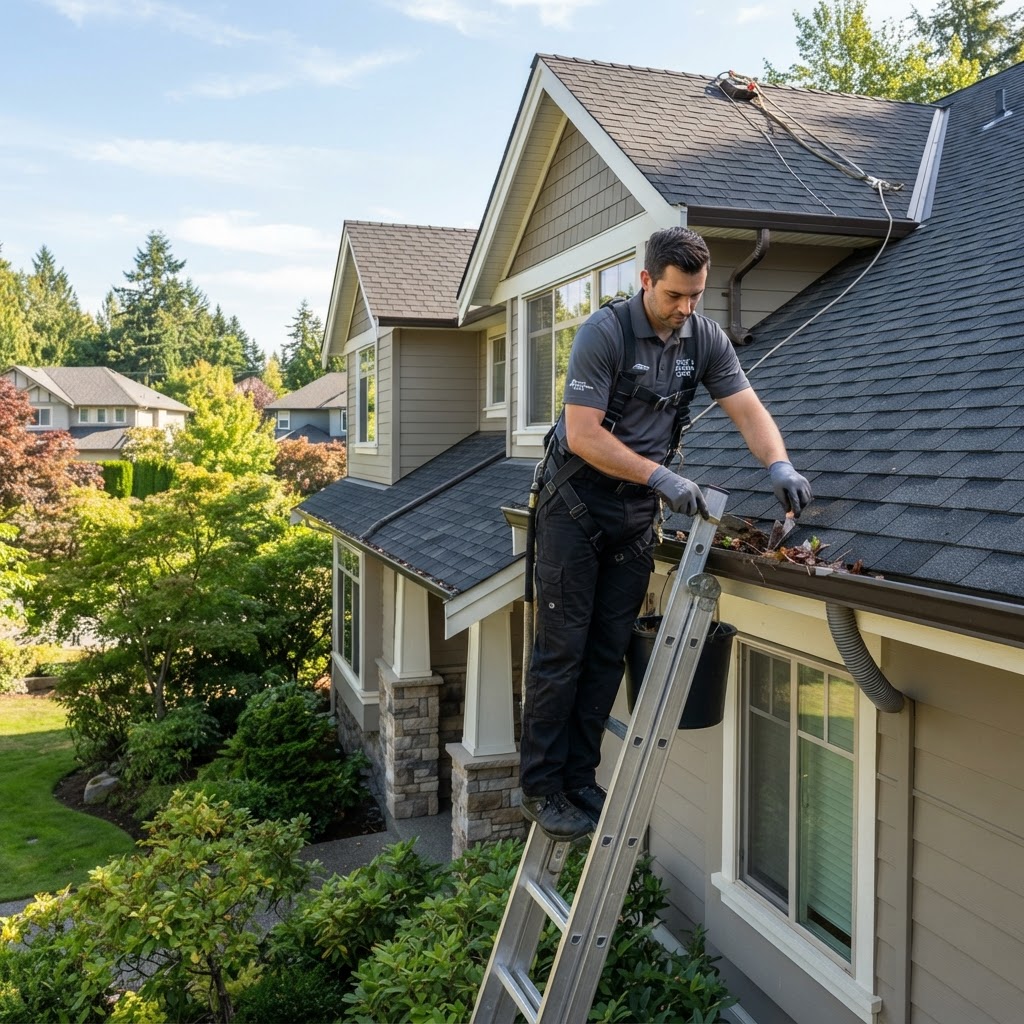
Essential Roof and Gutter Maintenance Guide for Homeowners
Your roof and gutter system acts as the primary shield against the elements. Neglecting these areas often leads to water damage, mold, and costly structural repairs. By implementing a proactive maintenance routine, you can extend the life of your roof by years and save thousands in unexpected emergency costs. You should inspect your roof at least twice a year—ideally in the early spring and late autumn. Look for missing or damaged shingles, debris in gutters, and water stains. Clear your gutters of leaves and debris every spring and fall to prevent rot and water backup. While cleaning gutters is a common DIY task, roof repairs involving structural damage should always be handled by a licensed professional. Professional roof replacements can cost between $8,000 and $20,000. Trim overhanging branches and ensure proper attic ventilation to prevent long-term damage. Consistent maintenance is the best investment you can make in your home's longevity.
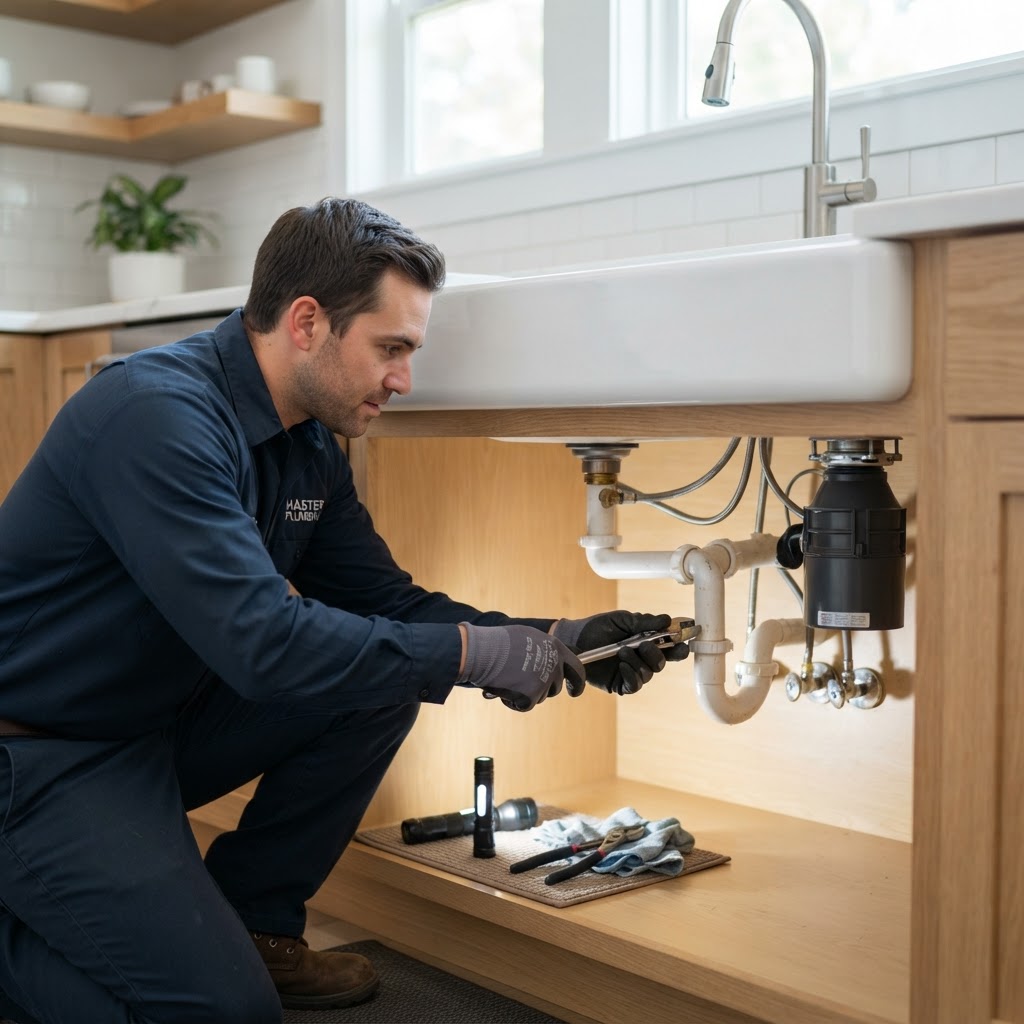
Master Your Home Plumbing: Essential Maintenance Tips for Every Homeowner
Preventative maintenance is the secret to avoiding expensive plumbing disasters. By following simple tips like using drain strainers and avoiding grease disposal, you can keep pipes clear. Know the limits of DIY versus professional help, and always maintain an emergency fund for unexpected repairs. Seasonal audits of water heaters and sump pumps ensure your system stays reliable year-round.

Transform Your Yard: Essential Landscaping Tips for Every Homeowner
A well-maintained landscape not only boosts your home's curb appeal but can significantly increase property value. Whether you are looking to install a new garden bed or completely overhaul your lawn, understanding the fundamentals of landscaping is the first step toward success. Before breaking ground, define what you want to achieve. Are you looking for low-maintenance xeriscaping, a vibrant floral retreat, or a functional space for outdoor dining? Experts suggest setting aside 5-10% of your home's value for a high-end landscape project. Timing is everything in landscaping. Fall is generally considered the best time for planting trees, shrubs, and perennials because the cooler temperatures allow roots to establish without the stress of summer heat. Small-scale projects such as flower bed installation, mulching, edge trimming, and basic weeding are great DIY tasks. Hire a professional for structural changes like retaining walls or irrigation systems. Choose native plants to reduce water usage, mulch your beds to retain moisture, and test your soil to ensure optimal plant health.

Essential Home Security Checklist: Protect Your Family and Property
The first line of defense is your property exterior. Ensure all entry points are well-lit with motion-sensor lighting. Motion lights are affordable, typically costing between $30 and $100 per unit, and are a simple DIY installation. Additionally, keep bushes and trees trimmed near windows to eliminate hiding spots for potential intruders. Most burglars enter through front or back doors. Upgrade your standard deadbolts to high-security grade 1 locks. A significant, yet often overlooked, upgrade is installing longer 3-inch screws into the strike plates of your door frames. This simple modification prevents the frame from splintering during a forced entry attempt. Modern home security has become highly accessible. DIY smart security cameras, such as doorbell cameras or Wi-Fi-enabled floodlight cameras, allow you to monitor your home from anywhere via your smartphone. Packages range from $150 to $600. Beyond intruders, internal safety is paramount. Test your smoke and carbon monoxide detectors monthly. Replace batteries twice a year. Keep a fire extinguisher in the kitchen and the garage. While basic locks and cameras are great DIY projects, consider hiring a professional security company if you require 24/7 monitoring services, panic buttons, or complex sensor arrays that link to local law enforcement.
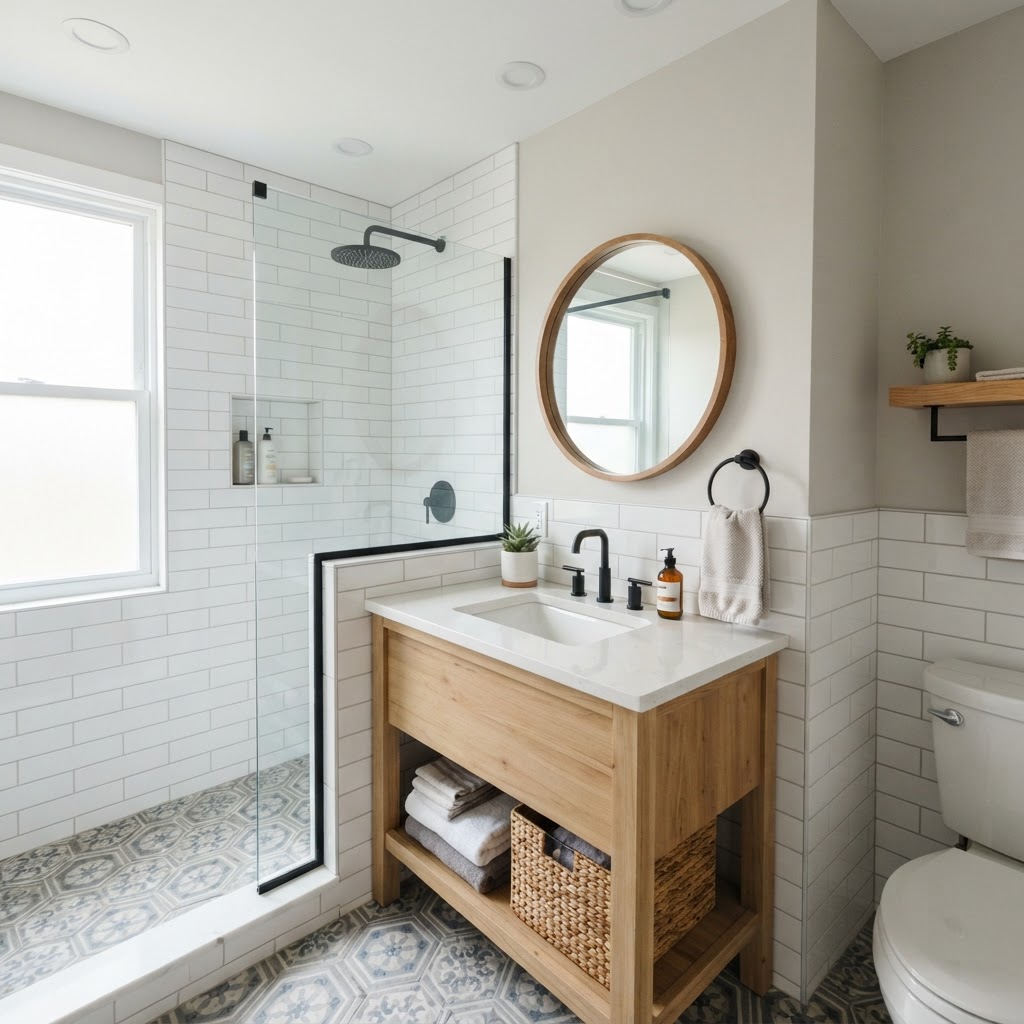
Bathroom Remodel Guide: Transforming Your Space on a Budget
A bathroom remodel is one of the most rewarding home improvement projects. Before you pick out tiles, establish a budget and plan. Costs range from $5,000 to over $30,000 depending on the scope. Focus on professional plumbing and electrical work, and keep a 15% contingency fund. While you can DIY demolition and painting, leave waterproofing and complex tile work to pros. Always order materials early to avoid project delays and consider layered lighting to elevate the space.

Mastering Tenant Relations: A Guide for Stress-Free Property Management
Building a Strong Foundation. Successful property management hinges on the relationship between landlord and tenant. A positive connection not only reduces turnover costs but also ensures your investment property is treated with care. Whether you are a first-time landlord or managing a portfolio, clear communication is your best tool. Setting Clear Expectations. The foundation of good relations begins before the lease is signed. Provide a detailed move-in checklist to document the property's condition, which prevents disputes over security deposits later. Establish clear house rules regarding noise, parking, and maintenance reporting protocols. The Importance of Timely Maintenance. Nothing sours a relationship faster than ignored repair requests. When a tenant reaches out, respond within 24 hours. For minor DIY fixes, such as replacing a faucet washer or tightening a cabinet hinge, provide a clear timeline for completion. For major issues like plumbing or electrical failures, hire a licensed professional immediately to prevent property damage. Professional vs. DIY Approaches. While DIY saves money, professional contractors offer legal protection and quality assurance. If you handle repairs yourself, ensure you are up to code. If you hire a professional, ask for a detailed invoice that you can use for tax deductions. Remember, a professional plumber or electrician can often diagnose issues before they become expensive disasters. Conflict Resolution Strategies. When disagreements arise, stay professional and rely on the lease agreement as your neutral arbitrator. Document every conversation regarding grievances or late payments. If a situation escalates, consult with a local landlord-tenant attorney before taking legal action. Often, a simple, empathetic conversation can resolve most friction points without the need for litigation.
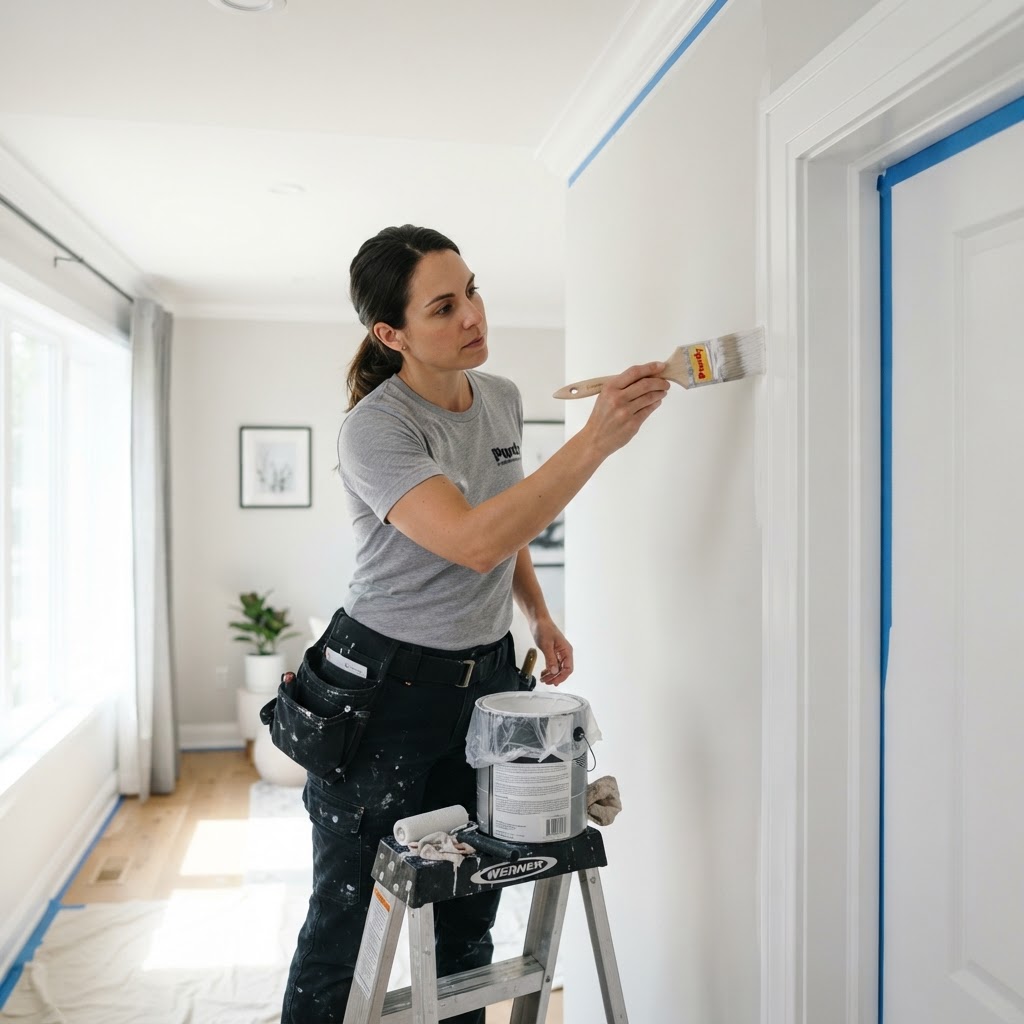
Mastering Interior Painting: A Pro Guide to a Flawless Home Finish
Preparation is Everything. Before you open that paint can, understand that 80% of a professional-grade finish happens before the brush touches the wall. Proper prep work is non-negotiable. Clean your walls, patch and sand nail holes, and tape off all trim. Choosing the Right Finish: Select flat or matte for ceilings, eggshell for living areas, and semi-gloss for trim and high-moisture rooms. DIY vs Professional: DIY is budget-friendly for simple rooms, costing $100-$300, while professionals are better for high-stakes projects, charging per square foot. Timeline: Plan for a full weekend to ensure proper drying time between coats. Always use quality tools and primer for the best result.

Smart Home Tech: A Practical Guide to Modern Automation
Integrating smart home technology can significantly enhance your home's security, efficiency, and overall comfort. Start with lighting, security, and climate control. Most devices are DIY-friendly, but electrical work requires a professional. Budget incrementally, focusing on one zone at a time, and prioritize network security by updating firmware and using strong passwords.
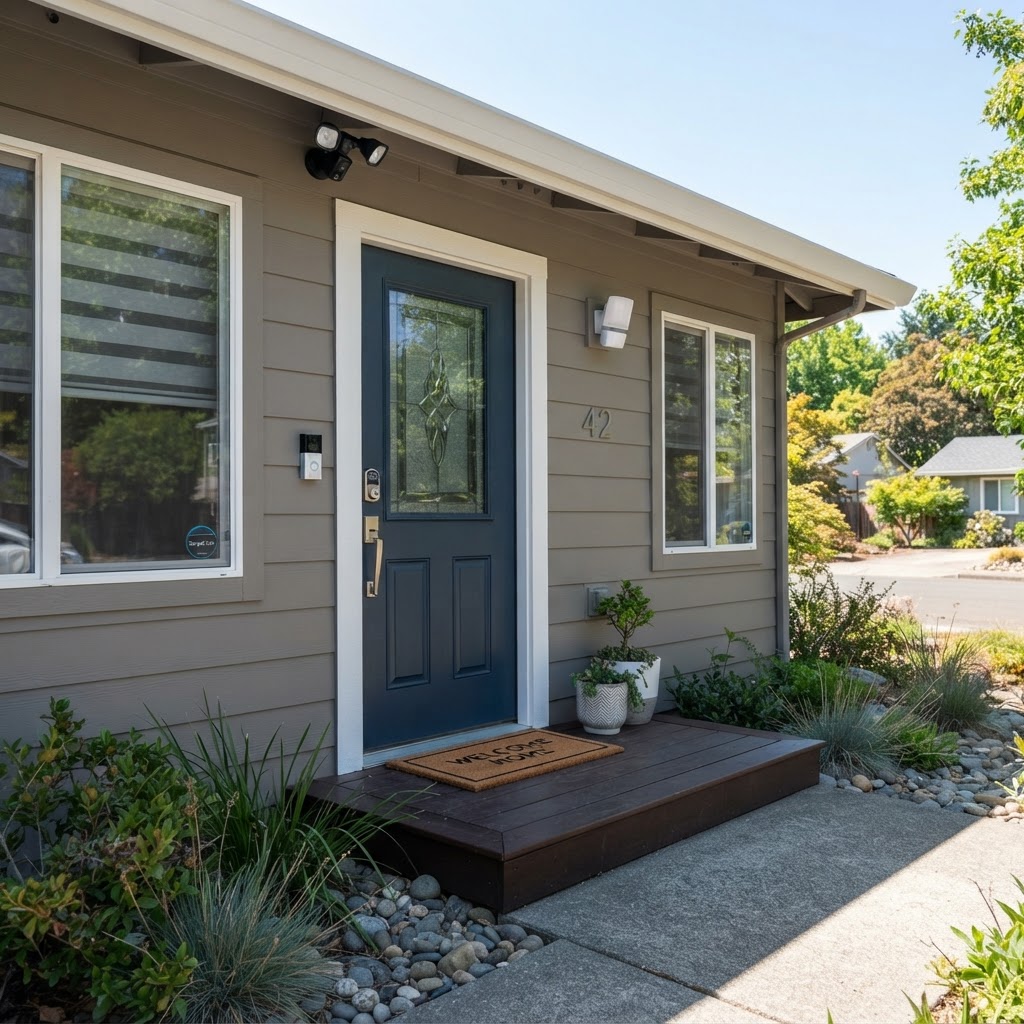
Essential Home Security Upgrades for Every Budget
Your home is your largest investment and your family's safe haven. While the thought of home security often conjures images of expensive, complex systems, most effective deterrents are straightforward and manageable. By focusing on layered security, you can significantly reduce the risk of intrusion. The majority of unauthorized entries occur through front or back doors. Start by checking your door hardware. Ensure that every external door has a deadbolt with at least a one-inch throw. If your door frames are weak, consider installing a heavy-duty strike plate with three-inch screws to prevent the wood from splitting during a forced entry attempt. Installing a peephole or a smart video doorbell takes less than an hour. Invest in high-quality window film for ground-floor glass to make it shatter-resistant. Burglars prefer to work in the shadows. Implementing a smart lighting strategy is one of the most cost-effective deterrents available. Focus on motion-activated floodlights for dark corners of your yard and ensure your entryway is well-lit after dusk. Smart LED bulbs and motion sensors typically cost between $30 and $150 depending on the system. Test your sensors monthly to ensure debris hasn't blocked the motion detectors. Modern smart home systems have made professional-grade security accessible. DIY kits from brands like Ring, SimpliSafe, or Abode allow you to monitor your home via smartphone without long-term contracts. If you prefer a hands-off approach, professional monitoring services typically range from $20 to $50 per month, providing an added layer of emergency response coordination. Security is not a one-time project; it is a habit. Develop a nightly routine that includes checking that the garage door is closed, all windows are locked, and your security system is armed. These small, daily actions become second nature and provide peace of mind regardless of your physical location. While installing cameras and smart locks is a great DIY weekend project, complex wiring or integrating security systems with existing smart home platforms may require a professional. If you are renovating your home, consult with a security contractor early to discuss pre-wiring for alarms and cameras, which is significantly cheaper than retrofitting later.
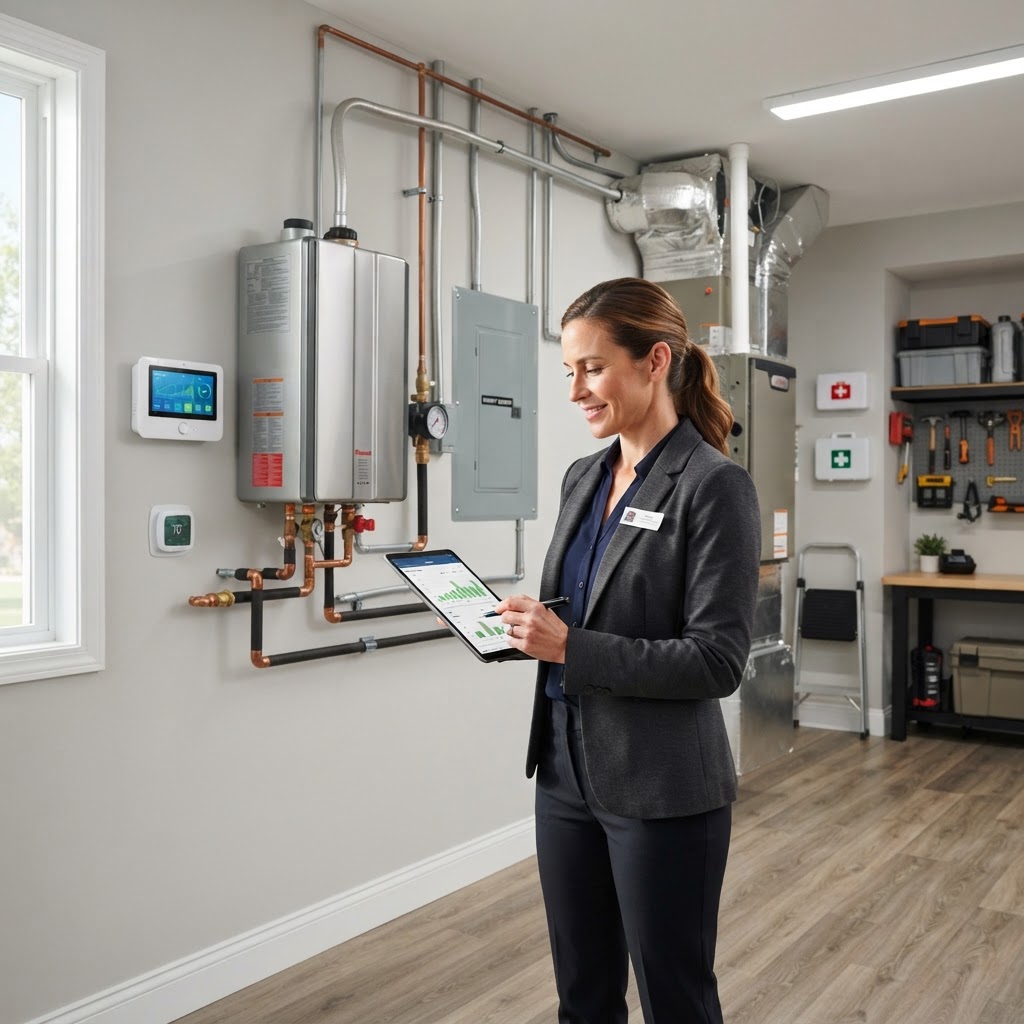
Master Your Home Energy Efficiency: A Practical Guide for Homeowners
The most cost-effective way to improve energy efficiency is to stop conditioned air from escaping. Start by inspecting your window and door frames for gaps. Using weatherstripping or caulk is an inexpensive DIY project that costs less than $50 and can be completed in a single afternoon. Switching to LED bulbs is the simplest energy-saving move you can make. LEDs use at least 75% less energy and last 25 times longer than traditional lighting. Installing a smart thermostat allows you to automate your heating and cooling based on your schedule. By lowering the temperature while you are asleep or away, you can save roughly 10% a year on heating and cooling costs. Many older homes suffer from inadequate attic insulation. If your insulation is level with or below your floor joists, it is time for an upgrade. Adding cellulose or fiberglass insulation can keep your home cooler in the summer and warmer in the winter. Your HVAC system is the biggest energy consumer in the house. Replacing your air filters every three months is a non-negotiable task. Furthermore, schedule a professional tune-up annually. Many local utility companies offer free or low-cost professional energy audits. These audits use infrared cameras to detect hidden leaks and insulation gaps, providing you with a prioritized roadmap for improvements.
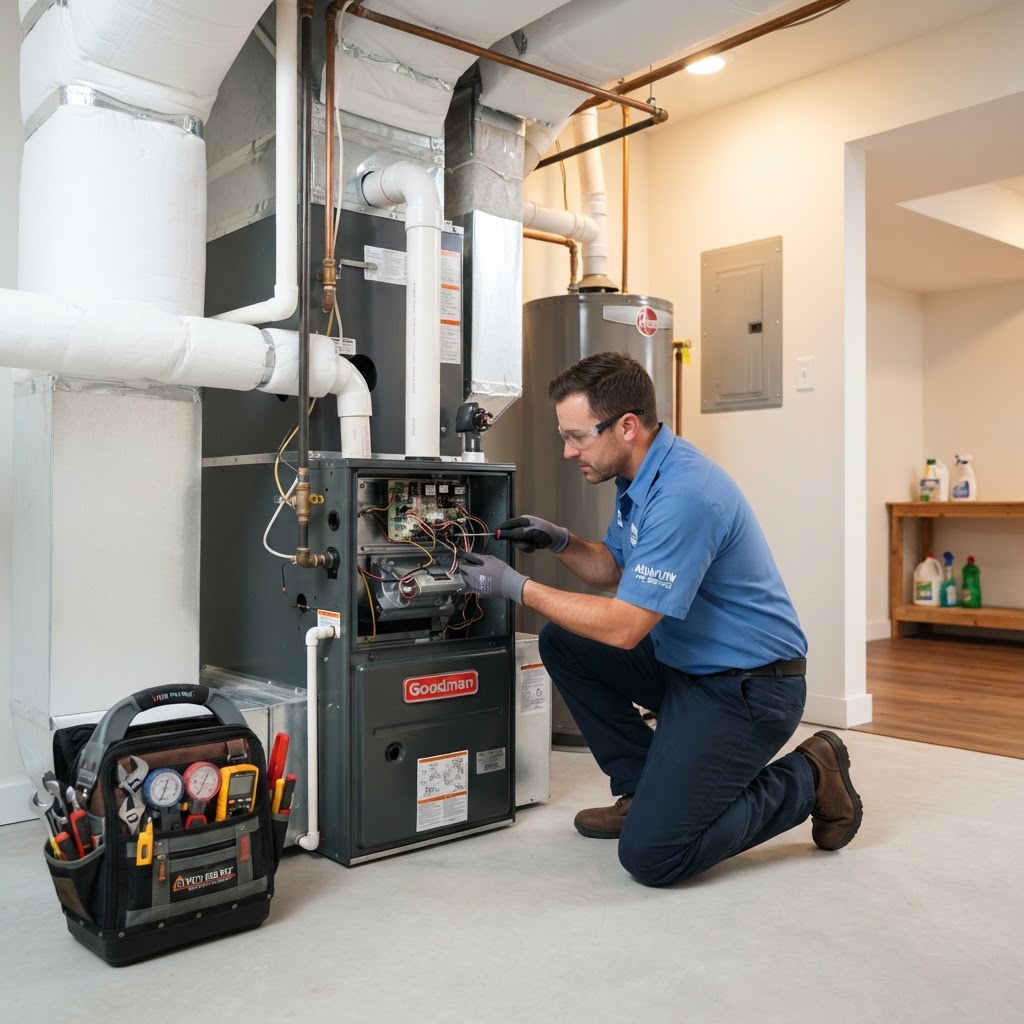
HVAC Maintenance Guide: Keep Your Home Comfortable All Year
Your HVAC system is the heart of your home. Neglecting it leads to high energy bills and premature failure. You can improve performance by changing air filters every 1-3 months and keeping the outdoor unit clear of debris. While DIY steps are vital, professional inspections are necessary once a year in both spring and fall to handle refrigerant levels and electrical checks. Taking these steps ensures comfort and long-term savings.
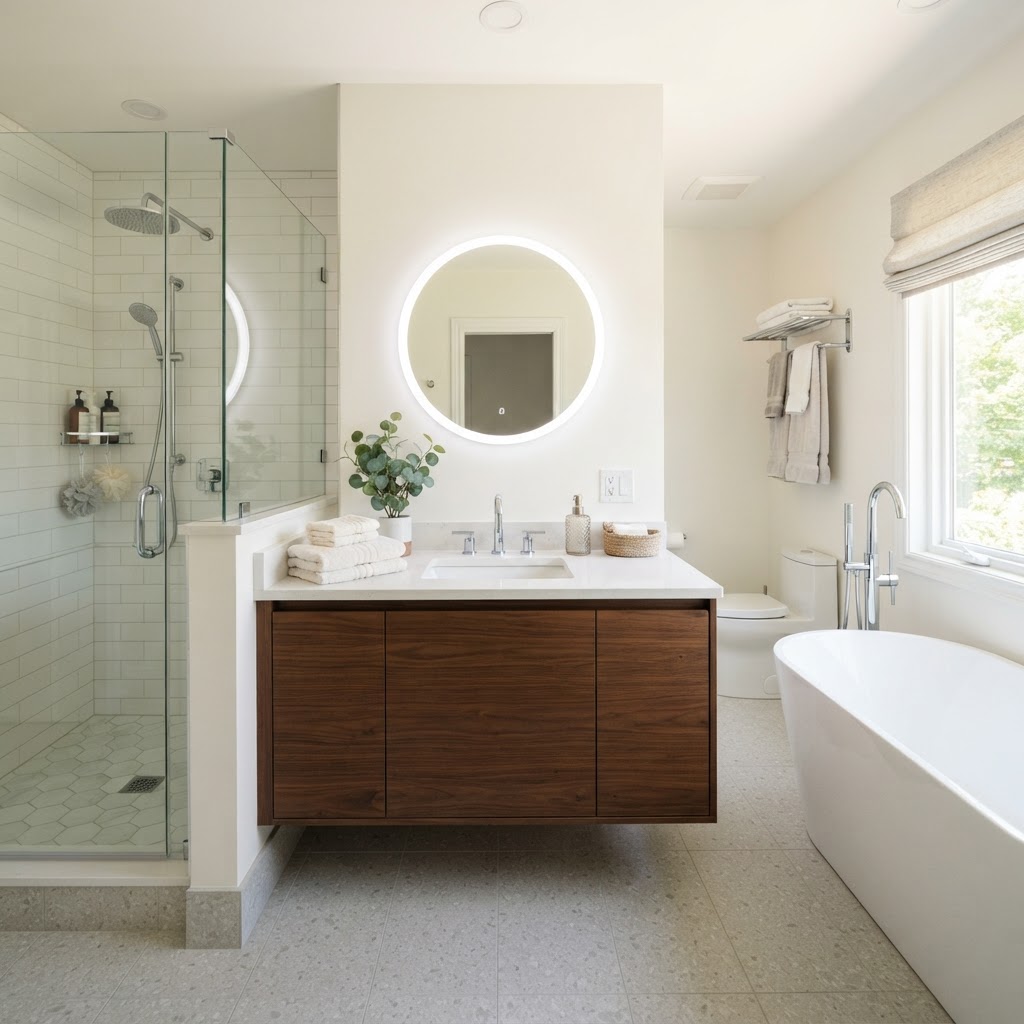
Bathroom Remodel Guide: How to Transform Your Space Efficiently
A bathroom remodel is one of the most rewarding home improvement projects, offering both personal comfort and increased property value. However, the process can be overwhelming without a clear strategy. Success starts with defining your goals: are you looking for a spa-like retreat or a functional upgrade for a busy household? Costs can vary wildly depending on the scope of work. On average, a minor update like replacing fixtures and painting might cost $3,000 to $7,000, while a full gut renovation can range from $15,000 to $30,000 or more. Always allocate at least 15% of your budget for unexpected issues. Knowing your limits is essential for a safe and code-compliant renovation: DIY is suitable for demolition, painting, or hardware updates. Professional help is essential for plumbing, electrical work, and tiling. A standard remodel takes three to six weeks; plan accordingly if you only have one bathroom. Focus on layered lighting, proper ventilation, and moisture-resistant flooring to ensure long-term durability.
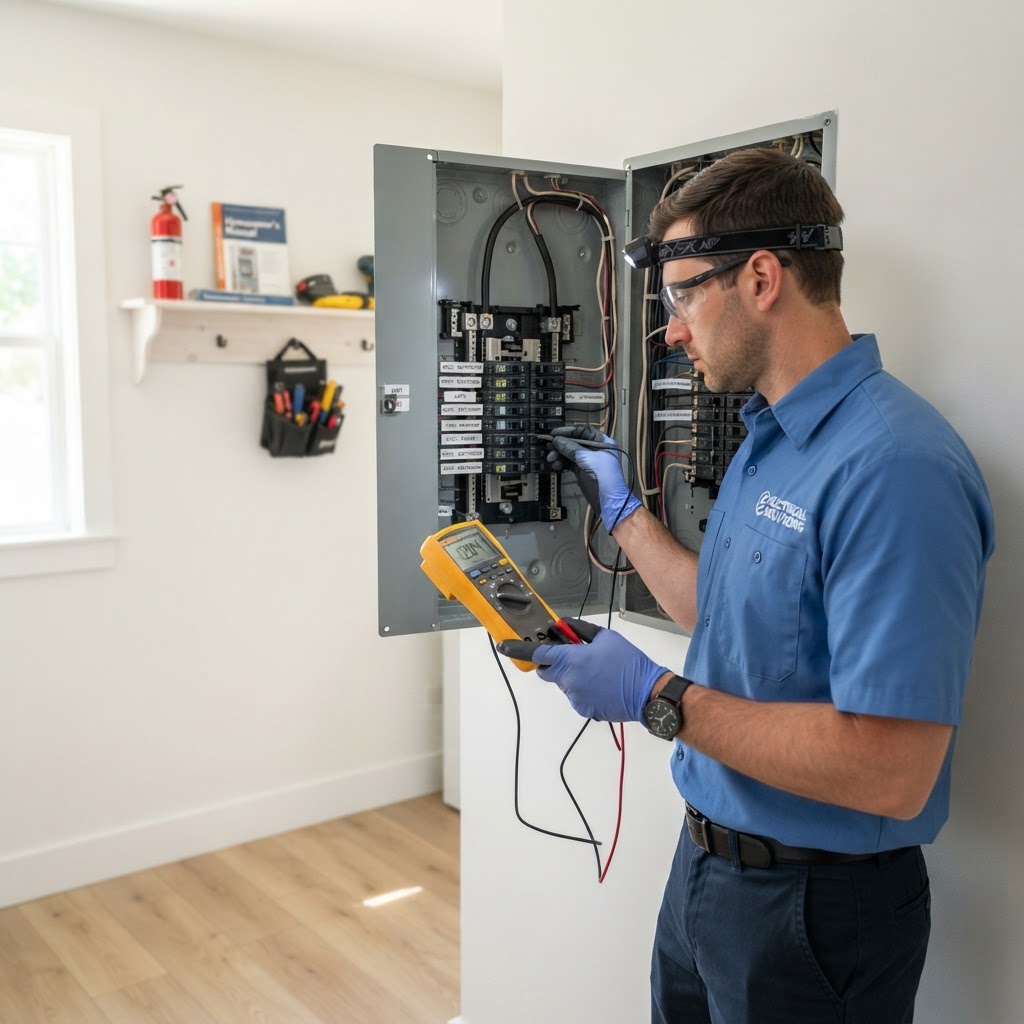
Essential Electrical Safety Tips for Every Homeowner
Understanding Your Home Electrical System. Your home's electrical system is the lifeblood of your daily routine, powering everything from your kitchen appliances to your entertainment devices. Maintaining this complex network of wiring and circuits is crucial for home safety and efficiency. When to DIY and When to Call a Pro. Many homeowners are comfortable with minor tasks, but electricity is unforgiving. Safe for DIY includes replacing outlet covers or resetting breakers. Leave to Professionals anything involving the electrical panel or new wiring. Common Warning Signs: Flickering lights, warm wall plates, burning odor, or frequent breaker trips. Planning for electrical costs: small jobs are cheap, panel upgrades are significant. Proactive tips: label your breakers and avoid overloading strips.
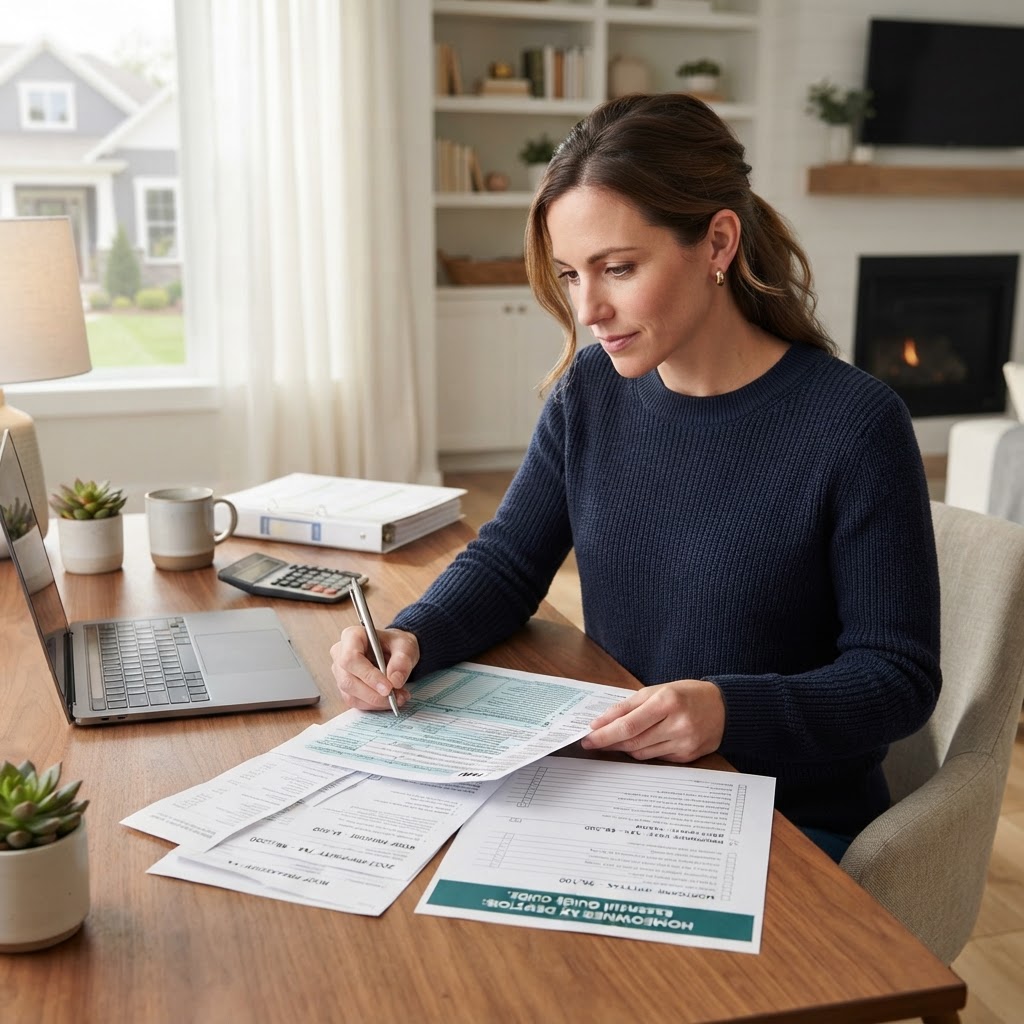
Homeowner Tax Breaks: Essential Deductions You Should Know
Owning a home provides significant tax advantages. Key deductions include mortgage interest on up to $750,000 of debt and state property taxes up to the $10,000 limit. Home office deductions and energy efficiency tax credits are also powerful tools. While standard tax software works for simple filings, consulting a CPA is recommended for rental property owners or those managing complex capital gains. Keep thorough records of all home improvements to lower future tax liabilities.

Essential Smart Home Tech Upgrades for Modern Homeowners
Integrating smart technology into your home is a practical way to increase energy efficiency, security, and convenience. High-impact upgrades include smart thermostats, which save on energy costs, and smart lighting for automated control. Video doorbells offer enhanced security. While many devices are DIY-friendly, professional help is recommended for smart locks or electrical systems. Ensure your devices are compatible with a central hub to streamline management. Start small, focusing on areas that provide the most value, as smart technology can significantly improve home management over time.
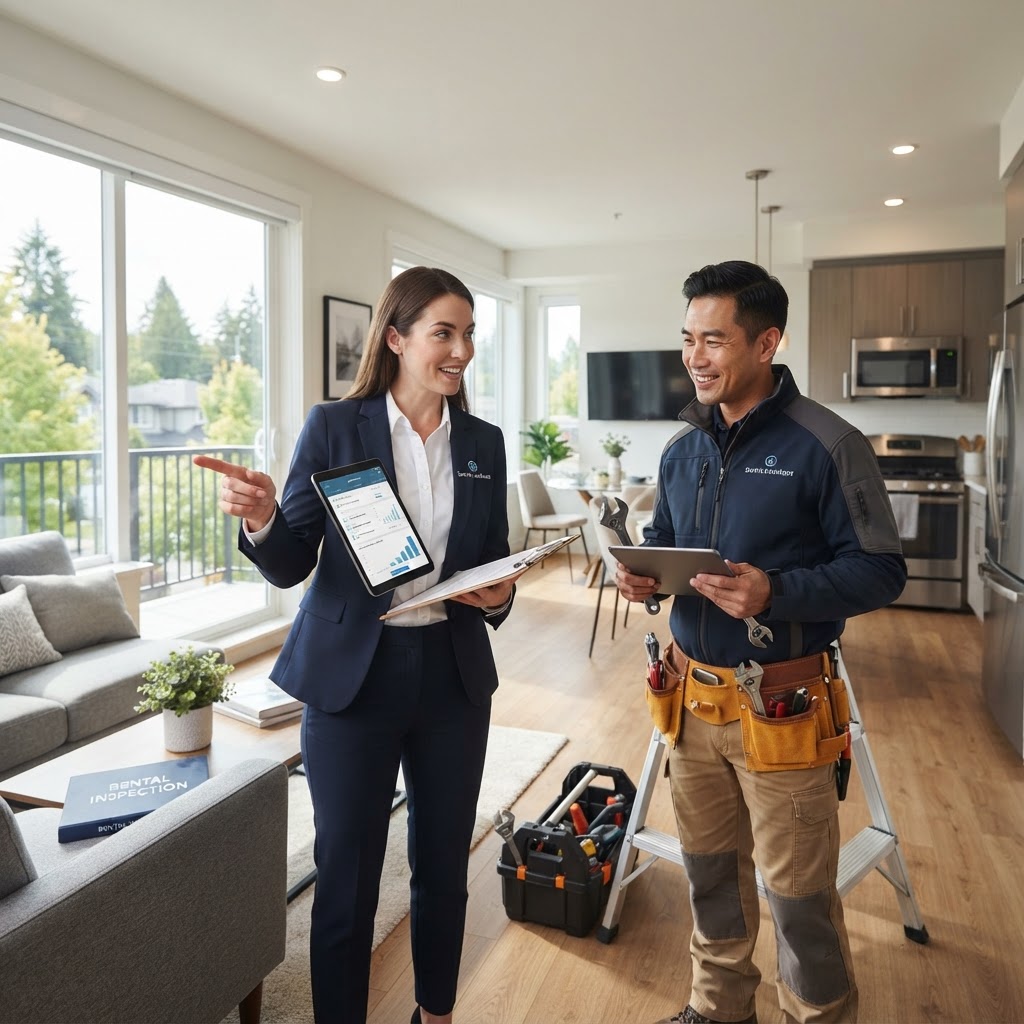
Property Management: Essential Strategies for Maximizing Rental ROI
Managing a property requires a balance of maintenance, legal knowledge, and tenant management. Whether you choose to do it yourself or hire a pro, focus on proactive maintenance and smart scheduling to protect your rental income.
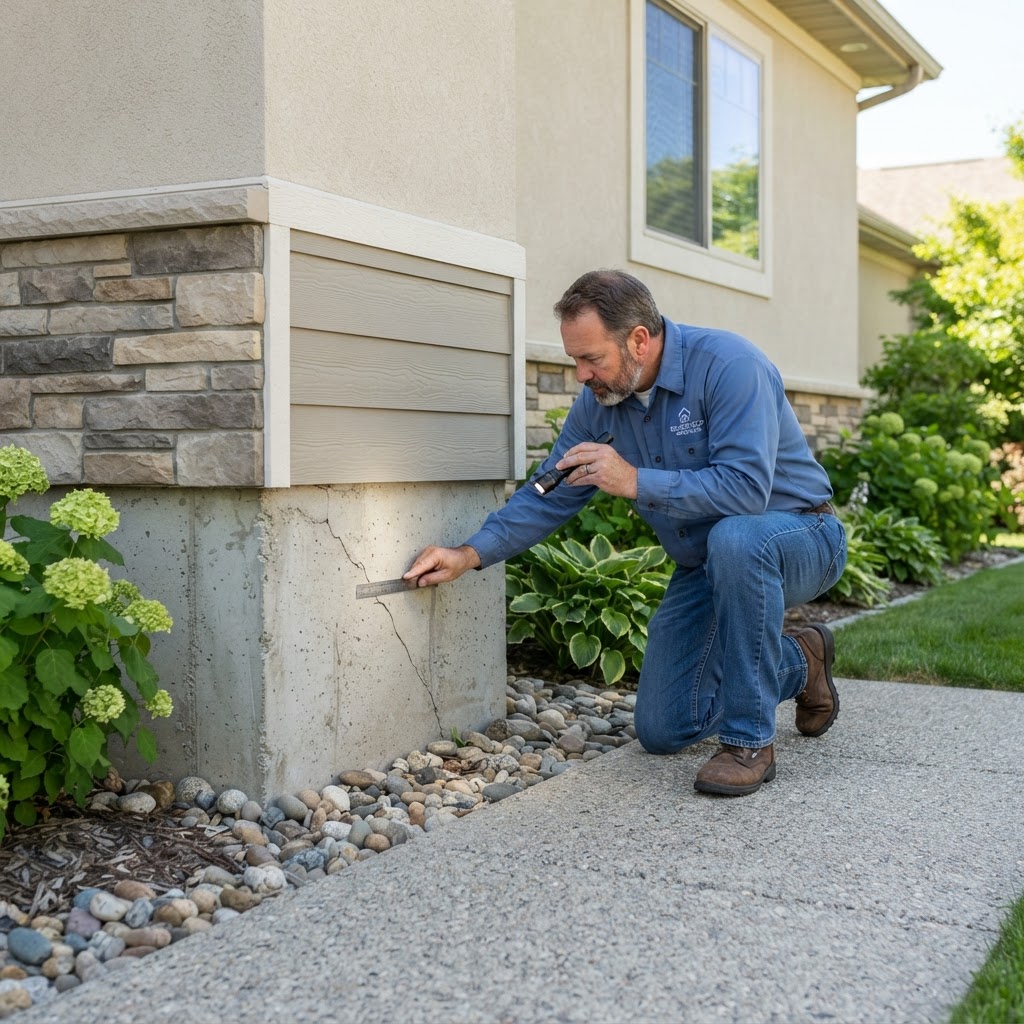
Foundation Health 101: Identifying and Preventing Structural Damage
Your home's foundation is the bedrock of its structural integrity. While concrete is durable, it is not invincible. Over time, shifting soil, moisture accumulation, and temperature changes can cause foundation issues that, if left unaddressed, may lead to costly repairs. Catching problems early is key to minimizing repair costs. Look for sticking doors and windows, cracks in walls or floors, gaps around frames, and uneven floors. Prevent issues by managing drainage: ensure gutters extend five feet away, grade soil away from the foundation, and avoid planting large trees nearby. Minor cracks can be patched, but structural issues require a licensed engineer. Expect inspections to cost $300-$700, and repairs can reach $20,000+ for significant stabilization.
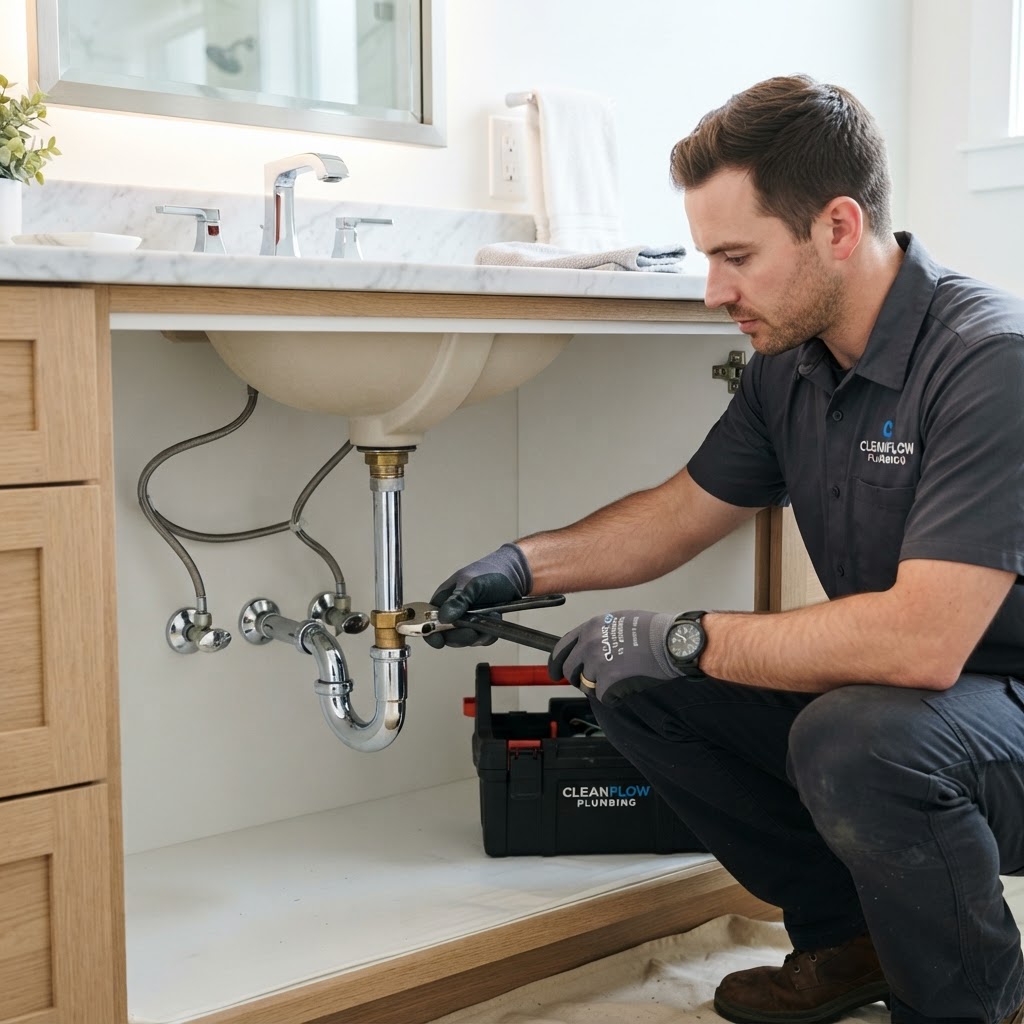
Essential Plumbing Tips Every Homeowner Should Know
Plumbing issues are among the most stressful problems a homeowner can face. From minor leaks to catastrophic pipe bursts, being proactive is essential. Learn how to locate your main shut-off valve, prevent drain clogs without harsh chemicals, and perform annual water heater maintenance to extend your appliance's lifespan. We also cover when to hire a professional plumber versus handling tasks yourself.
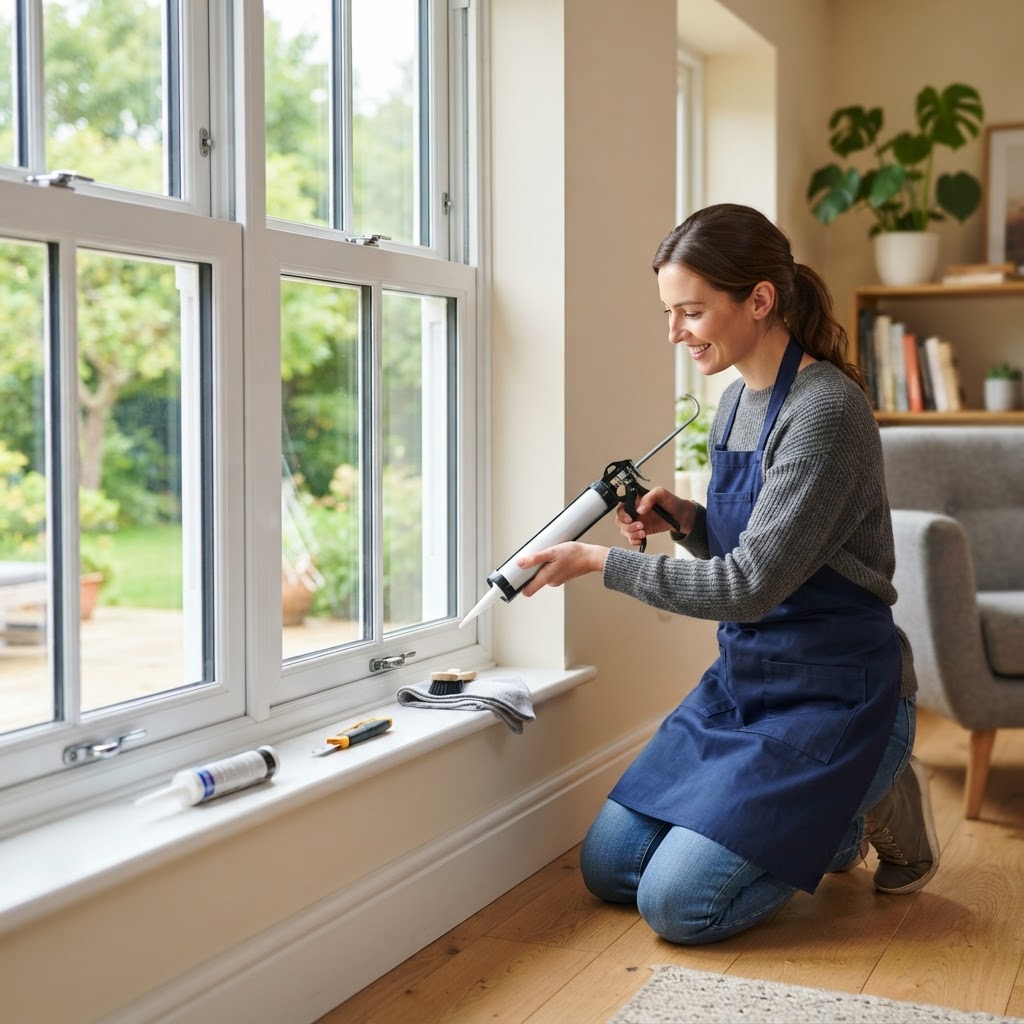
Boost Your Home Efficiency: A Guide to Window and Door Maintenance
Your windows and doors are the primary barriers between your home comfort and the elements. Maintenance is key to efficiency. Check weatherstripping annually for drafts. Lubricate hinges to stop squeaks and clean tracks to protect rollers. DIY is great for cleaning and minor repairs, but professional help is needed for rot, seal failure, or structural leaks. Budget $600-$1,200 for window replacements and $1,500-$4,000 for doors. Aim to perform replacements in spring or autumn for the best results and pricing.

Homeowner Tax Breaks: How to Maximize Your Property Deductions
For most Americans, a home is the single largest investment they will ever make. Understanding the tax landscape can save you thousands. Key deductions include mortgage interest, property taxes (subject to the SALT cap), and energy efficiency credits for upgrades like solar or insulation. It is important to track capital improvements, which add to your home's cost basis and reduce capital gains when you sell. Unlike routine repairs, improvements such as kitchen remodels should be documented with receipts. Always consult a tax professional to ensure compliance with the latest tax code changes.

Homeowner Tax Breaks and Legal Tips You Need to Know
Owning a home is a significant financial asset. Understanding tax deductions like mortgage interest and property taxes, as well as the importance of permits and professional contracts, is crucial for any homeowner. From maximizing tax credits for energy efficiency to ensuring all renovations are legally permitted, proactive management saves money and protects your investment. Always keep organized records and consult professionals for complex tax or legal situations.
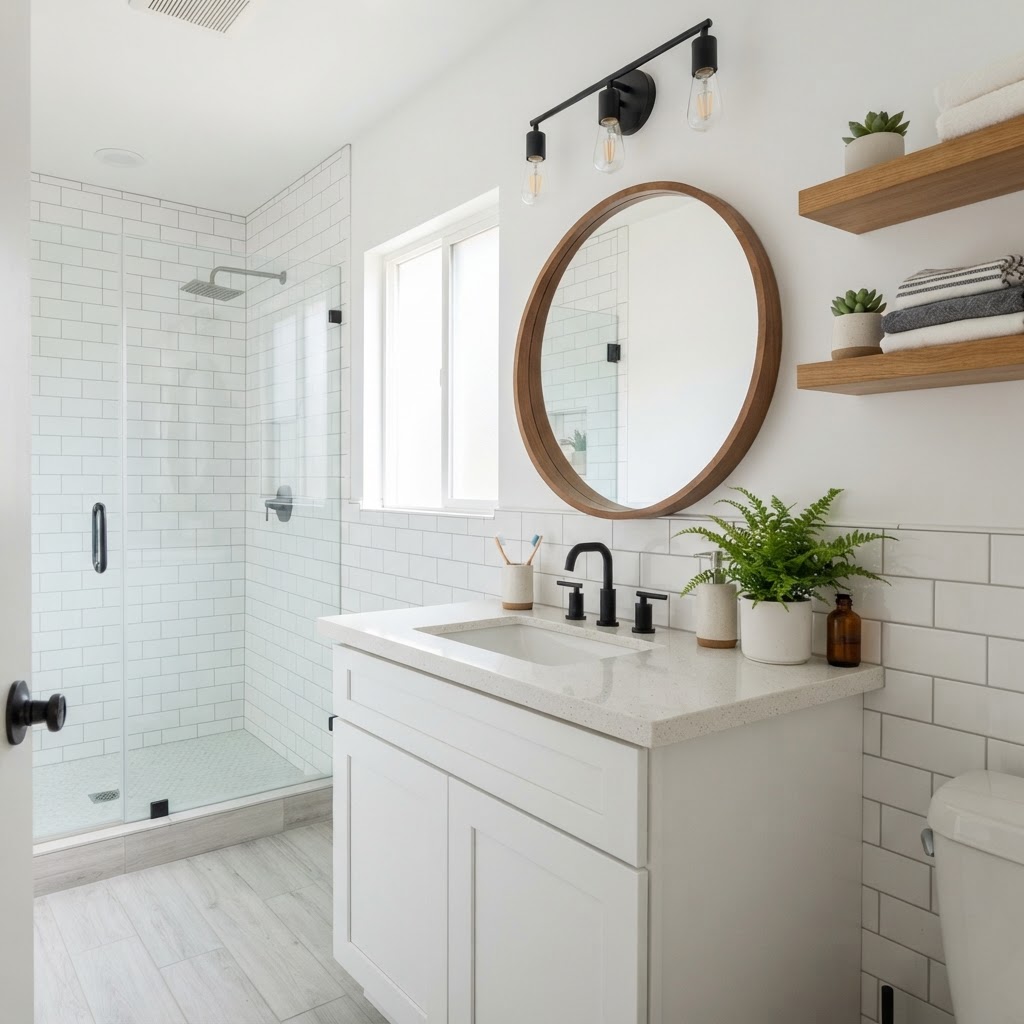
Bathroom Remodel Guide: How to Refresh Your Space for Less
A bathroom remodel is one of the most rewarding home improvements you can undertake. Whether you are looking to increase your home's resale value or simply create a personal spa retreat, careful planning is the foundation of a successful project. On average, a mid-range bathroom renovation can cost between $10,000 and $25,000. Start by allocating 20% of your budget for unexpected issues, such as plumbing leaks or mold hidden behind old tiles. Prioritize big-ticket items like flooring and vanities, then fill in with budget-friendly accessories. While DIY can save money, some tasks require expert certification. DIY friendly tasks include painting, hardware updates, and installing simple flooring. Complex plumbing, electrical, and structural work should always be handled by licensed professionals. Maximize your space with light colors, smart lighting, and vertical storage solutions. A standard renovation takes three to six weeks, so plan ahead and ensure all materials are on-site before starting.

Homeowners Insurance: A Practical Guide for Protecting Your Investment
For most homeowners, your property is your most significant financial asset. Understanding your homeowners insurance policy is the first step in ensuring that asset remains protected against unforeseen disasters. Key steps include conducting an annual home inventory, reviewing your dwelling coverage limits, and checking for common exclusions like flooding. To manage costs, consider raising your deductible or bundling policies with your auto insurance provider. Regular maintenance is essential, as many policies exclude damage caused by neglect; perform routine upkeep like gutter cleaning yourself, but always hire licensed professionals for structural or utility repairs. Finally, carefully weigh the cost of repairs against your deductible before filing a claim to avoid unnecessary premium increases.
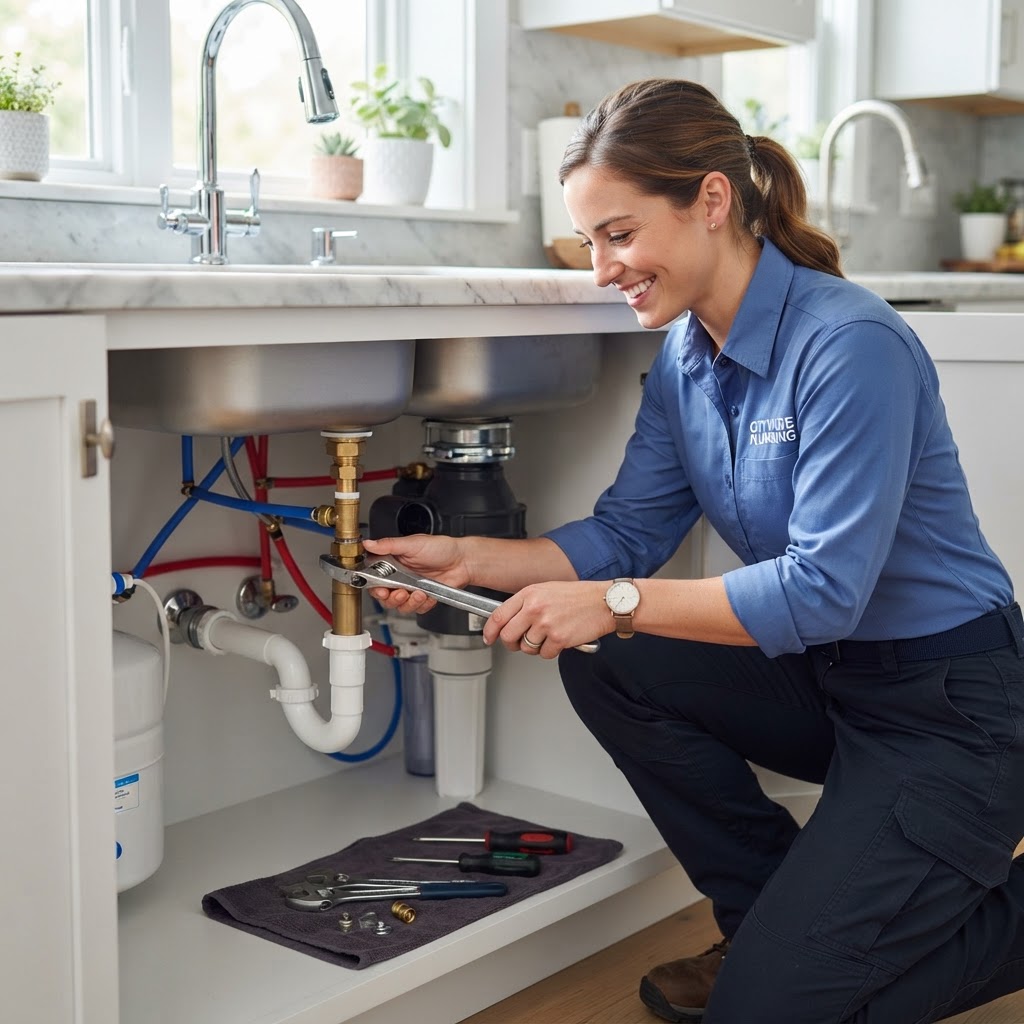
Essential Plumbing Tips Every Homeowner Should Know
Plumbing issues are among the most stressful problems a homeowner can face. From minor leaks to catastrophic pipe bursts, knowing how to manage your system can save you thousands of dollars in emergency repairs. By taking a proactive approach, you can extend the life of your pipes and ensure your home runs smoothly. Regular inspections of exposed pipes are crucial. Check under sinks and near water heaters twice a year. To avoid clogs, never pour grease down the drain and use mesh strainers for hair. Avoid chemical cleaners that damage pipes. Call a professional for main line issues or major leaks. Budgeting for plumbing repairs is smart, as major jobs can cost thousands. Proper maintenance saves money in the long run.
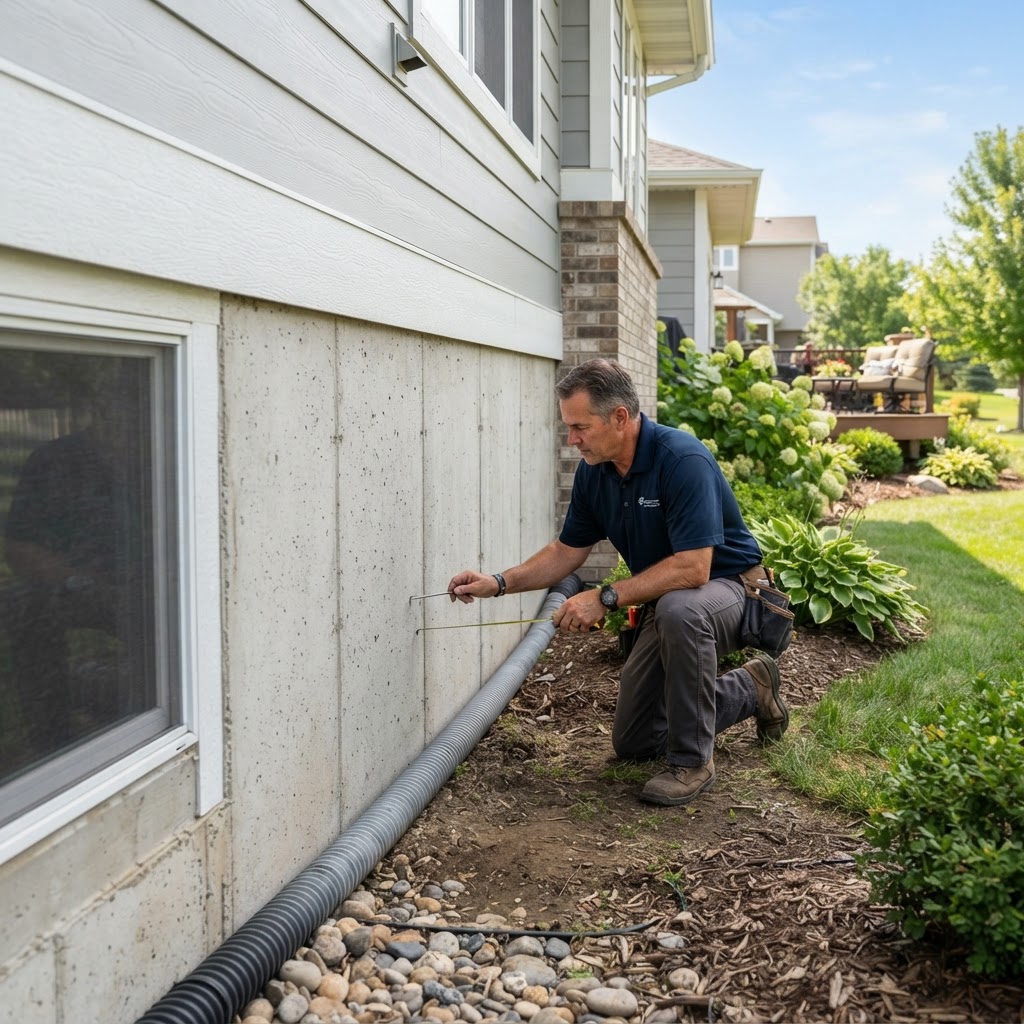
Essential Home Foundation Maintenance: A Homeowner’s Guide
Your home's foundation is the bedrock of its structural integrity. Over time, factors like soil movement, moisture fluctuations, and age can lead to cracks or uneven settling. Regular inspections are essential. Watch for diagonal cracks, sticking doors, and pooling water. Manage moisture by extending downspouts and ensuring proper grading. Minor cracks can be DIY-fixed with caulk, but major structural issues require professional engineers. Regular maintenance is far cheaper than repairs.

Homeowner's Tax & Legal Guide: Save Money & Avoid Hassles
Unlock Tax Savings and Navigate Legalities for Your Home Owning a home comes with significant responsibilities, but it also presents opportunities to save money on taxes and avoid common legal pitfalls. Understanding these aspects can make a big difference in your financial well-being and peace of mind. This guide will walk you through key tax benefits and legal considerations every homeowner should know. Maximizing Your Homeowner Tax Deductions The U.S. tax code offers several deductions that can reduce your taxable income when you own a home. Knowing these can help you keep more of your hard-earned money. * Mortgage Interest Deduction: One of the most significant deductions, this allows you to deduct the interest paid on your mortgage up to certain limits. This applies to first and second homes. Keep meticulous records of your mortgage statements to claim this. * Home Equity Loan Interest: If you took out a home equity loan or line of credit (HELOC) to improve your home, the interest may be deductible. The IRS has specific rules on this, so consult a tax professional if unsure. * Property Taxes: You can generally deduct state and local property taxes you pay on your home. However, there's a limit on the total deduction for state and local taxes (SALT), which includes property taxes. * Home Office Deduction: If you use a portion of your home exclusively and regularly for business, you might qualify for the home office deduction. This can be complex, so ensure you meet the strict IRS requirements. * Energy Credits: Investing in energy-efficient home improvements can often qualify you for tax credits. Look for credits related to solar panels, insulation, energy-efficient windows, and HVAC systems. Key Legal Considerations for Homeowners Beyond taxes, several legal aspects are crucial for protecting your property and avoiding disputes. * Property Lines and Easements: Understand your property boundaries. Disputes over fences or driveways crossing property lines are common. If you're unsure, consider a professional survey. Easements grant others the right to use a portion of your land (e.g., for utility access), and you need to be aware of any on your property. * Home Improvement Contracts: When undertaking renovations, always use a written contract. It should detail the scope of work, materials, timeline, payment schedule, and warranties. This protects you from disputes and ensures the work meets your expectations. * Permits: Most significant home improvements require building permits from your local municipality. Failure to obtain permits can lead to fines, difficulty selling your home, or the need to redo work. Check with your local building department before starting any major project. * HOA Regulations: If you live in a community with a Homeowners Association (HOA), familiarize yourself with its rules and regulations. These can govern everything from exterior paint colors to landscaping and parking. Violations can result in fines. DIY vs. Professional Guidance For tax deductions, consulting a qualified tax professional (CPA or Enrolled Agent) is highly recommended, especially for complex situations like the home office deduction or significant capital improvements. They can help ensure you claim all eligible deductions accurately and stay compliant with tax laws. Legally, understanding property lines and easements might require a surveyor. For major renovations, lawyers specializing in real estate or construction law can review contracts to protect your interests. For routine legal questions about your property, your local bar association may offer low-cost or free legal aid resources. By staying informed about tax benefits and legal requirements, you can better protect your investment, maximize your savings, and enjoy your home with greater confidence.

Home Insurance: Protect Your Biggest Investment
Home Insurance: Protect Your Biggest Investment Your home is likely your most significant asset. Protecting it from unexpected damage, theft, or liability is crucial. Homeowners insurance provides that vital safety net. But navigating the world of policies, deductibles, and coverage can feel overwhelming. This guide aims to demystify home insurance and empower you to make informed decisions. Why Do You Need Home Insurance? Beyond being a requirement for most mortgage lenders, homeowners insurance offers peace of mind. It covers: * Dwelling Coverage: Rebuilds or repairs your home's structure (walls, roof, foundation) if damaged by covered perils like fire, windstorms, or hail. * Other Structures Coverage: Protects detached structures like garages, sheds, or fences. * Personal Property Coverage: Reimburses you for lost or damaged belongings (furniture, electronics, clothing) anywhere in the world. * Loss of Use Coverage: Pays for additional living expenses (hotel, meals) if you can't live in your home due to a covered loss. * Liability Coverage: Protects you financially if someone is injured on your property or if you accidentally cause damage to someone else's property. Understanding Key Terms Deductible: The amount you pay out-of-pocket before your insurance kicks in. A higher deductible usually means a lower premium, but ensure you can afford the deductible if a claim arises. Premium: The amount you pay for your insurance policy, typically monthly, semi-annually, or annually. Perils: Specific events that your policy covers, such as fire, wind, vandalism, etc. Understand what perils are included and excluded. Actionable Tips for Homeowners * Shop Around: Don't settle for the first quote. Get at least 3-5 quotes from different insurance companies to compare rates and coverage. Timing is key – get quotes before your current policy renews. * Conduct a Home Inventory: Document your belongings with photos or videos. Keep this inventory with receipts in a safe place (cloud storage is ideal). This is invaluable if you need to file a claim. DIY this task; it takes time but saves hassle later. * Review Your Policy Annually: Your needs change. Has your home value increased? Have you made significant renovations? Ensure your coverage still meets your current situation. A professional insurance agent can help with this review. * Consider Endorsements: For high-value items like jewelry, art, or firearms, standard policies may have limits. You might need a "rider" or endorsement for full coverage. * Increase Security: Installing security systems, smoke detectors, and deadbolts can sometimes lead to discounts. This is a DIY-friendly way to potentially lower premiums. DIY vs. Professional Guidance While gathering quotes and conducting a home inventory are DIY tasks, choosing the right policy often benefits from professional advice. An independent insurance agent can help you understand complex policy language, assess your risks, and find the best coverage for your specific needs and budget. Don't hesitate to ask questions! Investing a little time and effort into understanding your home insurance can save you significant financial hardship down the line. Protect your investment wisely.

Essential Property Management Tips for Savvy Homeowners
Managing a rental property requires balancing asset protection with income generation. Effective management includes rigorous tenant screening, regular maintenance, and organized financial tracking. DIY management saves on fees but requires significant time, while professional managers offer convenience and vendor discounts. Always budget 5% of rental income for capital improvements. Maintain a seasonal schedule for gutters, HVAC systems, and safety inspections to maximize asset longevity.

Smart Home Tech: A Practical Guide for Modern Homeowners
Getting Started with Smart Home Technology. Integrating smart home technology is no longer just for tech enthusiasts; it is a practical way to increase security, efficiency, and comfort in your home. Whether you are automating your lighting or securing your front door, the right setup can save you both time and money. Where to Begin: Essential Upgrades. If you are looking to dip your toes into automation, start with high-impact, low-effort devices: Smart Thermostats, Smart Lighting, Video Doorbells. DIY vs. Professional Installation. Most consumer-grade smart devices are designed for plug-and-play installation, making them perfect DIY projects. Key Considerations for Long-Term Success. Stick to a single ecosystem and prioritize security. When is the Right Time to Upgrade? Upgrade during other home improvement projects.
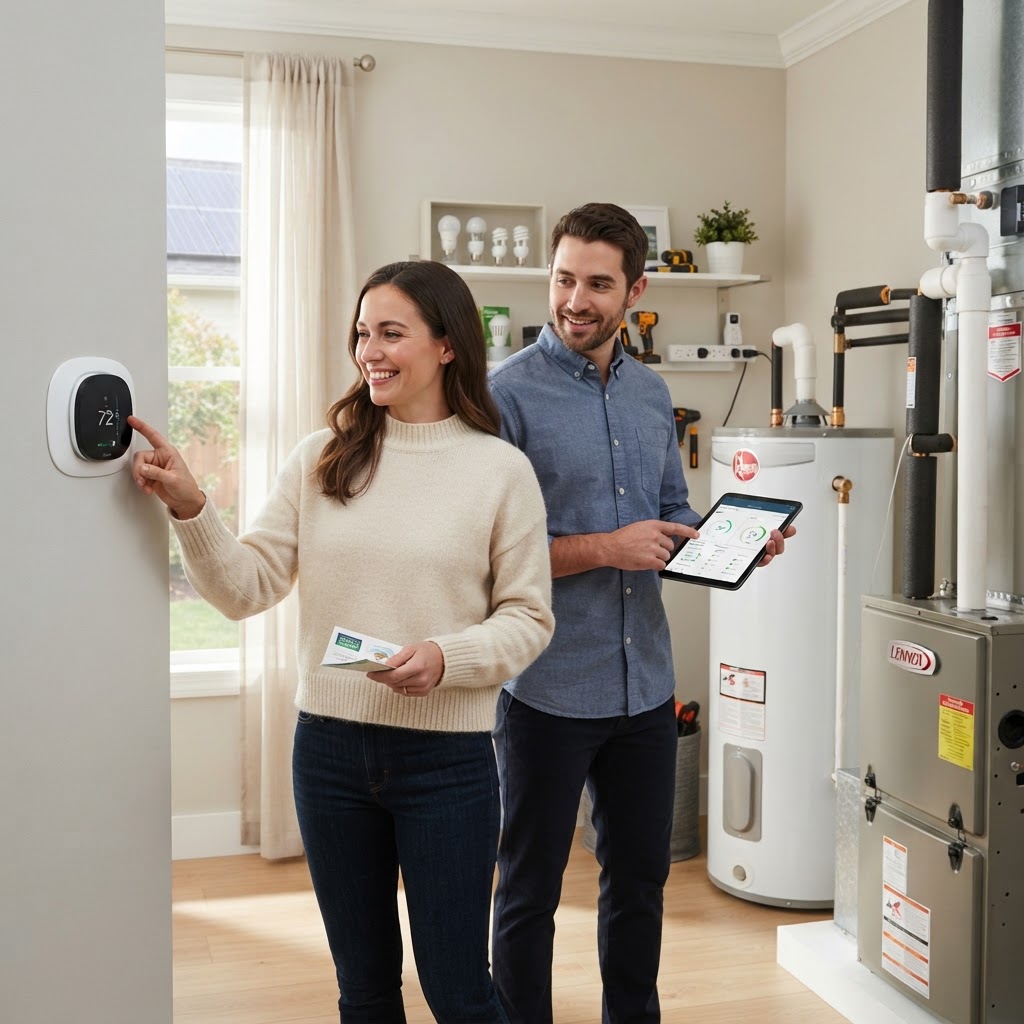
Smart Ways to Boost Home Energy Efficiency and Save Money
One of the most effective ways to increase energy efficiency is by preventing air leaks. Inspect your home for drafts near windows, doors, and electrical outlets. Using weatherstripping or caulk can cost less than $50 and is a perfect DIY project for a Saturday morning. If you haven't switched to LED bulbs yet, now is the time. LEDs use at least 75% less energy and last 25 times longer than incandescent lighting. Installing a smart thermostat is a game-changer for modern homeowners. These devices learn your schedule and adjust temperatures automatically when you are away. Poor insulation is a primary culprit for energy waste. Check your attic to see if your insulation is level and reaching the recommended R-value for your climate zone. When it is time to replace a major appliance, always look for the ENERGY STAR label. Schedule a check-up for your HVAC system twice a year and replace filters every 90 days.
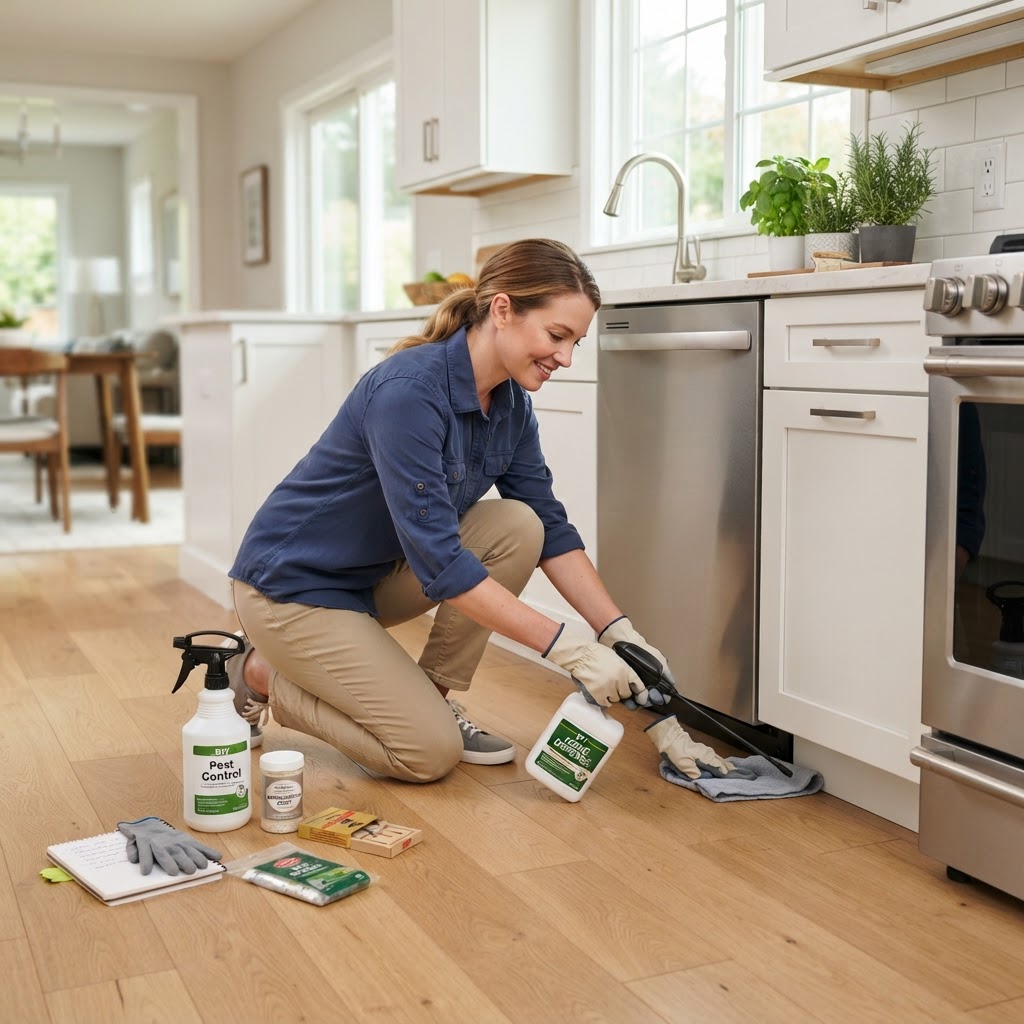
DIY Pest Control: Keep Your Home Bug-Free & Healthy
Keep Your Home Pest-Free: A Homeowner's Guide Pesky invaders like ants, rodents, cockroaches, and spiders are more than just a nuisance; they can pose serious health risks and cause significant damage to your home. Understanding common pests, their habits, and effective control methods is crucial for maintaining a healthy living environment. This guide will equip you with the knowledge to tackle pest problems, whether through DIY methods or knowing when to call in the professionals. Common Household Pests and Prevention The first line of defense against pests is prevention. Many common invaders are attracted to food, water, and shelter. By minimizing these attractants, you can significantly reduce your chances of an infestation: * Seal Entry Points: Inspect your home's exterior and interior for cracks and crevices. Seal gaps around windows, doors, pipes, and utility lines with caulk or weatherstripping. Pay close attention to areas where utilities enter the house. * Sanitation is Key: Keep your kitchen clean. Wipe down counters, sweep floors regularly, and store food in airtight containers. Don't leave dirty dishes in the sink overnight. Empty trash cans frequently and keep them sealed. * Moisture Control: Pests, especially rodents and cockroaches, are drawn to water. Fix leaky pipes, faucets, and address any areas of dampness in your basement or bathroom. Ensure good ventilation in these areas. * Yard Maintenance: Keep your lawn mowed and trim bushes away from your home's foundation. Remove standing water from gutters and bird baths. Store firewood away from the house. DIY Pest Control Methods For minor infestations or as a preventative measure, several DIY methods can be effective: * Natural Repellents: Many natural substances can deter pests. Peppermint oil can repel spiders and ants. Diatomaceous earth (food-grade) is a natural powder that dehydrates insects. Vinegar can be used to clean surfaces and deter ants. * Traps and Baits: For rodents and insects, various traps (snap traps, sticky traps) and baits are available at hardware stores. Follow instructions carefully, especially when using baits, to avoid harming children or pets. * Over-the-Counter Sprays: Insecticides and repellents are readily available. Choose products specifically designed for the pest you're targeting and ensure they are safe for indoor use if that's where you're applying them. Always read and follow label directions. When to Call the Professionals While DIY methods can be effective for minor issues, some situations warrant professional pest control services: * Large Infestations: If you see a significant number of pests, it's often a sign of a deeper problem that DIY methods can't solve. * Specific Pests: Termites, bed bugs, and certain types of ants require specialized knowledge and treatments. Misapplication of DIY products can be ineffective or even dangerous. * Health Concerns: If pests are causing allergic reactions or you suspect a disease transmission risk, professional intervention is recommended. * Persistent Problems: If you've tried DIY methods without success, a professional can identify the root cause and implement a more robust solution. Cost Considerations: DIY pest control supplies can range from a few dollars for natural deterrents to $30-$60 for specialized baits and traps. Professional pest control services typically cost $100-$500 for an initial assessment and treatment, with ongoing services varying based on the pest and frequency. For severe issues like termite or bed bug treatments, costs can range from $500 to several thousand dollars. By combining preventative measures with appropriate DIY or professional interventions, you can effectively manage pests and protect your home's health and integrity.

Essential Home Security Checklist: Protect Your Family and Property
Evaluating your home's entry points is the first step in security. Secure all doors with deadbolts and strike plates. Consider smart video doorbells for monitoring. Motion-sensor lights are effective, low-cost deterrents. DIY systems offer flexibility for renters, while professional systems provide premium emergency monitoring. Establish a regular maintenance schedule to ensure all safety devices remain fully functional.
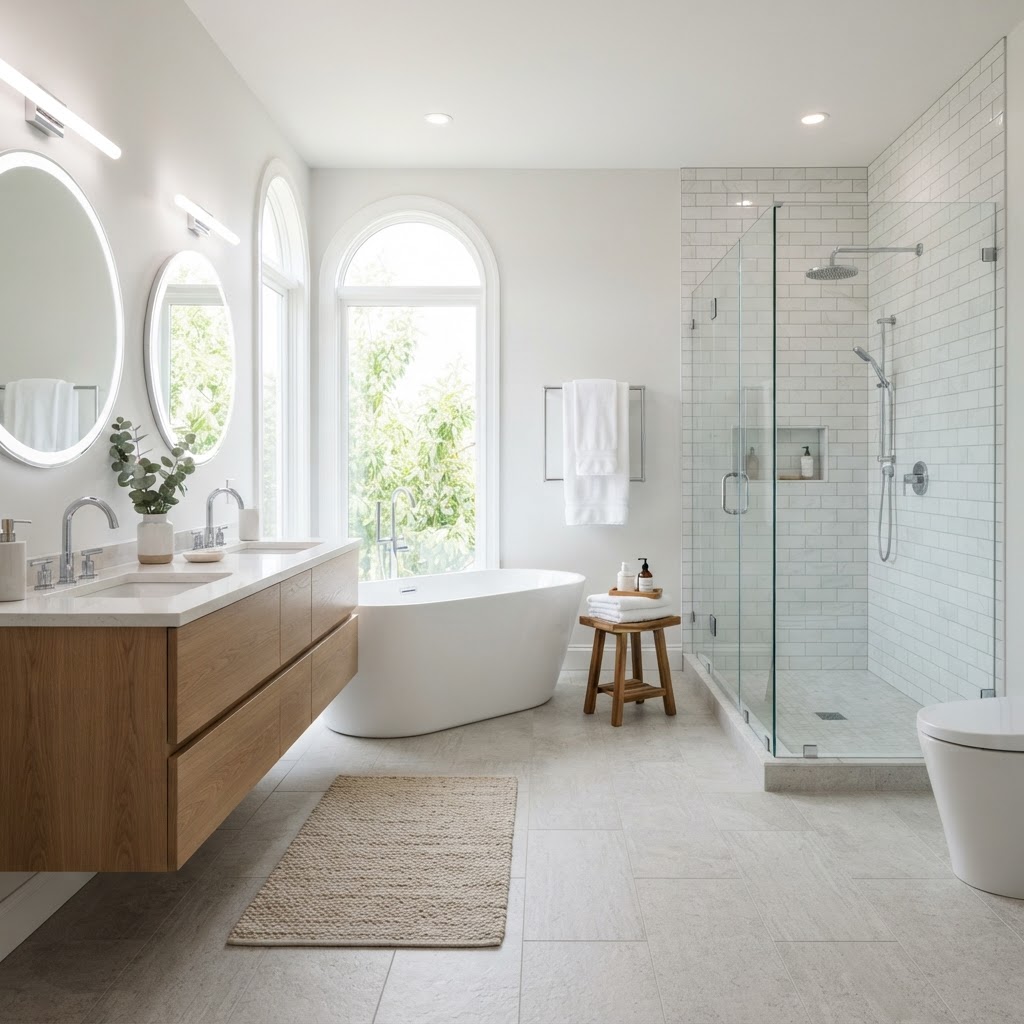
Bathroom Remodel Guide: How to Plan Your Perfect Renovation
A bathroom remodel is one of the most effective ways to increase your home's value and improve your daily quality of life. Before tearing out tiles, it is essential to approach the project with a solid plan. Bathroom renovations typically cost between $6,000 and $20,000 depending on the scope. Always add a 20% contingency fund to cover unexpected issues like water damage or plumbing repairs. On average, expect your bathroom to be out of commission for two to four weeks. Key considerations include installing a high-quality exhaust fan for ventilation, using layered lighting, and maximizing vertical storage. While you can handle painting or fixture installation, leave complex plumbing and electrical work to pros. Prioritize durable, moisture-resistant materials for the best long-term results.
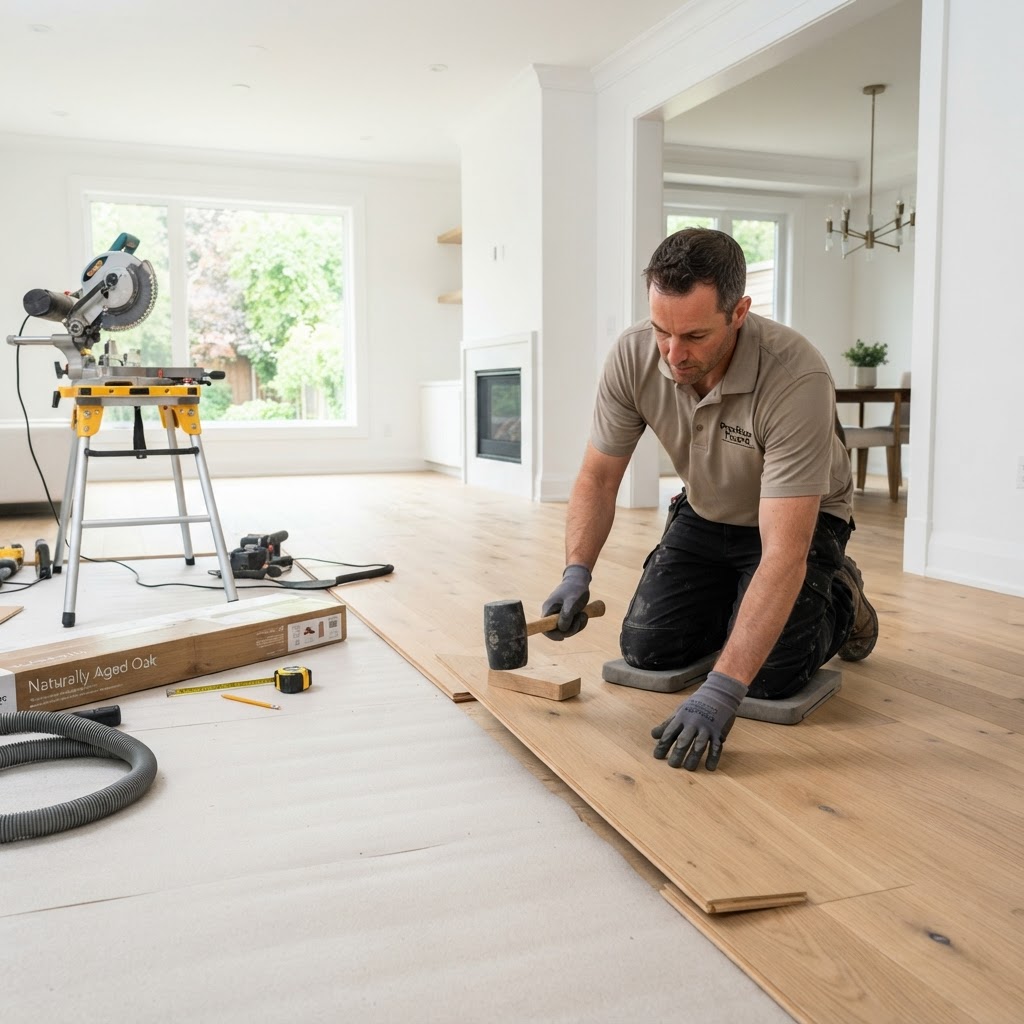
Flooring Upgrade Guide: How to Choose, Install, and Maintain Your Floors
Choosing the right flooring involves balancing aesthetics, budget, and durability. Hardwood offers value, while LVP is moisture-resistant. Budget between $5-$15 per square foot. DIY is great for click-lock floors, but professional help is recommended for tile and hardwood. Regular maintenance, like using felt pads and soft cleaning, ensures your floors last.
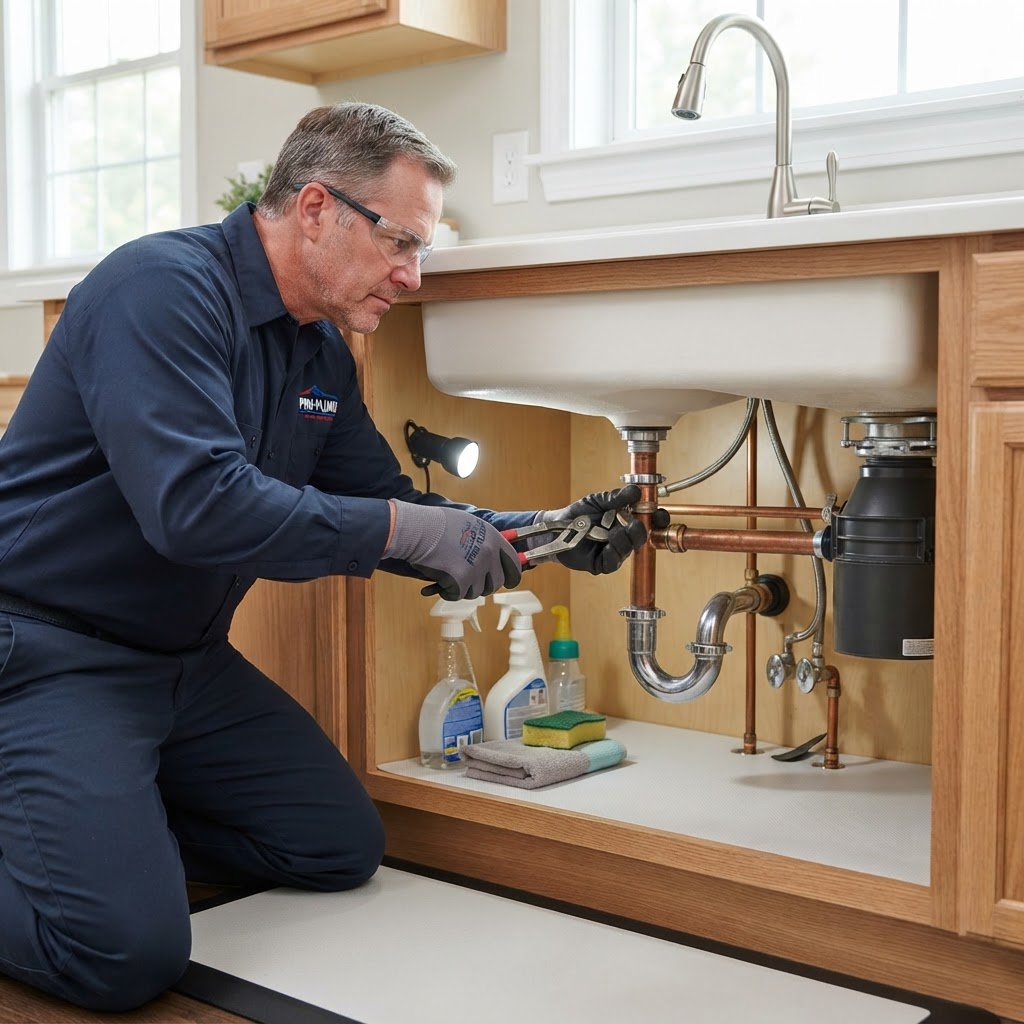
Essential Plumbing Tips: Save Money and Prevent Water Damage
Owning a home means staying ahead of potential disasters, and few systems cause as much anxiety as plumbing. A small leak can lead to massive water damage and mold growth if ignored. The best way to handle a clog is to prevent it from forming in the first place. Kitchen sinks usually fall victim to grease and food scraps, while bathroom drains choke on hair and soap scum. - Use drain strainers: Buy inexpensive mesh strainers (about $5 to $10 each) for all your sinks and showers. Empty them weekly. - Mind the garbage disposal: Never pour grease down the drain. Even with hot water, it will eventually cool and solidify in your pipes. Instead, pour grease into an old jar and throw it in the trash. - Flush with hot water: Once a week, run very hot water down your drains to help dissolve soap buildup and keep things flowing smoothly. High water pressure feels great in the shower, but it stresses your pipes, fixtures, and appliance hoses, leading to premature failures. Ideally, your home's water pressure should sit between 40 and 60 psi. Buy a simple pressure gauge from a hardware store for under $15. Screw it onto an outdoor hose spigot or washing machine connection and turn on the water. If the reading is above 80 psi, you need to adjust or replace your pressure reducing valve (PRV). While testing is an easy DIY task, replacing a PRV usually costs between $300 and $500 and is best left to a licensed plumber. Seasonal changes impact your plumbing. As fall approaches, take time to disconnect and drain outdoor hoses to prevent water from freezing and bursting the spigot. If you live in a colder climate, insulating exposed pipes in your basement or crawlspace is a cheap insurance policy—foam pipe insulation costs about $1 to $3 per six-foot section. Additionally, locate your main water shut-off valve before an emergency strikes. Test it by turning it off and running a faucet to ensure water stops flowing. If the valve is stuck or heavily corroded, call a professional immediately to replace it. Knowing when to tackle a project yourself and when to call a professional is crucial for managing home maintenance costs safely. - DIY Projects: Replacing a showerhead, swapping out a worn flapper in a running toilet, or clearing a minor localized clog with a plunger or small drain snake are all safe, low-cost DIY tasks. These typically cost under $25 in materials. - Call a Pro: If you notice a sudden drop in water pressure, water stains on your ceiling, or a persistent sewer smell, call a plumber immediately. Hidden leaks can cost thousands in water damage restoration (often $2,000 to $5,000 on average). Main line clogs and water heater replacements also require professional tools and licensing. Regular maintenance is the key to a healthy plumbing system. Spend a few dollars and a little time now to avoid a flooded basement later.

7 Essential Home Insurance Tips to Protect Your Investment
7 Essential Home Insurance Tips to Protect Your Investment Homeowners insurance is your ultimate financial safety net, but many homeowners treat it as a 'set it and forget it' expense. Understanding your policy can mean the difference between a seamless claims process and financial ruin. Here is how to ensure you have the right coverage at the right price. Understand Your Coverage Types Not all policies are created equal. Most standard policies (HO-3) cover your dwelling, other structures (like sheds), personal property, and liability. However, they typically exclude floods and earthquakes. If you live in a high-risk area, you will need separate policies. Expect to pay anywhere from $500 to $2,000 annually for standard coverage, depending on your location and home value. Actual Cash Value vs. Replacement Cost This is the most critical detail in your policy. If your roof is destroyed, Actual Cash Value (ACV) will only pay for the roof's current depreciated worth. Replacement Cost Value (RCV) pays for a brand-new roof. RCV costs about 10% to 20% more in premiums, but it is highly recommended to ensure you can actually rebuild your home without paying out of pocket. DIY Home Inventory vs. Professional Appraisal If you suffer a total loss, you must prove what you owned. DIY Inventory: Walk through your home with a smartphone, filming every room and drawer. Save the video to the cloud. Keep receipts for high-value items. This takes a few hours and costs nothing. Professional Appraisal: If you own fine art, antiques, or high-end jewelry (generally items over $5,000), hire a certified appraiser. This costs roughly $100 to $300 per hour but ensures these items are properly scheduled on your policy. When to Update Your Policy (Timing is Everything) Review your policy annually at renewal time, but you must contact your insurance agent immediately if you experience any of the following: You complete a major home renovation (e.g., adding a room or upgrading a kitchen). You install a new roof or major safety system (which could also earn you a discount!). You acquire expensive possessions like jewelry or electronics. Your home's market value significantly changes. DIY Risk Reduction vs. Professional Upgrades You can lower your premiums by reducing your risk profile. Simple DIY tasks include installing smoke detectors, fire extinguishers, and smart water leak sensors. For larger discounts, consider professional installations like a monitored burglar alarm (saving 5% to 15% on premiums) or a whole-house surge protector. Upgrading your roof to impact-resistant materials can also yield substantial discounts in wind or hail-prone regions. Finally, don't be afraid to raise your deductible. Bumping your deductible from $500 to $1,000 can lower your premium by up to 25%. Just ensure you keep that deductible amount in an emergency fund so you are ready when disaster strikes.
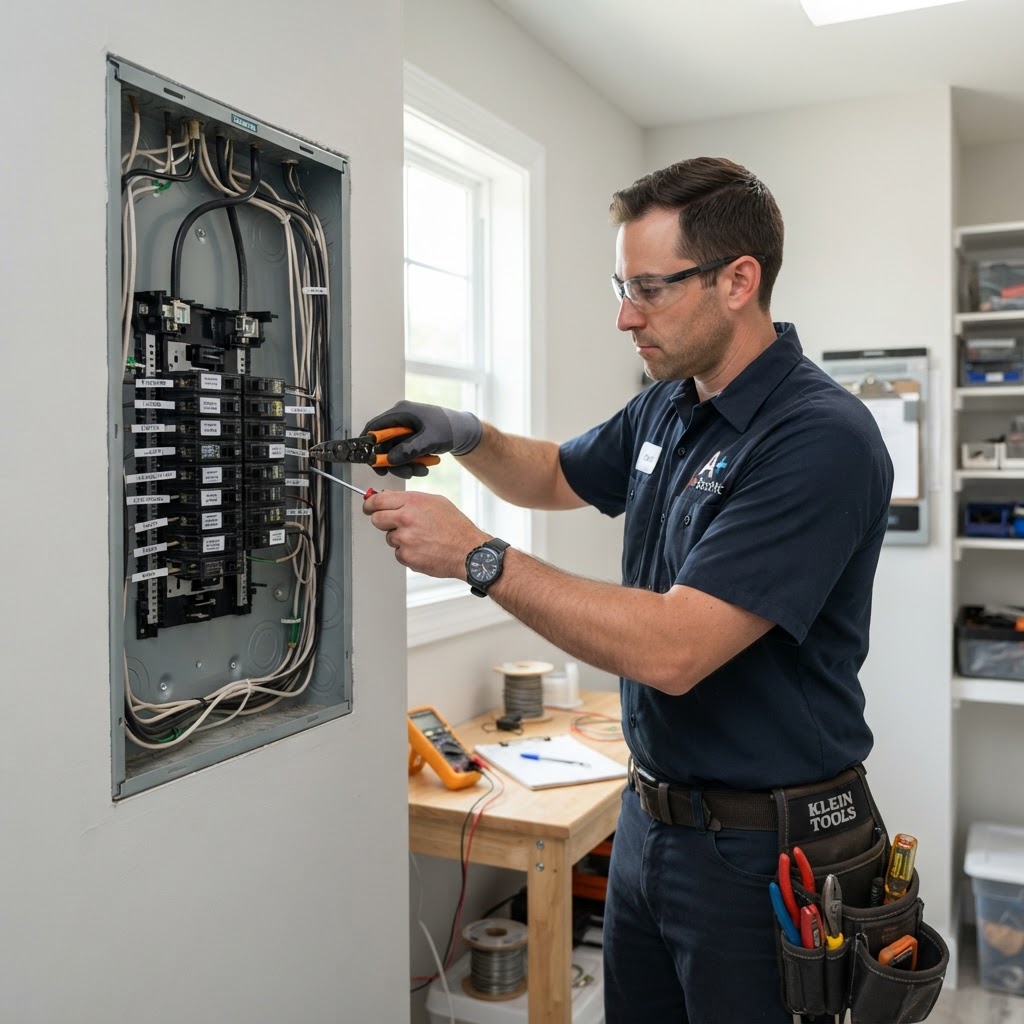
Essential Electrical Work Guide: Safety, Costs, and When to Call a Pro
Electrical work is one of the most critical yet potentially dangerous areas of home maintenance. Knowing what you can handle yourself, what requires a licensed electrician, and how to budget for common projects can keep your home safe and your expenses predictable. Common Electrical Projects and Typical Costs Whether you're upgrading an aging system or adding convenience features, here's what you can expect to pay: - Outlet replacement: $75–$200 per outlet - Ceiling fan installation: $100–$400 depending on wiring needs - Electrical panel upgrade: $1,500–$4,000 for a 200-amp panel - Whole-house rewiring: $8,000–$20,000 for a 1,500–3,000 sq ft home - Whole-house surge protector: $200–$700 installed - Light fixture installation: $80–$250 per fixture Prices vary by region, home age, and accessibility of wiring. Always get at least three quotes for larger projects. DIY vs. Professional: Know Your Limits Some simple tasks are safe for handy homeowners, but most electrical work requires a licensed electrician. A good rule: if it involves the service panel, new circuits, or wiring inside walls, call a pro. Safe DIY electrical tasks: - Replacing a light switch or outlet (same-for-same, no new wiring) - Installing a ceiling fan where a box already exists and is rated for it - Replacing light fixtures - Installing smart thermostats or doorbells with low-voltage wiring Always hire a professional for: - Panel upgrades or subpanel additions - New circuit installation - Knob-and-tube or aluminum wiring replacement - Troubleshooting flickering lights or breakers that keep tripping - Outdoor or bathroom circuits requiring GFCI protection tied to new wiring Warning Signs You Need Electrical Work Don't ignore these red flags—electrical issues are a leading cause of house fires: - Burning smell or discolored outlets - Frequently tripped breakers or blown fuses - Flickering or dimming lights when appliances run - Outlets that feel warm to the touch - Sparks when plugging in devices - Two-prong outlets indicating no grounding (common in pre-1960s homes) Best Times to Schedule Electrical Work Plan ahead—electricians are busiest in spring and summer and during the holiday season. Schedule non-urgent work in late winter or early fall for faster service and potentially better pricing. If you're remodeling, rough-in electrical should happen before insulation and drywall, so coordinate with your contractor early. Tips to Keep Costs Down - Bundle small projects into one service call to avoid repeated trip fees - Provide clear access to panels and outlets before the electrician arrives - Buy fixtures yourself to avoid markup, but confirm compatibility first - Get permits and inspections—skipping them can void insurance and complicate resale Electrical work isn't the place to cut corners. A $150 outlet installed incorrectly can cause thousands in fire damage. Invest in safety, follow local codes, and when in doubt, call a licensed electrician.
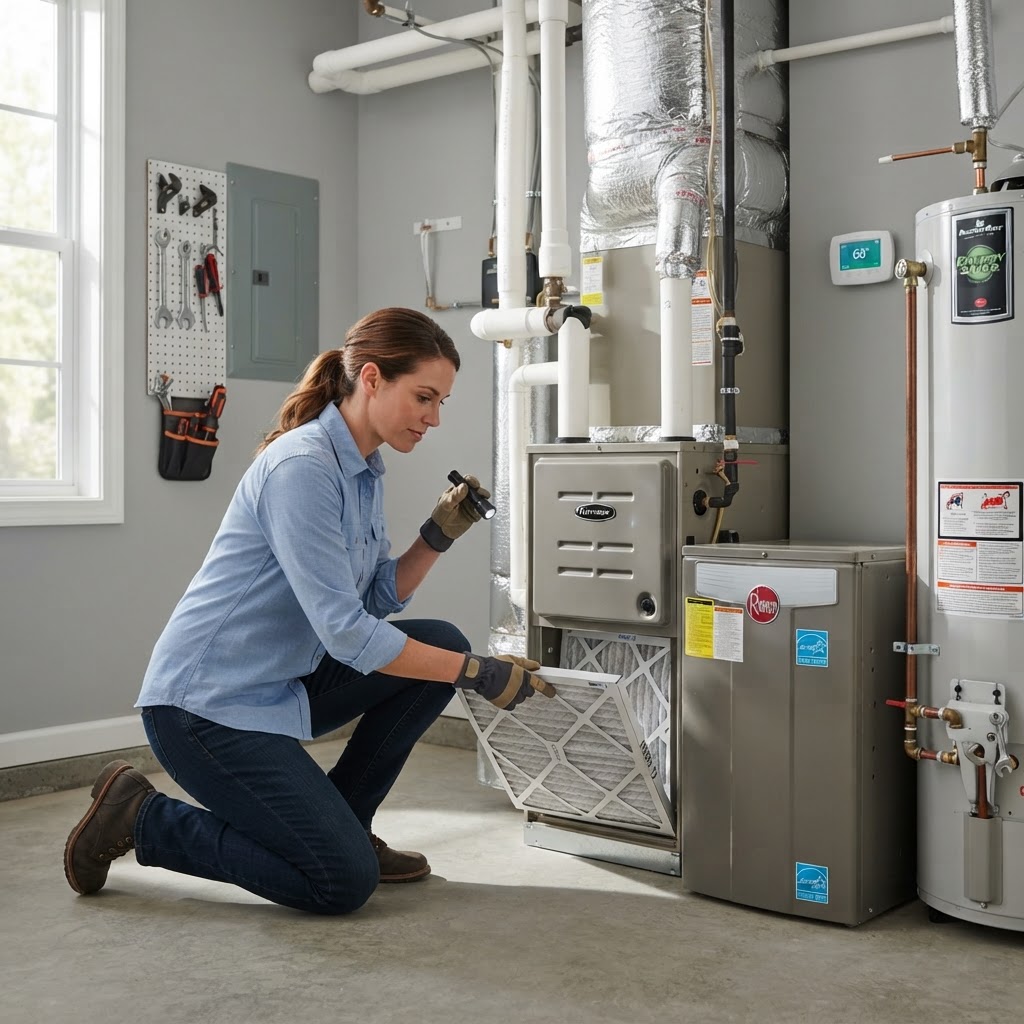
Cut Energy Bills: Homeowner's Guide to Home Efficiency
Why Energy Efficiency Matters Improving your home's energy efficiency isn't just about helping the environment—it’s about keeping your hard-earned money in your wallet. Drafty windows, poor insulation, and outdated appliances force your HVAC system to work overtime. By making a few strategic upgrades, you can drastically reduce your monthly utility bills and improve your home's overall comfort. Here is a practical guide to boosting your home's energy efficiency. 1. Seal Air Leaks Air infiltration is one of the biggest culprits for energy loss. Gaps around doors, windows, and foundations let conditioned air escape and outside air creep in. DIY vs. Professional: Simple weatherstripping and caulking around windows and doors is a straightforward weekend DIY project. However, for comprehensive air sealing in hard-to-reach areas like the attic or basement, hiring a professional is highly recommended. Cost: DIY caulking and weatherstripping will cost between $20 and $50. Professional air sealing typically runs between $600 and $1,200. Timing: Fall or spring, when the weather is mild, is the best time to tackle this project. 2. Upgrade Attic Insulation Heat rises, which means an under-insulated attic is letting your expensive heating escape during the winter. Adding insulation is one of the highest return-on-investment projects for energy efficiency. DIY vs. Professional: While a handy homeowner can blow in cellulose or lay fiberglass batts, this is usually a job best left to pros who have the right equipment and safety gear. Cost: Expect to pay between $1,500 and $3,500 for a professional attic insulation upgrade. Timing: Tackle this before the extreme cold of winter or the sweltering heat of summer hits. 3. Install a Smart Thermostat Heating and cooling account for nearly half of a typical home's energy use. A smart thermostat learns your schedule and adjusts temperatures automatically, saving energy when you are asleep or away. DIY vs. Professional: This is a fantastic DIY project. Most smart thermostats come with clear instructions and can be installed in under an hour if you have a common wire (C-wire). Cost: Units range from $100 to $250. Timing: Can be done any time of year, but doing it right before a harsh season maximizes immediate savings. 4. Swap to LED Lighting If you are still using incandescent bulbs, you are burning money. LED bulbs use up to 90% less energy and last 25 times longer than traditional bulbs. DIY vs. Professional: Strictly a DIY job. Simply replace old bulbs as they burn out or swap them all at once. Cost: About $2 to $5 per bulb. Timing: Anytime. Start Small and Save You don't have to tackle every project at once. Start with simple DIY fixes like smart thermostats and LED bulbs, then budget for larger professional projects like insulation and air sealing. Every step you take reduces your carbon footprint and adds long-term value to your home.
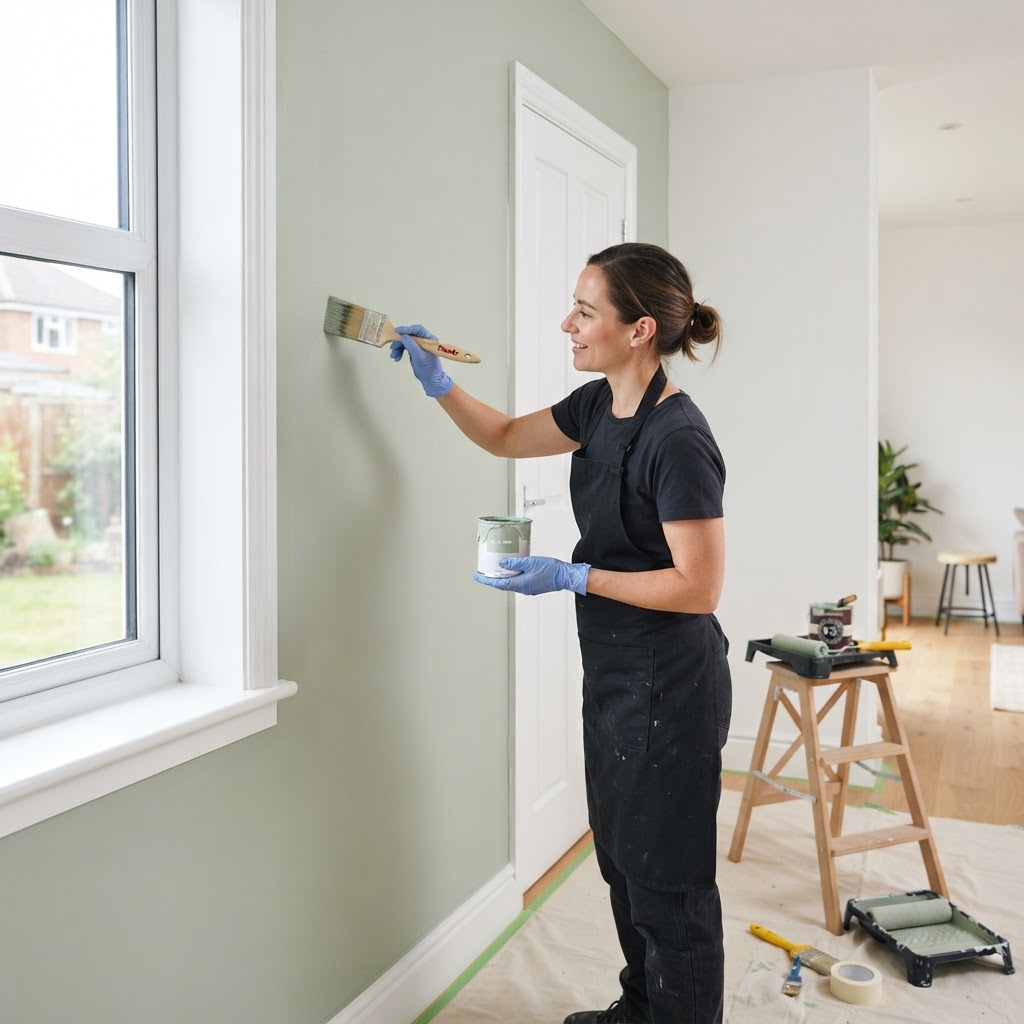
Transform Your Home: Essential Tips for Painting & Finishing
Transform Your Home: Essential Tips for Painting & Finishing Painting and finishing can breathe new life into your home, enhancing its aesthetic appeal while also protecting surfaces. Whether you’re planning to refresh a room or tackle a complete overhaul, understanding the basics can save you time and money. This guide outlines actionable tips on costs, timing, and professional versus DIY approaches. How to Choose the Right Paint Selecting the right paint is crucial for both interior and exterior projects. Here are some factors to consider: - Type of Paint: Choose between latex (water-based) and oil-based paints for your project. Latex is easier to clean and dries faster, while oil-based paints provide a durable finish. - Finish: Select from matte, eggshell, satin, semi-gloss, or gloss finishes. Higher gloss levels are more durable and easier to clean, making them suitable for kitchens and bathrooms. - Color: Opt for lighter colors in small rooms to make them appear larger; darker colors can add depth and drama to larger spaces. Preparing Your Space: The Key to a Professional Finish Proper preparation can make a significant difference in the final outcome of your painting project. Follow these steps: - Clear the Area: Move furniture away and cover the floor with drop cloths to protect against spills. - Clean Walls: Remove dust and dirt from walls, as grime can affect paint adhesion. - Repair Imperfections: Patch holes, dents, and cracks using spackle, then sand for a smooth finish. - Prime the Surface: Apply primer to ensure better coverage and durability, especially on new drywall or when changing from a dark to a light color. Painting Techniques Every Homeowner Should Know Whether you’re a novice or have some experience, mastering these techniques will improve your results: - Brush vs. Roller: Use brushes for edges and corners for precision; rollers are ideal for larger areas. - Use Proper Strokes: Apply paint in a consistent, even manner, using ‘W’ or ‘M’ patterns with your roller to avoid lines. - Multiple Coats: Don’t rush! Apply at least two coats for a vibrant and lasting finish, allowing sufficient drying time between coats. Timing and Costs: What to Expect Planning your painting project wisely can help manage costs and time: - Cost: DIY projects can cost between $200 - $600 for a room, including paint, supplies, and tools. Hiring professionals typically ranges from $400 - $1,000, depending on the size and complexity. - Timing: Most interior painting projects take 1-3 days, factoring in preparation, drying time, and multiple coats. Schedule exterior painting in dry weather for the best results. When to Call in Professionals If your project involves: - Extensive high walls or intricate designs that require expertise - Improper surface conditions or severe damage - Lack of time or inclination to tackle the project Hiring professionals can ensure your space looks polished and is completed safely. Conclusion With the right preparation, approach, and knowledge of costs and timing, painting and finishing can transform your home and increase its value. Consider whether to take on the project yourself or hire a professional based on your skills and the complexity of the job. Happy painting!
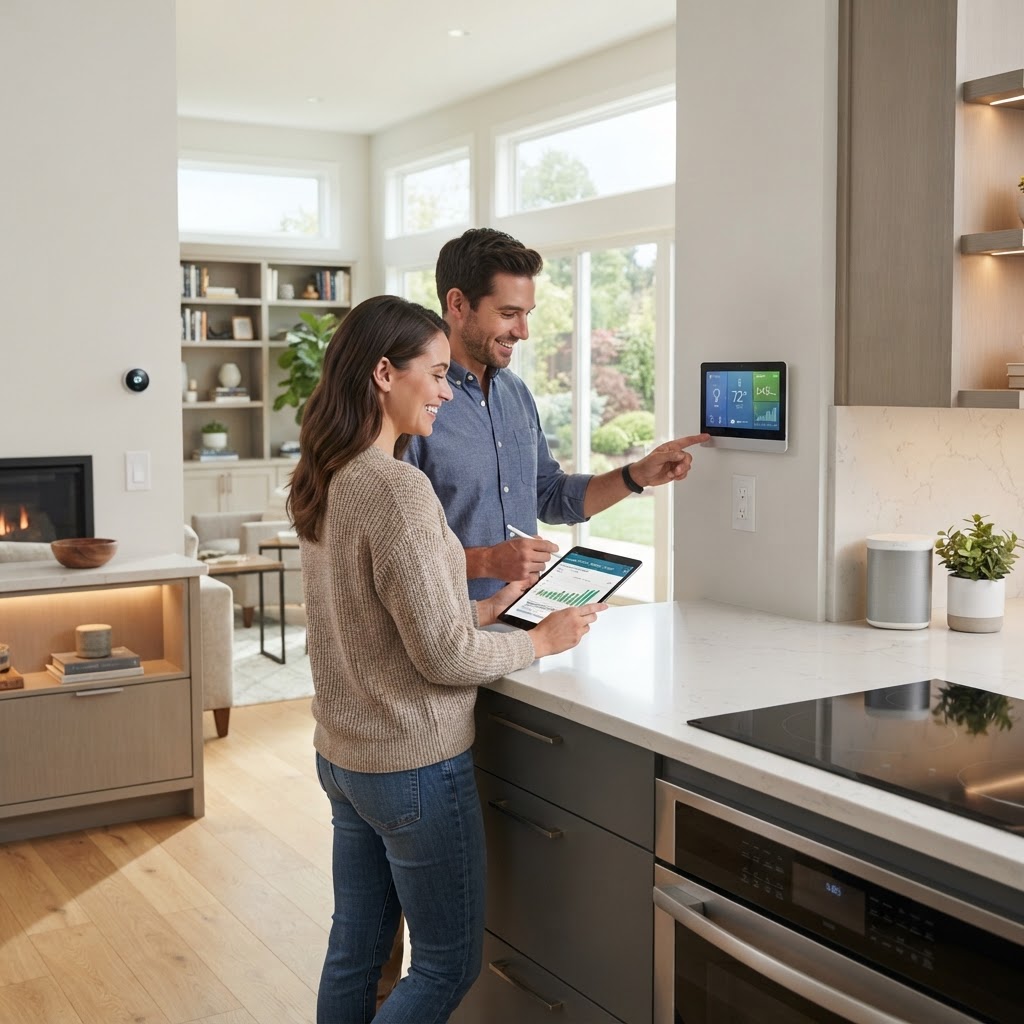
Smart Home Investment Strategies: Enhance Value and Save Money
Understanding Home Investment Strategies Homeownership can be a significant investment, and having a smart investment strategy is key to maintaining and increasing your property value. With proper planning and careful execution, you can enhance your home’s value while also improving your living space. 1. Prioritize Renovations that Add Value Not all renovations provide a good return on investment (ROI). Focus on projects that enhance functionality and aesthetic appeal. Here are some high-value renovations to consider: - Kitchen Remodel: A modern kitchen can recoup over 80% of its cost upon resale. - Bathroom Updates: Minor bathroom remodels can yield an ROI of up to 70%. - Energy-Efficient Windows: These can significantly reduce energy bills and increase home value. - Outdoor Improvements: Landscaping or adding a deck can enhance curb appeal and increase value by about 15%. 2. Timing Your Projects Wisely Timing projects not only saves money but also can increase ROI. Consider the following: - Plan renovations during off-peak seasons to avoid higher labor costs. - Consider local real estate trends before making major investments—price increases may correlate with peak selling seasons. - Utilize local tax incentives for energy-efficient upgrades during specific times of year. 3. Cost-Effective DIY vs. Professional Help Determining which projects to tackle yourself versus hiring a professional can make a substantial difference in your investment strategy. Here’s a guide: - DIY Projects: Small tasks such as painting, landscaping, or simple repairs, can be tackled by most homeowners and save on labor costs. - Professional Help: For complex renovations like plumbing and electrical work, hiring seasoned professionals is advisable to ensure quality and safety. Always consider the potential cost of fixing a DIY mistake compared to upfront costs for professional work. 4. Regular Maintenance Saves Money Investing in regular maintenance is critical for preserving home value. Here’s a checklist: - Inspect roofing and gutters annually. - Service HVAC systems twice a year. - Check for water leaks regularly and maintain plumbing. - Update smoke and carbon monoxide detectors annually. By addressing minor issues before they escalate, you save on costly repairs and preserve your home’s value. 5. Consider Long-Term Sustainability Incorporate sustainable practices and technologies into your investment strategy to appeal to eco-conscious buyers. - Install Solar Panels: While the upfront cost is significant, the long-term savings on energy bills is tremendous. - Upgrade Insulation: Better insulation reduces utility costs and enhances indoor comfort. These upgrades often qualify for tax credits and can attract environmentally-conscious buyers in the future. Conclusion With a thoughtful approach to home investments, you can enhance your living space and increase your property’s value simultaneously. Prioritize high-impact renovations, remain mindful of timing, weigh DIY versus professional help wisely, and always maintain your home diligently. Your efforts can lead to significant financial benefits in years to come.

Ultimate Guide to Choosing the Right Flooring for Your Home
When it comes to home improvement, flooring is one of the most significant aspects that can dramatically influence the aesthetics, functionality, and overall value of your space. Whether you're building a new home, renovating, or simply replacing old flooring, understanding your options is key to making informed decisions. ### Types of Flooring Here are the most popular types of flooring to consider: - **Hardwood:** Durable and timeless, hardwood floors can last decades with proper care. Prices typically range from $5 to $10 per square foot, depending on the type and quality. - **Laminates:** A budget-friendly alternative that mimics the appearance of hardwood. Installed, laminate costs about $1 to $3 per square foot. - **Vinyl:** Available in sheets, tiles, or planks, vinyl is water-resistant and easy to clean. Expect to pay between $2 and $7 per square foot. - **Tile:** Ideal for wet areas such as kitchens and bathrooms, tile is durable and versatile. Costs can range from $1 to $20 per square foot based on materials. - **Carpet:** Offers warmth and comfort, especially in bedrooms. Carpet prices can start at $1 and go up to $12 per square foot, depending on quality and material. ### Choosing the Right Flooring for Your Space Consider the following factors when selecting flooring: - **Traffic Levels:** High-traffic areas like hallways may need more durable flooring, such as tile or laminate. - **Room Purpose:** Moisture-prone areas require water-resistant flooring such as vinyl or tile. For bedrooms, soft carpets may be more suitable. - **Maintenance:** Some flooring options require more maintenance than others. For example, hardwood needs periodic refinishing, whereas vinyl is much easier to care for. ### Cost Considerations Budget is a crucial factor for many homeowners. Here's a closer look at the overall costs associated with flooring: - **Material Costs:** This can vary widely based on the type of flooring chosen. - **Installation Costs:** Professional installation typically adds $1 to $5 per square foot, depending on the complexity and material. - **DIY vs Professional:** DIY installation can save money, especially for laminate and vinyl. However, complex designs or materials like tile might be best left to professionals. ### Timing for Flooring Projects The time it takes to complete a flooring project depends on the size of the area and the type of flooring. Most flooring installations can be completed within a few days, but here are some general timelines: - **Hardwood:** 3-5 days for installation, plus an additional 2-3 days for finishing. - **Laminates/Vinyl:** 1-3 days, depending on the area size and subfloor preparation. - **Tile:** 3-7 days, including drying time for grout. ### Conclusion Choosing the right flooring is an investment that pays off in comfort, aesthetics, and home value. Take your time to research different materials, considering both functionality and budget. Whether you opt to DIY or hire a professional, being well-informed will lead you to a successful flooring choice.
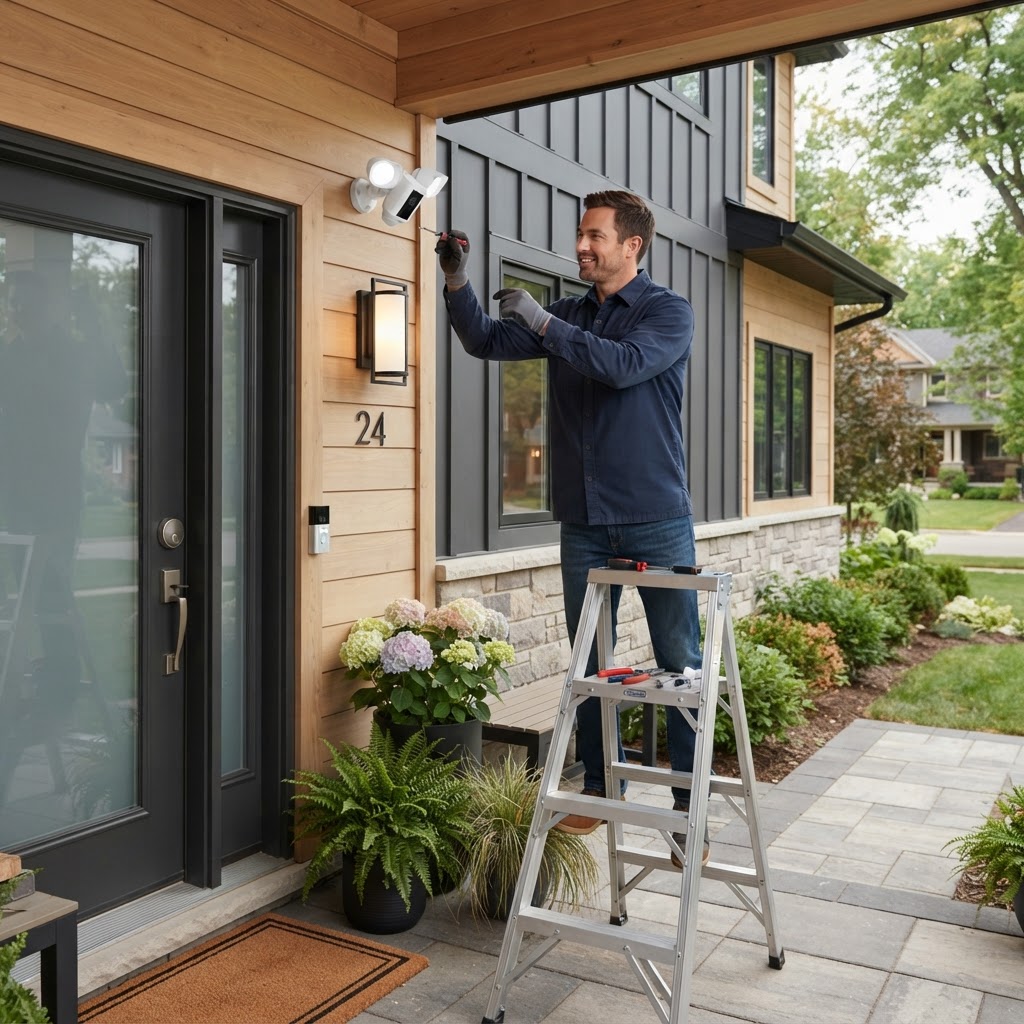
Enhance Home Security & Safety: Tips Every Homeowner Should Know
In today's world, ensuring the security and safety of your home is more crucial than ever. Homeowners should take proactive measures to protect their property, loved ones, and belongings. This comprehensive guide will provide you with practical and actionable tips on enhancing your home’s security and safety. Start with a security audit. Walk around your property and identify potential vulnerabilities. - Entry points: Check doors and windows for wear and ensure they are secure. - Lighting: Assess exterior lighting, especially around entryways and dark corners. - Landscaping: Trim back bushes and trees that could provide cover to intruders. Implementing basic security measures can significantly decrease the likelihood of a break-in: - Upgrade Locks: Consider installing deadbolt locks on all exterior doors. These typically cost between $20 and $50 each. - Reinforce Windows: Use window locks or consider security film to make glass harder to break. - Install a Peephole: This inexpensive addition allows you to see who is at your door without opening it. Modern technology offers various solutions that can enhance your home security: - Security Cameras: Weatherproof cameras can be installed around your property, costing between $100 and $400. - Smart Doorbells: These allow you to monitor your front door remotely. Expect to pay around $200. - Home Security Systems: Consider professionally monitored systems for comprehensive coverage. Costs range from $30 to $60 monthly. Some home security installations can be managed by homeowners, but others may require professional assistance. Here’s how to determine which route to take: - DIY: Simple tasks like changing locks, installing window locks, or setting up cameras can be done yourself, typically saving you installation fees. - Professional Help: For complex systems like integrated security systems or extensive camera setups, hiring a professional ensures proper installation and functionality. In addition to security, prioritize safety by addressing potential hazards in your home: - Smoke Detectors: Ensure you have smoke detectors in every bedroom and on each floor. Test them monthly and replace batteries twice a year. - Carbon Monoxide Detectors: Install these near sleeping areas, especially if you use gas appliances. - Emergency Plan: Establish an emergency escape route and practice drills with your family. Enhancing your home’s security and safety is a continuous process that requires regular audits and maintenance. By incorporating these actionable tips, homeowners can create a safer living environment and peace of mind. Don’t wait for an incident to take action—start today!
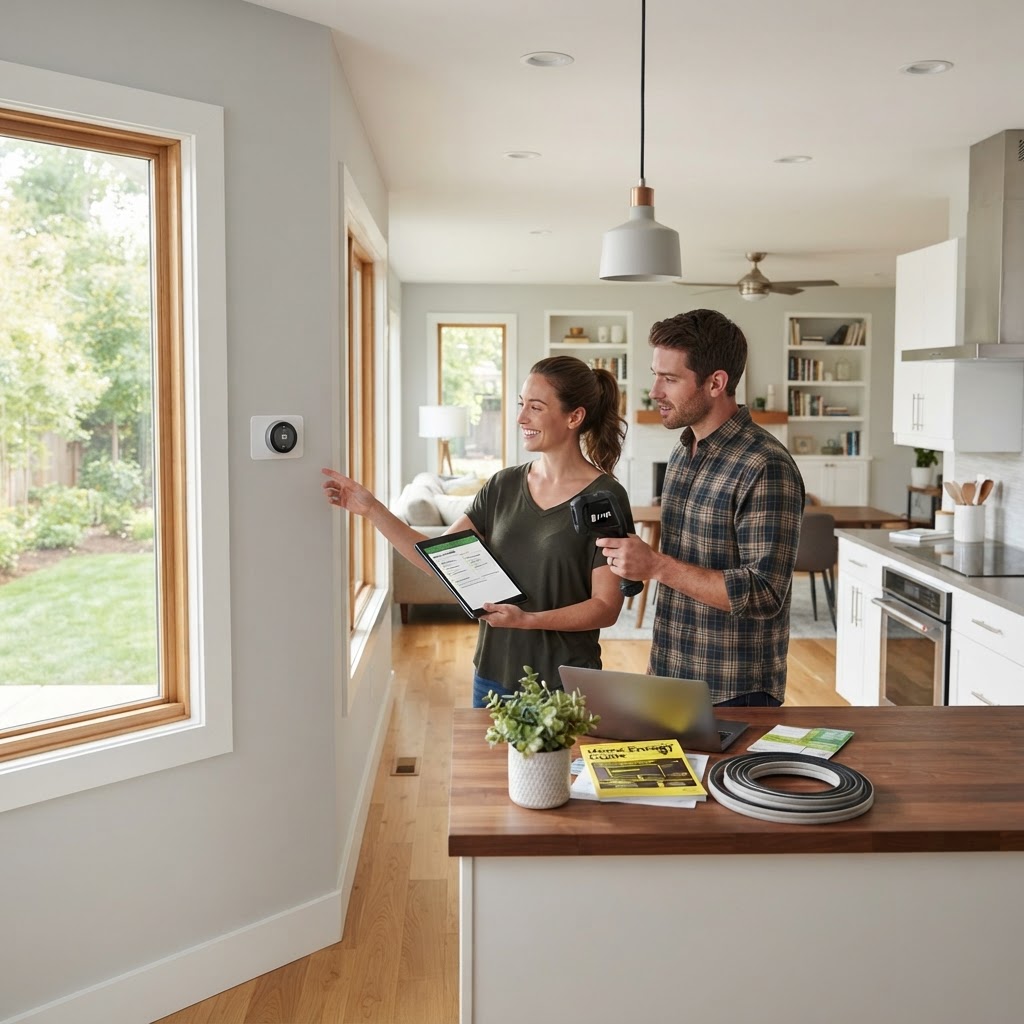
Boost Your Home's Energy Efficiency: Practical Tips for Homeowners
Understanding Energy Efficiency As homeowners, one of our key priorities is to maintain a comfortable living space while keeping utility bills manageable. Energy efficiency plays a crucial role in achieving both of these goals. Why Energy Efficiency Matters Improving energy efficiency not only reduces your monthly energy bills but also decreases your carbon footprint. By making a few simple changes, you can enhance your home’s performance and save money in the long run. Practical Tips to Enhance Energy Efficiency - Insulate Your Home: Proper insulation helps keep your home warm in winter and cool in summer. Consider adding insulation to your attic, walls, and floors. Typically, this could cost between $1,500 to $3,500 depending on the size of your home. - Seal Leaks: Check for gaps and cracks around windows, doors, and ductwork. Use caulk, weather stripping, or foam sealant. This simple DIY task can save you up to 10% on heating and cooling costs. - Upgrade to Energy-Efficient Windows: If budget allows, replacing old windows with Energy Star-rated models can dramatically cut energy costs. Expect to pay between $300 to $1,000 per window but anticipate savings in energy bills over time. - Use Energy-Efficient Appliances: When it's time to replace appliances, look for those labeled with the Energy Star. They use less energy, which translates into savings, often allowing for the price difference to be recovered within a few years. - Smart Thermostats: Installing a Smart thermostat can optimize your heating and cooling system. These devices can be programmed to adjust based on your schedule, offering savings of about $180 a year. - Conduct an Energy Audit: Consider hiring a professional to assess your home. This audit will highlight areas needing improvement, typically costing around $200, but can lead to substantial long-term savings. - Switch to LED Lighting: Replace traditional bulbs with LED lights. They use up to 75% less energy and last significantly longer, costing about $5-$15 per bulb. - Maintain Your HVAC System: Keep your heating and cooling systems running efficiently by scheduling regular maintenance. Changing filters every 1-3 months and cleaning coils can prevent costly repairs and inefficiency. Timing Your Improvements When planning these upgrades, consider timing them in seasons when contractors are less busy, such as spring and fall, to potentially reduce costs. Early spring is an ideal time to tackle insulation and sealing projects before temperatures rise. DIY vs. Professional Help Many improvements, like sealing leaks and installing a smart thermostat, can be tackled as DIY projects, saving you money. However, for extensive work like installing new windows or performing an energy audit, hiring professionals is advisable. Final Thoughts Improving your home's energy efficiency is an investment that pays off in both comfort and savings. By following these practical tips, you can create a more energy-efficient home that benefits both your wallet and the environment.

Transform Your Kitchen: Affordable Upgrades for Every Homeowner
Transform Your Kitchen: Affordable Upgrades for Every Homeowner The kitchen is often viewed as the heart of the home. If you’re looking to enhance its appeal and functionality without breaking the bank, consider these essential upgrades. This article will guide you through affordable options, expected costs, and tips on whether to DIY or hire a professional. 1. Cabinet Refacing If your kitchen cabinets are in good shape but look outdated, refacing is a budget-friendly alternative to replacing them. You can either paint them for a fresh look or apply new veneer for a more substantial transformation. - Cost: $1,000 - $5,000 depending on the size of your kitchen. - Time: 1-2 days for refacing, but allow for drying time. - DIY vs. Professional: DIY is possible, but professional refacing guarantees a polished finish. 2. Updating Fixtures Swapping outdated faucets and lighting fixtures can refresh your kitchen’s look instantly. Choose modern styles to complement your kitchen’s theme. - Cost: $100 - $1,000, depending on the fixture choices. - Time: A few hours for installation. - DIY vs. Professional: Most fittings are easy to install yourself, saving labor costs. 3. Backsplash Installation A stylish backsplash adds personality while protecting walls from spills. Options range from peel-and-stick vinyl to traditional tile. - Cost: $300 - $1,500 depending on materials. - Time: 1-3 days depending on the type of backsplash. - DIY vs. Professional: Tiles may require expertise; vinyl can often be installed by homeowners. 4. New Countertops Upgrading to granite, quartz, or butcher block can dramatically change your kitchen’s overall aesthetic. If you prefer a budget-friendly option, consider laminate or concrete. - Cost: $1,500 - $5,000+ based on materials. - Time: 1-5 days for installation (including templating). - DIY vs. Professional: Professional installation recommended for heavy stone countertops. 5. Optimize Storage Solutions Increase storage capacity without major renovations. Utilize under-shelf baskets, drawer dividers, and pull-out organizers. - Cost: $100 - $500 for materials. - Time: 1-2 days for installation/upgrades. - DIY vs. Professional: This is a great DIY project that pays off in usability. 6. Paint or Wallpaper Finally, a fresh coat of paint or trendy wallpaper can revitalize your kitchen without major spending. - Cost: $50 - $300 based on paint quality and wallpaper type. - Time: 1-3 days depending on the extent of the job. - DIY vs. Professional: Painting is easily DIYable even for beginners. Conclusion Kitchen upgrades don’t have to be expensive or time-consuming. By focusing on cosmetic changes and storage solutions, you can create a space that feels brand new. Assess your budget and skillset and choose projects that reflect your style and needs to transform your kitchen into a charming and functional hub.
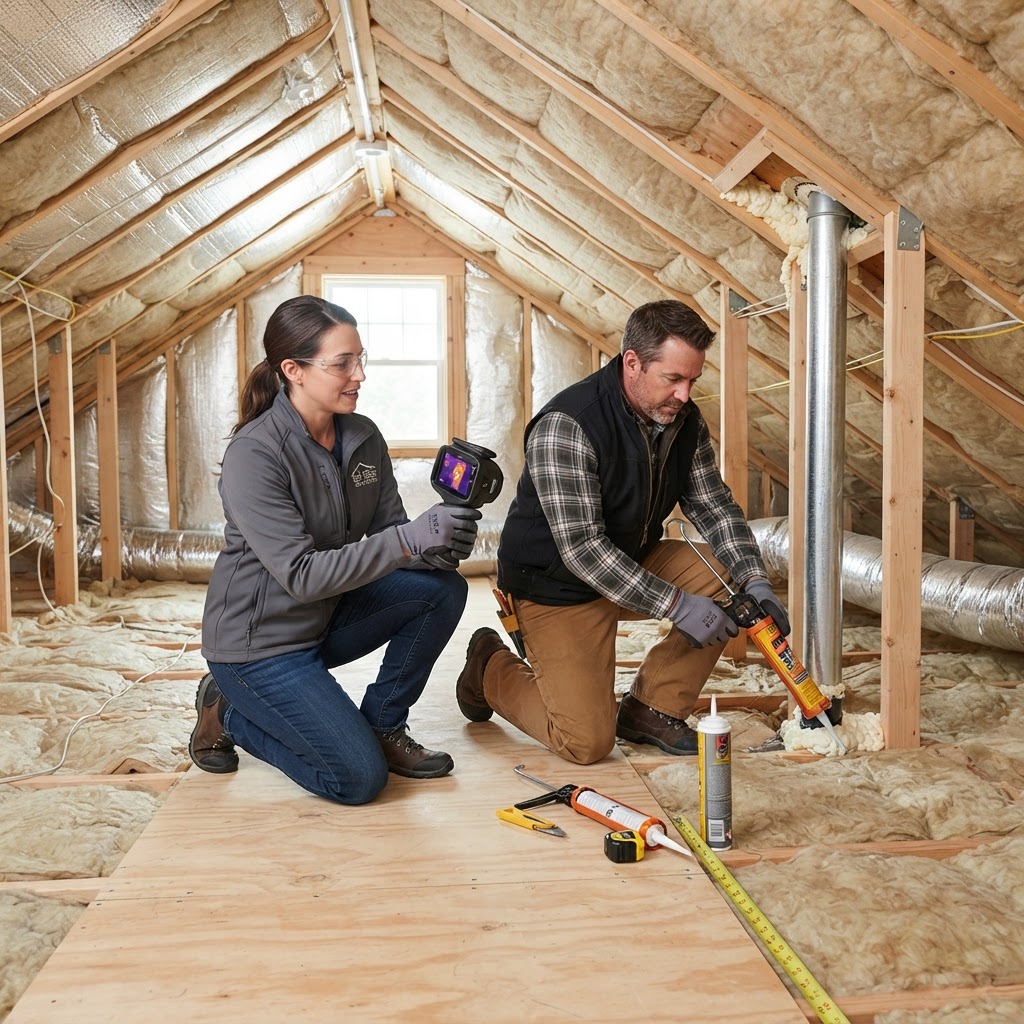
Essential Guide to Home Insulation and Weatherproofing for Comfort
Understanding Insulation and Weatherproofing Home insulation and weatherproofing are crucial to maintaining a comfortable and energy-efficient living environment. Proper insulation minimizes heat loss in the winter and heat gain in the summer, while effective weatherproofing prevents air leaks and moisture infiltration. Why Insulation Matters Insulation helps regulate your home's temperature, leading to: - Improved energy efficiency - Lower utility bills - Enhanced comfort all year round - Noise reduction Types of Insulation Before diving into DIY projects or calling in professionals, understand the different types of insulation available: - Fiberglass Batt Insulation: Affordable and easy to install in walls and attics. - Foam Board Insulation: Ideal for areas with limited space or irregular shapes. - Blown-In Insulation: Excellent for attics; it fills gaps and voids effectively. - Spray Foam Insulation: Offers superior air sealing and is great for hard-to-reach areas, though more expensive. Weatherproofing Your Home Weatherproofing your home involves sealing it against air leaks and water damage. Key areas to focus on include: - Doors and Windows: Use weatherstripping and caulking to seal gaps. - Attics and Basements: Insulate and air seal these areas to prevent heat loss. - Exterior Walls: Check for cracks and ensure siding is properly maintained. DIY vs. Professional Help Many homeowners can handle insulation and weatherproofing projects themselves, especially in straightforward applications. However, consider professional help for: - Homes with complex layouts or extensive work required - Safety concerns, especially when working with older insulation materials - Energy audits, which can identify hidden issues Cost Considerations The cost of insulation and weatherproofing can vary widely based on: - Type of insulation material chosen - Size of the area being insulated - Labor costs if hiring professionals On average, homeowners can expect to spend between $0.50 to $2.00 per square foot for insulation materials, with professional installation potentially doubling that cost. Timing Your Projects Ideally, conduct insulation and weatherproofing projects during mild weather months. Spring and fall are often recommended, allowing for comfortable working conditions and efficient drying times for materials. Final Thoughts Investing in proper insulation and weatherproofing your home pays dividends in comfort, energy savings, and long-term property value. Assess your home’s needs, educate yourself on materials and methods, and don't hesitate to seek professional advice when necessary.
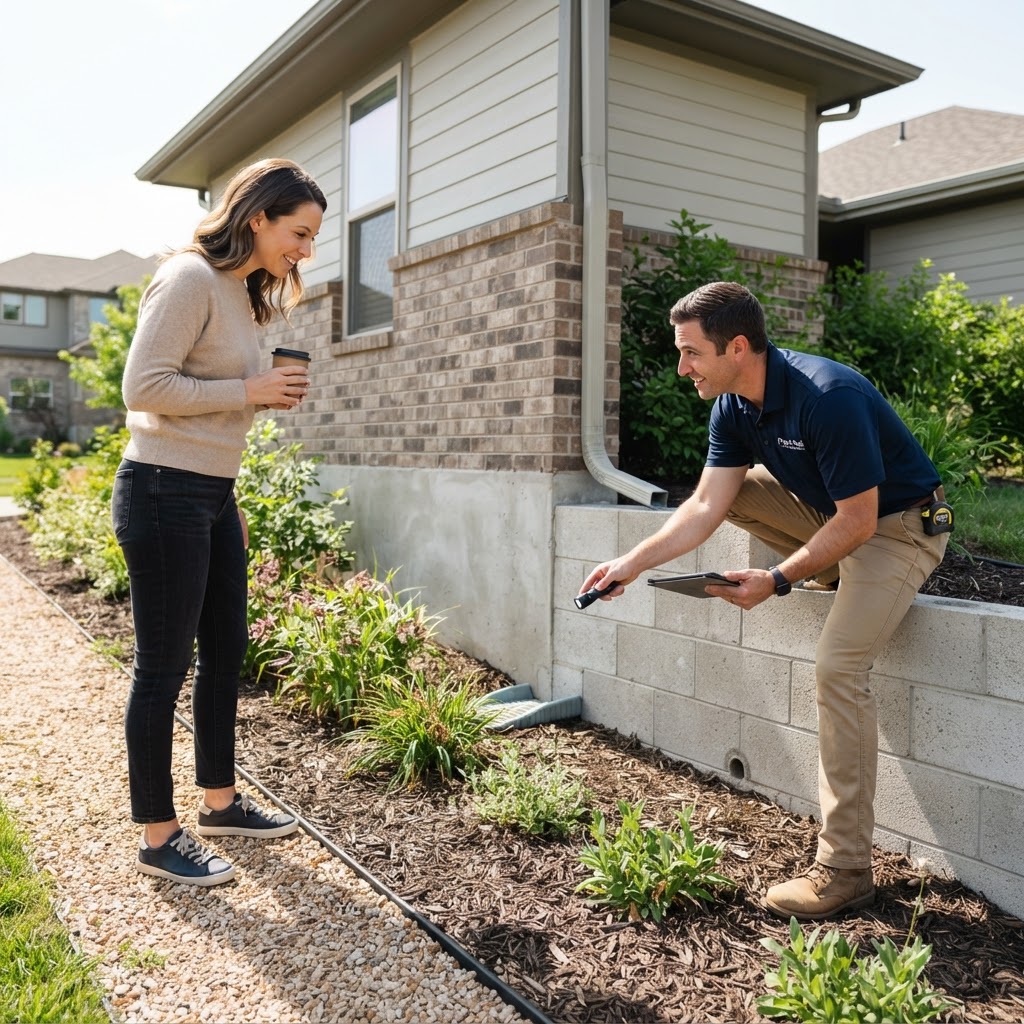
Top Foundation & Structure Tips Every Homeowner Should Know
Understanding Your Foundation: A Homeowner's Guide Your home’s foundation and structure are crucial to its overall integrity and longevity. Proper maintenance can prevent costly repairs and ensure your home remains a safe and comfortable haven. In this article, we’ll explore practical tips, cost estimates, and when to call in the professionals. Common Foundation Issues - Cracks: Small cracks can be normal, but larger cracks (over 1/4 inch) may signal serious issues. - Water Damage: Water pooling around your foundation can cause significant damage over time. - Shifting: If doors and windows stick or you notice slanted floors, your foundation could be shifting. Regular Maintenance Tips Staying proactive is the best way to protect your foundation. Here are some actionable maintenance tips: - Inspect Regularly: Conduct a visual inspection of your foundation at least twice a year. Look for cracks, moisture, or signs of pest infestation. - Manage Drainage: Ensure gutters and downspouts direct water away from your foundation. Aim for a slope of at least six inches for every ten feet away from your house. - Seal Cracks: For cracks smaller than 1/4 inch, use a concrete sealant. Larger cracks may require epoxy injection or professional repair. - Maintain Landscaping: Keep landscaping at least six inches away from your foundation to prevent moisture accumulation. Use mulch sparingly in these areas. - Check Vents: Ensure crawl spaces and basements are well-ventilated to prevent moisture buildup and mold growth. Cost Considerations Foundation repair costs can vary significantly based on the extent of the damage, your location, and the repair method used: - Minor crack repairs can cost as little as $200. - Major structural repairs may range from $1,500 to $10,000, depending on the repair techniques involved. - Waterproofing your basement typically costs between $2,000 and $4,000. When Should You Call a Professional? If you notice severe cracks, shifting, or water pooling around your foundation, it’s time to contact a foundation specialist. Hiring a professional can save you from further damage and costly repairs in the future. DIY vs. Professional Guidance While many maintenance tasks can be DIY projects, some foundation repairs require specialized knowledge and equipment. Always assess your skill level and the complexity of the task: - DIY: Small crack sealing and basic drainage fixes can usually be tackled by homeowners. - Professional: Major repairs, structural assessments, and extensive waterproofing should be done by experts to ensure safety and effectiveness. Final Thoughts By staying vigilant and performing regular maintenance, you can protect your home’s foundation and structure effectively. Always remember that quick, small fixes can prevent larger, more expensive issues down the line.

Transform Your Yard: Essential Landscaping Tips for Homeowners
Landscaping is more than just planting flowers; it’s about creating a harmonious outdoor environment that enhances your home's beauty and value. Whether you’re eyeing a complete redesign or just a few enhancements, understanding the basics will help you achieve the yard of your dreams. Before diving into any landscaping project, consider these factors: climate, soil quality, and space. Know your hardiness zone to choose suitable plants, test soil pH and nutrients to determine amendments, and understand the size and layout of your yard for optimal design. The cost of landscaping varies widely based on the scope of your project. DIY projects can save money, but complex designs may require professionals. Choose locally sourced plants and materials to cut costs and tackle projects in phases to manage expenses effectively. Consider incorporating elements such as plants, hardscaping, lighting, and irrigation into your landscape design. Timing can affect the success of your projects; spring is ideal for planting, summer for maintenance, fall for planting new perennials, and winter for planning. For DIY enthusiasts, manageable projects include flower beds, mulching, and building outdoor seating. If your project involves intricate designs or heavy machinery, hiring professionals is advisable. Look for certified landscapers with good reviews. Landscaping is an investment that pays off in aesthetics, functionality, and property value. Carefully plan your project, keep an eye on your budget, and enjoy enhancing your outdoor space!
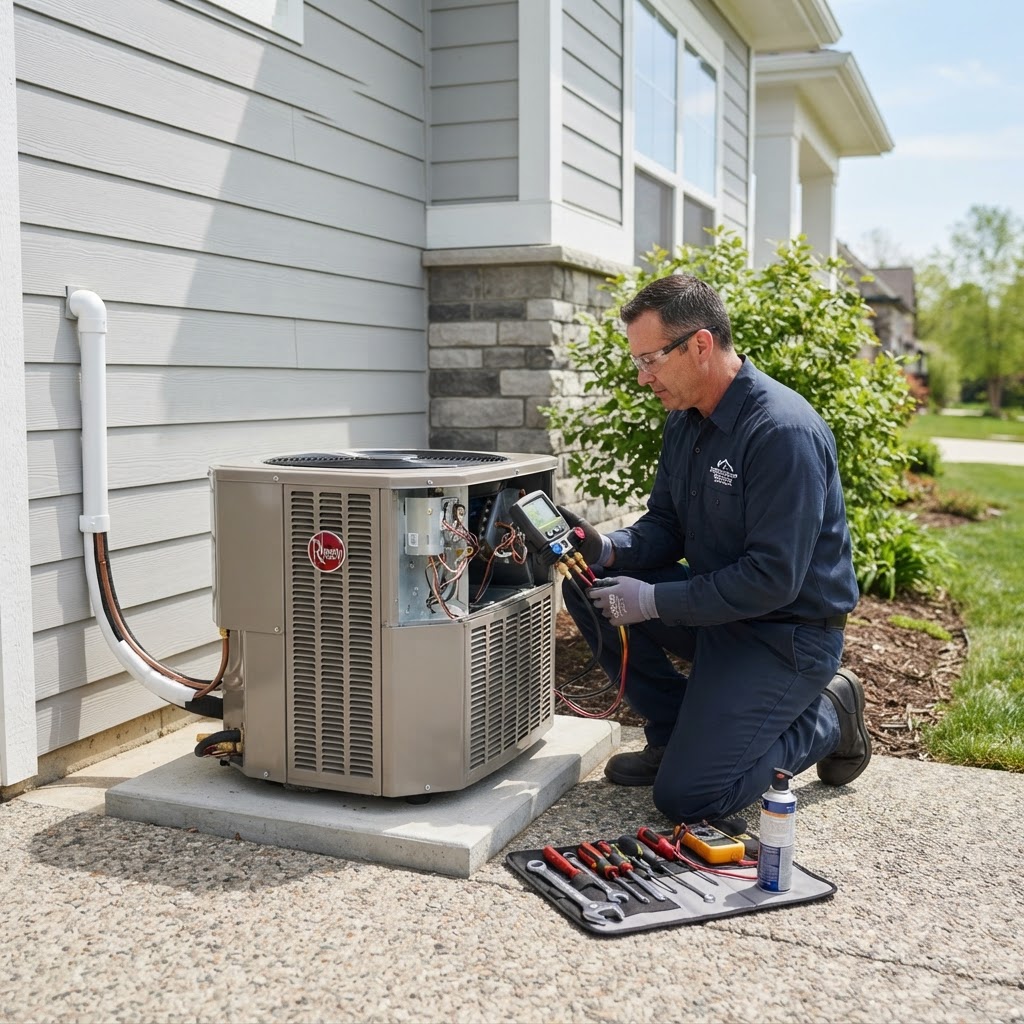
Essential HVAC Maintenance Tips for Homeowners: Keep Cool and Save Money
Essential HVAC Maintenance Tips for Homeowners: Keep Cool and Save Money Introduction to HVAC Maintenance Maintaining your HVAC (Heating, Ventilation, and Air Conditioning) system is crucial for ensuring comfort, energy efficiency, and longevity. Regular maintenance can prevent costly repairs, enhance performance, and contribute to a healthier home environment. In this guide, we’ll cover practical tips on how to keep your HVAC system running smoothly, when to DIY, and when to call in the professionals. Why HVAC Maintenance is Important - Energy Efficiency: A well-maintained HVAC system consumes less energy, which translates to lower utility bills. - Longevity: Routine maintenance can extend the lifespan of your units significantly. - Air Quality: Regularly changing filters and cleaning ducts leads to better indoor air quality. Essential HVAC Maintenance Tasks - Change Your Filters: Check and replace filters every 1-3 months, depending on usage and filter type. Clogged filters can cause the system to work harder, leading to higher energy costs and reduced air quality. - Clean the Outdoor Unit: Remove dirt, leaves, and debris from the outdoor condenser unit. Clear at least two feet of space around the unit to ensure efficient airflow. - Clean Ducts and Vents: Consider hiring professionals to clean your ducts every 3-5 years, or when you notice significant dust buildup or uneven airflow. - Check the Thermostat: Ensure your thermostat is functioning correctly. Consider upgrading to a programmable thermostat for better temperature control and energy savings. - Inspect Insulation: Check insulation around ducts and ensure doors and windows are sealed properly to minimize heat loss or gain. When to DIY vs. Call a Professional - DIY: Changing filters, cleaning outdoor units, and checking your thermostat can easily be handled by homeowners. - Professional Help: For tasks like deep duct cleaning, refrigerant checks, and complicated mechanical repairs, it’s best to call in a certified technician. Timing of Maintenance The ideal time for HVAC maintenance is in the spring and fall when demand is lower. Schedule professional inspections at least once a year to ensure your heating and cooling systems are in optimal condition. Remember to keep an eye out for unusual noises and inefficiencies; these could indicate a need for immediate inspection. Cost of HVAC Maintenance The costs can vary depending on your location and the specific tasks required: - DIY maintenance supplies (filters, cleaning supplies): $50-$100 per year - Professional inspections: $75-$150 per visit - Comprehensive annual service plans can range from $150-$500, offering peace of mind and regular check-ups. Final Thoughts Investing time and resources into regular HVAC maintenance pays off in the long run. By following these actionable tips, you can ensure a comfortable living environment and maximize the lifespan of your HVAC system. Remember, when in doubt, consult a professional to save yourself a headache and potential costs on urgent repairs.
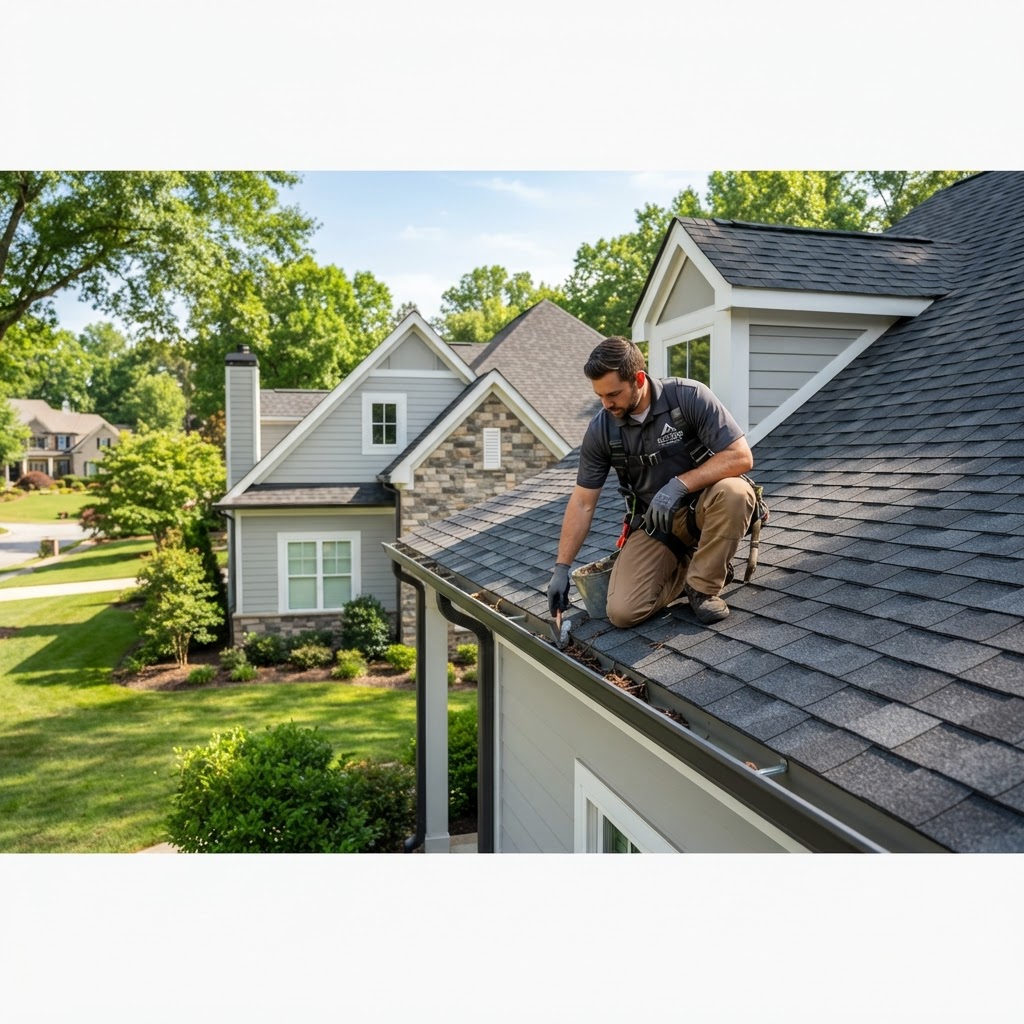
Essential Roofing & Gutter Maintenance Tips for Homeowners
The Importance of Roofing & Gutters Your home's roofing and gutter system plays a critical role in protecting your property from the elements. A well-maintained roof prevents water damage, while effective gutters direct rainwater away from your foundation. This guide will provide essential tips on maintenance, repair, and when to call a professional. Roof Maintenance Tips Regular roof maintenance can extend the life of your roof significantly. Consider the following actionable tips: - Inspect Regularly: Check your roof at least twice a year, especially after storms. Look for missing shingles, signs of leaks, or any debris buildup. - Clean the Roof: Remove leaves, branches, and any other debris that can trap moisture and cause mold or algae growth. - Check Flashing: Inspect metal flashing around chimneys and vents, ensuring it's secure and free of rust. - Trim Overhanging Branches: Keep trees trimmed back to prevent branches from damaging your roof and to minimize leaf buildup. Gutter Maintenance Tips Clogged gutters can lead to significant water damage. Here's how to keep your gutters in top condition: - Clean Gutters Quarterly: Schedule gutter cleaning four times a year, particularly in spring and fall when debris is most common. - Install Gutter Guards: Consider installing gutter guards to reduce debris accumulation and minimize cleaning frequency. - Check Downspouts: Ensure downspouts are directing water away from your foundation, ideally at least 5 feet away. When to DIY vs. Call a Professional Some maintenance tasks can be handled as DIY projects, while others may require professional expertise: - DIY Tasks: Cleaning gutters, inspecting flashing, and trimming branches are typically simple enough for a homeowner to do safely. Always use a sturdy ladder and wear safety gear if needed. - Professional Help: For extensive repairs, roofing installation, or if you notice significant signs of damage (like sagging or water stains indoors), it's best to hire professionals. A licensed roofer can assess issues and provide reliable solutions. Cost Considerations Understanding the costs associated with roofing and gutter maintenance can help you budget effectively: - Cleaning Gutters: Hiring a pro can cost between $100-$300, while DIY cleaning mainly involves the cost of supplies. - Roof Repairs: Minor repairs may cost $150-$400, while replacing your roof can range from $5,000 to $15,000 or more, depending on materials. Conclusion Maintaining your roofing and gutters is a vital part of home ownership. Regular inspections, timely repairs, and knowing when to call a pro can keep your home safe and sound for years to come. Make it a point to attend to these areas, and you’ll save time and money in the long run.

Unlocking Home Insurance: Essential Tips for Every Homeowner
Understanding Home Insurance: A Homeowner's Guide Home insurance is a crucial investment for homeowners, providing financial protection against unexpected events such as natural disasters, theft, and liability claims. In this article, we will explore actionable tips to help homeowners navigate the world of insurance, ensuring they have the right coverage to protect their most valuable asset. Types of Home Insurance Coverage • Dwelling Coverage: Protects the structure of your home against various risks, including fire and vandalism. • Personal Property Coverage: Covers your personal belongings, such as furniture and electronics, against theft or damage. • Liability Coverage: Offers protection if someone is injured on your property and decides to sue. • Additional Living Expenses (ALE): Helps cover costs if your home is uninhabitable due to a covered incident. Top Tips for Homeowners • Assess Your Coverage Needs: Regularly evaluate the value of your home and belongings. Consider factors like home improvements or acquisitions of new valuables to ensure adequate coverage. • Shop Around: Obtain quotes from multiple insurance providers. Comparing policies can help you find the best coverage at the most affordable price. • Consider Higher Deductibles: Opting for a higher deductible can lower your premium, but ensure you can afford the out-of-pocket costs in case of a claim. • Bundle Policies: Many insurance companies offer discounts for bundling home and auto insurance. This can lead to significant savings. • Understand Your Policy: Read your policy carefully to understand what is and isn’t covered. Pay attention to exclusions and limits of coverage. When to Review Your Home Insurance It’s important to regularly review your home insurance policy. The following times are ideal for a policy assessment: • Annually: At least once a year, review your policy to ensure it still meets your needs. • After Major Life Changes: If you’ve had significant changes like a marriage, divorce, or addition to the family, it may be time to update your coverage. • After Home Renovations: Ensure that renovations, additions, or upgrades to your home are covered adequately to reflect its new value. DIY vs. Professional Guidance While homeowners can certainly navigate some aspects of purchasing home insurance themselves, getting professional advice can be invaluable: • DIY: You can research online for quotes and information, which can save you time and money. However, policy language can be complex. • Professional Help: Consider hiring an insurance agent or broker who can guide you through the intricacies of different policies tailored to your needs. Conclusion Home insurance is not just a safety net; it is a means of securing your peace of mind as a homeowner. By understanding your coverage options, regularly reviewing your policy, and seeking the right balance between DIY and professional assistance, you can ensure your home and belongings are adequately protected.
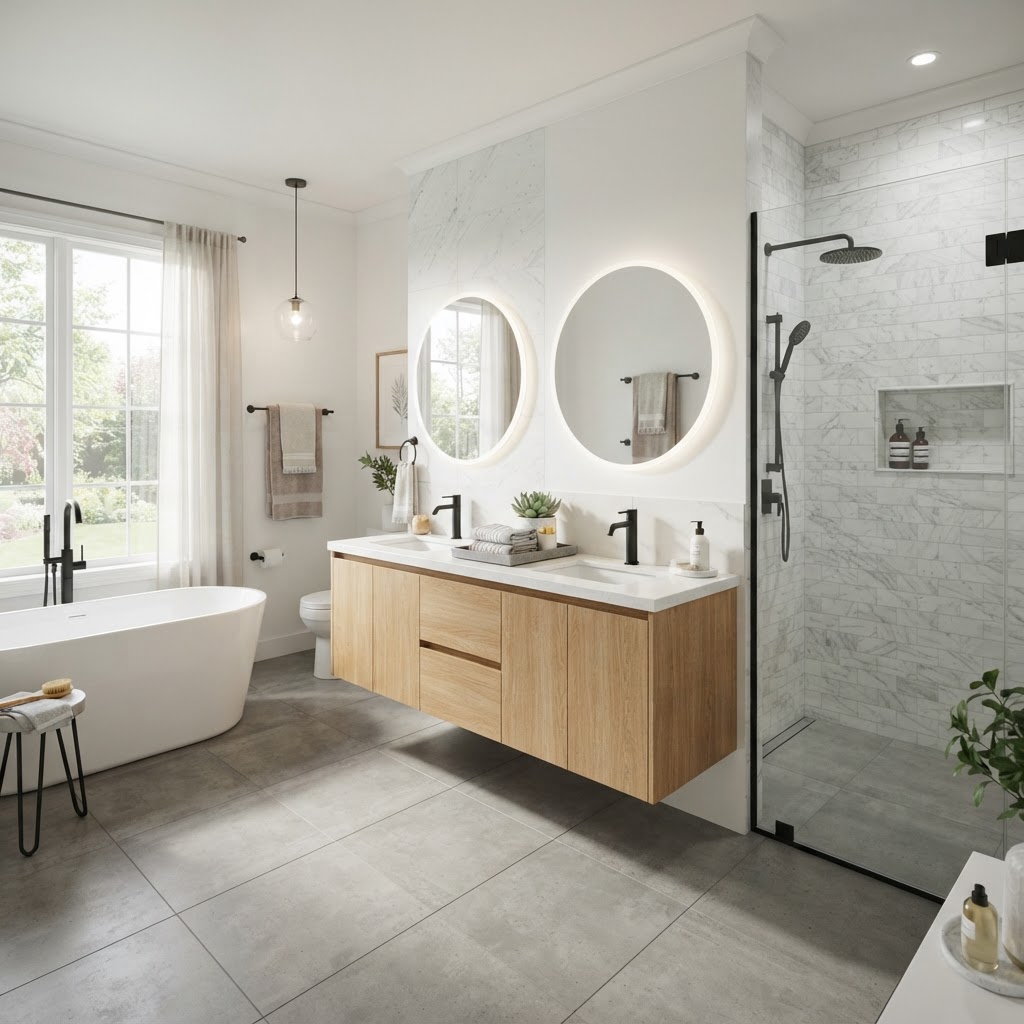
Transform Your Space: The Ultimate Bathroom Remodel Guide
Transform Your Space: The Ultimate Bathroom Remodel Guide Introduction Remodeling your bathroom can enhance your home’s value, improve functionality, and create a rejuvenating space. Whether you aim for a spa-like retreat or a modern aesthetic, this guide will walk you through everything you need to consider. Planning Your Bathroom Remodel The first step to a successful bathroom remodel is careful planning. Begin by determining your budget, design style, and timeline. Budgeting First, assess your finances. A bathroom remodel can range significantly in cost: - Minor remodel: $5,000 - $15,000 (new fixtures, sink, paint). - Mid-range remodel: $15,000 - $30,000 (upgraded flooring, custom cabinetry). - High-end remodel: $30,000+ (luxury fixtures, extensive layout changes). Design Style Inspiration Consider the look you want to achieve. Popular styles include: - Modern: Clean lines, minimalistic fixtures, and neutral colors. - Rustic: Natural materials, wood accents, and vintage decor. - Classic: Timeless tiles, elegant fixtures, and traditional layouts. Timing Your Remodel The duration of a bathroom remodel can vary depending on the scope of work. Here’s a general timeline: - Small updates: 1-2 weeks. - Full remodel: 3-6 weeks. Allow for additional time if unexpected issues arise, such as plumbing or electrical adjustments. DIY vs. Hiring Professionals Deciding whether to tackle the remodel yourself or to hire professionals is crucial. Here's what to consider: - DIY: Perfect for handy homeowners looking to save money. Common DIY tasks include painting, installing new fixtures, and replacing hardware. - Hiring professionals: Essential for complex tasks (electrical work, plumbing, tile installation) that require experience and permits. Choosing Materials When selecting materials, focus on quality and durability. Here are some popular options: - Flooring: Vinyl, tile, or natural stone. - Countertops: Quartz, granite, and marble. - Cabinetry: Solid wood for longevity, laminate for cost-effectiveness. Final Touches Once your remodel is underway, consider how to enhance your new bathroom: - Lighting: Adding layered lighting can make your bathroom feel brighter and more spacious. - Storage: Incorporate shelves or cabinets to keep your space organized. - Accessories: Choose decor that reflects your style—think towels, art, and plants. Conclusion A bathroom remodel is a significant project, but with careful planning and execution, you can create a space that adds value and functionality to your home. Remember to stay organized, set a realistic budget, and choose the right professionals for the job when necessary.
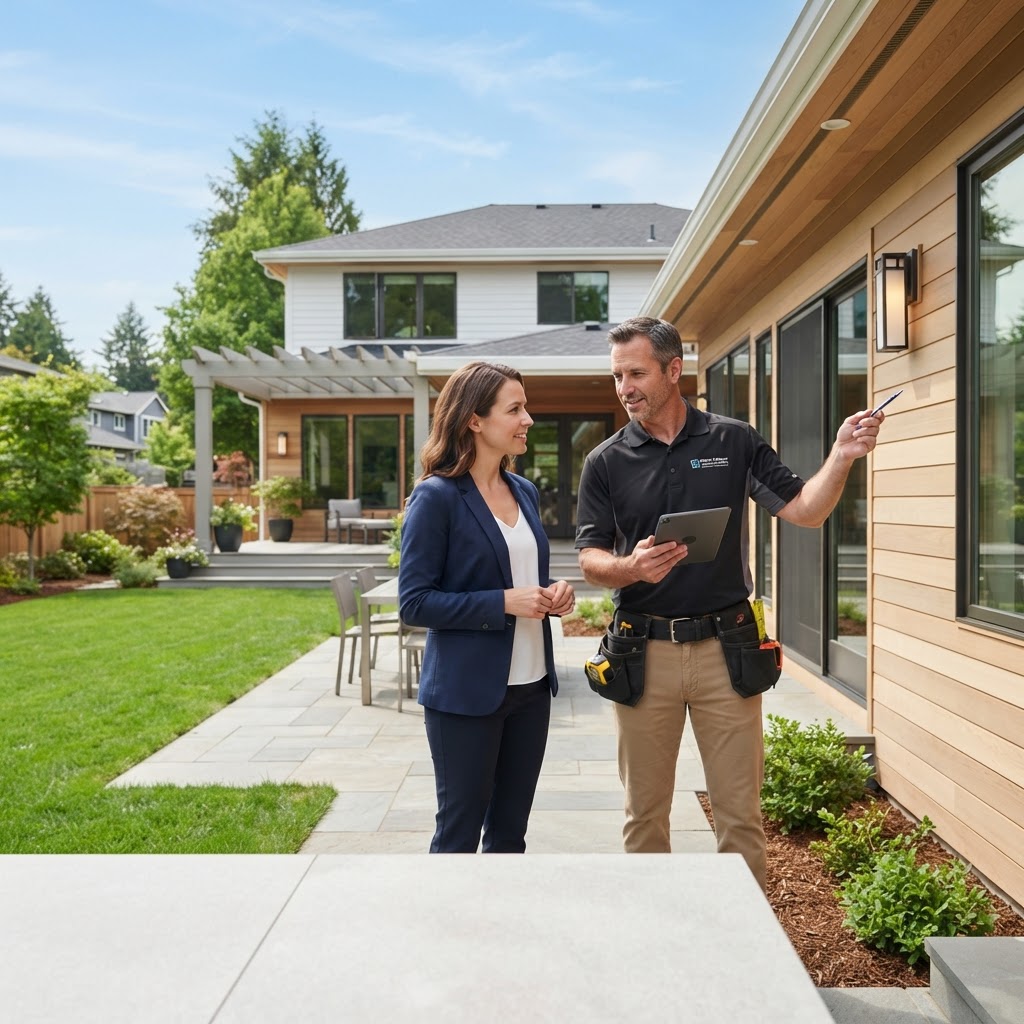
Smart Investment Strategies for Homeowners: Boost Your Property's Value
Understanding Home Investment Strategies Investing in your home can significantly increase its value, enhance comfort, and improve livability. Identifying effective investment strategies is crucial for homeowners looking to make the most of their property. This article explores actionable tips for homeowners, covering costs, timing, and whether to tackle projects DIY or hire a professional. 1. Prioritize Key Areas for Improvement Focus your investment on areas that yield the highest return. Here are the most impactful improvements: - Kitchen Remodel: Modernizing your kitchen can dramatically increase your home’s value, with potential ROI of 70%-80%. - Bathroom Upgrades: Investing in updated fixtures or a new bathroom can yield an ROI of 60%-70%. - Energy-efficient Windows: Replacing old windows can save on energy bills and increase resale value by about 70%-80%. 2. Budgeting for Home Improvements Establish a clear budget before starting any project. Here are some factors to consider: - Project Costs: Research the average costs of materials and labor for your specific improvement. - Cushion for Unexpected Expenses: Allocate an additional 10%-20% of your budget to manage unforeseen costs. 3. Timing is Everything Selecting the right time for home investments can affect both budget and project outcome. Consider the following: - Seasonal Considerations: Timing outdoor projects for spring or summer ensures better weather conditions. - Market Trends: Conduct research on local market trends. Investing when the market is strong can yield the best returns. 4. DIY vs. Professional Help Deciding whether to tackle home improvement projects on your own or hire professionals can affect both budget and quality. Here are some guidelines: - DIY: Projects like painting, landscaping, or minor upgrades like changing fixtures can be undertaken DIY, saving labor costs. - Hire Professionals: For larger projects (kitchens, electrical, plumbing), hiring qualified professionals ensures safety and compliance with building codes. 5. Regular Maintenance as an Investment Don't overlook regular maintenance. Investing in upkeep can prevent costly repairs down the line. Consider these tasks: - HVAC Servicing: Regular servicing can prolong the life of your system and improve efficiency. - Roof Inspections: Annual inspections can catch damage early, saving on extensive repair costs. - Gutter Cleaning: Maintaining clean gutters prevents water damage and foundation issues. Conclusion Investing in your home is a strategic approach to enhancing property value and improving quality of life. By prioritizing key areas of improvement, budgeting wisely, choosing the right time, and deciding between DIY and professional help, homeowners can significantly enhance their return on investment. Always remember the importance of regular maintenance to protect your home’s value in the long run.
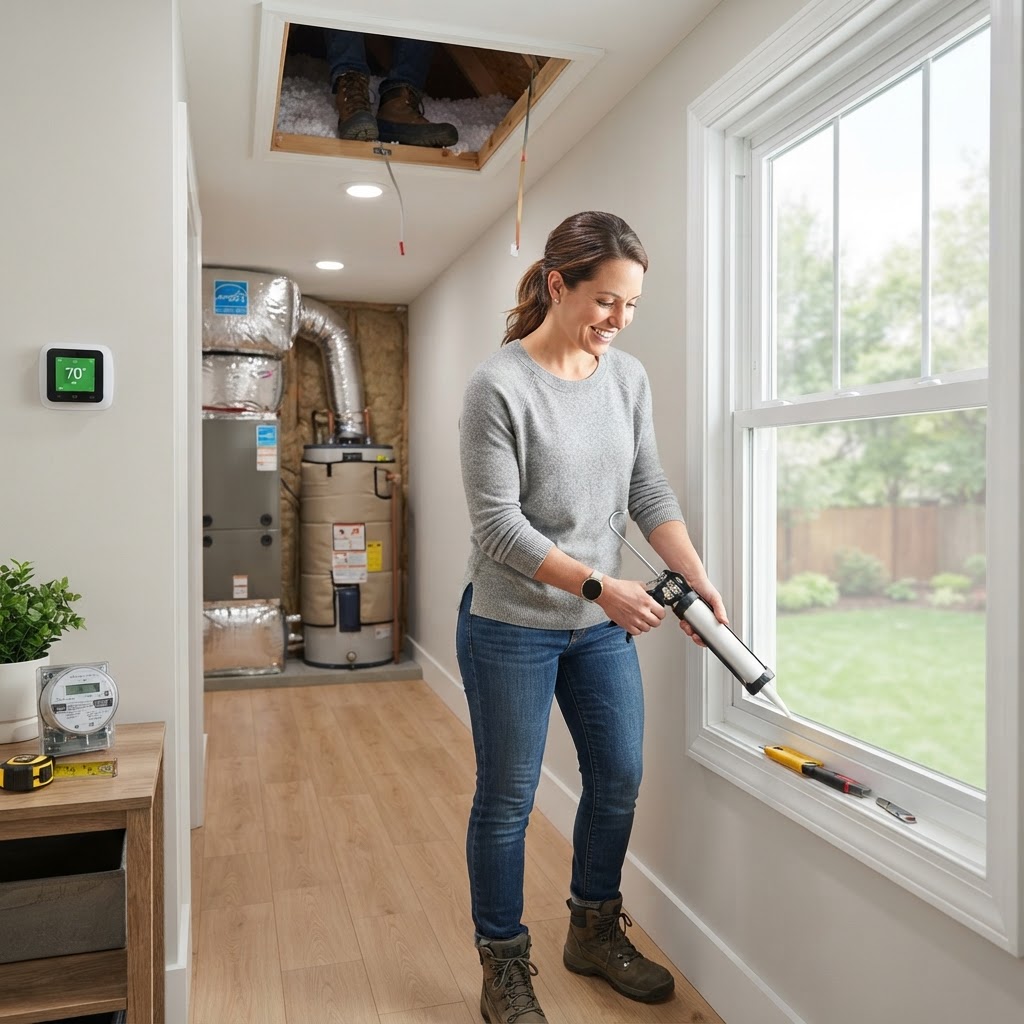
10 Essential Tips for Boosting Your Home's Energy Efficiency
Improving energy efficiency in your home saves money on utility bills and is environmentally friendly. Start with a home energy audit, seal gaps in windows and doors, upgrade insulation, and invest in ENERGY STAR appliances. Optimize your HVAC system with regular maintenance and a programmable thermostat. Switch to LED bulbs, consider solar panels, and incorporate smart home technology for better monitoring. Insulate your water heater and plant strategically for natural climate control. These practical steps can lead to significant savings and impact.

Unlocking Home Insurance: Your Guide to Protection and Savings
Understanding Home Insurance Basics Home insurance is not just a safety net; it’s a necessity for homeowners. It offers protection against various risks, from natural disasters to theft, ensuring that you can recover your financial losses efficiently. Why You Need Home Insurance - Financial Security: Protects your investment in case of damage or loss. - Liability Coverage: Covers potential legal costs if someone is injured on your property. - Peace of Mind: Knowing you have a fallback option can alleviate stress during emergencies. Types of Home Insurance Policies - HO-1: A basic policy covering specific perils like fire and theft. - HO-3: The most common, covering your home and personal property against all risks, except for exclusions listed in the policy. - HO-5: An enhanced policy that provides broader coverage for personal belongings. How to Choose the Right Policy Choosing the right home insurance can be overwhelming. Here are actionable steps to help you make an informed decision: - Assess Your Needs: Consider the value of your home, belongings, and any additional features you want covered. - Shop Around: Get quotes from multiple providers to compare premiums and coverage options. - Understand the Fine Print: Read the policy details carefully, including deductibles, limits, and exclusions. - Consider Bundling: If you have auto insurance, bundling your home and auto policies can lead to discounts. Estimating Insurance Costs The cost of home insurance varies widely based on several factors: - Location: Areas prone to natural disasters usually have higher premiums. - Home Value: More valuable homes often require higher coverage, increasing costs. - Claim History: A history of claims can make your policy more expensive. - Credit Score: Insurers may use credit scores as a factor in determining rates. When to Review Your Home Insurance Regular reviews of your home insurance are essential to ensure your coverage reflects your current situation: - After Major Renovations: If you’ve increased the value of your home, update your policy. - Before Extreme Weather Seasons: Ensure you’re adequately covered for potential risks specific to those seasons. - Annual Policy Review: Each year, reassess your coverage against your current lifestyle and assets. DIY vs Professional Help While gathering quotes and researching policies can be a DIY project, it’s wise to consult with an insurance agent for comprehensive advice. They can offer insights tailored to your unique circumstances and help you navigate complex terms. Conclusion By understanding home insurance and taking steps to select the right policy, you can secure your investment and enjoy peace of mind. Regular engagement with your coverage ensures that you're always protected against unexpected events.
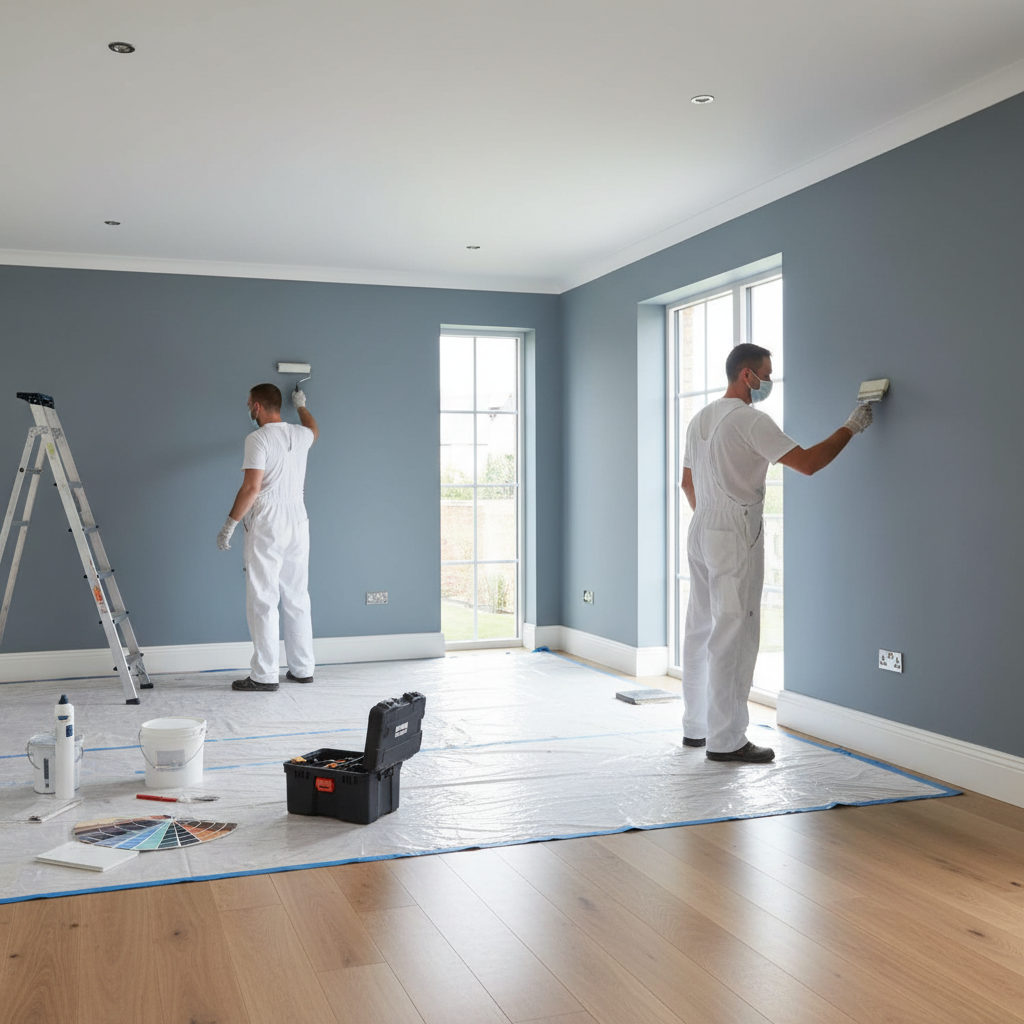
Transform Your Home: A Comprehensive Guide to Painting & Finishing
Transform Your Home: A Comprehensive Guide to Painting & Finishing ### Introduction to Painting & Finishing Painting and finishing your home is an excellent way to enhance its aesthetic appeal and protect its surfaces. Whether you're looking to refresh a single room or give your entire home a makeover, knowing the ins and outs of painting will set you on the path to success. ### When to Paint Understanding the best time to paint can save you time and effort in the long run. Here are a few considerations: - **Seasonal Timing:** Late spring and early fall are ideal for exterior painting, as temperatures are moderate and there's minimal rain. - **Humidity Levels:** Lower humidity helps paint to dry faster, reducing the chances of peeling or bubbling. - **Home Condition:** If your walls are looking dull or damaged, it might be time for a fresh coat. ### Choosing the Right Supplies To ensure a successful painting project, it's crucial to select the right materials: - **Paint Type:** Choose between latex and oil-based paints. Latex paints are easier to clean up and dry quickly, while oil-based paints offer durability. - **Tools Needed:** Invest in quality brushes, rollers, painter’s tape, drop cloths, and a paint tray. - **Colors and Finishes:** Consider your space’s lighting and existing decor. Test a few paint swatches on the wall before finalizing your color. ### DIY vs. Professional Help Deciding whether to take on a painting project yourself or hire a professional can be difficult. Here’s a breakdown: - **DIY:** Best for small rooms or touch-ups. It can save money, but requires time and effort. - **Professional Painting:** Recommended for larger spaces and more complex finishes. Pros can also assist with prep work such as sanding and patching. ### Preparing Your Space Proper preparation is crucial for a flawless finish: - **Clear the Area:** Remove furniture, or cover it with drop cloths to protect it from paint splashes. - **Clean Surfaces:** Wipe down walls to remove dust and grease, ensuring optimal paint adhesion. - **Tape Off Edges:** Use painter’s tape to mask off window frames, baseboards, and other edges for sharp lines. ### Cost Considerations Understanding the costs involved can help you budget appropriately: - **DIY Costs:** Expect to spend around $30-$60 per gallon of paint. Additional supplies may total $50-$100. - **Professional Costs:** Hiring a painter typically ranges from $200 to $800 per room, depending on size and complexity. ### Conclusion Painting and finishing your home is a rewarding task that can dramatically change your space's appearance. Whether you choose to tackle it yourself or enlist professional help, armed with the right knowledge, you'll achieve stunning results. Happy painting!
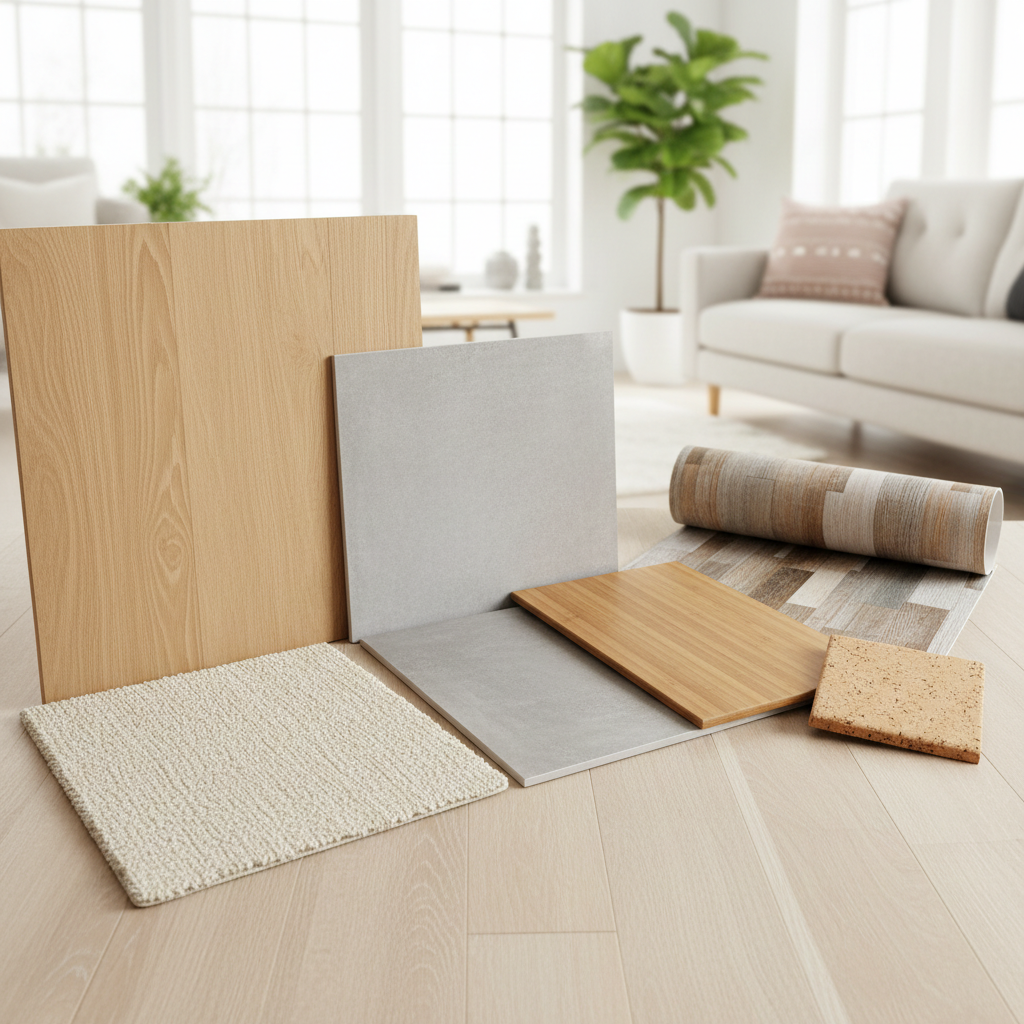
Your Ultimate Guide to Choosing the Right Flooring for Your Home
Your Ultimate Guide to Choosing the Right Flooring for Your Home Choosing the right flooring for your home is crucial, as it impacts both aesthetics and functionality. With so many options available, it can be overwhelming. This guide will help you navigate through popular flooring types, their costs, installation times, and whether you should tackle the project yourself or hire a professional. Popular Flooring Options - Hardwood: A classic and timeless choice that adds warmth and beauty. Available in various species, colors, and finishes. - Laminate: A budget-friendly alternative that mimics the appearance of hardwood. Durable and easy to clean, making it ideal for high-traffic areas. - Vinyl: Available in sheets, tiles, or planks, vinyl is waterproof and perfect for kitchens and bathrooms. It’s also soft underfoot. - Ceramic Tile: Durable and water-resistant, the ceramic tile is perfect for bathrooms and kitchens. It offers endless design possibilities. - Carpet: Soft and cozy, carpets are great for bedrooms and living spaces. They come in various colors and textures, providing an inviting atmosphere. Assessing Costs Flooring costs vary significantly based on the material and labor. Here’s a quick overview: - Hardwood: $5-$12 per sq. ft. (including installation) - Laminate: $1-$5 per sq. ft. (including installation) - Vinyl: $2-$7 per sq. ft. (depending on the type) - Ceramic Tile: $3-$10 per sq. ft. (including installation) - Carpet: $2-$5 per sq. ft. (including installation) DIY vs. Professional Installation Deciding whether to tackle the installation yourself or hire a professional depends on several factors: - Experience: If you're handy and have experience with home improvement, you might consider DIY installation, especially with laminate and vinyl flooring. - Complexity: Tasks like ceramic tile installation can be complex and might require professional help to ensure it's properly done. - Time: Professionals can complete the job quicker. If time is a concern, consider paying for installation. - Tools: Do you have the right tools? If not, hiring a pro might save you the hassle of purchasing or renting equipment. Timing and Preparation Most flooring installations can be completed in a day or two, but preparation is key. Consider these steps: - Remove Old Flooring: Make sure to give yourself enough time to remove any existing flooring before installation. - Acclimate Materials: Allow hardwood and laminate flooring to acclimate in the room where they will be installed for at least 48 hours. - Plan for Movement: Schedule installations during times when your home will be relatively empty to avoid disruption. Conclusion Choosing the right flooring involves careful consideration of your needs, preferences, and budget. Whether you opt for a DIY approach or hire professionals, understanding the various types of flooring and their associated costs will help you make an informed decision. Happy flooring!
Essential Plumbing Tips Every Homeowner Should Know
Essential Plumbing Tips Every Homeowner Should Know Introduction to Home Plumbing Maintenance As a homeowner, understanding basic plumbing maintenance is crucial for preventing costly repairs and ensuring a smoothly running household. This guide provides practical tips that will help you maintain your plumbing system, handle minor issues, and know when to call in the professionals. Common Plumbing Issues Before diving into tips, it’s important to recognize common plumbing problems that often require attention: 1. Leaky faucets 2. Clogged drains 3. Running toilets 4. Low water pressure 5. Water heater issues Practical Plumbing Tips Here are some actionable plumbing tips that every homeowner can use: 1. Regular Inspections Perform regular inspections of your plumbing system, including pipes, faucets, and toilets. Look for signs of wear or leaks. You should do this at least twice a year. 2. Fix Small Leaks Immediately Address any leaks you notice right away. A small drip can turn into a larger issue, leading to water damage and mold growth. Minor repairs can often be done with just a wrench and some plumber's tape, costing you less than $20. 3. Know Your Main Water Shut-Off Valve In the event of a plumbing emergency, knowing how to quickly shut off your main water supply can prevent extensive damage. Familiarize yourself with its location and test it regularly to ensure it works. 4. Use Drain Screens Prevent clogs in your drains by installing screens over sinks and tubs. These screens catch hair and debris, making cleaning easier and saving you from costly plumbing fees. 5. Maintain Your Water Heater Flushing your water heater once a year can remove sediment buildup and improve efficiency. This maintenance task can extend the life of your heater by several years. 6. DIY vs. Hiring a Professional While many minor plumbing repairs can be handled as DIY projects, some situations are best left to professionals. Here’s a quick guide: DIY: Fixing leaky faucets, unclogging drains, and replacing toilet flappers. Professional: Major pipe repairs, installing new plumbing fixtures, and addressing sewer line issues. When to Call a Plumber If you encounter any of the following issues, it is wise to call a licensed plumber: 1. Persistent leaks despite DIY repairs 2. Low water pressure that doesn’t improve 3. Backed-up sewer systems 4. Problems with water heating Costs and Timing for Plumbing Services The cost of hiring a plumber can range from $50 to $200 per hour, depending on location and complexity. For a straightforward repair, such as fixing a leaky faucet, you might spend around $100-$150, while more complicated jobs, like repiping, can cost $1,500 or more and take multiple days. Always obtain a quote before any service begins. Conclusion Understanding and maintaining your home’s plumbing system can save you time, headache, and money. Implement these tips to ensure your plumbing works smoothly, while knowing when to call a professional can protect your home from costly damage.
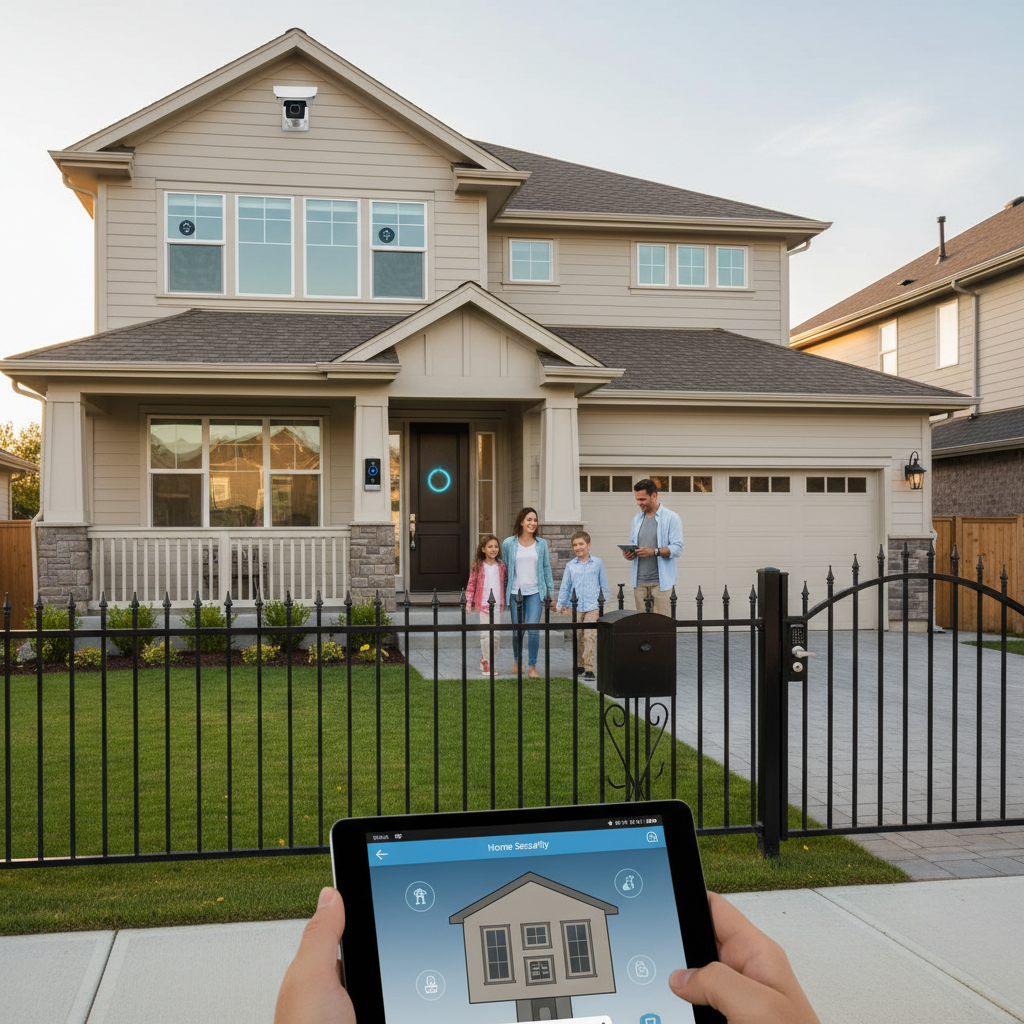
Ultimate Guide to Home Security: Tips to Protect Your Family
Ensuring the safety of your home and family is paramount. From basic preventative measures to advanced security systems, there are countless ways to enhance your home's security. This guide provides practical tips, cost considerations, and guidance on DIY vs. professional installations, empowering you to make informed decisions.
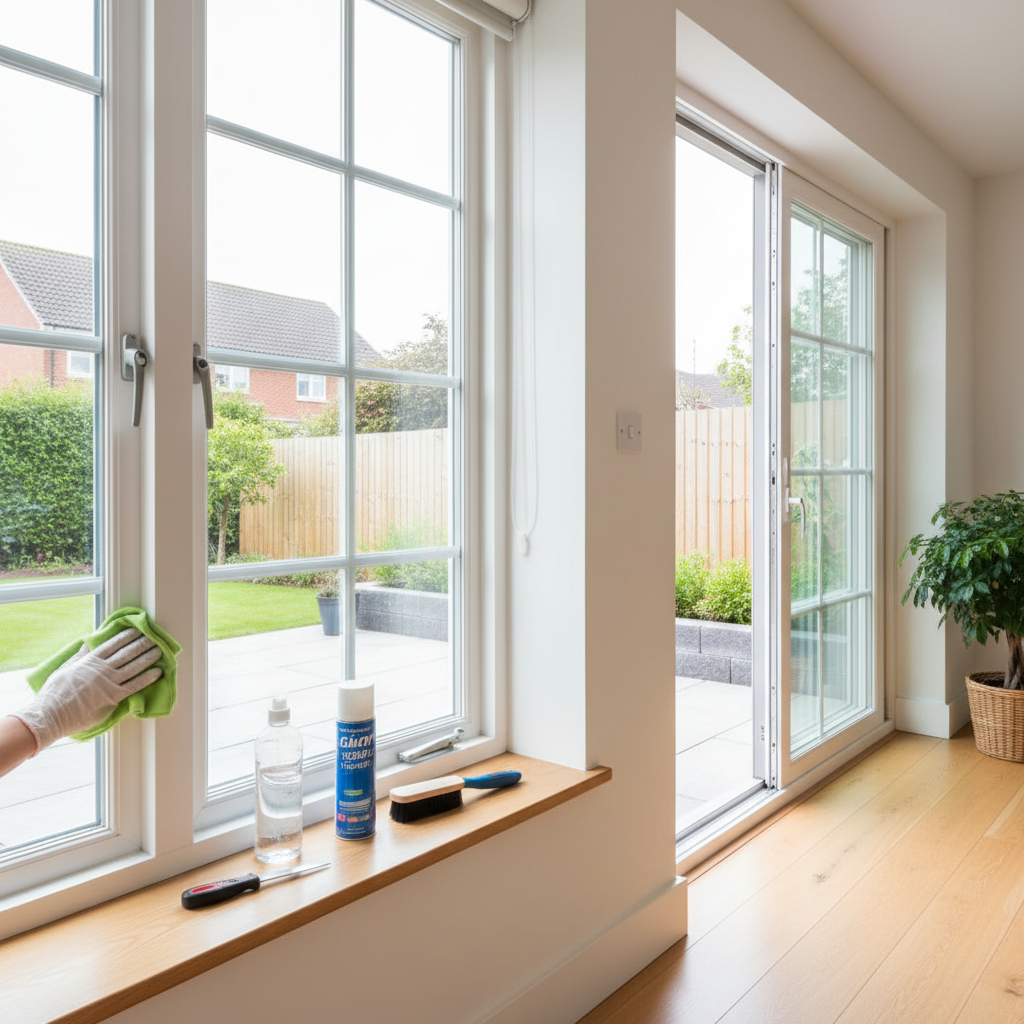
Essential Guide to Windows & Doors Maintenance for Every Homeowner
Why Windows & Doors Matter Windows and doors are not just functional elements of your home; they significantly contribute to your home’s energy efficiency, security, and aesthetic appeal. Proper maintenance can extend their lifespan and enhance your living environment. Signs Your Windows & Doors Need Attention - Drafts or visible air leaks. - Condensation between glass panes. - Difficulty opening or closing. - Visible damage to frames or sills. - Increased energy bills. Cost Considerations The cost of maintaining or replacing windows and doors varies significantly based on several factors, including size, material, and labor. Here’s a rough estimate of costs: - Window Maintenance: $30–$100 for cleaning and sealing. - Window Replacement: $300–$1,500 per window, depending on materials. - Door Maintenance: $50–$150 for repairs and painting. - Door Replacement: $200–$2,000, varying by style and material. DIY vs. Professional Help Deciding whether to tackle window and door issues yourself or hire a professional can depend on the complexity of the problem: - DIY Tasks: - Cleaning window tracks and frames. - Sealing edges with caulk. - Replacing handles and hardware. - Professional Services: - Full window and door replacement. - Fixing structural damage. - Installing new locks or security features. Practical Maintenance Tips Regular maintenance can prevent costly repairs and replacements. Here are some practical tips: - Inspect Regularly: Check for any signs of wear or damage at least once a season. - Clean Your Windows: Use a gentle glass cleaner and a microfiber cloth or squeegee to maintain clarity. - Seal Leaks: Use caulk to seal any drafts around window frames and door edges. - Lubricate Hardware: Apply a silicone spray or graphite powder to hinges and locks for smooth operation. - Consider Upgrades: If your windows or doors are over 20 years old, consider energy-efficient replacements to save on energy costs. When to Replace Windows & Doors If your windows and doors show significant signs of deterioration, it may be time for a replacement. Look for: - Bubbling paint or rust on metal frames. - Moisture damage or rot in wooden frames. - Pulled away or separated frames. Final Thoughts Proper maintenance of your windows and doors can greatly enhance your home’s value and comfort. Regular inspections and timely repairs will help you avoid significant costs down the line. Whether you choose to DIY or hire a professional, staying proactive is key to maintaining a welcoming and energy-efficient home.

Transform Your Home with Smart Tech: A Guide for Homeowners
Transform Your Home with Smart Tech: A Guide for Homeowners Introduction to Smart Home Technology Smart home technology is revolutionizing the way we live, making homes safer, more efficient, and more convenient. From smart thermostats to security systems, the variety of options available can significantly enhance your home experience. In this article, we'll explore practical applications of smart home tech, along with actionable tips for installation, costs, and professional guidance. Popular Smart Home Devices - Smart Thermostats: Devices like the Nest or Ecobee can save homeowners an average of 10-15% on heating and cooling bills. - Smart Security Systems: Products like Ring or Arlo provide security cameras, doorbells, and alarms that can be monitored from your smartphone. - Smart Lighting: Install systems such as Philips Hue or LIFX, which allow you to control lighting remotely, or even set schedules. - Smart Plugs: These devices can turn regular appliances into smart devices, allowing you to manage power usage and schedules easily. - Smart Assistants: Amazon Echo or Google Nest help control your smart home devices using voice commands. Actionable Tips for Homeowners While smart home technology offers an array of advantages, implementation requires careful planning. Consider the following tips: 1. Assess Your Needs Identify the areas in your home that need improvement, whether it's security, energy efficiency, or convenience. Prioritize devices based on your lifestyle and budget. 2. DIY vs. Professional Installation Many smart home devices are designed for easy DIY installation. For instance, setting up a smart thermostat usually involves replacing the old unit without complex wiring. However, more comprehensive systems like smart security setups may require professional help for optimum placement and configuration. 3. Budget Considerations Smart home devices range widely in price. Here’s a rough overview of typical costs: - Smart Thermostats: $100 - $300 - Smart Security Cameras: $100 - $400 - Smart Lighting: $15 - $50 per bulb - Smart Plugs: $20 - $50 - Professional Installation: $100 - $300, depending on the complexity Set a budget before purchasing and consider potential savings on utilities when evaluating cost versus benefit. 4. Integration and Compatibility Ensure the devices you choose can integrate with each other and with a central hub, such as SmartThings or Google Home. Compatibility between devices prevents frustration and maximizes functionality. Maintenance of Smart Home Devices Just like any home appliance, smart home devices require regular maintenance. Keep software updated, check batteries in wireless devices, and periodically review your settings for optimal performance. Conclusion Smart home technology can profoundly impact your day-to-day living, providing safety, efficiency, and convenience. By carefully considering your products' installation and maintenance, you can transform your home into an efficient smart hub. Don't wait—start exploring the options today!

Essential Home Insurance Tips Every Homeowner Should Know
Understanding Home Insurance: A Homeowner's Guide As a homeowner, navigating the complex world of insurance can feel overwhelming. Home insurance provides essential financial protection against potential disasters, whether that’s a natural calamity or a sudden accident. Here, we break down crucial aspects of home insurance, from understanding its types to actionable tips for making the best choices for your property. Types of Home Insurance Before diving into specific tips, it’s vital to understand the various types of home insurance available: - HO-1: Basic Form – Covers limited perils, such as fire or theft. - HO-2: Broad Form – Offers more extensive coverage than HO-1 but still limited. - HO-3: Special Form – The most common type, covering all perils unless specifically excluded. - HO-4: Renters Insurance – Designed for renters, covers personal belongings. - HO-5: Comprehensive Form – Offers the most coverage, protecting against a wide range of risks. Determining the Right Coverage Choosing the right amount of coverage is key. Consider the following steps: - Assess the Value of Your Home: Use an appraiser or reliable online tools to evaluate your home’s worth. - Inventory Your Belongings: Create a detailed list of personal items, including their estimated value. - Understand Replacement Costs: Ensure your policy covers the full cost of rebuilding your home, not just its current market value. Actionable Tips for Homeowners To secure the best home insurance policy, keep these actionable tips in mind: - Shop Around: Don’t settle for the first quote. Compare policies from multiple insurers to ensure you get the best deal. - Review Your Policy Annually: Life changes, and so should your policy. Review annually to reflect any upgrades or changes in property value. - Ask About Discounts: Many insurers offer discounts for security systems, bundling policies, or being a long-term customer. - Understand the Fine Print: Pay close attention to what is covered and what is excluded in your policy. DIY Insurance Tips Some tasks can be tackled on your own to potentially lower your premiums. Consider: - Home Improvements: Invest in sturdy roofs, storm windows, and secure doors. - Emergency Preparedness: Create a disaster plan and have emergency kits ready. When to Consult a Professional Sometimes, professional advice is invaluable. Consulting an insurance agent is recommended when you: - Need help understanding complex terms or policies. - Are considering significant home renovations or additions. - Want to ensure you have adequate liability coverage. Conclusion Home insurance is a critical aspect of homeownership that provides peace of mind. By understanding your coverage options, assessing your needs, and taking proactive steps to reduce risk, you can effectively protect your most significant investment. Remember, informed decisions will lead to substantial savings in both premiums and potential out-of-pocket costs.
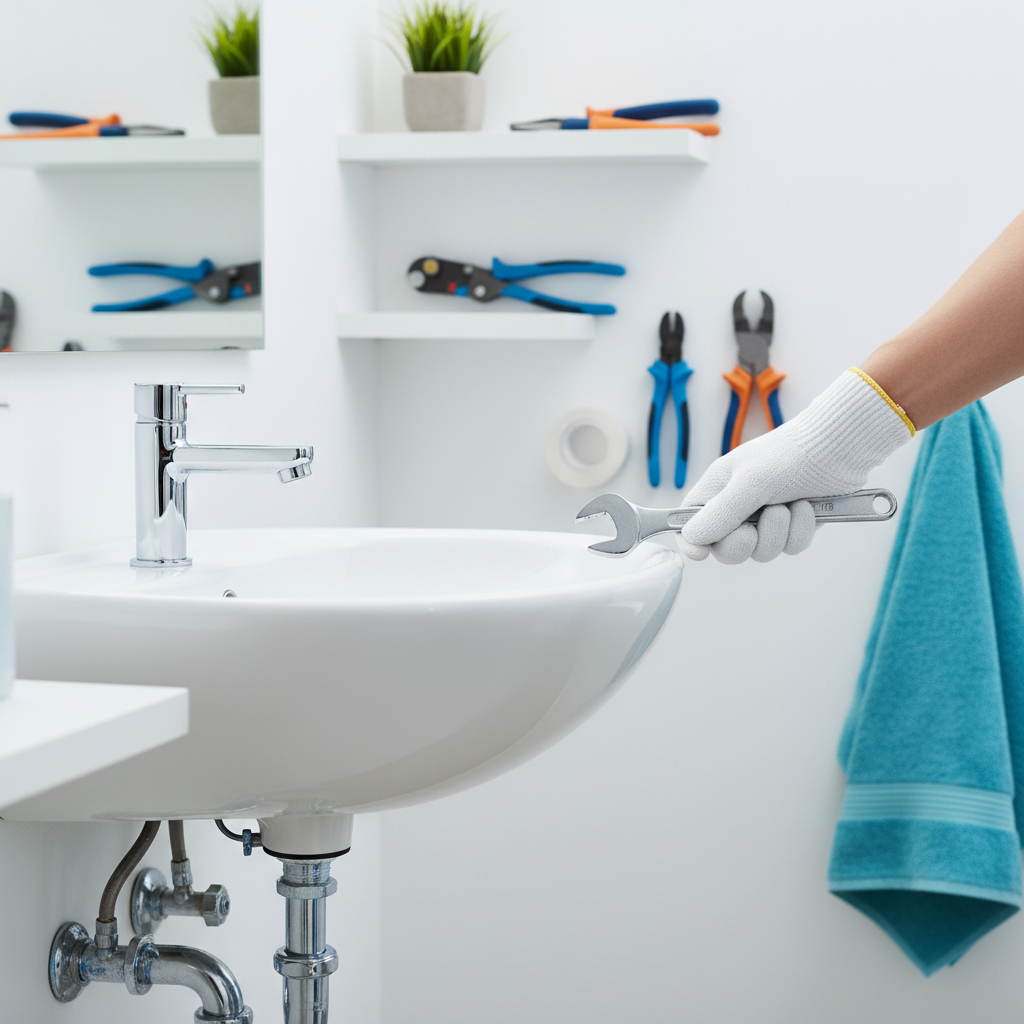
Essential Plumbing Tips Every Homeowner Should Know
As a homeowner, understanding basic plumbing maintenance can save you time and money in the long run. Whether you're facing minor leaks or considering a remodel, having a grasp on your plumbing system is essential. Here are some practical plumbing tips you can use today. 1. Regularly Check for Leaks Small leaks can lead to significant water waste and increased bills. Here’s how to keep your plumbing leak-free: - Inspect faucets and showerheads: Look for damp areas or stains around fixtures. - Check under sinks: Keep an eye on pipes for any signs of corrosion or moisture. - Monitor water bills: If there’s a sudden spike, investigate potential leaks. Costs for repairing leaks can range from $100-$500 depending on severity. 2. Know the Location of Your Main Shut-Off Valve In an emergency, having access to your main water shut-off valve can prevent significant damage: - Typically located in the basement, crawl space, or outside the home. - Test the valve periodically to ensure it works and is easy to turn. Knowing this can save you from extensive water damage in emergencies. 3. Regularly Clean Your Drains Clogged drains are common, but with regular cleaning, you can minimize blockages: - Use a vinegar and baking soda mixture: Pour one cup of each down the drain, let it sit for 30 minutes, and flush with hot water. - Install hair catchers: These can prevent hair and debris from clogging your drains in showers and sinks. Perform this cleaning every few months to keep things flowing smoothly. 4. Insulate Your Pipes If you live in a colder climate, insulating your pipes can prevent freezing: - Use foam pipe insulation available at most hardware stores. - Focus on unheated areas like basements and attics. Insulating pipes typically costs around $0.50 to $1.50 per linear foot, a small price to pay to avoid burst pipes in winter. 5. Know When to DIY and When to Call a Professional Some plumbing tasks are suitable for DIY approaches, while others may require a pro: - DIY: Simple tasks such as unclogging drains or changing faucets. - Professional: More complex issues like sewer line repairs or severe leaks should be handled by licensed plumbers. In general, assess your comfort level and the complexity before attempting a repair. By following these simple tips, you can maintain your plumbing system effectively and avoid costly repairs. Regular inspections, proper maintenance, and knowing your limitations will keep your home’s waterworks running smoothly!
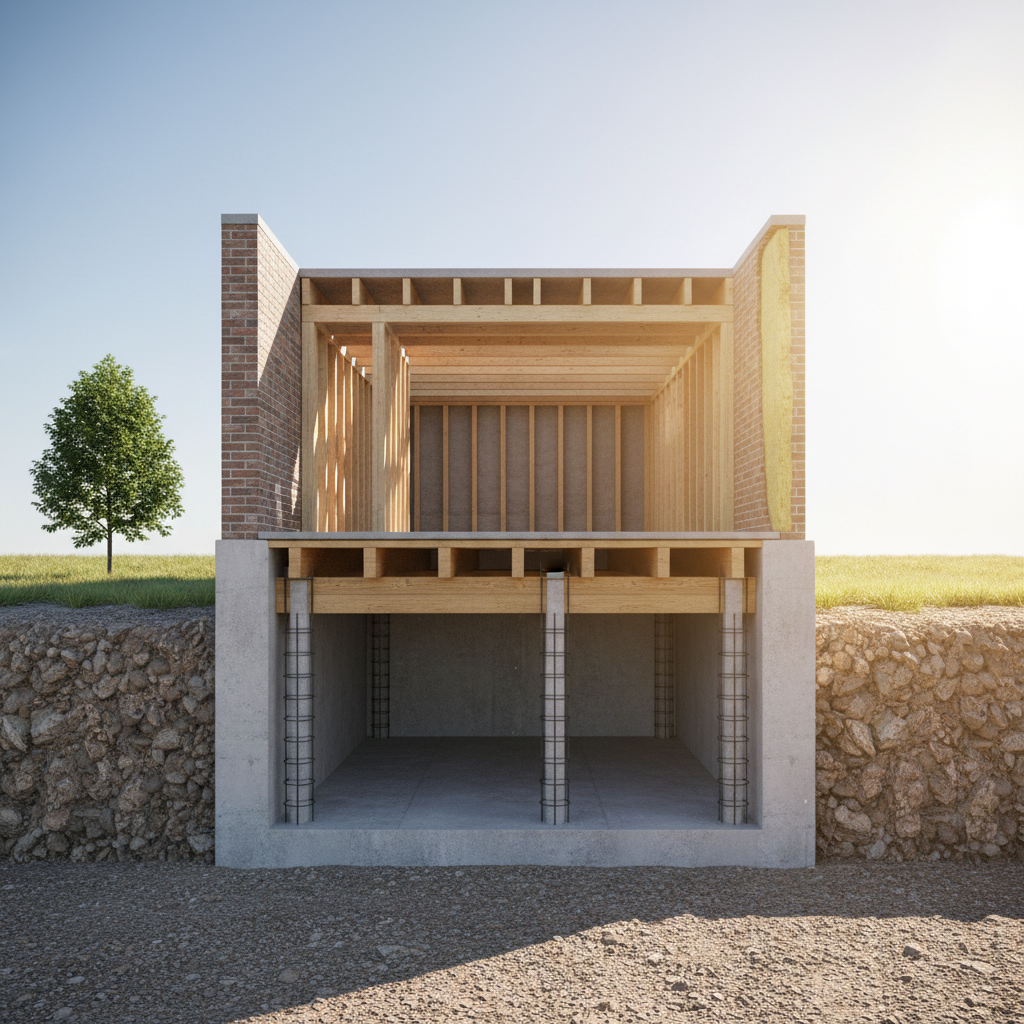
Strengthening Your Home: Essential Guide to Foundation & Structure Care
Understanding Your Home's Foundation The foundation is the backbone of your home, supporting its structure and determining stability. Recognizing how to maintain it can prevent costly repairs and ensure your home remains safe and secure. Common Foundation Problems - Cracks: Small cracks can indicate minor settlement, while larger cracks may signal serious issues. - Water Damage: Water pooling around the foundation can cause erosion and lead to mold growth. - Uneven Floors: If you notice cracks in walls or uneven floors, it could indicate foundation settling. Signs Your Foundation Needs Attention It's essential to keep an eye out for these warning signs: - Cracks in walls or floors (greater than 1/8 inch wide) - Doors and windows that stick or won't close properly - Visible gaps between walls and ceilings - Basement leaks or humidity Maintenance Tips for Homeowners Here are some effective strategies you can employ to maintain your foundation: - Regular Inspections: Check your foundation at least twice a year. Look for cracks, mold, and moisture. - Landscaping: Ensure your yard slopes away from your foundation to direct water away. - Gutter Maintenance: Clean gutters regularly to prevent overflow and ensure they direct water away from your foundation. - Seal Cracks: Use epoxy or a similar sealant to fill small cracks to prevent water intrusion. - Install a Sump Pump: If your basement is prone to flooding, a sump pump can help remove excess water. When to Call a Professional While many maintenance tasks can be handled by a homeowner, some situations call for professional help: - If you notice significant cracking or shifting - Excessive moisture or mold issues - Structural changes that you cannot address safely on your own Potential Costs The costs for foundation repair can vary widely based on the severity of the issue: - Simple crack repairs: $500 - $2,000 - Drainage solutions: $1,500 - $5,000 - Major structural repairs: $5,000 - $25,000 DIY vs. Hiring a Contractor For minor maintenance tasks like sealing cracks, it’s feasible for many homeowners to handle DIY. However, for significant issues that could affect the safety of the home, hiring a licensed contractor is worth the investment. They can provide a thorough assessment and remedy the situation accurately. Conclusion Your foundation is integral to your home's safety and longevity. Regular maintenance and prompt action when problems arise can prevent expensive repairs down the line. Stay vigilant, proactive, and don't hesitate to call in experts when necessary.
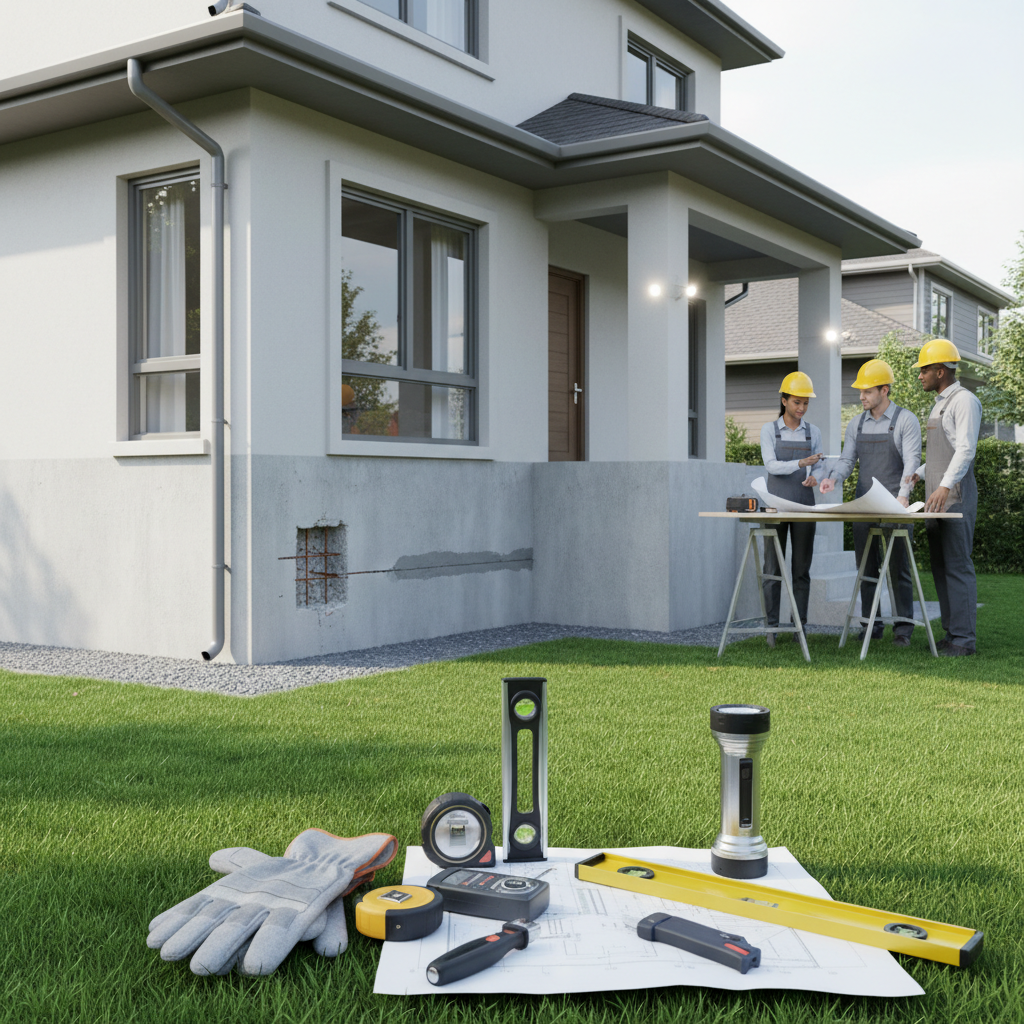
Essential Guide to Foundation & Structure Maintenance for Homeowners
Understanding Your Home's Foundation The foundation is the backbone of your home, providing stability and support for everything above it. A well-maintained foundation is crucial for the longevity and safety of your home. Over time, various factors such as weather conditions, soil settling, and natural wear can affect its integrity. This guide will provide actionable tips on maintaining your foundation and structure. Common Signs of Foundation Issues Being proactive is key to avoiding costly repairs. Here are some signs that your foundation might be experiencing issues: - Cracks in walls or ceilings - Doors and windows that stick or do not close properly - Uneven or sloped floors - Visible gaps between walls and floors - Leaks in the basement or crawl space Regular Maintenance Tips To prevent foundation issues, consider the following maintenance tips: - Ensure Proper Drainage: Landscapes should slope away from the foundation. Check gutters and downspouts to ensure they are directing water away effectively. Clean them regularly to avoid blockages. - Monitor Moisture Levels: Too much or too little moisture can affect your foundation. Aim to maintain a consistent moisture level in the soil surrounding your home. - Inspect for Cracks: Regularly check the exterior and interior of your home for any new cracks developing. If you notice small cracks, you can fill them with epoxy sealants. - Maintain Your Yard: Keep trees and shrubs at a safe distance from your foundation. Roots can disrupt the soil and potentially damage the foundation. - Check for Leaking Pipes: Inspect plumbing and irrigation systems frequently to avoid water pooling near your foundation. When to Call a Professional If you notice significant cracks, doors and windows that won't open, or water in your basement, it's essential to contact a foundation repair specialist. Attempting to handle extensive foundation problems on your own can lead to more significant damage and increased repair costs. Cost Considerations Foundation repairs can range from a few hundred dollars for minor fixes to tens of thousands for substantial work, depending on the severity of the issues. Here’s a quick breakdown: - Minor crack repair: $300 - $1,000 - Waterproofing a basement: $1,500 - $5,000 - Foundation underpinning: $3,000 - $15,000+ DIY vs Professional Help While some maintenance tasks can be easily handled as DIY projects, such as filling small cracks and cleaning gutters, significant issues should always be evaluated by a professional. Investing in expert help can save you money in the long run by addressing problems early on. Conclusion Maintaining your home’s foundation and structure is crucial for your financial investment and personal safety. By regularly inspecting and addressing any concerns promptly, you promote the long-term health of your home. Don’t hesitate to seek professional advice when needed; it’s always better to be safe than sorry.
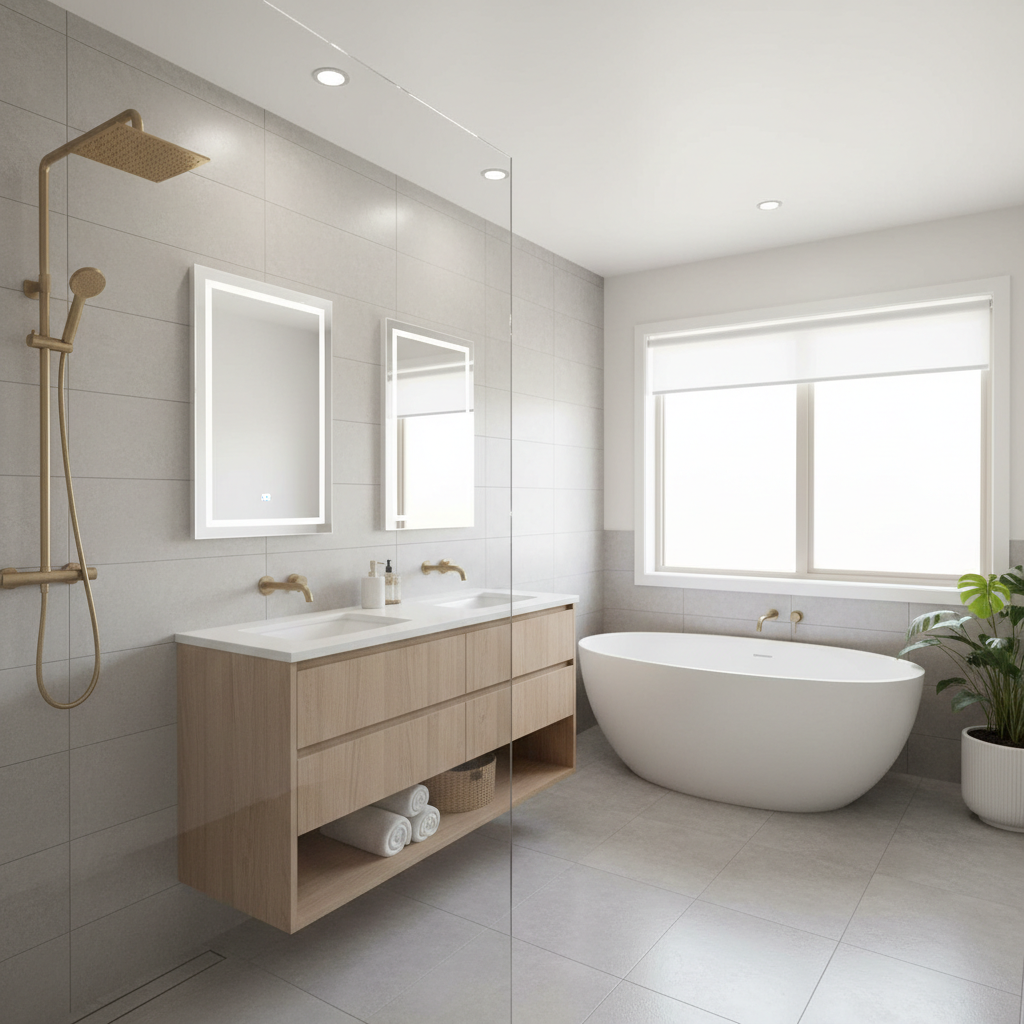
Transform Your Bathroom: Essential Tips for a Successful Remodel
Transform Your Bathroom: Essential Tips for a Successful Remodel Introduction to Bathroom Remodeling Remodeling your bathroom can significantly enhance the aesthetic and functionality of your home. Whether you're looking to increase your property value or simply want a fresh space, a bathroom remodel is a smart investment. This article breaks down actionable tips to guide you through the process, focusing on costs, timing, and considerations between DIY and hiring a professional. Planning Your Remodel Before diving into the remodel, thorough planning is crucial. Here are some steps to consider: - Define Your Goals: Decide whether your primary focus is aesthetics, functionality, or increasing property value. - Set a Budget: Identify how much you can comfortably spend. Bathroom remodels can range from $5,000 to over $25,000 depending on size and finishes. - Research Design Ideas: Browse magazines, websites, and showrooms for inspiration to determine your desired style. Cost Breakdown Your budget will largely depend on several factors. Here are common expense categories: - Labor Costs: If hiring professionals, labor can account for 20% to 35% of your total budget. - Materials: Consider the cost of tiles, countertops, fixtures, and cabinetry. Mid-range materials can cost approximately $10,000. - Unexpected Expenses: Always set aside 10-15% of your budget for unforeseen issues like plumbing or electrical repairs. Timing Your Remodel A bathroom remodel typically takes between 3 to 6 weeks, but this can vary based on the scope of the project. Consider the following: - Scheduling: Plan to remodel during a season when household traffic is lighter. - Permits: Check local building codes and acquire necessary permits beforehand, as this can delay your project. DIY vs Professional Help Deciding between DIY and hiring a contractor can greatly affect your remodel's success: - DIY Advantages: Savings on labor costs and the satisfaction of personalizing your space. Ideal for smaller projects, such as painting or installing new fixtures. - When to Hire a Professional: For major plumbing, electrical work, or if the project involves structural changes. Professionals ensure compliance with codes and provide expertise. Actionable Tips for Success To make your bathroom remodel a success, keep these practical tips in mind: - Choose Durable Materials: Opt for moisture-resistant materials to maintain longevity and reduce maintenance costs. - Maximize Space: Consider installing floating vanities or shelving to create an illusion of more space. - Focus on Lighting: Good lighting can greatly improve the ambiance. Combine task, ambient, and accent lighting. Conclusion A bathroom remodel is an opportunity to create a space that reflects your personal style while boosting your home's value. With careful planning and execution, you can achieve a beautiful and functional bathroom. Remember to keep your budget, timeline, and the decision of going DIY or professional help in mind as you embark on this exciting project.

Smart Home Investment Strategies: Maximize Your Property's Value
Understanding Home Investment Strategies Homeownership is one of the most significant investments most Americans make. Understanding how to invest wisely in your property can pay off in the long run. Here, we’ll explore actionable home investment strategies that will help boost your property’s value, from minor upgrades to significant renovations. 1. Focus on Curb Appeal The first impression of your home is crucial. Investing in curb appeal can significantly enhance your home’s valuation. - Landscaping: Simple tasks like mowing the lawn, trimming bushes, and planting flowers can make a big difference. Costs typically range from $300 - $2,000. - Exterior Paint: Freshening up your home’s exterior paint can yield a return on investment (ROI) of up to 55%. Expect to spend between $2,000 - $5,000 for a professional job. - Front Door Upgrade: Replacing the front door can have an ROI of 75% or more. A new door can cost around $500 - $2,500. 2. Prioritize Kitchen and Bathroom Remodeling Renovations in the kitchen and bathrooms often yield the highest returns. When planning these renovations, aim for functionality and modern aesthetics. - Kitchen Minor Repair: A minor remodel could cost around $20,000 but can recoup up to 80% of that on resale. Focus on new countertops and hardware. - Bathroom Update: A bathroom remodel might cost $10,000, yet homeowner’s can see a return of 60% to 70%. - Do It Yourself: Simple updates like repainting cabinets or changing fixtures can be done inexpensively as DIY projects. 3. Invest in Energy Efficiency Buyers are increasingly looking for homes with energy-efficient features. Investments in these upgrades can significantly enhance your home’s value. - Insulation: Improved insulation can lower energy bills, costing approximately $1,500 to $3,000. The long-term savings are substantial. - Energy-Efficient Windows: Replacing old windows can recoup around 70% of the cost. Expect to spend $15,000 - $20,000 for a full house. - Smart Thermostats: Simple additions of smart thermostats can be done for under $300, making it an easy upgrade. 4. Regular Maintenance is Key A well-maintained home retains its value better over time. Here are some routine upkeep tasks that can prevent costly repairs in the future: - Seasonal Checks: Invest in routine inspections for your HVAC, plumbing, and roof. This usually costs $200-$300 but can save significantly on future major repairs. - Paint and Stain: Keep your exterior painting updated. This can cost around $1,500 but protects your home from deterioration. 5. Conclusion Investing wisely in your home can yield substantial returns, but balancing DIY projects with professional guidance is essential. Assess your budget, prioritize renovations based on ROI, and maintain your property to ensure it appreciates in value over time. With the right strategies, you can turn your house into a lucrative asset.

Mastering Property Management: Essential Tips for Homeowners
Mastering Property Management: Essential Tips for Homeowners Understanding Property Management Effective property management is crucial for maintaining the value of your home while ensuring it remains a comfortable living space. Whether you're renting out property or simply want to keep your home in impeccable condition, understanding the fundamentals of property management is essential. Key Responsibilities in Property Management Property management encompasses a variety of tasks aimed at maintaining a property’s value, ensuring tenant satisfaction, and handling day-to-day operations. Here are the key responsibilities: - Maintenance and Repairs: Regular upkeep prevents larger issues. - Tenant Relations: Effective communication enhances satisfaction. - Financial Management: Oversee budgeting, expenses, and income. - Legal Compliance: Adhering to local laws protects your investment. Actionable Tips for Homeowners To manage your home efficiently, consider the following practical tips: 1. Regular Maintenance Schedule Create a maintenance checklist and schedule regular inspections. - Monthly: Check smoke detectors, change air filters. - Quarterly: Inspect plumbing systems and appliances. - Annually: Roof inspections, gutter cleaning, HVAC servicing. 2. Budget for Repairs Set aside 1-3% of your property’s value for annual maintenance. This helps cover unexpected repairs without financial strain. 3. Know When to DIY vs. Hiring a Professional While many repairs can be done DIY, some require professional expertise. Use this guideline: - DIY: Minor repairs (e.g., painting, landscaping). - Hire Professional: Major plumbing issues, electrical work, or structural repairs. Understanding Costs Property management costs can vary significantly. Here’s an overview: - DIY Maintenance: Typically minimal costs, mainly for materials. - Professional Services: Expect to pay $75-$150 per hour for skilled labor. - Property Management Companies: Typically charge 7-10% of monthly rent if managing rentals. Legal Considerations Stay informed about local property laws, especially if you're renting your home. Key legal aspects to consider include: - Lease Agreements: Ensure clarity in tenants' rights and obligations. - Safety Regulations: Adhere to fire codes, lead paint disclosures, etc. Conclusion Efficient property management is pivotal for homeowners. By maintaining your home, budgeting appropriately, and understanding your responsibilities, you can not only enhance your property’s value but also ensure a hassle-free living experience.

Essential Roofing & Gutter Maintenance Tips for Every Homeowner
Your home’s roof and gutters play a vital role in protecting your property from the elements. A well-maintained roof ensures longevity and reduces repair costs, while functional gutters prevent water damage. In this article, we will explore actionable tips for maintaining both your roofing and gutter systems. ## Roofing Maintenance: Key Actions - **Regular Inspections:** Perform visual checks of your roof at least twice a year. Look for damaged shingles, leaks, or signs of wear. - **Clean Your Roof:** Remove debris such as leaves and branches. A clean roof prevents mold and algae growth, which can damage shingles. - **Check Flashing:** Inspect the metal flashing around chimneys and vents. Damaged flashing can lead to leaks and should be replaced promptly. - **Consider a Professional Inspection:** Hire a professional for a thorough inspection if your roof is older than 20 years or after a major storm. ## Understanding the Costs of Roofing Repairs The cost of roofing repairs can vary widely based on the extent of damage and materials used. On average, homeowners can expect to pay: - $150-$400 for minor repairs (e.g., patching leaks or replacing shingles). - $1,000-$3,000 for more extensive repairs (e.g., replacing flashing or multiple shingles). - $5,000-$15,000 for a complete roof replacement, depending on material choices. ## Gutter Maintenance: Essential Steps - **Regular Cleaning:** Clear gutters of leaves and debris at least twice a year to prevent blockages. - **Check for Damage:** Inspect for cracks or rust. Replace any damaged sections to ensure proper function. - **Ensure Proper Slope:** Gutters should slope towards downspouts. A good rule of thumb is a quarter-inch slope for every 10 feet of gutter. - **Install Gutter Guards:** Consider installing gutter guards to reduce the frequency of cleaning. ## Costs and Timing for Gutter Repairs The average costs for gutter maintenance can include: - $100-$250 for professional cleaning. - $200-$750 for repairs (e.g., fixing seams or replacing sections). - $1,500-$2,500 for complete gutter replacement. Timing for gutter maintenance is crucial; aim to clean them at the end of each season, ideally during spring and fall. ## DIY vs. Hiring a Professional For minor repairs and maintenance, many homeowners can comfortably manage roof and gutter upkeep. However, for significant issues or complex repairs, hiring a professional is recommended. Professionals bring expertise and safety measures that can prevent further damage or injury. ## Final Thoughts Keeping your roof and gutters in excellent condition is essential for the longevity of your home. By adhering to a regular maintenance schedule and addressing issues promptly, you can save money and increase your property’s value.

Transform Your Yard: Ultimate Landscaping Tips for Homeowners
Your Guide to Effective Landscaping Landscaping can transform your outdoor space into a beautiful haven, improve your home’s curb appeal, and even increase its value. Whether you’re looking for a simple refresh or a complete overhaul, understanding the essentials of landscaping will help you make informed decisions. Why Landscaping Matters A well-designed landscape enhances your home’s beauty, creates functional outdoor spaces, and can lower energy costs by providing natural cooling. Here are some key benefits: - Boosts aesthetic appeal - Increases property value - Improves outdoor functionality - Supports environmental benefits—like reducing erosion Planning Your Landscape Before you start digging, take some time to plan. Here are steps to guide you: - Assess Your Space: Take measurements and note the sun and shade patterns. - Define Your Goals: Decide if you want a garden, entertainment area, or low-maintenance space. - Create a Budget: Establish how much you’re willing to spend and research materials. DIY vs. Hiring a Professional Consider your skills and the scope of your project when deciding between DIY and hiring a landscape professional: - DIY Projects: Ideal for small gardens, planting, and basic maintenance. Costs will mainly involve supplies and tools. - Hiring Professionals: Best for complex designs, large areas, or installations like patios or retaining walls. Expect to pay between $50 to $150 per hour for labor. Must-Know Tips for Successful Landscaping The following tips will ensure you achieve a successful landscape design: - Choose the Right Plants: Research native plants to enhance your space and reduce water usage. Native plants are typically more resilient. - Consider Seasonal Interest: Plan for plants that bloom in different seasons for year-round appeal. - Layering: Use a mix of heights by planting taller items at the back and shorter ones in front to create depth. - Maintenance Plan: Create a routine for watering, weeding, and pruning to keep your landscape thriving. Cost and Timing Considerations Understanding costs will help in your planning process: - Initial Investment: Basic landscaping can cost between $1,500 to $5,000, while more elaborate designs can exceed $15,000. - Timing: Spring and early fall are the best seasons for planting and landscaping projects. Conclusion Landscaping is a rewarding endeavor that can significantly enhance your home's value and aesthetic. Remember to plan carefully, consider whether to DIY or hire a professional, and implement smart practices to create a thriving landscape.

Upgrade Your Home: A Guide to Smart Home Tech Essentials
In today’s fast-paced world, smart home technology is no longer a luxury but a necessity for homeowners looking to enhance comfort, security, and energy efficiency. These systems can be tailored to fit any budget, providing a variety of options for all types of users. This article will explore the essentials of smart home tech, helping you make informed decisions about upgrading your home. Key Components of Smart Home Technology - Smart Lighting - Smart Thermostats - Smart Security Systems - Smart Appliances - Home Assistants 1. Smart Lighting Smart lighting allows you to control your home’s lights remotely or automate them based on your schedule. Here are some popular options: - LED Smart Bulbs: Costing between $10-$30 per bulb, they can change colors and be dimmed via an app. - Smart Light Switches: Priced around $40, these replace standard switches and allow control of regular bulbs. Consider DIY installation unless you are uncomfortable with electrical work; most systems are user-friendly. 2. Smart Thermostats Smart thermostats can help you save on heating and cooling costs. Popular options like the Nest or Ecobee range from $100 to $250. They learn your habits and adjust the temperature automatically. - Cost Savings: You can save 10-15% on annual energy bills. - Installation: Most can be installed DIY, but professional installation is recommended if unsure about wiring. 3. Smart Security Systems Safety is a top priority for any homeowner. Smart security systems offer solutions from cameras to alarms and smart locks. Here’s what to know: - Camera Systems: Prices range from $50 for basic indoor models to $250 for advanced outdoor cameras. - Alarm Systems: Monthly monitoring fees vary from $10 to $50, depending on services. Professionally installed security systems come with warranties and support, but DIY systems can save costs. 4. Smart Appliances Smart appliances like refrigerators, dishwashers, and washers offer connectivity and convenience. They typically cost 10-20% more than standard appliances. Features include: - Energy Efficiency: Often easier on your electric bill. - Remote Monitoring: Manage settings from your phone. Investing in ENERGY STAR certified appliances can lead to further cost savings. 5. Home Assistants Devices like Amazon Echo or Google Home can control various smart gadgets, providing voice-activated convenience. Prices range from $50 to $200, depending on features. - Integration: Most home tech can connect to these systems for central control. - Automation: Set routines to simplify everyday tasks. Investing in smart home technology not only makes your living space more enjoyable but can also lead to significant savings and improved efficiency. Start small, assess your needs, and expand your system over time. Whether you choose to DIY or hire a professional, the benefits will make your home smarter and more connected.
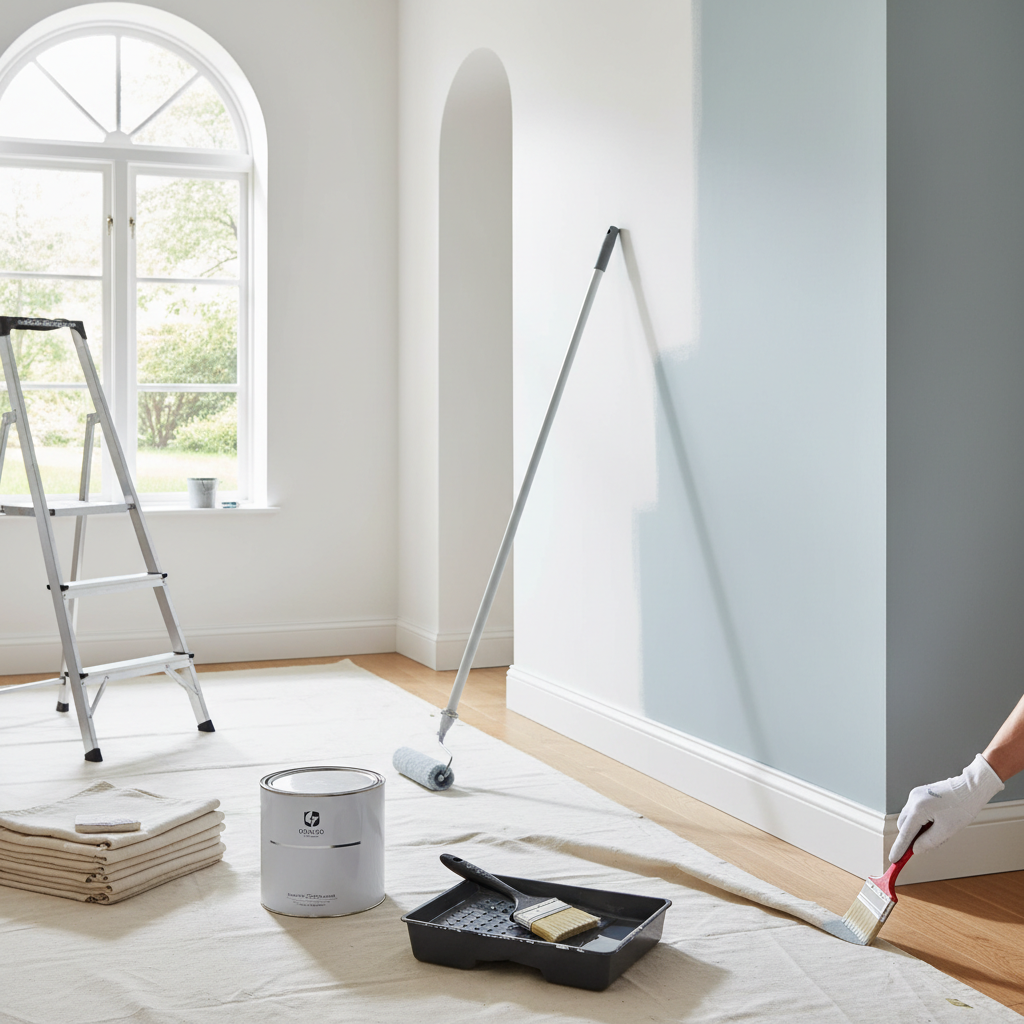
Transform Your Space: Essential Guide to Painting & Finishing
Transform Your Space: Essential Guide to Painting & Finishing Introduction Painting and finishing your home can dramatically enhance its appearance and value. Whether you're looking to refresh a room with a new coat of paint or revive worn-out surfaces, understanding the painting process is key. In this guide, we’ll cover practical tips, costs, and when to consider DIY versus hiring professionals. Types of Paint and Finishes Choosing the right type of paint and finish is crucial for achieving the look you want. Here are some options: - Latex Paint: Water-based, easy to clean, and environmentally friendly. Best for indoor use. - Oil-Based Paint: Durable and resistant to wear, ideal for high-traffic areas and outdoor applications. - Eggshell Finish: Offers a soft, velvety finish that’s easy to clean. Great for living rooms and hallways. - Satin Finish: Shiny yet soft; perfect for kitchens and bathrooms. - Matte Finish: Non-reflective and hides imperfections well, suitable for ceilings or low-traffic areas. Preparation Steps Before you start painting, preparation is vital for a successful project: - Choose the Right Time: Ideally, plan your painting project during temperate weather, avoiding extreme humidity or heat. - Clear the Area: Move furniture and cover the floor with drop cloths. - Repair Surfaces: Fill any holes or cracks with appropriate filler, and sand surfaces smooth. - Clean Walls: Dust and wipe down walls to ensure good adhesion. Cost Considerations The cost of painting can vary widely based on size, material, and complexity. Here’s a breakdown: - DIY Costs: $15 to $40 per gallon of paint, with additional expenses for brushes, rollers, and tape. Expect to spend around $100 to $300 for a single room. - Professional Costs: Hiring painters typically ranges from $200 to $600 per room, depending on factors like wall height and condition. DIY vs. Hiring a Professional When deciding whether to tackle a painting project yourself or hire a professional, consider the following: - Experience: If you're comfortable with tools and painting techniques, DIY can save money. - Time: Professionals can often complete the work faster due to experience and equipment. - Quality: Hiring a pro can ensure a high-quality finish, especially for intricate or large-scale jobs. Conclusion Painting and finishing are excellent ways to refresh your home’s look and increase its value. With proper preparation, cost awareness, and understanding when to DIY versus hire help, you can successfully transform your space. Happy painting!
Mastering Property Management: Essential Tips for Homeowners
Understanding Property Management Property management involves overseeing the operation, control, and maintenance of real estate properties. For homeowners, whether you’re renting out a property or just wanting to keep your home in tip-top shape, understanding property management is crucial. Why Homeowners Need Property Management Skills - Maximize Property Value: Effective management can enhance your property's value over time. - Save Money: Proper maintenance can prevent costly repairs in the future. - Enhance Tenant Satisfaction: If renting, quality management can lead to satisfied tenants who are more likely to renew leases. Key Components of Property Management Property management encompasses several key areas: - Maintenance and Repairs: Regular upkeep is critical. Create a maintenance schedule for seasonal tasks. - Tenant Relations: If renting, ensure clear communication and address tenant concerns promptly. - Financial Management: Keep track of income and expenses associated with your property. - Legal Compliance: Be aware of local laws regarding tenants and property management. Actionable Tips for Homeowners 1. Create a Maintenance Schedule Establish a yearly maintenance calendar, including tasks like gutter cleaning, HVAC servicing, and roof inspections. This proactive approach can save money and prevent emergencies. 2. Learn to Handle Minor Repairs - Tools: Invest in basic tools like a hammer, screwdrivers, and a ladder. - DIY Tips: Watch tutorial videos for common repairs such as fixing leaky faucets or patching drywall. - Cost Savings: Doing minor repairs yourself can save significant labor costs. 3. Know When to Call in Professionals For major repairs like electrical work or plumbing issues, it's often best to hire professionals. The cost of hiring experts may seem high initially but can prevent costly mistakes and ensure the work is done safely. 4. Screen Tenants Thoroughly If you’re renting out your property, conduct background checks and verify references. A good tenant can alleviate stress and ensure consistent income. 5. Stay Informed on Local Laws Understand local housing laws regarding tenant rights, eviction processes, and property regulations. This knowledge protects you legally and enhances tenant satisfaction. Costs Involved in Property Management Managing a property can incur various costs, including: - Maintenance: Budget roughly 1% of your property's value annually for routine upkeep. - Management Fees: If hiring a property manager, expect to pay 8-12% of the monthly rent. - Repair Costs: Set aside a fund for emergency repairs; a good rule of thumb is to save 10-20% of your rental income each month. Conclusion Whether you’re managing a rental property or your own home, understanding the principles of property management is essential. By staying organized, maintaining your property, and knowing when to seek help, you can ensure that your investment is protected and thriving.
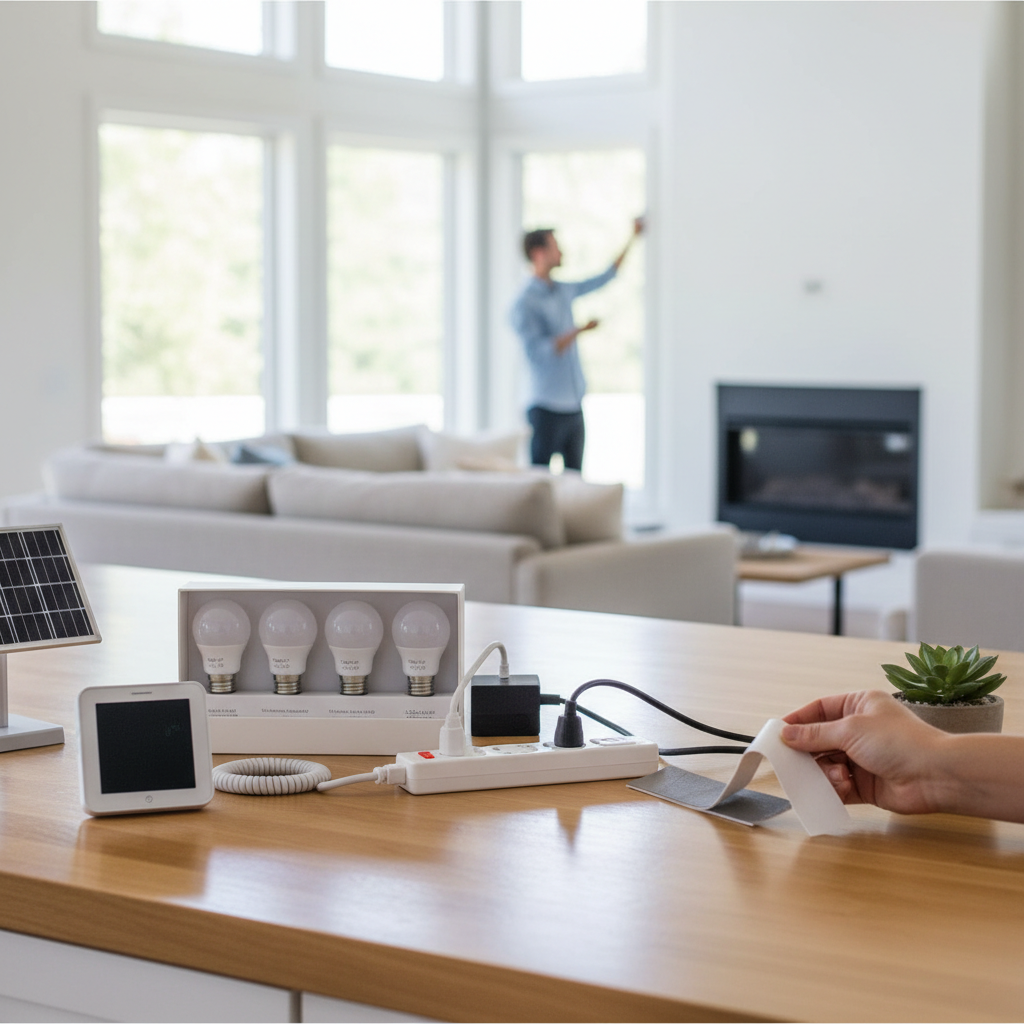
Maximize Energy Efficiency: Simple Tips for Every Homeowner
Maximize Energy Efficiency: Simple Tips for Every Homeowner Understanding Energy Efficiency Energy efficiency is not just a buzzword; it’s a practical approach that helps homeowners save money while protecting the environment. By optimizing your home’s energy use, you can drastically reduce utility bills and lower your carbon footprint. Why Energy Efficiency Matters Investing in energy efficiency improves home comfort, decreases energy consumption, and increases property value. Let’s delve into some actionable steps you can take to make your home more energy-efficient. Practical Tips for Enhancing Energy Efficiency - Insulate Your Home Proper insulation can significantly reduce heating and cooling costs. Ensure your attic, walls, and floors are adequately insulated. You can save between $200 to $500 annually depending on your home's size and climate. - Upgrade to Energy-Efficient Appliances Look for appliances with the Energy Star label. Although upfront costs can be higher, these appliances use up to 50% less energy, leading to significant savings over time. For example, an energy-efficient refrigerator might save you about $125 a year. - Seal Air Leaks Check for air leaks around windows, doors, and ducts. Use caulk or weatherstripping to seal gaps. A small investment of $10 to $50 can save you 10-20% on heating and cooling expenses. - Consider Smart Thermostats Smart thermostats can adjust your home's temperature based on when you are home or away. This feature can save you about 10-15% on heating and cooling costs annually, roughly translating to $50-$100 saved per year. - Optimize Water Heating Lower your water heater temperature to 120°F and insulate the tank. This simple step can save you $30 to $60 each year. DIY vs. Professional Assistance Many energy-saving improvements can be handled as DIY projects, like sealing leaks or installing weatherstripping. However, for tasks like insulation or high-efficiency HVAC installations, it’s wise to consult a professional. Ensure to choose someone experienced and ideally certified by organizations such as the Building Performance Institute (BPI). Timing Your Energy Efficiency Upgrades The best time to invest in energy upgrades is during routine maintenance or renovation projects. Spring and fall are great seasons to tackle these tasks, as they often require comfortable temperatures for the work. The Financial Side of Energy Efficiency Although some energy-efficient upgrades require upfront costs, there are often local, state, or federal incentives and rebates available. These can significantly reduce your financial burden. It’s worth researching these programs to maximize your investment. In conclusion, embracing energy efficiency can lead to substantial savings and contribute to a healthier planet. Start with small changes, and gradually implement larger upgrades. Remember, every little bit helps!

Smart Investment Strategies to Boost Your Home's Value
Your home is not just a place to live; it's also one of your most significant financial investments. Whether you’re planning to sell or want to enhance your living space for years to come, making smart investment choices is crucial. This article will provide practical tips on how to effectively invest in your home to increase its value. 1. **Focus on Curb Appeal** - First impressions matter. Elevating your home’s curb appeal can significantly impact its value. - Landscaping: Invest in professional landscaping or simple DIY projects like planting flowers and maintaining your lawn. Costs range from $200 to $5,000 depending on scale. - Paint: A fresh coat of paint can make your home look new again. Budget approximately $400 to $1,000 for exterior paint. - Front Door Upgrade: A new front door can return around 75% of its cost. Expect to spend $300 to $1,500. 2. **Kitchen and Bathroom Renovations** - Investing in kitchens and bathrooms often pays off. They are key selling points for any home. - Go Modern: Update fixtures, paint cabinets, or install new countertops. Minor remodels can cost around $10,000 while major renovations may exceed $50,000. - Energy Efficiency: Invest in ENERGY STAR appliances. These can save you money on utilities and attract eco-conscious buyers. 3. **Maximize Interior Space** - Buyers love functional spaces. - Add Storage: Install built-ins or shelving. This can cost between $500 and $2,000 but adds functionality. - Finish the Basement: Converting a basement into a livable space can yield a high return. Costs range from $20,000 to $40,000, but it can significantly increase home value. 4. **Energy Efficiency Investments** - Energy-efficient homes are attractive for buyers. Consider these improvements: - Insulation: Proper insulation can cut heating and cooling costs. DIY projects range from $500 to $1,500. - Solar Panels: Although upfront costs can be high ($15,000 to $30,000), they dramatically reduce energy bills and can be a significant selling point. 5. **Timing Your Renovations** - Consider timing when planning investments. Spring and summer are ideal for outdoor projects, while fall is perfect for indoor renovations. 6. **DIY vs. Professional Help** - Decide whether to tackle projects yourself or hire professionals: - DIY: Great for low-cost, simple tasks. Research thoroughly and ensure you have the skills. - Hire Professionals: For complex jobs like electrical work or major renovations, hiring certified professionals can save you time and prevent costly errors. **Conclusion** Investing wisely in your home not only enhances your living experience but also increases its value. Take the time to plan your projects, set a budget, and assess your skills. Happy investing!
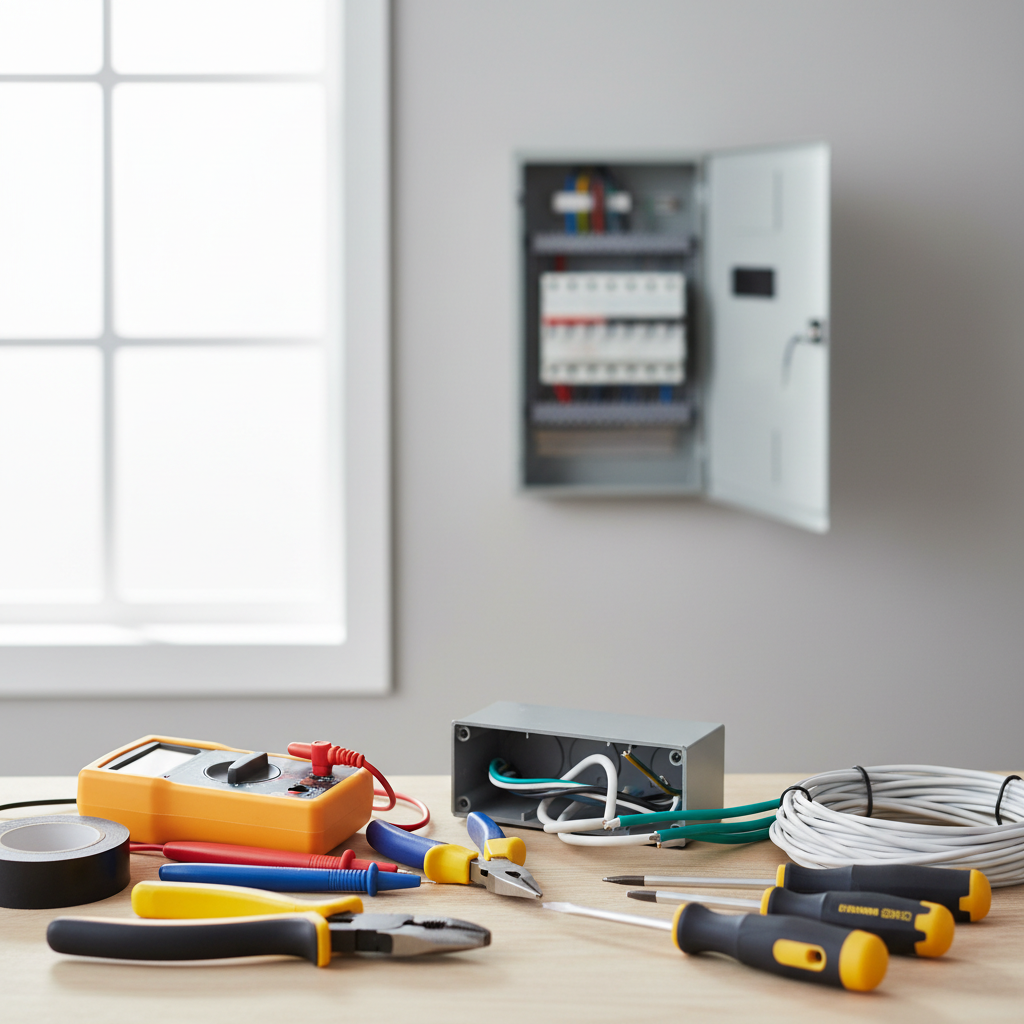
Essential Guide to Electrical Work: Tips for Homeowners
Understanding Electrical Work: A Homeowner's Guide As a homeowner, understanding the basics of electrical work can save you time and money while ensuring the safety of your living space. This guide will cover essential aspects of electrical work, from common issues and DIY fixes to when to call a professional. Common Electrical Issues You Might Face Flickering Lights: Often caused by loose bulbs or wiring issues. Tripped Circuit Breakers: This can indicate an overloaded circuit or faulty appliance. Dead Outlets: May result from a break in the wiring or a tripped GFCI outlet. Burning Smell: A serious sign of electrical issues, possibly indicating short circuits. DIY Electrical Work: What You Can Handle Many homeowners can tackle minor electrical tasks. Here are some manageable DIY projects: Replacing Light Fixtures: Ensure the power is off and follow instructions thoroughly. Installing Dimmer Switches: Adds versatility to your lighting while being easy to install. Changing Outlets or Switches: Upgrade to grounded outlets or replace damaged ones with care. When to Call a Professional While some tasks are manageable, others require professional expertise. Contact an electrician for: Wiring Needs: Upgrading old wiring or running new wiring requires specialized skills. Major Renovations: Any work involving significant changes to your home’s electrical system. Electrical Panels: Upgrading or replacing your service panel is a complex task that needs a professional. Cost of Electrical Work Understanding potential costs can help you budget for electrical work: Hourly Rate: Electricians typically charge between $50 to $100 per hour. Flat Rate Jobs: For jobs like installing new fixtures, you might pay around $150 to $300. Materials: Budget additional costs for materials, which could range from $20 for outlets to over $1,000 for new panels. Timing Your Electrical Projects Depending on the scope, timing can vary: Small Projects: Simple fixes like replacing outlets can take less than an hour. Medium Projects: Installing new lighting might require a few hours to a full day based on complexity. Larger Installations: Complete rewiring or panel installation may take one to three days. Final Thoughts Understanding electrical work is crucial for every homeowner. By knowing when to DIY and when to hire a professional, you can maintain your home effectively and safely. Always prioritize safety. When in doubt, consult with or hire a licensed electrician to avoid potential hazards.
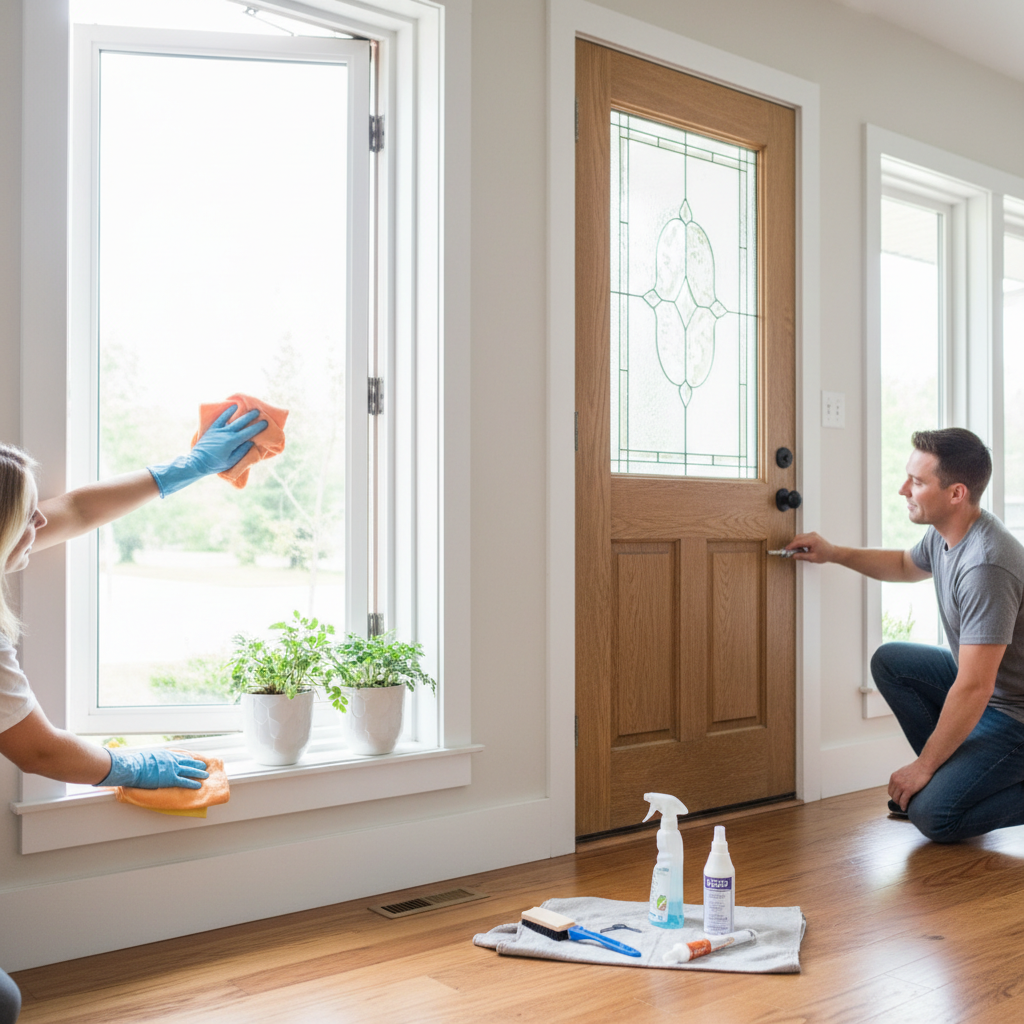
Essential Guide to Windows & Doors: Maintenance Tips for Homeowners
Your windows and doors serve as more than just entry points to your home; they are crucial for energy efficiency, security, and aesthetic appeal. Proper maintenance can extend their lifespan and enhance your home’s functionality. This guide offers practical tips for maintaining your windows and doors effectively. ### Why Maintenance Matters - Improves energy efficiency - Enhances curb appeal - Increases home security - Prevents costly repairs or replacements ### Window Maintenance Regular maintenance of your windows can help avoid drafts, leaks, and other issues. Here are some tips: 1. **Inspect Regularly** - Check your windows for signs of wear: cracked glass, damaged frames, and worn seals. Inspect annually, especially before winter. 2. **Clean Your Windows** - Use a mixture of water and mild detergent for cleaning. Avoid abrasive cleaners that can scratch the glass. Clean windows every three to six months. 3. **Check the Seals** - Ensure your window seals are intact. If you notice air leaks, weatherstripping can be added or replaced. This is a cost-effective way to improve insulation. 4. **Lubricate Moving Parts** - The hinges and tracks of your windows should be lubricated occasionally to ensure smooth operation. Use a silicone-based lubricant for best results. ### Door Maintenance Just like windows, your doors require regular attention. Here are actionable maintenance tips for doors: 1. **Inspect and Tighten Hardware** - Check door handles, knobs, and locks for wear. Tighten screws and replace any damaged hardware. This enhances both security and functionality. 2. **Check Weatherstripping** - Inspect the weatherstripping around your doors. Replace it if it is cracked or worn; this will help maintain your home’s temperature and lower energy costs. 3. **Clean and Paint** - Keep your door surfaces clean. Wooden doors may need to be sanded and repainted every few years to maintain their appearance and protect the wood. ### When to DIY vs. Call a Professional Some maintenance tasks are straightforward and can be handled by homeowners, while others may require a professional touch. Here’s how to decide: - DIY: Cleaning, inspecting seals, and lubricating hinges. - Professional: Glass replacement, frame repairs, and major weather sealing. ### Costs to Consider - Basic maintenance supplies: $20 - $100 - Professional cleaning services: $100 - $300 - Window replacement: $300 - $1,000+ per window - Door replacement: $500 - $2,500 depending on style and material ### Conclusion By incorporating these maintenance strategies, you can extend the life of your windows and doors while improving your home’s energy efficiency and security. Regular upkeep can save you money in the long run and enhance your home's overall appeal.

Essential Home Insurance Tips Every Homeowner Should Know
Understanding Home Insurance: A Homeowner's Guide Home insurance is a vital safety net for any homeowner, providing peace of mind and financial protection in case of unexpected events. Understanding the ins and outs of your home insurance can help you make informed decisions that could save you time and money. Types of Home Insurance Coverage There are several types of home insurance policies available, each tailored to different needs. Familiarizing yourself with these types can help you choose the right policy. - HO-1: Basic Form - Provides coverage for damages caused by specific perils like fire or theft. - HO-3: Special Form - Covers your home and personal property against most perils. - HO-5: Comprehensive Form - Offers the most extensive coverage for both home structure and personal property. - HO-4: Renters Insurance - Covers personal belongings for renters. - HO-6: Condo Insurance - Protects personal property within a condo as well as some structural components. How Much Coverage Do You Need? Determining the right amount of coverage can be challenging. Here are some practical steps to assess your needs: - Conduct a Home Inventory: List all your valuable items, including electronics, furniture, and jewelry. This helps determine personal property coverage needs. - Assess Home Repair Costs: Calculate how much it would cost to rebuild your home. Use online calculators or consult with a real estate agent. - Consider Liability Coverage: This protects against lawsuits for injuries or damages that occur on your property. A typical policy may include $100,000 in liability coverage; consider raising this for additional protection. When to Review or Update Your Policy Regularly reviewing your policy ensures that your coverage aligns with your current needs. Here are some key times to consider an update: - After significant home improvements (like a renovation or major repairs). - Following major life changes (like marriage, divorce, or having children). - When you buy expensive items (like collectibles or jewelry). - Annually, as a part of your financial review. Choosing Between DIY Repairs and Professional Help In the event of damage, understanding whether to handle repairs yourself or hire professionals is crucial: - DIY Repairs: Minor issues like small leaks or cosmetic damage can often be handled without professional help, saving you money. - Professional Help: Major problems involving electrical work, plumbing, or structural damage should be addressed by qualified professionals to ensure safety and compliance with local building codes. Final Tips for Homeowners - Shop Around: Compare quotes from several insurance providers to find the best rates. - Ask About Discounts: Look for discounts for bundling policies or for security measures (like alarm systems). - Stay Informed: Keep up with changes in insurance laws and the market to ensure your policy remains competitive. In conclusion, understanding your home insurance is critical to safeguarding your investment. By knowing the types of coverage available, assessing your needs, and implementing preventative measures, you can ensure you're adequately protected and prepared for whatever life may throw your way.
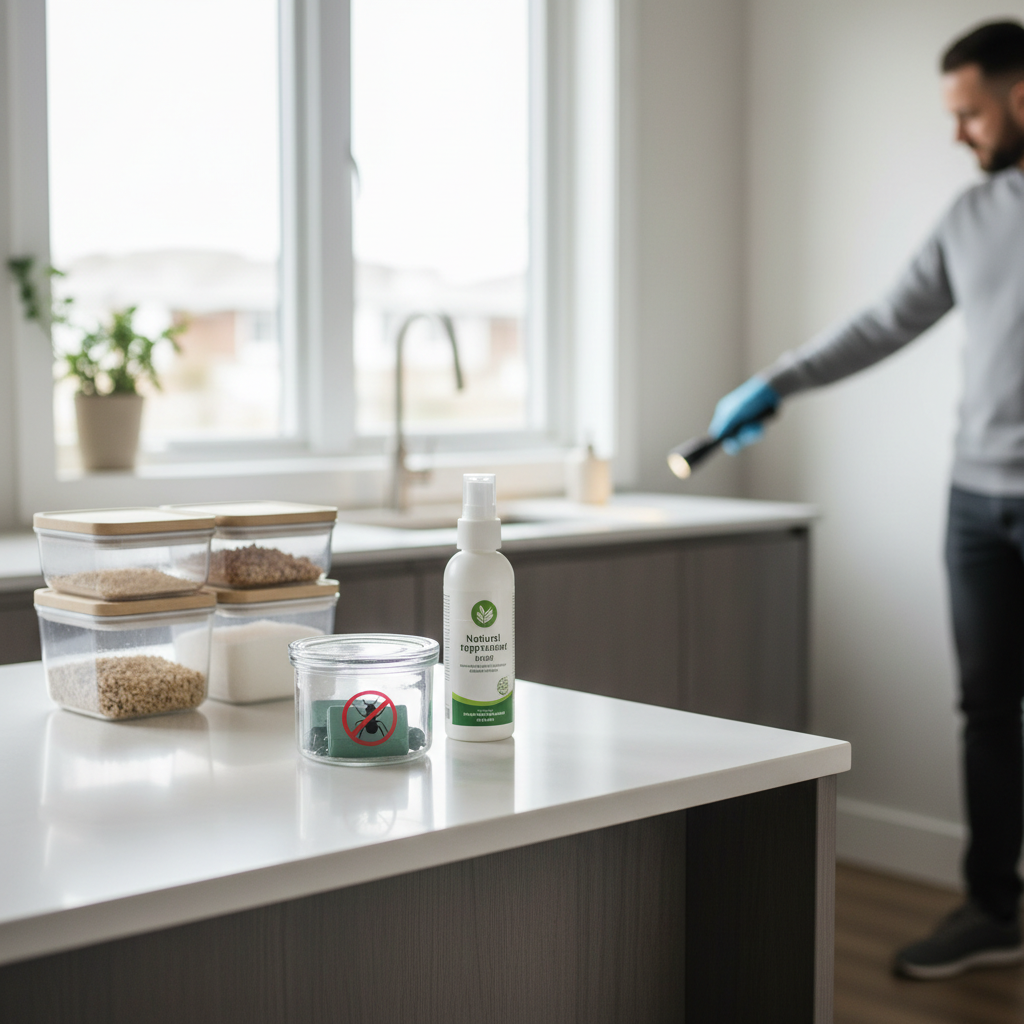
Effective Pest Control Strategies Every Homeowner Should Know
Effective Pest Control Strategies Every Homeowner Should Know Pest control is an essential aspect of home maintenance that every homeowner should prioritize. Whether it’s rodents, insects, or other unwanted guests invading your home, effective pest management can save you time, stress, and money. In this guide, we’ll explore practical tips for identifying pests, preventive measures, and when to seek professional help. Common Household Pests - Rats and Mice: These rodents are notorious for invading homes, often seeking food and warmth. - Ants: Common and persistent, ants can quickly become a nuisance. - Termites: Known for causing structural damage, termites can be destructive if left untreated. - Bed Bugs: These tiny pests are most often found in bedding and can be challenging to eradicate. - Roaches: Cockroaches thrive in warm, humid environments and can contaminate food. Actionable Pest Control Tips Here are some effective methods to manage and prevent pest infestations: 1. Identify the Problem Before taking action, accurately identify the type of pest you’re dealing with. Look for signs such as droppings, gnaw marks, or nests. This helps in choosing the most effective treatment. 2. Preventive Measures - Seal Entry Points: Inspect your home for cracks and gaps. Use caulk or weather stripping to seal these vulnerabilities. - Keep Clean: Regularly clean your home, especially kitchens and dining areas. Properly store food in airtight containers. - Reduce Clutter: Declutter spaces to minimize hiding spots for pests. 3. DIY Solutions If you prefer to handle pest control yourself, consider these DIY methods: - Homemade Traps: Use a mixture of sugar and baking soda to attract and kill roaches. - Essential Oils: Certain oils, like peppermint and tea tree, can repel pests when mixed with water and sprayed around entry points. - Natural Deterrents: Boric acid and diatomaceous earth are effective in controlling various pests. 4. When to Hire Professionals Some infestations may require the expertise of pest control professionals. Consider hiring a pest control service if: - The problem escalates beyond your control. - Infestations involve termites or bed bugs. - You have health concerns or allergies. - The use of chemicals may pose risks to children or pets. Cost Considerations The cost of pest control can vary widely, depending on the type of pest, the severity of the infestation, and whether you opt for DIY or professional services. On average, DIY methods can cost anywhere from $30 to $150 for supplies, while professional services may range from $100 to over $500, depending on the treatment plan. Conclusion Effective pest control requires a combination of prevention, identification, and timely intervention. By implementing these tips, homeowners can maintain a pest-free environment. Remember, if the infestation seems unmanageable, don’t hesitate to call in the professionals!

Mastering Tenant Relations: Key Tips for Homeowners
Understanding Tenant Relations As a homeowner, establishing and maintaining positive tenant relations is crucial not only for the comfort of your tenants but also for your investment's long-term success. Good tenant relations lead to lower turnover rates, timely rent payments, and a more peaceful living environment. Why Are Tenant Relations Important? - Reduced Turnover: Happy tenants are more likely to renew their leases. - Timely Rent Payments: Positive relations encourage tenants to pay rent on time. - Property Maintenance: Tenants will report issues promptly when there is mutual respect. Actionable Tips for Improving Tenant Relations Here are several practical steps you can take to foster strong relationships with your tenants: 1. Communication is Key - Be Accessible: Ensure tenants can easily reach you via phone, email, or messaging apps. - Regular Updates: Keep tenants informed about property changes, maintenance schedules, and important reminders. 2. Provide a Welcoming Environment - Clean and Functional Units: Ensure your property is clean, well-maintained, and fully functional before tenants move in. - Respect Privacy: Give tenants a heads-up before entering their unit for maintenance or inspections. 3. Handle Concerns Promptly - Timely Repairs: Address maintenance issues as quickly as possible, ideally within 24-48 hours. - Feedback Loops: Create a system for tenants to easily report issues or provide feedback. 4. Build Trust and Respect - Fair Practices: Be consistent and fair with all tenants regarding rules, procedures, and lease agreements. - Meet in Person: Whenever possible, meet tenants face-to-face to resolve issues or simply to check in. Cost and Timing Considerations While maintaining good tenant relations can incur some costs, such as cleaning or professional repair services, it's often a worthwhile investment. Keeping an open line of communication might take some time at the outset, but it typically pays off in the form of tenant loyalty and satisfaction. Professional Help vs. DIY Depending on the situation, you might find yourself weighing the options between DIY solutions and hiring professionals. Here’s a breakdown: - DIY: Simple repairs and maintenance can often be handled by yourself, especially if you have basic tools and skills. - Professional Help: For extensive repairs, issues involving plumbing or electrical systems, or if you're overwhelmed, it's best to hire a trained professional. Conclusion Building solid tenant relations is an ongoing effort that can significantly impact your rental business's success. By focusing on clear communication, timely responses to concerns, and creating a respectful environment, you will cultivate lasting relationships with your tenants.
Essential Property Management Tips Every Homeowner Should Know
Understanding Property Management Property management is a crucial aspect of home ownership that involves overseeing the maintenance, operation, and rental of a property. Whether you are renting out your home or simply managing your own living space, effective property management can save you time, money, and stress. Key Responsibilities of Property Management - Maintenance and Repairs: Regular upkeep is essential to prevent larger issues. - Tenant Relations: If you are renting, good communication with tenants is important. - Financial Management: Budgeting for expenses and tracking income from rentals is critical. - Legal Compliance: Understanding local laws regarding rental properties protects you legally. Actionable Property Management Tips 1. Schedule Regular Maintenance Creating a maintenance schedule is vital for preserving your property’s value. Here’s a simple breakdown: - Monthly: Check HVAC filters and smoke detectors. - Quarterly: Inspect plumbing and gutters. - Annually: Schedule a professional inspection of roofing and foundations. 2. Budget for Operational Costs Creating a budget for property management can help you anticipate costs and avoid surprises. Here’s how: - Maintenance Fund: Set aside 1-2% of your property value annually. - Emergency Repairs: Budget at least $1,000 for unexpected repairs each year. - Hiring Help: Research local costs for electricians, plumbers, and landscapers. 3. Build an Effective Tenant Screening Process If you are renting out your property, carefully vetting tenants can save you headaches down the line: - Background Checks: Verify past rental history and creditworthiness. - Employment Verification: Ensure tenants have a stable income. - References: Contact previous landlords for insights into behavior. 4. Understand Local Laws It’s crucial to familiarize yourself with laws regarding rentals and property management in your area. Consider: - Rent Control: Some areas have regulations on how much you can increase rent yearly. - Security Deposits: Know the legal limits and handling practices for security deposits. - Eviction Procedures: Understand the legal process to follow if you encounter problematic tenants. DIY vs Professional Help Deciding when to do it yourself and when to hire professionals can impact your time and costs: - DIY: Tasks like painting, landscaping, or minor repairs can often be handled personally. - Professional Help: For specialized tasks such as electrical work or extensive plumbing, hiring licensed professionals is safer and often legally required. Conclusion Effective property management is about finding the right balance between cost, time, and effort. By following these actionable tips, you can maintain your property with confidence, whether you are planning to rent it out or reside in it yourself.
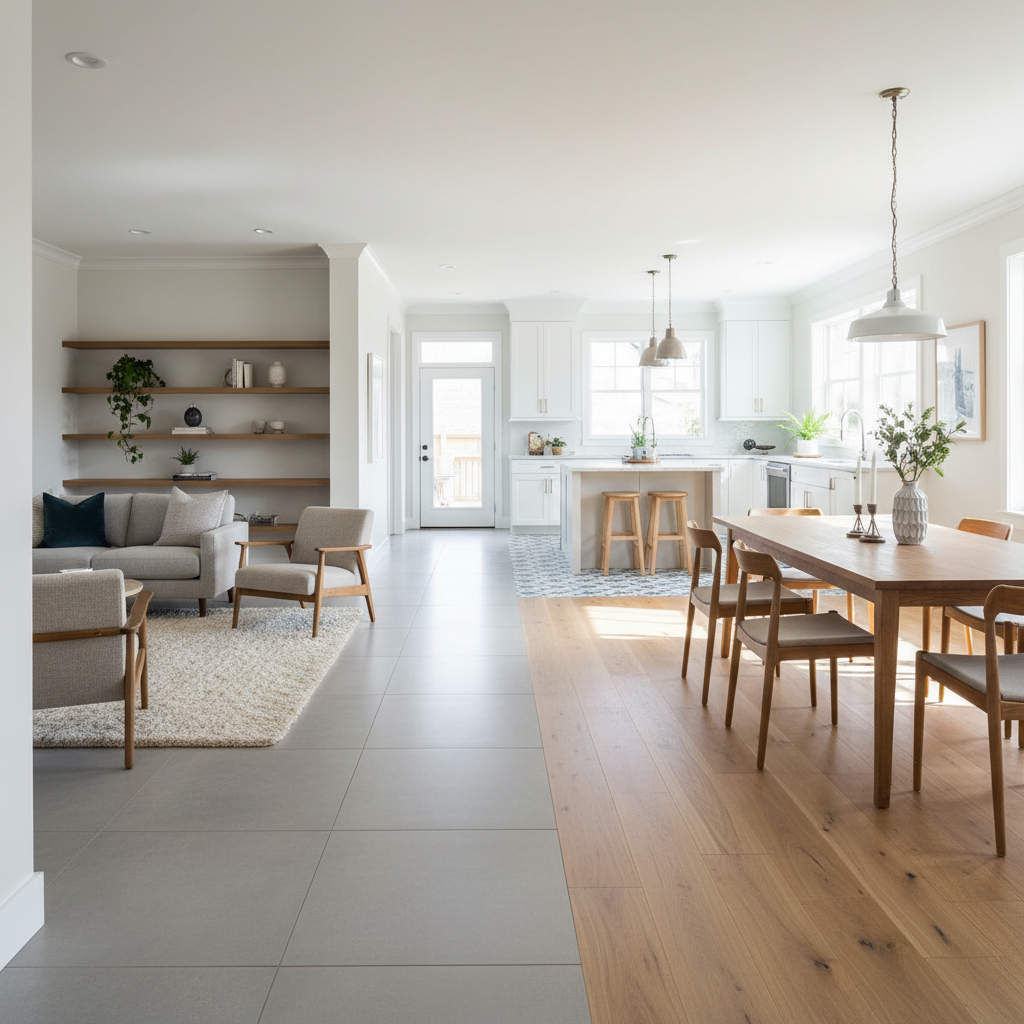
Your Ultimate Guide to Choosing the Perfect Flooring for Your Home
Choosing the right flooring for your home is crucial not just for aesthetics but also for functionality. With numerous options available, making an informed decision can save you time and money in the long run. In this guide, we'll explore the various flooring types, costs, DIY considerations, and professional help options. **Popular Flooring Options** - **Hardwood Flooring:** Timeless and durable, hardwood floors are an excellent choice for any home. They come in various types like oak, maple, and cherry. - **Laminate Flooring:** A budget-friendly alternative to hardwood, laminate mimics wood appearances while being more resistant to scratching and moisture. - **Vinyl Flooring:** Easy to install and available in many designs, vinyl is waterproof and ideal for kitchens and bathrooms. - **Tile Flooring:** Great for wet areas, tiles come in ceramic, porcelain, or stone and are very durable. Consider underfloor heating for comfort in colder months. - **Carpet:** Soft and inviting, carpets are perfect for living rooms and bedrooms but require regular maintenance to keep them looking clean. **Cost Considerations** Understanding the costs involved can help you stick to your budget. Here’s a breakdown of average pricing: - Hardwood: $5 - $10 per sq. ft. - Laminate: $1 - $5 per sq. ft. - Vinyl: $1 - $7 per sq. ft. - Tile: $3 - $8 per sq. ft. - Carpet: $2 - $7 per sq. ft. Additionally, factor in installation costs which can range from $1 to $5 per square foot, depending on the type of flooring. **DIY vs. Professional Installation** Deciding whether to install your flooring yourself or hire a professional can significantly affect your project’s timeline and budget: - **DIY:** Choose this route if you have the tools and skills. Laminate and vinyl flooring tend to be easier for beginners and can usually be installed in a weekend. - **Professional Installation:** Ideal for complex projects such as hardwood or tile. Professionals ensure quality work and may offer warranties on labor. **Timing Your Project** Timing is key when it comes to flooring projects. Here are some tips: - Avoid installing during high humidity months, especially for hardwood. - Plan for your project to take longer than expected; typically, installation can take 1-5 days depending on the size and type of flooring.

Home Security & Safety: Essential Tips Every Homeowner Should Know
Home Security & Safety: Essential Tips Every Homeowner Should Know Introduction to Home Security & Safety As a homeowner, ensuring the security and safety of your property and loved ones is paramount. With rising concerns about theft and home safety, it’s crucial to take proactive measures to safeguard your home. This guide will provide you with practical tips, costs associated with improvements, and advice on whether to tackle projects yourself or hire professionals. Understanding Home Security Basics Before diving into solutions, it’s important to grasp the fundamentals of home security: Locks: Ensure all doors and windows are fitted with quality locks. Lighting: Adequate outdoor lighting can deter potential intruders. Surveillance: Consider installing security cameras for added peace of mind. Actionable Tips for Home Security 1. Upgrade Door and Window Locks Invest in high-quality deadbolt locks for exterior doors and install window locks. A good lock can cost between $30 to $100. You might consider hiring a locksmith, which can cost around $100 for installation, or you can do it yourself with basic tools. 2. Install a Home Security System Many security systems are available today, ranging from DIY setups starting at $200 to professionally installed systems that can exceed $1,000. Monthly monitoring fees typically range from $15 to $50. Choose a system that meets your lifestyle and budget. 3. Utilize Outdoor Lighting Brightening your outdoor areas with motion-sensor lights deters intruders. Outdoor solar lights can be a cost-effective option, costing around $20 to $50 each. Plan to install them near entry points and pathways. 4. Secure Your Garage Your garage is often a vulnerable entry point. Install a sturdy lock on the garage door and consider a smart garage door opener that allows you to monitor it remotely. Costs can range from $50 to $200, depending on the system. 5. Create a Neighborhood Watch Engage with your neighbors to form a neighborhood watch group. This collective effort can significantly enhance security and foster community trust. There’s no cost involved, but time and collaboration are essential. Home Safety Tips 1. Conduct Regular Fire Safety Checks Regularly check smoke alarms and carbon monoxide detectors. Replace batteries at least once a year and test the systems monthly. Smoke alarms cost about $10 to $30 each, while carbon monoxide detectors can range from $30 to $100. 2. Keep Emergency Numbers Handy Create a physical list of emergency contacts, including local police, fire department, and poison control, and post it clearly in your home. This simple yet vital step can save precious time in a crisis. DIY vs. Professional Help When deciding whether to do it yourself or hire a professional, consider the following: Complexity: If the task requires electrical work or advanced skills, it’s better to hire a professional. Time: Assess if you have the time to devote to the project, especially for larger installations. Budget: DIY can save money, but sometimes investing in a professional is worth the peace of mind. Conclusion Maintaining a secure and safe home is an ongoing effort that pays dividends in worry-free living. By implementing these tips, you can protect your home and family effectively. Remember, safety starts at home!
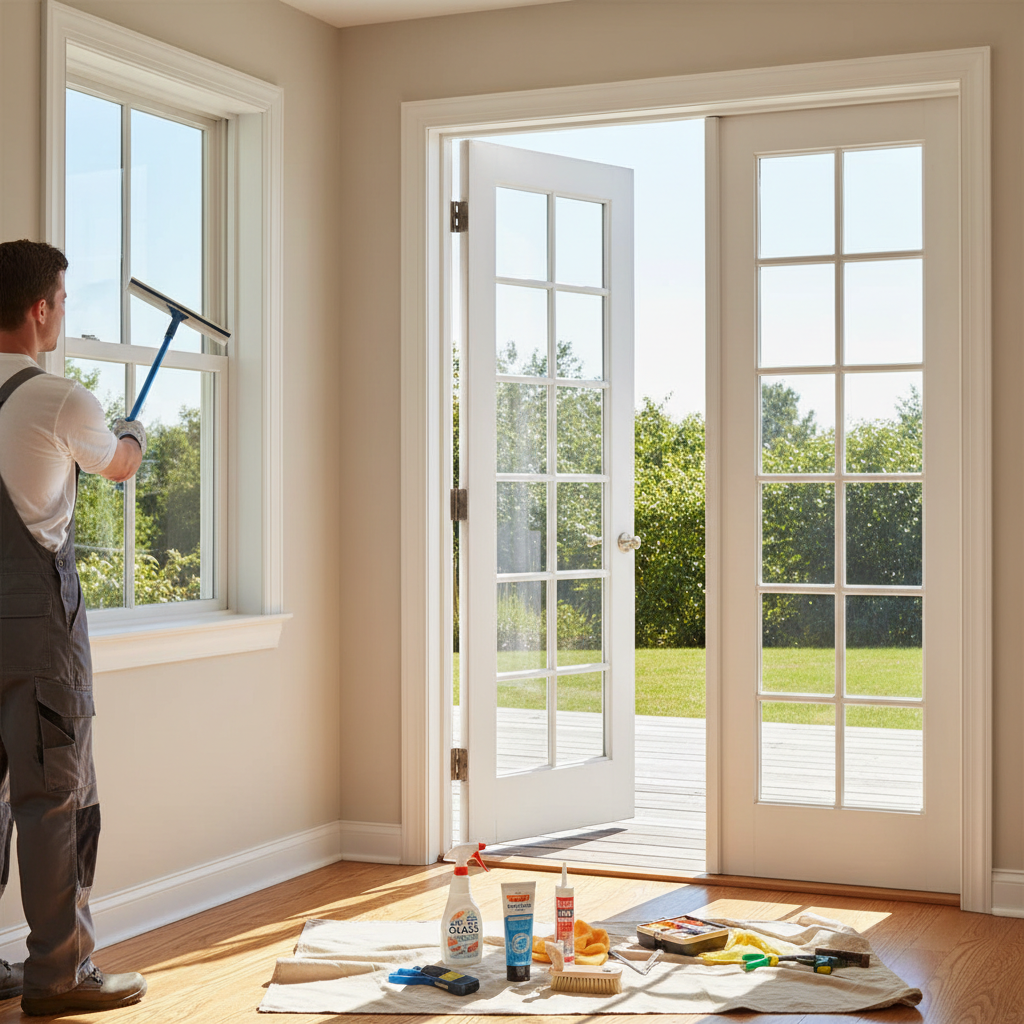
Essential Windows & Doors Maintenance Tips for Every Homeowner
Maintaining your windows and doors is crucial for ensuring energy efficiency, security, and longevity. Neglecting them can lead to costly repairs and reduced comfort in your home. Here’s a comprehensive guide on how to maintain this essential element of your home. Regular maintenance can help you identify and fix problems before they escalate. Here are common issues and related maintenance tasks: Draughts, moisture accumulation, and physical damage. If you’re a DIY enthusiast, straightforward maintenance steps include cleaning, inspecting hardware, and repainting. While many maintenance tasks can be tackled on your own, some issues such as seal replacement and structural problems are best handled by professionals. The cost of maintenance varies significantly depending on the materials and extent of work needed, from simple cleaning to replacement costs. To keep your windows and doors in optimal condition, consider a maintenance schedule: inspect monthly, clean and check seals seasonally, and do thorough inspections annually. By regularly maintaining your windows and doors, you can enhance the quality and efficiency of your home.

Navigating Home Insurance: Essential Tips for Homeowners
Understanding Home Insurance Home insurance is crucial for protecting your biggest investment: your home. It covers damages to your property and liability for accidents that occur on your property. In this article, we will explore different types of home insurance, tips for choosing a policy, and additional steps you can take to ensure your home is wisely protected. Types of Home Insurance Policies - HO-1: Basic Form - Provides limited coverage for specific perils. - HO-2: Broad Form - Covers more perils than the HO-1 and is a popular choice for homeowners. - HO-3: Special Form - Most common and provides comprehensive coverage for your dwelling and personal belongings. - HO-5: Comprehensive Form - Offers the most extensive coverage for both the dwelling and personal property. - HO-6: Condo Form - Specifically designed for condo owners, covers personal property and walls in. Choosing the Right Coverage When selecting a home insurance policy, consider the following tips: - Assess Your Needs: Evaluate the value of your home and possessions. A personal property inventory helps determine how much coverage you need. - Understand Replacement Costs: Coverage should be based on the cost to rebuild your home, not the market value. - Evaluate Additional Coverage: Think about special policies for flood, earthquake, or other perils that aren’t included in standard policies. Cost of Home Insurance The average cost of home insurance varies by location, home value, and risk factors. Here are some insights: - Average Premium: Home insurance costs approximately $1,000 annually in the U.S. - Deductibles: Higher deductibles usually lower your premium but ensure you can afford them in case of a claim. - Discounts: Many insurers offer discounts for bundling policies, having security systems, and maintaining a claims-free history. When to Review Your Policy It’s essential to regularly review your home insurance policy. Here’s when to do it: - After significant home renovations or major purchases in personal property. - Annually, to ensure you have adequate coverage and to compare rates. - If you add a new dependent or make significant lifestyle changes, like a home-based business. DIY vs Professional Help While you can handle some aspects of insurance (like obtaining quotes), consulting a professional agent can provide valuable insights into the best coverage for your unique circumstances. - When to go DIY: If you’re comfortable researching policies and fine-tuning coverage needs. - When to seek professional help: If you're unsure about coverage types, need advice on liability insurance, or want help navigating claims. Final Thoughts Home insurance is an essential part of homeownership. By understanding the types of policies, evaluating your needs, and regularly reviewing your coverage, you can ensure your home is well-protected. Remember that shopping around and comparing quotes can save you money, ensuring that you don't just choose a policy, but the right one for your home.
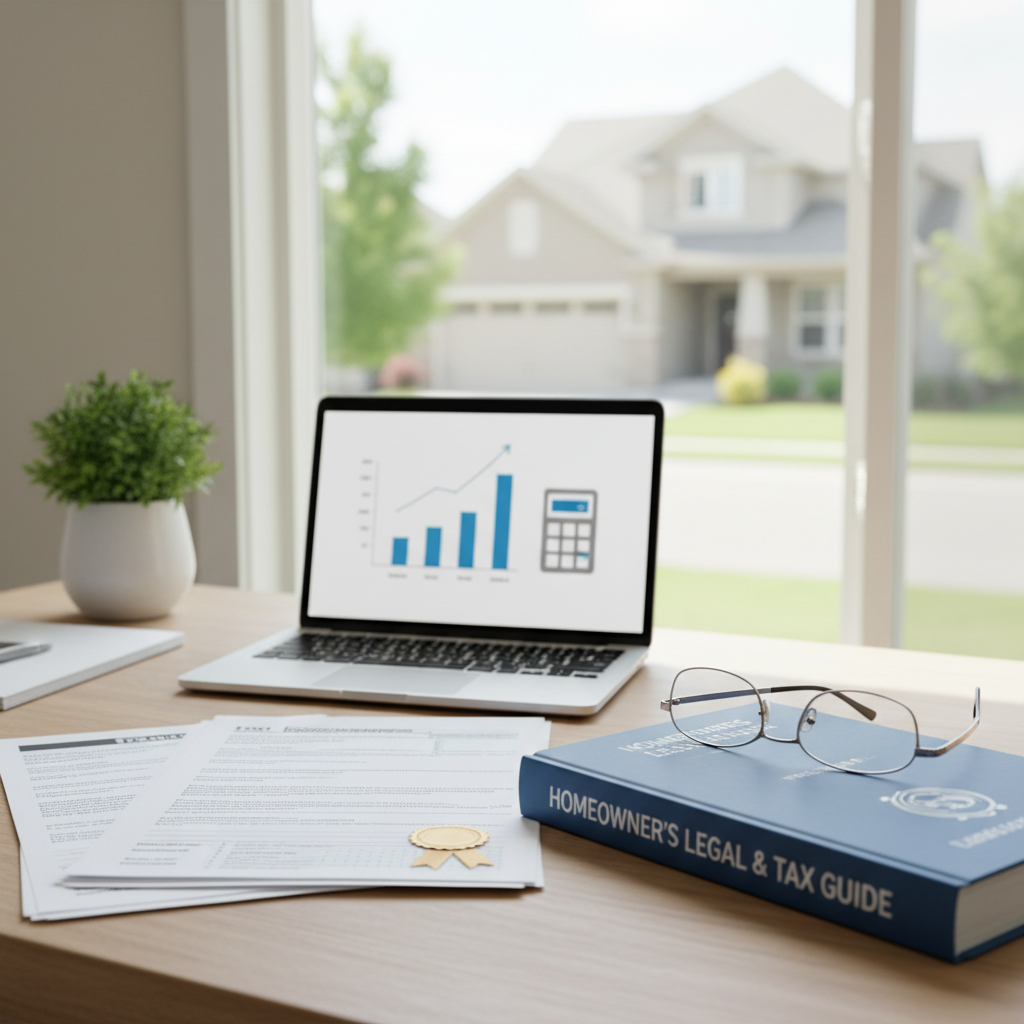
Tax & Legal Tips for Homeowners: Maximize Your Benefits
The Importance of Understanding Tax and Legal Obligations for Homeowners Owning a home comes with numerous responsibilities, including understanding the tax implications and legal obligations associated with property ownership. Whether you're a first-time homeowner or a seasoned property investor, knowing how to navigate these areas can lead to significant financial advantages and help you avoid potential pitfalls. 1. Property Taxes: What You Need to Know Property taxes are levies on real estate imposed by local governments, which can vary widely depending on your location. Here are some key points to consider: - Assessment Value: Be aware that your property’s assessed value is what determines your tax bill. Check your local assessor’s office to understand how your property value is assessed. - Appeals Process: If you believe your assessed value is too high, you can often appeal it. Gather evidence (like recent sales of comparable homes) to support your case. - Exemptions: Look into available exemptions (like homestead exemptions) that can significantly reduce your property taxes. 2. Understanding Tax Deductions Homeowners can take advantage of various tax deductions that can lower their taxable income: - Mortgage Interest: The interest you pay on your mortgage is typically tax-deductible. Ensure you receive a Form 1098 from your lender. - Property Taxes: You can often deduct the property taxes you pay, which helps mitigate the overall cost of homeownership. - Home Office Deductions: If you use part of your home for business, you may be entitled to deductions associated with that space. 3. Legal Obligations of Homeownership Owning a home comes with legal responsibilities that can vary depending on state and local laws: - Homeowners Association (HOA) Rules: If your property is within an HOA, familiarize yourself with the rules and fees that the association imposes. - Lease Agreements: If renting out your space, ensure your lease agreements comply with local laws regarding tenant rights and landlord responsibilities. - Insurance Requirements: Maintain adequate homeowners insurance to protect against property damage and liability claims; check your policy for coverage details. 4. When to Seek Professional Help While many homeowners can navigate tax and legal matters on their own, there are times it makes sense to seek professional advice: - Tax Preparers: Consider hiring a tax professional if your financial situation is complex, such as if you’re claiming multiple deductions or have investment properties. - Real Estate Attorneys: Consult an attorney for legal matters related to property sales or disputes to ensure compliance with local laws. Conclusion: Be Proactive About Tax & Legal Matters Being proactive about your tax and legal obligations can save you money and stress in the long run. Regularly review your finances, stay informed about changes in laws or tax codes, and don't hesitate to seek professional help when needed. By doing so, you will maximize your benefits and enjoy your home to the fullest.

Transform Your Space: Top Kitchen Upgrades to Enhance Your Home
Your kitchen is often the heart of your home—where you cook, gather, and create memories. Upgrading your kitchen can significantly enhance its functionality and aesthetics. Whether you're planning a complete overhaul or small improvements, here are some practical upgrades to consider. 1. **Upgrade Your Cabinets**: Cabinet upgrades can dramatically change the look and feel of your kitchen. You have several options: - **Refinishing**: Sand down and repaint or stain your existing cabinets for a fresh look. Cost: $500 - $1,500. - **Replacing**: Replace outdated cabinets with custom or prefabricated options. Cost: $2,000 - $10,000 depending on materials. - **Adding Hardware**: Installing new knobs and pulls can give cabinets a modern touch. Cost: $2 - $20 per piece. 2. **Invest in New Countertops**: Countertops play a crucial role in both function and design. Here are popular materials: - **Granite**: Durable and heat-resistant—ideal for busy kitchens. Cost: $40 - $100 per square foot. - **Quartz**: Non-porous and available in various colors. Cost: $50 - $120 per square foot. - **Laminate**: Budget-friendly and available in a variety of designs. Cost: $20 - $50 per square foot. 3. **Upgrade Kitchen Appliances**: Modern appliances can enhance efficiency and aesthetics. Consider these upgrades: - **Energy-efficient Refrigerators**: Look for models with the ENERGY STAR label. Cost: $800 - $3,000. - **Smart Ovens**: Ovens with Wi-Fi capabilities allow remote access. Cost: $1,000 - $5,000. - **Induction Cooktops**: Faster and safer than traditional gas or electric. Cost: $1,000 - $3,500. 4. **Install a Tile Backsplash**: A backsplash not only protects your walls but also adds visual interest. Options include: - **Subway Tiles**: Always in style and easy to clean. - **Mosaic Tiles**: Customize your design with various colors and patterns. - **Peel-and-Stick Tiles**: DIY-friendly option for a quick upgrade. Cost: $10 - $40 per square foot. 5. **Improve Lighting**: Kitchen lighting is vital for both functionality and ambiance. Consider these enhancements: - **Under-Cabinet Lighting**: Brightens workspaces and adds warmth. - **Pendant Lights**: Great for islands or dining areas, creating a focal point. - **Dimmer Switches**: Allow you to control the lighting mood easily. 6. **DIY vs. Professional Help**: While many upgrades can be handled as DIY projects, some may require professional assistance. Here’s a quick guide: - **DIY**: Painting cabinets, installing a backsplash, changing hardware. - **Professional**: Installing countertops, electrical works for appliances, plumbing renovations. Upgrading your kitchen is a rewarding investment that can significantly enhance your home's value and livability. Carefully assess your options, budget accordingly, and choose a mix of DIY and professional projects that align with your skills and vision. Happy upgrading!
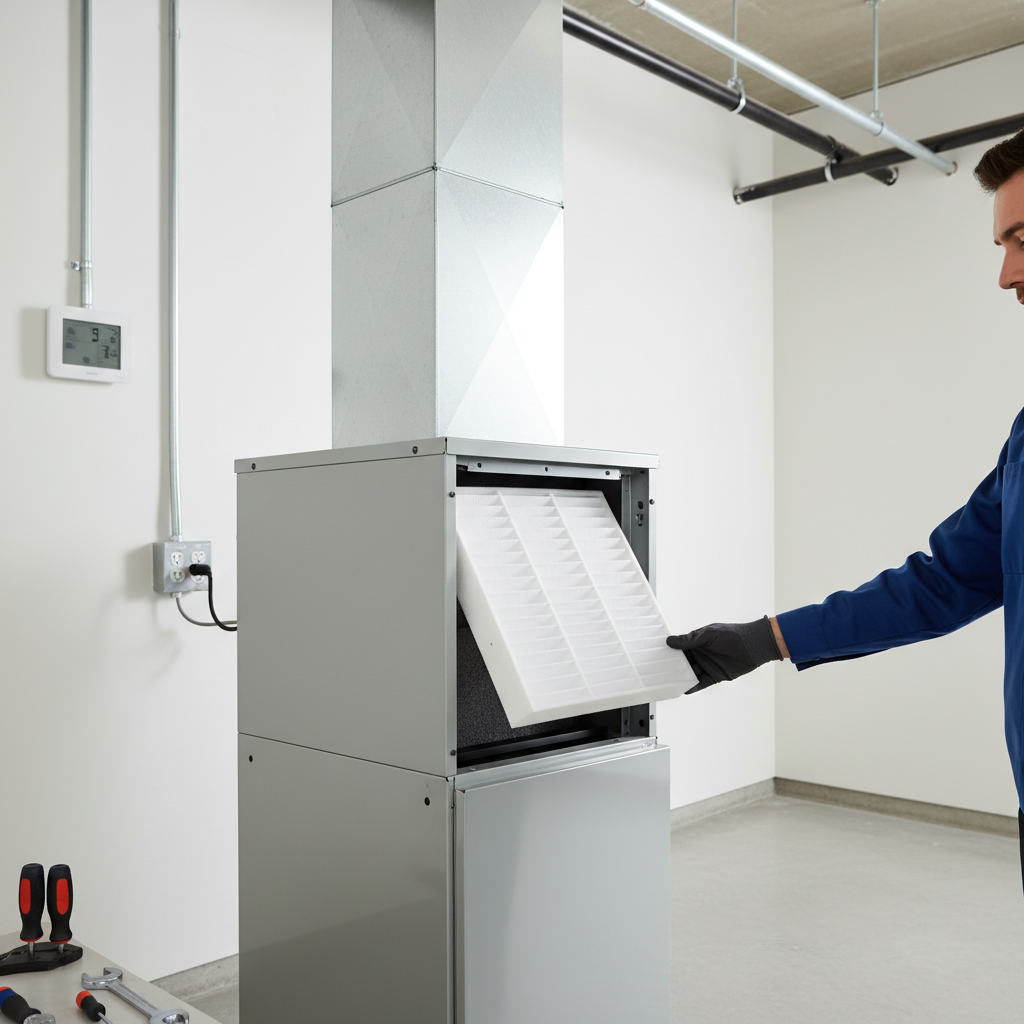
Essential HVAC Maintenance Tips for Homeowners
Understanding HVAC Maintenance Your HVAC (Heating, Ventilation, and Air Conditioning) system is vital for keeping your home comfortable year-round. Regular maintenance not only improves efficiency but also extends the lifespan of your system. This guide provides essential tips, costs, and maintenance strategies for homeowners. Why HVAC Maintenance is Important - Improved Efficiency: A well-maintained system can operate up to 20% more efficiently. - Cost Savings: Preventive maintenance helps avoid costly repairs and increases energy efficiency. - Extended Lifespan: Regular upkeep extends the life of your HVAC units. - Healthier Air Quality: Regular checks help maintain air quality by reducing allergens. DIY Maintenance Tasks Here are some actionable DIY tasks you can easily accomplish: - Change Air Filters: Replace filters every 1-3 months. This ensures good airflow and air quality. - Clean the Coils: Dust off outdoor condenser coils using a soft brush or garden hose to enhance performance. - Inspect Ductwork: Look for signs of leaks or damage, and seal or insulate ducts as needed. - Clear Drain Lines: Ensure drain lines are clear to prevent water damage. Clean them with a mixture of vinegar and water. When to Call a Professional While many tasks can be done by homeowners, certain situations require professional intervention: - If your system is making unusual noises or running inefficiently. - For annual system inspections and tune-ups. - If you need major repairs or replacements. Costs of HVAC Maintenance Understanding the costs involved in HVAC maintenance is crucial for budgeting effectively: - Annual Maintenance Plan: Expect to pay between $150-$500 for a comprehensive annual inspection and tune-up. - DIY Costs: Replacements of air filters typically cost about $10-$30 each, while cleaning supplies can range from $10-$50. - Repair Costs: Minor repairs can cost $100-$200, whereas major repairs may rise to $1,500 or more depending on the problem. Timing Your Maintenance Consider timing for optimal HVAC performance: - Fall: Schedule a check-up before winter to prepare your heating system. - Spring: Inspect and tune your Air Conditioning unit before summer hits. - Biannual Maintenance: Ideally, you should perform basic maintenance tasks every six months. Conclusion HVAC maintenance is essential for a comfortable and healthy home. By establishing a regular maintenance routine, you can ensure your system runs efficiently and lasts for years to come. Consider enlisting professional help when necessary and remain proactive about caring for your HVAC system.
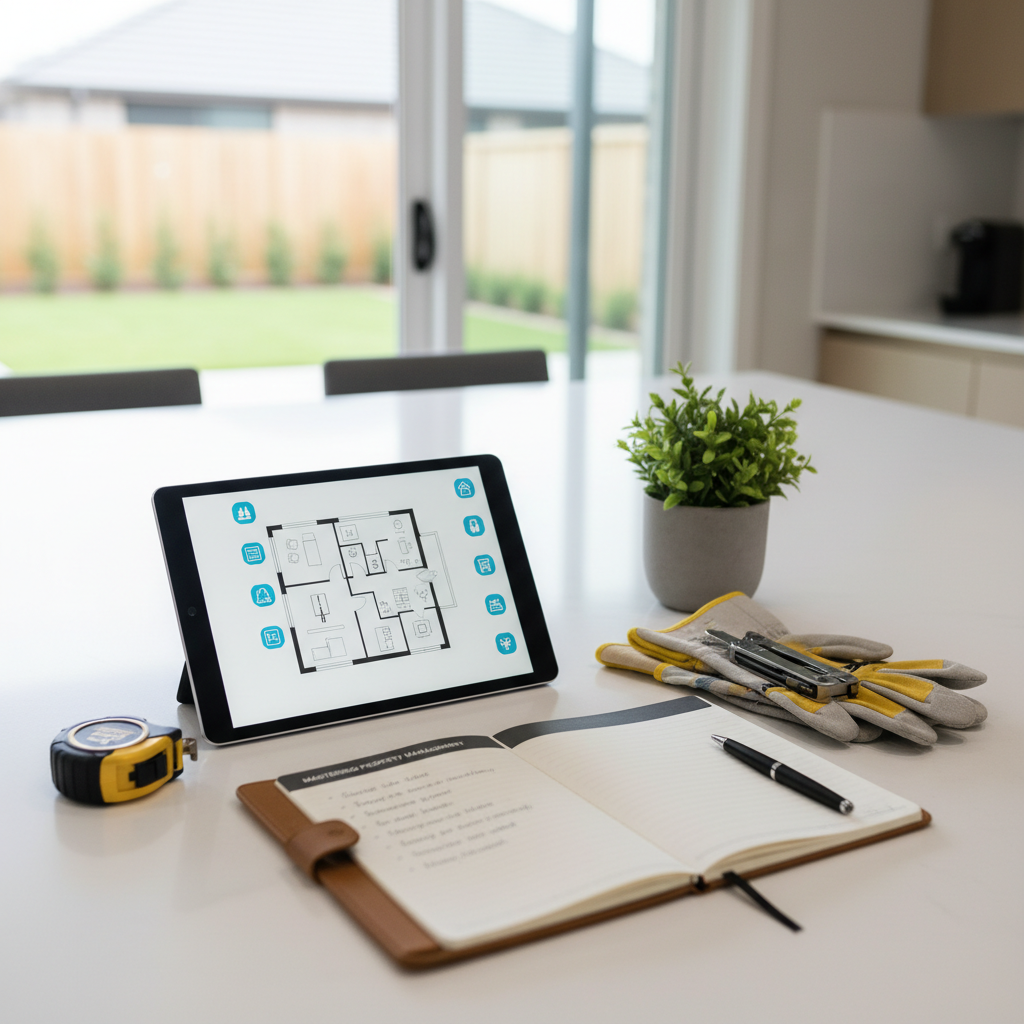
Mastering Property Management: Essential Tips for Homeowners
Understanding Property Management Property management involves overseeing the operation, maintenance, and administration of real estate properties, primarily rental properties. As a homeowner, whether you plan to rent out part of your home or manage your own property, understanding the principles of property management can save you time and money. Essential Property Management Tasks Successful property management encompasses various tasks, including: - Tenant Screening - Property Maintenance - Rent Collection - Lease Management - Problem Resolution Creating an Effective Management Plan Creating a management plan helps streamline your operations. Here’s a simple guide: - Set Clear Objectives: Determine your goals—are you maximizing rental income, maintaining property value, or providing excellent tenant experiences? - Establish a Budget: Outline costs for maintenance, repairs, and management services. Allocate funds for unexpected expenses, typically 1-2% of property value annually. - Select Management Method: Choose between DIY management and hiring a professional property management service. DIY vs. Professional Property Management Deciding between DIY management and hiring a professional depends on your willingness to invest time and your budget: - DIY Management: - Cost-effective—saves on management fees (typically 8-12% of rental income). - Control over tenant selection and property decisions. - Professional Management: - Less time-consuming—ideal for busy homeowners. - Access to expertise for legal and tax obligations. Practical Tips for Homeowners Here are some actionable tips for effective property management: - Regular Maintenance: Schedule seasonal checks, such as HVAC servicing and gutter cleaning, to prevent larger issues later. This can cost around $300-$500 annually. - Ensure Compliance: Stay updated on local rental laws and requirements to avoid legal troubles. - Utilize Technology: Use property management software to streamline accounting, tenant communication, and maintenance requests. - Foster Good Tenant Relations: Being responsive and professional encourages tenants to stay longer, reducing vacancy rates. When to Seek Professional Help If managing your property becomes overwhelming or if you're facing issues like legal disputes, tenant evictions, or major repairs, consider consulting a property management professional. Understanding their fees and the services they offer can help you make an informed decision. Conclusion Effective property management is crucial for homeowners, whether renting or maintaining their own residences. By implementing these strategies, you can enhance your property’s value, ensure tenant satisfaction, and enjoy peace of mind.

Smart Home Investment Strategies for Every Homeowner
Understanding Home Investment Strategies Investing in your home is more than just a personal choice; it’s a strategy to build wealth and improve your living space. A well-thought-out investment can enhance your home’s value as well as your quality of life. This article dives into effective home investment strategies that homeowners can utilize to maximize their property’s value. 1. Prioritize Necessary Repairs Before making upgrades or renovations, it's crucial to address necessary repairs. This might include: - Roof issues: Repair leaks or replace missing shingles to prevent further damage. - Plumbing problems: Fix leaky faucets and pipes, which can cause extensive damage and lead to increased water bills. - Electrical issues: Hire a professional to inspect old wiring to avoid potential hazards. Cost: Repairs can vary, but budgeting a few hundred to several thousand dollars depending on the severity is wise. 2. Focus on High-ROI Projects Not all home projects are created equal. Focus on improvements that yield high returns on investment (ROI). Top projects include: - Kitchen remodel: Minor remodels can recoup around 80% of their costs. - Bathroom updates: A fresh coat of paint, new fixtures, or updated vanities can yield returns of 60-70%. - Landscape improvements: Enhancements like flower beds and landscaping can increase curb appeal significantly. Cost: Expect kitchen remodels to range from $10,000 to $30,000 depending on the extent of work. 3. Utilize DIY for Minor Upgrades Many homeowners can save money by tackling smaller projects themselves. Consider these DIY upgrades: - Painting: A fresh coat of paint can dramatically change the appearance of any room. - Exterior updates: Power washing siding or staining decks can boost curb appeal. - Energy-efficient improvements: Installing low-flow faucets or LED lighting can reduce costs in the long run. Cost: DIY projects can range from under $100 for small materials to a few thousand for larger projects. 4. Timing Your Investments Timing can impact the success of your home investments. Here are some tips: - Seasonal projects: Spring and summer are ideal for exterior renovations. Plan ahead! - Market trends: Research your local real estate market to identify which projects are in demand. - Budgeting: Set aside funds for upgrades and repairs during off-peak times to reduce financial strain. 5. Seek Professional Guidance When Necessary While DIY can save money, certain projects are best left to the pros. Consider hiring professionals for: - Major renovations: Structural changes are best handled by experienced contractors. - Electrical and plumbing work: Compliance with local codes is crucial, requiring licensed professionals. - Landscaping design: Professionals can provide creative designs that improve your property’s appeal and functionality. Cost: Hiring a professional can vary widely—expect to spend anywhere from $50 to $150 per hour depending on the trade. Conclusion Investing in your home demands strategy, budgeting, and timing. By prioritizing repairs, focusing on high-ROI projects, utilizing DIY for minor changes, timing your investments appropriately, and seeking professional help when necessary, you can effectively increase your home’s value while improving your living environment. Start planning your home investment strategy today!
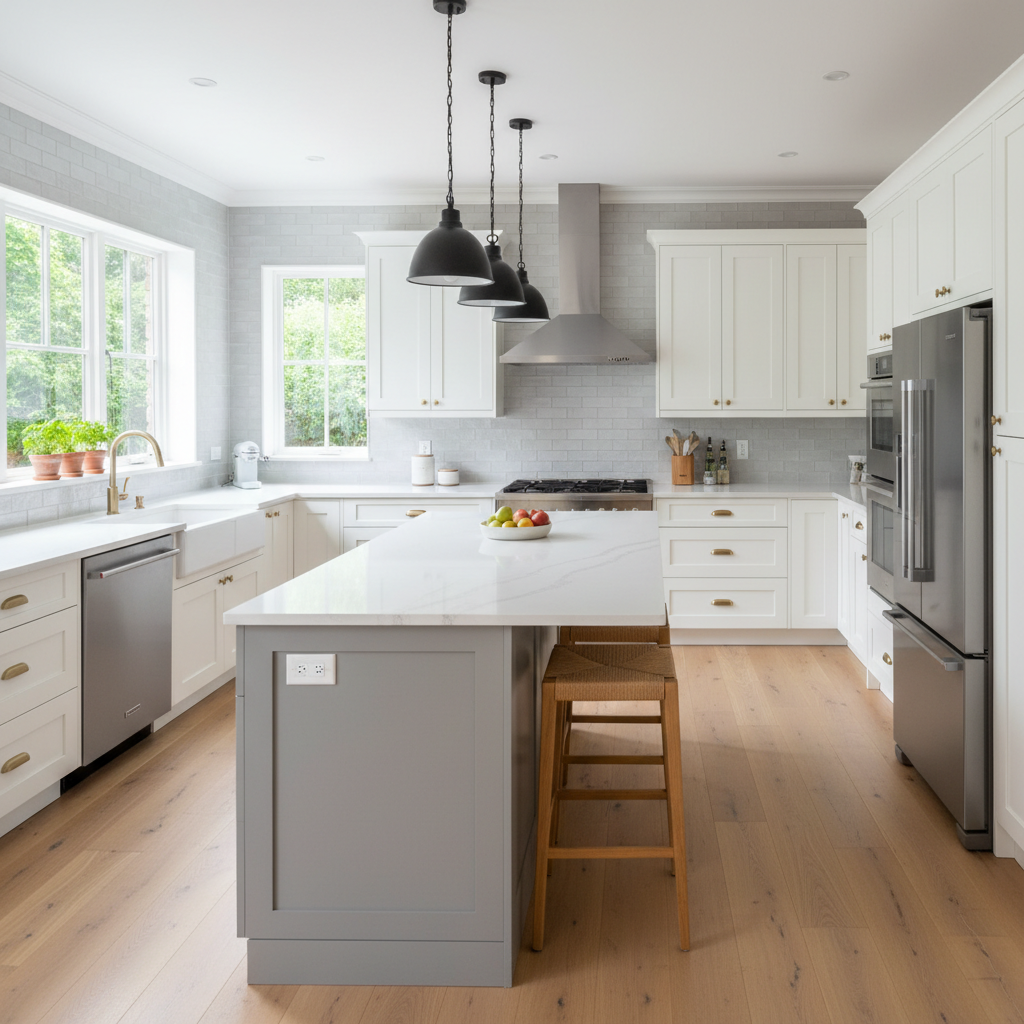
Revamp Your Kitchen: Practical Upgrades to Enhance Your Space
The kitchen is often considered the heart of the home. If you’re looking to upgrade this essential space, you’re in the right place. In this article, we’ll explore practical kitchen upgrades, highlighting options that are not only aesthetically pleasing but also functional. 1. Update Your Cabinets Cabinets take up a significant portion of your kitchen's visual space. Upgrading them can transform the entire room. - Refacing: For a budget-friendly option, consider refacing instead of replacing. This can cost around $4,000 to $9,500 depending on size. - Painting: A fresh coat of paint can breathe new life into tired cabinets. DIY kits cost about $100, while professional services may range from $300 to $1,500. 2. Invest in Energy-Efficient Appliances Replacing old appliances can lower your energy bills while enhancing functionality. Look for ENERGY STAR-rated products. - Refrigerators: Costs can vary from $800 to $3,000. The savings on energy bills will help offset the initial cost over time. - Dishwashers: Expect to pay between $400 and $1,500 for a new dishwasher. Choose one with multiple settings for optimal energy use. 3. Upgrade Your Countertops Countertops significantly affect both aesthetics and functionality in your kitchen. Here’s what you need to consider: - Material Choices: Popular options include granite ($50 to $150 per square foot), quartz ($50 to $120), and laminate (as low as $20). - DIY vs Professional: While small sections are doable for DIYers, full installs often require professionals for a seamless look. 4. Enhance Your Lighting Good kitchen lighting improves functionality while creating ambiance. Consider these options: - Task Lighting: Under-cabinet lights provide direct illumination for food prep. Affordable options start at $20. - Pendant Lights: These can serve as both tasks and decorative features—but expect to pay between $50 and $300 each depending on design. 5. Refresh Your Backsplash A stylish backsplash can tie your kitchen together. Here are some materials to consider: - Tile: Classic and durable; costs range from $15 to $50 per square foot. Installing it can be a rewarding DIY project if you’re handy. - Peel-and-Stick Options: For easy application, these are budget-friendly (around $10–$30) and perfect for a quick upgrade without significant commitment. Before diving into upgrades, create a timeline. Smaller upgrades can be completed in weekends, while significant renovations may take weeks. As a rough guide, keep a budget of: - Minor updates: $500–$2,000 - Moderate upgrades: $2,000–$10,000 - Full remodels: $10,000+ Upgrading your kitchen can increase your home’s value while enhancing your family’s enjoyment of the space. Whether you go for a minor update or a full remodel, focus on what will best suit your needs and budget. Happy renovating!
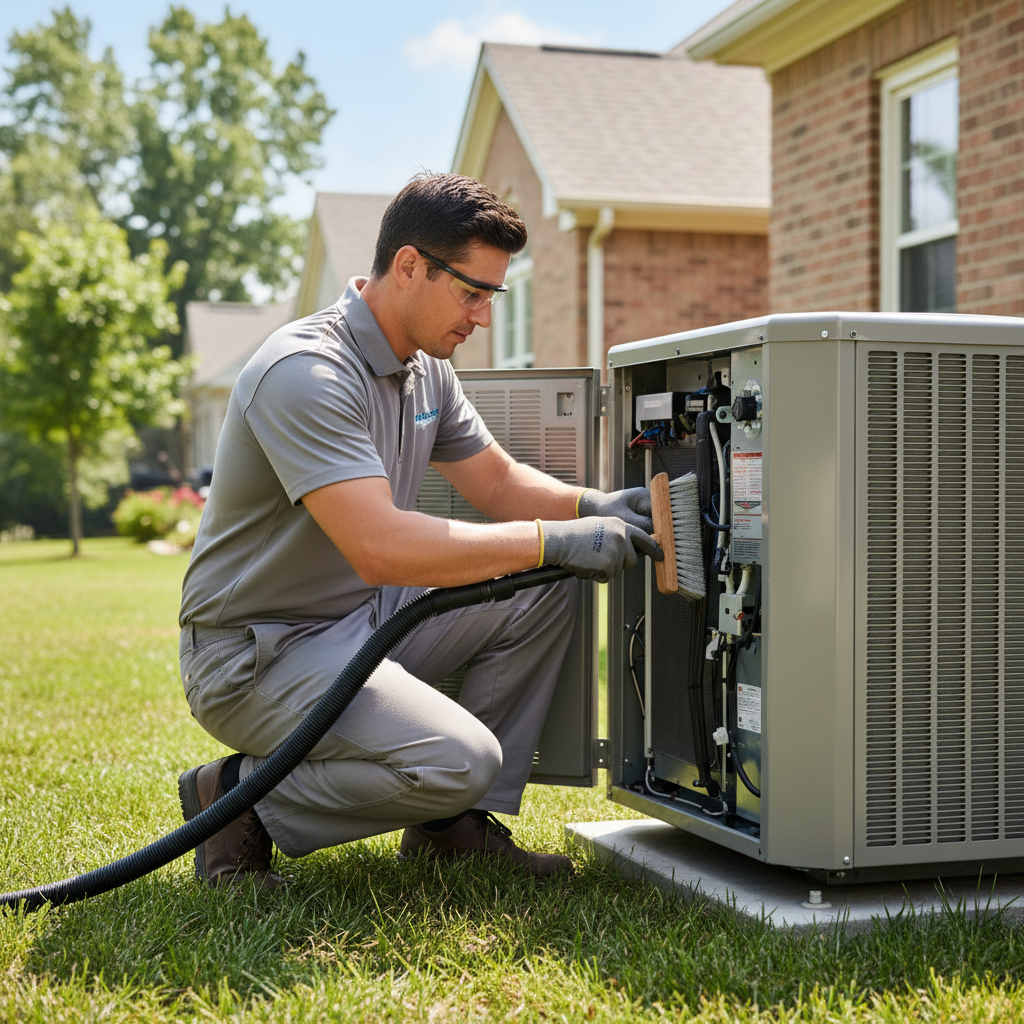
Ultimate HVAC Maintenance Guide: Keep Your System Running Smoothly
Why HVAC Maintenance is Crucial Your HVAC (Heating, Ventilation, and Air Conditioning) system is vital for keeping your home comfortable throughout the year. Regular maintenance is key to ensuring its efficiency, longevity, and reliability while also lowering your energy bills. In this article, we’ll explore some essential HVAC maintenance tasks you can perform yourself and when to call in a professional. How Often Should You Perform HVAC Maintenance? To keep your HVAC system in top shape, it’s generally recommended to schedule maintenance at least twice a year: once in the spring for cooling and once in the fall for heating. Basic HVAC Maintenance Tasks You Can Do Yourself Here are some straightforward tasks you can perform to maintain your HVAC system: - Change or Clean Air Filters: Every 1-3 months, check and replace your air filters. Dirty filters restrict airflow, making your system work harder. - Clear Debris: Regularly clear any debris, leaves, or dirt around outdoor units to ensure proper airflow. - Inspect Insulation: Check insulation on your ducts in unconditioned spaces. Proper insulation prevents energy loss. - Check Thermostat: Ensure your thermostat is functioning correctly. Consider upgrading to a programmable thermostat for better efficiency. Professional HVAC Maintenance Services While many tasks are DIY-friendly, several aspects are best left to professionals. Consider scheduling a professional HVAC maintenance visit annually, which typically costs between $75-$150. Here’s what to expect from a professional service: - System Inspection: Technicians will inspect and test the entire system for any underlying issues. - Cleaning Coils: Cleaning the evaporator and condenser coils helps maintain the system’s efficiency. - Refrigerant Check: A technician can check the refrigerant levels and ensure there are no leaks. - System Calibration: They’ll calibrate your thermostat and check for proper airflow throughout your home. Signs You Need Professional Help If you notice any of the following signs, it's time to call an HVAC professional: - Inefficiency in heating or cooling. - Unusual noises such as banging or hissing. - Unexpected increases in energy bills. - Unpleasant odors coming from the unit. Cost-Effective Tips for HVAC Maintenance To maximize efficiency and see savings, consider these tips: - Regular Maintenance: This can prevent costly repairs in the future. - Seal Leaks: Sealing any leaks in ductwork can improve efficiency. - Upgrade Wisely: If it’s time to replace your system, look for energy-efficient models that could save on utility bills in the long term. Conclusion Regular HVAC maintenance is essential for a comfortable and efficient home. By conducting routine tasks and knowing when to call a professional, you’ll ensure your HVAC system operates efficiently for years to come. Make it a part of your seasonal home maintenance checklist!
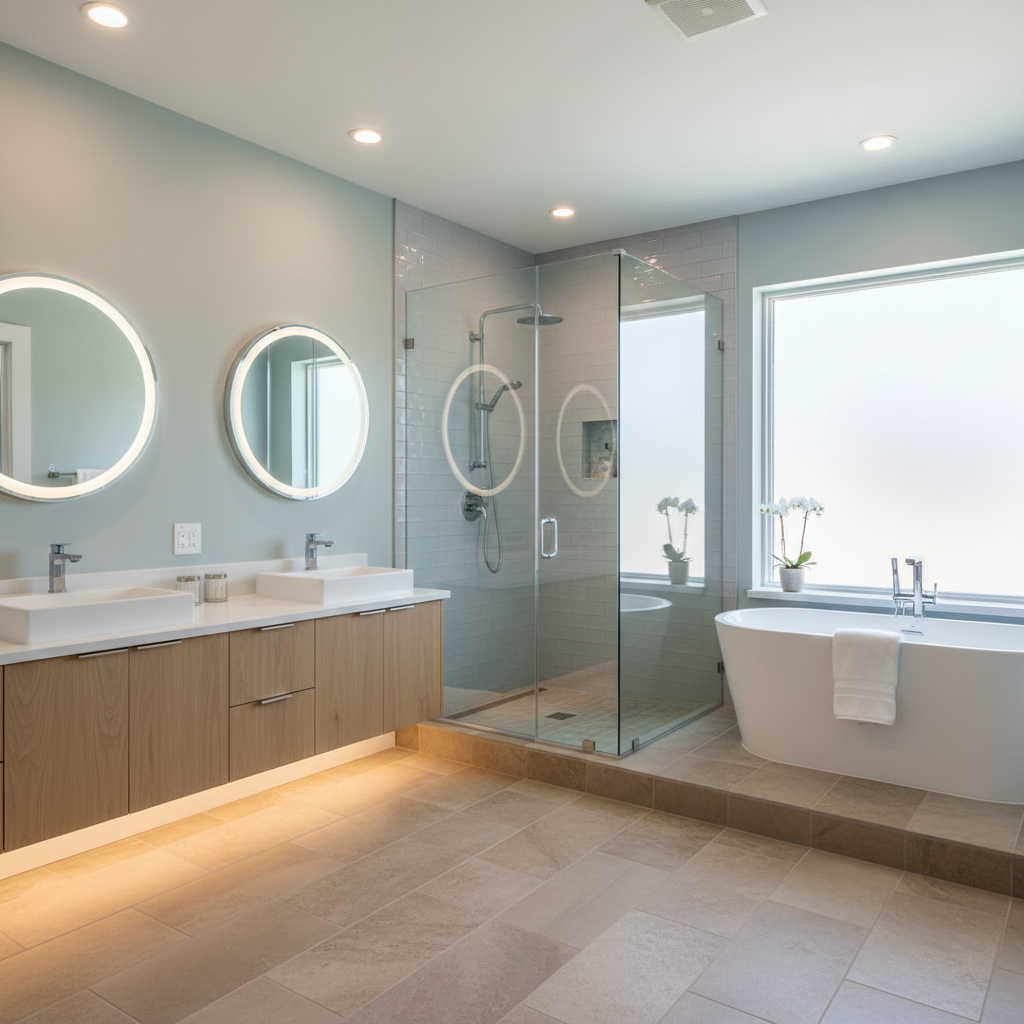
Transform Your Space: A Comprehensive Guide to Bathroom Remodeling
Bathroom remodeling can dramatically enhance the aesthetic appeal and functionality of one of the most used spaces in your home. Whether you're looking to update an outdated look or create a spa-like retreat, a successful bathroom remodel requires careful planning and consideration. Before diving into your remodel, take a moment to assess your needs. What issues do you currently face in your bathroom? Do you want to maintain the current layout or change it? Bathroom remodeling costs can vary widely based on materials, labor, and design choices. On average, homeowners spend between $6,000 to $15,000. Here’s how you can allocate your budget effectively: - Design and Planning: $500 - $2,000 - Materials: $2,000 - $8,000 - Labor: $3,000 - $10,000 - Fixtures: $1,000 - $5,000 Deciding whether to DIY or hire a professional can significantly impact your remodel. DIY can save a substantial amount of money but is time-consuming and requires skill. Hiring professionals offers expertise and saves time. Choosing the right materials can vastly influence both cost and aesthetics. Popular options include quartz or granite for countertops, ceramic tiles for flooring, and energy-efficient LED lighting. The timeline for your remodel can vary from 1-3 weeks for minor updates to 4-8 weeks or longer for major projects. After construction, add finishing touches like decorative mirrors and storage solutions, while regular maintenance like cleaning grout will keep your bathroom looking new.

Transform Your Home: Essential Tips for Painting & Finishing
Transform Your Home: Essential Tips for Painting & Finishing Introduction to Painting & Finishing Whether you're looking to refresh your home or prepare it for sale, paint and finishes play a crucial role in enhancing aesthetic appeal and protecting surfaces. This article will guide you through actionable tips, costs, and advice on choosing between DIY or hiring a professional. Understanding Your Options Before starting your painting or finishing project, it's vital to understand your options. Here are some common types of paint and finishes: - Flat Finish: Ideal for ceilings and low-traffic areas, it hides imperfections well. - Satin Finish: Perfect for living rooms and bedrooms, it's durable and easy to clean. - Gloss Finish: Best suited for trim and moldings, it adds shine and repels moisture. - Enamel Paint: Provides a hard, durable finish, great for kitchen cabinets. Preparing for Your Project Preparation is key for a successful painting project. Follow these steps: - Gather Supplies: You'll need brushes, rollers, painter's tape, drop cloths, and paint. - Choose the Right Time: Aim for dry weather to allow for proper drying and ventilation. - Prepare Surfaces: Clean, sand, and repair any imperfections on walls and surfaces. Cost Considerations The cost of painting and finishing varies widely based on factors like the size of the area, type of paint, and whether you choose to do it yourself or hire a professional: - DIY Costs: Typically range from $30 to $100 for supplies depending on quality and quantity. - Professional Costs: Hiring a painter can cost between $300 and $800 for an average room, including labor and materials. DIY vs. Professional Help Deciding whether to tackle the project yourself or hire a professional depends on your comfort and skill level: - DIY: If you're handy and have time, doing it yourself can save money and allow for customization. - Professional: Hiring experts ensures a flawless finish, especially for challenging areas like high ceilings or intricate trim. Actionable Tips for Success Here are some crucial tips to ensure your painting and finishing project is a success: - Use Quality Materials: Invest in high-quality paint and tools for a lasting finish. - Test Paint Colors: Sample colors on walls to see how they look in different lighting. - Keep a Steady Hand: Use painter's tape to achieve clean lines and avoid drips. - Follow the Right Order: Start with ceilings, then walls, and finally trim and details for optimal results. Conclusion Painting and finishing can dramatically transform your home’s interior and exterior, adding both beauty and value. By following these tips and understanding your options, you'll be well on your way to a successful project, whether you choose to go DIY or hire a professional. About the Author Sarah Johnson is a seasoned home improvement writer with over a decade of experience in home maintenance topics. She is passionate about helping homeowners create beautiful spaces.
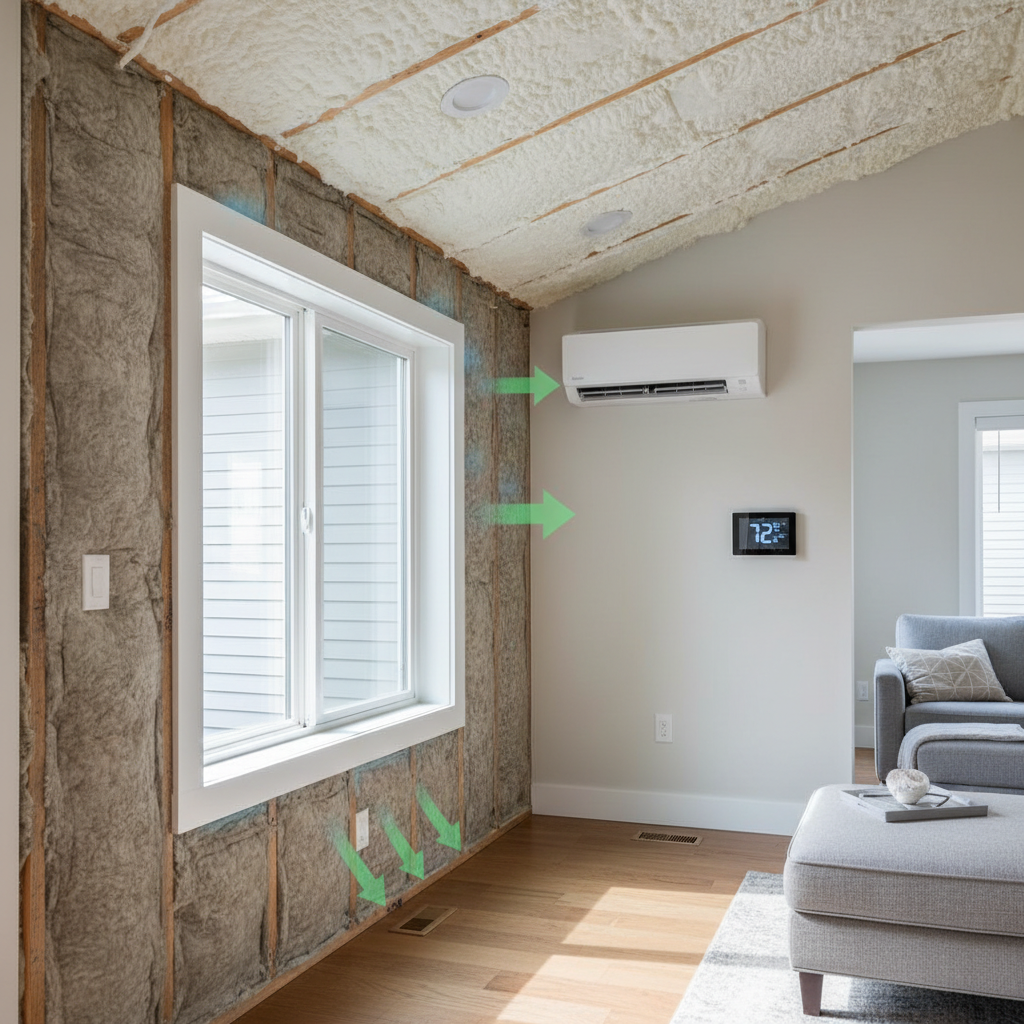
Maximize Your Home's Comfort: Essential Energy Efficiency Tips
Understanding Energy Efficiency in Your Home Energy efficiency is not just a buzzword; it represents a significant opportunity for homeowners to reduce their energy costs while enhancing comfort and sustainability. By improving energy efficiency, you can lower utility bills, reduce your carbon footprint, and create a more pleasant living environment. Key Benefits of Energy Efficiency - Lower Energy Bills: Saving money is one of the most immediate benefits. By making your home more energy-efficient, you can lower your heating and cooling costs significantly. - Enhanced Comfort: Proper insulation and efficient systems help maintain consistent temperatures in your home. - Environmental Impact: Reducing energy consumption leads to fewer greenhouse gases, contributing positively to the environment. Actionable Tips for Improving Energy Efficiency Here are some practical steps you can take to enhance your home's energy efficiency: 1. Upgrade Insulation Good insulation helps maintain desired temperatures in your home. Check the following areas: - Attic: Ensure proper insulation to avoid heat escape or gain. - Walls and Floors: Insulation in walls and floors can dramatically affect energy loss. - Basement/Crawl Spaces: Insulating these areas can prevent heat loss in cooler climates. Cost: Professional insulation installation may range from $1,500 to $3,500, depending on your home size and insulation type. 2. Seal Air Leaks Check for and seal any gaps or cracks in windows, doors, and ducts. This simple task can prevent unnecessary energy loss. - Weatherstripping: Apply weatherstripping around windows and doors. - Caulking: Use caulk to fill gaps and cracks in walls and masonry. Cost: Weatherstripping and caulking can typically be done for under $100 as a DIY project. 3. Invest in Energy-Efficient Appliances Replace old appliances with energy-efficient versions. - Refrigerators, Washers, and Dryers: Look for ENERGY STAR rated appliances. - Heating and Cooling Systems: Consider upgrading to a high-efficiency furnace or central air system. Cost: While initial costs can be higher (about $1,000 for an ENERGY STAR refrigerator, for example), savings in utility bills can offset these costs over time. 4. Optimize Heating and Cooling Adjust your thermostat wisely. Lowering the temperature by just a few degrees in winter and raising it in summer can lead to significant savings. - Programmable Thermostats: Invest in a programmable thermostat to manage temperature settings automatically. - Regular Maintenance: Schedule routine maintenance for HVAC systems to ensure efficiency. Cost: Programmable thermostats cost around $50-$150 plus installation if needed. When to Hire a Professional While many energy efficiency improvements can be done as DIY projects, some tasks require professional intervention: - Major insulation upgrades - HVAC installation and maintenance - Comprehensive home energy audits Cost of hiring a professional can vary widely but will typically range from $50 to $150 for audits and $500 to $2,000 for installations or repairs. Conclusion Enhancing your home’s energy efficiency is not just about saving money; it's about creating a more sustainable and comfortable living space. Start with small changes and continue to develop more efficient habits, and you'll see the benefits in both your energy bills and your overall home comfort.
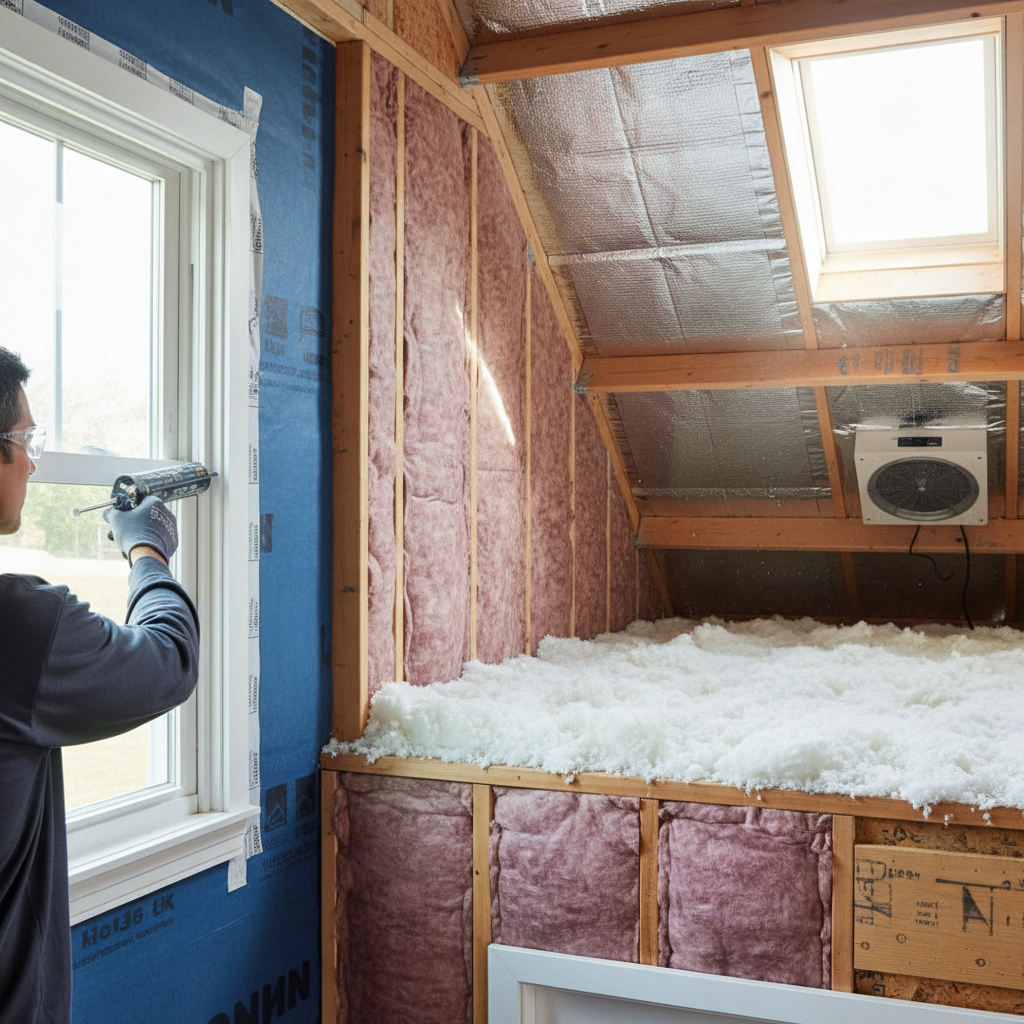
Maximize Comfort: Essential Insulation & Weatherproofing Guide for Homeowners
Understanding Insulation & Weatherproofing Ensuring your home is properly insulated and weatherproofed is essential for maintaining comfort and energy efficiency. Proper insulation retains heat in winter and keeps cool air indoors during summer, while effective weatherproofing protects against drafts, moisture, and temperature fluctuations. Here, we explore actionable tips for homeowners looking to improve their home's insulation and weatherproofing. Why Insulation Matters Insulation plays a critical role in your home's energy efficiency, comfort, and even your utility bills. Here are some reasons to prioritize insulation: - Energy Efficiency: Reduces reliance on heating and cooling systems. - Cost Savings: Lower energy bills through effective temperature regulation. - Comfort: Creates a more stable indoor climate. Types of Insulation Here are common types of insulation suitable for various parts of your home: - Fiberglass: Cost-effective and widely used, ideal for attics and walls. - Foam Board: Excellent for basement walls and ceilings. - Spray Foam: Provides a tight seal, great for hard-to-reach areas. - Cellulose: Eco-friendly option made from recycled materials, good for walls and attics. Weatherproofing Your Home Weatherproofing your home is equally important for protecting against the elements. Here are practical steps you can take: - Seal Gaps and Cracks: Use caulk or weather stripping on doors and windows to block drafts. - Insulate Ducts: Ensure that air ducts are insulated to reduce energy loss. - Install Door Sweeps: Place door sweeps at the bottom of doors to keep out drafts. - Use Storm Windows: Consider adding storm windows for extra protection. When to Insulate and Weatherproof The best time to insulate and weatherproof your home is during the fall or spring when temperatures are mild. This allows for comfortable working conditions if you are tackling the project yourself. DIY vs Professional Help While many weatherproofing tasks can be done as DIY projects, some insulation tasks may require professional assistance. Here are some guidelines: - DIY: Simple caulking, adding weather strips, or installing fiberglass batts. - Professional: Spray foam insulation or extensive attic insulation work. Costs to Consider The costs involved can vary widely depending on the insulation type and area being treated: - Fiberglass: $0.50 to $1.50 per square foot. - Foam Board: $1.00 to $3.00 per square foot. - Professional Installation: Costs could run from $1,000 to $3,000 depending on the project scale. Final Tips To maximize comfort and efficiency in your home, start small by sealing gaps and insulating key areas like the attic and basement. Evaluate your home’s current insulation and weatherproofing status, and gradually make improvements that fit your budget and skill level. Investing in insulation and weatherproofing is not only about comfort but also about enhancing your home’s value and reducing ongoing energy costs. Take action today and enjoy the benefits of a well-insulated and protected home!

Your Ultimate Guide to Choosing the Right Flooring for Your Home
Choosing the Perfect Flooring for Your Home Flooring is one of the most important elements of home design, playing a crucial role in the aesthetics, comfort, and practicality of your living space. Whether you're renovating your home or building from scratch, understanding the different types of flooring can help you make an informed decision that suits your lifestyle, budget, and design preferences. Types of Flooring Options - Hardwood Flooring: Classic and elegant, hardwood floors add warmth and value. They cost between $5 to $10 per square foot, and installation can vary significantly. - Laminated Flooring: A cost-effective alternative that mimics the look of hardwood. Prices typically range from $1 to $5 per square foot. It is DIY-friendly and relatively easy to install. - Tile Flooring: Great for moisture-prone areas such as kitchens and bathrooms. Depending on the type (ceramic, porcelain, or stone), costs can range from $1 to $20 per square foot, plus installation. - Carpet: Provides warmth and comfort underfoot. Prices range from $2 to $12 per square foot, and professional installation is often recommended for the best results. - Vinyl Flooring: A versatile option that is waterproof and easy to maintain. Costs range from $1 to $5 per square foot, and installation can often be a DIY project. Considerations Before Installing Flooring When selecting flooring, consider the following factors: - Durability: How much wear and tear will the floor experience? - Climate: Certain materials perform better in specific weather conditions. - Maintenance: Some flooring types require more care than others. - Cost: Be sure to account for both materials and installation costs. Installation Options: DIY vs. Professional Deciding between DIY or hiring a professional can greatly impact your flooring project. - DIY: If you are handy, options like laminated, vinyl, and carpet tiles are generally simpler to install. Tools you may need include a utility knife, a measuring tape, and a level. - Professional Installation: For complex jobs such as hardwood or tile, hiring a professional can ensure the job is done right. Expect to pay an additional $1 to $5 per square foot for installation. Maintenance Tips for Your Flooring Maintaining your floor is vital for longevity. Here are some actionable tips: - Hardwood: Regularly dust and clean with a damp mop; avoid standing water. - Laminated: Use a soft broom or vacuum with a gentle head; avoid soaking. - Tile: Clean with a neutral pH cleaner to avoid damaging the grout. - Carpet: Vacuum regularly and treat stains immediately to prevent setting. - Vinyl: Clean with mild soap and water; avoid harsh chemicals. Conclusion Choosing the right flooring can transform your space and enhance your home's value. By weighing your options and considering your unique needs, you can find the perfect flooring solution that works harmoniously with your lifestyle. Remember, whether you tackle the installation yourself or hire a professional, keeping maintenance in mind will protect your investment for years to come.
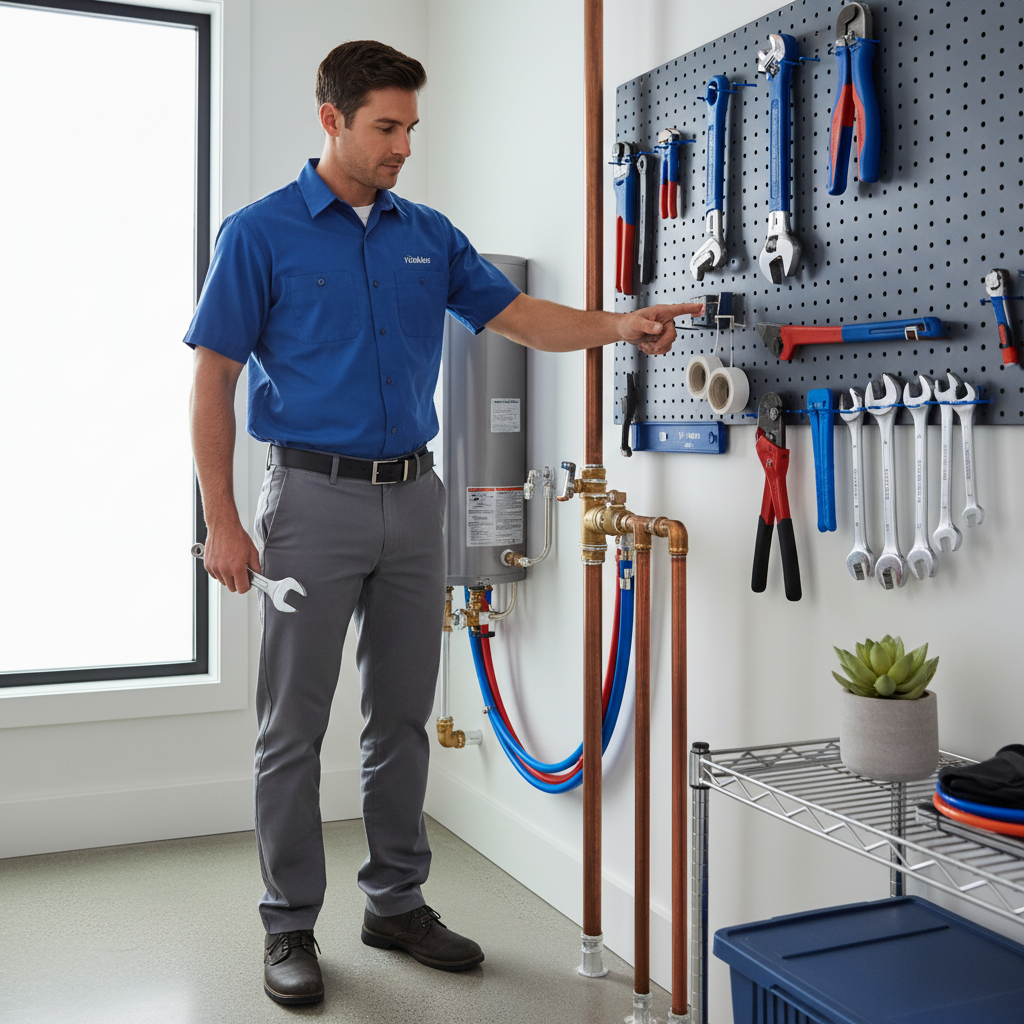
Essential Plumbing Tips for Every Homeowner: Save Time and Money
Home plumbing issues can be stressful and, if left unattended, lead to costly repairs. Whether you are a homeowner or renting, it’s important to know some basic plumbing tips that can help you save time and money. Understanding the layout and components of your plumbing system can help you identify problems early. Here are key elements to inspect: Main Water Shut-Off Valve: Know where it is located to quickly stop water flow in emergencies. Drainage System: Be aware of where the major pipes are, including those for sinks, toilets, and showers. Water Heater: Familiarize yourself with its operation, including the temperature setting. If you encounter minor plumbing issues, try troubleshooting before calling a professional. Here are some common problems: Clogged Drains: Use a plunger or a plumbing snake to clear simple clogs. Avoid chemical drain cleaners as they can damage pipes. Leaky Faucets: Replace worn-out washers or O-rings. A simple repair can save you from wasted water and high bills. Running Toilets: Check the flapper valve and chain for issues. Adjusting these can restore normal function. Routine maintenance can prevent significant plumbing problems. Implement these tips: Inspect for Leaks: Regularly check under sinks, around toilets, and behind appliances to catch leaks early. Flush Water Heater: Every year, flush your water heater to remove sediment build-up that can affect its efficiency. Clean Drain Traps: Periodically clean sink and shower drains to prevent clogs from debris buildup. Some plumbing issues are best left to the professionals. Know when to call: Major Leaks: If water damage is present or you cannot find the source, call a plumber. Pipe Replacement: Avoid DIY for pipe replacements as incorrect installation can lead to leaks. Clogged Main Sewer Line: This requires specialized tools and knowledge to resolve. Whether DIY or hiring a professional, understanding costs can help you budget appropriately: Diy Costs: Basic repair kits for items like flappers or washers can be affordable, often under $20. Professional Costs: Plumbers typically charge between $45-$150/hour, depending on the region and complexity of the job. By understanding your plumbing system, taking proactive measures, and knowing when to seek professional help, you can maintain a healthy plumbing system in your home. Regular maintenance saves you time and money in the long run, ensuring you avoid costly and inconvenient plumbing issues.
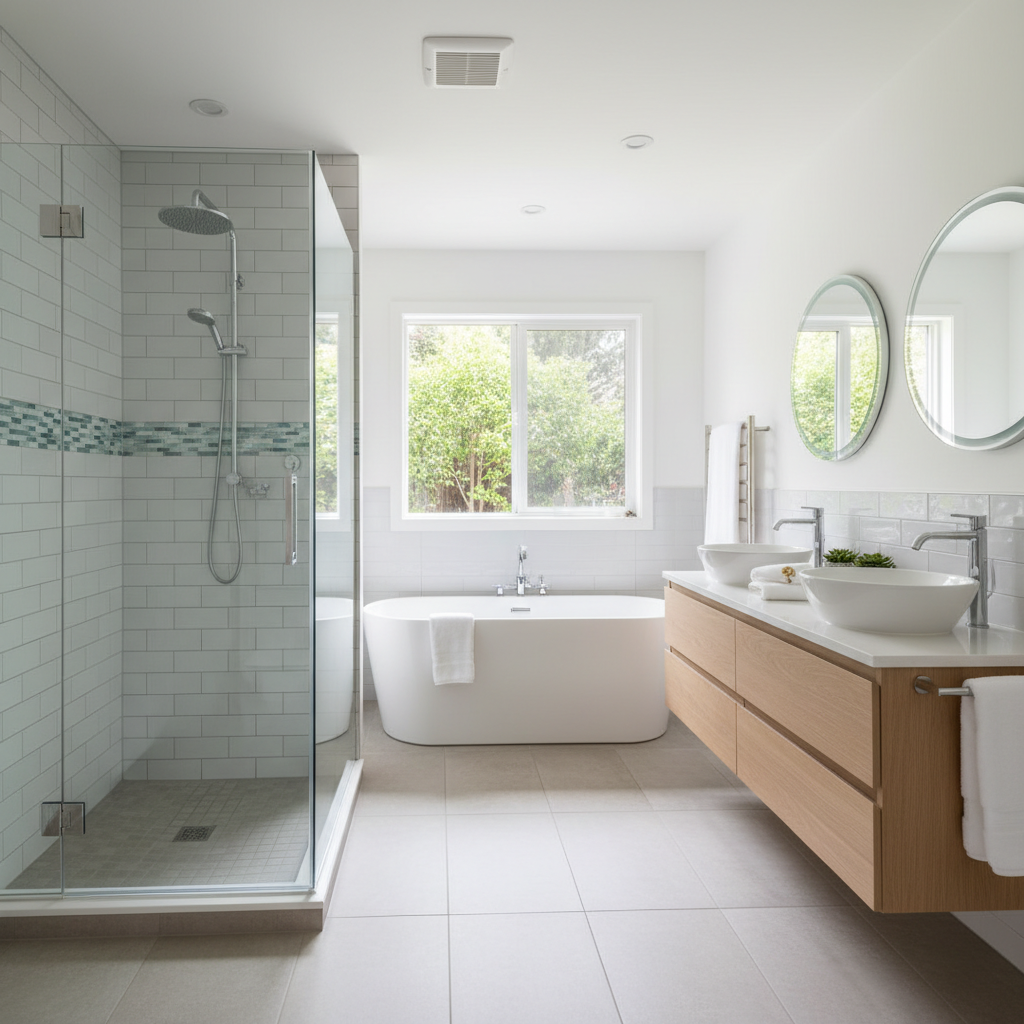
Transform Your Bathroom: Essential Tips for a Successful Remodel
Transforming your bathroom can greatly enhance your home's value and improve daily life. This guide offers essential steps for a successful remodel, covering planning, budgeting, inspiration, and whether to DIY or hire professionals. From gathering ideas to executing the remodel in manageable steps, learn how to create a space you love. Remember to plan for potential delays and keep a contingency budget. Happy remodeling!
Expert Tips for Effective Property Management at Home
Understanding Property Management Property management is essential for homeowners looking to maintain and grow their investment value. Whether you're a seasoned landlord or a first-time homeowner, understanding the fundamentals of property management can lead to a more efficient, profitable, and stress-free experience. Key Components of Property Management Effective property management revolves around several vital components: - Tenant Screening: Taking the time to screen potential tenants will save you headaches in the long run. Ensure thorough background checks, credit history, and rental references are conducted. - Property Maintenance: Regular maintenance checks can prevent small issues from becoming costly repairs. Establish a maintenance schedule and stick to it. - Rent Collection: Set a clear rent collection process, including payment deadlines and acceptable payment methods. Consider using online payment systems for ease. - Legal Compliance: Be aware of local, state, and federal regulations regarding rental properties. Stay informed about tenant rights and fair housing laws. - Communication: Maintaining open lines of communication with tenants can address concerns promptly and foster a positive landlord-tenant relationship. Actionable Tips for Homeowners Here are some practical tips to enhance your property management efforts: - Create a Maintenance Checklist: List regular maintenance tasks, like HVAC servicing, gutter cleaning, and pest inspections. Schedule these tasks seasonally to prevent emergencies. - Use Technology: Property management software can help track rent payments, maintenance requests, and tenant communications. Options like Buildium or TenantCloud can streamline processes. - Conduct Regular Inspections: Schedule bi-annual inspections of the property to assess its condition. This helps catch issues before they escalate. - Budget for Expenses: Set aside 5-10% of your rental income each month to cover unforeseen maintenance costs and necessary repairs. - Network with Professionals: Build relationships with local plumbers, electricians, and contractors. Having a reliable list of contacts can expedite repairs when needed. DIY vs Professional Help Deciding whether to tackle maintenance tasks yourself or hire a professional depends on your skills, the complexity of the task, and your available time. Here’s a quick breakdown: - DIY: Simple tasks like landscaping, changing air filters, or painting can typically be done by homeowners with minimal experience. They save money and give you a sense of accomplishment. - Hire Professionals: Complex issues such as electrical work, plumbing repairs, or structural changes should be handled by licensed professionals. Investing in expertise can prevent costly mistakes. Cost Considerations Understanding the costs involved in property management is crucial for maintaining a profitable rental property: - Tenant screening services typically range from $30 to $50 per application. - Maintenance costs may vary significantly based on the service required, ranging from $50 for basic service calls to several hundred dollars for more extensive repairs. - Property management software can range from $10 to $150 per month, depending on the features you need. Conclusion Effective property management is vital for the success of any homeowner or landlord. By implementing these tips and understanding the various components, you can manage your property more effectively and ensure it remains a profitable investment.
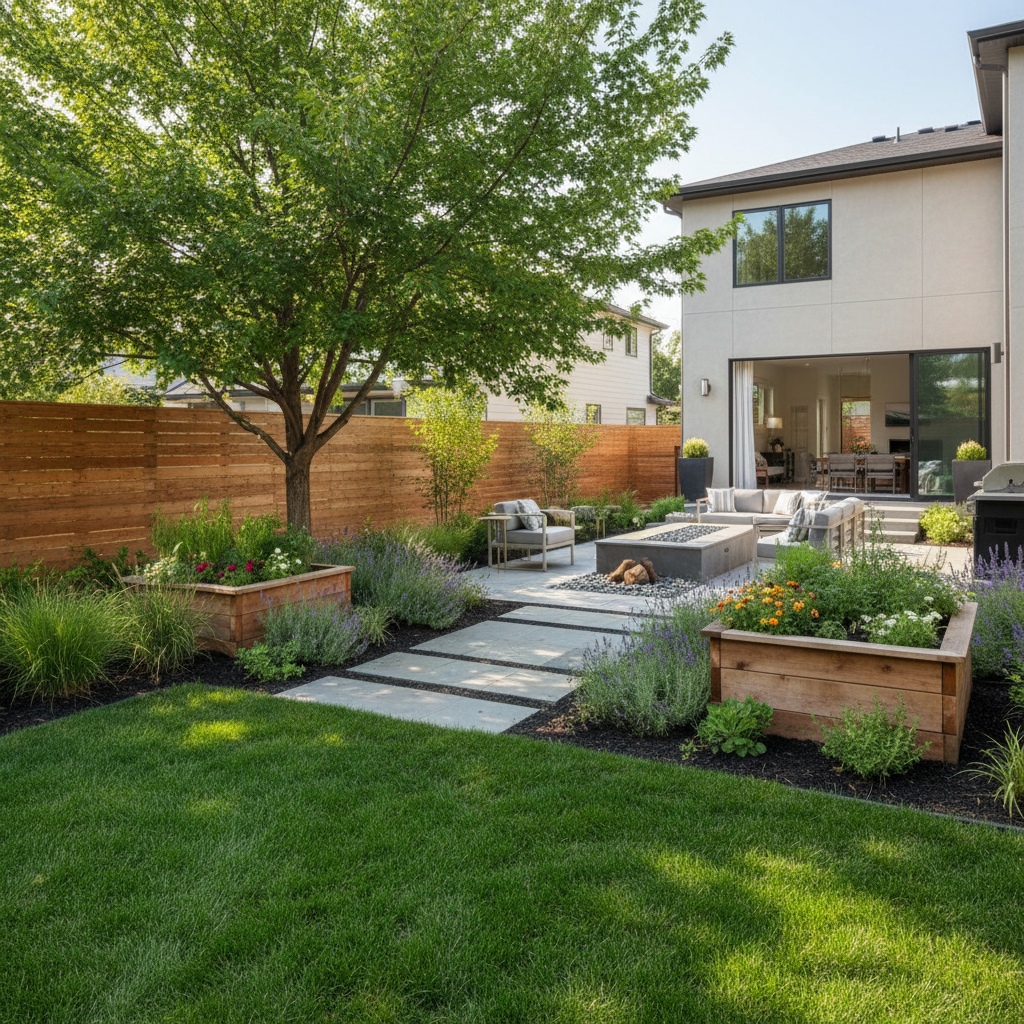
Transform Your Yard: Essential Landscaping Tips for Homeowners
Landscaping is not just about aesthetics; it enhances your home’s value and creates an inviting outdoor space. Whether you're looking to revamp your existing yard or create a brand new landscape, understanding the fundamentals can lead to meaningful results. Here’s a comprehensive guide for homeowners to achieve a stunning landscape. A successful landscaping project begins with a solid plan. Here are key components to consider: - Assess Your Space: Measure your yard’s dimensions and take note of sun exposure and soil quality. - Set a Budget: Determine how much you can spend on landscaping. This includes materials, plants, and labor if hiring professionals. - Choose a Style: Decide whether you want a formal garden, cottage style, modern landscape, or xeriscaping for water efficiency. The cost of landscaping can vary greatly depending on the scope of your project. Here’s a breakdown: - DIY Projects: Expect to spend between $300 and $1,500 for plants, soil, and tools. - Hiring Professionals: Landscaping services can range from $2,000 to $10,000 depending on the complexity of your design. Incorporating various elements into your landscape can enhance its beauty and functionality: - Plant Selection: Choose a mix of perennial and annual plants for year-round color. - Hardscaping: Include pathways, patios, and retaining walls made from stone, brick, or concrete for structure. - Water Features: Consider ponds or fountains to add tranquility and attract wildlife. - Lighting: Use outdoor lighting to highlight architectural features and ensure safety at night. Deciding between DIY and hiring a professional depends on your experience and the complexity of the project: - DIY Projects: Best for simple tasks like planting flowers, small patio installations, or mulching. Utilize online resources and local workshops for guidance. - Professional Help: Opt for services for large projects such as new construction landscapes, complicated hardscaping, or advanced garden designs. The timing of your landscaping project greatly influences success. Here’s a seasonal breakdown: - Spring: Ideal for planting and lawn care as temperatures rise, and frost dangers decrease. - Summer: Perfect for maintenance and establishing heat-tolerant plants. - Fall: A good time to plant trees and shrubs, allowing roots to establish before winter. - Winter: Plan and research for the upcoming growing season; it’s an excellent time for hardscaping projects. Landscaping your home can significantly improve its curb appeal while creating a beautiful outdoor space for you to enjoy. With careful planning, budgeting, and the right choices for features and timing, you can transform your yard into a stunning retreat. Whether you opt for DIY or professional assistance, these tips will set you on the right path to achieving your landscaping goals.

The Ultimate Guide to Painting & Finishing Your Home Like a Pro
The Ultimate Guide to Painting & Finishing Your Home Like a Pro Introduction Painting and finishing your home is not only a great way to enhance its aesthetics but also an essential part of maintaining its value. Whether you are doing a complete renovation or just refreshing a single room, knowing how to approach the job can save you time and money. In this guide, we'll cover practical tips, costs, timing, and the pros and cons of DIY vs. hiring professionals. Understanding the Basics of Painting Before you grab your brushes and paint, it's crucial to understand the types of paint and finishes available. Here are some key points: Types of Paint: Choose between water-based (latex) paints and oil-based paints, depending on your project's requirements. Finishing Options: Gloss, semi-gloss, satin, eggshell, and flat finishes each serve different purposes and aesthetics. Higher gloss means more durability but less subtlety. Preparing Your Space A successful paint job starts with proper preparation. Follow these steps: Clear the Area: Remove furniture, cover floors, and tape off edges to prevent any unwanted splatters. Fix Imperfections: Fill in holes, sand down rough spots, and clean the surfaces to create a smooth foundation for your paint. Choose Your Color: Test paint samples on your walls to see how they look at different times of the day. Painting Costs and Timing Understanding the financial aspect and time investment is essential: Costs: On average, painting a room can cost between $300 to $800, depending on size, paint quality, and whether you hire a professional. Time: Most DIY projects take 1-2 days per room, which includes prep time, drying, and painting. DIY vs. Hiring Professionals Deciding whether to tackle this project yourself or hire a professional can affect your experience: DIY: Great for smaller projects where precision isn’t critical. If you enjoy working with your hands and have the time, you can save money. Hiring Professionals: Ideal for larger projects, high ceilings, or complex finishes. Professionals usually offer warranties and guarantee quality work. Finishing Touches After painting, don’t forget the final details: Touch-ups: Use a fine brush for any missed spots or uneven areas. Cleaning Tools: Clean your brushes and rollers immediately after use to extend their life. Reassemble the Room: Once the paint is dry, carefully move your furniture back, and consider adding new décor to complement the fresh paint. Conclusion A fresh coat of paint can breathe new life into your home. Whether you decide to take on the project yourself or call in the professionals, planning is key to achieving a beautiful finish. Enjoy the transformation!
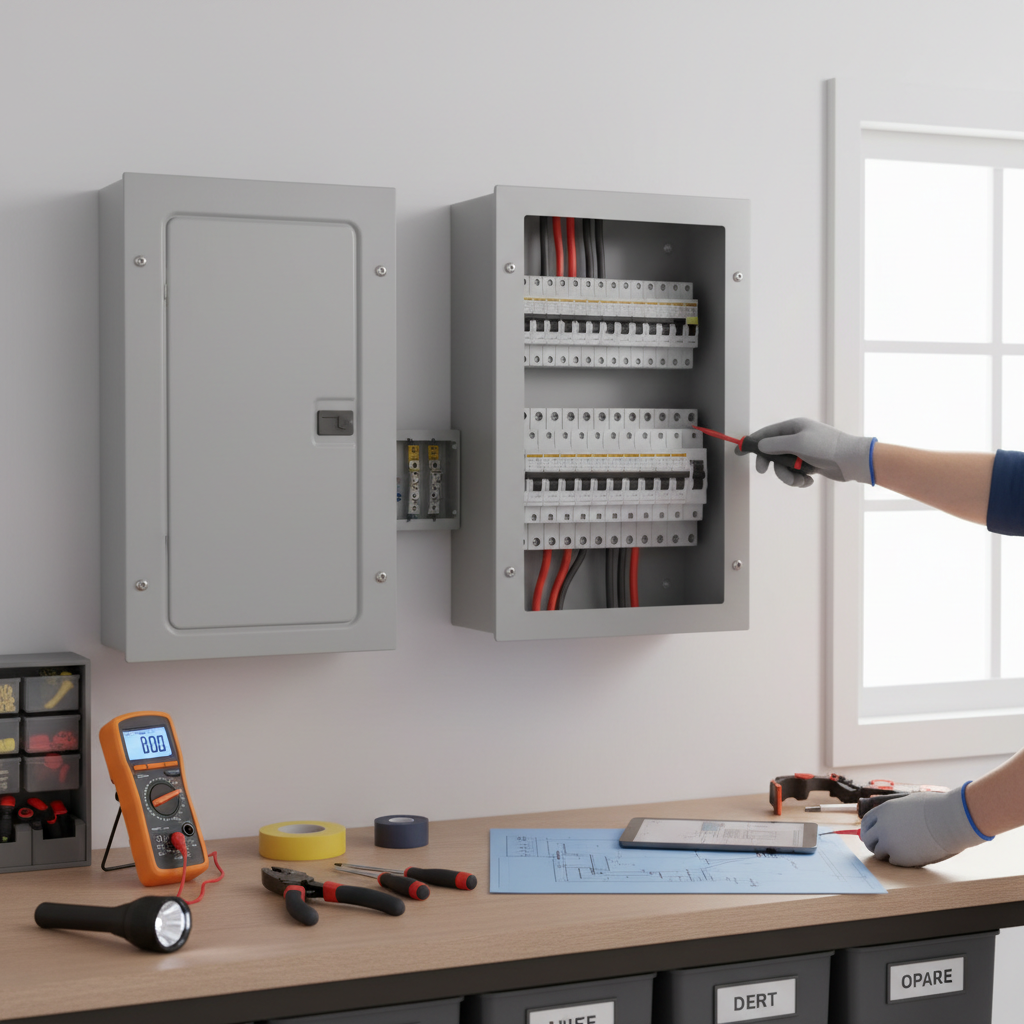
Essential Electrical Work Tips Every Homeowner Should Know
Understanding Electrical Work for Homeowners Electrical work is a crucial aspect of home maintenance that ensures safety, functionality, and efficiency. Whether you're planning a renovation, upgrading fixtures, or performing simple repairs, understanding the basics of electrical work can save you time and money. This guide offers practical tips, costs, and advice on when to tackle a project yourself versus hiring a professional. Common Types of Electrical Work - Lighting Installation: Upgrading or installing new lighting fixtures to enhance your home. - Outlet Replacement: Swapping out old or damaged outlets for safety. - Wiring Upgrades: Replacing outdated wiring to handle modern electrical demands. - Electrical Panels: Upgrading or replacing the main service panel to increase capacity. DIY Electrical Work: What You Can Do Some electrical tasks are manageable for homeowners with a bit of knowledge and the right tools. Here are a few DIY tasks: - Changing Light Fixtures: Ensure the power is off at the breaker, then replace fixtures by following the manufacturer’s instructions. - Replacing Switches and Outlets: This can usually be done safely if you are comfortable with simple wiring. - Installing Dimmer Switches: A great way to improve ambiance, dimmer switches can often be installed without professional help. When to Hire a Professional While some tasks are DIY-friendly, other situations call for a licensed electrician: - If you are unsure about safety protocols. - For significant wiring projects, such as new circuits or extensive home additions. - If your project requires knowledge of local building codes and permits. - For troubleshooting systems where the cause is unclear and could be hazardous. Cost Considerations Understanding the financial aspect of electrical work is vital: - DIY Costs: Basic tools (screwdriver, pliers, voltage tester) typically range from $50 to $200. Replacement fixtures can vary widely in price. - Hiring a Professional: Electricians typically charge between $50 and $120 per hour. Simple projects like outlet replacement may cost $150 to $250, while extensive rewiring could run into thousands. Timing for Electrical Work Consider the timing of your projects to ensure safety and efficiency: - Plan electrical work in conjunction with other renovations to minimize disruptions. - Consider seasonal factors—electrical work should ideally be done when temperatures are moderate to avoid issues with heat or cold. Final Words Electrical work plays a vital role in home maintenance. By knowing when to DIY and when to hire a professional, you can maintain a safe and functional living environment while potentially saving on costs. Always prioritize safety, adhere to local codes, and don’t hesitate to reach out for professional assistance when needed.
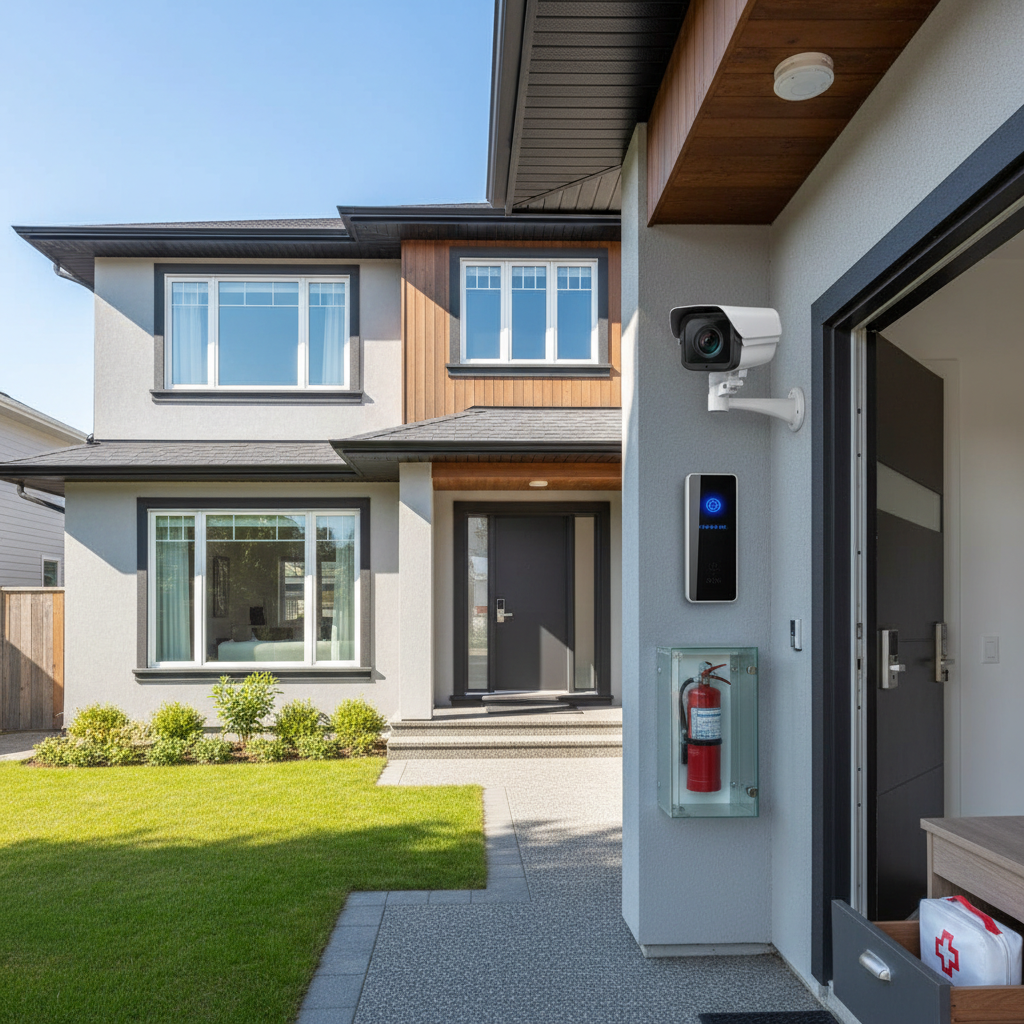
Top Security & Safety Tips Every Homeowner Should Know
Home security and safety are essential aspects of maintaining a peaceful living environment. With rising crime rates and increasing awareness of safety protocols, it’s crucial for homeowners to take proactive measures. This article provides actionable tips for enhancing your home security and safety in an affordable and effective manner. The first step in improving your home security is to identify its vulnerabilities. Conduct a thorough inspection of your property, looking for weak points: - Check doors and windows for proper locks. - Examine outdoor lighting, especially near entrances. - Evaluate visibility from the street; overgrown bushes can provide cover for intruders. Investing in high-quality locks significantly boosts your home’s security. Consider the following: - Install deadbolts on all exterior doors. A good deadbolt can cost between $30 to $150. - Use smart locks for keyless entry. These typically range from $100 to $300. Don't forget to change the locks if you move into a new home or lose your keys. The exterior of your home is your first line of defense. Here are some ways to improve it: - Install motion-activated lights around your property. These can cost around $50 to $150 each. - Set up a security camera system. Basic systems start at $200, while more comprehensive options can exceed $1,000. - Consider a fence to deter intruders. Basic fencing can cost approximately $15 to $30 per linear foot. It’s not just about deterring burglars; home safety also involves protecting your family from domestic hazards. Here are some practical tips: - Install smoke and carbon monoxide detectors on every level of your home. Replacement batteries should be checked every 6 months. - Use childproof locks on cabinets if you have young children. These typically cost around $10-$30. - Create a fire escape plan and practice it with all family members. If you're unsure about installing these systems yourself, hiring a professional can provide peace of mind. Professional installation typically ranges from $50 to $100 per hour, depending on the complexity of the task. Security service providers also offer comprehensive home security assessments. This could add value, especially if you’re considering a complete overhaul of your home security system. Home security and safety are ongoing processes that require regular assessment and updates. By taking these actionable steps, you can significantly reduce risks and protect what matters most. Remember, a safe home is a happy home!
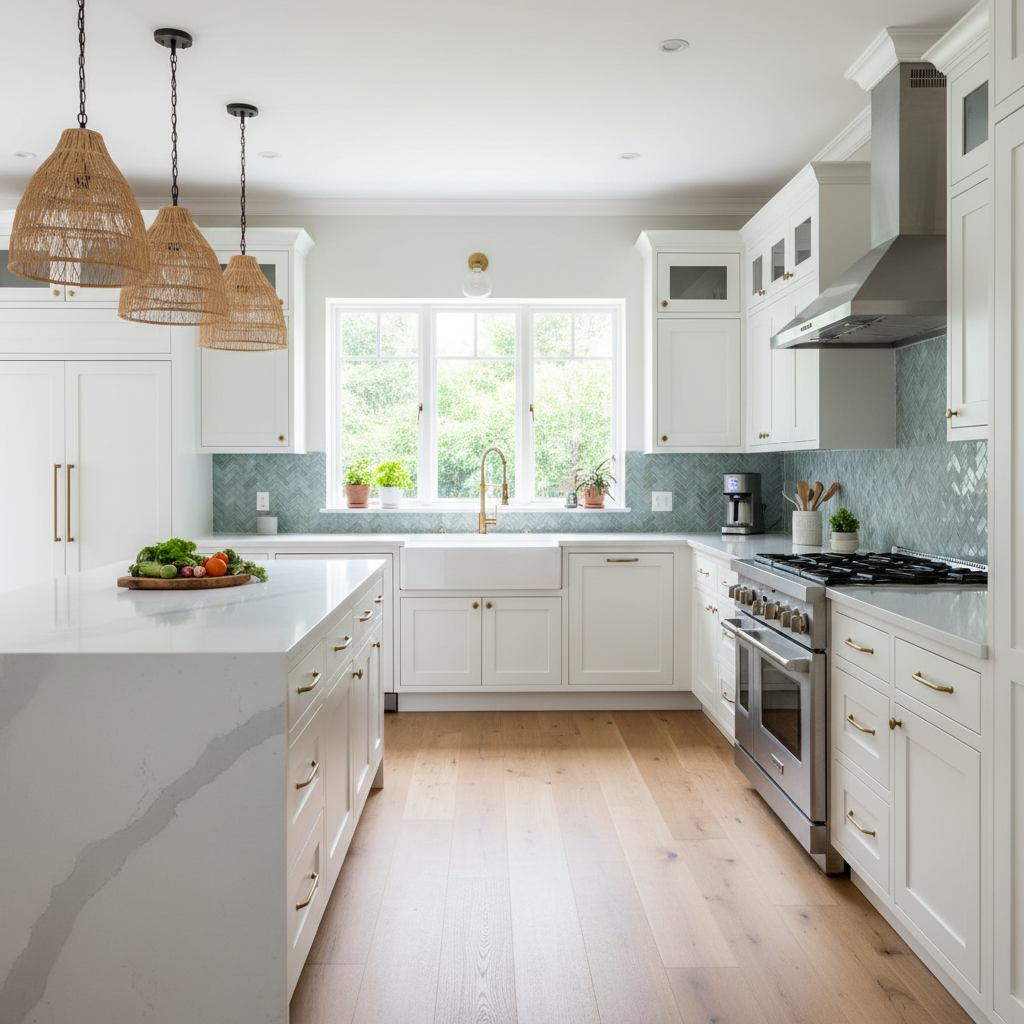
10 Kitchen Upgrades That Add Value and Style to Your Home
The kitchen is often referred to as the heart of the home. It’s where families gather, meals are prepared, and memories are made. Updating your kitchen not only enhances its functionality but also significantly increases the overall value of your home. Here are ten kitchen upgrades that you can consider to bring style and efficiency to your space. 1. Update Cabinetry Old cabinets can make your kitchen feel dated. Consider refinishing or painting them to give your kitchen a fresh look. For a more significant investment, replacing them with custom or semi-custom cabinets can offer tailored solutions. - DIY Cost: $200–$600 (paint/refinishing) - Professional Cost: $3,000–$10,000 (installing new cabinets) - Time: 1 week (depending on scope) 2. Invest in a Backsplash A stylish backsplash can transform your kitchen. Use ceramic, glass, or stone tiles to add character. Make sure it complements your countertops. - DIY Cost: $300–$600 - Professional Cost: $1,000–$2,500 - Time: 1-2 days (DIY installation) 3. Upgrade Your Appliances Energy-efficient appliances can save you money in the long run. Look for ENERGY STAR-rated models that offer better performance and lower energy costs. - Cost: $500–$5,000 (depending on selected appliances) - Time: 1 day (for installation) 4. Install New Countertops Countertops can set the tone of your kitchen. Natural stone, quartz, and laminate are common choices, each coming with its own pros and cons. Make sure to choose a durable material that matches your lifestyle. - Cost: $40–$200 per square foot - Time: 1-2 days (installation) 5. Improve Lighting Fixtures Good lighting can brighten up your kitchen, making it welcoming and functional. Consider layered lighting, including task lighting and decorative fixtures, for a more inviting atmosphere. - DIY Cost: $100–$300 (for fixtures) - Professional Cost: $300–$1,000 (full installation) - Time: 2-4 hours (for DIY) 6. Create an Open Concept If possible, removing a non-load-bearing wall can create an open-concept living area. This modern design improves traffic flow and visibility, making your space feel larger. - Professional Cost: $1,500–$5,000 - Time: 1-3 days 7. Add Kitchen Islands A kitchen island offers additional counter space and can serve multiple purposes, from cooking to socializing. Consider adding bar stools for a casual dining area. - DIY Cost: $500–$1,500 - Professional Cost: $2,000–$8,000 - Time: 1-2 days 8. Upgrade Faucets and Sinks Replacing an old sink and faucet can dramatically improve functionality. Look for models with pull-down sprayers and touchless technology for added convenience. - DIY Cost: $150–$500 - Professional Cost: $300–$800 - Time: 2-4 hours 9. Enhance Storage Solutions Incorporate pull-out shelves, cabinets, and organizers to maximize storage. Efficient storage keeps your kitchen clutter-free and functional. - DIY Cost: $100–$400 - Professional Cost: $500–$1,500 - Time: 1-3 days 10. Consider New Flooring Choose durable and easy-to-clean flooring such as tile, laminate, or luxury vinyl for your kitchen. New flooring can have a big impact on both aesthetics and functionality. - Cost: $2–$10 per square foot - Time: 1-3 days (depending on type) Whether you opt for minor updates or a complete overhaul, investing in kitchen upgrades can enhance your home’s value, appeal, and functionality. Prioritize based on your budget, needs, and timeline, and you'll have a kitchen that’s not only beautiful but also practical.

Transform Your Space: A Complete Guide to Bathroom Remodeling
Transform Your Space: A Complete Guide to Bathroom Remodeling Remodeling your bathroom can significantly enhance both the functionality and aesthetic appeal of your home. With careful planning and execution, you can create a tranquil space that meets your needs. In this guide, we’ll explore actionable tips and considerations for your bathroom remodel. 1. Assessing Your Needs Before diving into the remodel, take time to evaluate your needs and desires. Think about the following: - Do you need more storage or counter space? - How many people use the bathroom regularly? - Are you looking for accessibility features? 2. Set a Realistic Budget The cost of a bathroom remodel can vary widely based on your choices. Here’s a breakdown of typical expenses: - Minor remodels: $5,000 - $15,000 - Mid-range remodels: $15,000 - $30,000 - High-end remodels: $30,000 and up Include costs for materials, labor, and unforeseen expenses in your budget. Aim for a budget that allows wiggle room for changes along the way. 3. Choose Between DIY or Hiring a Professional Deciding whether to tackle the remodel yourself or hire a contractor is crucial: - DIY: If you’re handy and have experience, you may save money by doing part of the work yourself—like painting, installing fixtures, or even tiling. - Professional Help: Larger tasks requiring plumbing or electrical work often need a licensed professional, ensuring safety and compliance with local codes. 4. Planning the Layout Effective bathroom layout maximizes space and enhances functionality. When planning: - Consider the "work triangle" - the relationship between the toilet, sink, and shower/bath. - If your space is tight, consider using a pedestal sink or compact toilets to save room. - Plan for adequate lighting, making sure to include natural light sources if possible. 5. Selecting Materials and Fixtures The materials you choose can impact both aesthetics and durability. Look for the following: - Flooring: Waterproof materials like porcelain or vinyl tiles offer durability and style. - Vanities: Choose vanity styles that complement your overall theme, from modern to traditional. - Lighting: Layer lighting with ambient, task, and accent options for a versatile look. 6. Timing Your Remodel Timing is essential in any remodel. Remain realistic about your timeline: - A typical bathroom remodel can take anywhere from two to eight weeks depending on the scope. - Choose the right season; remodels may be less disruptive during off-peak periods when contractors are more available. 7. Final Touches and Inspections After the major work is completed, add final touches like decor, mirrors, and accessories to personalize your space. If you hired contractors, ensure everything is up to code and secure any necessary inspections to finalize the project. Conclusion With the right preparation and approach, your bathroom remodel can be both an enjoyable and enriching experience. Take the time to plan, budget, and execute according to your vision, and you’ll be rewarded with a beautiful, functional space for years to come.

Ultimate Guide to Effective Pest Control for Homeowners
Understanding Pest Control Pests can be more than just a nuisance; they can damage property, spread disease, and ruin food supplies. Effective pest control is essential for maintaining a safe and comfortable home. In this guide, we’ll explore practical pest control strategies, costs, timing, and when to consider professional help. Types of Common Household Pests - Ants: Often found in kitchens and outdoor spaces, ants can be a sign of a larger infestation. - Rodents: Mice and rats can cause damage to structures and contaminate food. - Termites: These wood-eaters can severely damage your home’s framework. - Bed Bugs: Known for their ability to hide, bed bugs can disrupt your sleep and cause distress. - Roaches: A sign of unsanitary conditions, cockroaches can trigger allergies and asthma. Preventative Measures Prevention is always better than cure. Here are some actionable tips for reducing pest populations in and around your home: - Seal Entry Points: Inspect your home for cracks and gaps around windows, doors, and foundations. Use caulk or weather stripping to seal these openings. - Keep Food Stored Properly: Store food in airtight containers and keep your kitchen clean to deter pests from invading. - Maintain Your Landscaping: Trim overgrown plants and keep firewood away from the home to reduce pest harborage. - Eliminate Standing Water: Fix leaky faucets and remove standing water to prevent mosquitoes and other pests from breeding. DIY Pest Control Solutions If you spot a few pests, you might be able to control them yourself. Here are some effective DIY methods: - Natural Repellents: Use essential oils like peppermint and tea tree oil to repel insects. - Boric Acid: Apply a mixture of boric acid and sugar to attract and kill cockroaches. - Traps: Set traps for rodents and insects to monitor infestations and catch them early. When to Hire a Professional In some cases, it’s best to call in the experts. Here are situations where professional pest control is advised: - Severe Infestations: If you notice signs of a large infestation, such as extensive damage or numerous pests, a pro is necessary. - Health Risks: If pests pose health risks, such as bed bugs or rodents, it’s important to seek professional help. - Complex Pest Issues: Some pests require special techniques or chemicals that are best handled by a licensed pest control operator. Cost of Pest Control The cost of pest control varies widely based on the type of service and severity of infestation: - DIY Solutions: Can range from $10 to $100 for supplies, depending on the product. - Professional Treatments: Typically range from $150 to $500, depending on the services required. - Ongoing Pest Control Programs: Monthly plans may cost between $40 to $70 each visit. Conclusion Pest control is an important aspect of home maintenance that should not be overlooked. By implementing preventative measures, utilizing DIY strategies, and knowing when to call a professional, you can ensure a pest-free living environment. Regular checks and timely actions will go a long way in keeping your home safe and comfortable.
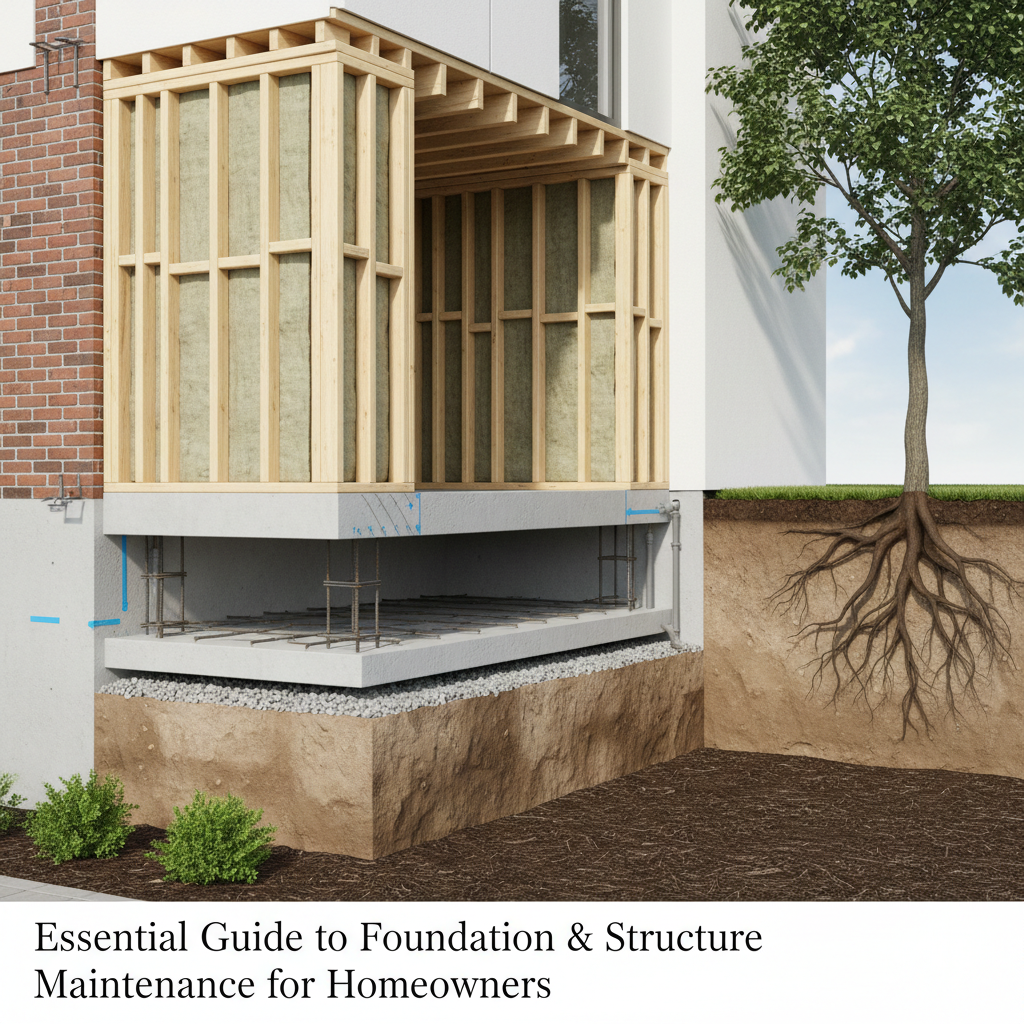
Essential Guide to Foundation & Structure Maintenance for Homeowners
Understanding Your Home's Foundation The foundation is the backbone of your home; it supports the entire structure and keeps everything stable. Regardless of the type—slab, crawl space, or basement—maintaining your foundation is crucial for the longevity of your property. Neglect can lead to significant structural damage, which can be costly to repair. Signs of Foundation Problems Homeowners need to be vigilant in spotting warning signs of foundation issues. Here are some common indicators: - Crumbling or Cracked Foundation: Look for visible cracks in your walls or foundation. - Bowling of Walls: Walls may start to lean or pull away from the house. - Doors and Windows Sticking: This may signal settling or shifting of the home. - Uneven Floors: This could indicate various problems with the foundation. Regular Maintenance Tips Some preventive measures can greatly enhance the longevity of your foundation: - Keep Gutters Clean: Ensure gutters are free from debris, allowing proper drainage away from the foundation. - Check Slope Away from Foundation: Soil should slope at least six inches over the first ten feet to direct water away. - Water the Lawn Wisely: Avoid overwatering your lawn, as excess moisture can weaken your foundation. - Seal Cracks Promptly: Small cracks can be filled with hydraulic cement or epoxy to prevent further damage. When to Call in the Professionals If you notice signs of foundation damage, it's advisable to consult with a structural engineer or foundation repair specialist. Here are some situations when you should call for help: - Large Cracks: If cracks exceed 1/4 inch in width or show signs of worsening. - Water Pooling: Excessive water accumulates around your foundation. - Severe Wall Bowing: This affects structural integrity and requires immediate attention. Cost of Foundation Repairs Costs can vary widely depending on the nature of the damage: - Minor Crack Repairs: $250 to $800 - Underpinning Solutions: $1,000 to $3,000+ per location - Major Structural Repairs: Can range from $4,000 to $15,000+ It's essential to get multiple quotes from reputable contractors to ensure you receive a fair price. DIY vs Professional Help For minor issues, homeowners with a good DIY skill set can handle repairs. However, larger structural issues often require specialized knowledge. Weigh the benefits of spending time on DIY versus the risk of doing it wrong. Final Thoughts Monitoring the health of your foundation and promptly addressing any problems can prevent severe structural issues down the line. Regular maintenance and awareness of warning signs are key components to protecting your home’s foundation.
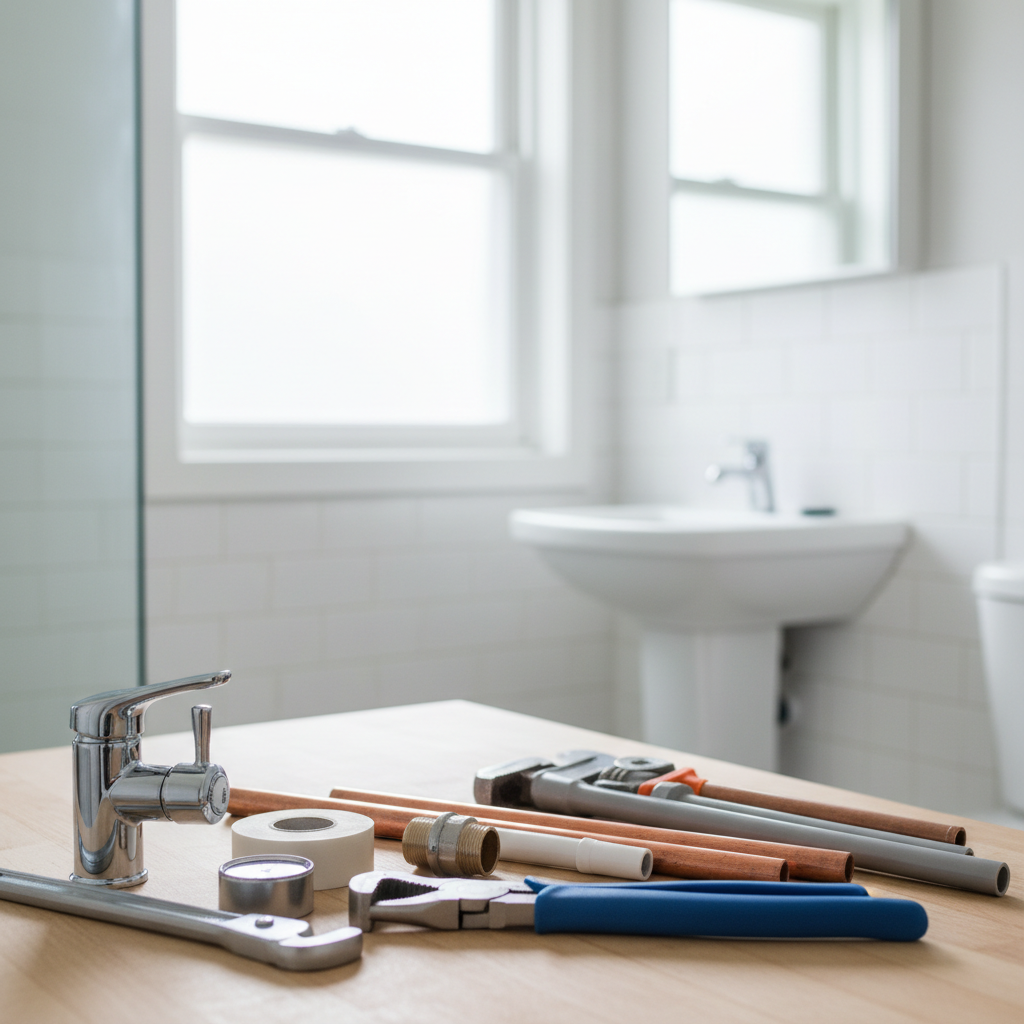
Essential Plumbing Tips Every Homeowner Should Know
Every homeowner knows that plumbing issues can escalate quickly if not addressed promptly. Understanding some basic plumbing tips can save you time, money, and frustration. Here’s your ultimate guide to managing common plumbing problems effectively. 1. **Understand Your Plumbing System** Before diving into repairs, familiarize yourself with your home’s plumbing layout. Locate the main water shut-off valve and any individual shut-off valves for appliances. This knowledge will be essential during emergencies. 2. **Regular Maintenance is Key** Preventive maintenance can significantly reduce plumbing issues. Here are some regular maintenance tasks: - Inspect pipes for rust or leaks. - Clean faucet aerators and showerheads. - Flush your water heater annually to remove sediment. - Check and clean drain traps regularly. Set reminders every 6 months to inspect these areas, and budget around $50-$100 for maintenance supplies. 3. **Handle Clogs with Care** Clogs are one of the most common plumbing problems. Here’s how to handle them: - **Use a Plunger:** Start with a reliable plunger. Ensure there's enough water to cover the plunger cup, and use quick, forceful thrusts. - **Drain Snake:** If plunging doesn’t work, a drain snake can help clear deeper clogs. You can rent one for about $20 per day. - **Home Solutions:** A mixture of baking soda and vinegar can sometimes break down minor clogs, making it a good first option. If these methods fail, it may be time to call in a professional plumber, especially if you suspect tree roots or a broken pipe. 4. **Know When to DIY vs. Call a Pro** Some plumbing tasks are manageable for homeowners, while others should be left to professionals: - **DIY Tasks:** Minor leaks, unclogging drains, and replacing faucet parts can often be handled at home. - **Professional Help:** Major leaks, sewage backups, and pipe replacements typically require a licensed plumber. Attempting these without experience can lead to costly damages. Don’t hesitate to call a professional if you’re unsure; their fees can save you from more significant repairs down the line. Hiring a licensed plumber typically costs between $45 to $150 per hour. 5. **Protect Your Pipes in Winter** Freezing temperatures can wreak havoc on pipes. To prevent freezing: - Insulate pipes in unheated spaces like basements and attics. - Let faucets drip during extreme cold to relieve pressure. - Keep garage doors closed if there are water supply lines inside. This proactive approach can save you from costly repairs due to burst pipes. By implementing these plumbing tips, you can effectively manage minor issues and know when to seek professional assistance. Regular maintenance and a little knowledge go a long way in protecting your home from costly plumbing disasters.

Transform Your Home with Smart Tech: A Complete Guide for Homeowners
Understanding Smart Home Technology Smart home technology is rapidly changing the way we manage our living spaces, offering convenience, efficiency, and enhanced security. As a homeowner, integrating these technologies can streamline your daily routines and enhance your living experience. In this guide, we'll explore the various types of smart home devices, their costs, and how to implement them effectively in your home. Types of Smart Home Devices Before diving into installation, let's look at some popular categories of smart home tech: - Smart Speakers: Control your devices with voice commands. Examples include Amazon Echo and Google Nest Hub. - Smart Lighting: Change the ambience of any room with smart bulbs or strips, such as Philips Hue. - Smart Thermostats: Manage your heating and cooling efficiently with devices like the Nest Learning Thermostat. - Smart Security Systems: Enhance your home's security with systems like Ring or Arlo that provide real-time alerts and remote monitoring. - Smart Plugs: Make any appliance smart; simply plug it in, and control it via an app or voice command. Assessing Cost and Budget The cost of smart home devices can vary significantly based on features and brands. Here’s a breakdown: - Smart speakers: $40 - $200 - Smart lighting: $15 - $60 per bulb - Smart thermostats: $100 - $250 - Smart security systems: $100 - $500+ (including installation) - Smart plugs: $10 - $30 each Evaluate how much you want to invest upfront. You can start small with a few devices, then expand over time based on your needs and budget. DIY vs. Professional Installation Many smart home devices are designed for easy DIY installation, meaning you can have them up and running in a matter of minutes without specialized skills. Here’s when to DIY and when to hire a pro: - DIY: Smart speakers, plugs, and lighting are typically straightforward. Follow the manufacturer's instructions for a seamless setup. - Professional Installation: Complex systems, such as smart security systems and thermostats, may benefit from expert installation. This ensures the wiring is safe and devices are configured correctly. Actionable Tips for Integration To make your smart home transition smooth, consider these practical tips: - Start with a central hub like SmartThings or Google Home to manage all devices easily. - Ensure your home Wi-Fi network can support multiple devices; consider a mesh system if coverage is weak. - Utilize automation features to create schedules for your devices, improving energy efficiency and security. - Regularly update the firmware on your devices to maintain security and functionality. Conclusion Smart home technology can significantly enhance your living experience. By understanding the various devices, budgeting wisely, and knowing when to DIY or call a professional, you can create a smart home that meets your needs and fits your lifestyle. Start small, explore the options available, and soon you’ll have a seamlessly integrated tech haven.

Essential Roofing & Gutter Tips for Every Homeowner
Your roof and gutters are vital components of your home, protecting it from the elements. Knowing how to maintain them can save you money, prevent damage, and extend their lifespan. Here, we provide practical tips on roofing and gutter upkeep. Maintaining your roof involves regular inspections and timely repairs. Here are some actionable steps you can take: 1. Annual Inspections: Inspect your roof at least once a year, ideally in the spring and fall. 2. Look for Damage: Check for cracked shingles, missing tiles, or signs of water pooling. 3. Clean the Roof: Remove debris like leaves and branches to prevent mold and moss growth. 4. Check Flashing and Seals: Inspect flashing around chimneys and vents for damage or wear. 5. Hire a Professional: If climbing on the roof isn't safe, consider hiring a professional for a thorough inspection. The cost of roof repair can range from $300 to $1,500 depending on the extent of the damage. If your roof is nearing the end of its life (typically 20-25 years for asphalt shingles), consider a replacement. Here are signs that indicate it might be time: 1. A significant number of missing shingles 2. Leaks or water stains on your ceiling 3. Granules from shingles in gutters A full roof replacement can cost between $5,000 and $20,000, depending on materials and home size. Gutters play a crucial role in directing water away from your home. Clogged or damaged gutters can lead to water damage, foundation issues, and even pest infestations. Follow these tips to keep your gutters functioning effectively: 1. Regular Cleaning: Clean your gutters at least twice a year to remove leaves and debris. 2. Check for Dips: Ensure that gutters slope towards downspouts, allowing water to flow efficiently. 3. Inspect Downspouts: Ensure they are not clogged and direct water at least 3-5 feet away from your foundation. 4. Install Gutter Guards: Gutter guards can help reduce the frequency of cleaning needed. Many homeowners can handle simple gutter cleaning and minor roof repairs. However, for larger issues or replacements, hiring a licensed professional is recommended for safety and compliance with local building codes. When choosing a contractor, be sure to check references and read reviews.

Essential Guide to Windows & Doors: Maintenance, Upgrades, and Efficiency
Windows and doors are vital components of any home, impacting energy efficiency, aesthetics, and security. Proper maintenance and timely upgrades not only enhance the comfort of your home but can also save you money in the long run. In this article, we'll provide actionable tips for maintaining your windows and doors, discuss the costs involved in upgrades, and guide you on whether to go DIY or hire a professional. Regular Maintenance Tips: Maintaining your windows and doors is crucial for ensuring their longevity and energy efficiency. Here are some maintenance tips: - **Clean Windowpanes and Frames:** Use a gentle cleaner and a soft cloth to wipe down window panes every few months. Don't forget the frames and sills. - **Inspect Sealants and Weatherstripping:** Regularly check for cracks in caulking or gaps in weatherstripping. Replace them as necessary to prevent air leaks. - **Check for Moisture Damage:** Look for signs of condensation between double panes or signs of rot in wooden frames, which can indicate a larger issue. - **Lubricate Moving Parts:** Keep hinges, locks, and sliding tracks well-lubricated to ensure smooth operation. Upgrade Considerations: If your windows and doors are outdated or damaged, it may be time for an upgrade. Here are some factors to consider: - **Energy Efficiency:** Upgrading to double or triple-glazed windows can significantly reduce energy bills by improving insulation. - **Security Features:** Consider doors with reinforced frames, multi-point locks, or smart lock options to enhance security. - **Aesthetics:** New windows or doors can improve curb appeal. Look for styles that complement your home’s architecture. - **Budget:** The cost of upgrading windows typically ranges from $300 to $1,000 per window, while door replacements can range from $100 to over $2,000 depending on the style and material. DIY vs. Professional Installation: Deciding whether to tackle a project DIY or hire a professional can hinge on a variety of factors: - **Skill Level:** If you’re comfortable with basic home repairs and have the right tools, installing a pre-hung door or simple window replacements might be a viable DIY project. - **Time Investment:** Installing windows and doors can be a time-consuming task. If you have a busy schedule, it may be worth hiring a professional. - **Warranty Considerations:** Many manufacturers require professional installation for warranties to be valid, so consider this when deciding. Conclusion: Windows and doors are essential elements of your home, impacting energy costs and security. By following regular maintenance, considering upgrades, and weighing the options for DIY versus professional help, you can ensure that your home remains comfortable and efficient. Whether it’s through a simple clean or a full replacement, taking these steps will protect your investment and enhance your living space.
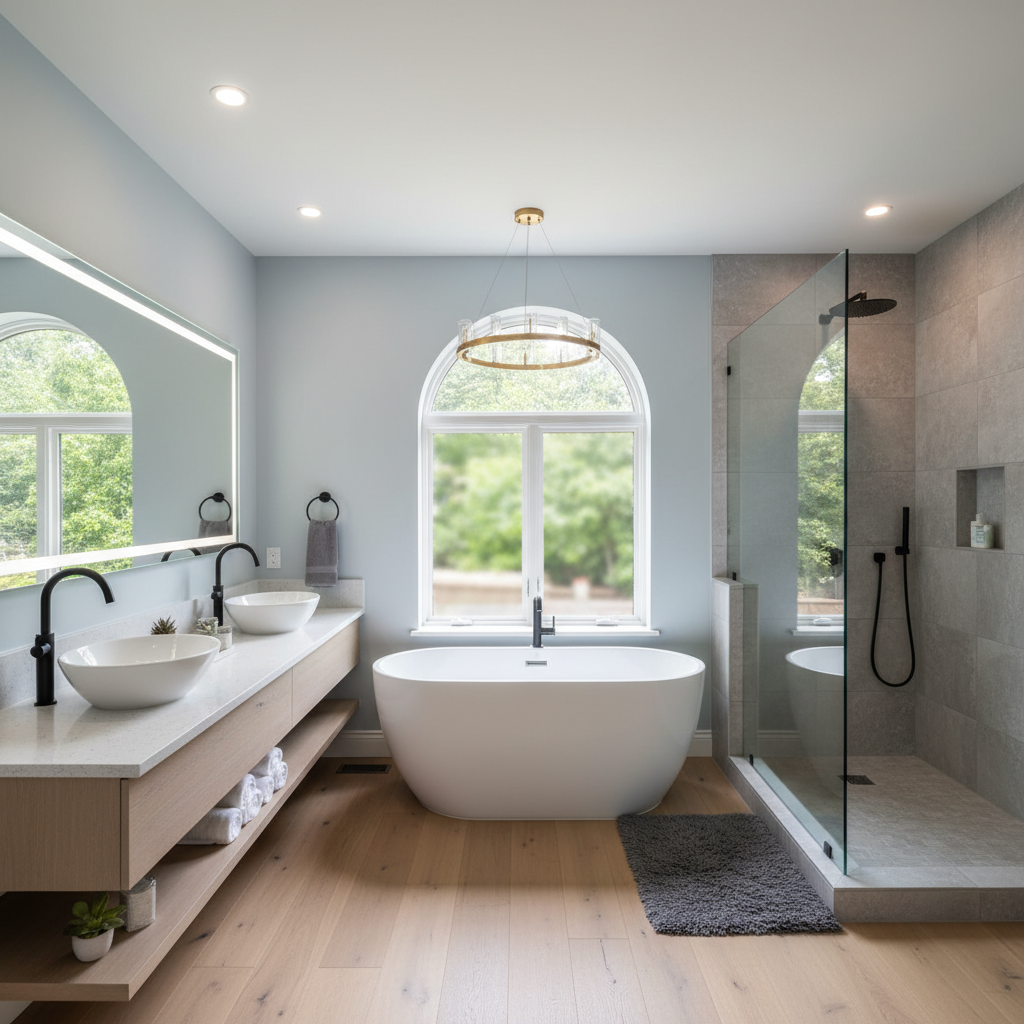
Transform Your Space: Essential Tips for a Successful Bathroom Remodel
Transform Your Space: Essential Tips for a Successful Bathroom Remodel Introduction Embarking on a bathroom remodel can transform a dull space into a sanctuary. Not only does it enhance your home’s appearance, but it can also improve functionality and increase property value. This article will guide you through essential tips, costs, timing, and considerations for DIY vs. professional help. Planning Your Bathroom Remodel Before diving into renovations, proper planning is key. Start by considering the following: - Budget: Establish a realistic budget that includes materials, labor, and a contingency for unexpected costs. - Layout: Think about how you use the space currently. Is it working for you? Consider any layout tweaks you want to implement. - Style: Gather inspiration from magazines, websites, or home improvement shows. Decide whether you want a modern, rustic, or classic look. Costs Associated with a Bathroom Remodel The cost of remodeling a bathroom can vary widely based on size, materials, and complexity. Here are average costs to keep in mind: - Low-End: $5,000 - $10,000 for minor repairs and aesthetic updates. - Mid-Range: $10,000 - $25,000 for a complete renovation with quality materials. - High-End: $25,000 and above for luxury fixtures, high-end materials, and structural changes. Timing Your Remodel Bathroom remodels generally take 3-4 weeks, but the timeline can vary based on several factors: - Scope of Work: Minor updates can be completed more quickly than major renovations. - Professional vs. DIY: Taking on the project yourself can extend the timeline if you're balancing a job. - Delays: Be prepared for potential delays in delivery or unexpected issues such as plumbing or electrical work. DIY vs. Hiring Professionals Choosing between DIY and hiring professionals depends on your skills, the complexity of the remodel, and your comfort level with various tasks: - DIY: Consider taking on simple tasks like painting, installing backsplashes, or replacing fixtures. This can save money and give you a sense of accomplishment. - Professional Help: For plumbing or electrical work, and extensive renovations, hiring a licensed contractor is advisable. This ensures safety and compliance with local codes. Key Tips for a Successful Bathroom Remodel To ensure your remodel is successful, keep the following tips in mind: - Choose Quality Materials: Invest in durable materials that can withstand moisture and wear, like ceramic tiles or acrylic fixtures. - Plan for Storage: Maximize space with built-in storage solutions like shelves or cabinets to keep your bathroom organized. - Focus on Lighting: Good lighting can make a small bathroom appear larger. Consider layers of light with overhead fixtures, task lighting, and accents. Conclusion A bathroom remodel can be a rewarding project when approached thoughtfully. By establishing a clear plan, budgeting appropriately, and knowing whether to DIY or hire help, you can create a beautiful and functional space that meets your needs. Happy remodeling!
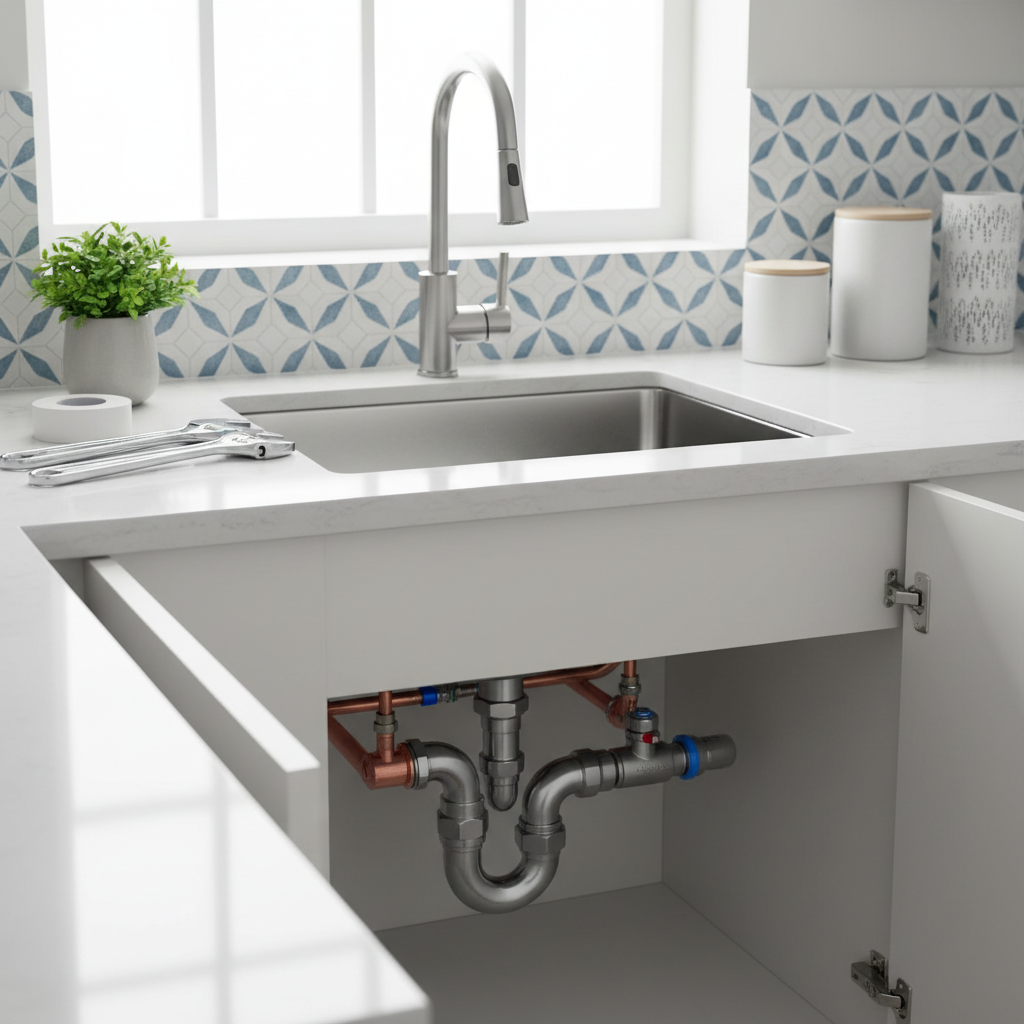
Essential Plumbing Tips Every Homeowner Should Know
Essential Plumbing Tips Every Homeowner Should Know As a homeowner, dealing with plumbing issues can be intimidating. However, with some basic knowledge and a few handy tips, you can tackle many common problems yourself, and know when to call in a professional. Here’s everything you need to know about plumbing maintenance and repairs. 1. Understand Your Plumbing System Before diving into repairs, take some time to familiarize yourself with your home's plumbing system. Know the layout and locations of your: - Main water shut-off valve - Drain cleanout access points - Water heater - Individual fixture shut-off valves Knowing how to quickly shut off your water can save you from significant damage in emergencies. 2. Routine Maintenance is Key Regular maintenance can prevent major plumbing issues down the line. Consider these helpful tasks: - Check for Leaks: Inspect under sinks, around toilets, and near appliances. Fixing leaks early can save you on your water bill and prevent water damage. - Clear Drains: Use a mixture of baking soda and vinegar monthly to keep drains clear and odor-free. - Inspect Water Heater: Check the pressure relief valve and drain the tank annually to remove sediment build-up. Annual plumbing checks by a professional can also help identify potential areas of concern. 3. DIY Repairs vs. Calling a Professional Many homeowners can handle minor repairs, but some issues require professional help. Here are guidelines to differentiate: - DIY: Leaky faucets, clogged drains, and toilet repairs are typically manageable with online tutorials and basic tools. - Call a Pro: Complex issues like sewer line problems, major pipe leaks, or multiple fixture malfunctions should be addressed by licensed plumbers, often costing between $45 and $150 per hour. 4. Know Your Costs The cost of plumbing repairs can vary widely based on the nature of the problem. Here's a breakdown of common expenses you might encounter: - Unclogging a drain: $100 - $300 - Replacing a faucet: $150 - $350 - Installation of a water heater: $800 - $1,500 Always get multiple quotes and check for warranties on parts and labor to ensure you’re getting a fair price. 5. Emergency Preparedness Be prepared for plumbing emergencies with these tips: - Prepare a Plumbing Toolkit: Stock up on essential tools like a plunger, adjustable wrench, pipe wrench, and a plumber's snake. - Emergency Contacts: Have a list of trusted local plumbers for emergencies, especially after hours. - Emergency Shut Off: Ensure everyone in the household knows how to locate and operate the main shut-off valve. Conclusion A proactive approach to plumbing maintenance can save you time, money, and stress. By incorporating these tips into your homeowner routine, you'll be well-equipped to handle most plumbing challenges that come your way. Remember, while some repairs can be tackled alone, don’t hesitate to call a professional when you’re unsure. A little knowledge makes a big difference!
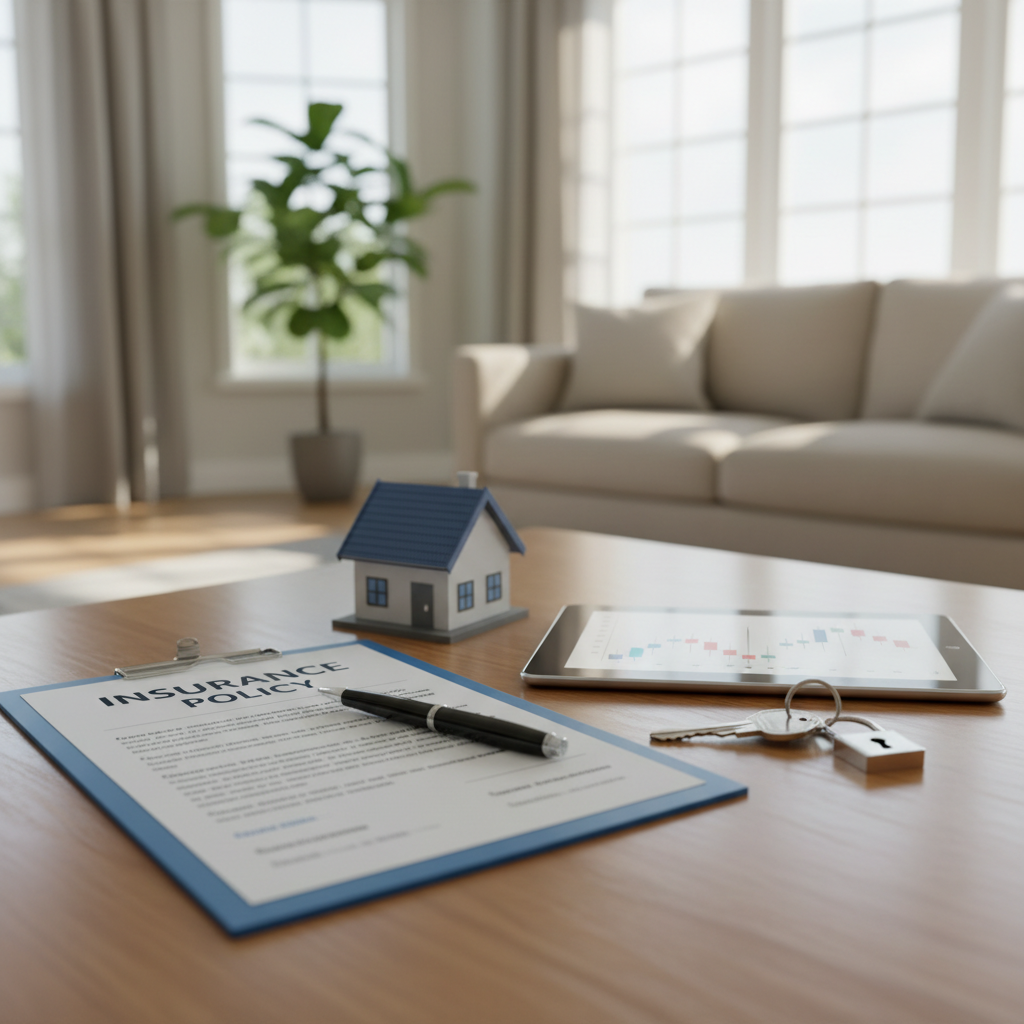
Master Your Home Insurance: Essential Tips for Homeowners
Understanding Home Insurance for Homeowners Home insurance is more than just a safety net; it’s a necessity for homeowners looking to protect their greatest asset. This article breaks down the essentials of home insurance, including types, coverage, and tips to ensure you get the best protection for your investment. Types of Home Insurance Home insurance policies come in various forms, each offering different levels of protection. Here are the most common types: - HO-1: Basic form covering limited perils like fire and theft. - HO-2: Broad form that covers more perils than HO-1. - HO-3: Most common policy type, covering the house itself and personal belongings. - HO-4: Renter’s insurance covering personal belongings within a rental unit. - HO-6: Condominium insurance covering personal property and improvements. What Does Home Insurance Cover? Comprehensive coverage protects against various risks. Here are the key areas typically covered: - Dwelling Coverage: Insurance for the structure of your home. - Personal Property: Coverage for your belongings like furniture and appliances. - Liability Protection: Covers legal expenses if someone is injured on your property. - Additional Living Expenses: Coverage for living costs incurred when your home is being repaired after a covered incident. Determining Coverage Needs When assessing your home insurance needs, consider the following: - Home Value: Estimate the cost to rebuild your home, not the market value. - Personal Belongings: Take an inventory of valuable items to determine the necessary coverage. - Local Risks: Assess risks specific to your area, such as floods or earthquakes, to see if additional coverage is needed. When to Review or Update Your Policy Revisiting your home insurance policy is crucial when: - You make significant home improvements or renovations. - You acquire valuable items such as jewelry or artwork. - You experience life changes, such as marriage or the birth of a child, which may affect your living situation. DIY vs. Professional Guidance Many homeowners opt to manage their insurance themselves, but professional guidance can be invaluable: - DIY: You can shop around and compare quotes online to find the best rate. - Professional Agents: Agents can provide personalized advice and help decipher coverage options. Cost Considerations On average, homeowners pay $1,200 annually for insurance, but costs can vary based on factors like location, home age, and coverage level. Consider these tips to save on premiums: - Increase your deductible to lower your premium. - Consider bundling insurance policies (home and auto) for discounts. - Maintain a good credit score, as insurers often consider credit when determining rates. In Summary Your home is a significant investment; protecting it with the right insurance is crucial. Take the time to review your policy, understand your coverage options, and make informed decisions to secure peace of mind.

Effective Pest Control: A Homeowner's Ultimate Guide
Effective Pest Control: A Homeowner's Ultimate Guide Understanding Pest Control Pest control is an essential aspect of maintaining a healthy and comfortable home. From ants and roaches to termites and rodents, pests can cause significant damage and health issues if not managed promptly. This guide will provide actionable tips to help homeowners tackle pest problems effectively. Identifying Common Household Pests - Ants: Look for trails in your kitchen or pantry. - Termites: Watch for wood damage or mud tubes around your foundation. - Rodents: Check for droppings or gnawed food packaging. - Roaches: Look for dark, oval-shaped insects, typically in warm, moist areas. DIY Pest Control Tips Before calling in professionals, try these DIY methods to manage minor infestations: - Seal Entry Points: Inspect doors, windows, and other entry points for gaps. Use caulk or weather stripping to block access. - Maintain Cleanliness: Keep your kitchen clean, store food in sealed containers, and regularly take out the trash. Pests are attracted to mess! - Use Natural Deterrents: Sprays made from vinegar or essential oils (like peppermint) can help keep pests at bay. - Traps: Set humane traps or snap traps to control rodents and insects effectively. When to Call Professionals If DIY methods fail or if you're dealing with large infestations, consider hiring a pest control professional. Signs you should call an expert include: - Presence of poisonous pests like black widows or scorpions. - Termite damage observed. - Inability to manage the pest problem despite your best efforts. Cost of Pest Control The cost of pest control varies widely based on the type of pest and the severity of the issue. On average: - Basic services range from $100 to $300 for initial visits. - Annual treatments typically cost between $400 to $1,200. - Termite treatments can run from $500 to over $2,500, depending on the extent of the infestation. Timing is Key Preventative pest control is ideally done in the spring and early summer when insects are most active. Regular inspections and treatments can help keep your home pest-free year-round. Final Thoughts Effective pest control requires diligence and awareness. By using the tips provided, homeowners can manage common pests proactively. While DIY solutions are effective for minor issues, don’t hesitate to seek professional help when needed. Keeping your home pest-free is crucial for the safety and comfort of your family.
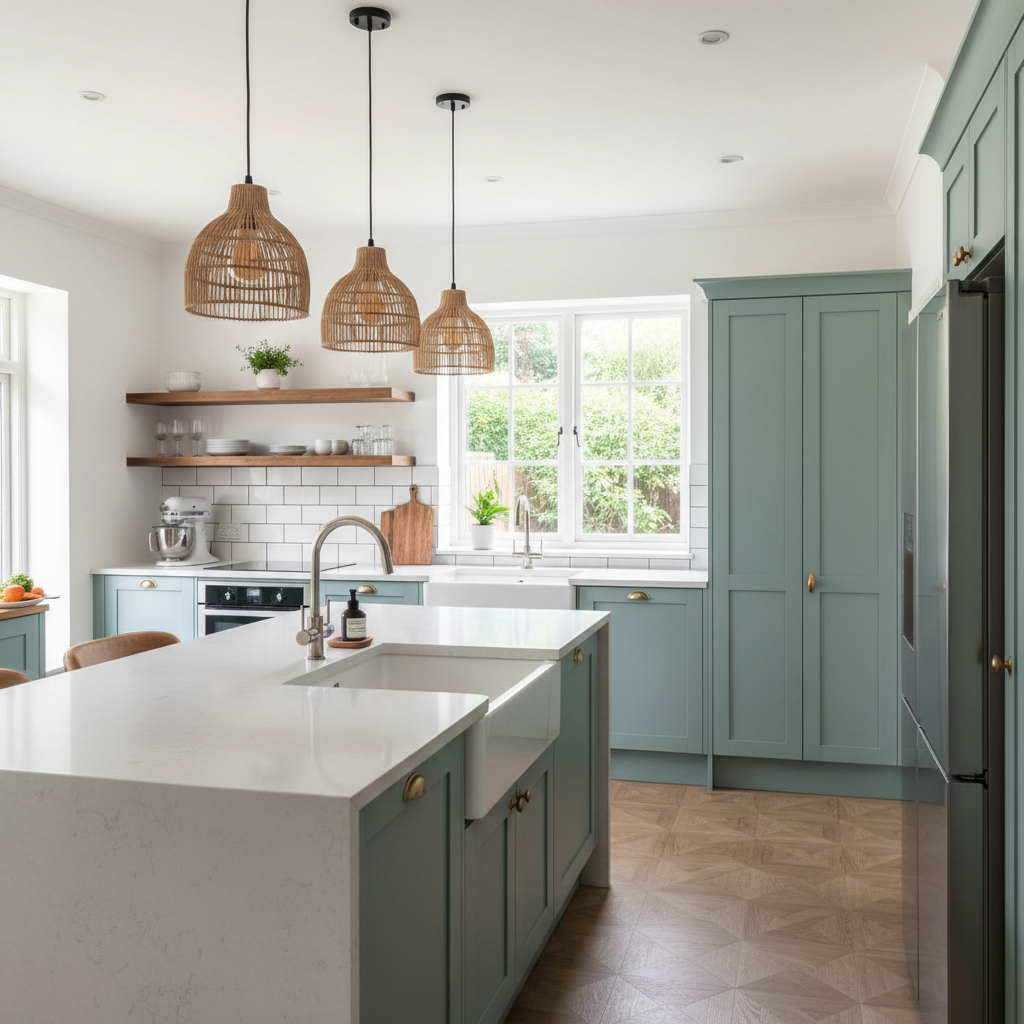
Transform Your Space: Practical Kitchen Upgrades for Every Budget
Your kitchen is the heart of your home, a space for cooking, gathering, and creating memories. If it's feeling outdated or cramped, upgrading it can enhance both functionality and aesthetics. In this article, we’ll explore practical kitchen upgrades suitable for every budget. 1. Fresh Coat of Paint One of the easiest and most cost-effective ways to refresh your kitchen is with a new paint job. A well-chosen color can brighten the space and make it feel larger. Cost: $30-$100 for paint and supplies Time: 2-3 days (includes drying time) DIY or Professional: DIY — painting is a straightforward task if you have basic skills. 2. Upgrade Your Hardware Replacing old cabinet handles and drawer pulls can transform the look of your kitchen without a hefty price tag. Cost: $2-$10 per piece Time: 1-2 hours DIY or Professional: DIY — minimal tools required. 3. Enhance Your Lighting Good lighting is essential in a kitchen. Consider adding under-cabinet lighting or pendant fixtures over the island. Cost: $50-$200 per fixture Time: 1 day (if you’re installing new fixtures) DIY or Professional: DIY is possible for simple installs; hire an electrician for complex setups. 4. Invest in New Countertops Countertops can significantly affect both usability and visual appeal. Options vary from laminate to granite; choose based on your lifestyle and budget. Cost: $50-$200 per square foot Time: 1-3 days for installation DIY or Professional: Generally, professional installation is recommended due to weight and precision. 5. Appliances Upgrade Modern appliances can save energy and enhance your cooking experience. Look for ENERGY STAR-rated products for the best efficiency. Cost: $500-$3,000 depending on the appliance Time: 1 day for removal and installation DIY or Professional: Professional installation is recommended for major appliances. 6. Open Shelving Open shelving creates a modern look while making your kitchen feel more spacious. This upgrade also allows for easy access to frequently used items. Cost: $100-$500 depending on design and materials Time: 1-2 days DIY or Professional: DIY is feasible with proper tools and understanding of wall strength. Upgrading your kitchen doesn't always require a complete remodel. With a few thoughtful changes, you can significantly enhance both its style and functionality. Assess your needs, set a budget, and decide whether to tackle the upgrades independently or hire professionals. Happy upgrading!
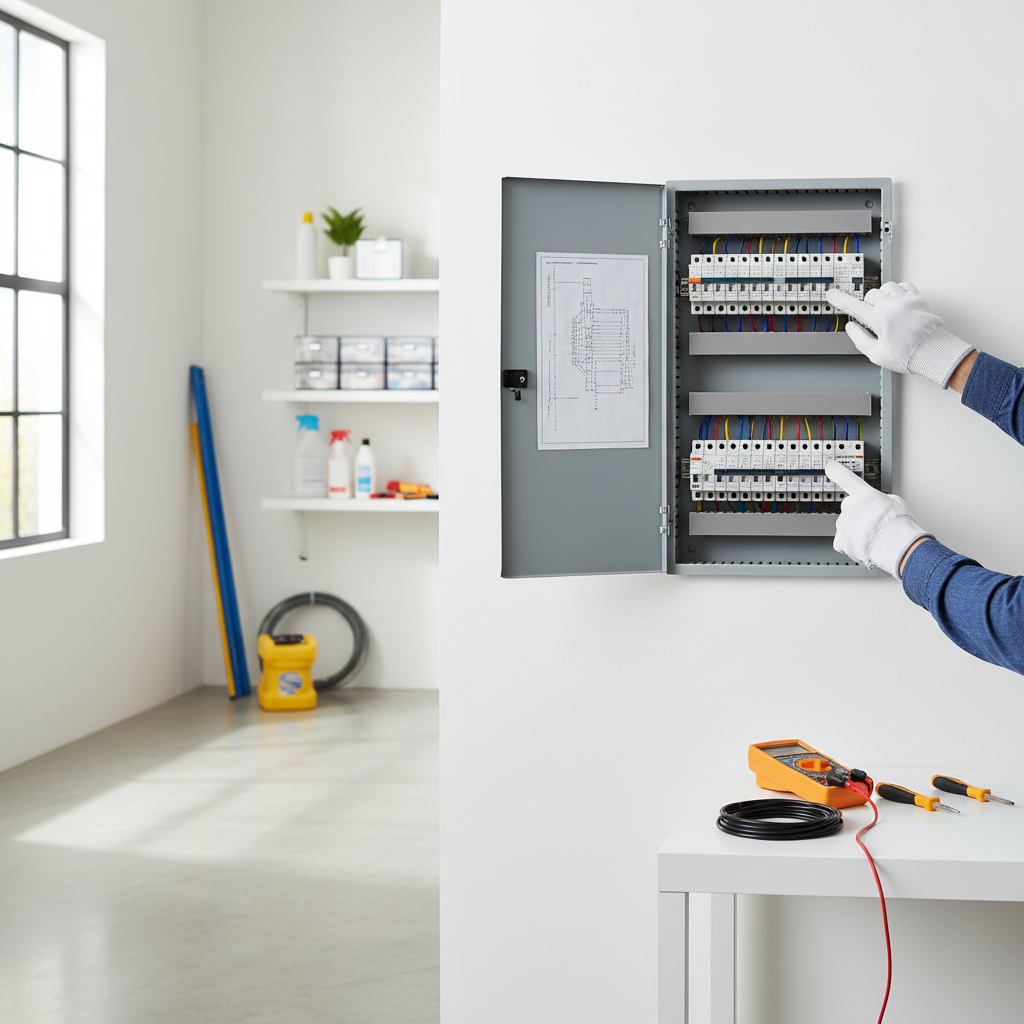
Essential Guide to Electrical Work for Homeowners: Tips and Safety
Understanding Electrical Work in Your Home Electrical work is crucial for maintaining a safe and functional home. Whether you're looking to upgrade your current system, tackle minor repairs, or simply understand how your electrical setup works, having a basic knowledge can save you time and money. In this guide, we’ll cover essential tips about when to DIY and when to call in a professional, along with cost estimates and safety precautions. When to DIY vs. Hire a Professional Homeowners often face the dilemma of whether to handle electrical tasks themselves or hire a licensed electrician. Here’s a simple breakdown to aid your decision-making: Do It Yourself (DIY) - Changing light fixtures - Replacing outlets and switches - Installing ceiling fans Hire a Professional - Upgrading your electrical panel - Rewiring your home - Handling heavy-duty electrical installations Common Electrical Projects and Costs Understanding the typical costs associated with different electrical projects can help you budget effectively: Light Fixture Replacement: $100 - $300 (includes labor) - Simple fixtures on the lower end, complex chandeliers on the higher. Outlet Installation: $150 - $250 per outlet - Cost varies based on the complexity and accessibility of the area. Electrical Panel Upgrade: $800 - $3,000 - A major project that enhances your home’s power capacity. Safety First: Important Precautions Electrical work can be dangerous if not approached correctly. Always consider these safety measures: - Turn Off the Power: Ensure the circuit breaker is off before beginning any work. - Use Proper Tools: Invest in quality tools such as a multimeter and wire cutters. - Be Mindful of Codes: Familiarize yourself with local building codes to avoid compliance issues. Timing Your Electrical Projects Timing can significantly impact the success of your electrical projects. Here are some tips: - Seasonal Considerations: Late spring and summer are ideal for outdoor installations, as weather is more predictable. - Scheduling: Try to book professionals during off-peak hours to get better rates and availability. Conclusion Electrical work is an essential aspect of home maintenance that can often be managed effectively by homeowners who are informed and cautious. By knowing when to take on a DIY project and when to seek professional help, you can keep your home functioning safely and efficiently. Always prioritize safety and don’t hesitate to consult with a licensed electrician for complex tasks.
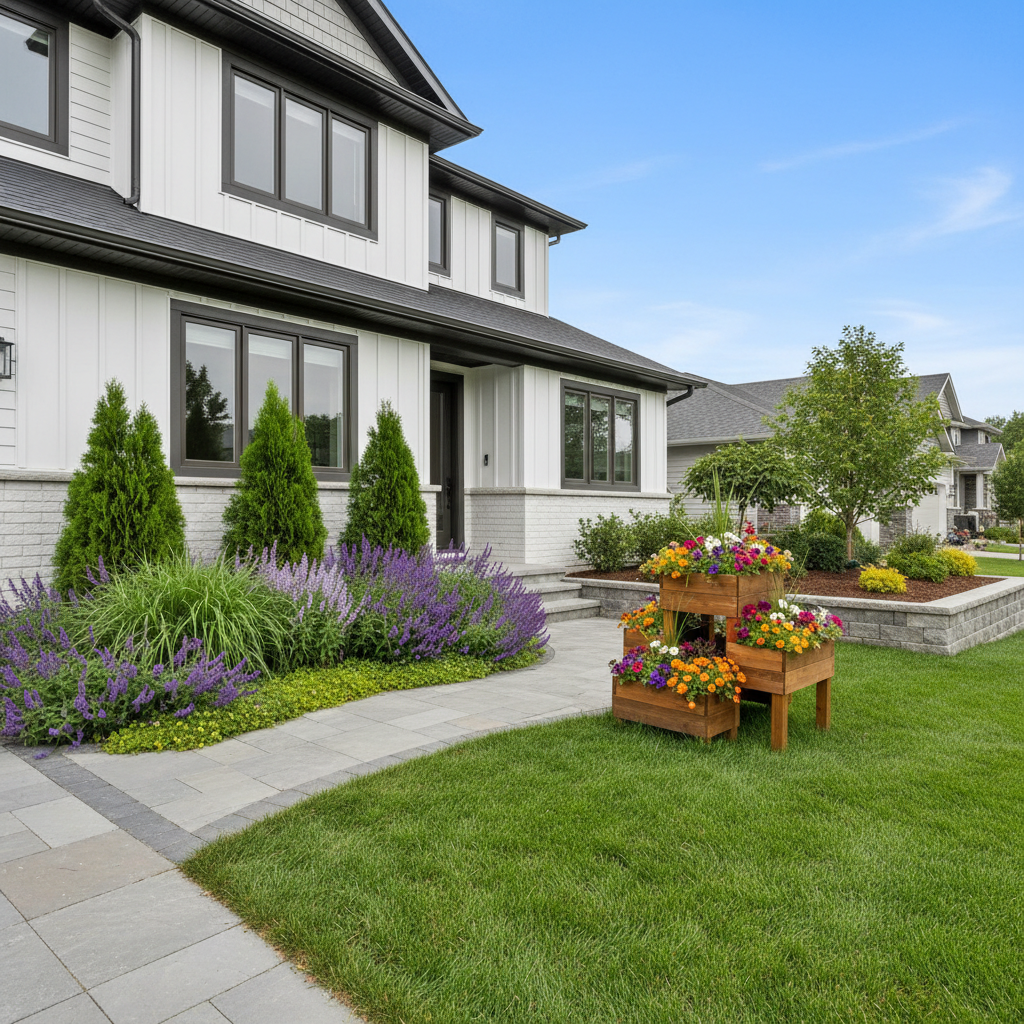
Transform Your Home's Curb Appeal with Effective Landscaping Tips
Transform your home's curb appeal with effective landscaping tips. Start by planning your landscape, assessing costs, timing your projects for the best results, and weighing the option of DIY versus hiring professionals. This guide provides all the information you need to achieve stunning outdoor spaces.

Transform Your Home: Essential Tips for Painting & Finishing
Introduction to Painting & Finishing Painting and finishing your home can dramatically enhance its aesthetic appeal and increase property value. Whether you're refreshing a tired room or undertaking a complete makeover, understanding the basics can make the process smoother and more cost-effective. Choosing the Right Paint When selecting paint, consider the following factors: - Type of Paint: Water-based paints are easier to clean and dry faster, while oil-based paints are more durable but take longer to dry. - Finish: Options range from matte to glossy. Matte hides imperfections, while glossy finishes are easier to clean. - Color Selection: Test swatches in different lighting at various times of the day to find the perfect hue. Cost Considerations The cost of painting can vary widely based on variables such as: - Size of the Area: Larger spaces will require more paint and materials. - Quality of Materials: Higher-quality paints and tools can cost more upfront but often provide better results. - Professional vs. DIY: Hiring professionals averages $2-$6 per square foot, while DIY can save labor costs but requires an investment in tools and materials. Timing Your Painting Project Choosing the right time to paint is crucial. Here are some considerations: - Seasonality: Spring and summer are ideal as humidity and temperatures are generally more favorable for painting. - Project Duration: A small room may take 1-2 days to paint, including drying time, while larger projects can extend over a week. - Preparation Time: Set aside additional time for surface preparation, including cleaning, sanding, and priming. DIY Painting Tips If you decide to tackle the project yourself, consider these actionable tips: - Prep the Space: Move furniture and cover floors with drop cloths. Clean the walls and fill in any holes or cracks. - Use Quality Tools: Invest in good brushes and rollers. A high-quality brush can make a significant difference in the finish. - Cut in First: Start painting the edges and corners of the room before rolling the main walls for a neat finish. - Apply Multiple Coats: Depending on your color choice, you may need 2-3 coats for complete coverage. When to Hire a Professional While DIY can be rewarding, some scenarios warrant calling in the professionals: - High Ceilings: If you’re uncomfortable with ladders or heights, hire a pro. - Detailed Finishes: For intricate work like crown molding, a professional can achieve a flawless result. - Time Constraints: If your schedule is tight, hiring professionals can ensure the job gets done efficiently. Conclusion Painting and finishing your home is an excellent way to personalize your space and increase its value. By considering the right materials, costs, timing, and techniques, you can achieve stunning results whether you choose to DIY or hire a professional. Roll up your sleeves and get started on your painting project today!
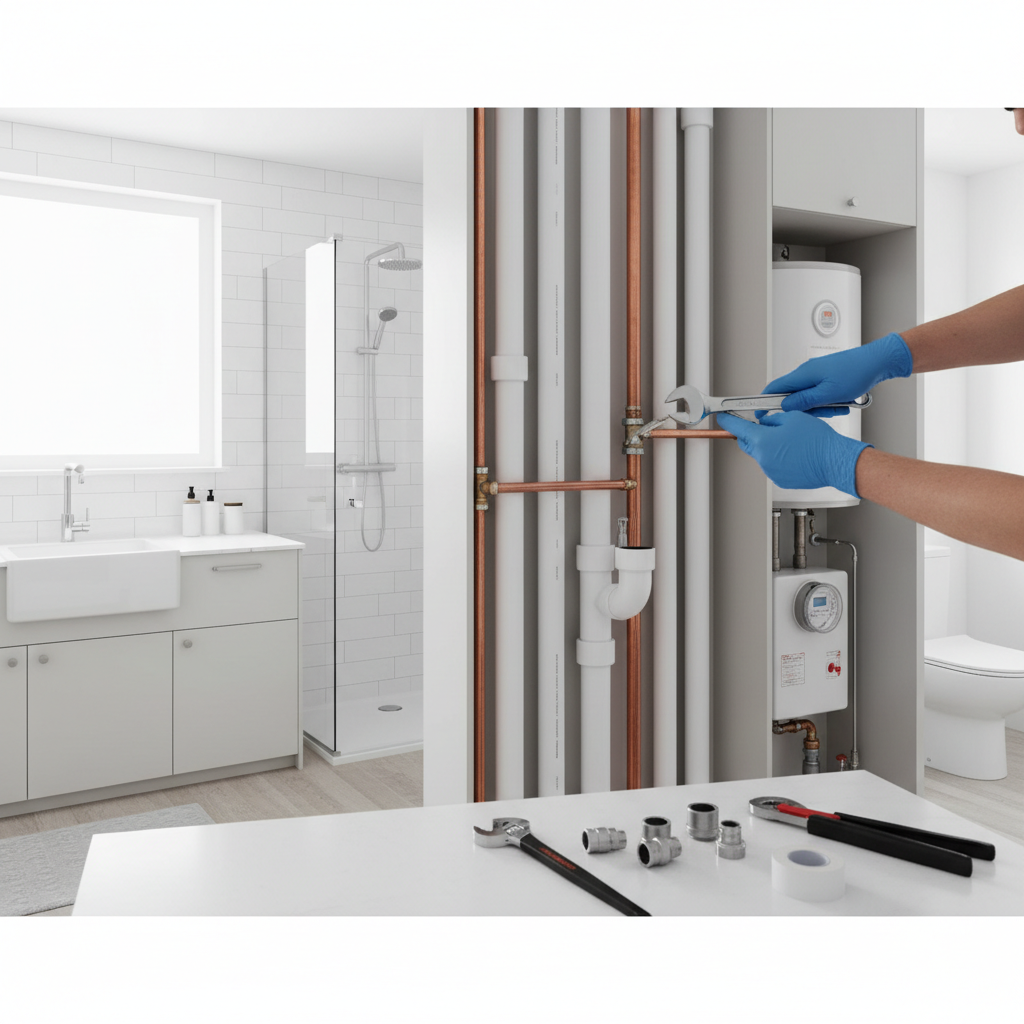
Essential Plumbing Tips for Every Homeowner: Save Money & Time
Essential Plumbing Tips for Every Homeowner Plumbing issues can be a major headache for homeowners, leading to costly repairs and unwanted water damage. However, understanding some basic plumbing tips can help you save time and money, while also allowing you to tackle minor issues yourself. In this article, we will cover essential plumbing tips, including DIY solutions, when to call a professional, and estimated costs associated with common plumbing repairs. 1. Know Your Plumbing System Understanding your home’s plumbing system is the first step in preventing issues. Familiarize yourself with: - Main shut-off valve: Locate it and ensure it’s functioning properly in case of a plumbing emergency. - Drainage system: Understand where your drainage pipes are located to easily identify potential blockages. - Water heater: Know how to adjust the thermostat or flush it to maintain efficiency. 2. Regular Maintenance is Key Regular maintenance can prolong the lifespan of your plumbing system. Here are some actionable steps: - Inspect pipes for leaks or corrosion every few months. - Check under sinks and around toilets for signs of water damage or mold. - Flush your water heater once a year to remove sediment build-up. 3. DIY Plumbing Tips You don’t always need a plumber for minor repairs. Here are straightforward DIY tips: - Unclogging Drains: Use a mixture of baking soda and vinegar to clear minor clogs. Pour half a cup of baking soda followed by half a cup of vinegar; cover it and let it sit for 30 minutes, then flush with hot water. - Fixing Leaky Faucets: Most leaky faucets can be repaired with a simple washer replacement. Turn off the water supply, disassemble the faucet, and replace the old washer with a new one. - Running Toilets: Often caused by a faulty flapper valve, this can be fixed by replacing the valve. Parts are inexpensive and can be found at any hardware store. 4. When to Call a Professional For more serious issues, calling a professional is advisable. Signs to look for include: - Frequent clogs despite your best efforts. - Water pressure issues. - Significant water damage or leaks. Hiring a plumber can range from $45 to $150 per hour depending on your location and the complexity of the problem. 5. Estimated Costs for Common Repairs Understanding the potential costs of repairs can help you budget better: - Replacing a faucet: $150 - $350 including labor. - Unclogging a drain: $100 - $300 depending on severity. - Water heater repair: $150 - $400 based on the extent of the issue. Conclusion With these plumbing tips, homeowners can effectively manage and maintain their plumbing systems, saving both time and money. Always remember to practice preventive maintenance and know when it’s best to call in experts. A little knowledge goes a long way in avoiding costly plumbing disasters!
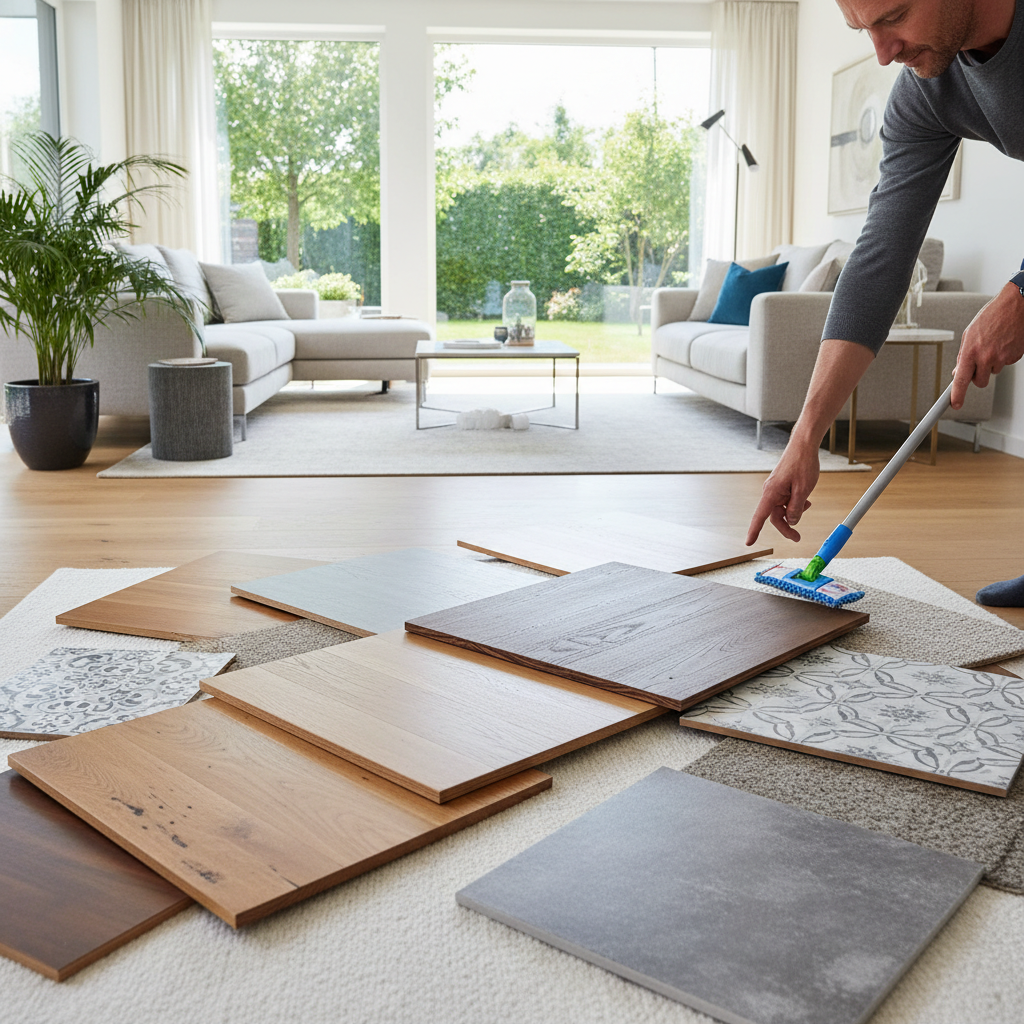
The Ultimate Guide to Choosing and Maintaining Your Home Flooring
When it comes to home improvement, flooring is often an overlooked but crucial element that can enhance the aesthetic appeal and functionality of your space. Choosing the right flooring can increase your home's value and improve your comfort. Below, we provide a comprehensive guide on the various flooring options available, along with tips for maintenance, costs, and installation considerations. Homeowners have a variety of flooring options to choose from, each with its own set of advantages and disadvantages. Here are some of the most popular types: - Hardwood Flooring: Classic and durable, hardwood can last for decades with proper care but may be expensive to install, ranging from $8 to $15 per square foot. - Laminate Flooring: A budget-friendly alternative that mimics the look of hardwood. Costs typically range from $1 to $3 per square foot. It’s easy to install, making it a popular choice for DIYers. - Vinyl Flooring: Known for its waterproof qualities and variety of styles, vinyl is economical, costing between $2 and $5 per square foot. It’s an excellent choice for bathrooms and kitchens. - Carpet: Soft and warm, carpet is ideal for bedrooms and living rooms. Prices can range from $2 to $10 per square foot, depending on the material and quality. - Tile Flooring: Perfect for wet areas, tile is durable and easy to clean. Costs can range widely from $1 to $20 per square foot, depending on the material (ceramic vs. porcelain) and design. Before making a decision, consider these essential factors: - Room Function: Consider the function of the room. High-traffic areas may require more durable flooring options. - Climate: Your local climate can affect flooring durability—opt for moisture-resistant materials if you live in humid areas. - Budget: Be clear about how much you’re willing to spend, including installation and maintenance costs. - Style Preferences: Ensure that your flooring choice aligns with your home’s overall aesthetic. Deciding whether to tackle flooring installation yourself or hire a professional largely depends on both your skill level and the type of flooring chosen. Here are some guidelines: - DIY Installation: Great for laminate and vinyl, which often come with click-and-lock systems that don’t require extensive tools or skills. - Professional Installation: Recommended for hardwood or tile, as these materials require precise tools and techniques to ensure a high-quality finish. Proper maintenance extends the life of your flooring, regardless of the type. Here are some practical tips: - Regular Cleaning: Sweep and mop hardwood and tile, vacuum carpet, and maintain vinyl with gentle cleaning solutions. - Use Rugs: Place rugs in high-traffic areas to minimize wear and tear. - Humidity Control: Invest in a humidifier in the winter and dehumidifier in the summer to protect sensitive materials like wood. - Prompt Repairs: Address any scratches or damages immediately to prevent further deterioration. Selecting the right flooring for your home can be overwhelming, but understanding your options and maintenance needs can simplify the process. Whether you choose to go the DIY route or hire professionals, investing time in quality flooring leads to long-term benefits for both your comfort and home value.

Navigating Tax & Legal Matters in Homeownership: Essential Tips
Understanding Tax & Legal Obligations as a Homeowner Owning a home is a rewarding experience, but it comes with its own set of tax and legal responsibilities. Whether you are a first-time buyer or a seasoned homeowner, understanding these facets can save you time, money, and stress. This guide aims to provide valuable tips to navigate the tax and legal aspects of homeownership effectively. 1. Know Your Property Taxes Property taxes are one of the most significant ongoing costs for homeowners. Here are some important considerations: - Research Local Rates: Property taxes can vary significantly by location. Check your local government's website for the current rates. - Understand Assessed Value: Your property is assessed at a value that may differ from your purchase price. Stay in the loop on how assessments are done. - Possible Exemptions: Inquire about available property tax exemptions, such as homestead exemptions, which can reduce your tax burden. 2. Tax Deductions for Homeowners Homeownership can offer several tax benefits. Here are some deductions you might be eligible for: - Mortgage Interest Deduction: You may deduct interest paid on a mortgage for your primary residence, which can significantly reduce your taxable income. - Property Tax Deduction: As mentioned earlier, property taxes can also be deductible on your federal return. - Home Office Deductions: If you work from home, you could qualify for home office deductions based on the portion of your home used for this purpose. 3. Legal Considerations and Documentation Keep your paperwork in order to avoid potential legal issues: - Title Deed: Ensure your title deed is correct and complete. This document proves your ownership. - Homeowners Association (HOA) Rules: If you live in a community governed by an HOA, make sure you understand their rules and regulations. - Insurance Policies: Keep your homeowner's insurance policy updated and comprehensively cover potential risks. 4. When to Hire Professionals While some tasks can be handled independently, it’s essential to know when to seek professional assistance: - Tax Preparers: If your taxes are complicated, hiring a CPA or tax pro can maximize your deductions and ensure compliance. - Legal Advice: Consult with a real estate attorney for issues related to property disputes, contracts, or liability concerns. 5. DIY vs. Professional Guidance: Making the Right Choice In many cases, homeowners can address some elements independently: - DIY Tax Filing: Software like TurboTax can simplify filing, especially if you have relatively straightforward finances. - Organizing Documents: Create a dedicated space to keep tax receipts and legal documents, making it easier to manage your responsibilities. Final Thoughts Understanding the tax and legal ramifications of homeownership is crucial for maintaining your investment and ensuring your peace of mind. By keeping informed about property taxes, leveraging deductions, and knowing when to seek professional help, you can navigate these waters effectively. Always stay proactive with your documentation and consult experts when needed to safeguard your home and wellbeing.

Your Essential Guide to Homeowners Insurance: What You Need to Know
Understanding Homeowners Insurance Homeowners insurance is vital for protecting your property and assets. It provides financial security against various risks, including fire, theft, and natural disasters. However, navigating through the types of coverage and choosing the right policy can be overwhelming. In this guide, we'll break down the essentials of homeowners insurance to help you make informed decisions. Types of Homeowners Insurance Policies There are several types of homeowners insurance policies, each tailored to meet different needs: HO-1 Policy: Basic protection covering a limited number of perils like fire and theft. HO-2 Policy: Broad coverage that includes a wider range of risks, such as water damage. HO-3 Policy: The most common type, providing coverage for the home structure and personal belongings. HO-4 Policy: Renters insurance, which protects personal property but not the structure itself. HO-5 Policy: Comprehensive coverage that covers both the home and personal belongings with fewer exclusions. Key Factors Influencing Costs The cost of homeowners insurance varies based on several factors, including: Location: Homes in areas prone to natural disasters may incur higher premiums. Home Value: The more expensive your home, the higher your insurance cost. Coverage Amount: Higher coverage limits will increase your premiums. Deductibles: A higher deductible typically means lower monthly premiums. Insurance Claims History: Frequent claims can raise your rates. Actionable Tips for Homeowners To get the best value from your homeowners insurance policy, consider the following practical steps: Shop Around: Compare rates from multiple insurance providers to find the best deal. Bundle Policies: Many insurers offer discounts if you bundle home and auto insurance. Raise Your Deductible: Increasing your deductible can significantly lower your premiums. Improve Home Security: Invest in security systems or smart home devices to lower your premium. Review Annually: Regularly review your policy to ensure adequate coverage as your needs change. DIY vs Professional Guidance While some homeowners might feel comfortable managing their insurance needs independently, consulting with a professional is often beneficial. Here’s how to decide: DIY: If you're tech-savvy and willing to research, you can navigate online resources and compare policies yourself. Professional: If you have specific concerns or feel overwhelmed, working with a licensed insurance agent can provide personalized advice and ensure you have appropriate coverage. Conclusion Investing time in understanding and selecting the right homeowners insurance can save you from potential financial loss and stress down the line. By staying informed and proactive, you can ensure that your home and belongings are well-protected.
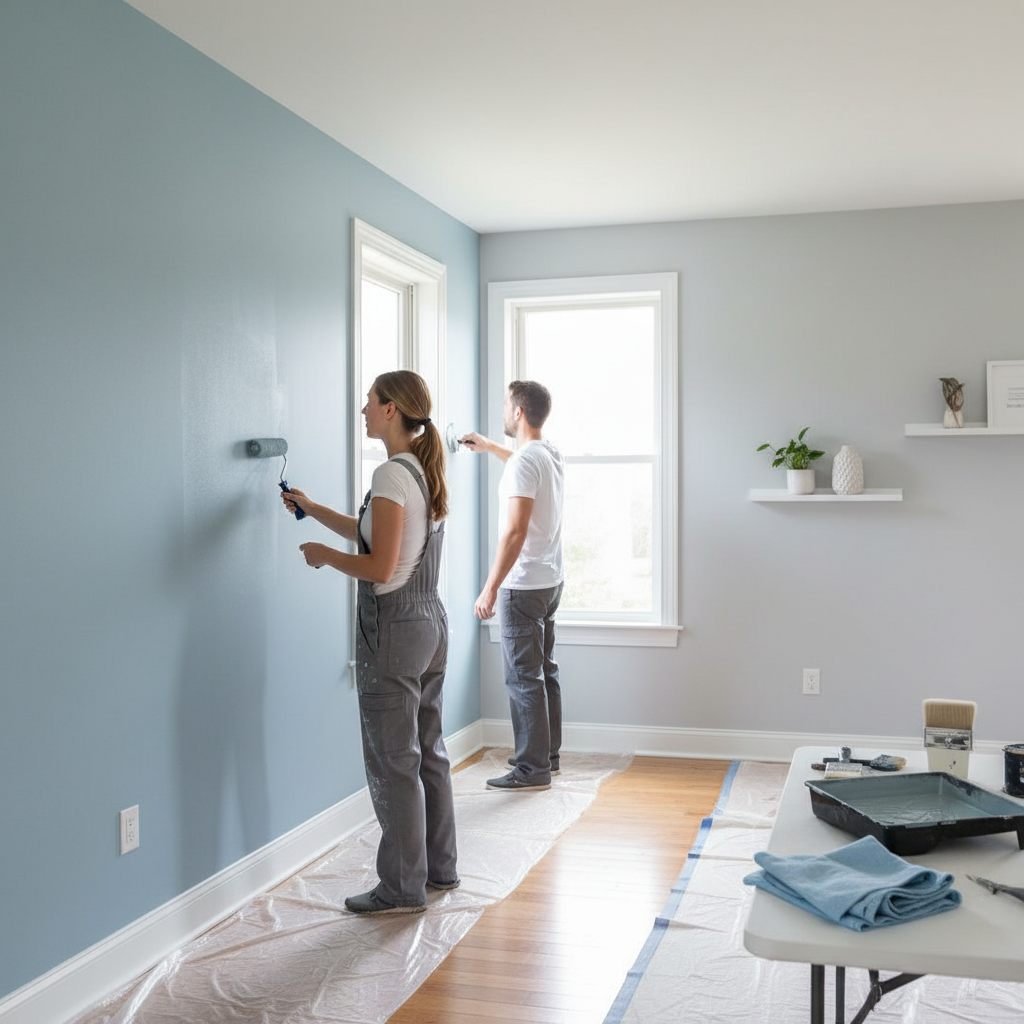
Transform Your Home with Expert Tips on Painting & Finishing
Transform Your Home with Expert Tips on Painting & Finishing Introduction Giving your home a fresh coat of paint or a stylish finish can dramatically enhance its beauty and value. Whether you are looking to refresh your interiors or spruce up your exterior, understanding some fundamental principles of painting and finishing will make the process smoother. In this article, we'll explore actionable tips, costs, and considerations for both DIY enthusiasts and those looking to hire professionals. When to Paint & Finish Timing is crucial when it comes to painting and finishing. Consider the following factors: - Season: Spring or early fall is ideal for exterior projects, avoiding the harsh temperatures of summer and winter. - Conditions: Ensure dry weather with low humidity for outdoor work, while indoor projects can be done year-round. - Timing for Room Renovations: Plan to paint before moving furniture back into the room. Cost of Painting The cost of painting can vary widely based on several factors: - DIY vs. Professional: Doing it yourself can save you labor costs but may require an initial investment in tools and materials. - Material Quality: Higher quality paints often last longer and provide better coverage. Expect to spend $20 to $60 per gallon. - Labor Rates: If hiring a professional, labor could range from $25 to $75 per hour, depending on location and expertise. Tools and Materials You’ll Need Before getting started, gather the following essentials: - Paint brushes (angled for corners, flat for broad strokes) - Rollers and extension poles for larger surfaces - Drop cloths to protect your floors and furniture - Painter’s tape for clean edges - Paint trays for easy application - Sandpaper and primer (for surfaces needing prep) DIY Painting Tips If you choose to paint your home yourself, here are some tips to ensure a professional-looking finish: - Surface Preparation: Clean, sand, and prime surfaces to ensure optimal paint adhesion. - Use Quality Tools: Invest in good-quality brushes and rollers to avoid streaking. - Work in Sections: Paint one section at a time and maintain a wet edge to avoid lap marks. - Allow Proper Drying Time: Follow the manufacturer’s guidelines for drying times between coats. When to Hire Professionals While DIY can be rewarding, there are situations where hiring experts is beneficial: - Large Areas: For extensive projects, professionals can save time and effort. - Specialty Finishes: If your project requires unique techniques (e.g., faux finishes), a pro is your best bet. - High Ceilings or Difficult Access: For heights and hard-to-reach places, safety should be a priority. Conclusion Updating the paint and finishes in your home can greatly impact its appearance and value. By weighing the pros and cons of DIY versus hiring professionals, considering costs, and planning your timing carefully, you can achieve a beautiful result that meets your needs and preferences. Happy painting!
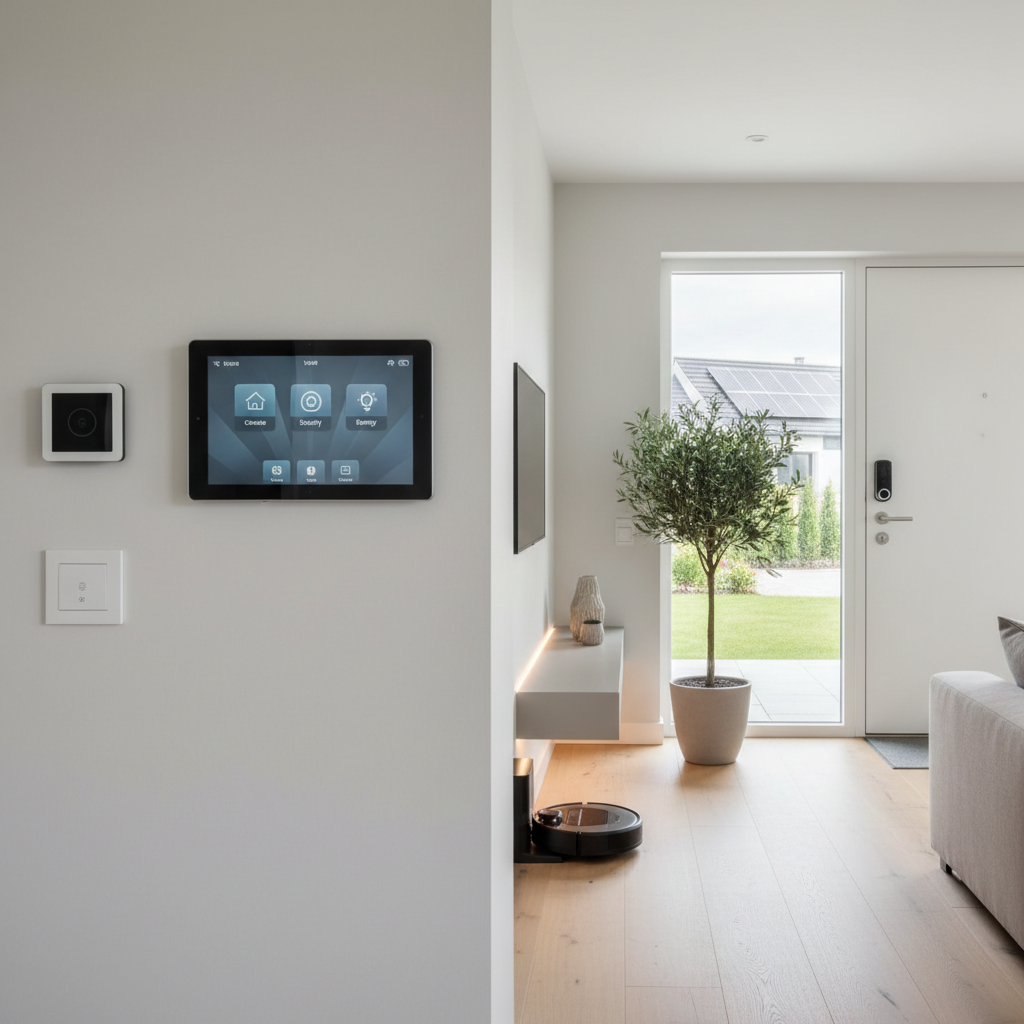
Smart Home Investment Strategies: Your Guide to Increasing Value
As a homeowner, understanding the best investment strategies for your home can significantly increase its value. Whether you're planning to sell in the near future or simply want to improve your living space, having a clear strategy is essential. This article provides actionable tips to help you make informed decisions about your home investments. 1. Assess Your Home’s Current Value Before diving into any home improvement projects, it’s crucial to understand where you stand. Here are steps to assess your home’s current value: - Hire a professional appraiser: A detailed appraisal provides insight into your home's market value. - Research comparable homes: Look at recent sales in your neighborhood to gauge market trends. - Consider online tools: Websites like Zillow and Redfin can provide a rough estimate of your home's value. 2. Prioritize Improvements That Add Value Some home improvements yield better returns than others. Consider the following projects: - Kitchen Remodel: An upscale kitchen remodel can return about 60-80% of the investment. Focus on fixtures, cabinetry, and modern appliances. - Bathroom Renovation: Bathrooms are another high-value area. A modest remodel can yield a return of around 70%. - Energy-efficient upgrades: Installing energy-efficient windows or insulation can lower energy costs and improve home appeal. - Curb Appeal Enhancements: Simple landscaping, a new front door, or fresh paint for curb appeal can dramatically affect first impressions and value. 3. Determine Your Budget and Financing Options Setting a budget for your improvements is critical. Consider the following: - Set a realistic budget: Factor in not only materials and labor but also unexpected costs, which can account for 10-20% of your budget. - Explore financing options: Home equity loans or lines of credit can be good choices for funding larger projects. - DIY vs. Professional Help: Assess your skill level. Tackle smaller, manageable tasks yourself but consult professionals for complex jobs. 4. Timing Your Investments Wisely The timing of your home investments can also influence their effectiveness. Consider the following tips: - Seasonal considerations: Spring and summer are popular for home projects, especially landscaping and outdoor improvements. - Market conditions: Invest during a seller's market to maximize returns. Stay updated on local real estate trends. - Plan for renovations wisely: If you anticipate selling, complete major renovations at least a year before listing your home. 5. Maintain Your Investments Once you've made improvements, maintaining them is essential to protect your investment: - Regular inspections: Schedule inspections for roofs, plumbing, and HVAC systems to catch potential issues early. - Routine maintenance: Establish a plan for regular upkeep to ensure your improvements last. - Keep records: Document all renovations and upkeep for future buyers, showing the added value of your home. Home investment strategies require careful planning, knowledge of market trends, and an understanding of which improvements yield value. By prioritizing the right projects, setting a sensible budget, and maintaining your home effectively, you can significantly increase your home's value and make more informed decisions as a homeowner.

Mastering Property Management: Essential Tips for Homeowners
Property management is the process of overseeing residential, commercial, and industrial real estate. As a homeowner, understanding the basics of property management can help you maintain your property effectively, ensure tenant satisfaction, and even boost your investment's value. Why Property Management Matters Whether you rent out your home or simply want to keep it in top shape, proper property management is crucial. Here are a few reasons why: - Maintenance Efficiency: Regular maintenance prevents costly repairs. - Increased Property Value: A well-managed property appreciates better over time. - Tenant Satisfaction: Happy tenants are more likely to renew leases. Key Components of Effective Property Management Here are some essential aspects to focus on when managing your property: 1. Routine Maintenance Regular maintenance checks can save you significant money in the long run. Here’s how you can manage this: - Schedule seasonal inspections of your HVAC, plumbing, and electrical systems. - Change air filters every 3 months to keep HVAC systems running efficiently. - Inspect roofing and gutters bi-annually to prevent leaks and water damage. 2. Tenant Handling If you are renting your property, developing a good relationship with your tenants is key: - Create clear rental agreements to set expectations upfront. - Be responsive to tenant requests and complaints to foster trust. - Check references thoroughly when selecting tenants to ensure reliable occupancy. 3. Financial Management Keep your finances in order to maintain your property effectively: - Track all income and expenses related to property management. - Consider investing in property management software for better organization. - Budget around 1% of your property value annually for maintenance costs. 4. DIY vs. Professional Help Knowing when to tackle tasks yourself and when to seek professional assistance is crucial: - DIY: Small repairs (e.g., painting, caulking) can be handled by many homeowners. - Professional: Complex issues like electrical problems or plumbing should be left to specialists. - Consider hiring a property management firm if you prefer a hands-off approach. Cost Considerations The costs associated with property management can vary widely: - DIY Maintenance: Typically costs less but requires time and skills. - Professional Services: May charge a management fee of 8-12% of monthly rental income. - Emergency Repairs: Always have a fund set aside for unexpected issues, recommend approximately 3-6 months' rent saved. Conclusion By understanding the core components of property management, homeowners can preserve their investments and enjoy positive rental experiences. Whether managing a rental property or taking care of your own home, applying these actionable tips will enhance property value and tenant satisfaction over time.

Your Ultimate Guide to Effective Pest Control at Home
Pest control is essential for maintaining a healthy and safe living environment. Unwanted pests can cause structural damage, transmit diseases, and trigger allergies. This article will provide you with actionable tips on identifying, preventing, and controlling pests in your home. Common Household Pests include Ants, Termites, Rodents, Roaches, and Bed Bugs. Identifying pest issues is key. Signs of infestation can include droppings, unusual sounds, damaged wood or insulation, and visible pests. For DIY Pest Control, keep your space clean, seal entrances, use natural remedies like vinegar or essential oils, and set bait stations for ants or roaches. Sometimes, you may need to call professionals, especially for severe infestations or health risks. Cost estimates show DIY methods range from $20-$100, while professional services can be $150-$300 for one-time visits. Finally, take preventive measures to maintain a pest-free zone by regularly inspecting your property, keeping gutters clean, and controlling moisture.
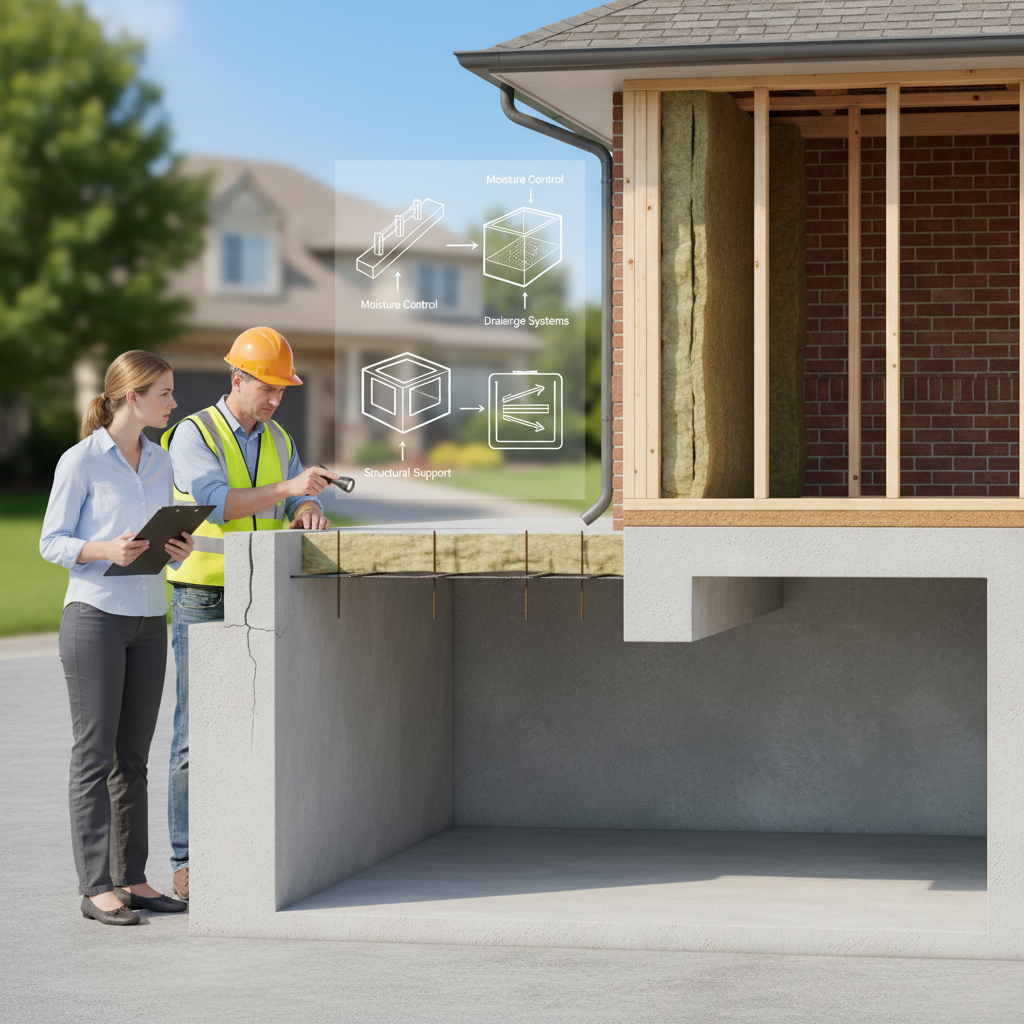
Essential Home Care: The Ultimate Guide to Foundation and Structure Maintenance
Your home's foundation is critical to its stability and safety. Neglecting it can lead to costly repairs and unsafe living conditions. In this guide, we’ll explore essential maintenance tips, signs of damage, and when to seek professional help. Identifying problems early can save you significant repair costs. Watch out for the following signs: - Cracks in walls or ceiling - Doors and windows that stick or won't close properly - Uneven or sloping floors - Water pooling in the basement or crawl space - Gaps between walls and windows or doors Preventative maintenance can help keep your foundation strong. Here are some actionable tips: - Landscaping: Ensure your yard slopes away from the foundation to prevent water accumulation. - Gutter Maintenance: Regularly clean gutters and downspouts to avoid overflow that can erode soil around the foundation. - Seal Cracks: Use a concrete sealant to fill any visible cracks in the foundation. Cost: About $10-$50 depending on the size of the cracks. - Install Vapor Barriers: In crawl spaces, use vapor barriers to minimize moisture that can lead to foundation issues. Some foundation repairs can be tackled by homeowners, while others require professional expertise: - DIY: Small crack repairs, routine drainage maintenance, and gutters cleaning. - Professional: Significant cracking, settling issues, or when you notice multiple signs of damage. Hiring a structural engineer or foundation repair specialist can range from $500 to $3,000 based on the severity. The cost to repair foundation issues can vary widely based on severity and location: - Minor Repairs: $100 - $500 for filling small cracks. - Moderate Repairs: $1,000 - $3,000 for more extensive wall repairs or waterproofing. - Major Repairs: $3,000 - $15,000+ for structural repairs like underpinning or full foundation replacement. Regular maintenance of your foundation is crucial for the health of your home. By taking proactive steps and knowing when to call in professionals, you can protect your investment and ensure a safe living environment.

Transform Your Home with Smart Tech: A Homeowner's Guide
Transform Your Home with Smart Tech: A Homeowner's Guide Introduction to Smart Home Technology Smart home tech is revolutionizing the way we live, offering convenience, security, and energy efficiency. For homeowners looking to upgrade their living space, understanding how to utilize smart technology can be both practical and cost-effective. This article will guide you through the essential aspects of implementing smart tech in your home, including actionable tips, costs, and the decision between DIY and professional installation. Benefits of Smart Home Technology - Increased Convenience: Control devices remotely through apps. - Enhanced Security: Monitor your home with cameras and alarms. - Energy Efficiency: Smart thermostats reduce energy consumption and costs. - Better Home Management: Automate daily tasks like lighting and appliance usage. Essential Smart Devices for Your Home When starting with smart technology, consider the following devices: - Smart Speakers: Devices like Amazon Echo and Google Nest can control other smart home gadgets with voice commands. - Smart Thermostat: Devices such as the Nest Learning Thermostat can help manage your home's temperature and save on energy bills. - Smart Security Cameras: Brands like Ring and Arlo offer video surveillance with remote access to keep your home safe. - Smart Lighting: Phillips Hue and LIFX smart bulbs can be controlled via apps or voice to adjust brightness and color schemes. Estimated Costs Understanding the costs associated with smart home devices is crucial: - Smart Speakers: $50 - $300 depending on features. - Smart Thermostats: Approximately $100 - $250. - Smart Security Cameras: Starting at $100 and can go up to $500 for high-end models. - Smart Lighting: Expect to pay $15 - $50 per bulb or $200+ for starter kits. DIY vs. Professional Installation One critical decision when integrating smart home tech is whether to opt for a DIY approach or hire professionals: - DIY: Many devices are designed for easy installation with clear instructions. If you're comfortable with basic tech and tools, this can save money. - Professional Installation: For complex systems like home automation or integrated security setups, a professional can ensure everything works seamlessly. Getting Started with Smart Home Tech - Start Small: Begin with one device, like a smart speaker, before expanding your setup. - Research: Read reviews and compare products to find the best fit for your needs. - Train Your Devices: Spend time learning how to maximize your chosen devices' features and integrate them for optimal performance. - Check Compatibility: Ensure new devices work with your existing home network and other smart gadgets. Conclusion As smart home technology continues to evolve, now is the perfect time for homeowners to invest in innovative solutions. By incorporating these devices, you can enjoy enhanced security, convenience, and efficiency in your daily life. With careful planning and the right choices, transforming your home with smart tech can be a rewarding experience.
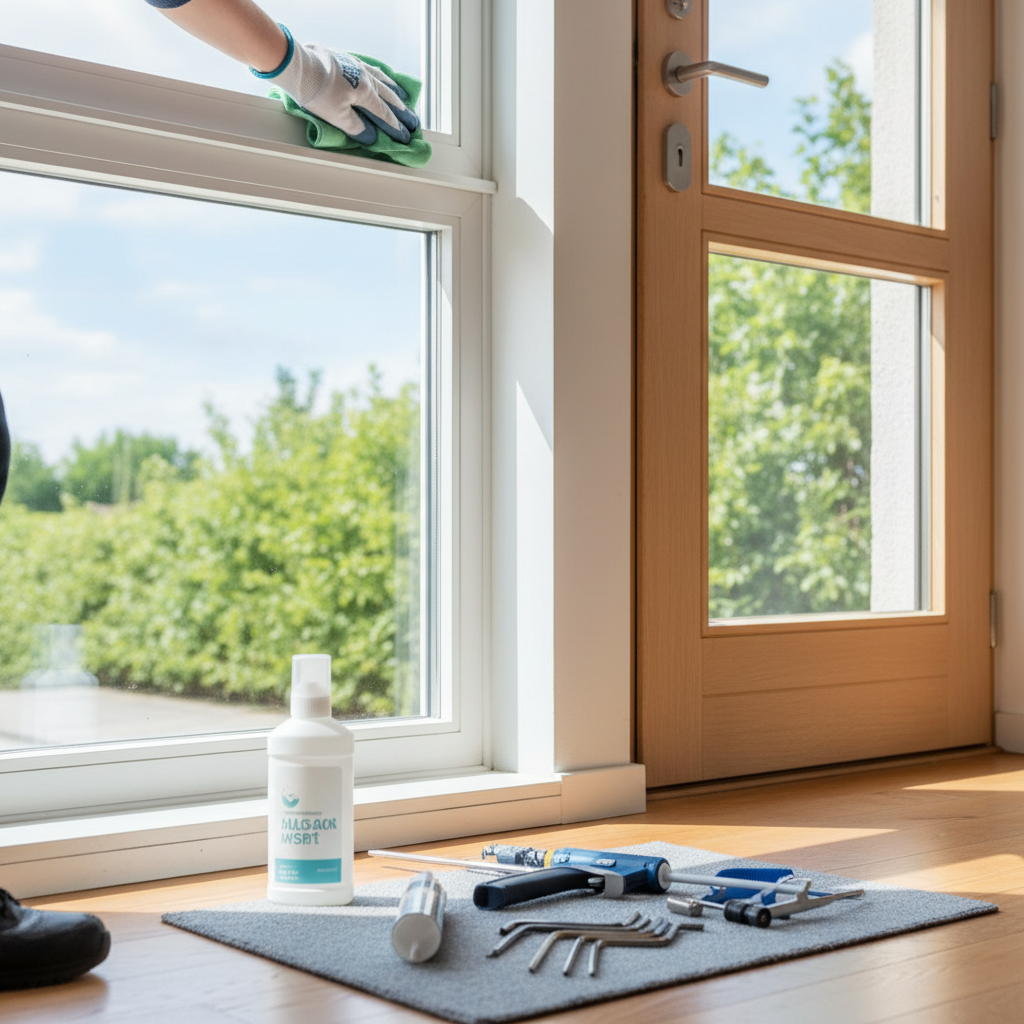
Essential Tips for Maintaining Windows and Doors for Your Home
Your windows and doors are not just essential for aesthetics; they play a pivotal role in your home’s energy efficiency and security. Proper maintenance can prevent costly repairs and prolong their lifespan. This article provides practical tips to ensure your windows and doors remain in top condition. Start by conducting regular inspections on your windows and doors. Look for: - Cracks or chips in the glass - Damaged or worn-out weatherstripping - Signs of water damage or mold - Alignment issues or drafts Keep your windows and doors clean to extend their life and functionality. Here’s how: - **Windows:** Use a mixture of warm water and mild soap for cleaning. A squeegee can help remove excess water and prevent streaks. Clean your windows every 6-12 months. - **Doors:** Wipe down doors with a damp cloth. For painted surfaces, avoid abrasive cleaners that can scratch the finish. Check hinges and knobs for dust and grime. Weatherproofing your home can reduce heating and cooling costs. Here are actionable steps: - **Install Weatherstripping:** Apply weatherstripping around window and door frames to seal gaps that cause drafts. Costs can range from $10-$50 depending on materials. - **Caulking:** Regularly inspect and replace caulk around windows. Quality caulk can cost around $10 per tube and typically lasts several years. Knowing whether to repair or replace your windows and doors can save you money: - **Repair:** If small cracks or weatherstripping issues are found, repairs may suffice. Repairing cracked windows typically costs $50-$100. - **Replace:** If full drafts or major cracks are present, consider replacements. New energy-efficient windows can range from $300-$1000 per window, depending on materials and installation costs. Deciding whether to tackle maintenance tasks yourself or hire a professional is crucial: - **DIY:** Basic tasks like cleaning, caulking, and weatherstripping can often be done by homeowners with minimal investment. - **Professional:** For more complex issues, such as significant rotting or major installations, hiring a contractor may be best. Costs for labor can vary greatly, starting around $50 per hour. Regular maintenance of your windows and doors can improve your home’s energy efficiency and aesthetics, saving you money in the long run. By inspecting, cleaning, weatherproofing, and knowing when to repair or replace, you’re investing in your home’s value. Whether you choose to DIY or hire a professional, these steps will ensure your windows and doors withstand the test of time.
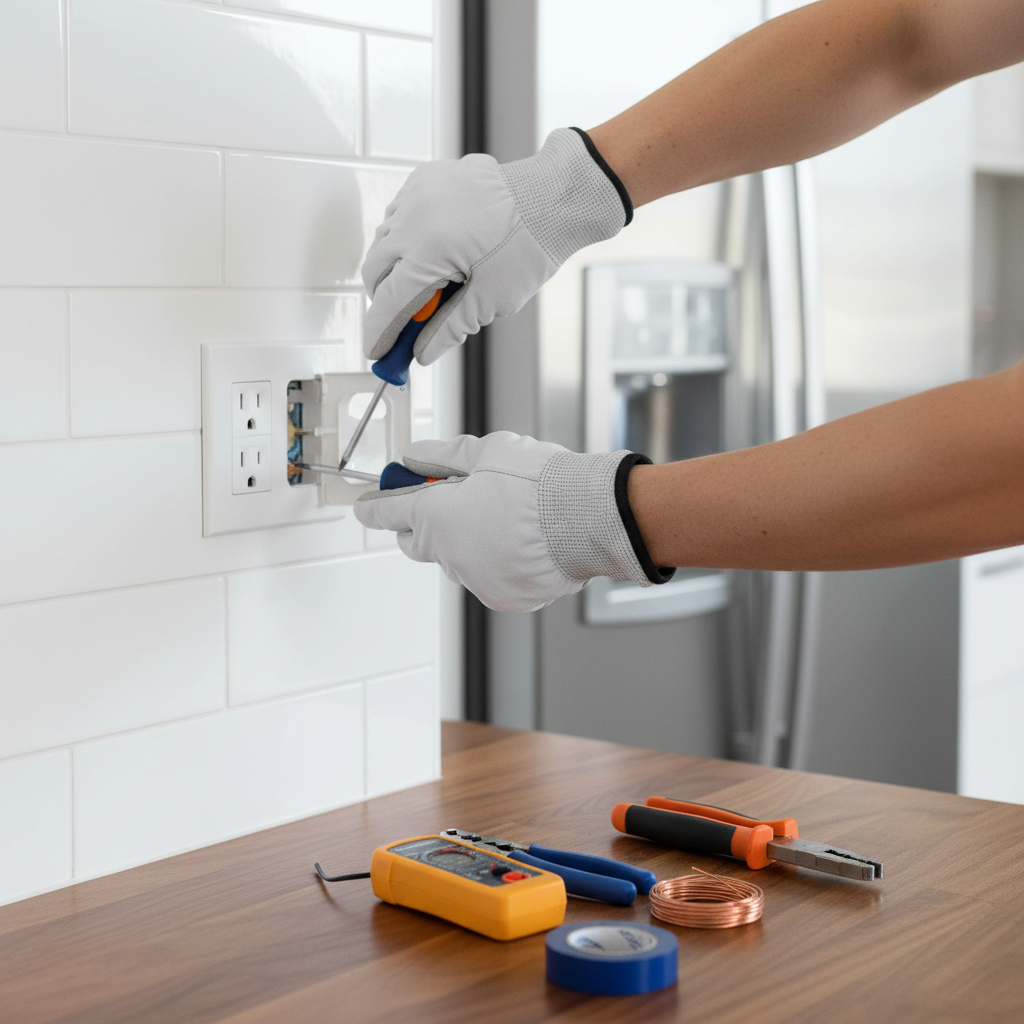
Essential Electrical Work Tips Every Homeowner Should Know
Understanding Electrical Work: A Homeowner's Guide Electrical work is a vital aspect of home maintenance that can enhance safety, efficiency, and comfort. Whether you’re considering DIY projects or hiring a professional, understanding the basics will help you make informed decisions. Here’s what every homeowner needs to know about electrical work. Key Electrical Projects and Their Costs Before embarking on any electrical project, it's important to understand both the potential costs and the scope of work involved. Below are common projects homeowners may face: - Installing New Outlets: Adding outlets can cost between $100 to $200 each, depending on location and accessibility. - Rewiring a Home: This is a significant undertaking, costing $1,000 to $10,000+ depending on the size of the home and complexity of the wiring. - Upgrading Electrical Panels: Upgrading to a higher capacity panel typically ranges from $1,200 to $3,000. - Replacing Light Fixtures: Depending on the fixture, costs can range from $75 to $500 or more, including installation. When to DIY vs. When to Hire a Professional Homeowners can often handle minor electrical tasks, but it’s crucial to know your limitations. Here’s how to decide: - DIY Projects: Simple projects, such as replacing light switches, outlets, or fixtures, can usually be handled by homeowners with basic tools and a bit of research. Just ensure that you turn off the power before starting. - Professional Help: For more complex tasks like rewiring, panel upgrades, or any work that involves the main power supply, it’s safest to hire a licensed electrician. Not only will they ensure the work meets code requirements, but it also safeguards your home against potential hazards. Safety First: Essential Precautions Safety is paramount when dealing with electricity. Here are some essential tips to keep in mind: - Always turn off the power at the circuit breaker before working on any electrical project. - Use insulated tools and wear rubber-soled shoes to limit the risk of electric shocks. - Check your local code requirements; some cities have specific codes that must be adhered to. - If you’re unsure about your skills, it's better to opt for professional assistance. Preventative Maintenance for Electrical Systems Regular maintenance can extend the lifespan of your electrical systems and keep your home safe. Here are practical tips: - Check outlets and switches for signs of damage or discoloration. - Test circuit breakers at least twice a year to ensure they are functional. - Inspect visible wiring for wear and tear and consider having your home’s wiring evaluated every 10-15 years. - Install GFCI outlets in kitchens and bathrooms to prevent shocks. Conclusion Understanding the basics of electrical work can empower you as a homeowner to tackle small projects and know when it's time to call in an expert. Always prioritize safety, and remember that investing in your electrical system can enhance your home's value and safety. By staying informed, you can make smart choices for your electrical needs.

Transform Your Yard: Essential Landscaping Tips for Homeowners
Transform Your Yard: Essential Landscaping Tips for Homeowners Introduction to Landscaping Landscaping is more than just planting flowers and mowing the lawn; it’s about creating a cohesive outdoor space that enhances your home’s curb appeal and value. Whether you’re a DIY enthusiast or considering hiring professionals, understanding the basics of landscaping is essential for any homeowner. Planning Your Landscape Before you grab your gardening gloves, take some time to plan your landscaping project. Here are some steps to get started: - Assess your space: Evaluate the size and shape of your yard, noting sunlight, shade, and water runoff patterns. - Define your goals: Are you looking to create an entertainment area, plant a garden, or simply enhance visual appeal? - Set a budget: Landscaping can range from $1,500 for simple DIY projects to $10,000+ for extensive makeovers. Choosing Plants and Materials The right plants and materials are fundamental to a vibrant landscape. Consider these tips: - Native plants: Opt for native plants that require less maintenance and are more resistant to local pests and diseases. - Color and texture: Choose a variety of plants with different colors and textures to make your landscape visually appealing. - Hardscaping: Incorporate stone, brick, or gravel pathways to add structure and reduce maintenance areas. DIY vs. Professional Help Deciding whether to take on landscaping as a DIY project or hire a professional depends on your skills, time, and budget. Here’s a breakdown: - DIY Projects: If you’re handy with tools and enjoy gardening, consider smaller projects like planting flower beds or laying mulch. - Hire a Professional: For larger projects, such as installing a patio, retaining wall, or a complete overhaul, the expertise of a landscaper can save you time and ensure proper execution. Timing Your Landscaping Efforts Timing is critical in landscaping: - Spring and Fall: These seasons are ideal for planting as the weather is milder. Late summer is also a great time for planting perennials. - Avoid Extreme Temperatures: Ensure not to plant during the peak of summer or the harshness of winter, which can hinder growth. - Seeding: If you’re seeding lawn areas, early spring and early fall are the best times to encourage germination. Ongoing Maintenance Once your landscaping is in place, ongoing maintenance will keep it looking its best: - Watering: Regular watering is essential, especially for newly planted areas. Consider a drip irrigation system for efficiency. - Weeding and Pruning: Regularly remove weeds and prune plants to encourage healthy growth. - Seasonal Upkeep: Prepare your landscape for winter by mulching and protecting sensitive plants. Conclusion Landscaping can dramatically improve your home's aesthetics and increase its value. By carefully planning your project, choosing the right materials, and keeping up with maintenance, you can create a beautiful outdoor space that you'll enjoy for years to come.
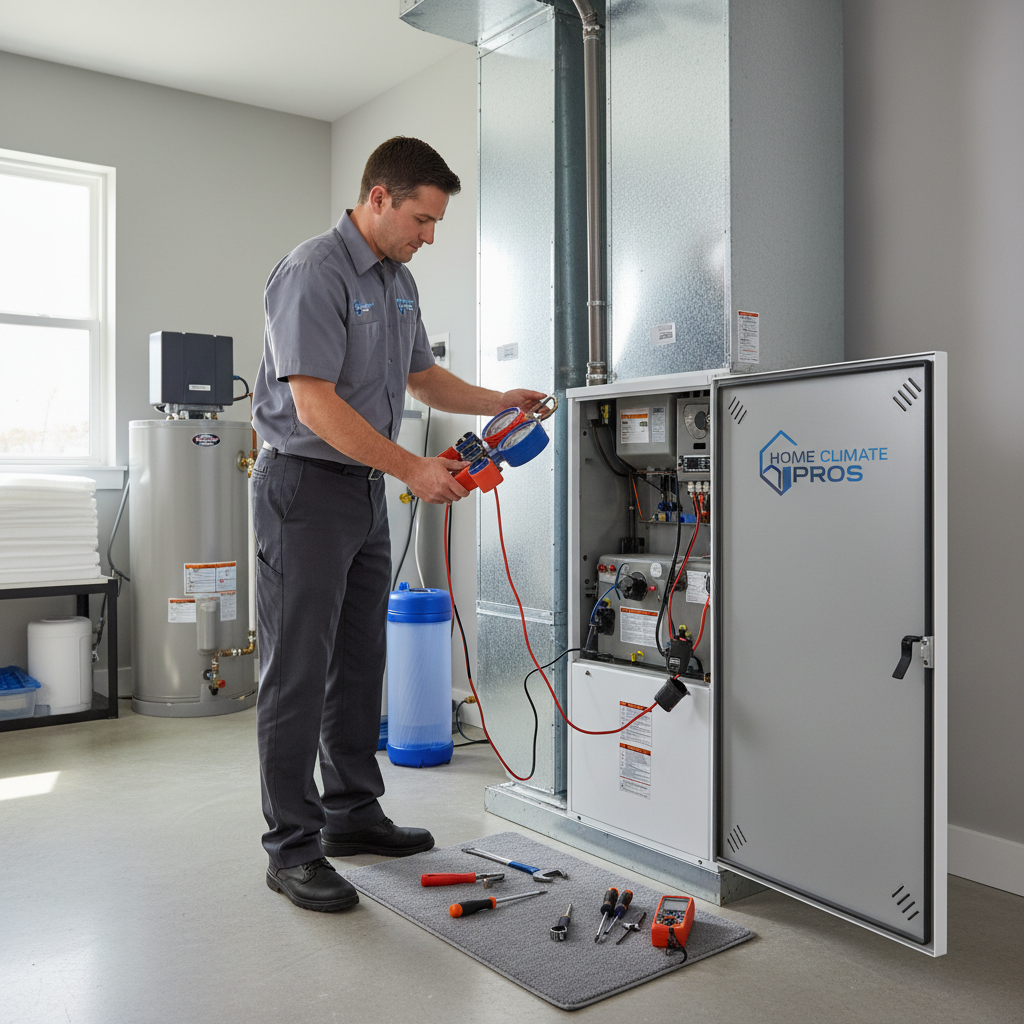
Expert HVAC Maintenance Tips for Homeowners
Understanding HVAC Maintenance Why HVAC Maintenance is Important Basic DIY Maintenance Tasks When to Call a Professional Cost of HVAC Maintenance Best Practices for HVAC Maintenance Conclusion Final Thoughts
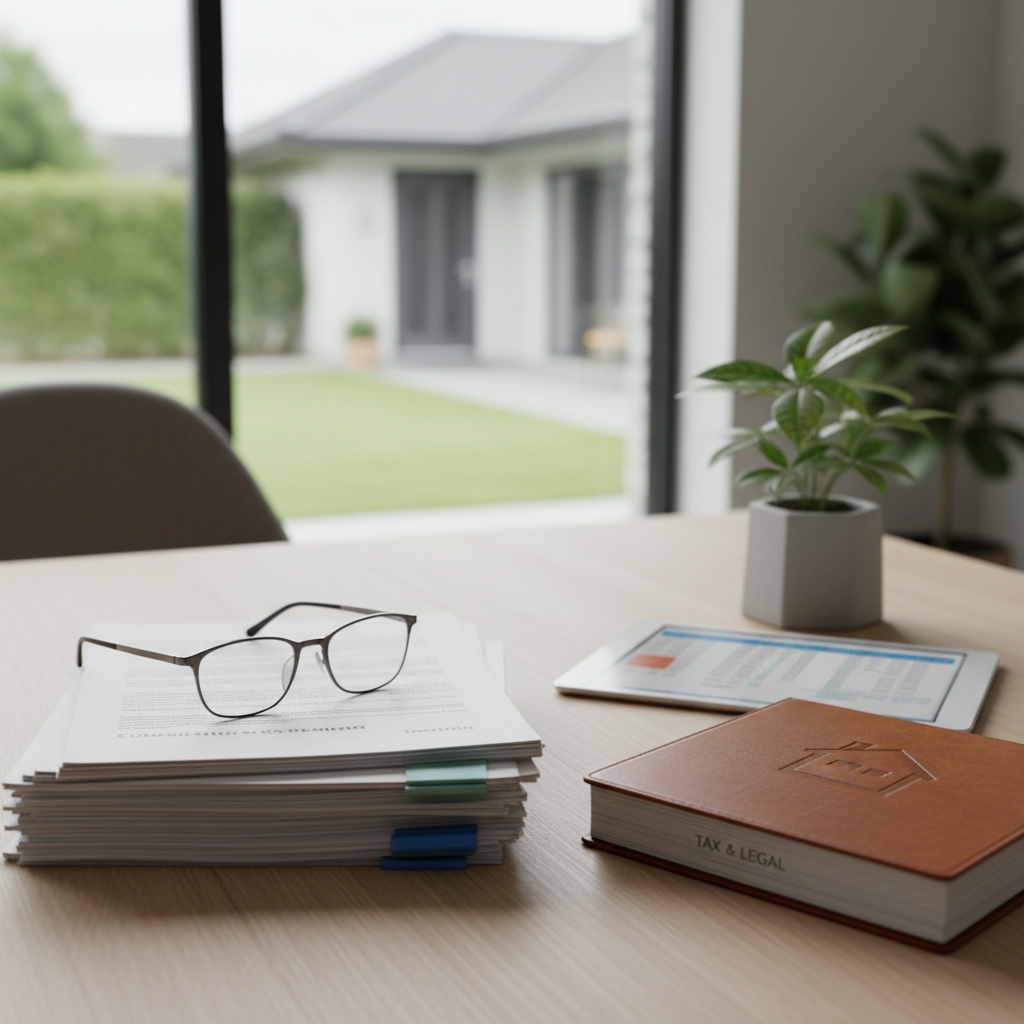
Essential Tax & Legal Tips for Homeowners: Save Money & Stay Compliant
Understanding Tax & Legal Considerations for Homeowners Owning a home comes with a multitude of responsibilities, not only regarding maintenance but also concerning taxes and legal matters. It's essential for every homeowner to stay informed about these issues to maximize benefits and avoid potential pitfalls. Below are actionable tips to help you navigate this critical aspect of homeownership. 1. Tax Deductions for Homeowners Homeowners may qualify for several important tax deductions that can significantly reduce your tax burden: - Mortgage Interest Deduction: You can deduct the interest paid on your mortgage from your taxable income, making it one of the most significant tax breaks available. - Property Tax Deduction: Homeowners can also deduct property taxes. Be sure to keep your tax statements for reference. - Home Improvement Deductions: Certain improvements, like energy-saving renovations, may qualify for tax credits. Tip: Always consult with a tax professional to ensure you’re taking advantage of all applicable deductions. 2. Keeping Records and Documentation Maintaining detailed records is crucial. This includes: - Purchase documents (deed, closing statement) - Receipts for home improvements - Property tax bills - Mortgage statements Actionable Insight: Use a digital filing system or a dedicated binder to keep all relevant documents organized and accessible. 3. Legal Issues Related to Homeownership Understanding the legal aspects of homeownership can prevent costly disputes and issues: - Title Insurance: Protects you from losses due to defects in the title, such as unknown liens or prior ownership claims. - Homeowners Association (HOA) Rules: Make sure you understand and comply with your HOA’s regulations to avoid penalties. - Land Use Laws: Know your local zoning laws, especially if you plan to renovate or add structures to your property. Professional Guidance: Consider hiring a real estate attorney if you face complex legal challenges or plan to make significant changes to your property. 4. Timing for Tax Returns and Home Improvements Timing can have significant impacts on your taxes and home projects. Here are some recommendations: - Track your expenses year-round to make tax filing easier. - Plan major home improvements during the year so you can maximize deductions when filing taxes. - Know the deadlines for property tax payments to avoid penalties. Cost Consideration: Set aside funds for potential home repairs or improvements that could qualify for tax benefits. 5. DIY vs. Hiring Professionals Deciding whether to tackle a project yourself or hire a professional can be challenging: - DIY: Good for minor repairs or cosmetic improvements; saves money but requires time and skills. - Hire Professionals: Complex projects (electrical, plumbing, legal) are better left to experts—costs may be higher, but it ensures compliance and quality. Final Thought: Always evaluate your skills, budget, and time capacity before deciding. Sometimes, spending a little can save a lot in the long run. Conclusion Understanding the tax and legal implications of homeownership is essential for protecting your investment and maximizing savings. By staying informed and proactive, you can navigate these complexities with confidence.

Transform Your Home: Essential Kitchen Upgrades for Every Budget
Why Upgrade Your Kitchen? The kitchen is often referred to as the heart of the home. An upgraded kitchen can enhance functionality, improve aesthetics, and increase the overall value of your property. Here are some essential upgrades that can make a significant impact. 1. Cabinet Refinishing If your cabinets look outdated but are in good structural condition, consider refinishing them. This can cost between $1,000 and $3,000 depending on size and materials. You can choose to hire a professional or try a DIY approach with paint or new hardware. - DIY Tips: Sand down the surfaces and apply a coat of primer before painting. - Professional Help: Research local contractors and ask for quotes to compare. 2. Updated Backsplash A trendy backsplash can instantly modernize your kitchen. You can find materials like tile, glass, or even peel-and-stick options ranging from $500 to $2,000. Installation can be a DIY project if you’re comfortable with tile work. - DIY Steps: Prepare the wall, layout the design beforehand, and use spacers for uniform tile placement. - Professional Installation: Hire an experienced tiler to ensure a polished look, especially for intricate designs. 3. Energy-Efficient Appliances Upgrading to energy-efficient appliances can save money on bills while improving kitchen function. Typical costs range from $1,500 to $5,000 based on the appliance type. Look for ENERGY STAR® models when shopping. - Refrigerators: Look for models with adaptive defrost and LED lighting. - Stoves and Ovens: Consider induction cooktops for faster cooking times and better energy efficiency. 4. Smart Technology Smart technology is becoming increasingly popular in kitchens. Adding smart thermostats, lights, or appliances can range between $200 and $2,000. Features such as touchless faucets or smart fridges enhance convenience. - DIY Options: Installing smart bulbs or plugs can be a simple weekend project. - Professional Options: Consider hiring an electrician for hardwired devices. 5. Lighting Enhancements Upgrading your kitchen lighting can completely change the ambiance. Depending on your design choices, expect to spend between $300 and $1,500. Layer your lighting with task, ambient, and accent lighting. - DIY Idea: Swap out old fixtures for new styles for an instant update. - Professional Advice: Consult a lighting designer to achieve the best results based on your kitchen layout. Conclusion Kitchen upgrades can transform the space for better functionality and aesthetics. Whether you choose DIY projects or professional help, prioritizing upgrades based on your needs and budget can lead to a rewarding renovation experience. Happy upgrading!

Your Ultimate Guide to Choosing the Right Flooring for Your Home
Choosing the right flooring for your home is crucial not just for aesthetics but also for functionality and durability. With a myriad of options available, understanding the different types of flooring materials is essential for making an informed decision. This guide provides practical insights into popular flooring choices, their costs, installation timings, and whether to tackle it yourself or hire a professional. Here are some of the most common flooring types you can consider: - Hardwood Flooring: Classic and timeless. Hardwood adds elegance and value to your home, but can be costly, averaging $8 to $15 per square foot. - Laminated Flooring: A budget-friendly alternative resembling real wood. Costs range from $1 to $5 per square foot, making it ideal for homeowners on a budget. - Tile Flooring: Perfect for kitchens and bathrooms. Ceramic and porcelain tiles usually cost $1 to $10 per square foot, and are durable and water-resistant. - Vinyl Flooring: Very versatile, affordable, and moisture-resistant, it can cost between $2 to $7 per square foot. Great for DIY installations! - Carpet: Offers comfort and warmth but requires more maintenance. Average costs range from $2 to $5 per square foot, including installation. The overall cost of flooring installation encompasses several factors, including material costs, labor, and additional expenses such as underlayment or removal of old flooring. - Material Costs: Varies significantly based on the type (see above). - Installation Costs: Hiring a professional generally adds another $2 to $5 per square foot. - Additional Costs: Don’t forget about subfloor repairs, baseboards, and any necessary preparations, which can add $1 to $3 per square foot. The time it takes to install flooring can vary greatly: - Hardwood: Typically 3-5 days, taking into account acclimation. - Laminated: Usually 1-2 days for a standard room. - Tile: Installation can take 2-4 days depending on the area size and complexity. - Vinyl: Quickest installation time, often completed in less than a day. Deciding between DIY and hiring professionals depends on your skill level, type of flooring, and time constraints: - DIY: If you’re handy and using laminate or vinyl, you might save money by tackling it yourself. Just be prepared with the right tools and some research. - Professional: Complex installations, such as hardwood or tile, may require expertise, especially for intricate designs or uneven subfloors. Choosing the right flooring is not just about aesthetics but also about practicality and long-term investment. By weighing the options carefully, considering costs, and knowing when to call in a professional, you can ensure a flooring choice that meets your needs and enhances your home's beauty.
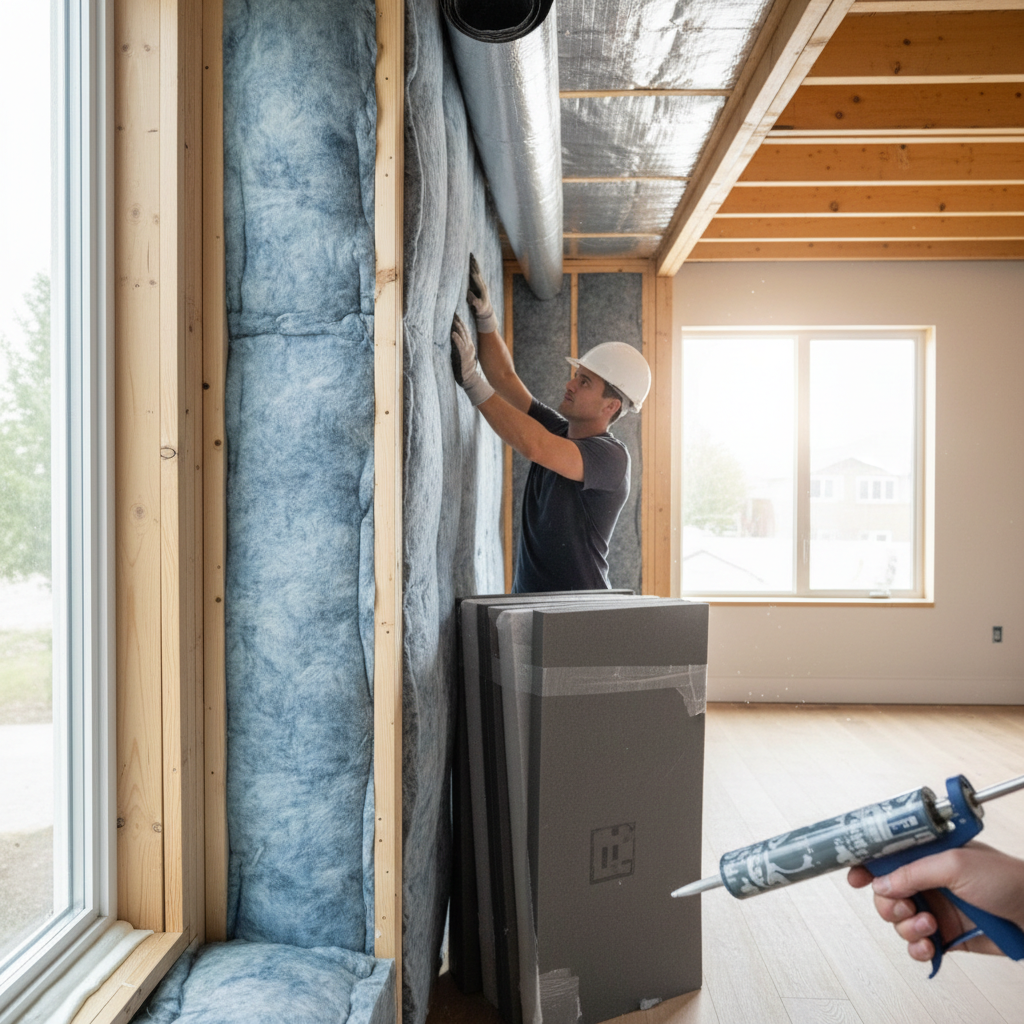
Mastering Insulation & Weatherproofing for Your Home
Understanding Insulation & Weatherproofing Home insulation and weatherproofing are critical components in maintaining energy efficiency and comfort. Proper insulation and sealing can save homeowners hundreds of dollars on energy bills and enhance the overall comfort of their homes. Why Insulation Matters Insulation keeps your home warm in winter and cool in summer. It's measured in R-value, which indicates its effectiveness. A higher R-value means better insulation. Common Types of Insulation - Fiberglass: Affordable and widely used, fiberglass is efficient for walls and attics. It's available in batts or loose-fill. - Foam Board: Excellent for basements and foundations, foam boards provide high R-values in a thin layer. - Spray Foam: Ideal for hard-to-reach areas, spray foam expands to create an airtight seal. It can be an expensive option but offers superior insulation. - Cellulose: Made from recycled paper, this eco-friendly insulation is effective for walls and attics. Weatherproofing Your Home Weatherproofing involves sealing your home from air leaks, moisture, and the elements. This ensures that your insulation works effectively and keeps your energy costs low. Key Weatherproofing Techniques - Sealant: Use caulk around windows, doors, and any joints in your home to prevent air leaks. Silicone and latex caulk are popular choices. - Weatherstripping: Installing weatherstripping around doors and windows can significantly reduce drafts and improve efficiency. - Insulated Doors and Windows: Investing in energy-efficient doors and windows can keep your home comfortable year-round. - Attic Ventilation: Properly ventilated attics allow heat to escape and reduce moisture, preventing mold growth and insulation damage. Cost Considerations The cost of insulation and weatherproofing varies widely depending on materials and whether you choose to DIY or hire professionals. Here are some average costs: - Fiberglass Batts: $0.30-$1.50 per square foot - Foam Board Insulation: $1-$4 per square foot - Spray Foam Insulation: $2-$6 per square foot - Professional Installation: Expect to pay between $1,500 and $3,000 for an average-sized home. When to DIY vs. Hire a Professional Many weatherproofing tasks, like applying caulk and weatherstripping, can be completed by homeowners with minimal tools. For larger or complex insulation projects, consider hiring a professional. They can ensure proper installation and may help discover areas needing improvement that you might overlook. Timing Your Projects Early fall and spring are great times to tackle insulation and weatherproofing projects. Preparing your home before winter can protect against cold drafts and heating loss, while spring ensures your home is ready for summer heat. Final Thoughts Investing in quality insulation and weatherproofing is one of the most effective ways to enhance your home's energy efficiency and comfort. Whether you choose to tackle these projects yourself or hire a professional, the payoff will be felt in your energy bills and overall home environment.
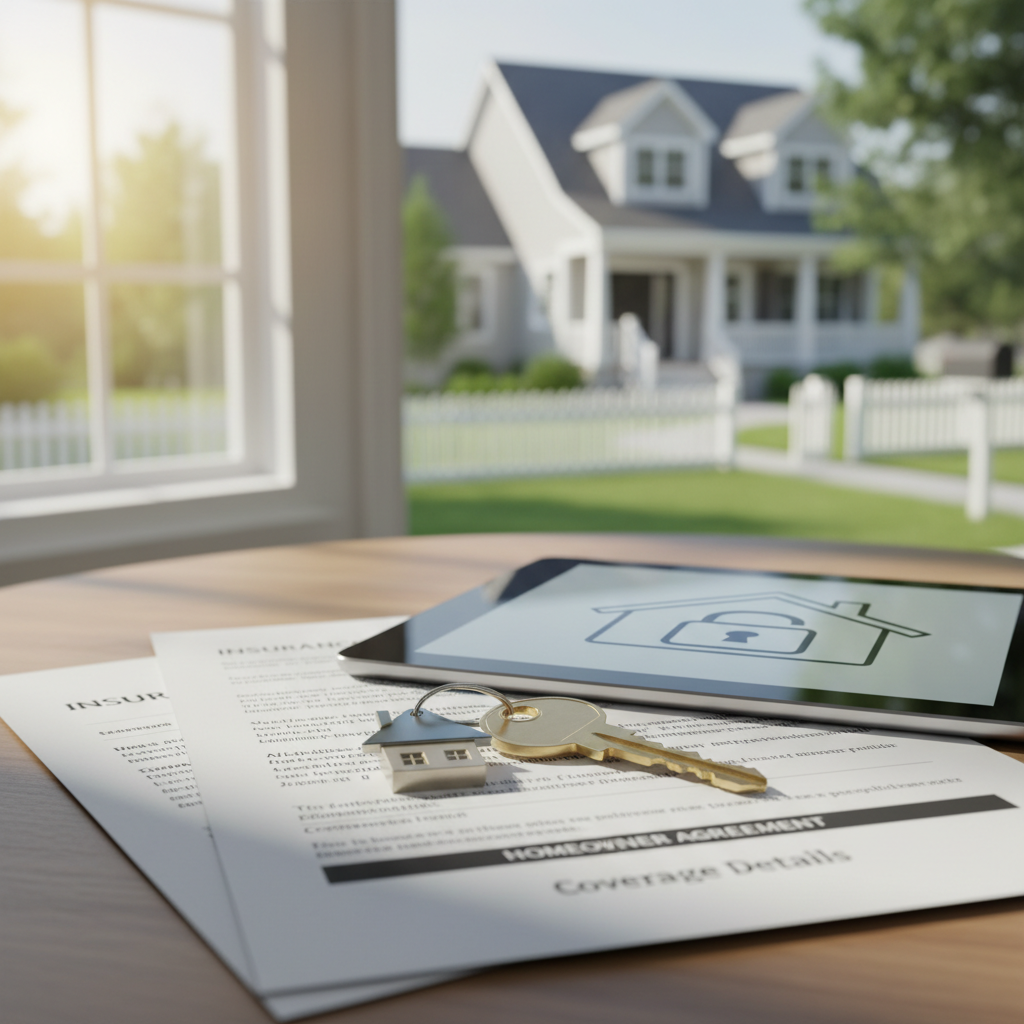
Unlocking Homeowner Insurance: What You Need to Know
Understanding homeowner insurance is crucial for protecting your property and ensuring financial security. Homeowner insurance covers various elements of your home, from the structure to personal belongings and liability protection. Different types of coverage include dwelling coverage, personal property coverage, liability protection, and additional living expenses. Assessing your unique insurance needs involves evaluating property value, location risks, and home-based business considerations. The average cost of homeowner insurance is approximately $1,500, but factors such as location, coverage amount, and deductible influence the price. Homeowners can lower costs by improving home security, renovating with fire-resistant materials, and joining local security programs. In complex situations or when filing claims, involving a professional can help navigate policies effectively. Overall, a thorough understanding of homeowner insurance can lead to better financial protection for your home.

Essential Guide to Roofing and Gutters: Maintenance Tips for Homeowners
Your home is your sanctuary, and maintaining its roof and gutters is crucial for protecting it from the elements. A well-maintained roofing system not only adds to the aesthetic appeal of your home but also ensures its structural integrity. In this guide, we’ll cover actionable tips on maintaining your roofing and gutters, along with guidance on when to DIY or hire professionals. Neglecting your roofing and gutter systems can lead to severe problems, resulting in costly repairs. Here are just a few reasons why regular maintenance is essential: - Prevents leaks and water damage - Extends the lifespan of your roof - Improves energy efficiency - Enhances curb appeal Routine inspections can help you catch problems early. Here’s how to maintain your roof effectively: - **Schedule Seasonal Inspections:** Inspect your roof at least twice a year—once in the spring and once in the fall. Look for signs of wear, such as missing shingles, cracks, or granule loss. - **Clear Debris:** Remove leaves, branches, and other debris from your roof and gutters. This helps prevent water pooling and damaging your roof. - **Check for Overhanging Branches:** Trim back any branches that may touch your roof to prevent damage and facilitate drainage. - **Watch for Algae and Moss:** If you notice growth on your roof, it may indicate excess moisture. Use a moss removal product or contact a professional to treat it. Gutters play a significant role in directing rainwater away from your home. Here’s how to keep them functioning optimally: - **Clean Gutters Regularly:** Clean your gutters at least twice a year, more often if you live in an area with heavy foliage. This prevents obstructions that lead to overflow and water damage. - **Inspect for Damage:** During your cleaning, check for cracks or holes in the gutters and downspouts. Seal small holes with gutter sealant. - **Consider Gutter Guards:** Installing gutter guards can reduce the frequency of cleaning and prevent debris buildup. - **Check Downspouts:** Ensure that downspouts are directing water at least 3-5 feet away from your foundation. It’s important to recognize your limits. Here’s a quick guide: - **DIY Projects:** Small repairs like cleaning gutters or replacing a few shingles can often be handled by homeowners. Just ensure you have the necessary tools and safety gear. - **Hire a Professional:** For significant repairs, full roof replacements, or any work that requires safety equipment or complex skills, hire a licensed roofing contractor. The costs of roofing and gutter maintenance vary depending on your location and the extent of the work needed. Here’s a general estimate: - **Roof Inspection:** $100 - $300 - **Gutter Cleaning:** $100 - $250 - **Roof Repairs:** $300 - $1,500 depending on the damage - **Full Roof Replacement:** $5,000 - $15,000 Generally, scheduling maintenance before winter can help you catch and address issues before the heavy rains or snow arrive. Investing in routine care now can save you significant costs down the road. Taking the time to maintain your roofing and gutters protects your investment and boosts your home's long-term value. By following these tips, you’ll not only ensure your home stays dry and safe but also enhance its curb appeal. Don't wait for problems to arise; start your maintenance routine today!
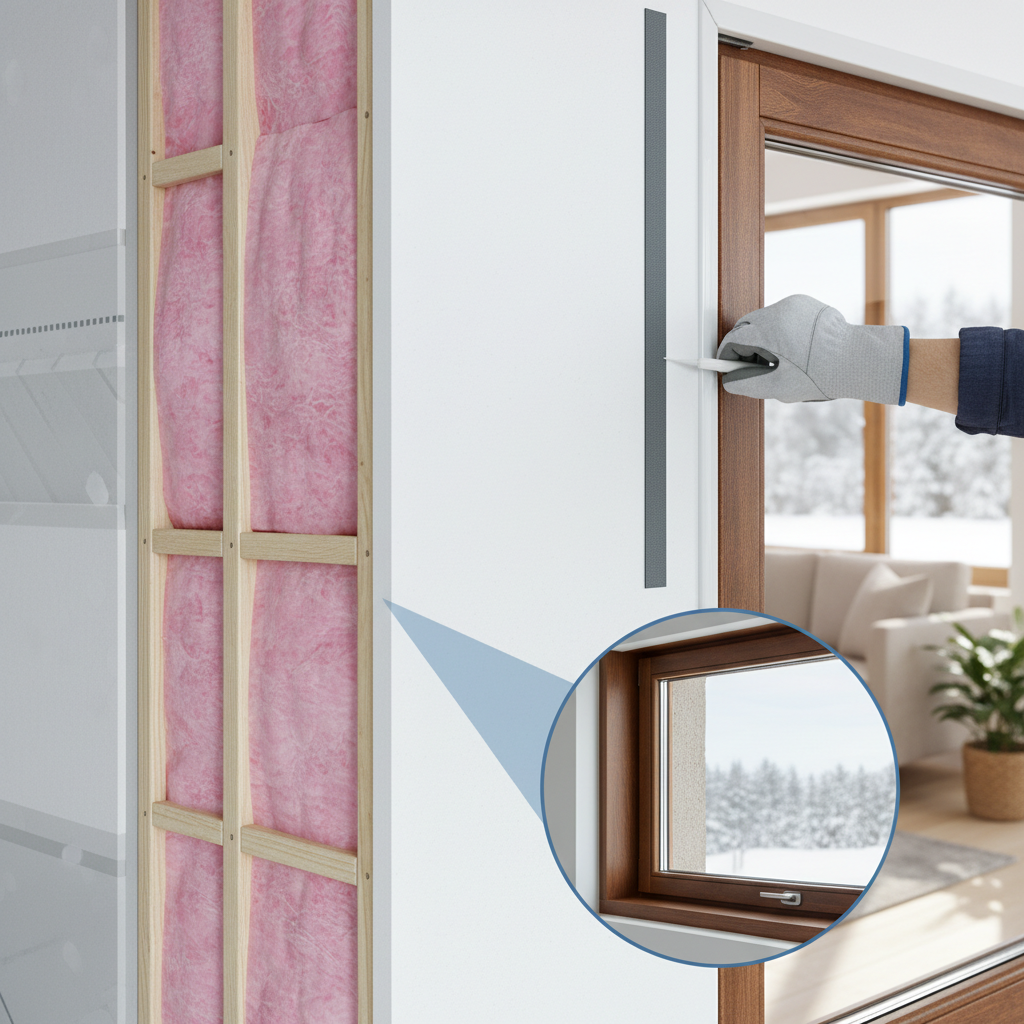
Boost Your Home's Comfort: A Guide to Insulation and Weatherproofing
Why Insulation and Weatherproofing Matter Ensuring that your home is properly insulated and weatherproofed can significantly enhance your comfort and energy efficiency. It minimizes heating and cooling costs, prevents moisture intrusion, and reduces noise. Let's explore how to get started with these essential home maintenance tasks. Understanding Insulation Insulation serves to restrict heat flow, offering a barrier between the outside elements and the interior of your home. Here are the main types: - Fiberglass: Commonly used, it's affordable and easy to install, but can cause skin irritation when handled. - Foam Board: Great for exterior walls and foundations, it provides a high R-value per inch. - Spray Foam: Excellent for irregular spaces, it seals gaps effectively but usually requires professional installation. - Cellulose: Made from recycled paper, it’s environmentally friendly and provides good coverage but can settle over time. Key Areas to Insulate - Attics: Heat rises, so insulating your attic can save a significant amount on energy bills. - Walls: Insulated walls maintain a consistent temperature throughout your home. - Basements: Insulating basement walls helps mitigate moisture issues. - Pipes: Insulating plumbing pipes prevents heat loss in water systems, especially in colder climates. Weatherproofing Techniques Weatherproofing protects your home from wind, rain, and moisture. Here are some effective strategies: - Seal Gaps and Cracks: Use caulk or foam sealant around windows, doors, and any visible gaps in walls to reduce drafts. - Install Weatherstripping: Weatherstripping can be easily applied to doors and windows to further block air leaks. - Add Door Sweeps: Installing a door sweep at the bottom of outside doors can block cold drafts. - Upgrade Your Windows: Double or triple-glazed windows with argon gas filling provide better insulation. Cost Considerations The cost of insulation and weatherproofing varies significantly based on materials and scope: - DIY Insulation: Expect to spend $0.50 to $2.00 per square foot on materials. - Professional Installation: Hiring pros can range from $1 to $3+ per square foot, depending on complexity. - Weatherproofing Supplies: Budget around $100 to $300 for caulks, weatherstripping, and door sweeps for an average home. Timing for Projects It's ideal to plan insulation and weatherproofing projects during mild weather, allowing materials to settle and adhere properly. Late spring or early fall are excellent times to tackle these updates. This timing ensures you’re ready for harsh winter temperatures or hot summer days. DIY vs. Hiring Professionals If you have some handy skills, many insulation tasks can be a DIY project, especially in attics or walls with easy access. However, for areas like basements or intricate geometries, hiring a professional may be the better choice to ensure a precise and efficient installation. Final Thoughts Investing in insulation and weatherproofing not only enhances your home's comfort but also increases its value and efficiency. Regardless of whether you choose a DIY approach or professional assistance, the rewards will be tangible in your energy bills and overall home experience.
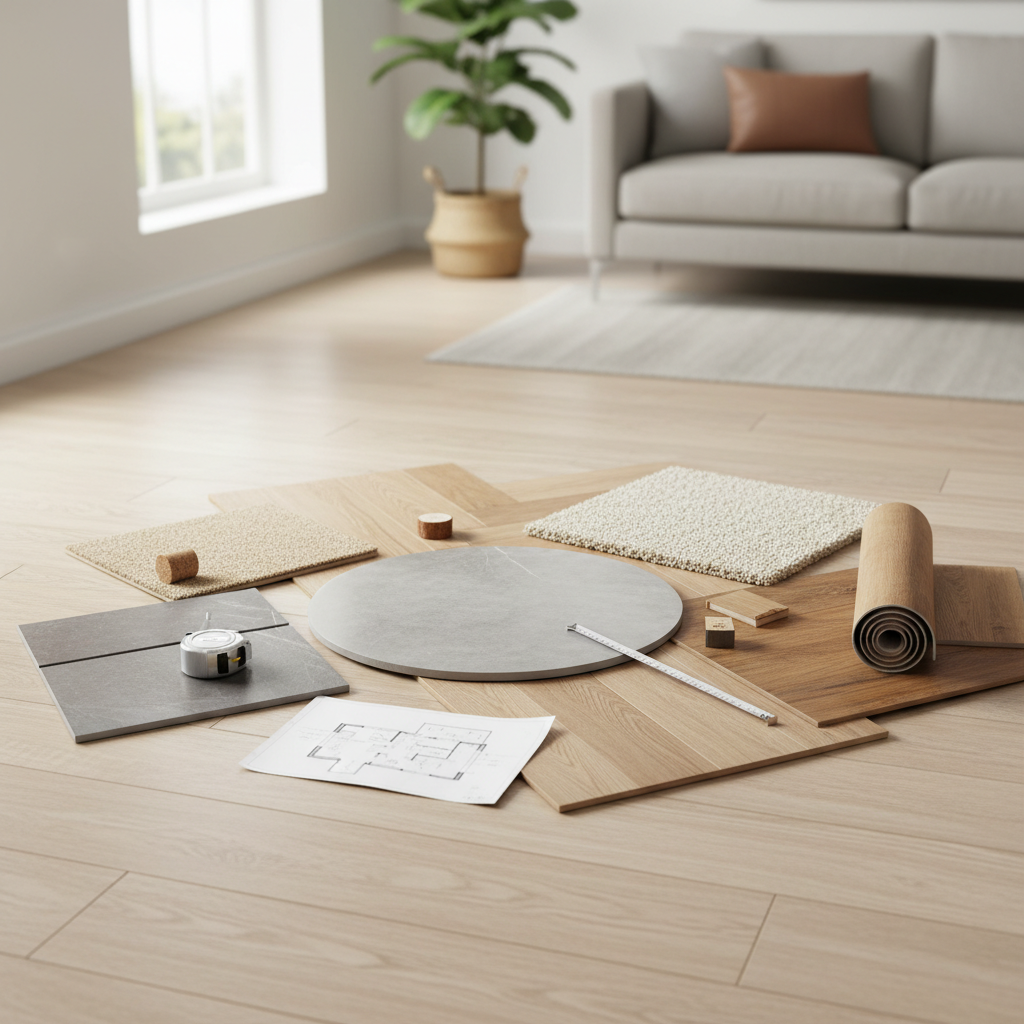
Your Ultimate Guide to Choosing the Right Flooring for Your Home
When it comes to enhancing the beauty and functionality of your home, flooring plays a crucial role. With numerous options available, selecting the right type can be overwhelming. This guide will help you navigate through various flooring types, their costs, installation times, and provide insights on DIY versus professional help. Understanding different flooring types is key to making an informed decision. Here are some popular materials: - **Hardwood**: Timeless and elegant, hardwood is a popular choice for many homeowners. It's durable but can be expensive (around $5-$10/sq ft). - **Laminates**: Mimicking hardwood visuals, laminates are budget-friendly (approximately $1-$4/sq ft) and resistant to scratches. - **Vinyl**: Available in sheets, tiles, or planks, vinyl is water-resistant and affordable, ranging from $1-$5/sq ft. - **Tile**: Perfect for bathrooms and kitchens, tile is durable and comes in various designs, costing between $2-$10/sq ft. - **Carpet**: Soft underfoot and great for bedrooms, carpets often cost $2-$5/sq ft, adding warmth to your space. Budgeting for a flooring project is essential. In addition to material costs, consider the following: - **Installation**: Professional installation typically adds $2-$5/sq ft, depending on the material. - **Underlayment**: Necessary for some flooring types to provide cushioning and sound insulation, costing around $0.50-$2/sq ft. - **Maintenance**: Factor in long-term maintenance costs. Hardwood may require refinishing, while vinyl and tile usually need simple cleaning. The timeline for flooring installation can vary by material and space size: - **Hardwood**: Installation can take 1-3 days, depending on acclimation needs and complexity. - **Laminates**: Generally quicker to install, often completed in a day. - **Vinyl**: Installation usually takes 1-2 days, depending on flooring type (planks vs. sheets). - **Tile**: This can take several days due to curing time for grout. - **Carpet**: Typically installed in 1 day, making it a faster option for homeowners. Deciding between a DIY project or hiring a professional can influence your flooring choice: - **DIY**: If you’re handy and the project is straightforward (like laminate or vinyl), consider going the DIY route. Ensure you have the right tools and watch tutorial videos before starting. - **Professional Help**: For complex installations, like tile or hardwood, hiring professionals is advisable. They’ll ensure proper installation and may save you time and future costs. Selecting the perfect flooring for your home doesn't have to be overwhelming. Consider your budget, the specific needs of each room, and the pros and cons of each type of flooring. Whether you choose to tackle the project yourself or hire a professional, informed decisions will lead to lasting satisfaction in your home.
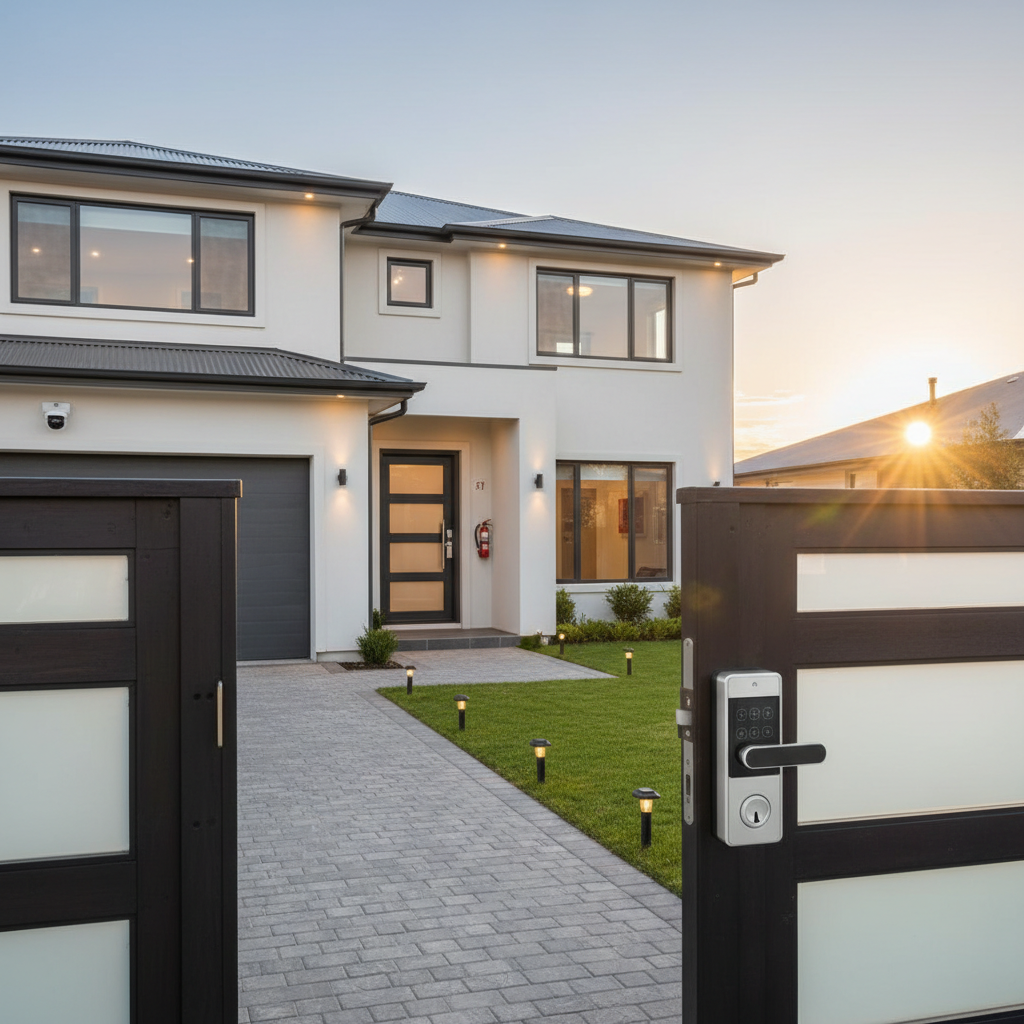
Essential Security & Safety Tips Every Homeowner Should Know
Your home is your sanctuary, and ensuring its security and safety should be a top priority. With rising home burglary rates, homeowners must adopt effective measures to protect their loved ones and their property. In this article, we will cover actionable tips that can enhance your home's security and safety, along with guidance on when to consider DIY versus hiring professionals. 1. Strengthen Your Entry Points The first line of defense against intruders is your doors and windows. Here are some steps to reinforce them: • Install Deadbolt Locks: Upgrade standard door locks to deadbolts. They provide an extra layer of security and cost between $30 and $60. • Secure Sliding Doors: Use a dowel or a security bar to prevent sliding doors from being forced open. These can be found for about $10 to $30. • Window Locks: Ensure all windows have functioning locks. If not, consider adding window locks or security film to make them more difficult to shatter. 2. Invest in a Security System A comprehensive security system can deter burglaries and enhance safety. Here’s what to consider: • Alarm Systems: Options range from DIY systems starting around $200 to professional installations costing $1,000 or more. Monthly monitoring can be as low as $10-$20. • Surveillance Cameras: Consider installing outdoor cameras, which can cost anywhere from $30 to $300. These allow monitoring your property remotely. • Smart Home Integrations: Smart lights and locks can be controlled via mobile devices and can simulate your presence when you’re away, enhancing security. 3. Outdoor Safety Measures Don’t overlook outdoor safety: • Landscape Wisely: Trim bushes and trees that could provide cover for intruders. Keeping your landscape neat can deter criminal activity. • Outdoor Lighting: Install motion-sensor lights around entry points for $20 to $50. These illuminate dark areas. • Neighborhood Watch: Collaborate with neighbors to create a neighborhood watch program for enhanced safety in your area. 4. Safety in the Home Security isn't only about preventing burglaries; it's also about ensuring safety within: • Smoke and Carbon Monoxide Detectors: Install these on every floor and test monthly. They are essential for early danger detection. • Emergency Plan: Create and practice an emergency escape plan for your family. • Childproofing: If you have young children, ensure your home is free from hazards. Use safety locks on cabinets and cover electrical outlets. By taking these actionable steps, you can significantly improve the security and safety of your home. Whether you choose to handle these upgrades yourself or hire professionals, investing time and resources into your home’s security will pay off in peace of mind.
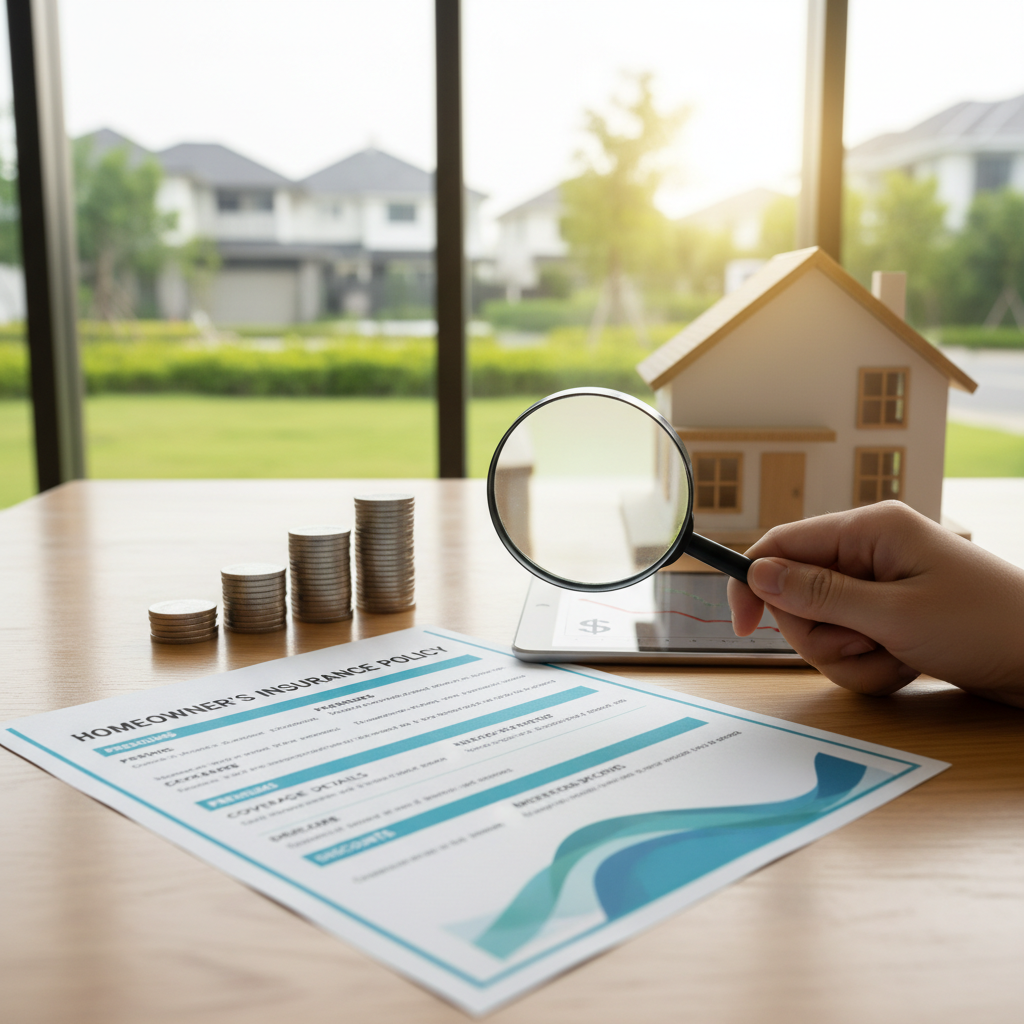
Your Home Insurance Guide: Save Money and Coverage Tips
Understanding Home Insurance: A Homeowner's Essential Guide As a homeowner, securing your property with the right insurance is crucial. Home insurance not only protects your home from unforeseen damages but also provides peace of mind. This guide will walk you through everything you need to know about home insurance, including saving money, coverage options, and DIY versus professional guidance. Why You Need Home Insurance - Protection Against Loss: Home insurance covers damages caused by fire, storms, theft, and more. - Liability Coverage: This protects you if someone gets injured on your property. - Mortgage Requirement: Most lenders require homeowners to have insurance to protect their investment. Types of Home Insurance Coverage Understanding the types of coverage available is essential in choosing a policy that fits your needs: - Dwelling Coverage: Covers the structure of your home and attached structures. - Personal Property Coverage: Protects your belongings against theft or damage. - Liability Coverage: Covers legal costs due to injuries or property damage to others. - Additional Living Expenses: Covers costs associated with living elsewhere while your home is being repaired. Tips for Saving on Home Insurance Home insurance doesn't have to break the bank. Consider these tips to reduce your premiums: - Shop Around: Get quotes from multiple insurers to find the best rates. - Increase Your Deductible: A higher deductible can lower your premiums significantly. - Bundle Policies: Many insurance companies offer discounts if you bundle your home and auto insurance. - Maintain a Good Credit Score: Insurance companies often consider your credit history when determining premiums. - Install Security Features: Using alarms and deadbolts can qualify you for discounts. When to Review Your Policy Regularly reviewing your policy is key to ensuring adequate coverage. You should consider reviewing your insurance: - After major renovations - When the value of your belongings increases - Annually or upon receipt of your renewal notice DIY vs. Professional Guidance Deciding whether to contact a professional for help can be overwhelming. Here’s some guidance: - DIY: If you’re comfortable reading policy documents and comparing coverages, you can manage this yourself. Use online resources to guide you in understanding terms and conditions. - Professional: If you encounter complex terms, or if you have specific needs (such as home businesses or unique insurance requirements), consulting with an insurance broker can ensure you have the right coverage for your situation. Conclusion Protecting your home is a significant investment, and understanding insurance is a vital part of that process. With the right information and strategies, you can secure comprehensive coverage while also saving money. Take the time to review your options and make informed decisions that benefit you and your family.

Transform Your Kitchen: Practical Upgrades to Boost Value and Functionality
Upgrading your kitchen can significantly enhance both the functionality and value of your home. Whether you’re looking to create a gourmet cooking space or just want more room for family gatherings, there are many options to consider. Below are some practical kitchen upgrades, including tips on costs, timing, and whether to take on the project yourself or hire a professional. 1. Cabinet Refacing or Replacement: Upgrading your cabinets can dramatically change the look of your kitchen without a complete renovation. Refacing involves replacing just the doors and veneer. Replacement means choosing all new cabinets. 2. Countertop Upgrades: Countertops not only affect the aesthetics of your kitchen but also its functionality. Common materials include granite, quartz, and butcher block, each with different costs. Installing them is best left to professionals. 3. Backsplash Installation: A stylish backsplash can add character and protection to your kitchen walls. From ceramic tiles to glass mosaics, installing a backsplash can also be a rewarding DIY project, depending on your skill level. 4. Upgrading Appliances: Replacing old appliances can enhance efficiency and aesthetics. Energy-efficient models can save on utility bills. While some homeowners may attempt DIY installation, hiring professionals is recommended for complex setups. 5. Lighting Improvements: Good lighting elevates a kitchen’s mood and functionality. Consider task and ambient lighting. Installation is manageable for those with basic electrical skills, but consult a pro for complicated wiring.

Transform Your Space: Expert Tips for Painting & Finishing Your Home
Transform Your Space: Expert Tips for Painting & Finishing Your Home Understanding the Basics of Painting Painting is one of the most effective ways to refresh your home, giving it a new look and feel. Whether you’re considering a room makeover or a full exterior refresh, understanding the basics of painting and finishing is essential for homeowners. When to DIY and When to Hire a Pro One of the first decisions to make is whether to tackle the painting project yourself or hire a professional painter. Here are some considerations: - DIY: If you have basic skills, time, and enjoy hands-on projects, you might find a DIY approach fulfilling. - Hire a Professional: If the project involves high ceilings, intricate designs, or if you lack the time and tools, hiring a pro can save you stress and ensure quality results. Budgeting for Your Painting Project Costs can vary widely based on materials, labor, and the size of the area to be painted. Here’s a quick breakdown: - DIY Costs: Expect to spend around $30-$60 per gallon of paint, plus additional for brushes, rollers, tarps, and tape. - Professional Costs: Hiring a pro can cost between $200 and $800 for a room, depending on the scope, with exterior projects varying significantly based on the home size. Timing Your Painting Project Timing can greatly impact your project, both environmentally and practically: - Best Seasons: Spring and fall are ideal for outdoor projects due to temperate weather. - Timing for Indoors: Avoid painting during high humidity or extreme temperatures; aim for a dry, mild day. Choosing the Right Materials Quality matters when it comes to paint and supplies. Consider these tips: - Type of Paint: Choose between latex (water-based) for easy cleanup or oil-based for durability. - Finish: Select a finish that matches your needs: matte for less traffic areas, semi-gloss for cabinets, and satin for walls. Steps to Achieve a Professional Finish To ensure a flawless finish, follow these essential steps: 1. Preparation: Prepare your surface by cleaning, sanding, and priming where necessary. 2. Cutting In: Start by painting edges, corners, and trim using a brush before rolling the large areas. 3. Rolling: Use a roller to cover the larger surfaces, working in sections for even application. 4. Finishing Touches: Allow adequate drying time between coats (usually 2-4 hours) and always do a second coat for a richer finish. Cleaning Up and Maintenance Post-project care is vital to keep your new finish looking fresh: - Clean brushes and rollers immediately after use. - Store leftover paint properly. - Inspect surfaces regularly for wear and plan for touch-ups as needed. Conclusion With the right approach, painting and finishing can elevate your home’s aesthetic, making it a comfortable and inviting space. Armed with these tips, you’re ready to take on your next painting project—whether you choose to do it yourself or enlist professional help.

Smart Home Investment Strategies for Long-Term Value
Understanding Home Investment Strategies As a homeowner, understanding how to invest in your property can significantly impact its long-term value. Smart home investment strategies not only improve your living space but also boost your home’s marketability. In this article, we will explore actionable tips for homeowners on how to effectively invest in their properties. 1. Prioritize Key Improvements Not all home improvements yield the same return on investment (ROI). Focus on projects that add substantial value: - Kitchen Remodel: A minor kitchen renovation can return about 80% of your costs. - Bathroom Upgrade: Updating fixtures and tiles often brings a 70% ROI. - Curb Appeal Enhancements: Landscaping and exterior painting can yield high returns—up to 100%. 2. Timing Your Investments When you choose to invest in your home can affect both costs and potential return: - Spring and Summer: Ideal for exterior projects; curb appeal is crucial during these months. - Fall: Good for home maintenance projects before winter, such as roof repairs and gutter cleaning. - Winter: Consider indoor renovations during colder months when contractors might be more available and rates lower. 3. DIY vs. Professional Help Deciding between tackling a project yourself or hiring professionals can affect your budget significantly: - DIY: Suitable for smaller projects like painting or landscaping. It saves labor costs, but time and skill are required. - Professional Services: Best for complex renovations such as electrical work or plumbing, where expertise is essential for safety and longevity. 4. Set a Budget and Stick to It Before you begin investing, it's essential to establish a clear budget: - Research Costs: Get estimates for materials and labor to gauge expenses accurately. - Contingency Fund: Allocate 10-20% of your total budget for unexpected expenses. 5. Future Trends to Consider Stay informed on home trends to better decide where to invest: - Smart Home Technology: Devices like smart thermostats and security systems are increasingly in demand. - Energy Efficiency: Investing in energy-efficient windows and insulation can reduce long-term costs. Conclusion Investing wisely in your home enhances its value and improves your quality of life. By prioritizing key improvements, understanding the timing of your investments, and knowing when to go DIY versus hiring a pro, you can make strategic choices that pay off in the long run. Always keep informed about market trends to ensure your home remains valuable as time goes on.
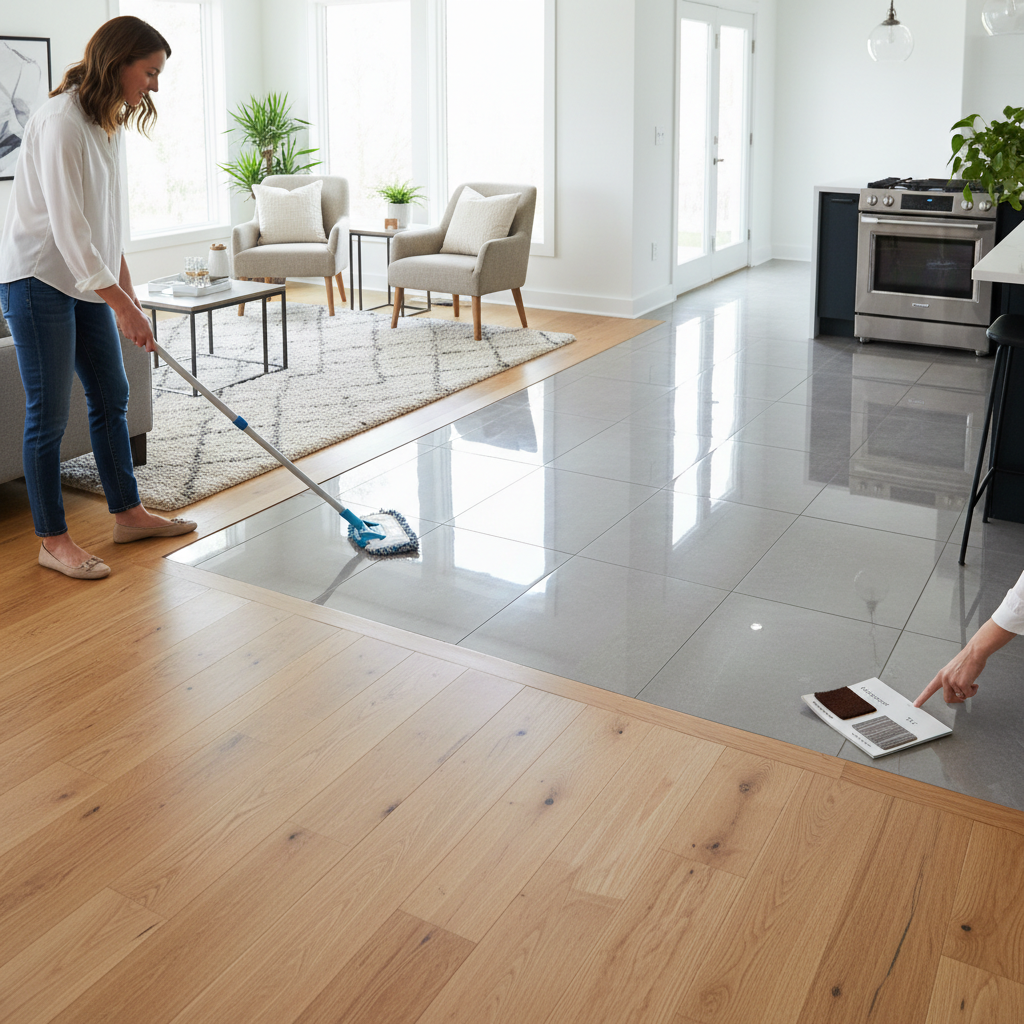
Essential Flooring Tips for Homeowners: Selecting and Maintaining Your Floors
Choosing the perfect flooring can significantly influence your home’s aesthetic and functionality. With so many options available, it can be overwhelming. This guide helps you navigate through the types of flooring, their costs, and maintenance tips to consider. ### Popular Flooring Types - **Hardwood:** Timeless and elegant, hardwood floors are durable and can last a lifetime with proper care. Expect to pay between $8 to $15 per square foot. - **Laminate:** A cost-effective alternative to hardwood, laminate mimics its appearance while being resistant to scratches and dents. Prices range from $1 to $5 per square foot. - **Vinyl:** Highly versatile and water-resistant, vinyl flooring comes in planks or tiles and costs between $2 to $7 per square foot, making it ideal for areas prone to moisture. - **Tile:** Perfect for kitchens and bathrooms, tile flooring is durable and easy to clean, with prices varying between $1 to $20 based on the material. ### Considerations When Selecting Flooring - **Traffic Level:** High-traffic areas like hallways and living rooms can benefit from durable materials like laminate or tile. - **Climate:** In humid areas, waterproof options like vinyl or tile may be more suitable. - **Budget:** Always factor in installation costs, which can add $2 to $12 per square foot depending on the complexity of the job. ### DIY vs. Professional Installation Depending on your skill level and the type of flooring chosen, you may opt for DIY installation or hire a professional. Here’s a breakdown: - **DIY:** Ideal for laminate and vinyl tiles, which usually come with easy click-lock systems. A typical DIY installation can save you up to 50% on labor costs. - **Hire a Professional:** For hardwood and complex tile patterns, hiring an expert may avoid costly mistakes. Professional installations ensure proper alignment and fitting, especially with intricate designs. ### Maintenance Tips for Different Flooring Types **Hardwood** - Regularly dust and mop to maintain shine. - Avoid water saturation; clean spills immediately. - Consider refinishing every 5-10 years. **Laminate** - Use a damp mop for cleaning; avoid harsh chemicals. - Place felt pads under furniture to prevent scratches. **Vinyl** - Vacuum or sweep regularly to prevent dirt buildup. - Use a gentle cleaner specifically designed for vinyl to keep it looking new. **Tile** - Seal grout lines to prevent staining and mildew. - Use a non-abrasive cleaner to maintain shine. ### Conclusion Choosing and maintaining your flooring can significantly impact your home's appearance and value. Assess your needs, budget, and the level of maintenance you're willing to undertake. Whether you do it yourself or hire a professional, the right approach will ensure your floors remain stunning for years to come.
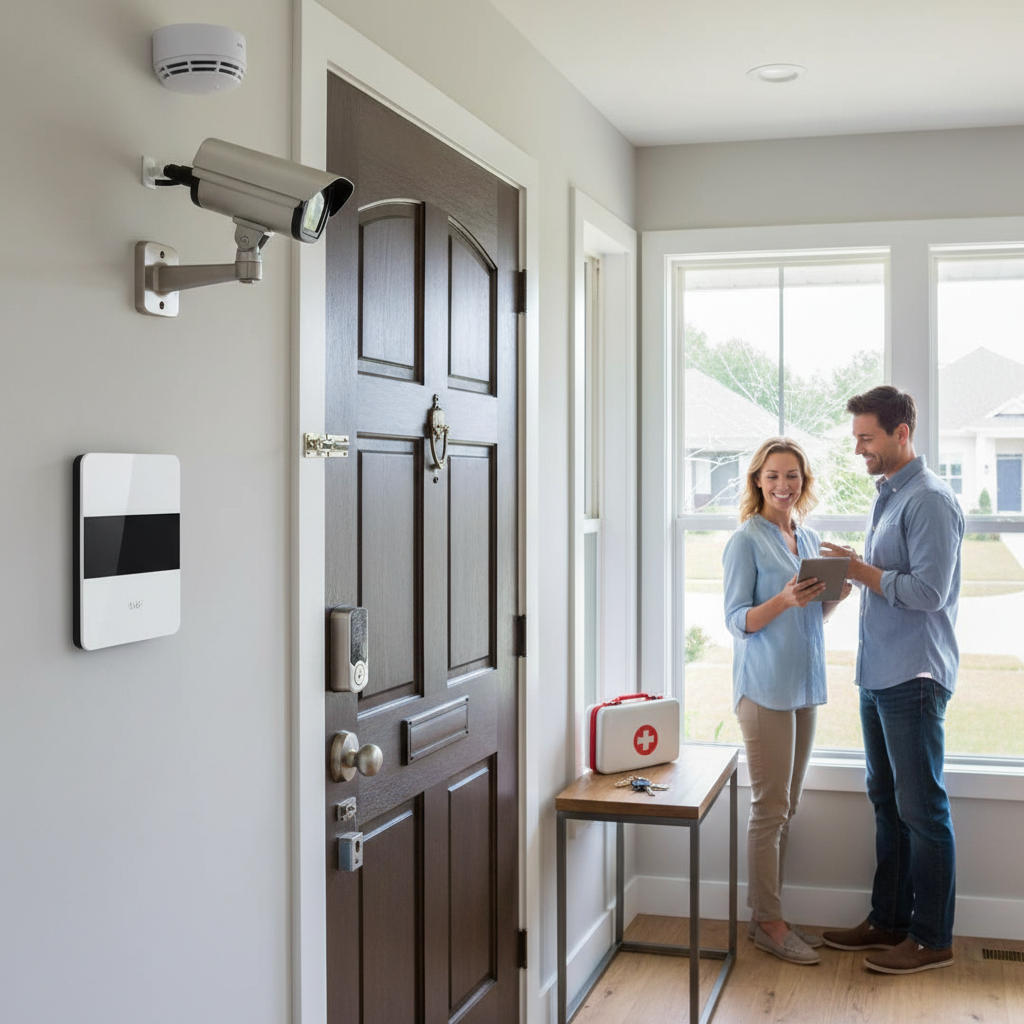
Top Security and Safety Tips for Homeowners: Protect Your Space
Ensuring the security and safety of your home is a top priority for every homeowner. Whether you’re residing in a bustling city or a quiet suburb, implementing effective security measures can deter crime and provide peace of mind. This article will guide you through actionable tips that cover essential security upgrades, DIY projects, and when to hire professional help. Before making any improvements, conduct a thorough assessment of your home’s current security status. Start by identifying weak points, reviewing past incidents, and surveying your locks to ensure all doors and windows have sturdy, functioning locks. ### Effective Security Measures Here are some practical, cost-effective security measures you can take: 1. **Invest in Quality Locks**: Upgrade to high-quality deadbolt locks on all exterior doors. A good deadbolt costs between $30 and $100 and is a strong deterrent against break-ins. 2. **Install a Home Security System**: Consider installing a comprehensive home security system. Options include DIY systems and professional monitoring, with costs ranging from $150 to $600. 3. **Improve Outdoor Lighting**: Good outdoor lighting plays a significant role in home security. Costs can vary from $20 for basic fixtures to $200 for high-end solar lights. 4. **Use Smart Home Technology**: Integrating smart devices can enhance your home's security, starting with smart doorbells and locks. 5. **Maintain Your Landscaping**: Trim overgrown shrubs and trees that might conceal a potential intruder. This can be a DIY project or, if hiring a professional, expect to pay around $50 to $150 for maintenance. ### Emergency Preparedness Make sure your family is prepared for emergencies by creating an emergency plan and keeping a well-stocked emergency kit. ### When to Call a Professional Professional help may be necessary for complex installations or advanced landscaping. Investing time and money in your home's security and safety is an essential part of homeownership. By assessing your current situation and implementing these actionable strategies, you can significantly reduce your risk of burglary and ensure the safety of your family. When in doubt, consult with professionals to create a customized security plan for your home.
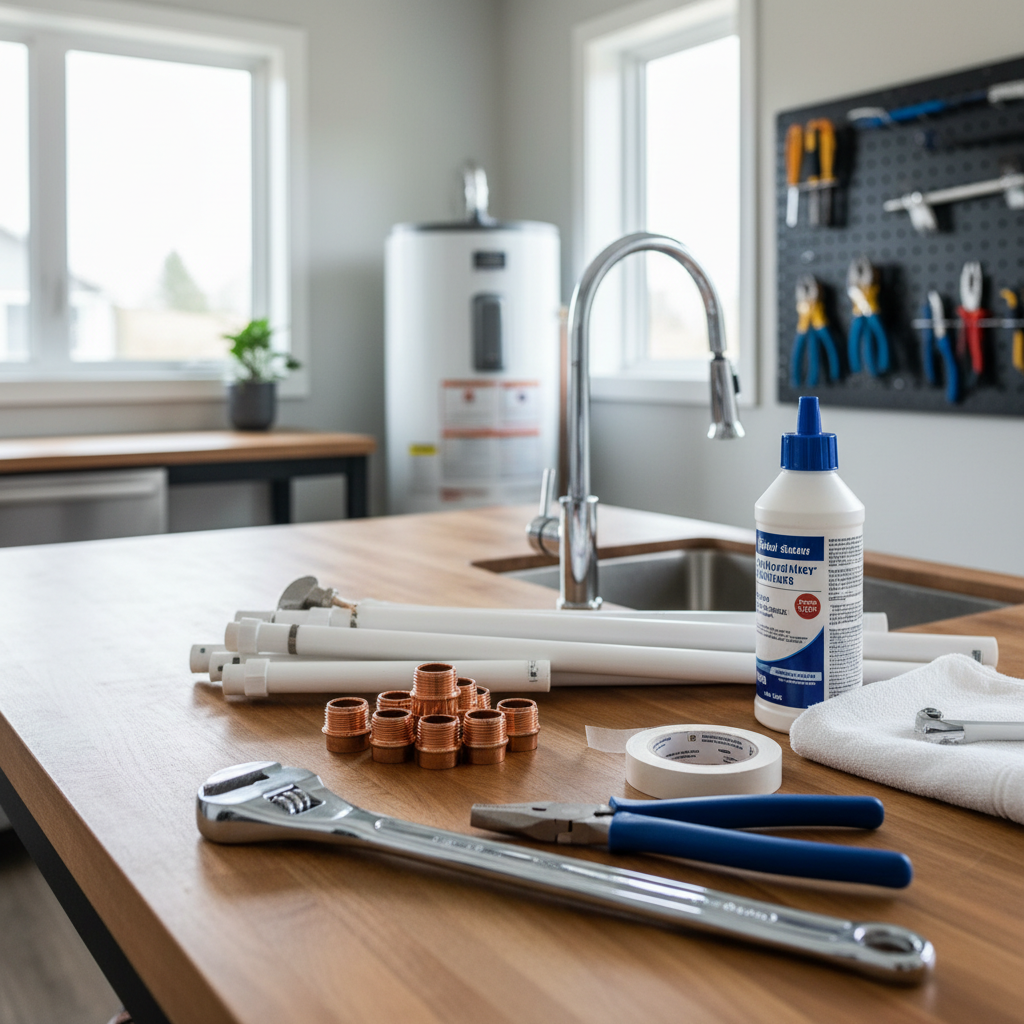
Essential Plumbing Tips Every Homeowner Should Know
Essential Plumbing Tips Every Homeowner Should Know Introduction Maintaining your home’s plumbing is crucial for preventing costly repairs and ensuring a smooth-flowing system. In this article, we will share practical plumbing tips that all homeowners should consider. From simple DIY fixes to when to call a professional, we've got you covered. 1. Regular Maintenance Preventative maintenance can save you from unnecessary headaches and expenses. Here are some key maintenance tasks: - Inspect for Leaks: Regularly check your faucets, pipes, and toilets for leaks. A small drip can waste a significant amount of water and increase your bill. - Clean Your Drains: Use a mixture of vinegar and baking soda monthly to keep your drains flowing smoothly. Avoid harsh chemicals that can damage your pipes. - Check Water Pressure: High water pressure can lead to leaks and bursts. Install a pressure gauge and aim for a pressure reading of 60-80 psi. 2. DIY Plumbing Tips Many plumbing issues can be efficiently handled by yourself, saving you time and money: - Unclogging a Sink: Use a plunger or a plumbing snake to clear clogs. If these methods fail, removing the trap may be necessary. - Fixing a Running Toilet: Check the flapper valve for wear. Replacing it is simple and can save gallons of water daily. - Sealing Leaks: Use plumber’s tape to seal connections and prevent leaks. This small fix can be done in minutes. 3. When to Call a Professional While DIY fixes are great, some situations demand professional attention. Consider hiring a plumber for: - Major Leak Repair: If you notice a substantial water leak, don't delay; call a professional immediately to avoid water damage. - Pipe Replacement: Older homes may have corroded pipes that require replacement—a task best handled by experts. - Complex Blockages: If you are experiencing repeated clogs despite your efforts, professional help may uncover underlying issues. 4. Cost Considerations Understanding the costs associated with plumbing can help you budget better: - DIY Supplies: Simple repairs can cost under $50 for materials. Tools like plungers and snakes are worth having at home. - Professional Rates: Expect to pay $45 to $150 per hour for plumber services, depending on your area. - Cost of Major Repairs: A major leak repair or pipe replacement can range from $200 to several thousand dollars. 5. Preparing for Emergencies Being prepared for plumbing emergencies can minimize damage: - Know the Location of Your Main Water Shut-off Valve: In case of a significant leak, knowing where to shut off your water supply is critical. - Keep Essential Tools on Hand: Have basic tools like a wrench, plunger, and pipe tape easily accessible. - Build an Emergency Contact List: Write down the numbers of trusted plumbers and handyman services you might need in a crunch. Conclusion By following these plumbing tips, you’ll not only maintain a healthy plumbing system but also save money and extend the life of your fixtures. Remember, while DIY solutions can be effective, always be prepared to call in the pros when a problem exceeds your skill level.

Essential Guide to Roofing & Gutters for Homeowners
Your home’s roofing and gutters play a crucial role in protecting your property from the elements. Regular maintenance is vital to extend their lifespan and prevent costly repairs. In this article, we will discuss practical tips for homeowners regarding roofing and gutters, including when to DIY and when to call in a professional. Understanding Your Roof The roof is your home’s first line of defense against weather conditions. Here are key factors to consider: - Types of Roofing Materials: Common materials include asphalt shingles, metal, tile, and wood. Each has its own lifespan and maintenance needs. - Lifespan: Most roofs last 20-30 years, but regular inspections can help you catch early signs of wear. - Signs of Damage: Look for missing shingles, water stains on ceilings, or sagging areas. These may indicate a need for repair or replacement. Roof Maintenance Tips To ensure your roof remains in good condition, follow these maintenance tips: - Regular Inspections: Inspect your roof every spring and fall. Check for debris, animal nests, and wear. - Clean Gutters: Clogged gutters can cause water to back up, leading to leaks. Clean them at least twice a year! - Trim Overhanging Branches: Prevent damage from falling branches by keeping trees at a safe distance from your roof. - Hire a Professional: Schedule a professional inspection every few years to catch issues you might miss. Understanding Your Gutters Gutters channel rainwater away from your home’s foundation, preventing erosion and water damage. - Types of Gutters: Options include K-style, half-round, and seamless gutters, which vary in cost and effectiveness. - Lifespan: Gutters typically last 20 years, but like roofs, they require maintenance. Gutter Maintenance Tips Proper gutter care is essential for your home’s health: - Clean Regularly: Remove debris at least twice a year. Consider a gutter guard to reduce buildup. - Check for Leaks: Inspect seams and joints for signs of leaks periodically, especially after heavy rains. - Inspect Downspouts: Ensure they direct water away from the foundation, ideally at least 6 feet. - Repair or Replace: If you notice rusting or significant damage, it’s time to repair or replace sections of your gutters. Cost Considerations Homeowners should budget for both roofing and gutter maintenance: - Roof Inspections: Typically cost $100-$300. - Roof Repairs: Average about $300 to $1,000, depending on severity. - New Roof Installation: Can range from $5,000 to $10,000 or more based on materials and design. - Gutter Cleaning: Usually costs around $100-$300, while replacements can run $1,000 to $3,000. When to DIY vs. Call a Professional Some tasks can be safely handled by homeowners: - DIY: Cleaning gutters and performing basic inspections. - Professional Help: Complex repairs, total replacements, and inspections requiring climbing on the roof should always be handled by professionals. Maintaining your roof and gutters is crucial for the longevity and safety of your home. By being proactive and knowledgeable, you can save money and protect your investment. Remember to regularly inspect, clean, and when necessary, call a professional for assistance.
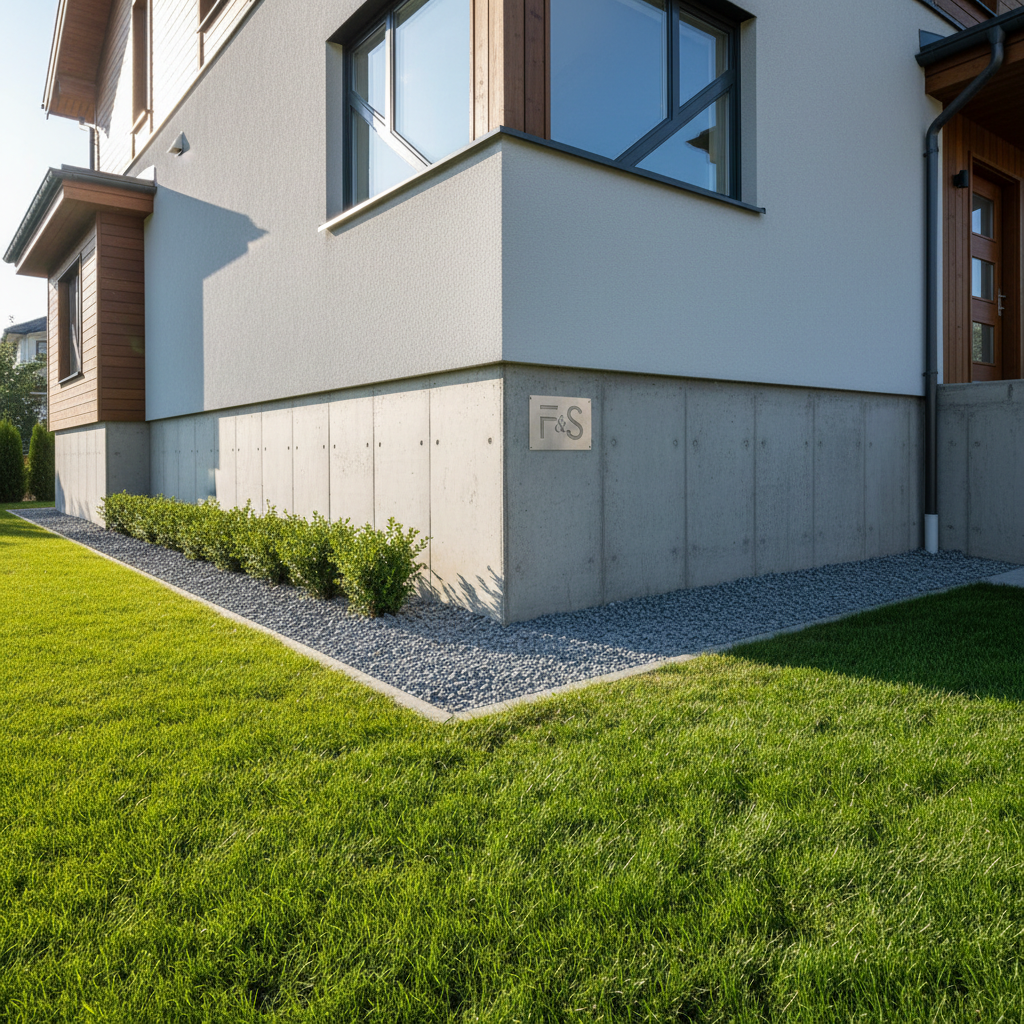
Essential Guide to Foundation & Structure Maintenance for Homeowners
Understanding Your Home's Foundation The foundation is a critical component of your home’s structure. It supports the entire weight of the building and ensures stability. Proper maintenance is essential to prevent costly repairs down the line. Signs of Foundation Issues Identifying problems early can save you money and headaches. Here are some signs to watch out for: - Crumbling or cracked foundation walls - Doors and windows that stick or do not close properly - Uneven floors or sagging ceilings - Water pooling near the foundation during rain - Visible cracks in interior walls - Large gaps between walls and ceilings Causes of Foundation Problems Understanding what leads to foundation issues is crucial for prevention: - Soil Movement: Expanding or contracting soil can exert pressure on the foundation. - Water Drainage: Poor drainage systems can lead to water accumulation around the foundation. - Tree Roots: Roots can disrupt the soil and create instability. - Improper Construction: Use of poor materials or methods can weaken the structure. Steps to Maintain Your Foundation Regular maintenance can help combat potential issues: - Inspect Regularly: Check your foundation every few months for cracks or other signs of stress. - Manage Landscaping: Keep plants and trees at least a few feet away from the foundation to prevent root damage. - Maintain Gutters: Clean gutters regularly to direct water away from the foundation. - Install a Drainage System: Consider installing a French drain if water pooling is severe. - Seal Cracks Promptly: Use concrete repair kits to seal small cracks as soon as you spot them. When to Call the Experts While some foundation work can be done as a DIY project, several instances warrant professional help: - If cracks are wider than 1/4 inch - When doors and windows are sticking consistently - If you notice significant settling in certain areas of the home - For large shifts in your foundation or structural changes Cost Considerations Foundation repairs can vary widely in cost: - Minor Crack Repairs: $200 - $800 - Minor Foundation Leveling: $2,000 - $7,000 - Severe Foundation Repairs: $8,000 - $15,000+ Conclusion Taking proactive steps in foundation and structural maintenance can save homeowners significant time and expense. By staying vigilant and knowing when to act, you can ensure a healthy and stable home for years to come.
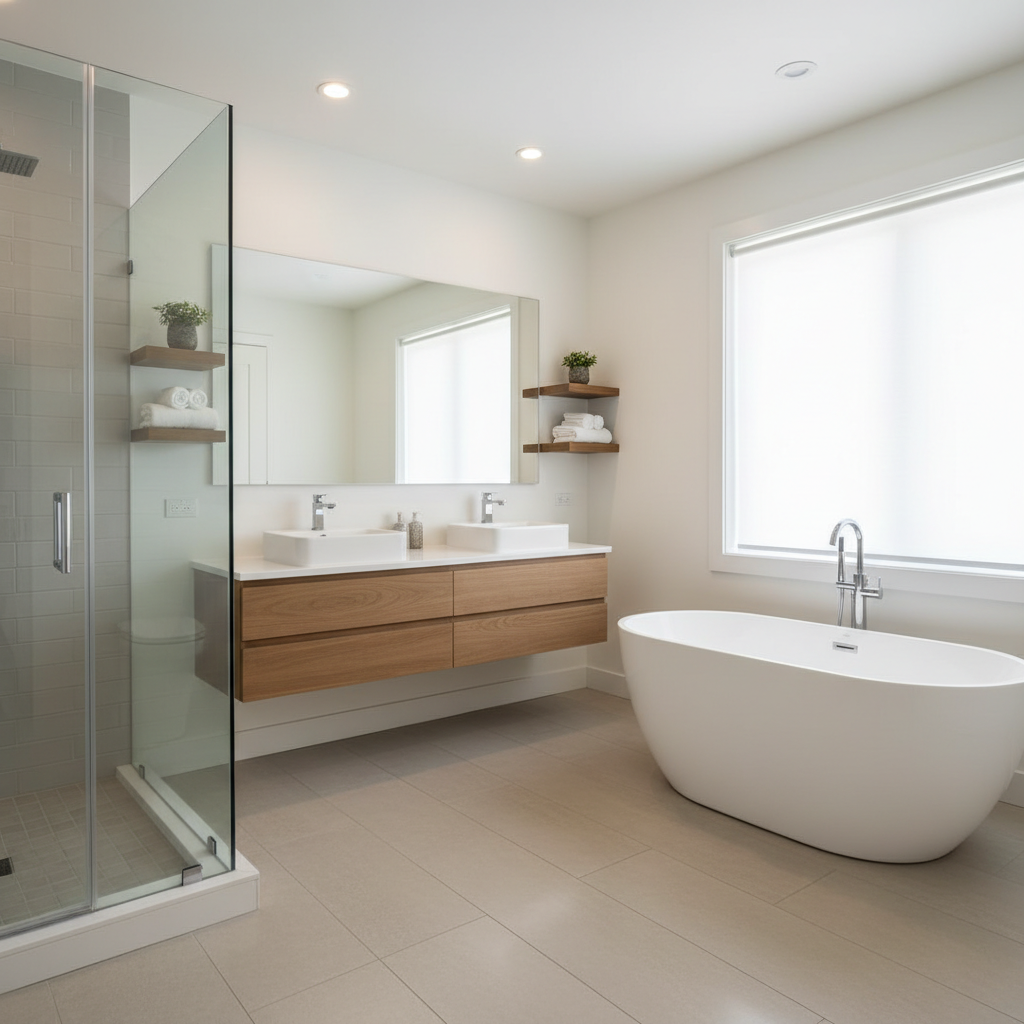
Transform Your Space: Essential Guide to Bathroom Remodels
Understanding Your Bathroom Remodel Remodeling your bathroom can not only enhance the aesthetics of your home but also improve functionality and increase property value. Whether you’re planning a minor update or a complete overhaul, having a clear plan is crucial. This guide will outline actionable tips, costs, and the timeline for your bathroom remodel. Assessing Your Needs and Budget - Determine Your Goals: Are you updating for resale, improving functionality, or simply refreshing your space? - Set a Budget: Decide how much you’re willing to spend. Bathroom remodels typically range between $5,000 to $25,000, depending on the scope. Planning Your Remodel Before starting any work, have a comprehensive plan in place. - Design: Consider what style you want, from modern to rustic. Draw inspiration from magazines, online platforms, and showrooms. - Layout: Think about the functionality. Do you want to reconfigure the layout? Ensure proper spacing for fixtures and traffic flow. DIY vs. Hiring Professionals Deciding whether to DIY or hire a contractor depends on your skill level and the complexity of the remodel. - DIY Projects: Great for minor updates like painting, replacing fixtures, or installing new accessories. These tasks can typically be completed on weekends. - Professional Help: For electrical, plumbing, or structural changes, hire licensed professionals to ensure safety and compliance. Key Components of Your Remodel - Vanities and Sinks: Choose durable materials and stylish designs. Consider double vanities for shared spaces. - Showers and Tubs: A frameless glass shower can modernize your space. Make sure to include features like rain showerheads to enhance the experience. - Lighting: Good lighting is essential. Incorporate a mix of task lighting, ambient lighting, and accent lighting. - Flooring: Opt for water-resistant materials like tiles or luxury vinyl planks for durability. Timing Your Remodel Bathroom remodels can take anywhere from a few days to several weeks. Here’s a timeline breakdown: - Planning Stage: 2-4 weeks to finalize designs and budget. - Demo Stage: 1-3 days for tearing out old fixtures and materials. - Construction and Installation: 2-4 weeks depending on the scope of the remodel. - Finishing Touches: 1 week for painting, decorating, and ensuring everything is installed correctly. Final Tips for Success To ensure a successful bathroom remodel, remember the following: - Stay flexible and be prepared for unexpected expenses. - Keep open communication with your contractor, if hired. - Don’t rush the design process; it’s crucial to choose elements that will last and suit your style.
Smart Investment Strategies: Boosting Your Home's Value and Equity
Understanding Home Investment Strategies For homeowners, the property is often the most significant investment they will make. Developing a solid investment strategy can help not only maintain your home’s value but also enhance it over time. Here, we outline practical tips to effectively manage and invest in your home. 1. Assess Your Investment Goals Before diving into any project, it’s important to outline your goals. Consider whether you want to increase your home’s market value, improve your living space, or prepare for a future sale. 2. Focus on High-Return Improvements Some home improvement projects yield higher returns than others. Here are some cost-effective improvements that can boost your home’s value: - Kitchen Remodel: Minor remodels like new countertops and cabinet refacing can return up to 80% of your investment. - Bathroom Upgrade: Updating fixtures, tiles, or even adding a linen closet can offer strong returns. - Curb Appeal: Landscaping, new siding, and a painted front door can significantly enhance first impressions. - Energy Efficiency Improvements: Installing new windows or insulation may lead to lower utility bills and increased home value. 3. Budgeting and Cost Considerations When planning improvements, set a realistic budget. Here are tips on how to manage costs effectively: - Research and Compare: Always research project costs by getting multiple quotes from contractors. - Prioritize Projects: List out projects by necessity and return on investment to ensure you are focusing on the right areas. - DIY vs. Professional Help: Determine what you can do yourself. Many homeowners save on labor costs by tackling small projects themselves. 4. Timing Your Investments Timing can be just as important as the investment itself. Here are some tips to maximize your returns: - Seasonal Considerations: Schedule outdoor projects in spring or summer, and indoor projects in fall or winter when demand for contractors often decreases. - Market Trends: Monitor local real estate trends. If the market is hot, it may be wise to invest in renovations before selling. - Routine Maintenance: Regular upkeep prevents the need for major renovations later—stay on top of roof, plumbing, and electrical maintenance. 5. Evaluating Your Home's Equity Understanding how much equity you have in your home is crucial. By refining your investment strategy, you can boost your home’s equity, which can be tapped into for future financial needs. Conclusion: Create a Sustainable Investment Plan Home investment strategies don’t have to be overwhelming. With a clear plan and a focus on high-return projects, homeowners can not only maintain but also significantly increase their property’s value. Take the time to budget, prioritize, and execute your improvements wisely. In doing so, you’ll pave the way for a profitable return on your most significant investment.
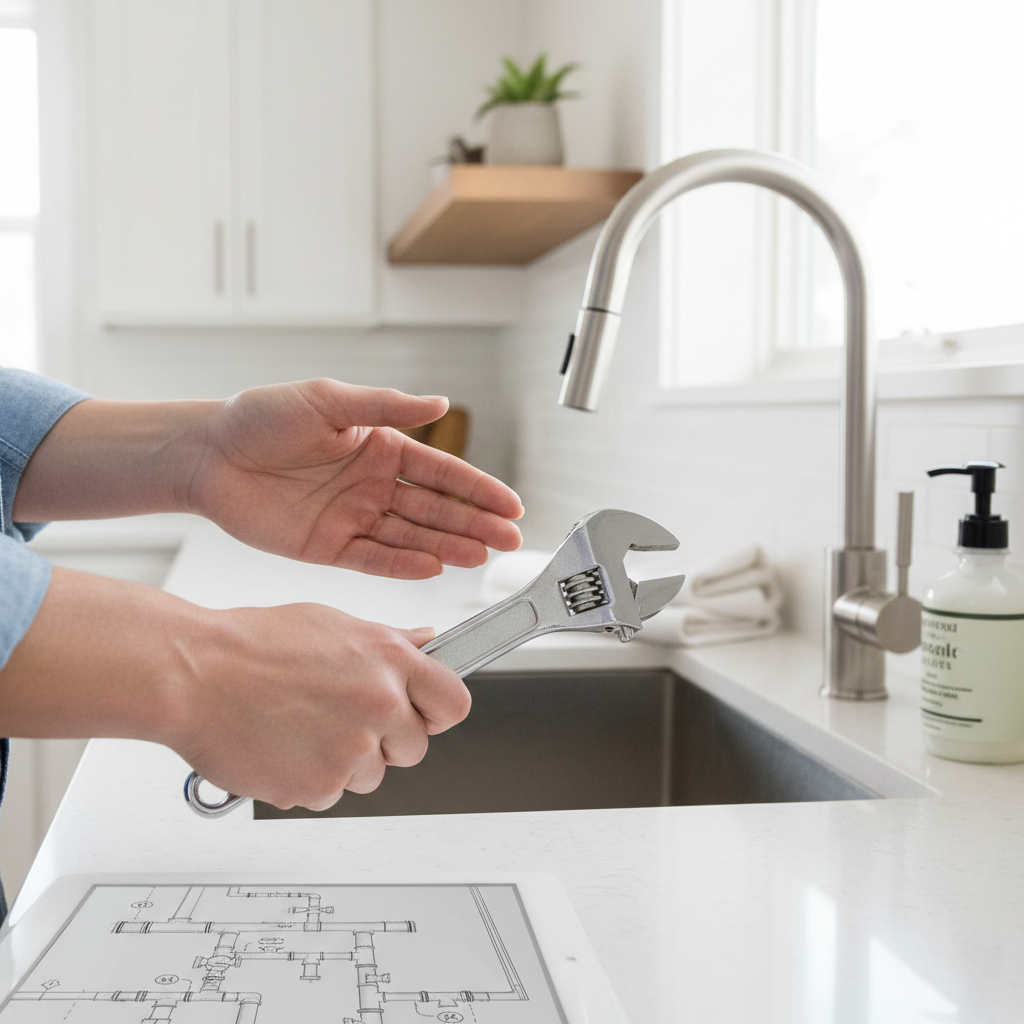
Essential Plumbing Tips Every Homeowner Should Know
Essential Plumbing Tips Every Homeowner Should Know Introduction Maintaining a functional plumbing system is essential for any homeowner. Not only does it ensure comfort, but it can also save money on costly repairs in the long run. Whether you're dealing with minor leaks or full-blown emergencies, having a foundational understanding of your plumbing can make a huge difference. Here are some practical plumbing tips that every homeowner should know. 1. Know Your Main Water Shut-Off Valve If a pipe bursts or a toilet overflows, knowing how to quickly shut off your home’s water supply can prevent extensive water damage. Typically, the shut-off valve is located: - In your basement near the water meter - On an exterior wall of your home - Under the kitchen sink Make sure all household members know where to find it and how to operate it. 2. Regularly Inspect Your Plumbing Routine inspections can help catch issues before they escalate. Check for: - Leaks under sinks or around faucets - Corrosion on pipes - Dripping faucets Addressing these issues early can help avoid larger, costlier repairs. Aim for a thorough inspection every three to six months. 3. Unclog Drains with Simple Solutions Clogs can happen to anyone. Instead of reaching for harsh chemicals, try these DIY solutions: - Hot Water: Pouring hot water down the drain can help break down grease and soap buildup. - Baking Soda and Vinegar: Mix equal parts baking soda and vinegar, pour it down the drain, and let it sit for 30 minutes. Follow with hot water. If these methods don’t work, it may be time to invest in a drain snake or consult a professional. 4. Know When to Call a Professional While many plumbing tasks can be DIY, some situations require a professional touch. Consider calling a plumber if: - You notice persistent leaks - Your water pressure is unusually low - There's a sewage smell in your home The average cost to hire a plumber ranges from $45 to $200 per hour, depending on your location and the complexity of the issue. However, failing to address serious problems early can lead to much higher expenses. 5. Maintain Your Water Heater Your water heater accounts for a significant portion of your home’s energy costs. To keep it running efficiently: - Inspect the temperature settings; 120°F is ideal. - Flush the tank once a year to remove sediment buildup. - Inspect the anode rod every few years and replace it if necessary. These simple steps can extend the life of your water heater and improve energy efficiency. Conclusion Proper plumbing maintenance is an essential aspect of homeownership. By knowing how to manage minor issues and recognizing when to call a professional, you can save money and protect your home. Keep these plumbing tips in mind, and you'll ensure that your systems run smoothly for years to come.
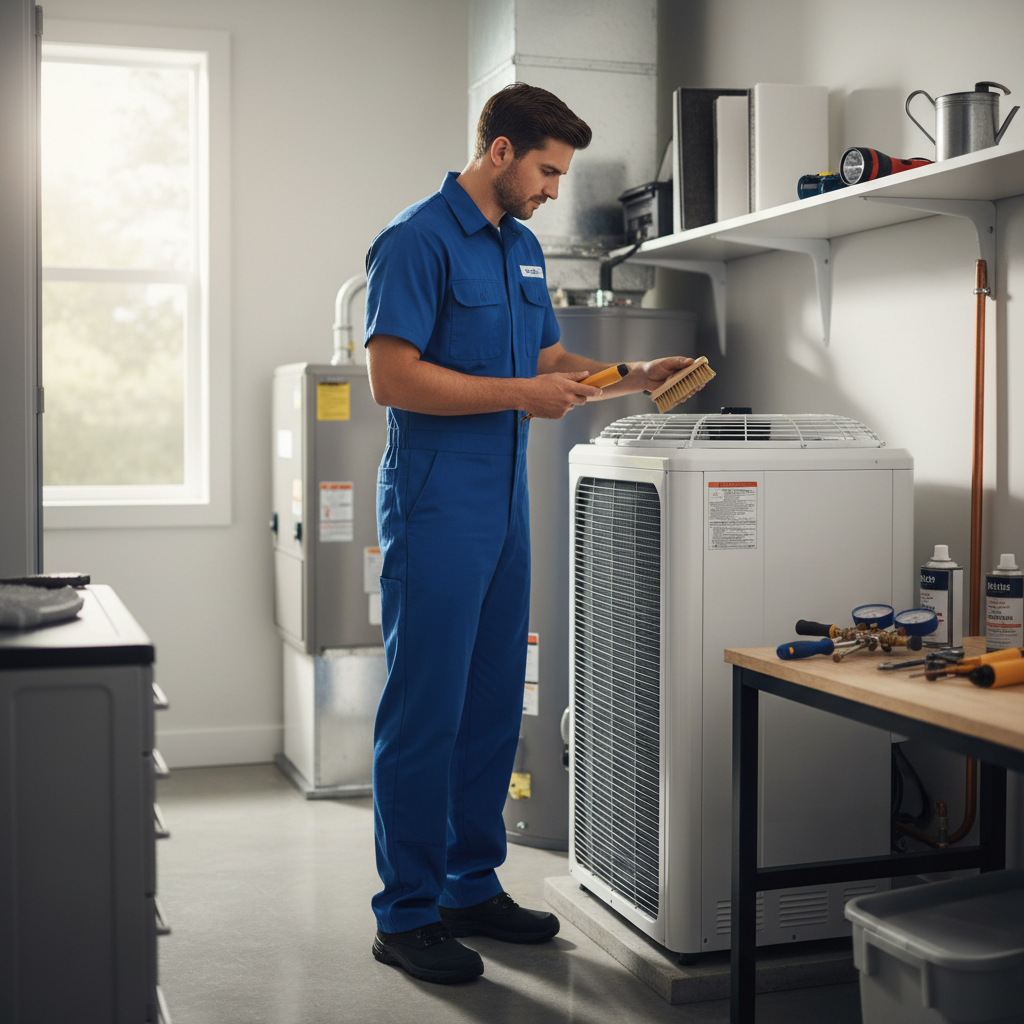
Essential HVAC Maintenance Tips Every Homeowner Should Know
Understanding the Importance of HVAC Maintenance Your HVAC (Heating, Ventilation, and Air Conditioning) system works tirelessly to keep your home comfortable throughout the year. Regular maintenance is crucial not just for ensuring optimal performance but also for longevity and efficiency. While some homeowners might see HVAC maintenance as a chore, it can save you money and prevent costly repairs down the line. When to Schedule HVAC Maintenance Generally, it's a good rule of thumb to schedule HVAC maintenance twice a year: - **Spring:** Before the cooling season begins, it's essential to check your air conditioning system. - **Fall:** As temperatures drop, inspect your heating system to ensure your home stays warm. DIY HVAC Maintenance Checklist While some tasks should be left to professionals, there are several maintenance activities you can do yourself. Here’s a checklist to help you out: - **Change Filters:** Replace or clean your air filters every 1-3 months to improve air quality and system efficiency. - **Clean the Exterior Units:** Clear away debris, leaves, or dirt from around outdoor condenser units to promote proper airflow. - **Inspect Ducts:** Look for signs of wear or leaks in ductwork, which can significantly impact efficiency. - **Check Thermostat Settings:** Ensure your thermostat is functioning correctly and programmed for your needs. - **Test Safety Features:** Regularly test carbon monoxide detectors and smoke alarms, especially when using heating systems. Professional HVAC Maintenance Services While the DIY checklist can help you with basic tasks, hiring a professional HVAC technician for thorough inspections is essential. Professional services generally include: - **System Cleaning:** Deep cleaning of coils, condensate pans, and fans to ensure optimal airflow. - **Electrical Component Check:** Professionals will inspect wiring and connections to prevent malfunctions. - **Refrigerant Check:** Ensuring proper refrigerant levels is vital for system effectiveness. - **Safety Inspection:** A thorough check-up to identify any safety issues or code violations. Costs for professional maintenance can vary widely depending on your location, system type, and any additional repairs needed. Expect to pay anywhere from $75 to $200 for a typical service call. Significance of Regular HVAC Maintenance Regular HVAC maintenance is a key investment in your home. By following this guide, you can ensure that your HVAC system runs efficiently and effectively all year round.

Maximizing Home Energy Efficiency: Practical Tips for Homeowners
In an era of rising energy costs and growing environmental concerns, maximizing energy efficiency in your home is more crucial than ever. Not only can it lead to significant savings on utility bills, but it also reduces your home's carbon footprint. In this article, we’ll explore actionable tips for enhancing your home’s energy efficiency. Why Energy Efficiency Matters - Cost Savings: Improved efficiency can lower your monthly energy bills. - Comfort: A well-insulated home remains comfortable year-round. - Environmental Impact: Reducing energy usage helps conserve natural resources. Practical Tips for Enhanced Energy Efficiency 1. Conduct an Energy Audit Start with an energy audit to identify where your home loses energy. You can hire a professional or perform a DIY assessment using online resources. Common areas to evaluate include insulation, windows and doors, cooling and heating systems. 2. Upgrade Insulation Proper insulation is key to maintaining a comfortable temperature. Consider insulating your attic, walls, and basement to prevent heat loss. Costs vary from $0.50 to $2.50 per square foot. 3. Seal Air Leaks Air leaks can significantly impede energy efficiency. Inspect for leaks and seal them with caulk or weather stripping. Costs for weather stripping range from $1 to $5 per door or window. 4. Upgrade to Energy-Efficient Appliances Older appliances consume more energy. Look for ENERGY STAR rated options, which use up to 50% less energy. Although initial costs may be higher, savings accrue over time. 5. Invest in Smart Technology Smart home devices optimize energy consumption. Smart thermostats and lighting can save energy and reduce costs. Smart thermostats range from $100 to $250. When to Call a Professional If unsure about conducting an energy audit or installation, hire a professional for complex projects, like insulation upgrades, HVAC system installations, or major repairs. Conclusion Enhancing your home's energy efficiency doesn’t have to break the bank. With some strategic investments and a little effort, you can enjoy significant savings and a more comfortable living space.
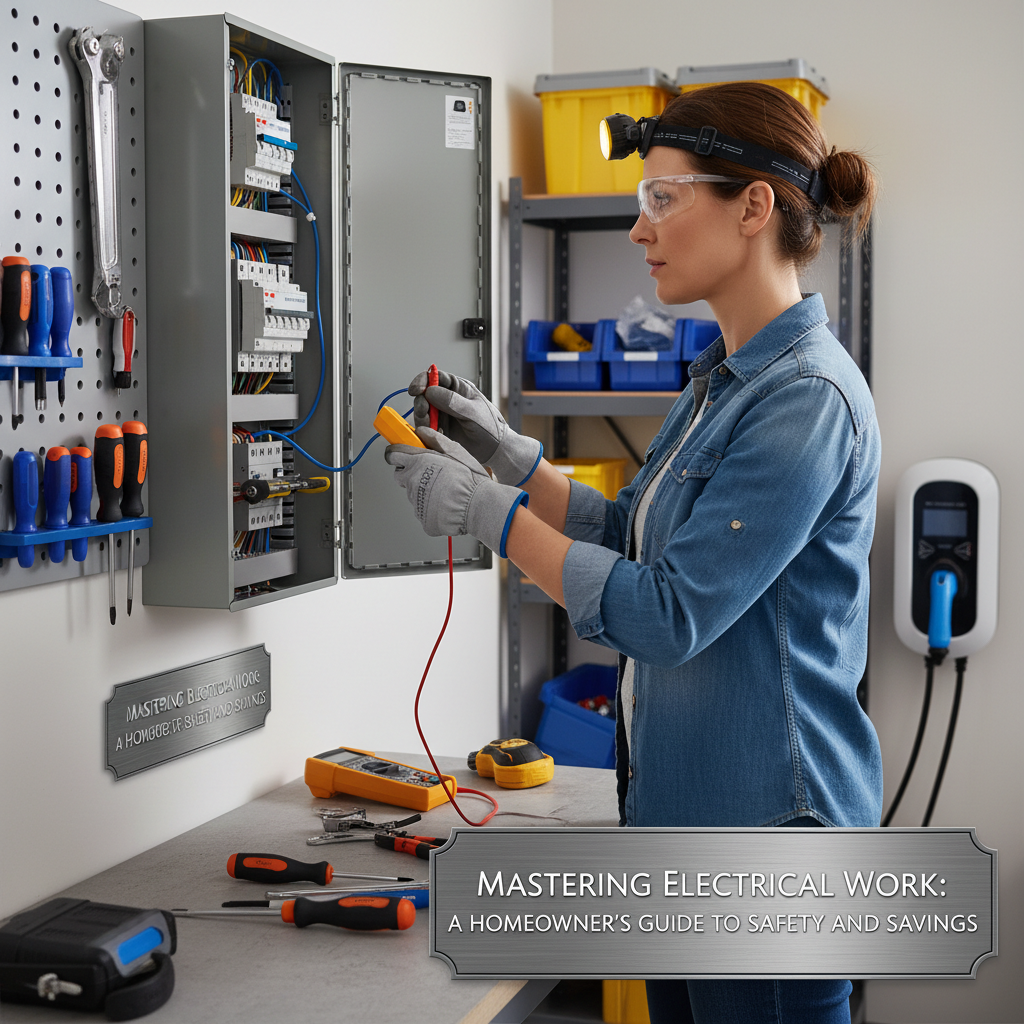
Mastering Electrical Work: A Homeowner's Guide to Safety and Savings
Understanding Electrical Work for Homeowners Home electrical systems are complex and vital for daily living. Whether you’re upgrading fixtures or troubleshooting issues, knowing the basics is essential. This guide offers practical tips, cost considerations, and advice on DIY versus hiring professionals. Common Electrical Tasks - Installing Light Fixtures: A popular DIY task that can enhance home ambiance. - Replacing Outlets and Switches: Improves safety and aesthetics. - Upgrading Circuit Breakers: Necessary for homes with increased electrical demands. - Wiring New Appliances: Essential for kitchen or laundry room upgrades. Safety First! Electrical work poses risks if not approached correctly. Here are some safety tips to keep in mind: - Always turn off power at the circuit breaker before starting any work. - Use proper tools, such as insulated screwdrivers and voltage testers. - Wear rubber-soled shoes and work on dry surfaces to prevent shock. - Consider hiring a licensed electrician for complex tasks to ensure safety and compliance. DIY Electrical Work: What You Can Do There are plenty of electrical tasks that homeowners can manage with some basic tools and knowledge. Here are a few tips: - For light fixtures, follow the manufacturer’s instructions carefully. Make sure to match wire colors and secure connections properly. - When replacing outlets, ensure the amperage matches your home’s electrical load. Use tamper-resistant outlets for added safety. - Keep in mind that local codes may require permits for specific projects, so check with your local authority. When to Call a Professional While many tasks can be done by an intrepid DIYer, some electrical work is best left to professionals: - Rewiring: If your home needs rewiring, this is a major project that requires expert knowledge. - Upgrading Panels: Increasing your electrical panel's capacity involves technical expertise. - Complex Troubleshooting: Persistent issues may indicate more significant problems that need an electrician’s diagnostic skills. Cost Considerations The cost of electrical work depends on the project size: - Simple DIY tasks: Costs are mainly for materials, usually under $50. - Professional rates: Electricians typically charge between $50 to $100 per hour, depending on your location and project difficulty. - Permits: Costs vary by municipality, so check local rates before starting extensive work. Conclusion Mastering basic electrical work can save money and enhance your home’s functionality. Balanced caution with ambitious DIY projects can empower you as a homeowner while ensuring safety and compliance. Always remember when in doubt, it’s best to consult or hire a licensed electrician.
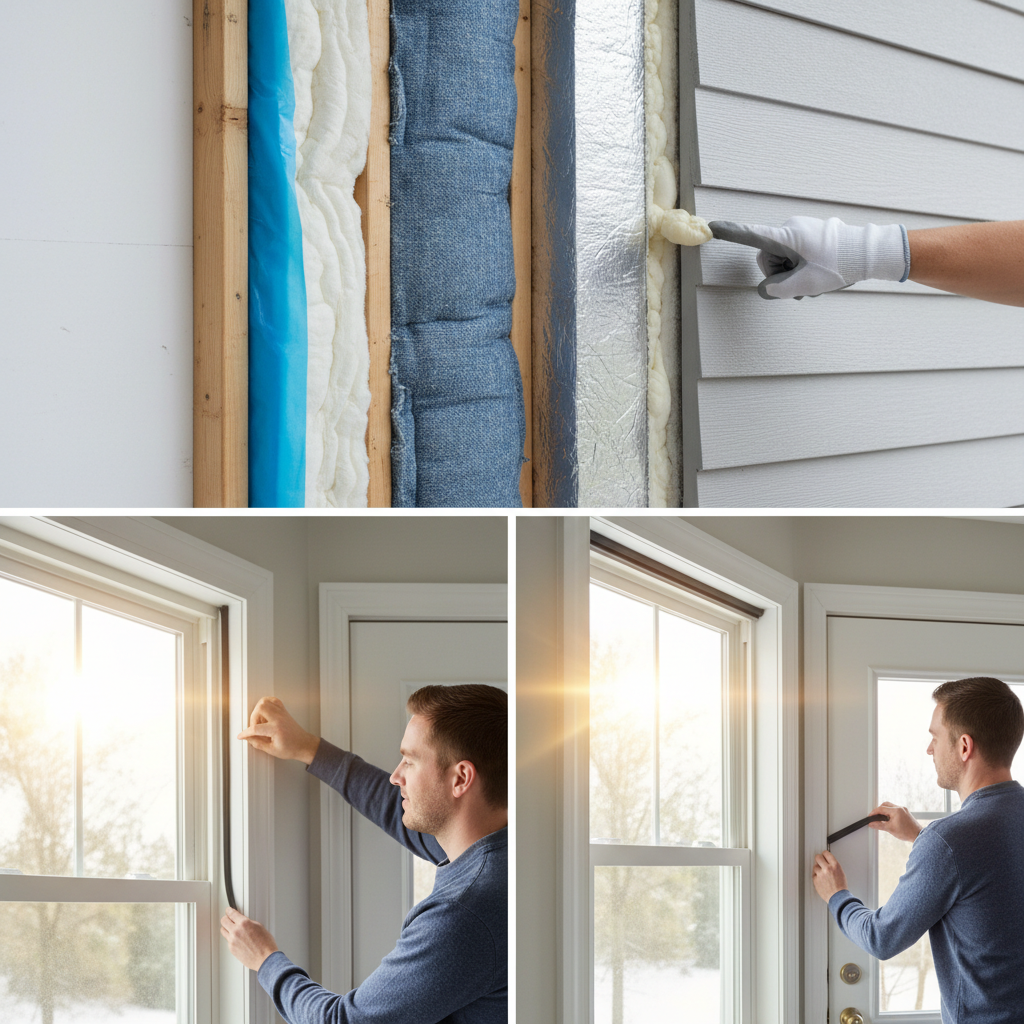
Top 5 Insulation & Weatherproofing Tips for Energy Efficiency
Why Insulation and Weatherproofing Matter Proper insulation and weatherproofing are essential for maintaining a comfortable home and reducing energy costs. Inadequate insulation can lead to heat loss in winter and heat gain in summer, causing your heating and cooling systems to work overtime. By implementing effective insulation and weatherproofing strategies, you can enhance energy efficiency, reduce your utility bills, and improve your home’s comfort. 1. Assess Your Current Insulation Before making improvements, it’s important to assess your current insulation. Check areas like the attic, basement, and walls. Look for: - Thickness and type of insulation (fiberglass, foam, cellulose, etc.) - Signs of moisture or pest damage - Air leaks around vents, windows, and doors Consider hiring a professional for a more detailed energy audit if needed, with costs typically ranging from $200 to $800. 2. Insulate the Attic The attic is one of the most significant areas for heat loss. Here’s how to improve attic insulation: - Use insulation batts or rolls to fill gaps between joists. - Add blown-in insulation for hard-to-reach areas. - Aim for a minimum R-value of 30 for attics in colder climates. DIY attic insulation can cost between $0.50 to $1.50 per square foot, while a professional installation may range from $1 to $3 per square foot. 3. Seal Air Leaks Sealing leaks is crucial for effective weatherproofing. Common leak sources include: - Windows and doors - Electrical outlets and light fixtures - Plumbing vents To seal air leaks, consider using: - Caulk for stationary structures around windows and doors. - Weatherstripping for movable components like doors. - Expandable foam for larger gaps around plumbing and electrical lines. DIY sealing materials can cost under $100, while professional sealing services might range from $300 to $1,000 depending on the home size. 4. Insulate Pipes and Ducts Insulating hot water pipes and ductwork can enhance energy efficiency and reduce heat loss: - Use pipe insulation sleeves for exposed pipes. - Wrap ductwork in insulation tape. Pipe insulation costs around $0.50 to $2 per linear foot, while duct insulation can vary based on access and materials used, typically from $1 to $3 per foot. 5. Consider Professional Services While many weatherproofing and insulation projects are DIY-friendly, some situations require professional expertise: - Complex installations in hard-to-access areas. - Home energy audits. - Insulation removal or remediation due to damage or mold. Weigh the costs versus your comfort and energy savings to decide if hiring a professional is worth it. Always get multiple quotes and check reviews. Conclusion Enhancing your home’s insulation and weatherproofing is a smart investment that pays off in energy savings, comfort, and protection from the elements. By following the tips in this article, you can ensure that your home stays cozy in the winter and cool in the summer, all while reducing your carbon footprint.

Transform Your Home: The Ultimate Guide to Smart Home Tech
As technology continues to evolve, smart home tech has become an attractive and practical option for homeowners looking to enhance their living experience. From improved security to increased energy efficiency, integrating smart devices into your home can provide numerous benefits. In this guide, we will explore the different types of smart home technologies, their costs, and whether you should tackle the installation yourself or hire professionals. Popular Smart Home Technologies: - Smart Security Systems: Includes smart locks, cameras, and alarms. - Smart Thermostats: Devices like Nest and Ecobee adjust your heating and cooling based on your habits. - Smart Lighting: Devices like Philips Hue allow you to control brightness and color remotely. - Smart Appliances: From refrigerators to ovens, these can be controlled via smartphone apps. - Smart Speakers: Devices like Amazon Echo and Google Home integrate with other smart devices for convenience. Cost Considerations: The investment for smart home tech can vary widely based on the devices you choose. - Smart Security System: Ranges from $200 to $1,500, depending on features. - Smart Thermostat: Typically priced between $100 and $250. - Smart Lighting: Costs can start at $15 per bulb, plus additional for a hub if needed. - Smart Appliances: Expect to pay a premium, often starting at $800 and going much higher. - Smart Speakers: Prices range from $30 to $300 depending on the model and features. DIY vs. Professional Installation: Many smart home devices are designed for easy DIY installation. - DIY: Ideal for smart bulbs, smart plugs, and smart speakers. - Professional: Consider hiring an expert for smart security systems or if you're planning to integrate multiple devices into a single network. Actionable Tips for Homeowners: - Start Small: Begin with one or two devices to see how you like the technology. Smart bulbs and plugs are great starters. - Prioritize Security: Ensure your home is secure with smart locks and cameras. - Research Compatibility: Make sure devices are compatible with each other. - Monitor Energy Usage: Use smart thermostats and lighting to manage energy costs effectively. - Stay Updated: Regularly check for software updates and new features for your smart devices. Investing in smart home technology can significantly enhance the comfort, security, and efficiency of your home. By understanding your options, staying within budget, and choosing wisely, you can create a smart home that suits your lifestyle.
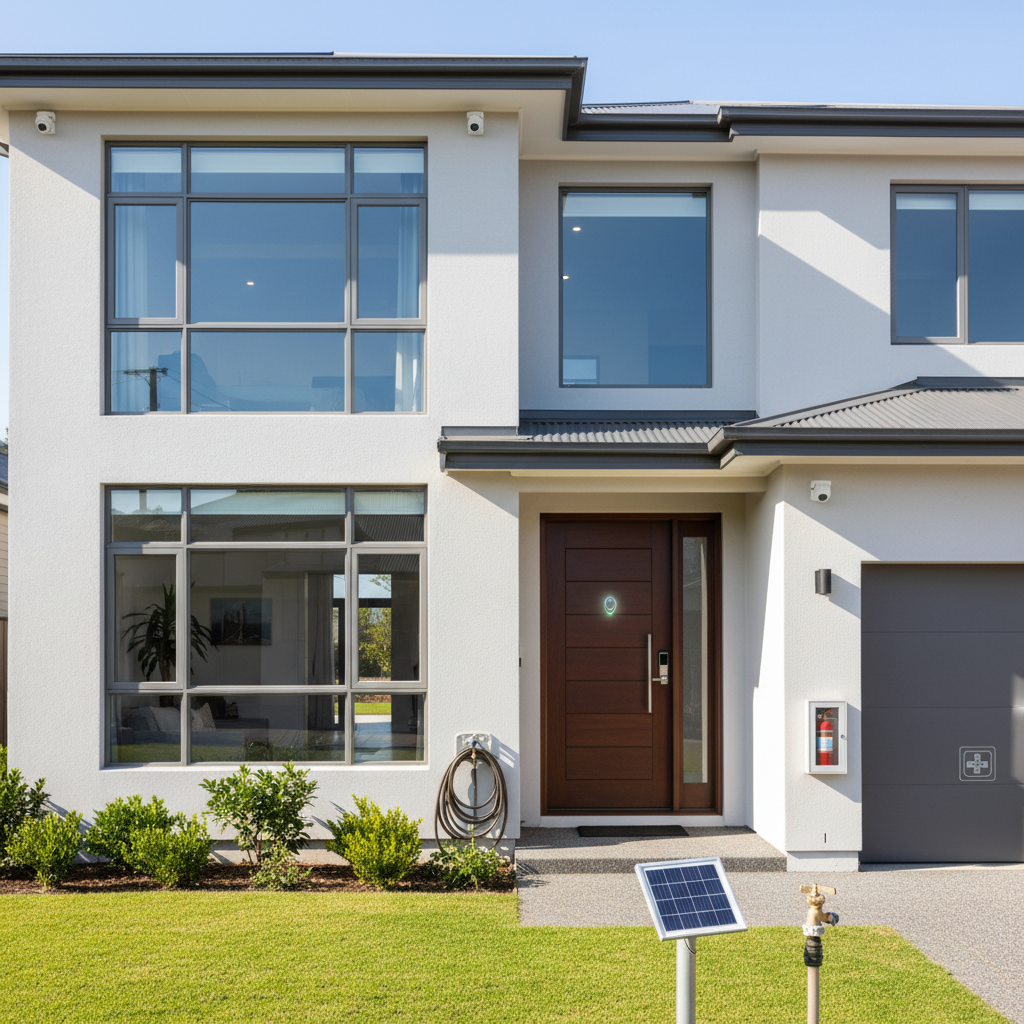
Top Security and Safety Tips for Homeowners: Protect What Matters
Ensuring Home Security and Safety: Essential Tips for Homeowners Creating a secure and safe home environment is paramount for every homeowner. Not only does it protect your loved ones and belongings, but it also enhances overall peace of mind. This article will cover actionable tips to bolster your home’s security and safety, helping you safeguard what matters most. Evaluate Your Home’s Security The first step towards improved home security is to conduct an assessment of your property. Identify potential weak points by asking yourself the following questions: - Are your doors and windows securely locked? - Is there sufficient outdoor lighting? - Do you have a reliable security system in place? Invest in Quality Locks and Doors One of the simplest yet most effective ways to enhance home security is by upgrading your locks and doors. Here are some options to consider: - Install deadbolts on all exterior doors for added resistance against break-ins. - Consider smart locks that allow you to monitor access remotely. - Ensure sliding doors have proper locks or security bars. Outdoor Lighting Proper outdoor lighting serves as a deterrent against potential intruders. Here are practical steps you can take: - Install motion-sensor lights around entry points, like doors and garages. - Use solar-powered lights along pathways for energy-efficient options. - Ensure all entrances are well lit to eliminate hiding spots. Secure Windows and Entry Points Windows often represent vulnerable spots in home security. Strengthening them will greatly improve safety: - Install window locks and consider using safety glass to make break-ins more difficult. - Use window security film to reinforce glass and prevent shattering. - Add window sensors that alert you to unauthorized access. Consider Security Systems Investing in a comprehensive security system can be a significant step toward protecting your home: - Choose between monitored systems (which alert authorities) and unmonitored systems. - Look for features such as indoor/outdoor cameras, alarms, and smartphone integration. - Research different companies for pricing; expect monthly fees of $10-$60 depending on the features. Emergency Preparedness Safety involves more than just crime prevention. Consider emergency preparedness as well: - Create an emergency plan for natural disasters, including escape routes and safe havens. - Equip your home with fire extinguishers, smoke detectors, and carbon monoxide detectors. - Regularly check and replace batteries in safety devices. Conclusion Securing and ensuring your home’s safety requires a combination of methods and rationale. By evaluating your existing security measures, investing in quality products, and preparing for emergencies, you can significantly enhance your home safety. Remember that professional advice is invaluable, especially for complex installations, providing additional peace of mind for what matters most.

Mastering Home Insurance: Your Guide to Coverage and Savings
Understanding Home Insurance Basics Home insurance is a crucial element of protecting your investment. It safeguards your home against unforeseen events like natural disasters, theft, and vandalism. As a homeowner, being informed about your policy options is essential for ensuring you have the right coverage. Types of Home Insurance Coverage - Dwelling Coverage: Protects the structure of your home against covered hazards. - Personal Property Coverage: Covers personal belongings like furniture and electronics within your home. - Liability Coverage: Protects against legal claims for injury or damage caused by you or your family. - Additional Living Expenses (ALE): Covers costs for living away from home while repairs are made due to covered damage. Assessing Your Insurance Needs Determining the right amount of coverage requires evaluating several factors: - Home Value: Calculate your home’s replacement cost, not its market value. Replacement cost considers current prices for rebuilding. - Personal Property: Take inventory of personal items to assess their value. This helps decide on adequate coverage levels. - Location Risks: Consider natural disaster risks in your area (floods, earthquakes, etc.) and assess whether additional policies are needed. Comparing Insurance Quotes When shopping for home insurance, obtaining multiple quotes will help you find better coverage at competitive rates: - Research Providers: Look for insurance companies with good customer service ratings and claim handling. - Consider Discounts: Ask about discounts for bundling insurance policies (home and auto), having a security system, or being claim-free. - Read the Fine Print: Look for exclusions in policies; they can significantly impact coverage during a claim. DIY vs. Professional Guidance While many homeowners feel comfortable managing their insurance, consulting with professionals can provide clarity. - DIY: You can often start the research and comparison process independently, using online tools and resources. - Professional Help: Insurance agents can help navigate complex policies and offer tailored recommendations based on your unique situation. When to Review Your Policy Regularly revisiting your home insurance policy ensures it remains relevant to your current needs. Recommended times to review include: - After home renovations or significant improvements. - When purchasing new valuable items (art, electronics). - At least once a year to compare policies and rates. Conclusion Your home is a significant investment. Navigating home insurance can seem daunting, but with the right knowledge, you can secure the best policies to protect your property and belongings. Remember to regularly reassess your coverage needs to ensure you're adequately protected.
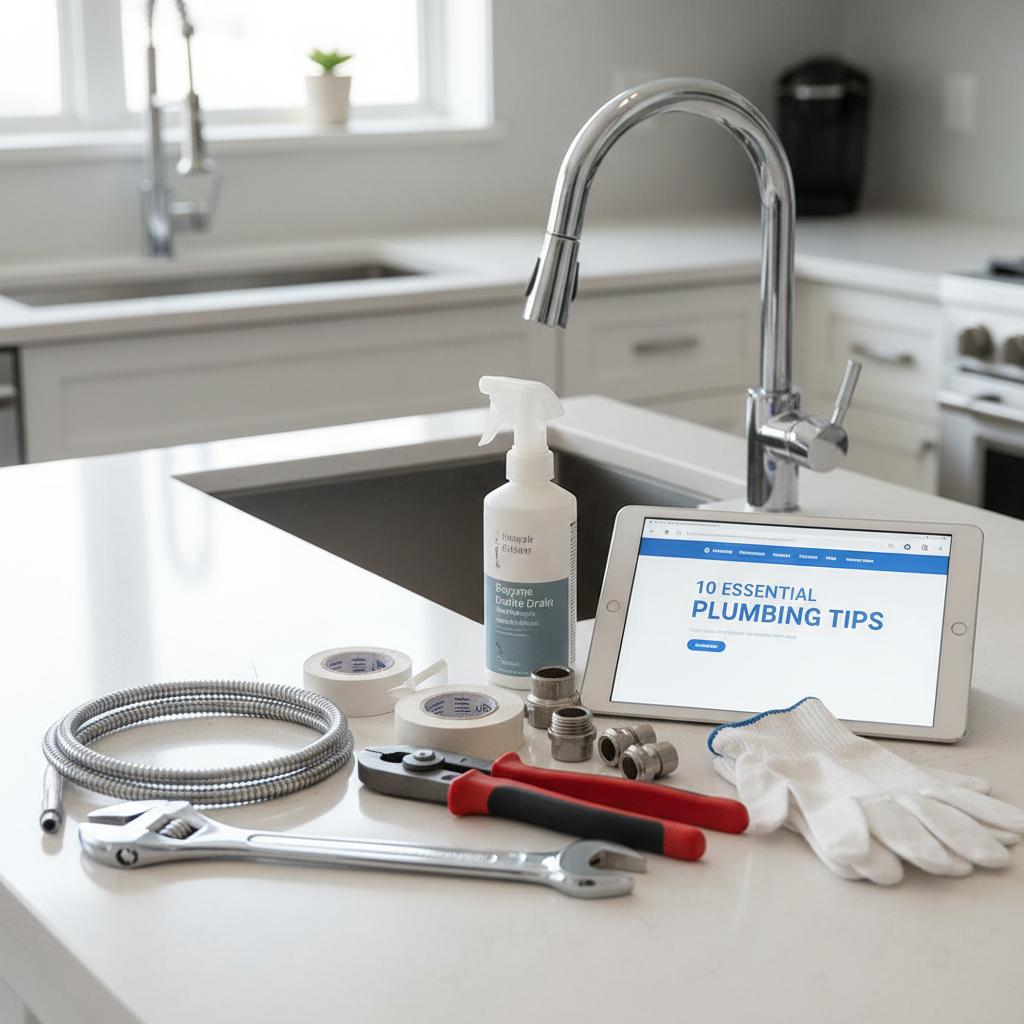
10 Essential Plumbing Tips Every Homeowner Should Know
As a homeowner, maintaining your plumbing system is crucial to avoiding costly repairs and ensuring that everything runs smoothly. Whether it's a leaky faucet or a clogged toilet, knowing some basic plumbing tips can save you time and money. Here are ten essential plumbing tips that every homeowner should be aware of. 1. Know Your Plumbing System: Familiarize yourself with your home's plumbing layout. Locate the main water shut-off valve and the sewer clean-out point. This knowledge will come in handy during emergencies. 2. Regular Maintenance: Schedule regular maintenance for your plumbing system to prevent issues before they escalate. This includes flushing your water heater annually, inspecting for leaks in pipes and fixtures, and clearing out faucet aerators and showerheads every six months. 3. Fix Leaks Promptly: Ignoring a small leak can lead to significant water waste and increased utility bills. A small drip from a faucet can waste over 3,000 gallons of water a year. Repair leaks as soon as you notice them to maintain efficiency. 4. Prevent Clogs: To prevent clogs, avoid pouring grease or food scraps down the drain, install hair catchers in showers, and only flush human waste and toilet paper. 5. Beware of DIY Plumbing Repairs: While many plumbing issues can be addressed as DIY projects, some require professional expertise. If you're unsure about a repair, it's better to consult a plumber. 6. Insulate Pipes: To prevent pipes from freezing in winter, insulate any exposed pipes in unheated areas. 7. Use Drain Cleaners Wisely: If you need to unclog your drains, opt for natural drain cleaners or a plumber's snake before resorting to harsh chemicals. 8. Know When to Call a Professional: If you encounter persistent problems, don’t hesitate to call a plumber. Regular inspections can save you major repairs. 9. Keep Your Water Heater Healthy: Check the temperature setting on your water heater to ensure efficiency and safety. 10. Protect Your Home from Flooding: Install sump pumps in basements prone to flooding and test them regularly. By implementing these plumbing tips, you can ensure a well-functioning plumbing system and safeguard your home from costly repairs.
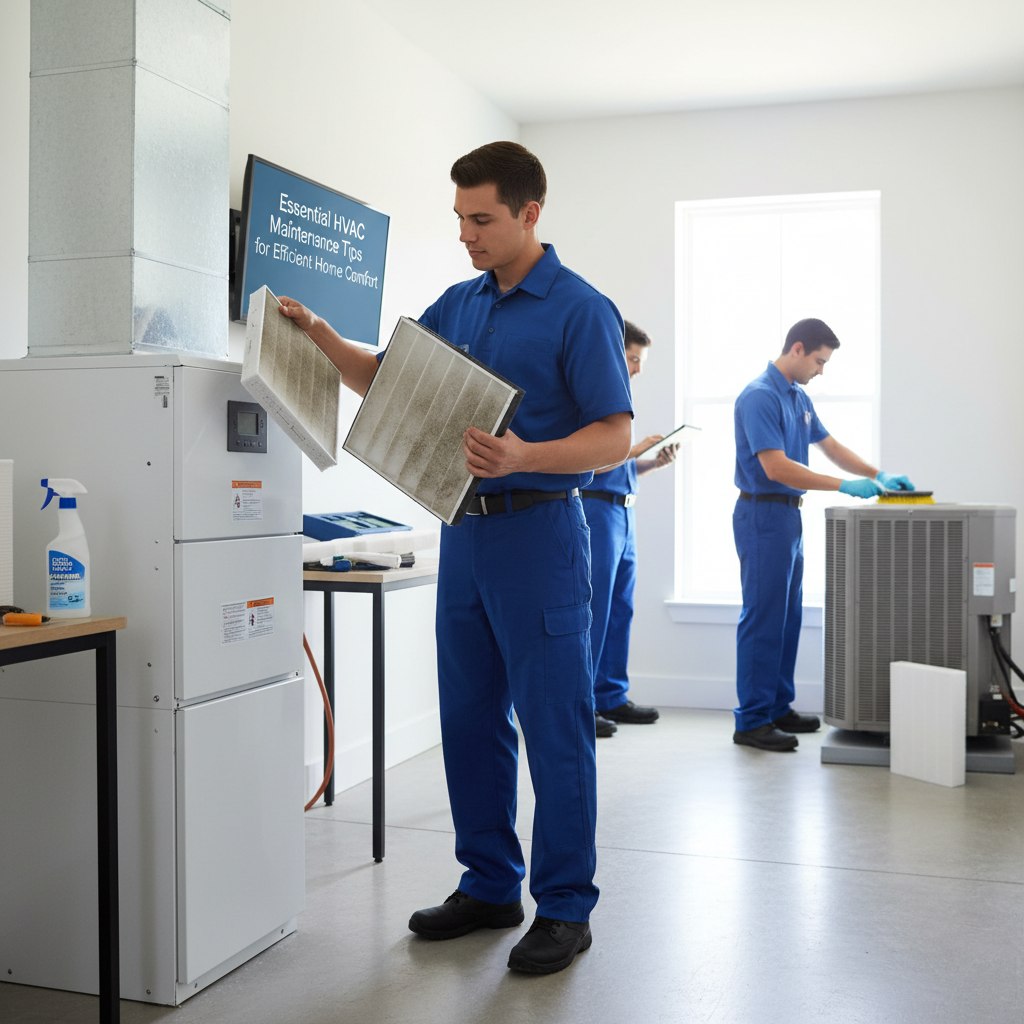
Essential HVAC Maintenance Tips for Efficient Home Comfort
Understanding HVAC Maintenance Maintaining your heating, ventilation, and air conditioning (HVAC) system is crucial for ensuring a comfortable and healthy living environment in your home. Regular HVAC maintenance not only maximizes efficiency but can also save you money on energy bills and prevent costly repairs down the road. Why HVAC Maintenance is Important - Increased Efficiency: A well-maintained system uses less energy, resulting in lower bills. - Longevity: Regular maintenance can extend the lifespan of your HVAC system. - Improved Air Quality: Clean filters and ducts reduce allergens and improve indoor air quality. DIY HVAC Maintenance Tips Some HVAC maintenance tasks can be performed by homeowners to keep their systems running efficiently. - Change Filters: Replace or clean the air filters every 1-3 months. A clogged filter obstructs airflow and makes the system work harder. - Inspect Ducts: Check for leaks or blockages in your ductwork. Seal any leaks with duct tape or mastic sealant. - Clean Condenser Coils: For central air conditioning, regularly clean the outdoor condenser unit. Remove debris and use a hose to gently wash the coils. - Check Thermostat Settings: Ensure your thermostat is functioning correctly and consider upgrading to a smart thermostat for better energy management. When to Call a Professional While many maintenance tasks can be DIY, some require professional expertise. You should consider hiring an HVAC technician: - Annual Tune-Ups: Schedule a professional maintenance check-up at least once a year to ensure your system is running optimally. - Strange Noises or Odors: If you notice unusual noises or smells coming from the system, it’s best to seek professional help. - System Not Heating or Cooling: If your HVAC system fails to provide adequate heating or cooling, a technician can diagnose and fix the issue. Cost Considerations Investing in HVAC maintenance can be cost-effective in the long run. Here’s a rough breakdown of costs: - DIY Maintenance: Basic costs include air filters (typically $10-$30) and cleaning supplies. - Professional Maintenance: Expect to pay between $75 and $150 for an annual inspection and tune-up, depending on your location and the complexity of the system. - Repairs: The average HVAC repair can range from $100 to $1,500, depending on the issue, so regular maintenance is key to avoiding these costs. Conclusion Regular HVAC maintenance is essential for maintaining a comfortable and energy-efficient home. By incorporating both DIY methods and professional services, homeowners can ensure their systems are running smoothly and avoid unexpected repairs. Stay proactive to enjoy optimal comfort all year round!

Essential Landscaping Tips for a Beautiful Home Garden
Transform Your Outdoors: Essential Landscaping Tips Landscaping is more than just planting flowers and trimming bushes; it's about creating a harmonious outdoor space that enhances the beauty of your home. Whether you’re a seasoned DIYer or considering hiring a professional, this guide will provide you with actionable landscaping tips to help you elevate your outdoor areas. Assess Your Outdoor Space The first step in any successful landscaping project is to assess your outdoor space. Take a stroll around your yard and consider the following: - Sun Exposure: Identify areas that receive full sun, partial shade, or full shade. This will inform your plant selections. - Soil Quality: Conduct a soil test to determine pH and nutrient levels. Amending your soil can significantly improve plant growth. - Water Drainage: Check for any drainage issues where water tends to collect after rain. This can affect plant health. Plan Your Landscape Design Once you understand your space, it’s time to draw up a landscape design. You can use graph paper or online design tools. Consider the following points: - Theme: Determine a cohesive theme such as tropical, modern, or cottage garden that reflects your style and home. - Plants: Select plants that suit your climate and soil conditions. Native plants are often easier to maintain and more sustainable. - Hardscaping: Plan for walkways, patios, or retaining walls; these elements can enhance functionality and aesthetics. Cost Considerations Landscaping costs can vary significantly based on the scope of your project. Here’s a rough breakdown: - DIY Basics: Minimal cost for tools; average $100-$500 for plants and materials for small projects. - Professional Help: Landscaping services can cost from $50 to $100 per hour, or a flat rate from $1,500 to $10,000 depending on complexity. - Maintenance: Factor in ongoing costs like mulch ($50-$100 per application), fertilizers, and seasonal maintenance. Timing Your Landscape Projects Timing is critical when it comes to landscaping projects. Here’s a timeline for when to tackle specific tasks: - Spring: Ideal for planting most flowering plants and shrubs. - Summer: Focus on maintenance, such as pruning, fertilizing, and watering. - Fall: Perfect for planting perennials, trees, and preparing your garden for winter. - Winter: Consider planning future projects and shopping for bargains on plants and hardscaping materials. DIY vs. Hiring Professionals Deciding between DIY landscaping and hiring professionals can depend on your skills, time, and complexity of the job: - DIY Projects: Good for basic tasks like weeding, planting, and mulching that require little experience. - Professional Services: Recommended for complicated landscaping involving grading, irrigation systems, or hardscaping. Final Thoughts Landscaping not only beautifies your home but can increase property value and provide a peaceful outdoor retreat. By carefully planning your landscaping project and understanding when to DIY or hire a professional, you can create a stunning landscape that complements your lifestyle.

Transform Your Space: A Complete Guide to Bathroom Remodeling
Remodeling your bathroom can not only enhance your comfort and enjoyment but can also increase the value of your home. Whether you're aiming for a sleek contemporary look or a cozy traditional vibe, a bathroom remodel can be a rewarding project. This guide will discuss practical tips, costs, timelines, and whether to DIY or hire a professional. The first step in any remodeling project is planning. Consider the following: - Define Your Goals: Are you updating for your comfort or for resale? Knowing your primary goal will help guide your decisions. - Set a Budget: Establish how much you're willing to spend. A standard bathroom remodel can range from $5,000 to $15,000, depending on your choices. - Choose a Style: Decide on a theme or style that complements the rest of your home. Look for inspiration in magazines, online platforms like Pinterest, or home improvement shows. Your bathroom remodel should focus on some key elements: - Flooring: Popular choices include tile, vinyl, and natural stone. Consider moisture resistance and ease of cleaning. - Fixtures: Upgrading faucets, showerheads, and lighting can make a big impact. Consider water-efficient options to save on utility bills. - Cabinetry: New cabinets can modernize your space. Ensure they provide adequate storage while matching the style you desire. - Paint: Selecting the right paint color can open up your space and improve the overall ambiance. Choose moisture-resistant bathroom paint for durability. The timeline for a bathroom remodel depends on the scale of the project: - Minor Remodel (2-4 weeks): Updating fixtures and painting generally takes less time. - Major Remodel (4-8 weeks): Extensive changes like moving plumbing or structural alterations will take longer. Deciding whether to tackle the project yourself or hire professionals can be challenging: - DIY: If you're handy and have experience, you can tackle minor updates on your own, such as repainting, changing fixtures, or installing a new vanity. - Hire Professionals: For major renovations involving plumbing, electrical work, or design complexities, hiring experienced professionals is advisable. This ensures the job meets local codes and standards. A bathroom remodel can be an exciting venture that brings aesthetic and functional improvements to your home. By planning carefully, budgeting wisely, and making informed choices about DIY or professional help, you can achieve a beautiful and efficient bathroom space.

Essential Home Security Tips Every Homeowner Should Know
Understanding your home’s vulnerabilities and taking actionable steps to enhance security is vital for any homeowner. Key focus areas include securing entry points with strong locks and doors, investing in smart security systems, adequate outdoor lighting, and developing a security routine. Professional assistance may also be considered for a thorough security audit and installation of advanced systems.
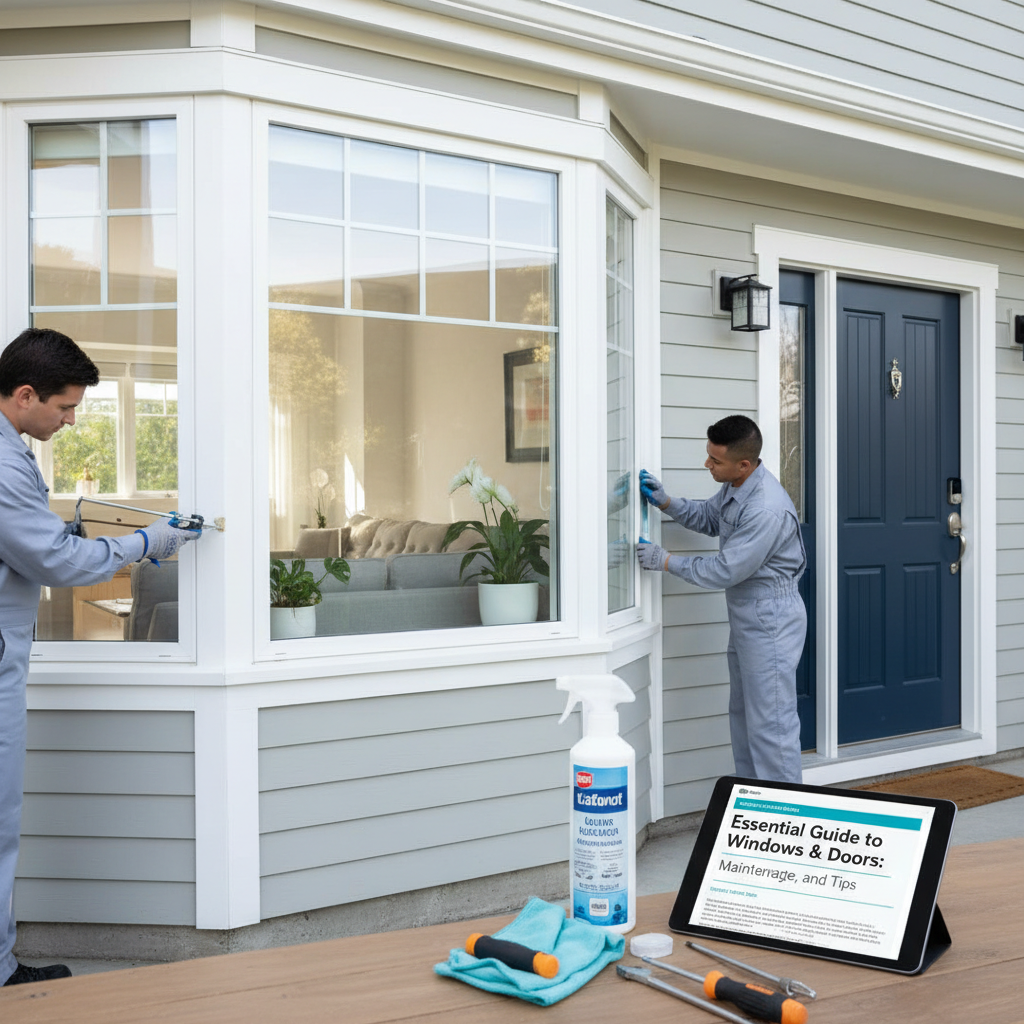
Essential Guide to Windows & Doors: Maintenance, Upgrades, and Tips
Welcome to Your Comprehensive Guide on Windows & Doors.Windows and doors are pivotal elements of your home that contribute not only to its aesthetic appeal but also to energy efficiency and security. Regular maintenance and timely upgrades can extend their lifespan significantly. In this article, we will delve into practical tips for maintaining your windows and doors, signs it might be time to replace them, and some DIY versus professional advice. 1. Regular Maintenance Tips - Cleaning: Clean windows regularly with a mixture of water and vinegar to remove dirt and grime. For exterior windows, consider using a soft brush and avoid harsh chemicals. - Inspection: Conduct seasonal inspections of your windows and doors. Look for signs of wear, such as cracks in the frames, gaps around the edges, or any peeling paint. - Weatherstripping: Check the weatherstripping around your doors and windows. Replace any worn or damaged strips to prevent drafts and increase energy efficiency. - Lubrication: Lubricate hinges, tracks, and locks on windows and doors. This will ensure they open and close smoothly and extend their durability. 2. Signs You Need a Replacement - Drafts: If you feel a noticeable draft near any windows or doors, it may be time for replacements. - Condensation: Excessive condensation between glass panes can indicate failed seals, suggesting that replacement might be necessary. - Difficulty Operating: If your windows or doors are hard to open or close, it could be an indicator of underlying issues. - High Energy Bills: Increased energy costs can signal poor insulation due to outdated windows or doors. 3. DIY vs. Professional Help The decision to tackle window and door projects yourself or hire professionals largely depends on the complexity of the task and your comfort level with DIY projects. DIY Tasks: - Cleaning and lubricating hardware - Replacing weatherstripping Professional Help: - Full replacements, especially for large windows or specific styles (e.g., bay, bow) - Structural changes involving door frames or large picture windows 4. Cost Considerations Budgeting for window and door maintenance or upgrades can vary widely based on your choices. Here are some average costs: - Cleaning & Maintenance Supplies: $30 - $100 - Weatherstripping: $20 - $100 depending on material and length required - Professional Installation: $300 - $800 per window or door, based on style and material Conclusion By keeping up with regular maintenance, identifying replacement signs promptly, and knowing when to enlist professional help, you can ensure that your windows and doors serve your home effectively for years to come. Don’t hesitate to invest in this essential aspect of your home; the benefits are well worth it.
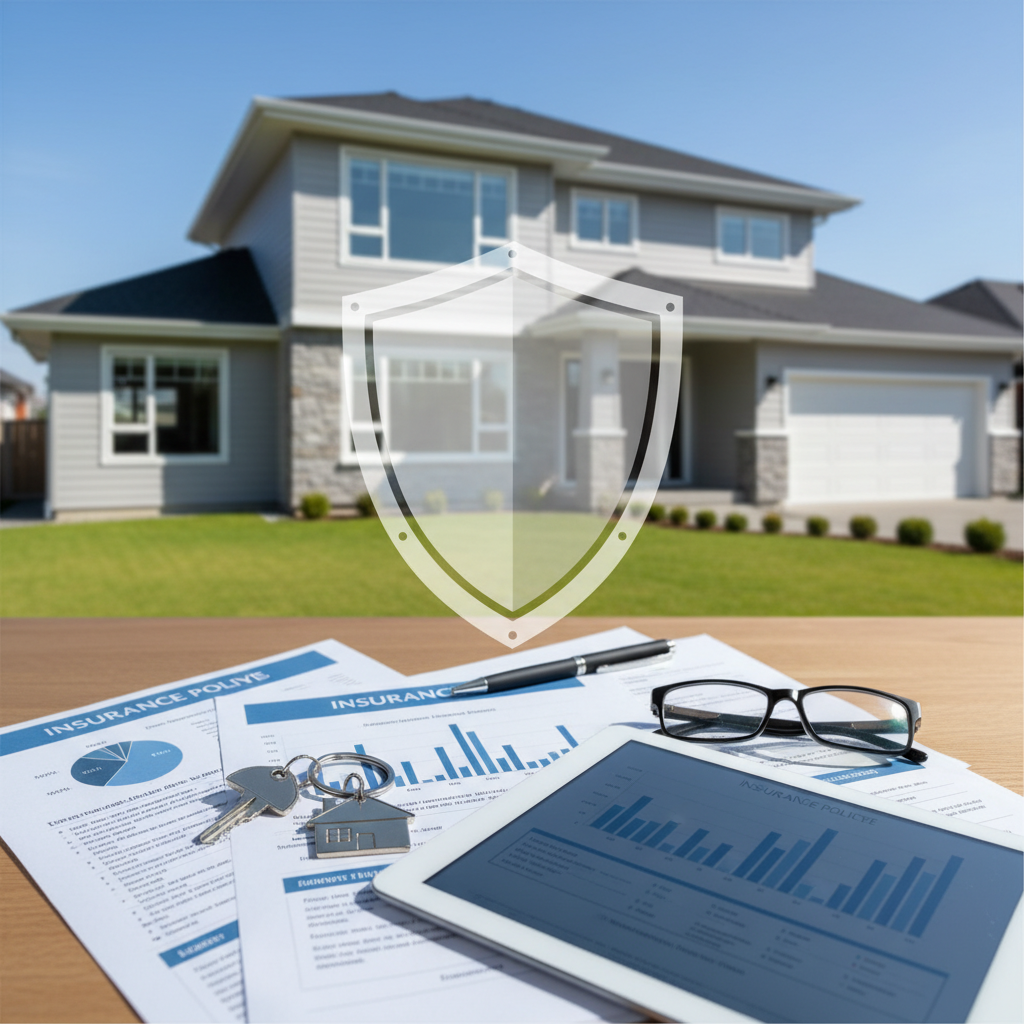
Essential Insurance Tips Every Homeowner Should Know
Understanding Homeowners Insurance As a homeowner, one of the essential aspects of maintaining your property is understanding your insurance coverage. Homeowners insurance protects your home and belongings from various risks, including theft, fire, and natural disasters. But navigating the world of insurance can be overwhelming. This article serves as a guide to help you choose the right insurance policy, understand your coverage, and know when to call in professionals. Types of Homeowners Insurance - HO-1 Basic Form: Covers only basic perils like fire and theft. - HO-2 Broad Form: Covers more perils, including falling objects and the weight of ice and snow. - HO-3 Special Form: The most common form that covers all perils unless specifically excluded. - HO-5 Comprehensive Form: Similar to HO-3 but offers higher coverage limits and more inclusions. - HO-6 Unit Owners Form: For condo owners, covering the interior of the unit. - HO-7 Mobile Home Form: Specifically for mobile homes. How Much Coverage Do You Need? Determining the right amount of coverage is crucial. Here’s how to evaluate your needs: - Evaluate Your Assets: Calculate the total value of your home, belongings, and any outbuildings. - Consider Replacement Cost: Ensure your policy covers the full rebuild cost—not just market value—of your home. - Liability Coverage: Ensure you have adequate liability coverage for accidents that occur on your property. Cost of Homeowners Insurance The cost of homeowners insurance varies based on several factors: - Location: Homes in high-risk areas like flood zones may have higher premiums. - Home Value: More expensive homes generally lead to higher coverage costs. - Deductibles: Choosing a higher deductible can lower your premium, but remember to account for potential out-of-pocket expenses. When to Review or Change Your Policy Review your homeowners insurance policy regularly, especially after major life events: - Home Renovations: Increased value from renovations may require increased coverage. - Major Purchases: Acquiring valuable items (art, jewelry) may need additional coverage, such as a rider. - Natural Disasters: Post-disaster assessments may prompt reevaluation of existing policies. DIY Maintenance and Professional Help While homeowners can handle many maintenance tasks themselves, there are situations where professional guidance may be wise: - Routine Maintenance: Inspect your roof, plumbing, and electrical systems regularly to prevent larger issues. - Claims Process: If you need to file a claim after damage, consider hiring a public adjuster to ensure you receive fair compensation. - Policy Changes: Consult with an insurance agent when making significant changes to policies or coverage. Conclusion Understanding and maintaining your homeowners insurance is vital to protecting your property investment. Regularly review your coverage, keep your policy up-to-date, and don’t hesitate to seek professional help when needed. By arming yourself with knowledge, you can ensure peace of mind for your home and family.

Artificial grass vs concrete
Artificial Grass vs. ConcreteArtificial grass and concrete are two popular surface options used in homes, playgrounds, and outdoor spaces. Each has its own advantages, disadvantages, and installation costs.Artificial grass provides a natural green appearance and creates a softer, more comfortable surface. It is safer for children because it reduces the risk of injuries from falls. In addition, artificial grass stays cooler than concrete during hot weather and improves the beauty of outdoor areas. The average installation cost of artificial grass is around $8–$15 per square foot, depending on the quality and preparation work required. However, it may require occasional cleaning and has a higher upfront cost.Concrete, on the other hand, is strong, durable, and long-lasting. It is ideal for driveways, patios, and heavy-use areas because it can support weight and withstand harsh weather conditions. Concrete usually costs around $4–$10 per square foot for installation, making it more affordable in many cases. It also requires less maintenance than artificial grass. However, concrete can become very hot in the sun, may crack over time, and provides a hard surface that is less comfortable.In conclusion, artificial grass is better for comfort, appearance, and recreation, while concrete is better for durability and lower installation costs. The best choice depends on the needs, budget, and intended use of the space.

Smart Home Investment Strategies for Every Homeowner
Investing in your home goes beyond just making a purchase; it involves strategic decisions that can enhance the value, comfort, and efficiency of your living space. This article explores practical investment strategies for homeowners that can ensure your property pays off in the long run. Your home is likely your largest single investment. Understanding how to increase its value and reduce costs is crucial. Home investments typically fall into three categories: renovations, upgrades, and preventative maintenance. 1. Renovations that Pay Off Not all renovations yield the same return on investment (ROI). Here are the top renovations to consider: - Kitchen Remodel: A minor kitchen remodel can have an ROI of up to 80%. Focus on modern appliances and efficient layouts. - Bathroom Addition: Adding a bathroom can increase your home’s value significantly, often recouping about 60-70% of the cost. - Deck Addition: A wooden deck offers a great return, typically around 70%. Outdoor spaces are highly appealing to buyers. 2. Energy-Efficient Upgrades In the era of sustainability, energy-efficient upgrades not only save you money but also increase your home’s marketability: - Insulation: Proper insulation can save up to 20% on heating and cooling costs. Check your attic and walls for upgrades. - Energy-Efficient Windows: Opt for double or triple-pane windows. While the initial investment is high, the energy savings make it worthwhile. - Smart Thermostats: These devices allow for better energy management. An investment of $100 can yield yearly savings up to $200. 3. Preventative Maintenance: The Key to Longevity Regular upkeep can ward off larger costs down the line. Schedule the following: - Roof Inspections: Inspect your roof annually. A small repair can prevent costly replacements. - HVAC Maintenance: Change filters every 1-3 months and schedule professional servicing annually to extend the life of your system. - Gutter Cleaning: Clear your gutters twice a year to prevent water damage and expensive repairs. Deciding whether to tackle a project yourself or hire a professional can be daunting. Here are some guidelines: - DIY: Suitable for cosmetic updates like painting, landscaping, and minor repairs. Invest time in learning and planning. - Professional Help: For complex projects like electrical work, plumbing, or structural changes, hiring professionals ensures safety and compliance. Investing wisely in your home requires understanding what renovations yield the best returns, making energy-efficient choices, and committing to preventative maintenance. By taking a strategic approach, you can enhance your home’s value while enjoying a more comfortable living environment.
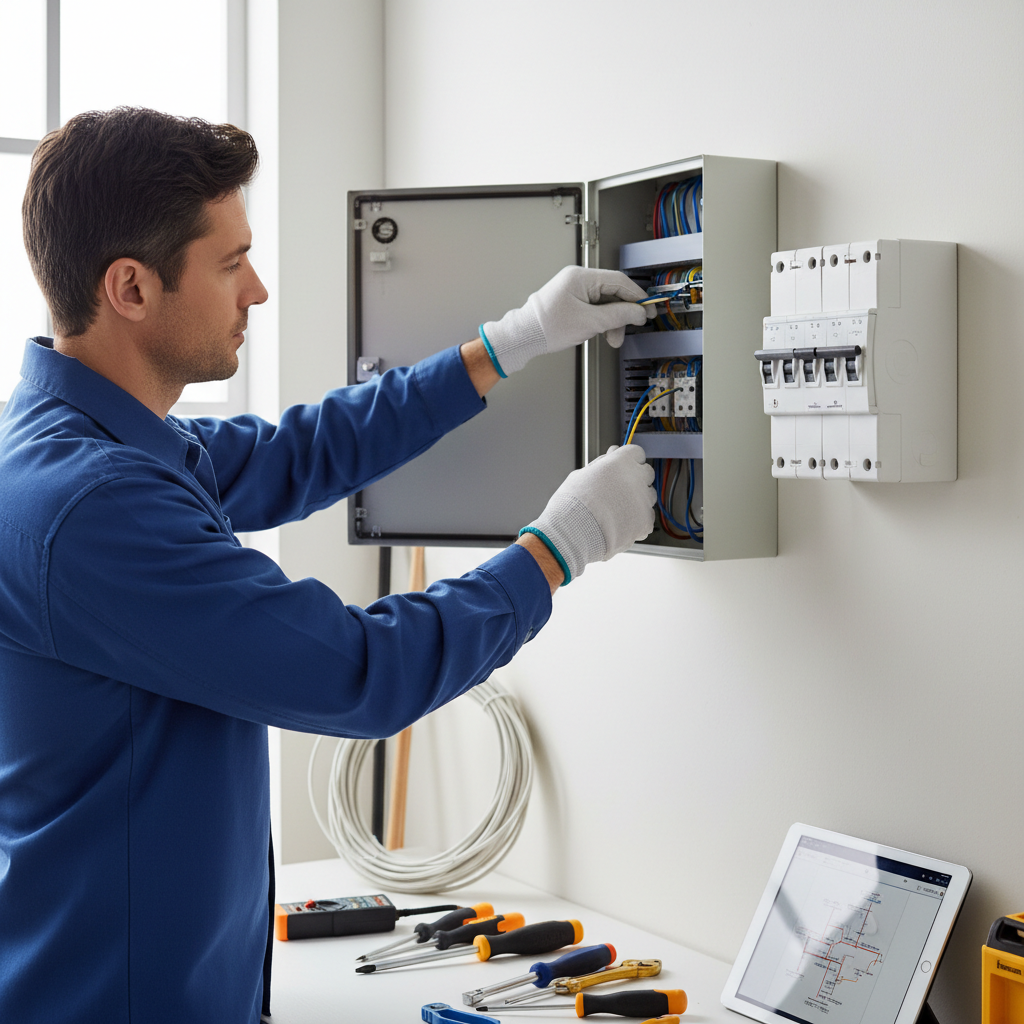
Mastering Electrical Work: Essential Tips for Homeowners
Understanding Electrical Work: A Homeowner's Guide Electrical work is an essential component of home maintenance that every homeowner should understand. From minor repairs to major installations, knowing when to DIY and when to call a professional can save you time and money. This article outlines crucial information, tips, and best practices for handling electrical work in your home. When to DIY vs. When to Hire a Professional One of the first decisions homeowners face is whether to tackle an electrical issue themselves or hire a professional. Here’s a guideline: DIY Projects: Simple tasks like changing light fixtures, replacing switches and outlets, or resetting circuit breakers are generally safe and manageable for those with basic skills. Hire a Professional: Major installations, complicated repairs (like rewiring), or any work involving your main electrical panel should be left to licensed electricians for safety and compliance. Common Electrical Tasks and Their Estimated Costs Understanding typical electrical tasks and their costs can help you budget better for home maintenance: Replacing a light fixture: $100 - $300, depending on the fixture’s complexity. Installing a ceiling fan: $150 - $400, which includes electrical work and fan purchase. Outlet replacement: $100 - $200 per outlet, especially if upgrading to GFCI outlets. Rewiring a room: $1,500 - $3,000; this project is labor-intensive and requires a pro. Safety Tips for Electrical Work Regardless of whether you decide to DIY or hire help, safety should always be a priority: Always turn off the power at the breaker before starting any electrical work. Use insulated tools when working with electrical components. Wear rubber-soled shoes and avoid working in wet areas. Choosing the Right Electrician If you've decided to hire a professional, here are some tips to ensure you find someone qualified: Check Credentials: Ensure they have the proper licensing and insurance. Ask for References: Look for reviews or ask for recommendations from friends and family. Get Multiple Quotes: Compare bids from at least three electricians to ensure you're getting a fair price. Conclusion: Empower Yourself with Knowledge Electrical work is critical for maintaining a safe and functional home. By understanding the basics, recognizing when to DIY, and knowing when to call in the experts, you empower yourself to make informed decisions that can save you time and money in the long run. Remember, safety first!
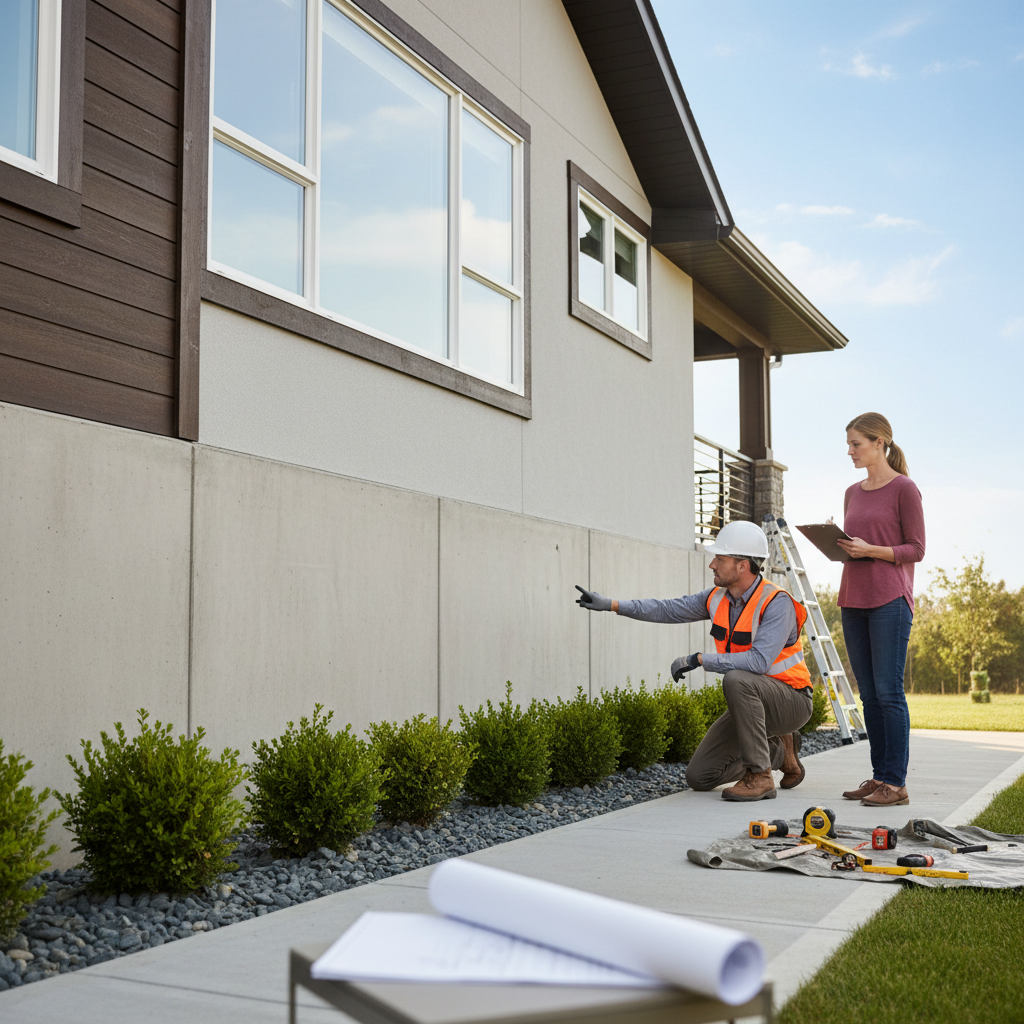
Essential Guide to Maintaining Your Home's Foundation and Structure
Your home's foundation is crucial for stability and longevity. A strong structure keeps your home safe from the elements, and regular maintenance can prevent costly repairs down the line. In this article, we will explore practical tips for maintaining your foundation, signs of problems to watch for, and when to call a professional. Several issues can arise with your foundation and structure, including: - Small hairline cracks are normal, but larger cracks can indicate serious problems. - Uneven settling can lead to sloping floors and misaligned windows and doors. - Water pooling around the foundation can cause erosion and weaken the structure. - Termites and other pests can compromise your foundation's integrity. Keep an eye out for these warning signs that your foundation may need attention: - Cracks larger than 1/4 inch - Doors and windows that stick or won’t close properly - Visible gaps between the walls and ceiling - Uneven or sloping floors - Watermarks in the basement or crawl space Here are some actionable steps to keep your foundation in good shape: - Ensure gutters are clean and downspouts direct water away from the foundation. - Ensure that soil slopes away from your home to prevent water accumulation. - Regularly check for new or expanding cracks and repair them promptly. - Keep plants and trees at a distance from the foundation to avoid root damage. - Use dehumidifiers in damp areas to prevent moisture infiltration. Routine maintenance can often be done as a DIY project, but certain situations require a professional's expertise: - Minor cracks, gutter cleaning, and grading can be manageable without professional help. - For significant cracks, settling issues, or extensive water damage, it is advisable to contact a structural engineer or foundation specialist. The cost of foundation repairs can vary significantly: - Simple crack repairs can cost between $250 to $800. - More extensive repair work or waterproofing may range from $1,000 to $10,000 depending on the damage. - It’s best to address potential issues as soon as you notice them to minimize costs. Maintaining your foundation is a critical part of homeownership that can save you money and stress in the long run. By routinely checking for signs of trouble, carrying out preventative measures, and knowing when to consult professionals, you can keep your home secure and sturdy for years to come.

Understanding Home Insurance: Essential Tips for Homeowners
Understanding Home Insurance: Essential Tips for Homeowners Home insurance is crucial for protecting your investment, covering your personal belongings, and safeguarding against liabilities. Yet, many homeowners overlook vital aspects that can affect their coverage and costs. Here’s what you need to know about home insurance to make informed decisions. Types of Home Insurance Policies - HO-1 (Basic Form): Covers specific risks such as fire, theft, and vandalism but is rarely sold today. - HO-2 (Broad Form): Offers broader coverage including common issues like falling objects and water damage. - HO-3 (Special Form): The most common policy type, covering all perils except those specifically excluded. - HO-4 (Renters Insurance): Protects renters’ personal property and provides liability coverage. - HO-5 (Comprehensive Form): More comprehensive than HO-3, covering personal property on an open-perils basis. Key Factors Influencing Home Insurance Costs Understanding what affects your insurance premium can help you choose the right policy and save money. - Location: Homes in areas prone to natural disasters (floods, earthquakes) often incur higher premiums. - Home Value: The replacement cost of your home and its contents will directly affect your insurance rates. - Claim History: A history of claims can increase your rates as insurers see you as a higher risk. - Security Features: Homes with security systems or smoke detectors can receive discounts. When to Review Your Policy Regularly reviewing your home insurance policy ensures you have the coverage you need. Here are some key times to assess your policy: - After Major Renovations: New structures or upgrades may increase the policy amount. - After Buying New Valuables: High-value items like jewelry or electronics need to be listed for additional coverage. - After Life Changes: Events like marriage, divorce, or the birth of a child can influence insurance needs. DIY vs. Professional Guidance When deciding on home insurance, consider whether you'll manage this process yourself or seek professional advice. - DIY Approach: You can research policies online and compare quotes from various insurers. Websites like Insure.com and Policygenius make this process easier. - Professional Guidance: Insurance agents can offer tailored advice based on your unique situation, but be mindful of potential biases towards certain companies. Conclusion Home insurance is an essential aspect of home ownership that provides peace of mind. By understanding the types of coverage available, knowing what influences costs, and staying proactive about your policy, you can effectively protect your investment. Regular reviews and careful comparisons will ensure that you have the right coverage at the best price. Don't hesitate to seek help from professionals when needed, but also empower yourself with knowledge for a savvy home insurance experience.

Transform Your Home with Smart Tech: A Homeowner's Guide
Smart home technology is revolutionizing the way we live, making everyday tasks easier and more efficient. As a homeowner, embracing this technology can enhance convenience, security, and energy management. In this guide, we'll explore practical steps and considerations for integrating smart tech into your home. Benefits of Smart Home Technology - Increased Convenience: Automate daily tasks for a streamlined routine. - Enhanced Security: Monitor your home in real-time with smart cameras and alarms. - Energy Efficiency: Smart thermostats and lighting systems can reduce energy costs. - Remote Control: Manage devices from anywhere using your smartphone. - Integration: Connect various devices for seamless operation. Getting Started with Smart Home Tech 1. Assess Your Needs - Identify areas in your home that could benefit from automation. - Consider your lifestyle and routines to determine what devices would be most useful. - Make a list of essential features such as security monitoring, lighting control, or climate management. 2. Set a Budget - Smart home devices vary widely in price. Here's a general cost breakdown: - Smart Thermostat: $100 - $300 - Smart Security System: $200 - $600 - Smart Lights: $10 - $50 per bulb - Smart Cameras: $50 - $300 - Determine how much you’re willing to invest based on the benefits you expect. 3. Choose Your Ecosystem - Smart devices typically operate in ecosystems. Choose one that suits your preferences: - Apple HomeKit: Best for Apple users. Seamless integration with iOS devices. - Google Home: Great for Google users with extensive third-party device compatibility. - Amazon Alexa: Widely used and offers a broad selection of compatible products. DIY vs. Professional Installation - DIY Installation: Many smart devices are user-friendly and come with guidelines for easy installation. Items like smart bulbs and plugs typically fall under this category. - Professional Installation: Consider hiring an expert for more complicated installations, such as whole-home security systems or smart thermostats that integrate with HVAC systems. Expect to pay $100 - $300 for professional installation. Popular Smart Devices to Consider - Smart Thermostats: Nest, Ecobee - Smart Speakers: Amazon Echo, Google Nest Hub - Smart Security Cameras: Ring, Arlo - Smart Lights: Philips Hue, LIFX - Smart Door Locks: August Smart Lock, Schlage Encode Conclusion Incorporating smart home technology not only enhances your living space but also increases its value. By assessing your needs, setting a budget, and carefully choosing your devices and installation method, you can create a smart home that fits your lifestyle perfectly.
Essential Tax and Legal Tips Every Homeowner Should Know
Understanding Tax Implications of Homeownership Owning a home comes with various tax responsibilities and opportunities. Here are some key points every homeowner should be aware of: - Mortgage Interest Deduction: Homeowners can often deduct interest paid on their mortgage, which can lead to substantial tax savings. - Property Taxes: Property taxes are also typically deductible under federal tax rules. Make sure to keep records of what you pay. - Capital Gains Exclusion: If you sell your home, you might exclude up to $250,000 ($500,000 for married couples) of capital gains from your income if you meet ownership and use tests. Understanding the legal side of homeownership is crucial. Here are important aspects to consider: - Title Insurance: Always purchase title insurance when buying a home. It protects you from unforeseen claims against your property. - Homeowner's Association (HOA) Rules: If your home is part of an HOA, familiarize yourself with their regulations and fees, as non-compliance can lead to fines. - Local Laws and Regulations: Learn about local zoning laws and regulations that could affect renovations or changes you wish to make to your home. When to Hire a Professional While some tax and legal matters can be handled DIY style, others require professional help. Consider hiring the following: - Tax Consultant: For complex tax situations, a tax consultant can help maximize your deductions and avoid errors. - Real Estate Lawyer: If you are facing issues with title disputes or need help navigating HOA rules, a real estate lawyer can offer you valuable advice. - Estate Planner: If you plan to pass your home to heirs, an estate planner can help strategize to minimize taxes and legal hurdles. Cost Considerations The costs associated with tax and legal services can vary widely: - Tax consultants may charge anywhere from $150 to $500, depending on complexity. - Real estate lawyers typically charge between $1,000 and $3,000 for services related to property transactions. - Estate planning costs can range from a few hundred to several thousand dollars based on the complexity of your estate. Conclusion Being a homeowner involves understanding both tax and legal responsibilities. By familiarizing yourself with deductions, legal protections, and the circumstances under which to hire professionals, you will be better equipped to manage your home ownership effectively.
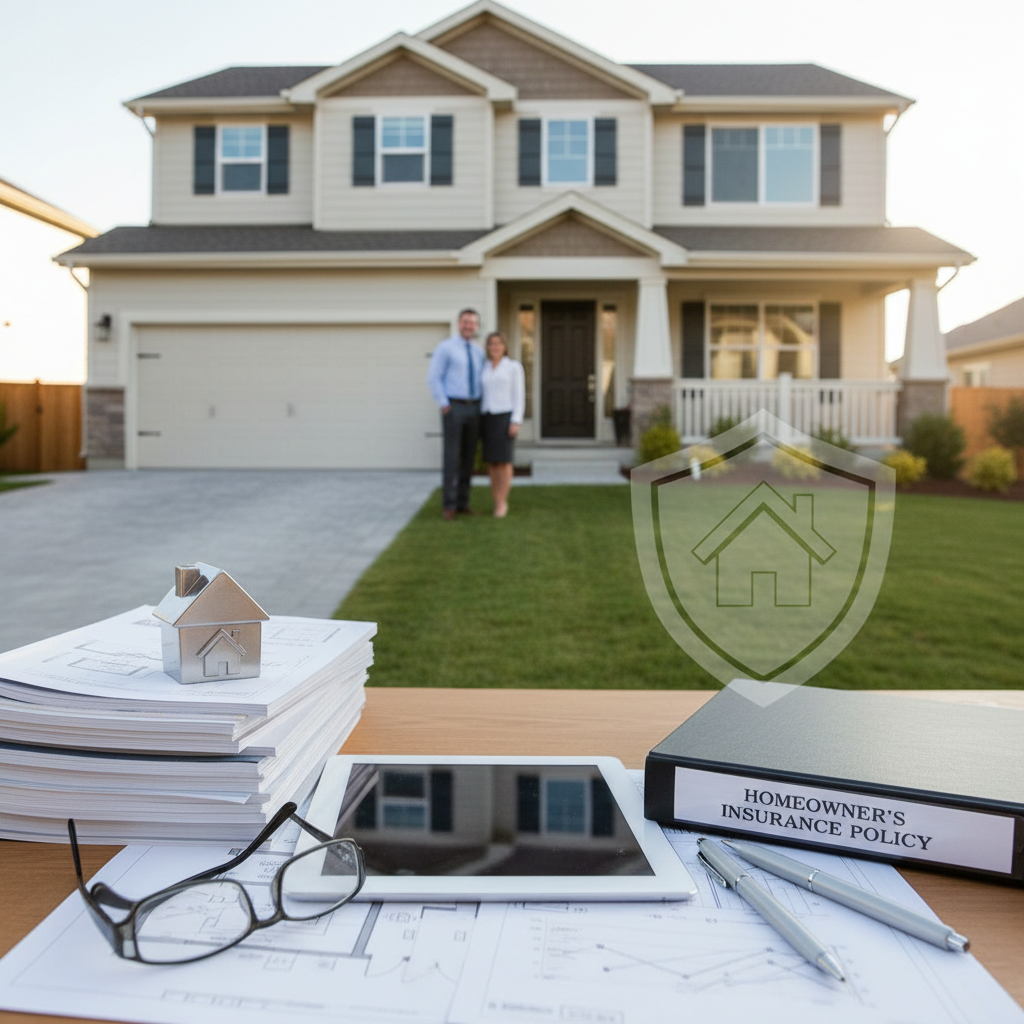
Essential Homeowner's Guide to Insurance: Protect Your Investment
Understanding Home Insurance Basics As a homeowner, safeguarding your property is always a priority. One of the most effective ways to protect your investment is through the right insurance policy. Home insurance not only protects your home from natural disasters but also covers theft, liability, and even damage to personal belongings. In this guide, we’ll explore different types of insurance, the elements to consider, and tips for selecting the best coverage for your needs. Types of Home Insurance Policies - HO-1: Basic Form - Covers 10 named perils, but is rarely offered today. - HO-2: Broad Form - Includes more named perils in the coverage. - HO-3: Special Form - The most common type; it covers the home against all risks except those specifically excluded. - HO-4: Renters Insurance - Ideal for renters, covering personal belongings and liability. - HO-5: Comprehensive Form - Offers the most coverage, including personal belongings on an open-perils basis. - HO-6: Condo Insurance - Protects your items and parts of the condo not covered by the HOA. - HO-7: Mobile Home Insurance - Tailored for mobile or manufactured homes. - HO-8: Older Home Insurance - Designed for homes that may not qualify for other types due to age or condition. Key Factors to Consider When Choosing Insurance When selecting an insurance policy, consider the following: - Coverage Amount: Assess the value of your home and belongings to ensure adequate coverage. - Deductibles: Higher deductibles typically lower your premium, but ensure they are affordable in case of a claim. - Exclusions: Be aware of what is not covered by your policy to avoid unexpected costs. - Liability Protection: Consider adding liability coverage to protect against legal claims from injuries or accidents on your property. - Discounts: Ask about available discounts—bundling policies, security systems, and claims-free history can reduce your premium. Practical Tips for Enhancing Your Insurance Experience Here are some actionable tips to help you manage your insurance effectively: - Review Your Policy Annually: Life changes, such as renovations or large purchases, may necessitate an update to your coverage. - Document Your Belongings: Keep an inventory of your possessions with pictures and receipts. This makes filing a claim easier. - Maintain Your Property: Regular maintenance can prevent issues that might lead to claims, such as roof leaks or electrical fires. - Know Your Rights: Understand your policy’s terms and conditions. Familiarize yourself with the claims process to avoid surprises. - Consider Additional Coverage: For high-value items like jewelry or art, consider adding riders for extra protection. DIY vs. Professional Guidance If you're unsure what coverage to choose, consulting with a professional insurance agent can provide tailored advice based on your unique situation. However, for straightforward cases, researching online and reading policy descriptions can often suffice. Conclusion Investing the time to understand your home insurance options is invaluable. By following these guidelines, homeowners can ensure they are properly protected against potential risks while also saving money on premiums. Always remember, a well-informed homeowner is a secure homeowner.
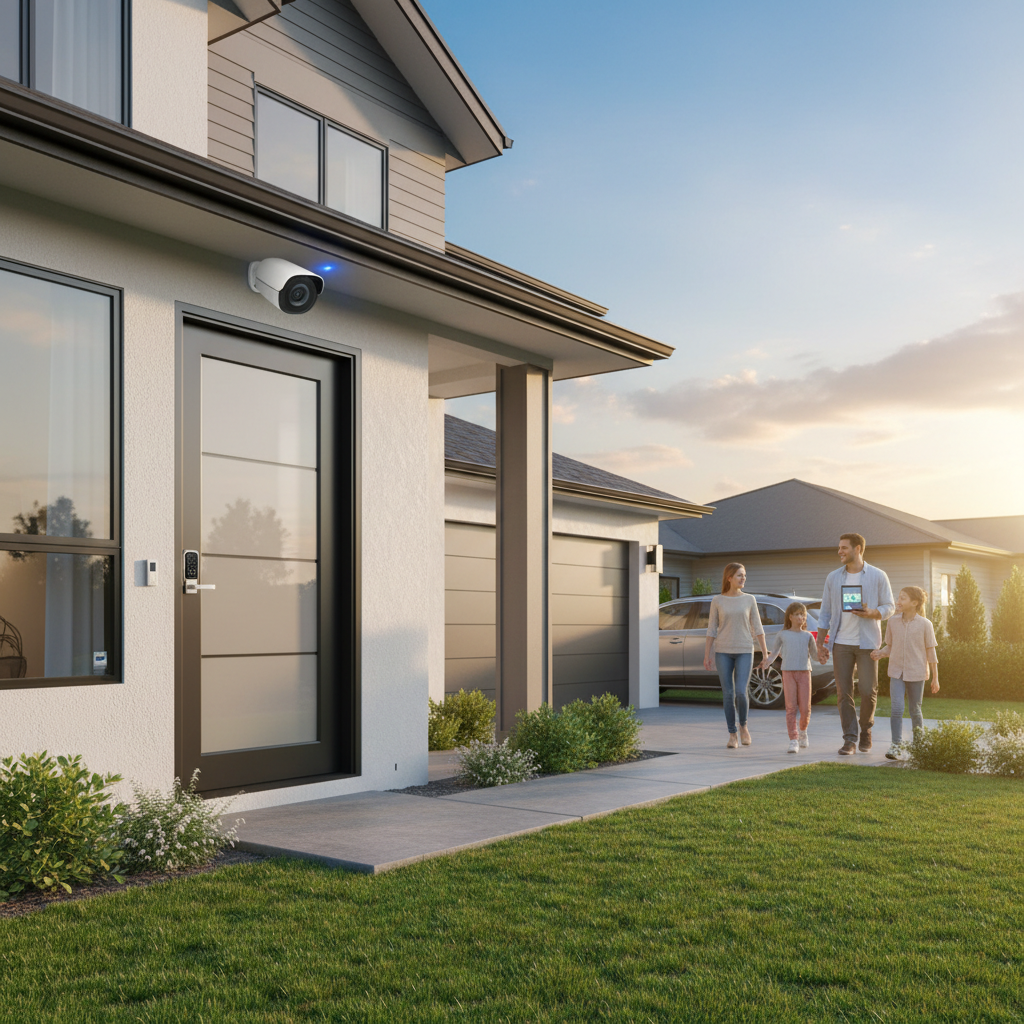
Top Home Security Tips: Enhance Safety for Your Family Today
Home security is a crucial aspect of home maintenance that every homeowner should prioritize. Ensuring that your home is safe from intruders and hazards is essential for peace of mind. In this guide, we’ll provide you with practical tips on enhancing your home’s security and safety. 1. Invest in Quality Locks: Strong locks are your first line of defense against intruders. Upgrade to high-quality deadbolt locks for all external doors, secure sliding doors with rods, and consider rekeying or replacing old locks. 2. Install a Security System: A certified home security system can deter potential burglars. Choose between monitored or unmonitored systems, understanding that costs can range from $200 to $1,500. DIY options are available, but professional installation ensures optimal effectiveness. 3. Outdoor Security Measures: Enhance safety outdoors with motion sensor lights, visible security cameras, and well-maintained landscaping to ensure clear sightlines. 4. Emergency Preparedness: Ensure functional smoke and carbon monoxide detectors, prepare an emergency kit, and develop an escape plan with your family. 5. Creating a Neighborhood Watch: Increase safety through community efforts by forming a neighborhood watch, scheduling regular meetings, and using local apps for communication. Enhancing your home’s security and safety is achievable with the right steps. Whether you opt for DIY projects or professional assistance, prioritizing security can provide peace of mind and protect your loved ones. Remember, a secure home is a happy home!
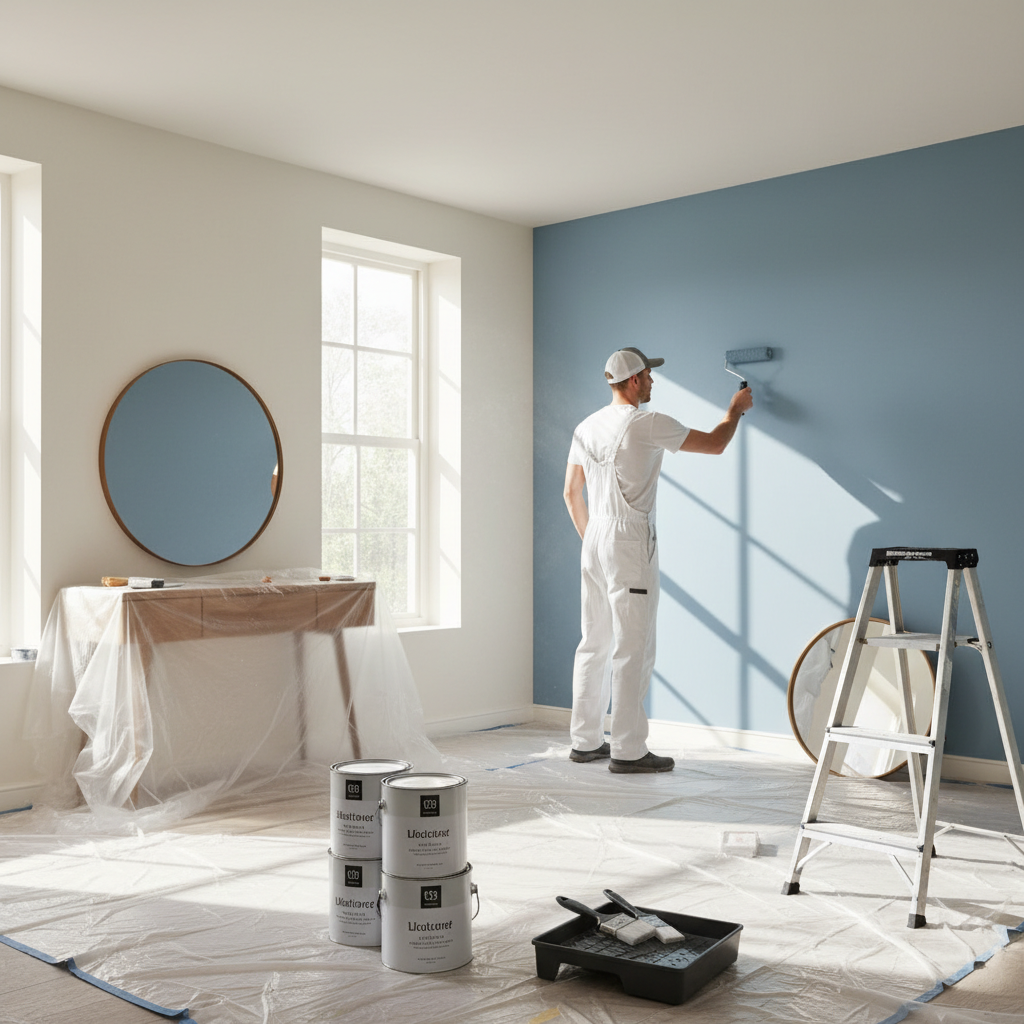
Transform Your Home: Expert Guide to Painting & Finishing
Transform Your Home: Expert Guide to Painting & Finishing

Smart Investment Strategies for Homeowners: Maximize Your Property Value
Understanding Home Investment Value As a homeowner, your property is likely one of your most significant investments. Investing strategically in your home can not only enhance your living experience but also significantly boost your property value when it's time to sell. Here, we outline actionable investment strategies that every homeowner can implement. 1. Prioritize Curb Appeal First impressions matter. Boosting your home's curb appeal can increase its value significantly. Here are some tips: - Lawn Care: Keep your lawn well-manicured, and consider native plants that require less water. - Front Door Upgrade: A fresh coat of paint or a new front door can make a large impact. - Landscaping: Simple landscaping improvements like flower beds or strategic shrub placements can enhance visual appeal. 2. Energy Efficiency Improvements Investing in energy-efficient upgrades can lead to significant cost savings and increase your home’s value. Consider the following: - Insulation: Upgrade your attic insulation to lower heating and cooling costs. - Energy Star Appliances: Replace old appliances with Energy Star-rated models. - Smart Thermostats: Install smart thermostats for better energy management. 3. Bathroom and Kitchen Renovations Bathrooms and kitchens are critical areas that yield high returns on investment. Here are budget-friendly renovations: - Minor Updates: New fixtures, cabinet hardware, and paint can refresh these spaces without extensive renovations. - Full Remodels: If your budget allows, consider a full remodel, particularly in outdated kitchens, as they can recoup up to 80% of costs upon sale. - DIY vs Professional: Simple updates can be tackled as DIY projects to save on labor costs; however, complex renovations may require professional help. 4. Regular Maintenance and Repairs Routine maintenance can prevent costly future repairs and preserve your home's value. Focus on these areas: - Roof Inspections: Regularly check for damage or leaks and replace shingles as needed. - HVAC Systems: Schedule annual maintenance and filter changes to keep systems running efficiently. - Pest Control: Conduct checks for pests like termites that can compromise your home’s integrity. 5. Consider Smart Home Technology Integrating smart technology can appeal to modern buyers: - Security Systems: Smart security cameras and locks can enhance safety. - Home Automation: Smart lighting and climate control systems can add convenience. Conclusion Investing wisely in home maintenance and upgrades can lead to significant long-term returns. By focusing on curb appeal, energy efficiency, kitchen and bathroom renovations, and regular maintenance, you can enhance your property’s value effortlessly. Always evaluate your budget and consider whether you will tackle projects yourself or hire professionals to ensure the best outcome.

Elevate Your Home: A Beginner's Guide to Smart Home Technology
Smart home technology is revolutionizing the way we interact with our living spaces. From enhanced security to energy efficiency, these devices can simplify daily tasks and improve overall home management. In this article, we will explore the various aspects of smart home tech, including essential devices, installation guides, costs, and DIY versus professional options. Essential smart devices include smart speakers like Amazon Echo and Google Nest, smart thermostats such as Nest or Ecobee, smart security systems that encompass cameras and doorbells, smart lighting like Philips Hue, and smart appliances that connect to your Wi-Fi network. When it comes to installation, many devices are designed for easy DIY, but complex setups may require professional help, with costs around $100-$150 per hour. Costs vary widely, from smart speakers costing around $25 to $300, smart thermostats from $100 to $250, smart security systems between $200 and $800, smart lighting ranging from $10 to $50 per bulb, and smart appliances between $500 and $2,000. Long-term savings from energy efficiency and security enhancements can justify these expenses. The right timing for smart tech adoption includes during home renovations, after security concerns, or when targeting energy savings. Smart home technology offers homeowners enhanced convenience, security, and efficiency, with a wide range of devices available to cater to different needs.
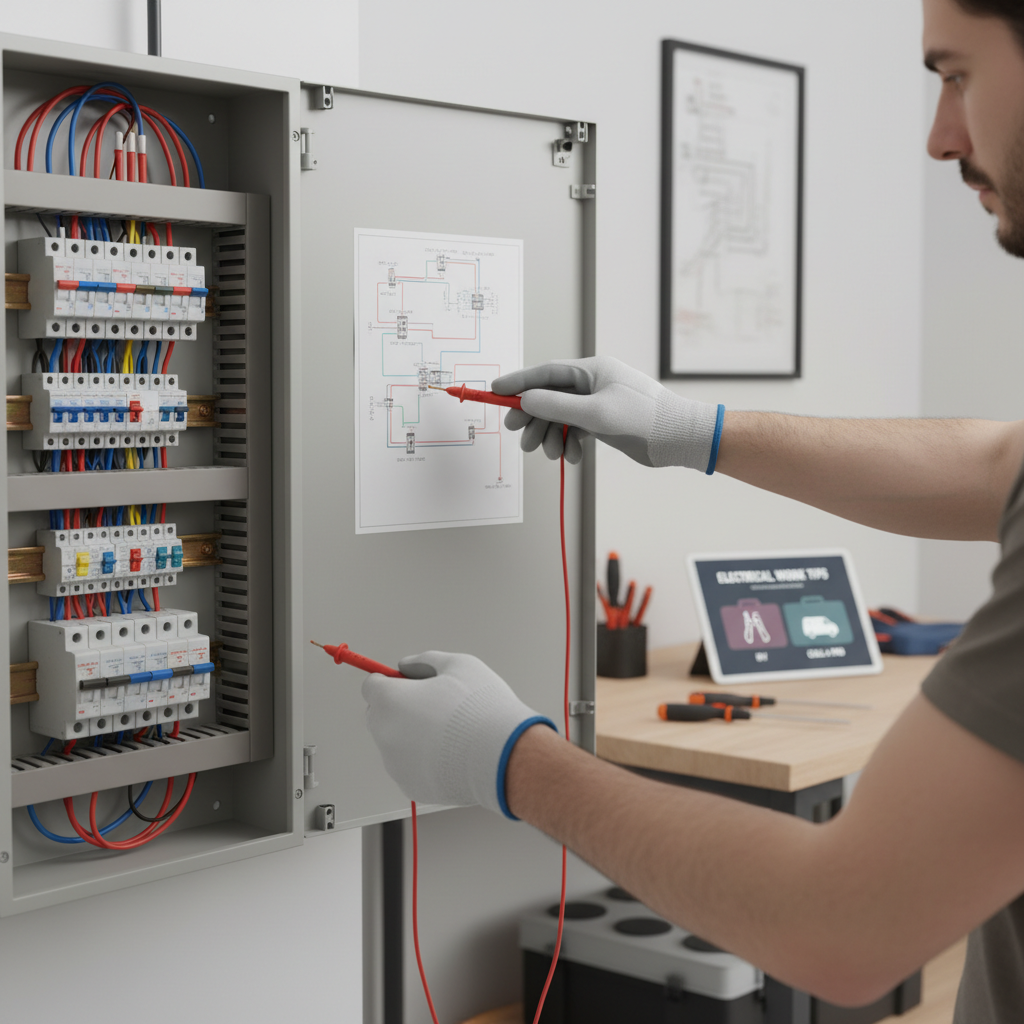
Essential Electrical Work Tips for Homeowners: DIY or Call a Pro?
Understanding Electrical Work: What Homeowners Should Know Electrical work is a crucial aspect of maintaining your home, ensuring safety, efficiency, and functionality. Whether you're dealing with flickering lights, outdated outlets, or a complete renovation, understanding the ins and outs of electrical work is essential. In this guide, we’ll explore the fundamentals of electrical work, including when to DIY and when to call a professional, as well as cost considerations and safety tips. Common Types of Electrical Work - Installing Light Fixtures: Upgrading to energy-efficient LED fixtures can enhance your home’s aesthetics while saving on electricity bills. - Outlet Installation: Adding outlets in convenient places can prevent overloading circuits and improve accessibility. - Rewiring: If your home is over 30 years old, consider a rewiring project to support modern electrical demands. - Electrical Panel Upgrade: Upgrading your panel can improve the safety and efficiency of your electrical system. - Home Automation: Smart lighting and thermostats can greatly enhance comfort and efficiency but may require professional installation. When to Tackle Electrical Work Yourself Many homeowners take on simple electrical tasks. Here’s a brief guide: - Basic Repairs: Replacing light bulbs, checking fuses, or changing out switch plates are all easily manageable. - Replacing Outlets: If you’re comfortable with tools and safety precautions, replacing an outlet can be an easy DIY project. When to Call a Professional While DIY can save money, some tasks require expert knowledge: - Rewiring Projects: This is complex and requires understanding local codes and safety standards. - Major Installations: Upgrading electrical panels or installing circuits should always be handled by a licensed electrician. - Persistent Electrical Problems: If you experience frequent outages or short circuits, seek professional help. Cost Considerations for Electrical Work Understanding costs can help you budget effectively. Here’s a breakdown: - Hourly Rate of Electricians: Expect to pay between $50 and $100 per hour for professional services in most areas. - Average Project Costs: A complete rewiring might cost between $1,500 and $3,000 depending on the size of your home; minor projects like replacing outlets usually range from $100 to $200 each. Timing Your Electrical Work Consider the timing for projects to minimize disruption: - Schedule in Off-Peak Hours: Mid-week mornings are often less busy for contractors. - Seasonal Considerations: Some projects are better suited for warm weather, while others, like heating upgrades, are best in early fall. Safety First: Key Tips to Remember - Always turn off power before starting any electrical work. - Use insulated tools and wear rubber-soled shoes. - Consult your local building codes before undertaking significant changes. Conclusion Electrical work can range from simple repairs to complex installations. Knowing when to DIY and when to hire a professional can save you time, money, and ensure safety in your home. Always prioritize safety and consult a professional for anything beyond your capabilities.

Maximizing Tenant Relations: Essential Tips for Homeowners
As a homeowner, ensuring a positive relationship with your tenants is crucial for maintaining your investment and minimizing turnover. Good tenant relations can lead to longer leases, timely rent payments, and overall satisfaction for both parties. In this article, we will provide actionable tips for enhancing your communication and addressing tenant needs effectively. ### Tips for Improving Tenant Relations - **Open Lines of Communication**: Establish clear communication channels. Provide your tenants with multiple ways to reach you, such as phone, email, and messaging apps. Respond promptly to inquiries and issues, showing that you value their concerns. - **Regular Check-Ins**: Schedule periodic check-ins with your tenants to ensure everything is going well. This could be done through casual visits or scheduled phone calls. Consider providing a set day each month where tenants know they can expect you to reach out. - **Be Proactive with Maintenance**: Staying on top of property maintenance can greatly impact tenant satisfaction. Respond to maintenance requests promptly and conduct regular inspections to identify and address issues before they escalate. Keep a checklist for common repairs and schedule seasonal maintenance checks. - **Flexible Lease Terms**: When possible, offer flexibility with lease terms. Life can be unpredictable, and accommodating tenants with options such as shorter leases or allowing them to break their lease under certain circumstances can go a long way in building goodwill. - **Show Appreciation**: Recognize and appreciate your tenants, especially if they are long-term. Simple gestures such as thank you notes, holiday gifts, or even small discounts can strengthen your relationship and increase tenant loyalty. - **Feedback Mechanism**: Implement a feedback mechanism where tenants can express their concerns or suggestions regarding the property. This could be an anonymous suggestion box or a regular feedback form. Be open to constructive criticism and show that you take their input seriously. ### Costs and Timing The costs associated with improving tenant relations can vary. While some measures, such as regular communication and appreciation gestures, may not require significant financial outlay, others, like proactive maintenance or hiring professionals for property management, can incur costs. Budget for these expenses, and consider setting aside a portion of your rental income for tenant relations initiatives. ### DIY vs Professional Help In many cases, homeowners can manage tenant relations effectively through DIY tactics. However, if maintaining open communication proves challenging or if maintenance issues become overwhelming, consider hiring a property management company. They can handle tenant relationships more professionally, ensuring timely responses and regular maintenance. ### Conclusion Establishing and maintaining strong tenant relations is essential for homeowners looking to protect their investments and ensure tenant satisfaction. By implementing these actionable tips, you can create a positive living environment that encourages long-term tenancies and enhances your property's reputation.

Essential Property Management Tips for Every Homeowner
Understanding Property Management Property management involves overseeing residential or commercial properties to maintain their value and ensure they remain livable or profitable. For homeowners, effective property management is essential for maintaining their investment. Here are several aspects to consider, including actionable tips, costs, timing, and when to seek professional help. 1. Regular Maintenance Maintaining your property regularly helps prevent more significant issues down the road. Aim for seasonal maintenance to keep things in shape. Spring: Inspect roofs for leaks and clean gutters. Prepare your landscaping for growth. Summer: Service your air conditioning unit and check for pest infestations. Fall: Winterize outdoor faucets, inspect heating systems, and clean chimneys. Winter: Check for insulation issues and clear snow if necessary. 2. Cost of Maintenance The cost of property maintenance can vary widely based on the size and condition of your home. Here’s a breakdown: Routine maintenance: Expect to spend about 1-2% of your home’s value annually. Emergency repairs: These can vary from minor fixes to significant damages; it's wise to have a budget of around $500-$1,000 for emergencies. Professional services: Hiring professionals for major repairs can cost between $50 to $150 hourly, depending on the service. 3. DIY vs. Professional Help Deciding whether to do tasks yourself or hire professionals depends on your skills, time, and the severity of the issue. Consider the following: DIY: Tasks such as painting, minor repairs, and landscaping can generally be done by most homeowners with some basic tools. Professional: When it comes to electrical, plumbing, or major structural issues, it’s advisable to hire licensed professionals to ensure safety and code compliance. 4. Staying Organized Keeping track of all maintenance activities, repairs, and improvements is crucial. Here are a few organizational tips: Create a maintenance calendar: Schedule tasks seasonally to keep on track. Track expenses: Maintain a log of all maintenance costs to help with budgeting. File important documents: Keep warranties, service contracts, and receipts in one place for easy access. 5. When to Hire Property Management Services If you own multiple properties or find yourself overwhelmed with ongoing maintenance, it may be time to consider hiring a property management company. This can save you time and ensure that experts are handling inspections, tenant issues, and maintenance. Look for a company that is licensed, insured, and has good reviews. Conclusion Effective property management is vital for maintaining your home’s value and ensuring its longevity. By staying proactive with maintenance, keeping organized, and knowing when to seek help, you can ensure your property remains a safe and desirable place.

Strengthening Your Home: Essential Foundation & Structure Maintenance Tips
Understanding the Importance of Foundation & Structure Maintenance Your home’s foundation is its backbone, directly impacting its structural integrity and longevity. Keeping up with maintenance not only prevents costly repairs but also ensures a safe and stable living environment. Signs of Foundation Problems It’s crucial for homeowners to recognize the early signs of foundation issues. Look for these indicators: - Cracks in walls or ceilings - Uneven or sloped floors - Doors and windows that stick - Separation of walls from ceilings - Visible gaps around windows and doors Cost of Foundation Repairs The costs associated with foundation repairs can vary significantly based on the extent of the damage: - Minor repairs: $500 - $1,500 - Moderate repairs: $2,000 - $7,000 - Severe repairs: $10,000 and above It's advisable to get multiple estimates from professionals to ensure you're getting a fair price. When to DIY vs. Hire a Professional Some minor maintenance tasks can be tackled by homeowners, while serious structural issues should be addressed by professionals. Here’s a quick guideline: DIY Tasks - Sealing cracks with epoxy or polyurethane foam - Grading soil away from the foundation to improve drainage - Installing gutters and downspouts - Performing routine inspections for pest invasions Professional Help Needed - Foundation underpinning - Major structural repairs - Project involving heavy lifting or stabilizing - Waterproofing solutions Preventative Maintenance Tips Being proactive about your home’s foundation can save you time and money in the long run. Here are some actionable tips: - Maintain proper drainage: Ensure rainwater drains away from your foundation by using downspouts and ensuring the grading is correct. - Control moisture levels: Use a dehumidifier in damp areas and ensure proper ventilation in crawl spaces. - Inspect your landscaping: Keep shrubs and trees away from your foundation to prevent root invasions and soil erosion. - Regularly check plumbing: Look for leaks in your plumbing system that can damage your foundation. When to Seek Professional Help If you notice any signs of serious foundation issues or the DIY fixes aren’t effective, it’s essential to reach out to a structural engineer or foundation repair expert. They can provide a thorough assessment and recommend the best course of action. Conclusion Regular maintenance of your foundation and structure is key to protecting your home’s value and safety. By being vigilant and proactive, you can catch potential problems early and either address minor issues yourself or bring in professionals when needed.
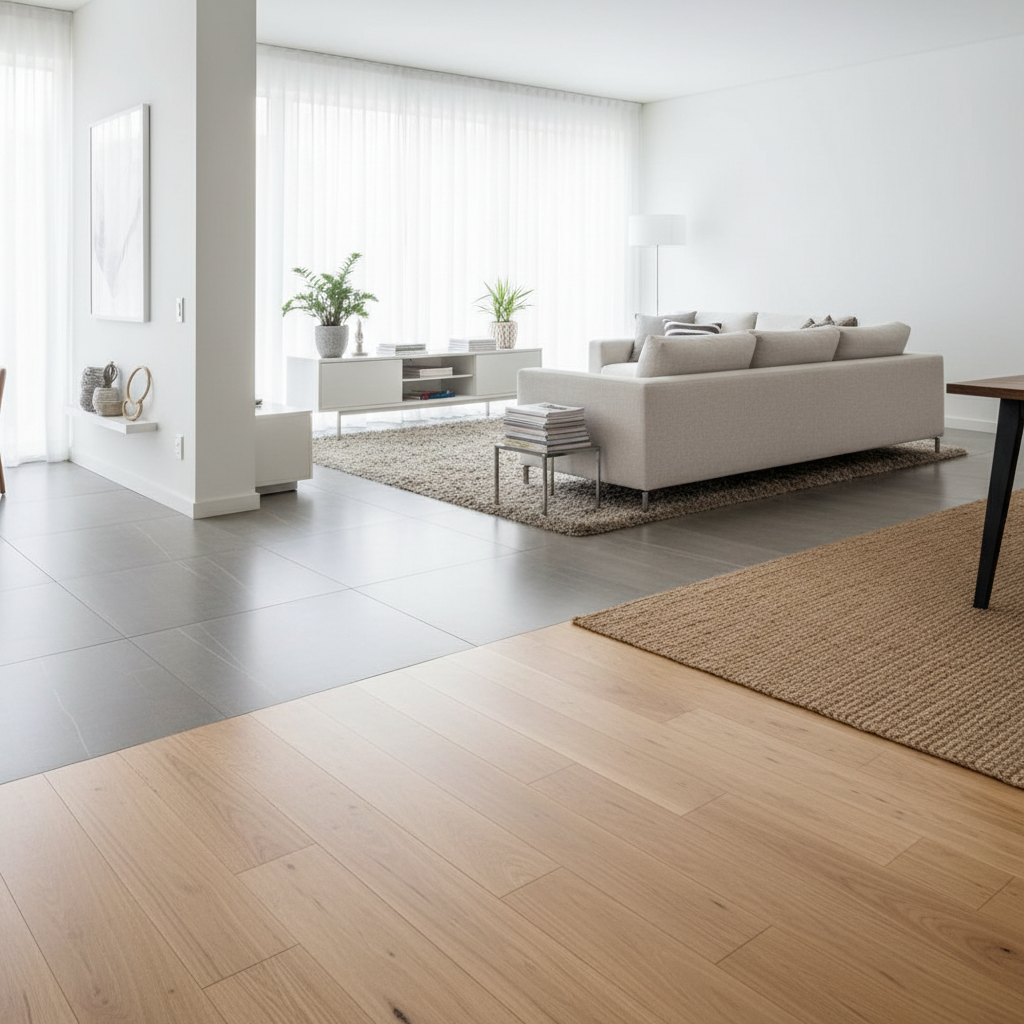
The Ultimate Guide to Flooring: Tips for Homeowners
Your flooring is a crucial part of your home’s aesthetic and functionality. With many options available, selecting the right flooring can seem overwhelming. This guide will help you navigate the choices, costs, and maintenance tips associated with different flooring types. **Types of Flooring** 1. **Hardwood Flooring:** Timeless and durable, hardwood adds a classic charm to your home but can be costly. 2. **Laminate Flooring:** A budget-friendly alternative that imitates the look of wood or stone. It's easy to install but may not last as long as hardwood. 3. **Vinyl Flooring:** Very versatile and water-resistant, vinyl can be used in various areas of your home, particularly kitchens and bathrooms. 4. **Tile Flooring:** Ideal for wet areas, tiles are easy to clean and come in various designs. However, installation can be complex and labor-intensive. 5. **Carpet:** Soft and warm, carpet can add comfort but requires regular upkeep and may trap allergens. **Choosing the Right Flooring** Consider the following factors to choose the best flooring for your needs: - **Durability:** How much foot traffic will the area get? Consider harder materials for high-traffic areas. - **Cost:** Factor in both material and installation costs. Hardwood may be beautiful but can run $8-$15 per square foot, while laminate often costs $1-$3. - **Maintenance:** Some flooring types require more maintenance than others. Tile and vinyl are typically more forgiving than carpets. - **Style:** Choose a design that complements your home’s decor and your personal style. **DIY vs. Hiring a Professional** Deciding between a DIY project or hiring a professional can depend on your experience and the flooring type: - **DIY:** Laminate and vinyl flooring are often easier for homeowners to install without professional help, making them cost-effective choices. - **Professional Help:** For complex materials like hardwood or tile, hiring a professional may be wise. They can ensure proper installation, which can save you costs in repairs down the line. **Cost Considerations** When budgeting for new flooring, keep in mind the following costs: - **Material Cost:** Depending on the type of flooring, prices can range significantly, from $1 per square foot for basic vinyl to $15 for premium hardwood. - **Installation Fees:** Expect to pay $2-$5 per square foot for professional installation. DIY projects, while saving labor costs, require your time and effort. - **Maintenance and Repairs:** Consider long-term costs, like cleaning products, replacement, and potential repair needs. **Timing Your Flooring Project** The best time to install new flooring often depends on the climate and your schedule. Here are some tips: - Spring and fall are generally ideal due to moderate temperatures, ensuring adhesive and materials cure properly. - Plan for a few days to a week for installation, depending on the space and your chosen material. **Conclusion** Choosing new flooring is a significant decision that can enhance your home's value and enjoyment. Assess your options, budget accordingly, and think about your DIY capabilities. By following these tips, you can find the perfect flooring to fit your lifestyle and home.
Mastering Tenant Relations: Essential Tips for Successful Property Management
Understanding Tenant Relations As a homeowner and landlord, fostering positive tenant relations is crucial for ensuring a smooth rental experience. Good communication, transparency, and timely support can lead to satisfied tenants who respect your property and pay their rent on time. In this article, we will explore practical tips to enhance your relationships with tenants. 1. Effective Communication Establishing open lines of communication should be your first priority. - Be Available: Ensure tenants know they can reach you easily, whether it's via phone, email, or a messaging app. - Set Expectations: Clearly outline your response times for maintenance requests and tenant inquiries in the lease agreement. - Regular Updates: Keep tenants informed about property issues, upcoming maintenance, or changes in policies. 2. Timely Maintenance and Repairs Prompt attention to maintenance requests shows tenants you care about their living conditions. Here’s how to manage it: - Create a Maintenance Schedule: Regularly check essential systems (HVAC, plumbing, electrical) to prevent issues before they arise. - DIY vs Professional Help: Evaluate each situation. For minor repairs like changing light bulbs or clearing gutters, you can tackle them yourself. For more involved repairs (e.g., plumbing or electrical work), hire certified professionals. - Budget for Maintenance: Set aside 1% of your property’s value annually for repairs—this will help you address issues without financial stress. 3. Promote a Positive Living Environment A welcoming atmosphere can instill pride in tenants, encouraging them to take care of the property. - Beautify Common Areas: Simple touches like landscaping or tidy communal spaces can significantly enhance tenant satisfaction. - Host Events: Consider organizing seasonal gatherings or barbecues to foster community and encourage interaction among tenants. - Encourage Feedback: Provide an anonymous suggestion box, or online survey, to gather tenants’ thoughts on improving their living experience. 4. Leverage Technology In an increasingly digital world, technology can streamline your tenant-management processes. - Online Payment Systems: Implement platforms (like PayPal or Venmo) that allow tenants to pay rent conveniently online. - Management Apps: Use applications like Cozy or TenantCloud to manage your properties more effectively, track maintenance requests, and communicate with tenants. 5. Handling Disputes Professionally Disputes can arise in any rental situation. Handling them professionally is vital. - Stay Calm: Approach conflicts with a level head and a willingness to listen. - Document Everything: Keep detailed records of all communications and agreements, which can clarify misunderstandings later. - Seek Mediation: When necessary, engage a neutral third party to help resolve disputes amicably. Conclusion Enhancing tenant relations requires consistent effort and a proactive approach. By implementing these strategies, you’ll not only improve tenant satisfaction but also boost your property’s value in the long run. Remember, happy tenants are likely to become long-term residents who care for your property as if it were their own.
The Ultimate Guide to Painting & Finishing Your Home
Painting and finishing are essential home maintenance tasks that can significantly enhance the appearance and value of your home. This guide provides actionable tips for homeowners looking to tackle painting projects, whether they choose to DIY or hire professionals. When to Paint Understanding the right time to paint is crucial. The best times to paint exterior surfaces are spring and fall, as temperatures are moderate, and humidity levels are lower. For interior painting, any time of year is fine, but consider: - Humidity levels that could affect drying. - Ventilation to help fumes dissipate. Preparing for Your Painting Project Proper preparation can make or break your painting experience. Here are steps to prepare: - Choose the Right Paint: Opt for high-quality paints that suit your specific needs (e.g., moisture-resistant for bathrooms). - Gather Tools: Get brushes, rollers, drop cloths, painter’s tape, and ladders ready. - Prepare the Surface: Clean walls, repair any damages, and sand rough patches. - Move Furniture: Clear the area or cover it with drop cloths to avoid splatters. DIY vs. Hiring a Professional Deciding whether to DIY or hire a professional depends on your budget, time, and skill level: - DIY: Ideal for those who are budget-conscious and have intermediate skills. Expect to spend on materials, approximately $30-60 per gallon of paint. - Professional: Hiring a pro usually costs between $2 to $6 per square foot. They provide expertise, saving you time and ensuring a quality finish. Cost Estimation The cost of your painting project can vary based on several factors, including: - Size of the Area: More square footage means more paint and labor. - Type of Paint: Higher quality paints are more expensive but offer better results. - Finishes: Glossy finishes may require more preparation and cost more. On average, homeowners spend between $500 - $1,500 on a full interior paint job, while exteriors can range from $1,500 - $4,000 depending on the home size. Finishing Touches Once the painting is done, it’s time to add some finishing touches: - Remove Tape Carefully: Pull tape off while the paint is slightly wet for clean edges. - Touch Up: Inspect for any missed spots and do touch-ups as necessary. - Clean Up: Dispose of paint materials properly and clean tools immediately to prolong their life.
Mastering Windows & Doors Maintenance: Tips Every Homeowner Needs
Windows and doors play a pivotal role in your home’s energy efficiency, security, and overall aesthetics. Regular maintenance can extend their lifespan, enhance performance, and save you money in the long run. This article provides practical tips and insights into effective maintenance strategies, costs, timing, and when to opt for DIY versus professional help. Proper maintenance of windows and doors can prevent larger issues and expensive repairs later. Benefits include: - Improved energy efficiency - Enhanced security - Increased longevity of installations - Better curb appeal To keep your windows and doors in optimal condition, consider these essential maintenance tasks: - Inspect for Damage: Regularly check windows and doors for cracks, warping, or decay. - Clean Frames and Glass: Use a gentle cleaner with a soft cloth for frames and window glass to ensure clarity and longevity. - Check Seals and Weatherstripping: Replace any damaged or worn weatherstripping to prevent air leaks. - Lubricate Moving Parts: Use silicone spray on hinges and locks to maintain smooth operation. Some maintenance tasks can be easily handled by homeowners, while others may require professional expertise. DIY Tasks: - Cleaning windows and frames - Replacing weatherstripping - Lubricating hinges and locks - Touching up or repainting frames Professional Help Needed: - Glass replacement for broken panes - Full frame replacements due to extensive rot - Installation of energy-efficient window films - Complex repair of locking mechanisms The costs associated with windows and doors maintenance can vary widely based on the task and your home’s specific needs. Here’s a breakdown: - Basic Cleaning: $0-$20 (cleaning supplies) - Weatherstripping Replacement: $30-$100 (DIY) / $150-$300 (professional installation) - Glass Replacement: $100-$400 per pane (depending on size and glass type) - Full Frame Replacement: $300-$1,500 (depending on window type and installation) When it comes to windows and doors, timing is everything. Here are some recommendations: - Seasonal Checks: Inspect your windows and doors at the beginning of spring and fall. - After Severe Weather: Always check for damage after storms or heavy winds. - Before Winter: Ensure weatherproofing is intact before cold weather arrives. Being proactive with your windows and doors maintenance can lead to a more comfortable home and potentially save you money on energy bills and repairs. By following these practical tips, you can secure the longevity and efficiency of your essential home components.
Transform Your Home with Smart Tech: A Homeowner's Guide
In recent years, smart home technology has revolutionized the way we interact with our living spaces. From enhancing security to improving energy efficiency, smart devices offer practical solutions that can elevate your home experience. In this article, we’ll explore essential smart home technologies, their benefits, cost considerations, and tips for effective implementation. ### Essential Smart Home Devices - **Smart Thermostats** - Optimize your heating and cooling for energy savings. - **Smart Security Cameras** - Monitor your property with remote access features. - **Smart Lighting** - Control your lights remotely and set schedules. - **Smart Doorbell** - View visitors in real-time and communicate remotely. - **Smart Locks** - Enhance security with keyless entry options. ### Benefits of Incorporating Smart Home Tech - **Increased Convenience:** Control devices from anywhere using your smartphone. - **Enhanced Security:** Keep an eye on your home with real-time alerts. - **Energy Efficiency:** Smart devices can reduce energy consumption significantly. ### Cost Considerations The cost of smart home technology can vary widely depending on the complexity of the system you want to install. Here’s a rough breakdown: - Smart Thermostat: $100 - $300 - Smart Security Camera: $50 - $400 per camera - Smart Lighting: $15 - $60 per bulb or $100 - $200 for a starter kit - Smart Doorbell: $100 - $250 - Smart Lock: $100 - $300 Most homeowners can expect to spend between $500 and $2,000 to outfit their homes with a basic smart system. ### DIY vs Professional Installation When considering smart home devices, homeowners often face the choice between DIY installation and hiring a professional. Here’s a quick comparison to help you decide: - **DIY Installation:** - Cost-effective: Save on installation fees. - Flexibility: Install devices at your convenience. - **Professional Installation:** - Expertise: Ensure devices are set up correctly for optimal performance. - Warranty: Many professionals offer warranties on installation. ### Getting Started with Smart Home Tech To begin your smart home transformation, follow these steps: 1. Assess your needs: Consider what areas of your home you want to enhance. 2. Set a budget: Determine how much you’re willing to invest in smart technology. 3. Research devices: Look for features, compatibility, and reviews. 4. Decide on installation: Choose between DIY setup or hiring a professional. 5. Start small: Begin with one or two devices and expand gradually. ### Conclusion Smart home technology can significantly enhance your living experience, offering convenience, security, and energy savings. By understanding the options available and assessing your needs and budget, you can successfully implement smart tech solutions that fit your lifestyle. Take the first step towards a smarter home today!
Understanding Home Insurance: Protection for Your Biggest Investment
Understanding Home Insurance: Protection for Your Biggest Investment Homeownership is one of the most significant investments you'll make in your lifetime. Ensuring that investment is protected through adequate home insurance is essential. In this guide, we’ll explore the ins and outs of home insurance, including types, costs, and tips to make informed decisions. Types of Home Insurance There are several types of home insurance policies. Here are the main ones: - HO-1 (Basic Form): Covers named perils like fire, theft, and vandalism. It’s often considered too minimal for most homeowners. - HO-2 (Broad Form): Offers coverage for a wider range of perils, both for the dwelling and personal property. - HO-3 (Special Form): The most common policy type. It covers the home for all perils unless specifically excluded. - HO-4 (Renters Insurance): Protects renters' personal belongings, but not the structure itself. - HO-5 (Comprehensive Form): Provides broader coverage than HO-3, including higher limits for personal property. Costs of Home Insurance The cost of home insurance can vary greatly based on several factors. Here are key influences: - Location: Homes in high-risk areas (like those prone to natural disasters) often have higher premiums. - Home Value: The more it costs to replace your home, the higher your insurance will be. - Credit Score: A higher credit score can lead to lower premiums. - Deductible Amount: Choosing a higher deductible can lower your premium but means more out-of-pocket costs when filing a claim. On average, homeowners pay about $1,500 per year for home insurance but expect significant variances based on personal circumstances. When to Review Your Insurance Policy It's crucial to regularly review your insurance policy to ensure adequate coverage. Consider these key times for review: - After Home Improvements: If you've added a new room, upgraded your kitchen, or made significant renovations, your coverage may need adjustments. - When Property Values Change: Annual market evaluations can indicate whether your existing coverage still holds value. - Every Year: At least once a year, go through your policy and contact your insurer to ask about any changes in coverage or discounts. DIY vs. Professional Guidance While some aspects of managing your home insurance can be DIY, like getting quotes and understanding policy options, professional guidance can be invaluable in complex situations. Here’s when to consider each: - DIY: Shopping around for quotes online and comparing policies can save you money. - Professional: If your property has unique risks (like historical value), consulting an insurance agent can provide tailored protection strategies. Conclusion Home insurance is not just a safety net; it's a fundamental aspect of homeownership. Understanding your options, the costs involved, and when to seek professional help can help you secure the best policy for your home. Regularly assessing your coverage ensures that your investment is adequately protected against unforeseen events.
Transform Your Home: Essential Tips for Painting & Finishing
Painting and finishing your home can breathe new life into your living space. Whether you're looking to freshen up a room or tackle a complete renovation, understanding the basics of painting and finishing is key to achieving professional-looking results. Why Paint? Painting not only enhances the aesthetic appeal of your home but also protects surfaces from damage. A fresh coat of paint can: - Increase the value of your home - Protect walls and surfaces from wear and tear - Improve air quality with low-VOC options Choosing the Right Paint When selecting paint, consider: - Type: Latex paints are water-based and ideal for interior walls, while oil-based paints are more durable for high-traffic areas. - Finish: Common finishes include matte, eggshell, satin, semi-gloss, and gloss. Choose based on the room's usage; for instance, semi-gloss is great for kitchens and bathrooms. - Color: Test colors in small patches on your wall to see how they look at different times of the day. Prepping Your Space Proper preparation makes all the difference. Follow these steps for a smooth painting experience: - Clear the Area: Remove furniture or cover it with drop cloths. - Clean the Surfaces: Wash the walls to remove dust and grease. - Repair Any Damage: Fill cracks and holes with spackle or caulk, and sand smooth after it dries. - Use Primer: Apply primer to ensure better adhesion and to enhance color vibrancy. Painting Techniques When applying paint, consider the following techniques: - Brush: Best for edges and corners for a precise finish. - Roller: Ideal for large flat surfaces; use a paint grid to remove excess paint. - Sprayer: A sprayer speeds up the process but requires practice for an even coat. Costs and Timing The cost of painting your home can vary significantly based on: - Paint quality and type: Expect to spend between $20 to $60 per gallon. - Size of the space: Larger areas may require multiple gallons. - Professional vs. DIY: Hiring professionals could range from $2 to $6 per square foot, while DIY would save labor costs. Timing depends on the scope of the project. A single room might take a weekend, while a whole house could stretch over several weekends. When to Hire a Pro While DIY painting can be satisfying, consider hiring a professional when: - Working at heights where ladders are required. - Your time is limited, and you want to ensure a quality finish. - You need help with extensive prep work like wall repairs. Conclusion With the right prep work, materials, and techniques, you can transform your space with paint. Whether you decide to tackle the job on your own or hire a professional, a well-executed paint job will enhance your home’s beauty and longevity.
Mastering Tenant Relations: Essential Tips for Homeowners
As a homeowner, fostering positive tenant relations is crucial for maintaining a harmonious living environment and ensuring your property’s success. Whether you are a first-time landlord or a seasoned property owner, effective communication and management strategies can greatly enhance your tenant's experience and, in turn, your rental income. Good tenant relations can lead to: - Longer lease terms - Timely rent payments - Better property upkeep - Positive word-of-mouth referrals - Lower turnover costs The foundation of strong tenant relations lies in effective communication. Here are some actionable tips: - Be Proactive: Introduce yourself to tenants shortly after they move in, and provide them with essential contact information. - Set Clear Expectations: Communicate boundaries, such as noise levels and maintenance schedules, at the start of the lease. - Utilize Technology: Consider using property management software to streamline communication regarding rent payments and maintenance requests. - Regular Check-ins: Schedule periodic check-ins to gauge tenant satisfaction and address any concerns. Timely responses to maintenance requests are crucial in tenant relations. Here’s how to manage them effectively: - Create a Maintenance Request System: Use forms or an online portal where tenants can easily submit maintenance requests. - Respond Promptly: Acknowledge receipt of requests within 24 hours, even if you can’t resolve the issue immediately. - Assess the Nature of the Issue: Determine if the repair is simple enough for a DIY fix or requires professional help. - Know When to Call a Professional: For major issues such as electrical work or plumbing, it’s wise to hire certified professionals. When tenants have concerns, listen actively and show empathy. Here’s a step-by-step approach: 1. Listen: Allow tenants to express their concerns without interruption. 2. Clarify: Ask questions to ensure you fully understand their issue. 3. Resolve: Work together with the tenant to find a solution; this may involve negotiating terms or repairs. 4. Follow Up: After addressing the concern, follow up with the tenant to confirm they are satisfied with the resolution. Timeliness is key in maintaining good relations. Consider these factors: - Maintenance Cost: Regular preventative maintenance helps avoid costly repairs later, averaging $200-$500 annually per unit. - Response Time: Aim to address urgent maintenance issues within 24 hours; non-urgent matters can be handled within a week. - Lease Renewals: Initiate discussions about lease renewals at least 60 days prior to expiration to avoid last-minute surprises. Building and maintaining strong tenant relations is essential for the success of any rental property. By implementing effective communication strategies, addressing maintenance issues promptly, and being attentive to tenant concerns, you can create a positive rental experience that leads to satisfied tenants and stable income for years to come.
Boost Your Home's Energy Efficiency with These Expert Tips
Improving your home's energy efficiency is not only a wise financial decision but also an essential step towards reducing your environmental footprint. Whether you're looking to cut down on utility bills or increase comfort, this article provides practical and actionable tips for homeowners. Energy efficiency refers to using less energy to perform the same task. In your home, this can mean using less energy for heating, cooling, and powering appliances. 1. Conduct an Energy Audit - The first step towards improving energy efficiency is understanding where your home stands. An energy audit can identify areas for improvement: - DIY Audit: Check for drafts around windows and doors, inspect insulation levels, and track your energy bills. - Professional Audit: Hire an energy auditor, who can provide thermal imaging and advanced diagnostics (cost: $300 - $500). 2. Insulation and Sealing - Proper insulation and sealing can drastically cut energy losses: - Attic Insulation: Aim for R-30 to R-60, adding insulation can cost between $1,500 and $3,000. - Weatherstripping: Sealing gaps around windows and doors can cost about $20 for materials. - Caulking: Use exterior caulk to seal cracks; a tube usually costs around $5. 3. Upgrade Appliances - Older appliances can consume significantly more energy: - Energy Star Appliances: Look for Energy Star-rated appliances, which can save you between 10-50% in energy costs. - Refrigerator Replacement: An old fridge might cost $100 per year to operate; a new one could be under $50. 4. Improve Heating and Cooling Efficiency - Heating and cooling typically account for about 50% of your home’s energy usage: - Smart Thermostats: Install a smart thermostat (around $100) to optimize heating and cooling schedules. - Regular Maintenance: Change air filters regularly (every 1-3 months) to ensure your system operates efficiently. 5. Consider Renewable Energy Sources - Investing in renewable energy can enhance efficiency and cut costs: - Solar Panels: Costs average $15,000 to $25,000, but tax credits can offset this upfront cost. - Solar Water Heaters: This can reduce your water heating costs by up to 80%. 6. Energy-Efficient Lighting - Switching to LED bulbs can significantly reduce your electricity bill: - LED Bulbs: These last up to 25 times longer than incandescent bulbs and use 75% less energy. - Smart Lighting Solutions: Consider installing dimmers and smart lighting systems for added control. By following these actionable steps, homeowners can dramatically improve their energy efficiency. Taking the time to assess your current energy usage and implement these tips can lead to significant savings and create a more comfortable living environment. Remember, while some tasks can be tackled on your own, don’t hesitate to call in professionals for complicated jobs!
Essential Foundation Maintenance Tips for Every Homeowner
Your home’s foundation is crucial for maintaining the integrity and stability of the entire structure. Without proper care, you may face significant issues that can lead to costly repairs. In this article, we’ll explore essential foundation maintenance tips and how to approach issues if they arise. Common Foundation Problems include cracks in the foundation, water pooling, and uneven floors, which can indicate serious structural issues. Taking proactive steps such as regular inspections, ensuring proper drainage, considering landscaping factors, controlling indoor humidity, and monitoring runoff can save you money and trouble in the long run. Assess whether you can handle basic maintenance or if you need a professional for more severe problems. Costs related to foundation repair can vary widely based on the severity of the issue, ranging from a few hundred to several thousands of dollars. Overall, your foundation is the backbone of your home, and regular maintenance is key to preventing severe damage.
Understanding Home Insurance: Essential Tips for Homeowners
Understanding home insurance is crucial for all homeowners. By assessing your needs, comparing policies, and making informed decisions, you can safeguard your investment and achieve peace of mind. Regular review and adjustment of your insurance coverage will also ensure you’re protected as your circumstances change.

MLS Is Not Always the Smart Way to Sell Your Home
Most homeowners are told there’s only one way to sell: put the house on the MLS and hope for the best.That advice works only if your home is perfectly move-in ready.If your property needs real repairs, the MLS can become a time-wasting, money-draining mistake.The Truth: MLS Buyers Don’t Want ProjectsThe majority of MLS buyers:Rely on bank financingCan’t handle major repairsWalk away after inspectionsRenegotiate endlesslyWhen a house needs serious work, MLS listings often lead to:Long days on marketPrice dropsFailed escrowsStress and uncertaintyRetail buyers aren’t your buyer.Investors are.Off-Market Selling: Built for Smart Sellers Who Know the NumbersOff-market selling isn’t a last resort—it’s a strategy.Savvy sellers don’t guess. They calculate.Here’s how professionals price an off-market home:Start with the market value AFTER repairsSubtract:Full repair costsTime and holding costsRisk and effortRealtor commissions (if selling direct)What’s left is the real price.That number attracts flippers and investors who close fast and don’t waste time.Stop Marketing to the Wrong BuyersPosting a fixer on the MLS exposes your home to thousands of people who will never buy it.Off-market selling:Targets buyers who expect repairsEliminates unnecessary showingsReduces failed inspectionsSpeeds up closingYou don’t need “maximum exposure.”You need the right exposure.You Can Use a Realtor — Or You Can Keep More of Your MoneyYes, you can sell off-market through a realtor.But if your goal is to:Avoid high commissionsControl the dealMove fasterSell privately and safelyThen listing on another agent-controlled system makes no sense.Why HomeXlink.com Is the Smarter Off-Market SolutionHomeXlink.com was built for homeowners who don’t want to:Overpay in commissionsBroadcast their property on massive platformsGuess their pricingRisk costly mistakesWhat HomeXlink Delivers🔗 Direct connection to off-market buyers🤖 AI-powered guidance through every step of the transaction🔒 Private, controlled, secure selling process💰 Major savings by cutting unnecessary middlemen📈 Smart pricing logic built for fixer and investor salesThis isn’t a listing site.It’s a selling system.If Your Home Needs Work, MLS Is the Expensive Way to Learn a LessonHomes that need repairs don’t fail on the MLS because of price.They fail because they’re marketed to the wrong audience.If you understand your numbers and want to sell intelligently:Off-market is fasterOff-market is cleanerOff-market costs lessAnd HomeXlink.com gives you the tools to do it safely, confidently, and profitably.HomeXlink.comYour home, linked away from major platforms.Sell smarter. Keep more. Close faster.If you want, I can:Make this even more aggressiveTurn it into a landing page or ad copyAdd strong CTAs and headlinesRewrite it specifically for investors or distressed sellers

How to Prevent House Mold
Mold thrives in damp, poorly ventilated environments—and once it starts, it spreads quickly. The best way to protect your home and your health is to stop mold before it begins. Here are the most effective ways to prevent mold growth in any home:1. Control Indoor HumidityHumidity is the #1 factor in mold growth.Keep indoor humidity between 30–50%.Use a hygrometer to monitor levels.Run dehumidifiers in basements, bathrooms, and other damp areas.Use air conditioning during warm months to reduce moisture.2. Improve VentilationGood airflow makes it harder for moisture to settle.Run exhaust fans in bathrooms and kitchens during and after cooking/showering.Open windows for cross-ventilation when weather allows.Move furniture slightly away from walls to improve air circulation.3. Promptly Fix LeaksWater leaks are one of the fastest ways mold can develop.Inspect plumbing under sinks, around toilets, and behind appliances.Check your roof, gutters, and downspouts regularly for signs of damage.Repair leaks quickly—even small, slow drips can create mold within 24–48 hours.4. Keep Surfaces DryMoisture left on surfaces is an invitation for mold.Wipe down shower walls, floors, and counters after use.Dry spills immediately.Don’t leave wet clothes or towels in piles.5. Maintain Proper DrainageWater should flow away from your home, not toward it.Make sure soil slopes away from the foundation.Keep gutters and downspouts clean so water doesn’t pool near the house.Consider installing a sump pump in chronically damp basements.6. Use Mold-Resistant ProductsIf you’re renovating or repairing damage:Choose mold-resistant drywall or greenboard.Use mold-inhibiting paint in high-moisture areas.Install waterproof flooring in basements and bathrooms.7. Clean RegularlyDust and dirt can trap moisture.Vacuum and wipe surfaces often.Use mold-preventive cleaners in bathrooms.Wash shower curtains, bath mats, and AC filters regularly.8. Watch for Warning SignsEarly detection prevents costly damage. Look for:Musty odorsDark spots on walls or ceilingsPeeling paint or bubbling drywallExcess condensation on windowsWater stainsIf you catch it early, small mold patches can be cleaned with a safe household cleaner. Widespread mold may require a professional.Final ThoughtsMold prevention is all about controlling moisture, improving airflow, and acting quickly when you see water problems. By following these steps, you’ll keep your home cleaner, healthier, and protected from the damage mold can cause.

What cause mold?
Mold develops when moisture, warmth, and poor airflow come together. While any single issue can trigger growth, most mold problems result from a combination of factors. The most common causes include:Poor VentilationLimited airflow traps moisture inside a room, allowing humidity to build up. Spaces like bathrooms, kitchens, and basements are especially vulnerable when moisture has no way to escape.Water Leaks and Water DamageLeaks from pipes, roofs, or windows can saturate wood, drywall, and insulation. This steady supply of moisture creates the ideal environment for mold to grow and spread.High HumidityHumidity levels above 50% make indoor spaces damp enough for mold to thrive. Materials such as carpets, walls, and ceilings absorb excess moisture, giving mold the fuel it needs.Condensation During Cold MonthsWhen warm, humid air hits cold surfaces like windows, pipes, or walls, condensation forms. This trapped moisture can seep into materials, especially in winter when homes are sealed tight.Damp Materials Left SittingWet towels, clothing, or building materials left in a pile can hold moisture long enough for mold to develop. Mold loves these untreated, damp surfaces.Moisture From Daily ActivitiesEveryday routines—showering, cooking, or even drying clothes indoors—add moisture to the air. Without proper ventilation, that moisture settles on walls, ceilings, and floors.Location and ClimateHomes in humid or rainy regions naturally face higher mold risks. In tropical, coastal, or consistently damp climates, controlling indoor humidity becomes essential because mold cannot grow in dry conditions.

When incentives and medical judgment collide
When an insurance company controls or financially influences medical providers, the priorities of the insurer can quietly shape the care a patient receives. This creates a conflict of interest that can impact treatment decisions, referrals, testing, and even how quickly a patient gets emergency care.How Incentives Interfere With Care1. Limiting Costly TreatmentsInsurers benefit financially when expensive tests, procedures, or hospitalizations are avoided. When doctors are employed by or tied to the insurer, they may face subtle pressure to:Order fewer MRIs or scansDelay hospital admissionsUse cheaper medicationsReduce specialist referralsThese decisions may go against what’s best for the patient.2. “Medical Necessity” Rules Override DoctorsMany insurers create rigid internal rules defining what care is “medically necessary.” Even when a physician believes a treatment is appropriate, insurance reviewers can deny it if certain criteria aren’t met. This turns medical decisions into a checklist controlled by the insurer, not the doctor.3. Pay Structures Influence JudgmentDoctors in tightly managed plans or insurer-owned groups may be paid based on:Keeping costs lowReducing hospitalizationsMeeting utilization targetsThis can discourage them from recommending care that might be costly, even if clinically appropriate.Real-World ConsequencesWhen financial incentives outweigh medical judgment, patients can experience:Delayed emergency careUnderdiagnosis or undertreatmentRestricted access to specialistsLess thorough evaluationLoss of trust in the doctor-patient relationshipIn some documented situations, residents in senior facilities were kept from being sent to the hospital because insurers offered bonuses for reducing transfers — leading to severe harm.Why This MattersMedical care should be driven by clinical need, not financial gain. But when insurers own doctors or tie payment to cost-cutting, patient well-being can take a back seat. Even well-intentioned systems can unintentionally pressure providers to “do less,” resulting in delayed or inadequate treatment.What Patients Can DoWhile individuals can’t change the system, they can protect themselves by:Asking if their doctor is owned by an insurerRequesting clear explanations for denied careSeeking second opinionsUsing rights to appeal insurance decisionsBottom LineWhen insurers control the financial environment in which doctors work, profit-driven incentives can override medical judgment. The result may be care that is cheaper for the system — but not always safer for the patient.If you want, I can also write an article on how to protect yourself in vertically-integrated health systems.

What if your insurer owns your doctor?
When your insurer owns your doctor or medical group, it creates a situation called vertical integration in healthcare. This structure can affect your costs, your care, and your choices — sometimes in good ways, sometimes not so good. Potential Risks1. Fewer choices for youYour doctor may now be financially tied to one insurance company. That can mean:Referrals stay inside their networkYou’re pushed to use "in-network-only" specialistsYour doctor may leave networks you preferYou end up with less freedom in choosing care.2. Insurer incentives may override medical judgmentWhen an insurer owns the medical group, the company can:Limit expensive treatmentsEncourage cheaper medicationsPressure doctors to keep costs downDoctors may feel subtle or direct pressure to follow cost-based guidelines instead of purely clinical ones.3. Higher local prices due to consolidationResearch shows that when insurers or hospital systems buy doctor groups, prices often go up, not down, because:Competition disappearsThey can negotiate higher rates with other payersThey gain market controlA vertically integrated insurer-provider system can behave like a monopoly.4. Harder to switch doctorsIf you change insurers, your doctor may no longer be “in network,” even though they didn’t move — their employer did. This forces patients to:Find a new primary care doctorRestart medical historiesDeal with gaps in care🔥 Real-world examplesKaiser PermanenteInsurer + doctors + hospitalsCare is coordinated but fully closed-networkUnitedHealth (Optum)Owns tens of thousands of physicians in the U.S.Many patients don’t even realize their “independent” doctor is owned by an insurerSome states have raised concerns about steering, price increases, and reduced competition.🧭 What this means for YOUIf your insurer buys your doctor:Ask if your doctor’s medical decisions are now subject to insurer guidelinesCheck if referrals will be restrictedReview your out-of-network optionsWatch for premium/copay changesAsk whether the office is now part of a “value-based care” model⚖️ Bottom lineWhen your insurer owns your doctor, the care can become more efficient and coordinated — OR more restricted and profit-driven. It usually depends on the company’s culture and how much independence doctors truly have.If you want, tell me your insurer or medical group and I can explain how it works in your specific case.

Save on Delivery Fees from Lowe’s and Home Depot
Delivery fees from big-box stores like Lowe’s and Home Depot can add up—especially when you’re ordering bulky items such as lumber, appliances, or landscaping supplies. The good news: with a little planning, you can often reduce or even eliminate those charges. Here are practical ways homeowners and DIYers can save.1. Meet the Free-Delivery MinimumsBoth Home Depot and Lowe’s frequently offer free shipping or delivery when your online order hits a certain dollar amount—often around $45–$399 depending on the category.For smaller items, try combining purchases to qualify.For larger materials, see if the product qualifies for “free ship-to-home” or “free ship-to-store.”2. Use Store Pickup Whenever PossibleIn-store or curbside pickup is always free. If the product is small enough to fit in your car, this is the easiest way to avoid fees. Many items are available for same-day pickup.3. Choose “Ship to Store” for Bulky ItemsSome products don’t qualify for home delivery discounts but can be shipped to the store for free. This works well for:DoorsFlooringCabinetsPower tools Often, store staff can help load the items into your vehicle.4. Schedule Deliveries TogetherIf you know multiple large items are needed (e.g., for a remodel), order them in one combined shipment. Delivery fees are often flat-rate, so adding extra items doesn’t increase the cost.5. Look for Seasonal or Promo DiscountsBoth retailers run holiday delivery promotions, especially around:Memorial DayLabor DayBlack FridaySpring lawn & garden season Search for promo codes or in-app coupons before ordering.6. Use Credit Card PerksSome cards offer:Statement credits for home improvement storesCashback bonuses for hardware and building materials This doesn’t eliminate the delivery charge but reduces the net cost.7. Join Free Membership ProgramsLowe’s: MVPs Pro Rewards (free for everyone, not just contractors) Home Depot: Pro Xtra membership Members sometimes get:Free standard shippingExclusive delivery couponsBonus points that offset future purchases8. Rent a Truck Instead of Paying DeliveryFor large purchases, compare costs:Lowe’s and Home Depot both offer hourly pickup truck or flatbed rentals. If the delivery fee is $79–$99, renting a truck for $19–$29 per hour can be cheaper—especially if your store is nearby.9. Ask for a Delivery Fee WaiverIn-store associates often have flexibility to remove or reduce delivery fees, especially if:You’re buying multiple large itemsYou’re purchasing appliancesYou’re a Pro memberYou’re price-matching a competitor offering free delivery10. Buy During Appliance PackagesWhen buying appliances, purchasing two or more pieces (e.g., washer + dryer) often triggers free delivery.

A Simple Framework for Smarter Spending
Managing the costs of owning or maintaining a home can feel overwhelming, especially with rising prices for utilities, repairs, and services. The 70/20/10 rule is a simple budgeting framework that helps you stay financially balanced while keeping your home in great shape.What Is the 70/20/10 Rule?The 70/20/10 rule divides your take-home income into three clear categories:70% — Living expenses: Everyday costs required to live comfortably.20% — Financial goals: Savings, investments, and long-term planning.10% — Debt repayment or extra savings: Paying down existing debt faster or adding to emergency funds.How the Rule Applies to Home ExpensesWhen applied to homeownership, the rule helps you understand how much of your budget should go toward maintaining, improving, and operating your home.✔ 70% for all essential home-related living expensesThis includes:Mortgage or rentProperty taxes and insuranceUtilities (electricity, water, internet)Regular home maintenanceGroceries and everyday living costsBasic repairsKeeping these essential expenses under 70% of your income ensures you can maintain your home comfortably without financial stress.✔ 20% for future home goalsUse this portion for:Saving for major renovationsBuilding a home emergency fund (roof, HVAC replacement, appliances)Investing in energy-efficient upgrades that save money long-termHome value–boosting projectsThis category protects your home and increases its long-term value.✔ 10% for debt reduction or extra cushioningThis part helps you stay financially healthy:Paying off home-related debt faster (HELOC, personal loans, credit cards)Creating additional safety savingsFunding unexpected household issuesThis gives you a buffer when life—or your home—throws a curveball.Why This Rule WorksThe 70/20/10 rule keeps your spending balanced, prevents repair surprises from becoming financial emergencies, and ensures you’re investing in the future of your home—not just reacting to problems.It’s simple, flexible, and easy to adjust based on your income, home size, and financial goals.
How to Fix Leaking Gutters: A Step-by-Step Guide
Leaking gutters can cause serious water damage to your home's foundation and exterior. Here's how to fix them: 1. **Identify the Leak**: Run water through the gutter to pinpoint the exact leak location. 2. **Clean the Area**: Remove all debris, leaves, and rust from the gutter and around the leak. 3. **Dry Completely**: Use a cloth or let it air dry. The surface must be completely dry for proper sealing. 4. **Apply Sealant**: For small holes, use gutter sealant or silicone caulk. For larger holes, use a gutter patch kit. 5. **Check Seams**: Leaking seams are common. Apply gutter sealant along the inside of the seam. 6. **Replace if Necessary**: If the gutter is heavily damaged or rusted through, replacement might be more cost-effective. **Prevention Tips**: - Clean gutters twice yearly (spring and fall) - Install gutter guards to reduce debris buildup - Check for proper slope to ensure water flows correctly - Inspect after heavy storms **Cost**: DIY repairs typically cost $10-50. Professional repair ranges from $150-400 depending on damage extent.
Fixing Cracked Concrete: DIY Solutions That Last
Concrete cracks are common, but addressing them early prevents bigger problems. Here's your complete repair guide: **Types of Cracks:** - **Hairline cracks** ( 1/4 inch): May indicate structural issues, consider professional assessment **Repair Process:** 1. **Clean the Crack**: Use a wire brush and shop vacuum to remove all loose debris and dirt. 2. **Widen if Needed**: For better adhesion, use a cold chisel to widen hairline cracks slightly (undercut the edges). 3. **Prep the Surface**: Clean with degreaser and rinse thoroughly. Let dry completely. 4. **Choose Your Filler**: - Concrete crack filler for narrow cracks - Vinyl concrete patch for wider cracks - Epoxy compounds for structural repairs - Self-leveling sealant for horizontal surfaces 5. **Apply Filler**: Overfill slightly, then smooth with a trowel or putty knife. 6. **Cure Properly**: Keep moist for 24-48 hours (cover with plastic or mist with water). 7. **Seal the Surface**: After curing, apply concrete sealer to prevent future cracks. **When to Call a Pro:** - Cracks wider than 1/2 inch - Cracks that keep growing - Multiple cracks forming a pattern - Cracks with vertical displacement - Basement floor cracks with water seepage **Prevention:** - Seal concrete every 2-3 years - Ensure proper drainage around concrete - Use expansion joints in large slabs - Avoid de-icing salts **Cost**: DIY materials: $15-75. Professional repair: $300-1,500 depending on extent.
Essential Flood Prevention Tips for Homeowners
Protect your home from flood damage with these proven prevention strategies: **Exterior Protection:** - Install a sump pump with battery backup in your basement - Grade your yard so it slopes away from the foundation (minimum 6 inches over 10 feet) - Keep gutters and downspouts clean and extended at least 5 feet from the house - Install window well covers on basement windows - Consider a French drain system if you have persistent water issues **Interior Safeguards:** - Install backwater valves to prevent sewage backup - Seal basement walls and floors with waterproof coating - Move valuable items to higher floors - Keep important documents in waterproof containers - Install a water alarm in the basement **Landscaping Solutions:** - Plant native vegetation with deep root systems - Create rain gardens in low-lying areas - Use permeable pavers for driveways and walkways - Build a dry creek bed to channel water away **Emergency Preparedness:** - Know your flood risk zone - Purchase flood insurance (standard homeowner's doesn't cover floods) - Create an emergency kit with essentials - Have a plan for shutting off utilities **Cost**: Basic prevention measures: $200-1,000. Professional waterproofing: $2,000-10,000+
Hardwood Floor Maintenance: Keep Your Floors Beautiful for Decades
Proper hardwood floor maintenance protects your investment and keeps floors looking stunning. Here's everything you need to know: **Daily & Weekly Care:** - **Sweep or vacuum daily** using a soft-bristle broom or hardwood floor attachment (no beater bar!) - **Use microfiber dust mops** to trap fine dust and prevent scratching - **Clean spills immediately** to prevent water damage and staining - **Place mats at entrances** to trap dirt and moisture **Monthly Cleaning:** 1. **Use the right cleaner**: Choose pH-neutral hardwood floor cleaner. Avoid vinegar, ammonia, or steam mops. 2. **Damp mop only**: Wring out mop thoroughly - it should be barely damp 3. **Go with the grain**: Mop in the direction of the wood grain 4. **Dry immediately**: Use a clean, dry towel to remove any excess moisture **Seasonal Maintenance:** - **Control humidity**: Keep indoor humidity between 35-55% to prevent warping or gaps - **Use a humidifier** in winter (prevents gaps) - **Use a dehumidifier** in summer (prevents cupping) - **Trim pet nails** regularly to avoid scratches - **Use felt pads** under all furniture legs **Every Few Years:** - **Screen and recoat** (every 3-5 years): Lightly sand surface and apply new finish coat - **Full refinishing** (every 10-15 years): Sand down to bare wood and refinish completely **Protect Your Investment:** - Never use oil soaps or wax-based cleaners - Avoid walking in high heels on hardwood - Use area rugs in high-traffic zones - Keep window treatments to prevent sun fading - Rearrange furniture periodically to even out wear **Common Problems & Solutions:** - **Scratches**: Use a hardwood floor touch-up marker or wax stick - **Dull finish**: Screen and recoat may be needed - **Gaps**: Normal with seasonal humidity changes; serious gaps need pro attention - **Cupping/Crowning**: Indicates moisture issues - fix source first **Cost**: - DIY cleaning supplies: $20-50/year - Screen and recoat: $1-2 per sq ft - Full refinishing: $3-8 per sq ft
Drainage problems often become obvious right after a storm
Drainage problems often become obvious right after a stormPuddles that won’t go away, soggy soil, or water pooling near the foundation. Addressing these issues quickly helps protect your landscaping, prevents structural damage, and keeps your yard usable.1. Identify Where the Water Collects Start by checking your yard right after rainfall. Look for low spots, areas with compacted soil, or places where water consistently sits. Also inspect downspouts—often the biggest source of pooling is simply water being dumped too close to the house.2. Improve Soil and Grading If the ground slopes toward your home or a walkway, re-grading may be necessary. Adding fresh topsoil to raise low areas helps water flow away naturally. Aerating and mixing in organic matter (like compost) can also improve absorption in compacted soil.3. Extend Downspouts and Gutters A simple fix is to install downspout extenders or splash blocks to carry water at least 4–6 feet away from the foundation. Make sure gutters are clean and properly sized so they don’t overflow during storms.4. Install a French Drain or Dry Creek Bed For persistent pooling, installing a French drain—a gravel-filled trench with a perforated pipe—directs water to a safer area. A dry creek bed offers a more decorative option, guiding water while blending into landscaping.5. Add Drainage Solutions for Hard Surfaces Driveways, patios, and walkways can trap water. Trench drains, channel drains, or permeable pavers help water flow instead of collecting.6. Consider a Sump Pump for Serious Issues If water regularly gathers near your foundation or seeps toward your basement, a sump pump system may be needed to safely move water away.By identifying the source and choosing the right fix—whether simple grading or installing a drainage system—you can eliminate post-rain water problems and protect your home for the long term.
Keeping detailed maintenance records
Keeping detailed maintenance records and expense logs for your primary residence isn’t just about staying organized — it’s a smart financial and practical habit. When you track repairs, upgrades, and routine maintenance, you build a clear history of your home’s care. This record can be invaluable when selling your property, as it shows potential buyers that the home has been well maintained and justifies your asking price.Beyond resale value, maintenance records help you plan future expenses, spot recurring issues, and even support warranty or insurance claims. If an appliance fails or damage occurs, having receipts and service logs can speed up reimbursement and prove proper upkeep. In short, maintaining a home file with repair dates, costs, and contractor details protects your investment, simplifies ownership, and helps ensure your home stays safe, efficient, and valuable over time.
Smoke Detector Maintenance: Life-Saving Steps Everyone Forgets
Test smoke detectors monthly by pressing the test button. Replace batteries twice yearly when changing clocks for daylight saving. Replace entire units every 10 years regardless of condition - check the manufacture date on back. Install detectors on every level, inside bedrooms, and outside sleeping areas. Never disable a detector - if it goes off while cooking, move it farther from kitchen. Vacuum detectors annually to remove dust buildup. Interconnected detectors are best - when one sounds, all sound. Carbon monoxide detectors are separate and equally important. Place them near sleeping areas and fuel-burning appliances. Keep a fire extinguisher on each floor. Create and practice a fire escape plan with two exits from each room.
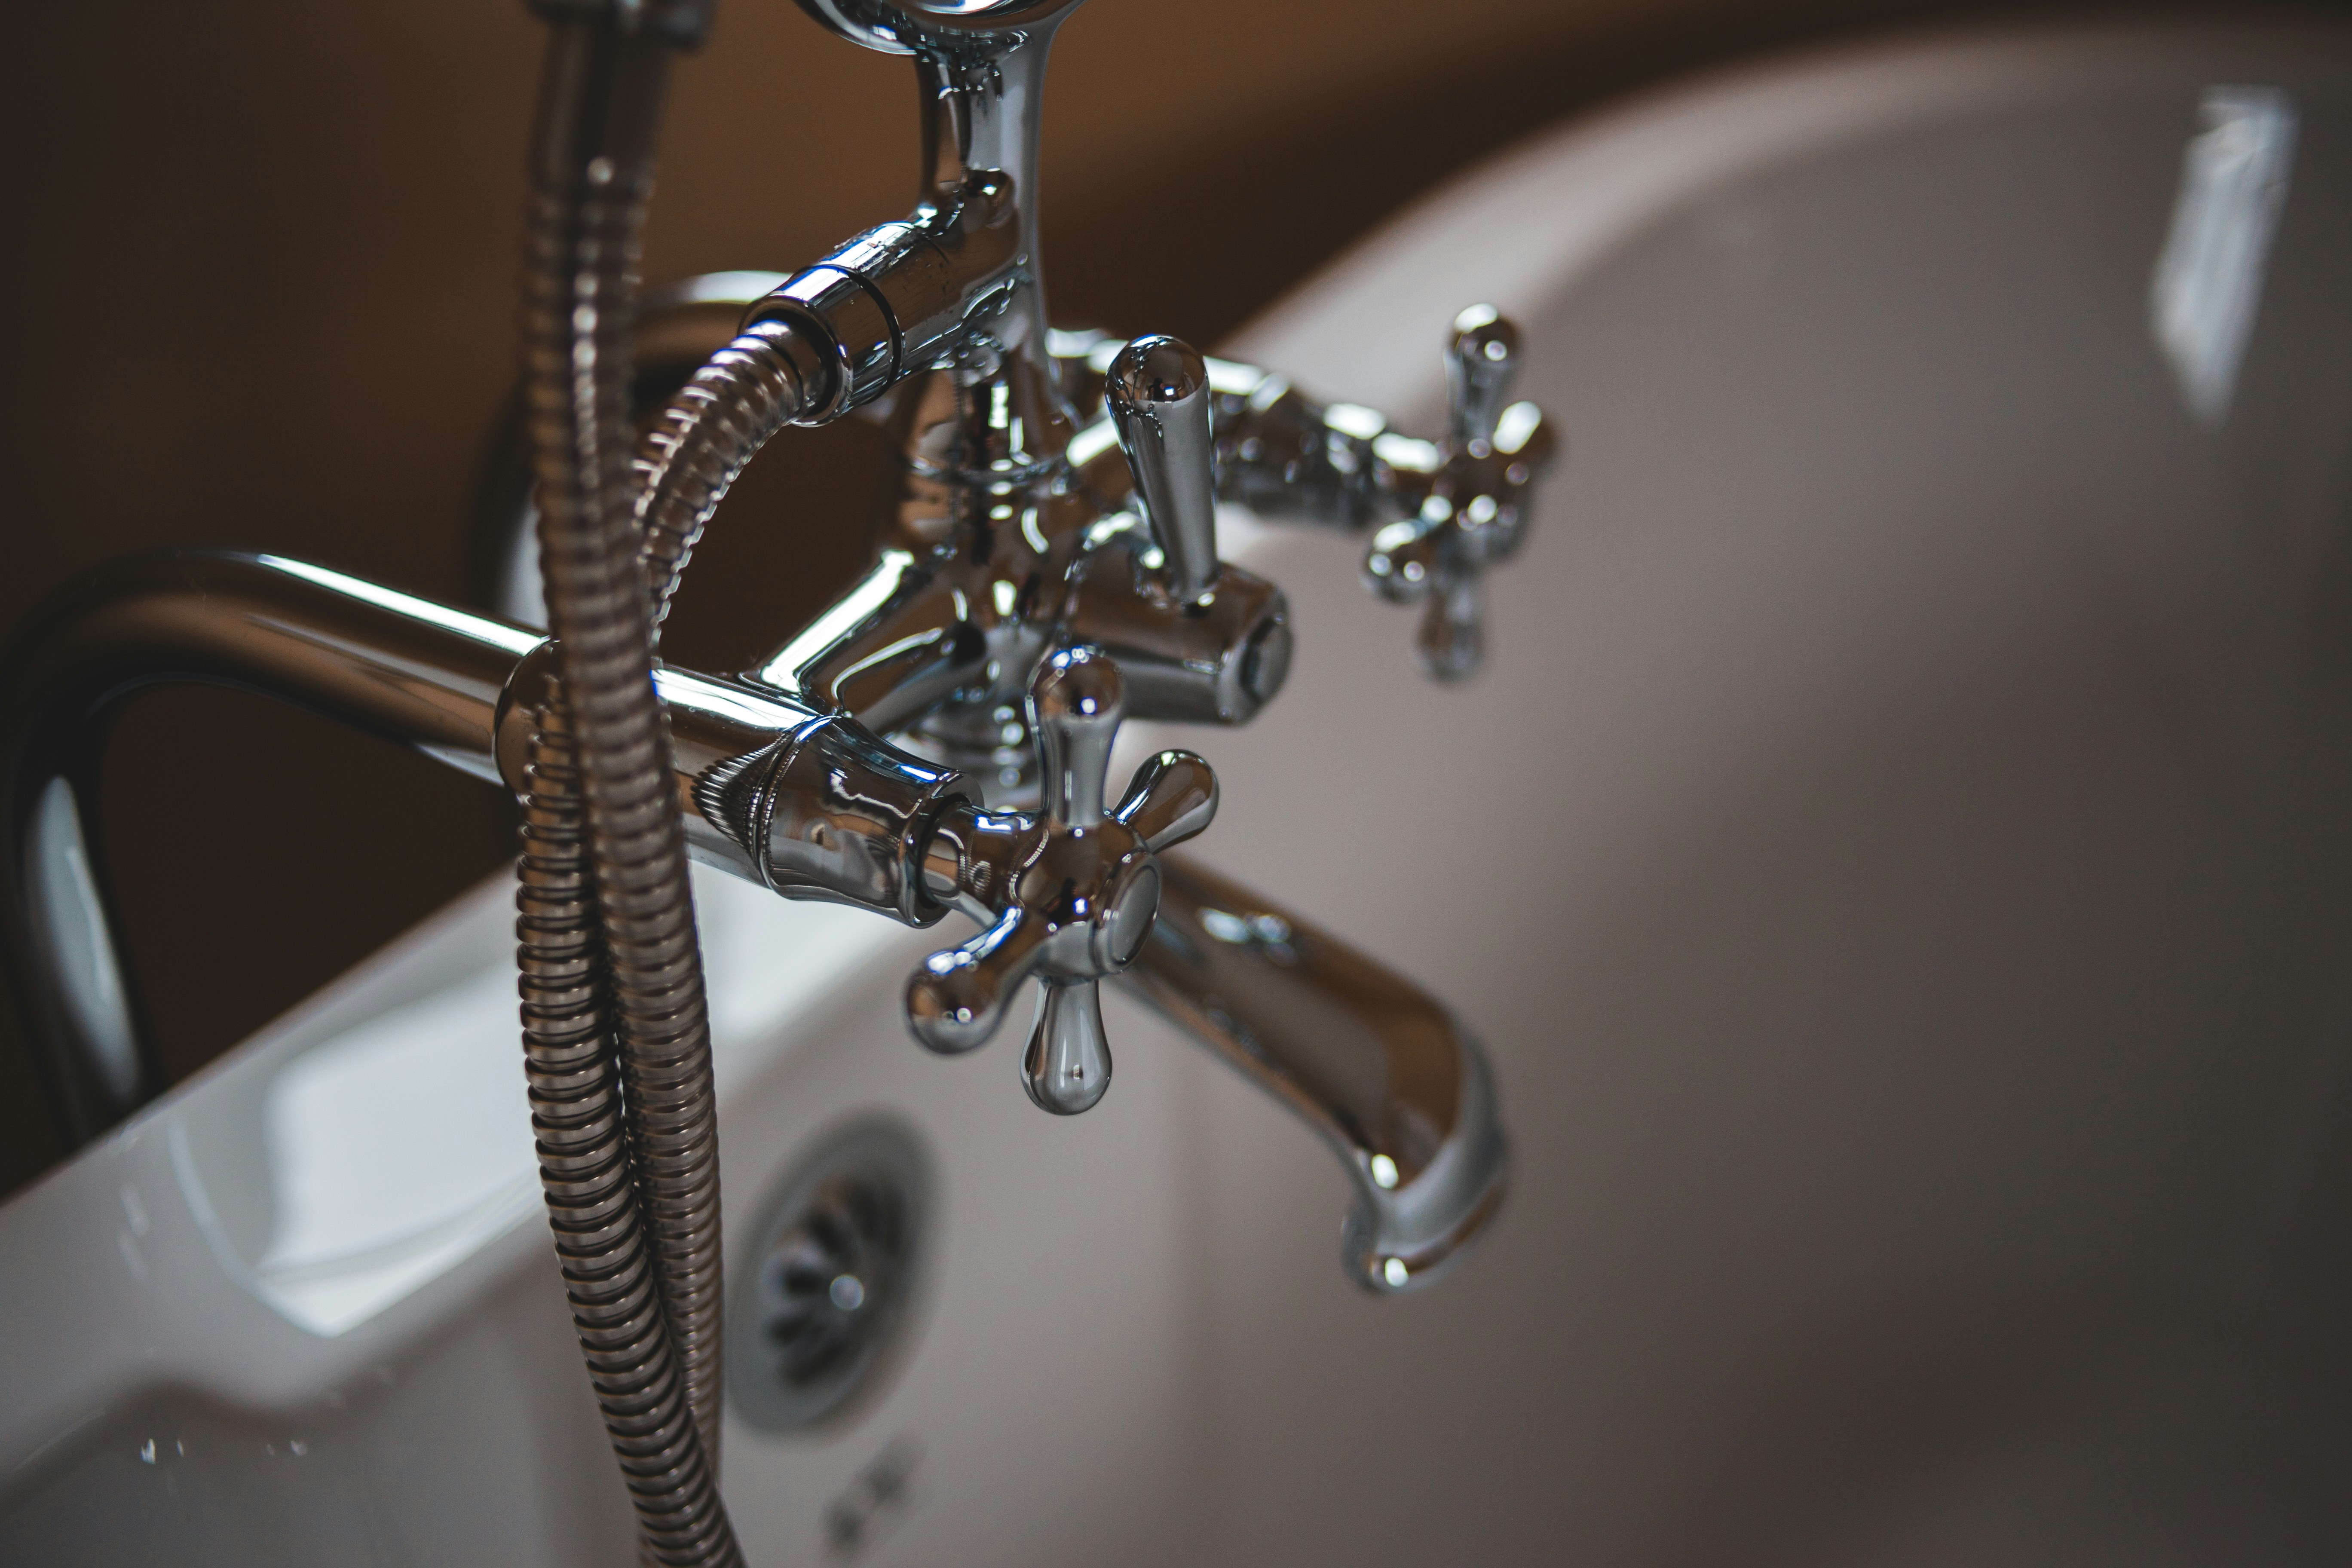
Water Heater Maintenance: Extend Life by 5+ Years
Most water heaters fail prematurely due to lack of maintenance. Flush your water heater annually to remove sediment buildup that reduces efficiency and causes corrosion. Turn off power/gas and water supply first. Attach a garden hose to drain valve and empty into floor drain or outside. Test the temperature-pressure relief valve yearly by lifting the lever briefly - water should flow then stop. Set temperature to 120°F for safety and energy savings. Insulate older units with a water heater blanket. Inspect the anode rod every 3-5 years and replace if corroded - this sacrificial rod prevents tank rust. Check for rust, leaks, or unusual noises monthly. Most tanks last 8-12 years with proper care versus 6-8 without. Consider tankless options for unlimited hot water and 20+ year lifespan.

HVAC Filter Replacement: Why Every 3 Months Matters
Your HVAC filter is your home's first line of defense against dust, allergens, and poor air quality. Replace standard 1-inch filters every 1-3 months, or monthly if you have pets or allergies. Thicker 4-inch filters can last 6-12 months. Dirty filters force your system to work harder, increasing energy bills by up to 15%. Check your filter monthly - if you can't see light through it, it's time to replace. Mark your calendar or set phone reminders. The correct size is printed on the filter frame. Always turn off your system before replacing. Higher MERV ratings filter more particles but check your system's specifications first. A clean filter improves indoor air quality, extends HVAC lifespan, and saves money.
How to Prevent Frozen Pipes in Winter
Frozen pipes can burst and cause thousands in damage. Here are essential tips: Keep your thermostat at 55°F minimum even when away. Open cabinet doors under sinks to allow warm air circulation. Let faucets drip slightly during extreme cold - moving water is harder to freeze. Insulate pipes in unheated areas like basements, attics, and crawl spaces with foam pipe insulation. Disconnect and drain outdoor hoses before first freeze. For exposed pipes, wrap them with heating tape or cables. Seal any cracks or holes near pipes that allow cold air inside. If pipes do freeze, never use open flame - use a hair dryer or warm towels instead.

Gutter Cleaning: The #1 Task That Prevents Major Damage
Clogged gutters can cause basement flooding, foundation damage, roof leaks, and landscaping erosion - costing thousands in repairs. Clean gutters twice yearly: spring and fall. Use a sturdy ladder, gloves, and a bucket. Scoop debris by hand or with a gutter scoop. Flush with a garden hose to check drainage and identify leaks. Install gutter guards to reduce maintenance. Check downspouts drain at least 6 feet from foundation. Look for sagging sections, rust, or separated seams. For two-story homes, consider hiring professionals for safety. Don't forget to clean out downspout outlets. Warning signs you need immediate cleaning: water overflowing sides, plants growing from gutters, or sagging sections.

Best Deals on houses are in January
Why the Best Deals on Houses Are in January January is one of the most overlooked — yet best — months to buy a home.While many buyers are still recovering from the holidays, serious sellers are motivated to close deals, and that creates opportunity. Here’s why January often brings the best housing bargains: Less Competition: Fewer buyers are house-hunting after the holidays, which means less bidding pressure and more room to negotiate. Motivated Sellers: Homes that didn’t sell in the fall or winter often have owners eager to make a deal before the new year’s carrying costs add up. Better Negotiation Power: With slower traffic at open houses and fewer offers, buyers can often secure price reductions, closing credits, or favorable terms. More Attention from Agents and Lenders: With a lighter workload, real estate professionals have more time to focus on your deal, speeding up the process. If you’re serious about buying, January is a golden window — fewer crowds, more motivated sellers, and often, the lowest prices of the year.